My 71' Tintop Dormobile

Early Bay Forum

Help Support Early Bay Forum:

This site may earn a commission from merchant affiliate links, including eBay, Amazon, and others.

ProjectMat

Well-known member
Joined
Jul 13, 2015
Messages
67
Reaction score
0
8) Hey guys,
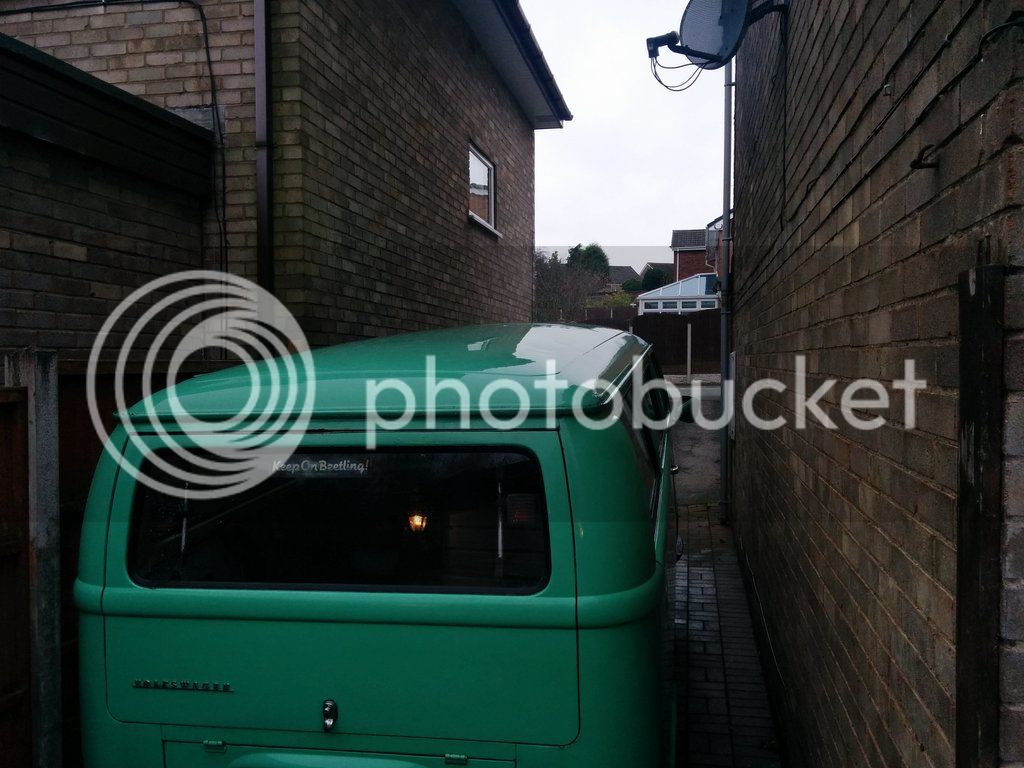
Let me introduce you to a friend of the family.

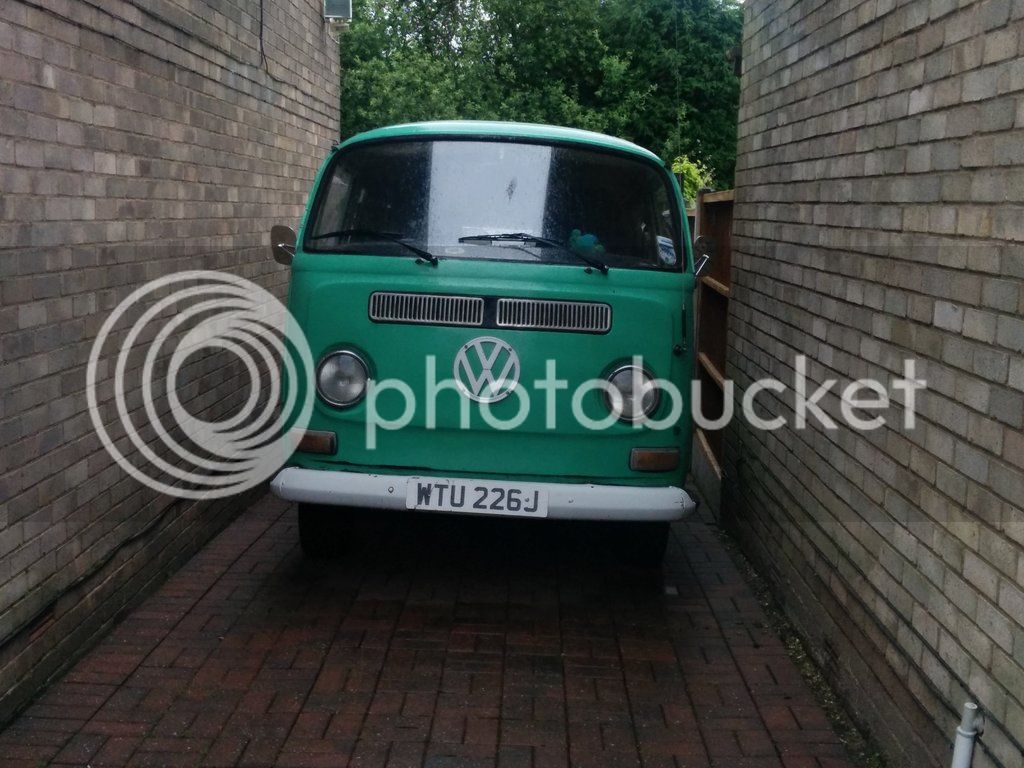
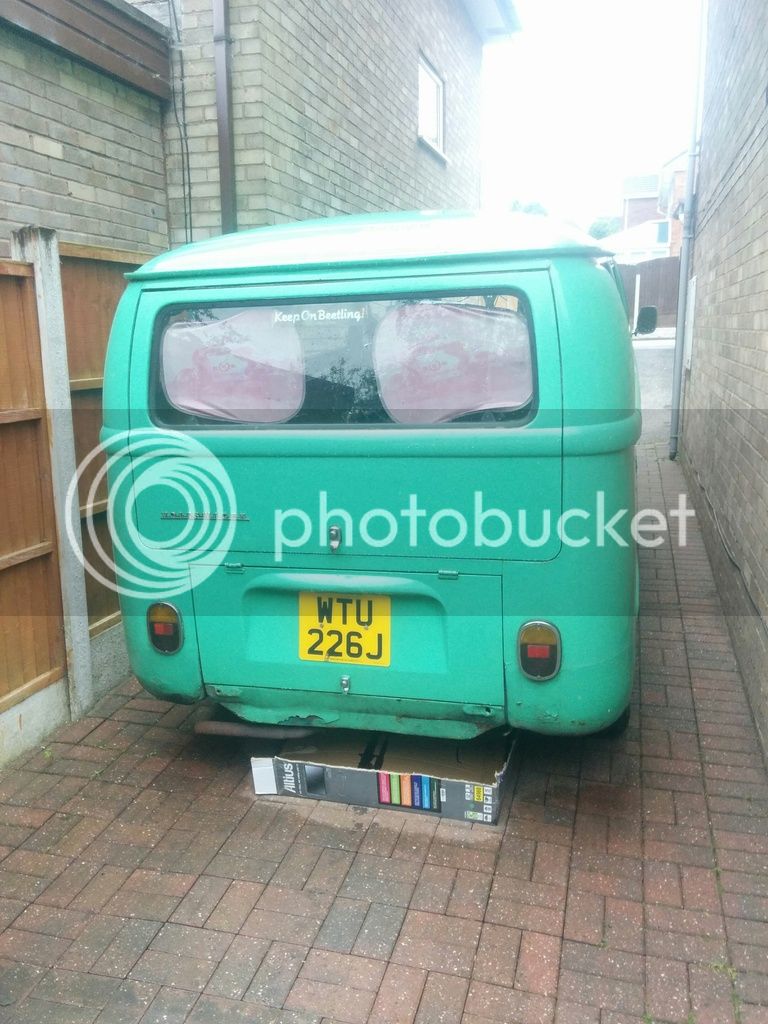
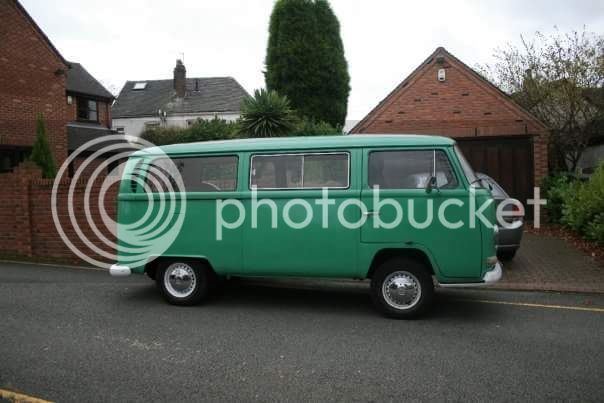
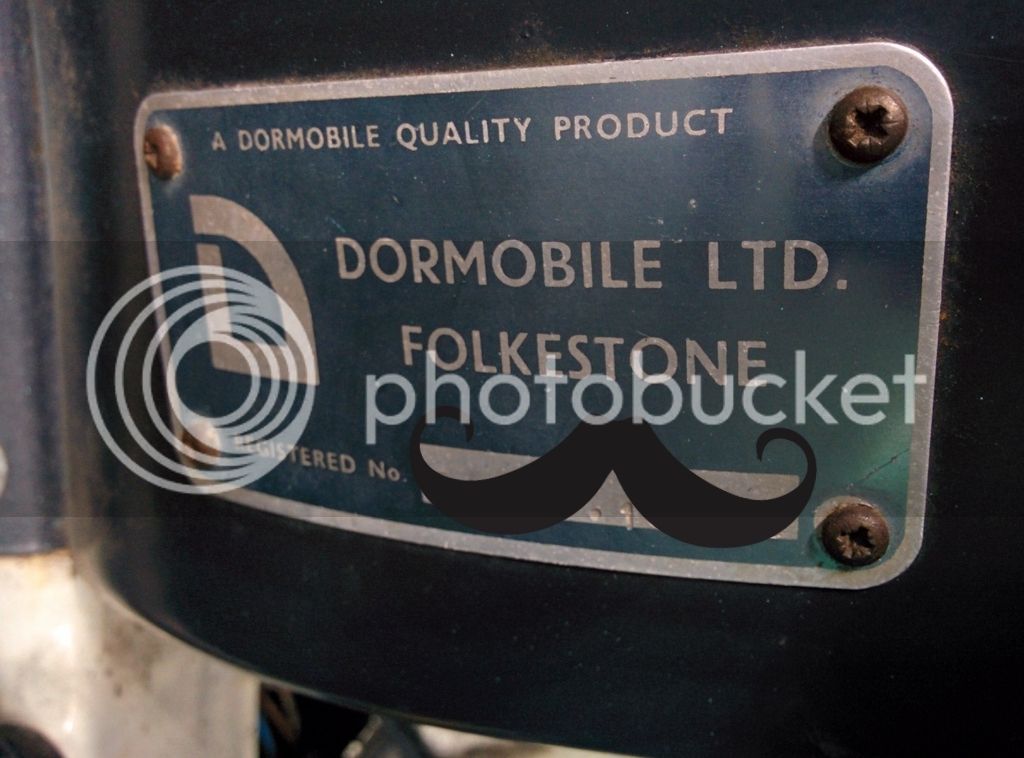
In 1997 my parents noticed a 71' Microbus which had been abandoned in a garden.
They plucked up the courage and knocked on. They brought him home. OG colour was orange,
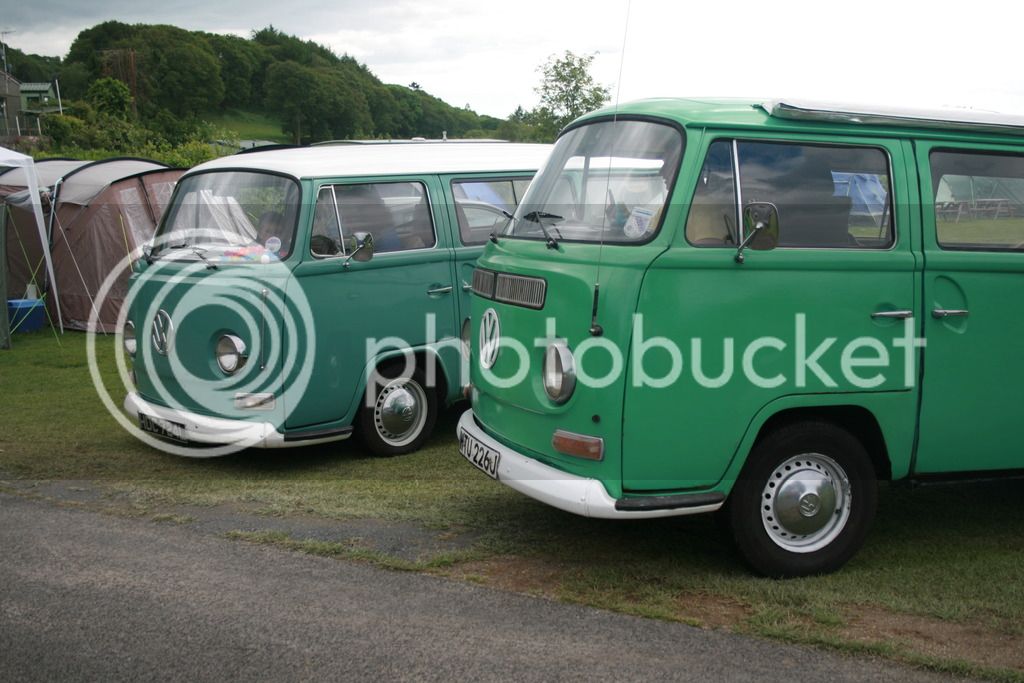
but after a 10 year rolling restoration, the family settled on green. Portaloo green.
You guys might of seen it before on here.

As a Kid my life revolved around the van. Camping holidays and daytrips were always adventures.
It was the first car I ever drove; I cant stress how important a role the bus played in my childhood.

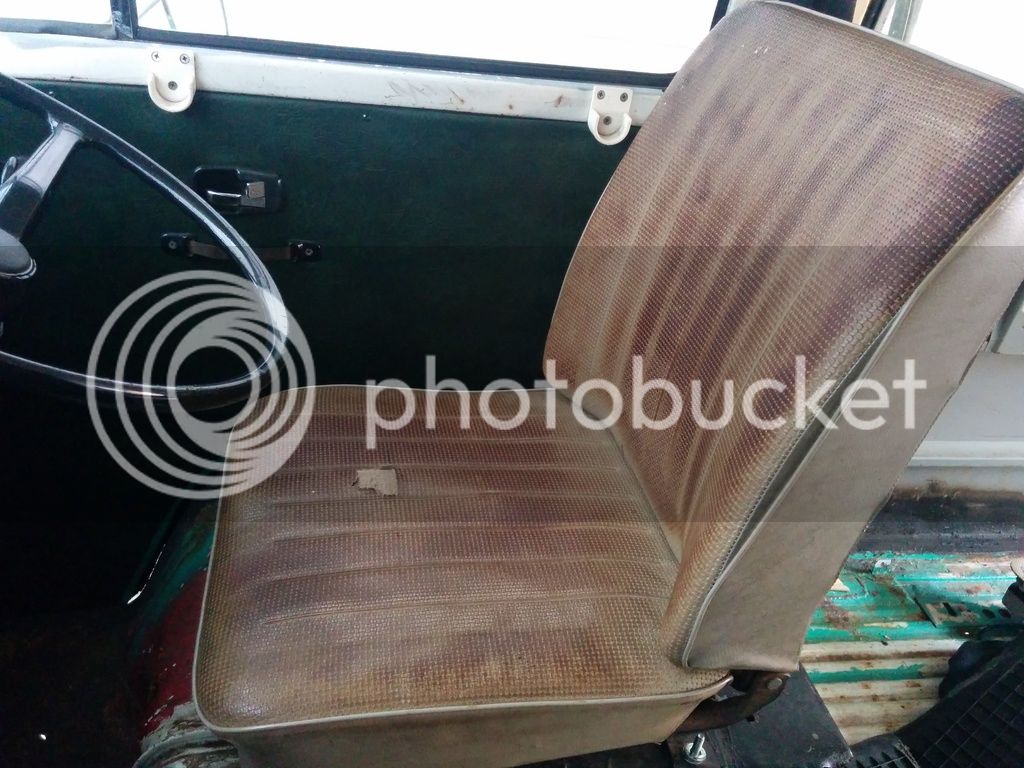
As I grew up, the van was left to deteriorate and eventually took on the role of a works van for my Dad.
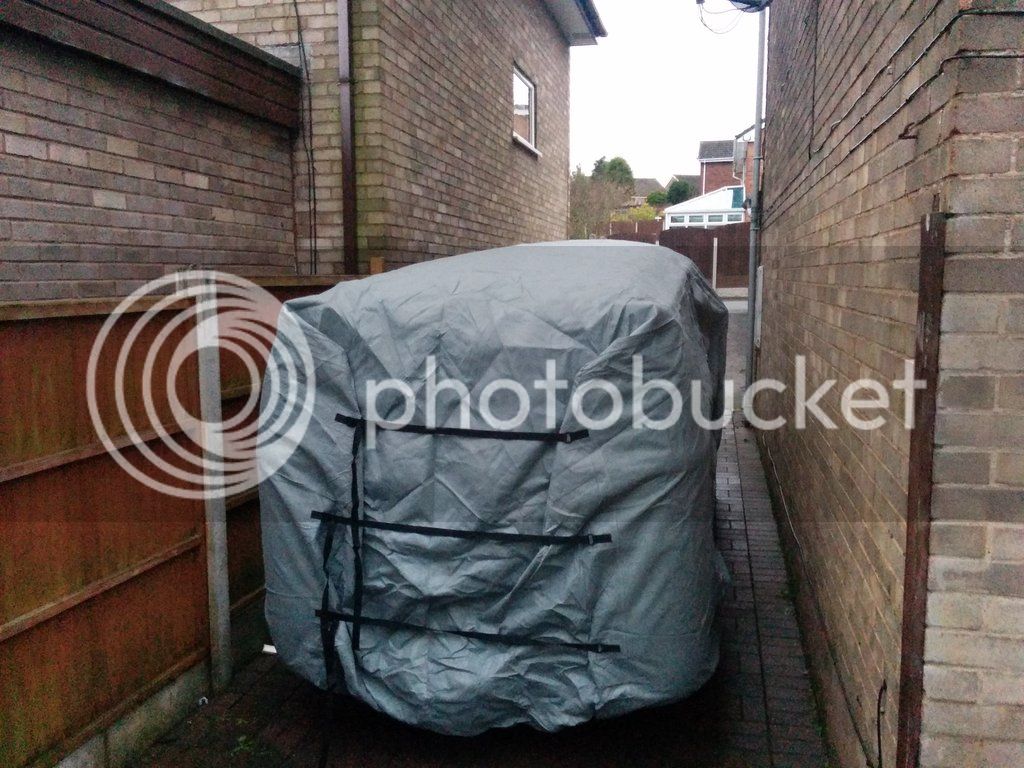
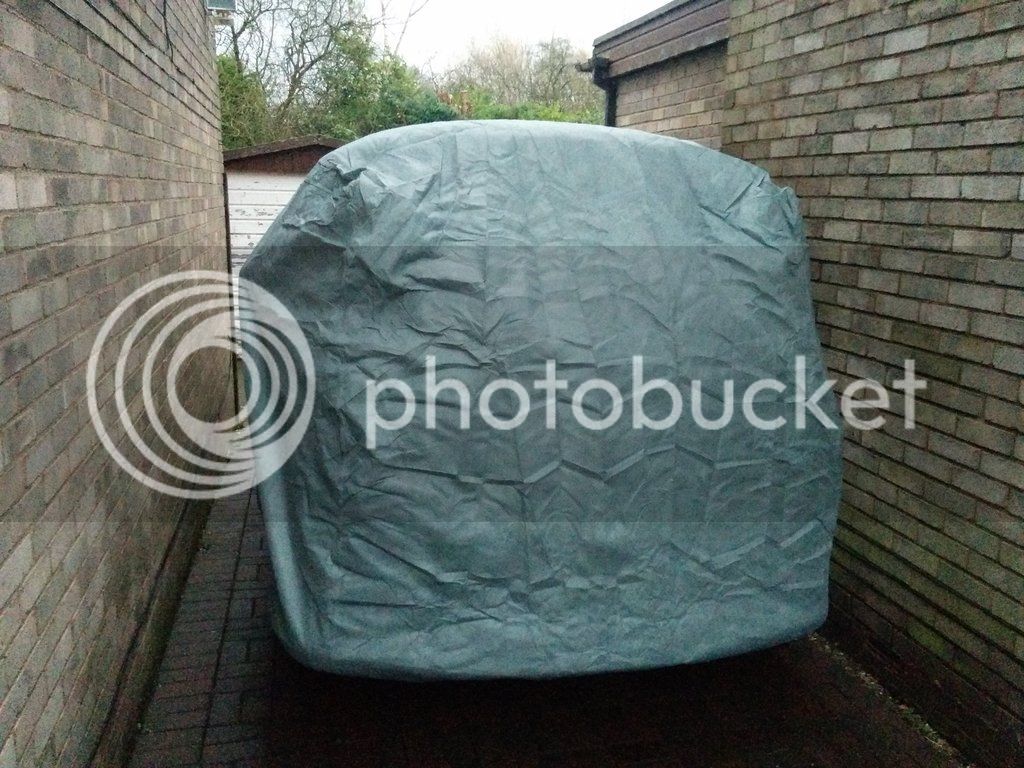
In the end, it was parked on their drive to rot and the engine is shot.

After some gentle persuasion, the van was moved to my house, and its now my turn to get the van to its former glory.
Its going to be a long restoration, but me and my wife intend on having kids, and id love to give them the memories I had with a campervan in their life.

IMG_20150713_195759_zpsvusmygez.jpg


IMG_20150713_200453_zps1kizutdm.jpg


IMG_20150713_200423_zpsuhtnuxre.jpg


IMG_20150713_070610_zpsu7s4vvn3.jpg


PLANS
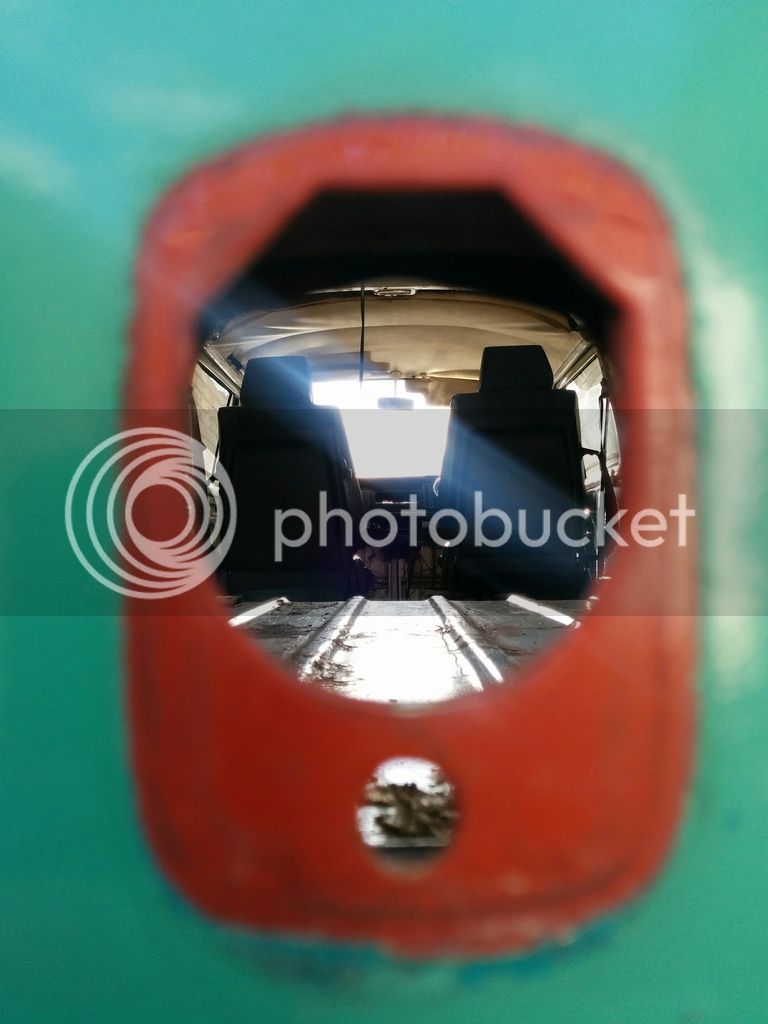
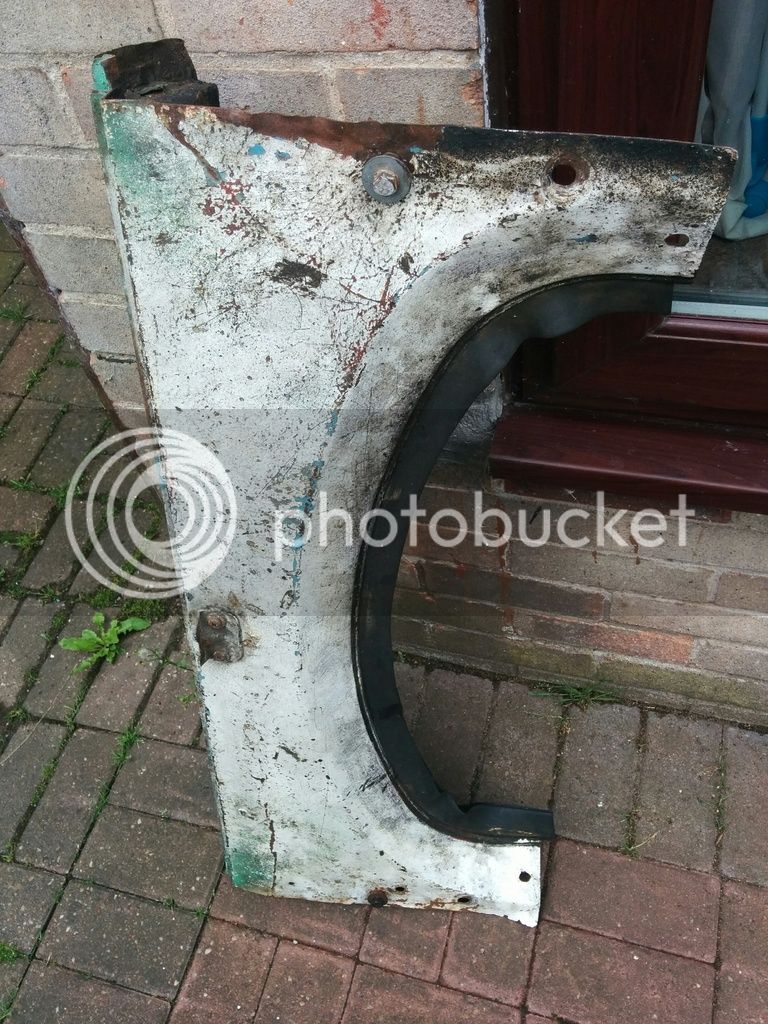
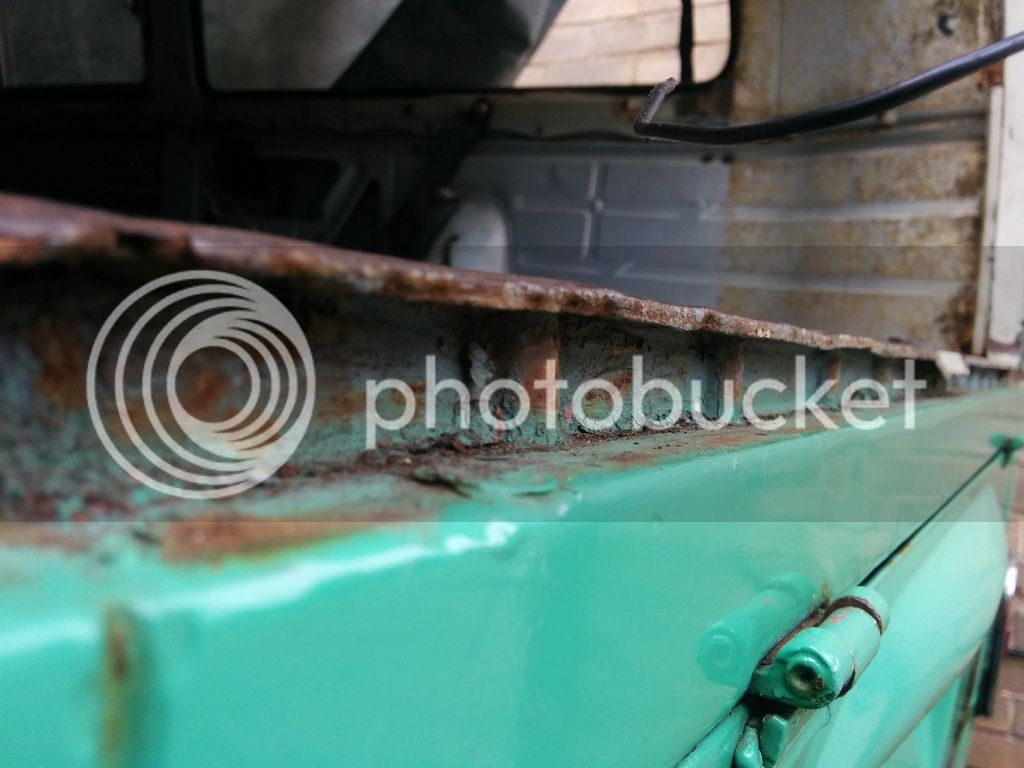
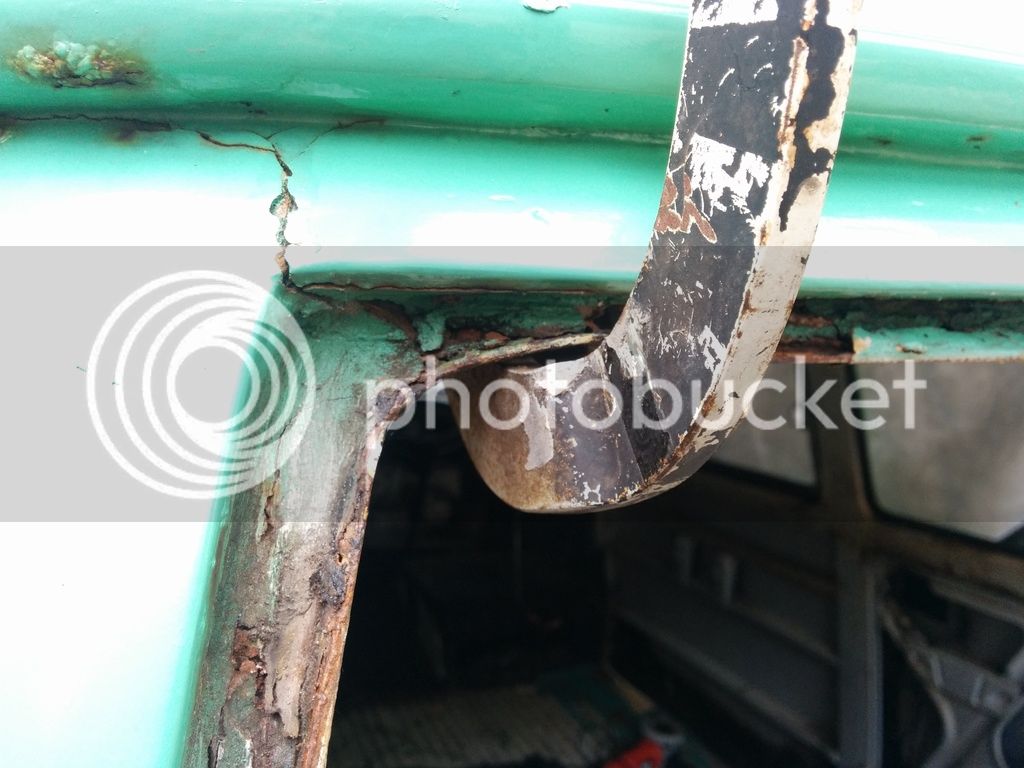
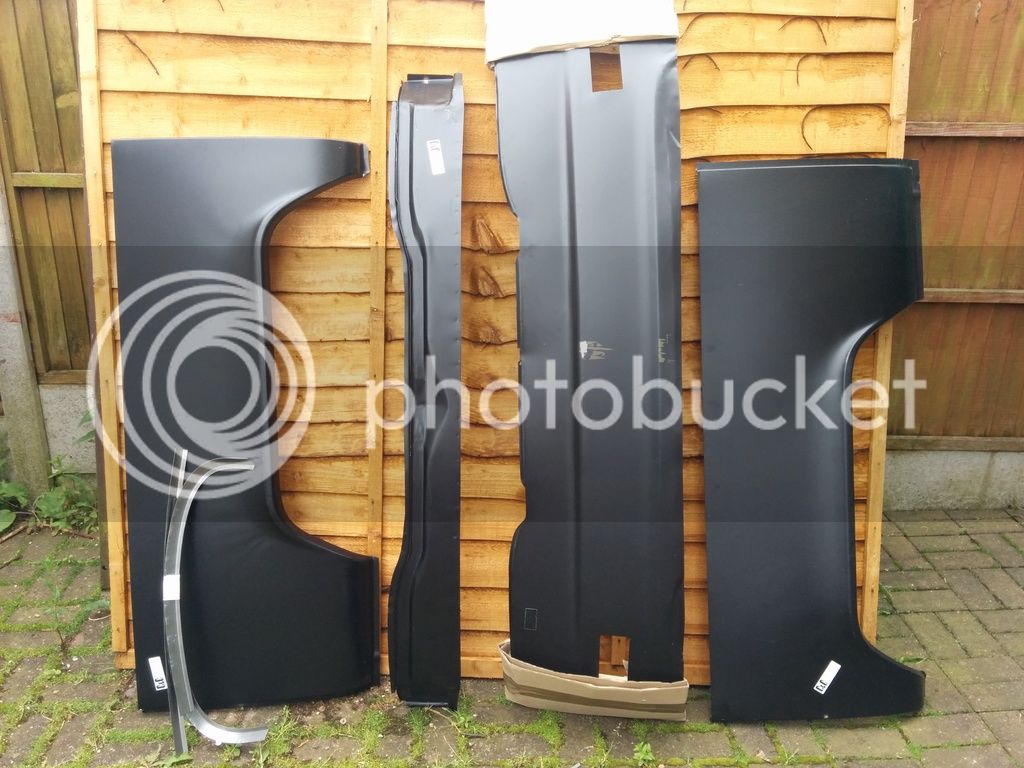
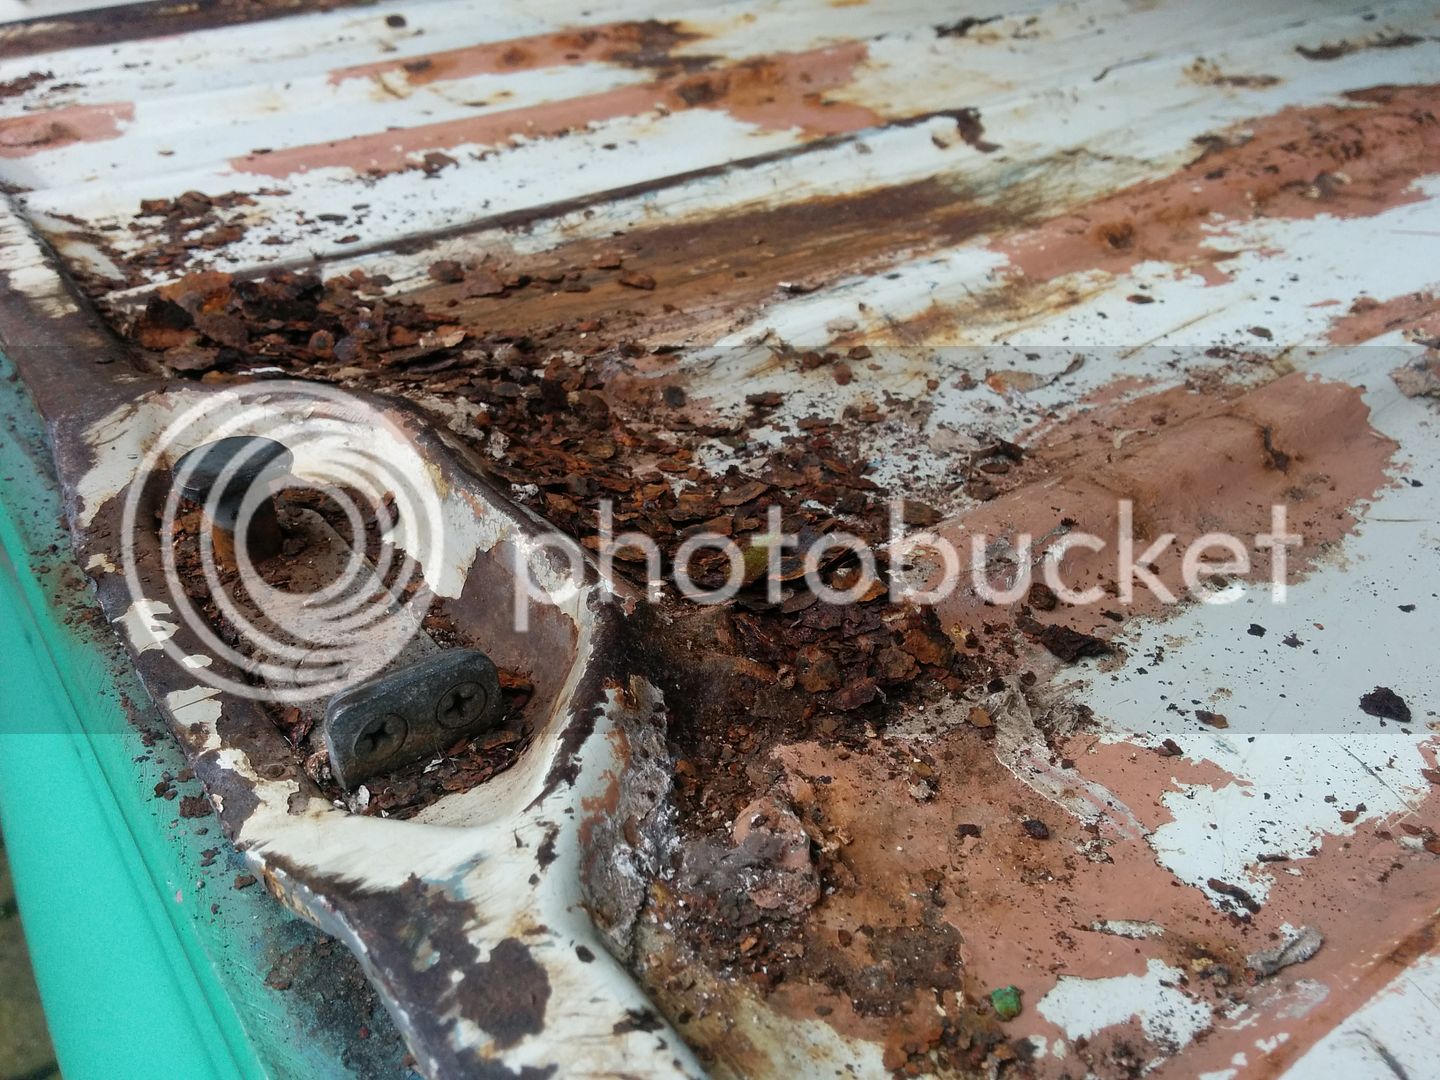
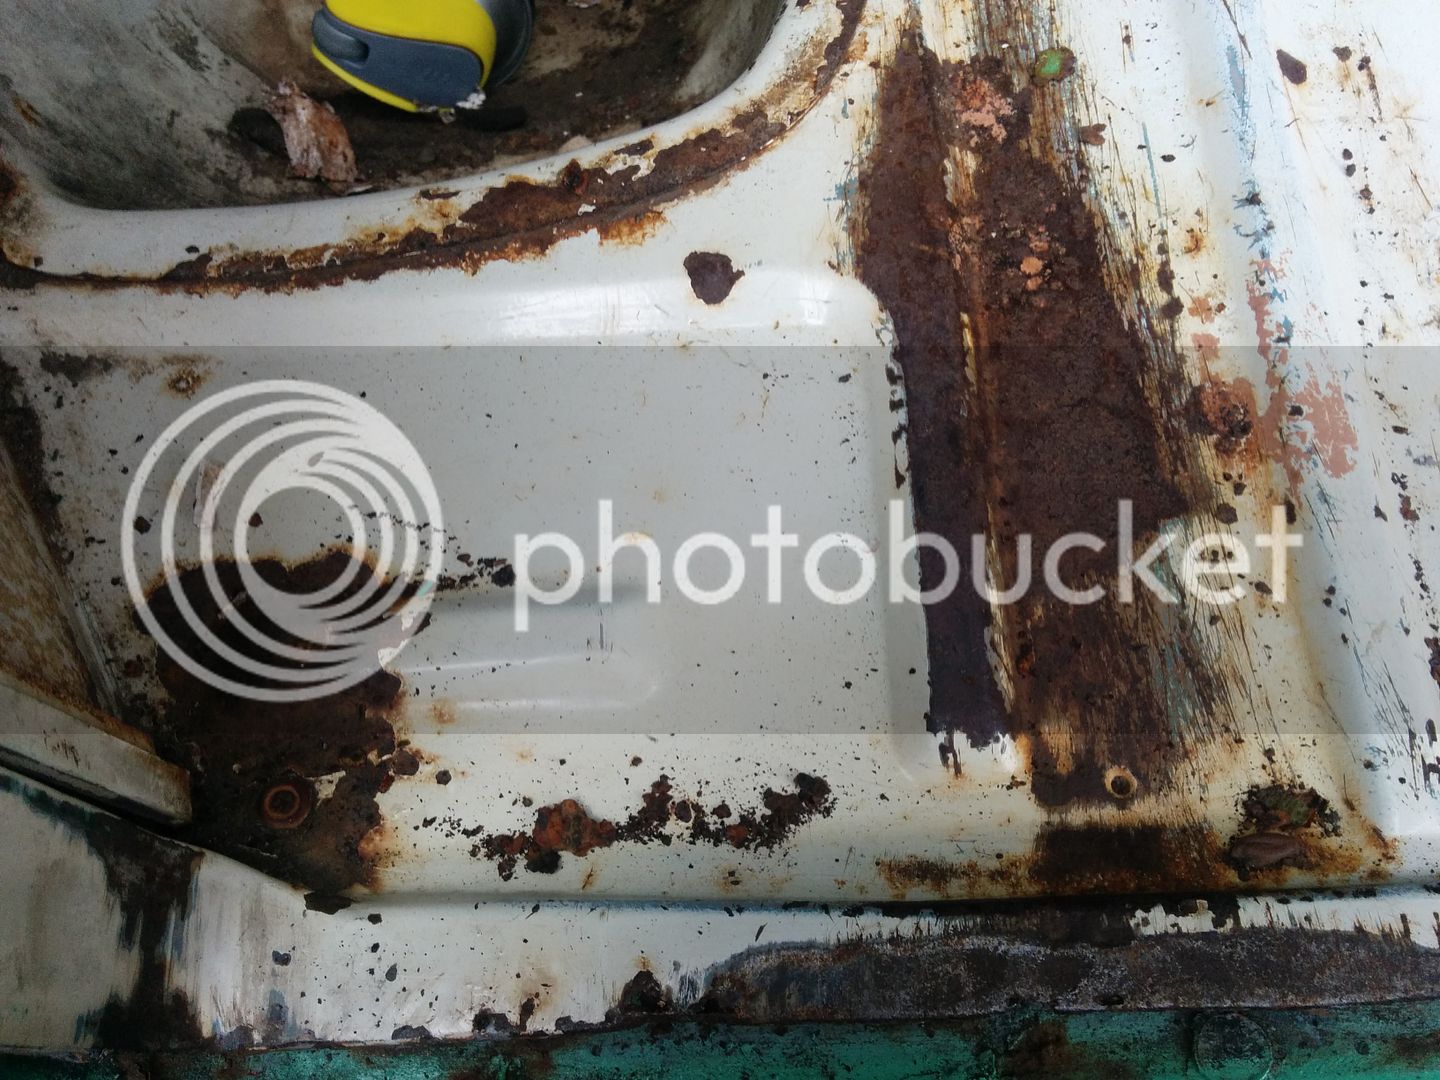
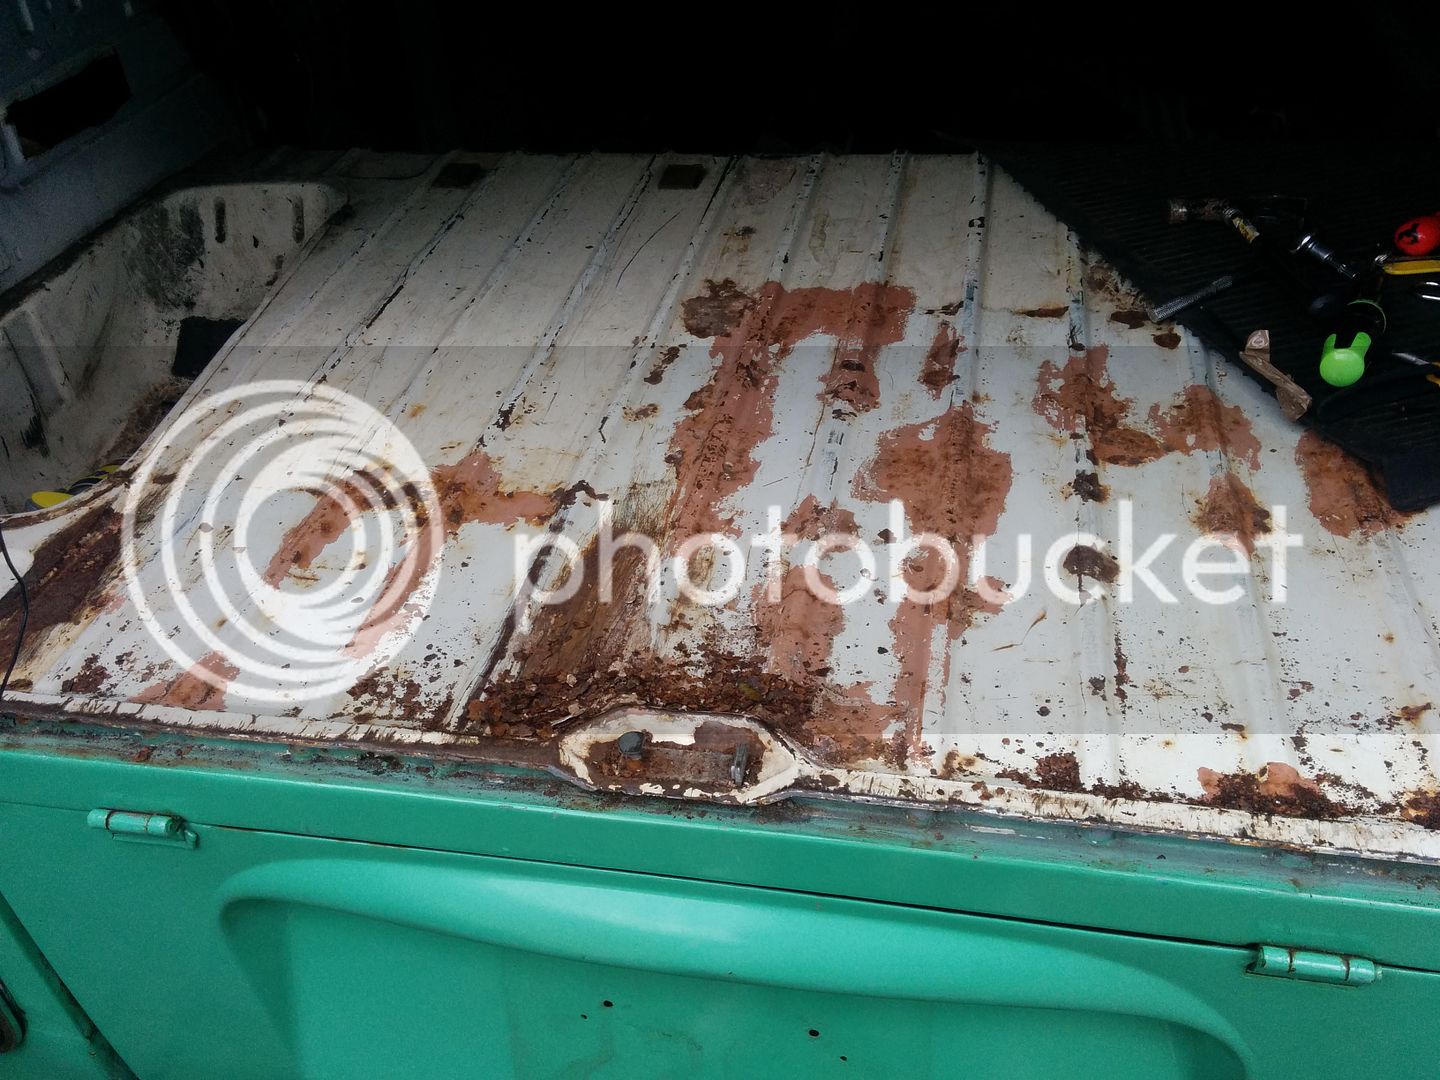
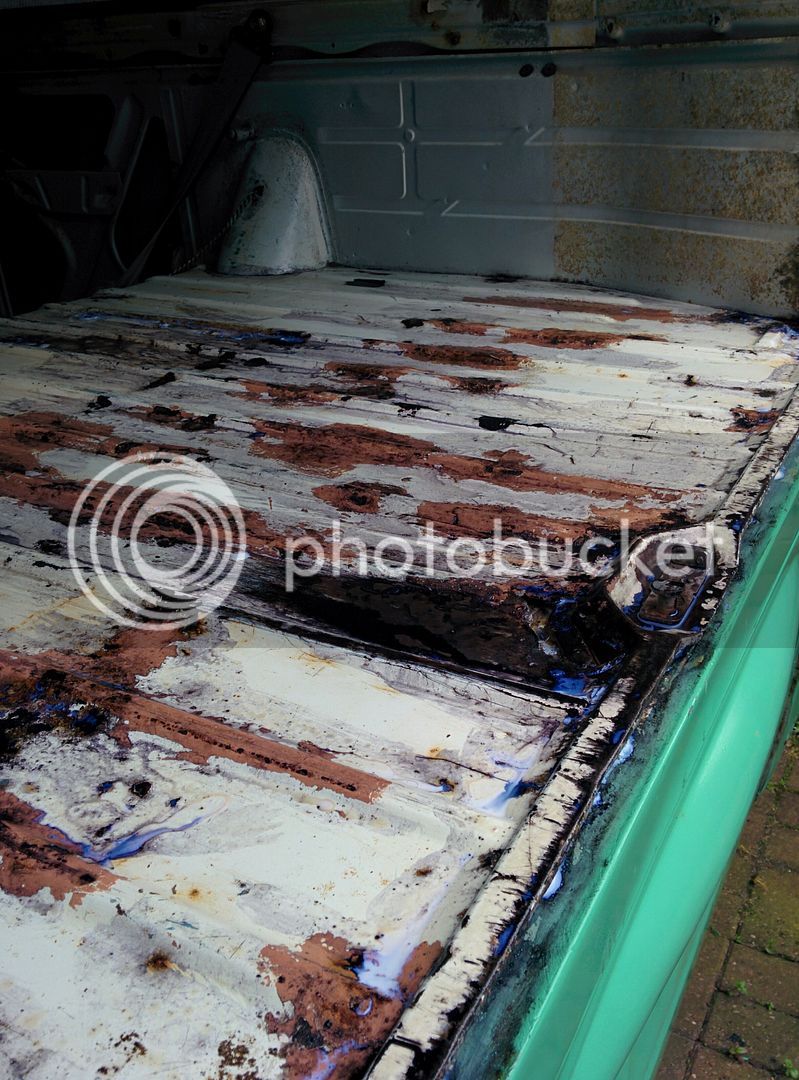
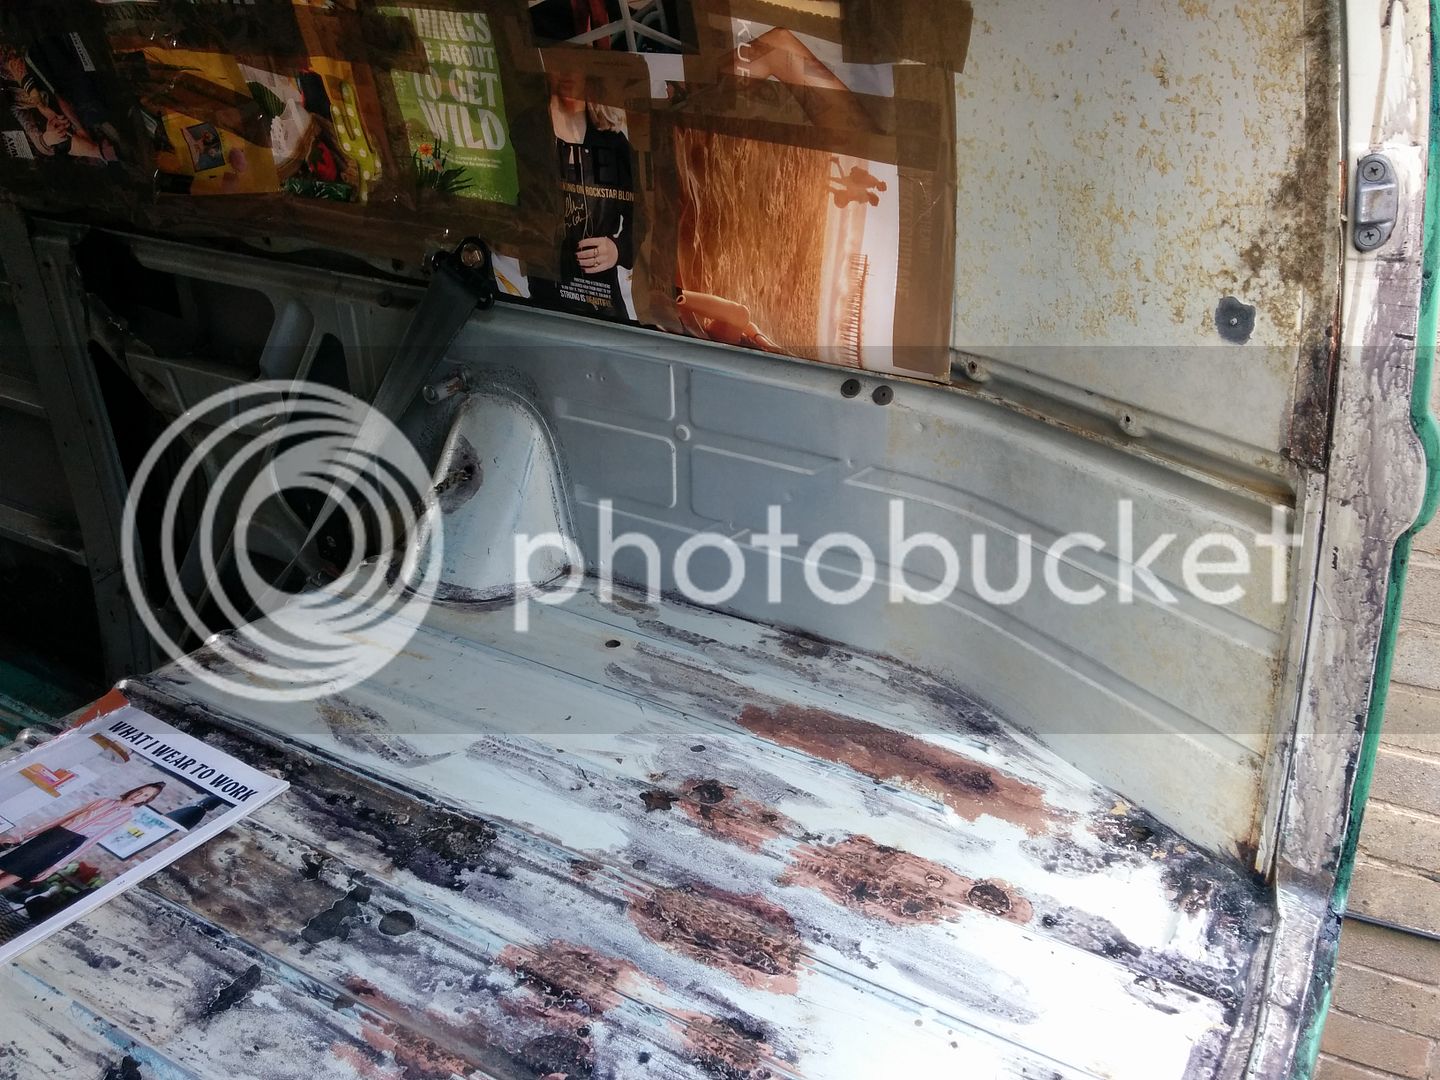
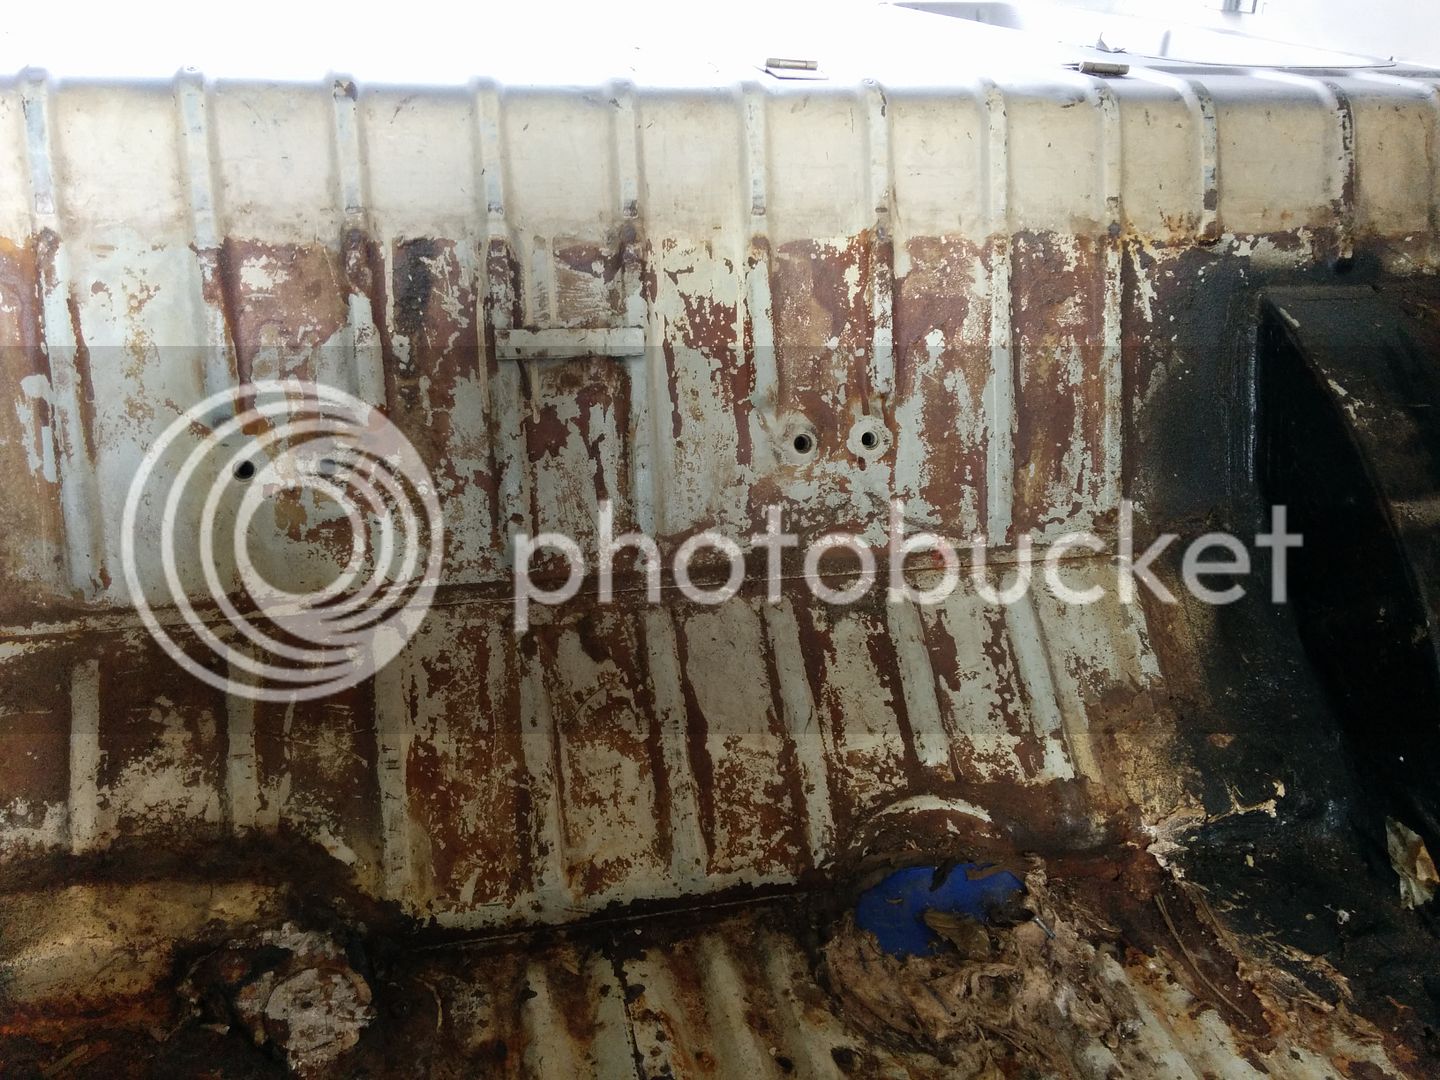
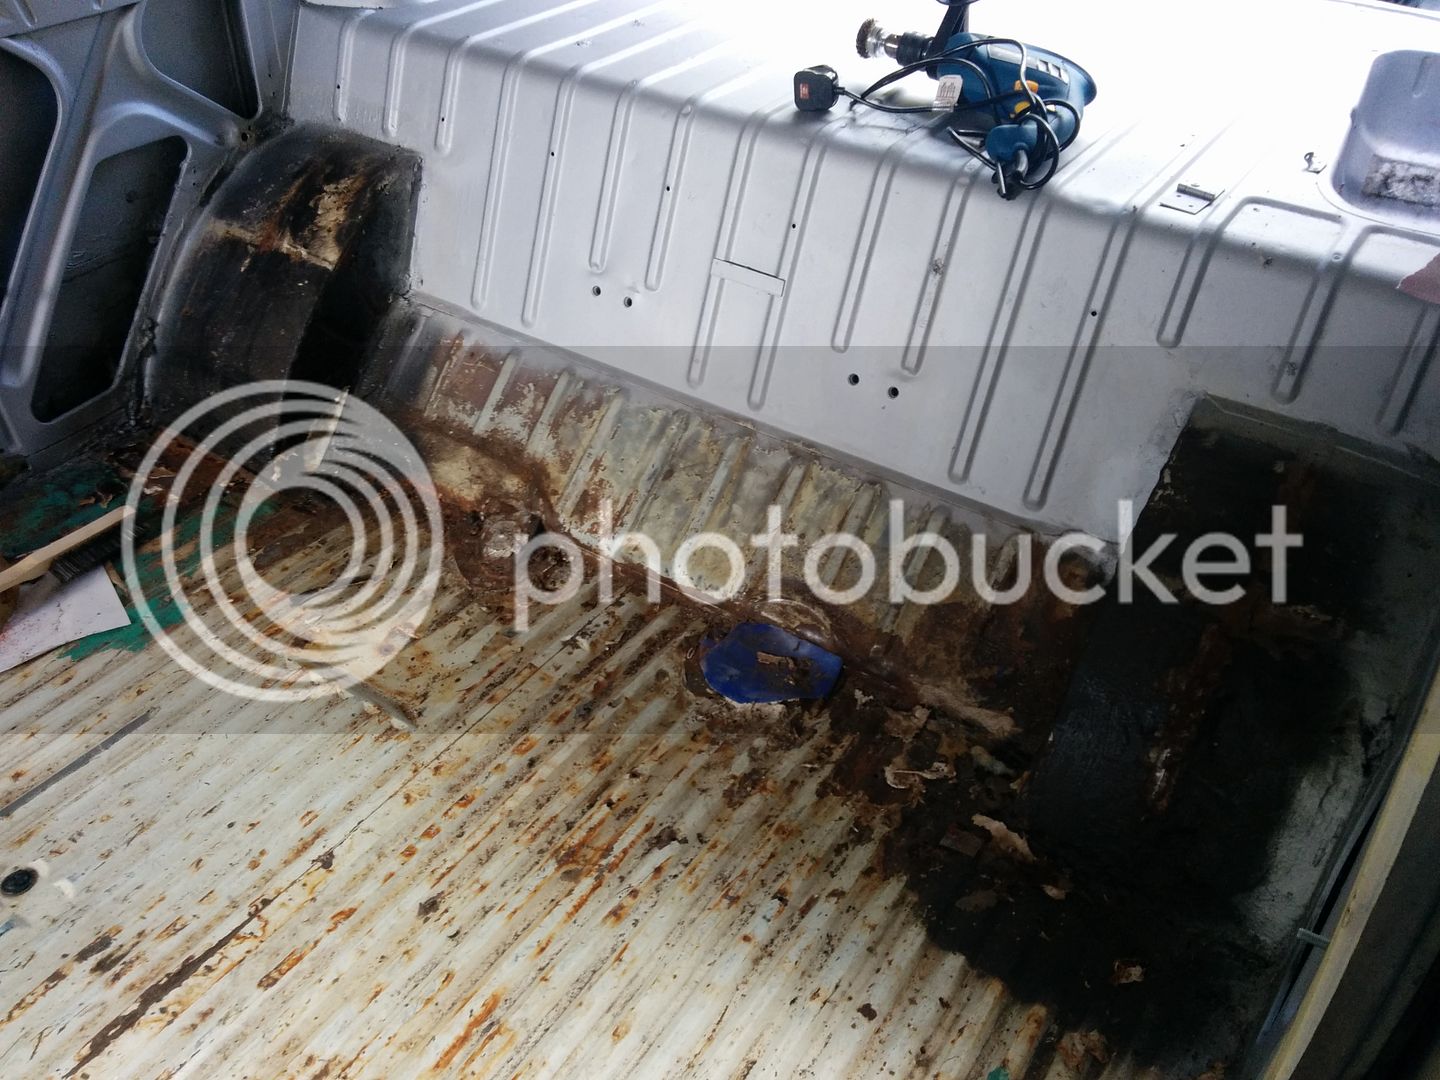
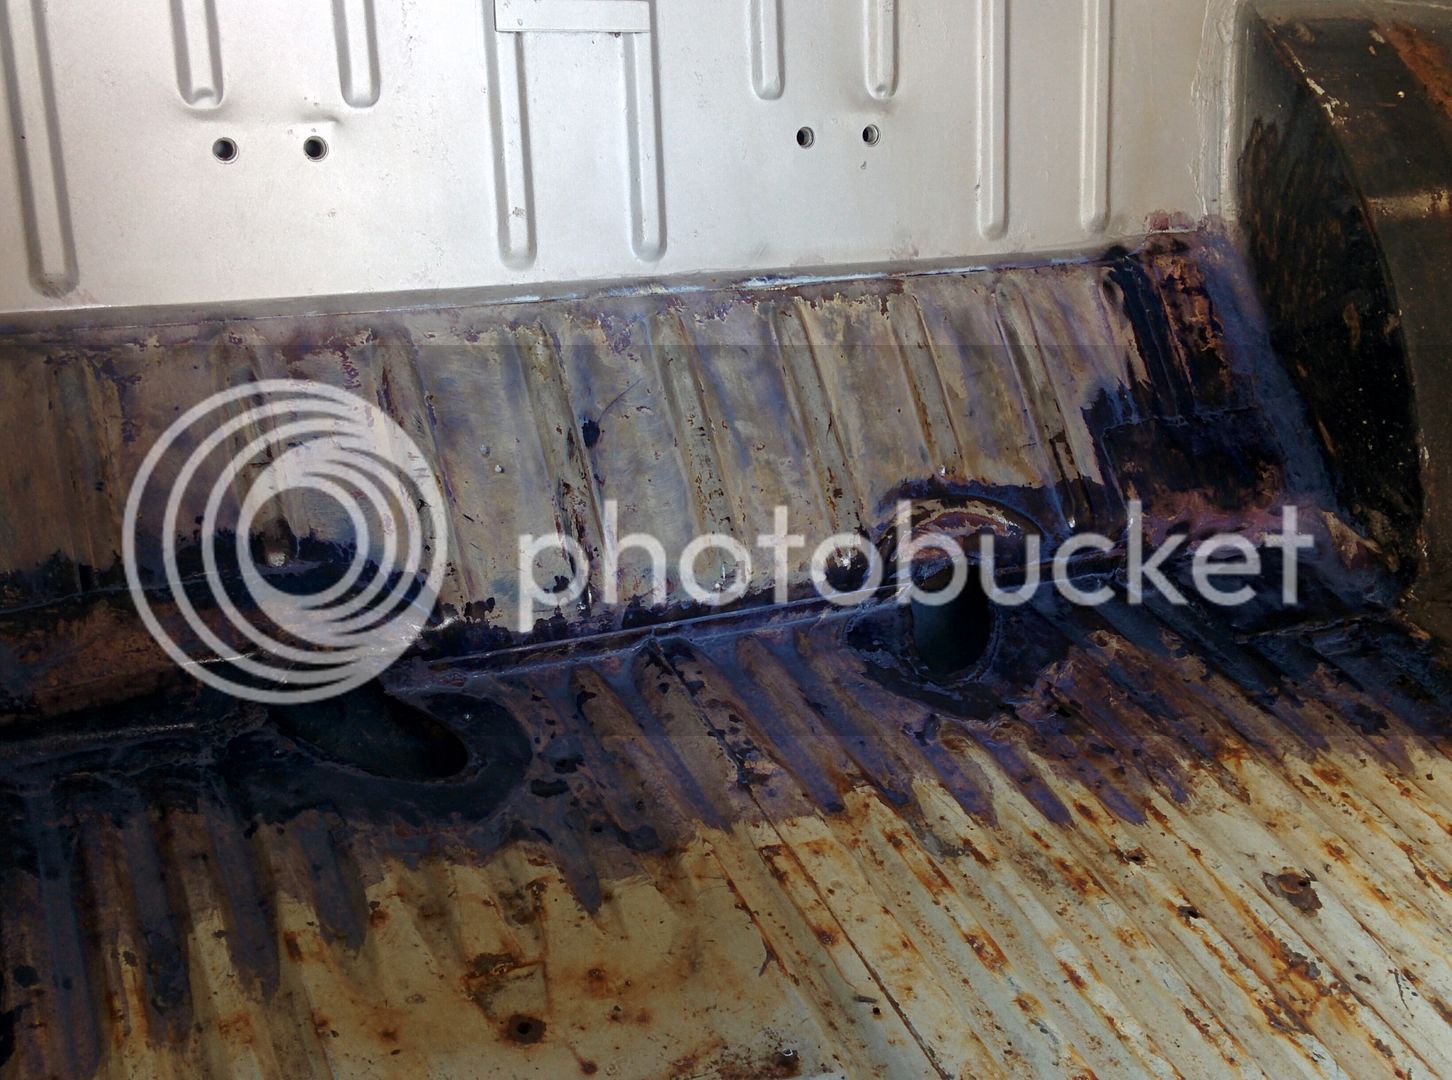
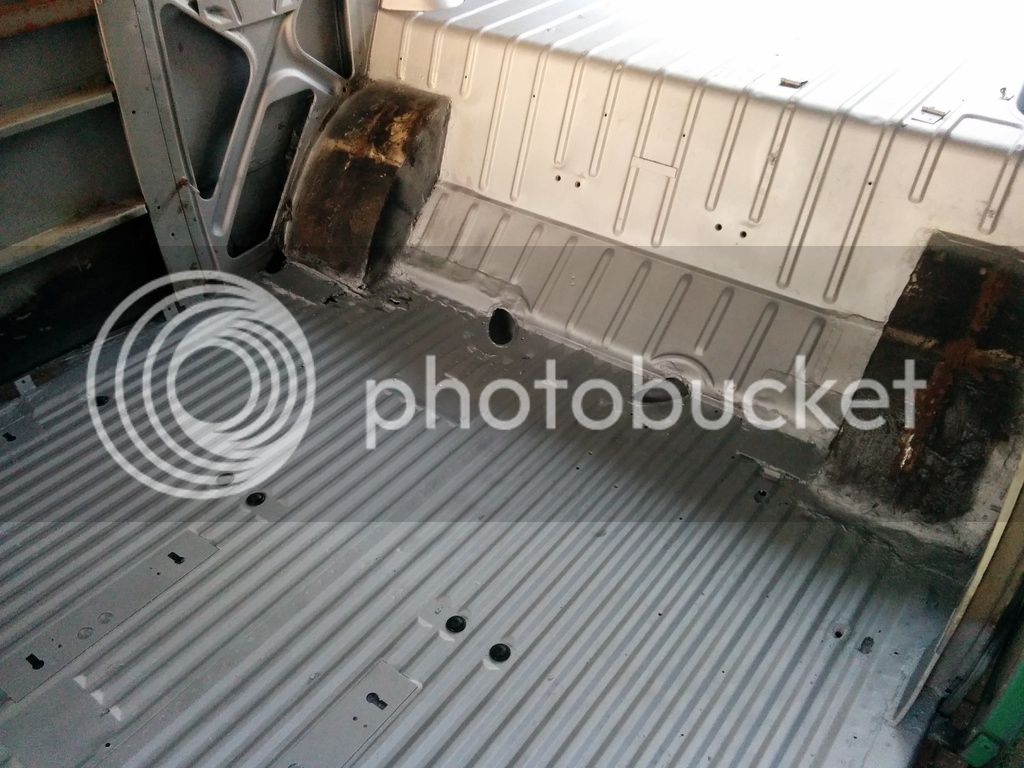
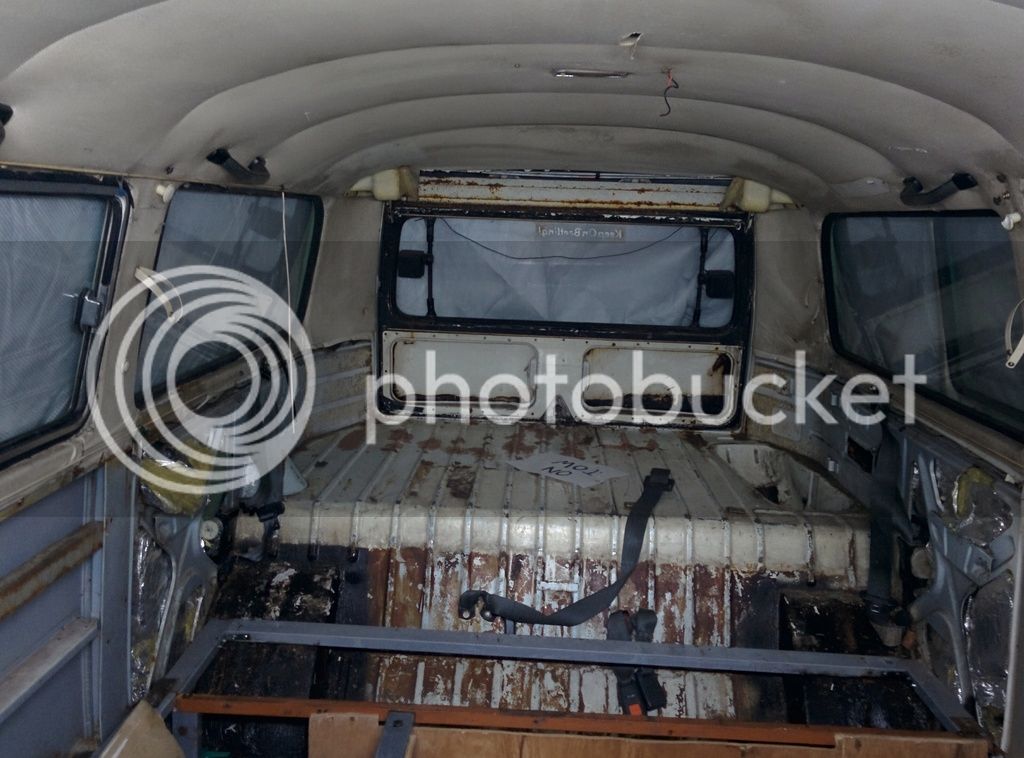
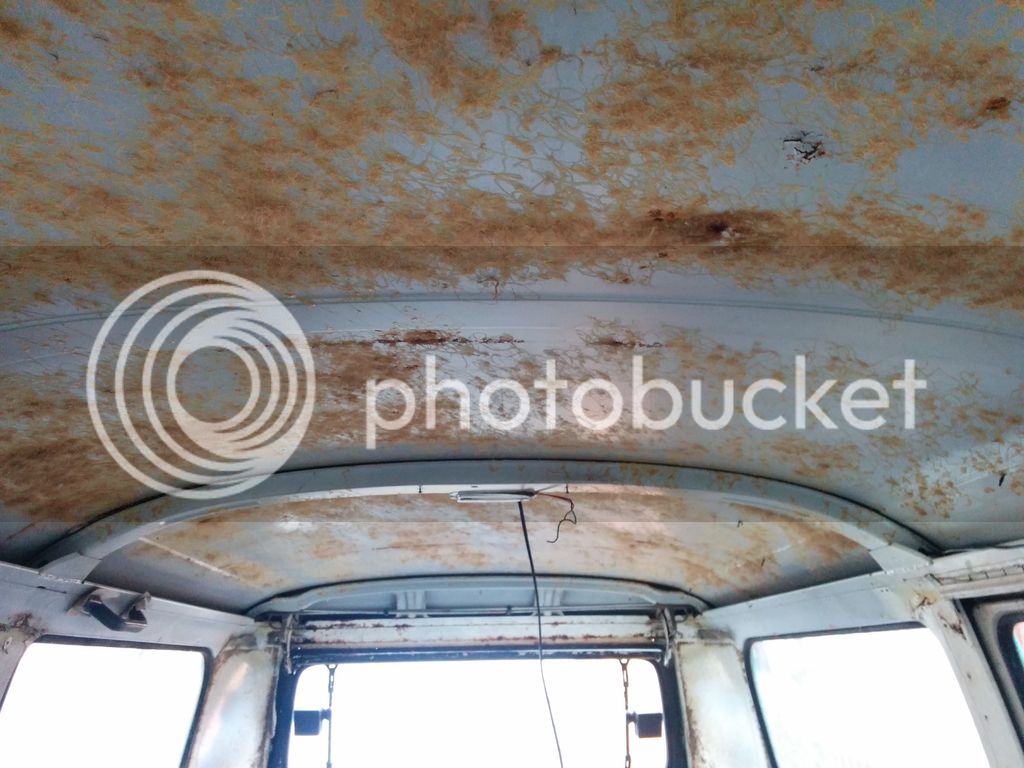
Front needs sealing below the window as a priority, then back door and gutter corrosion is bad on the O/S corner particularly.

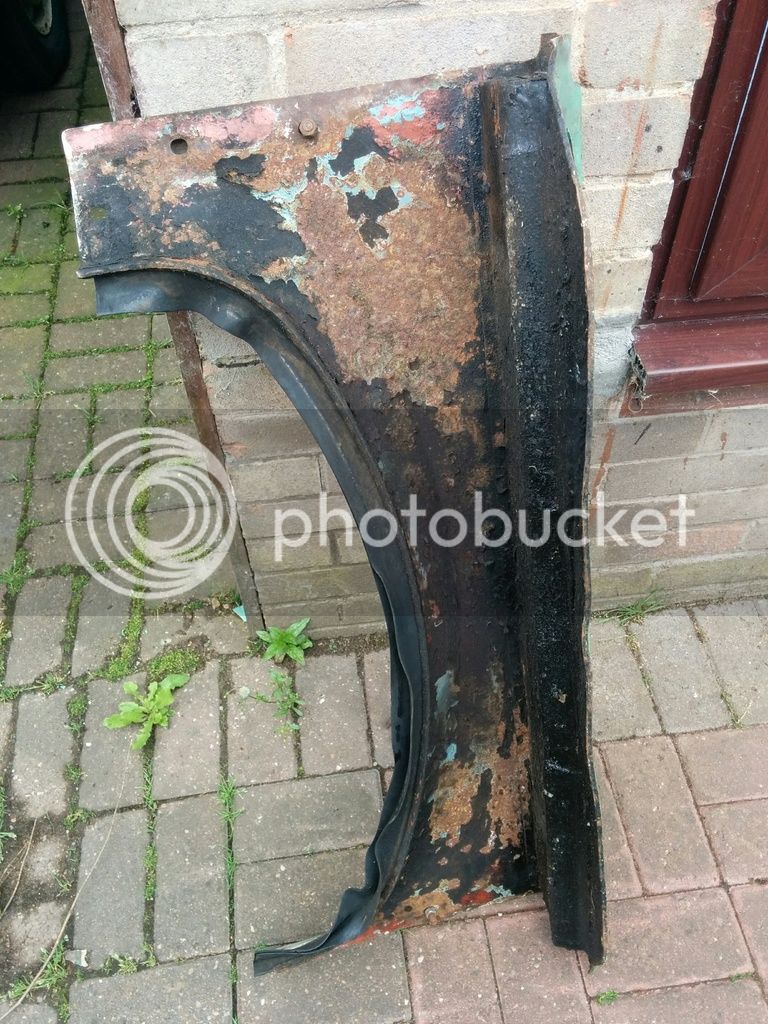
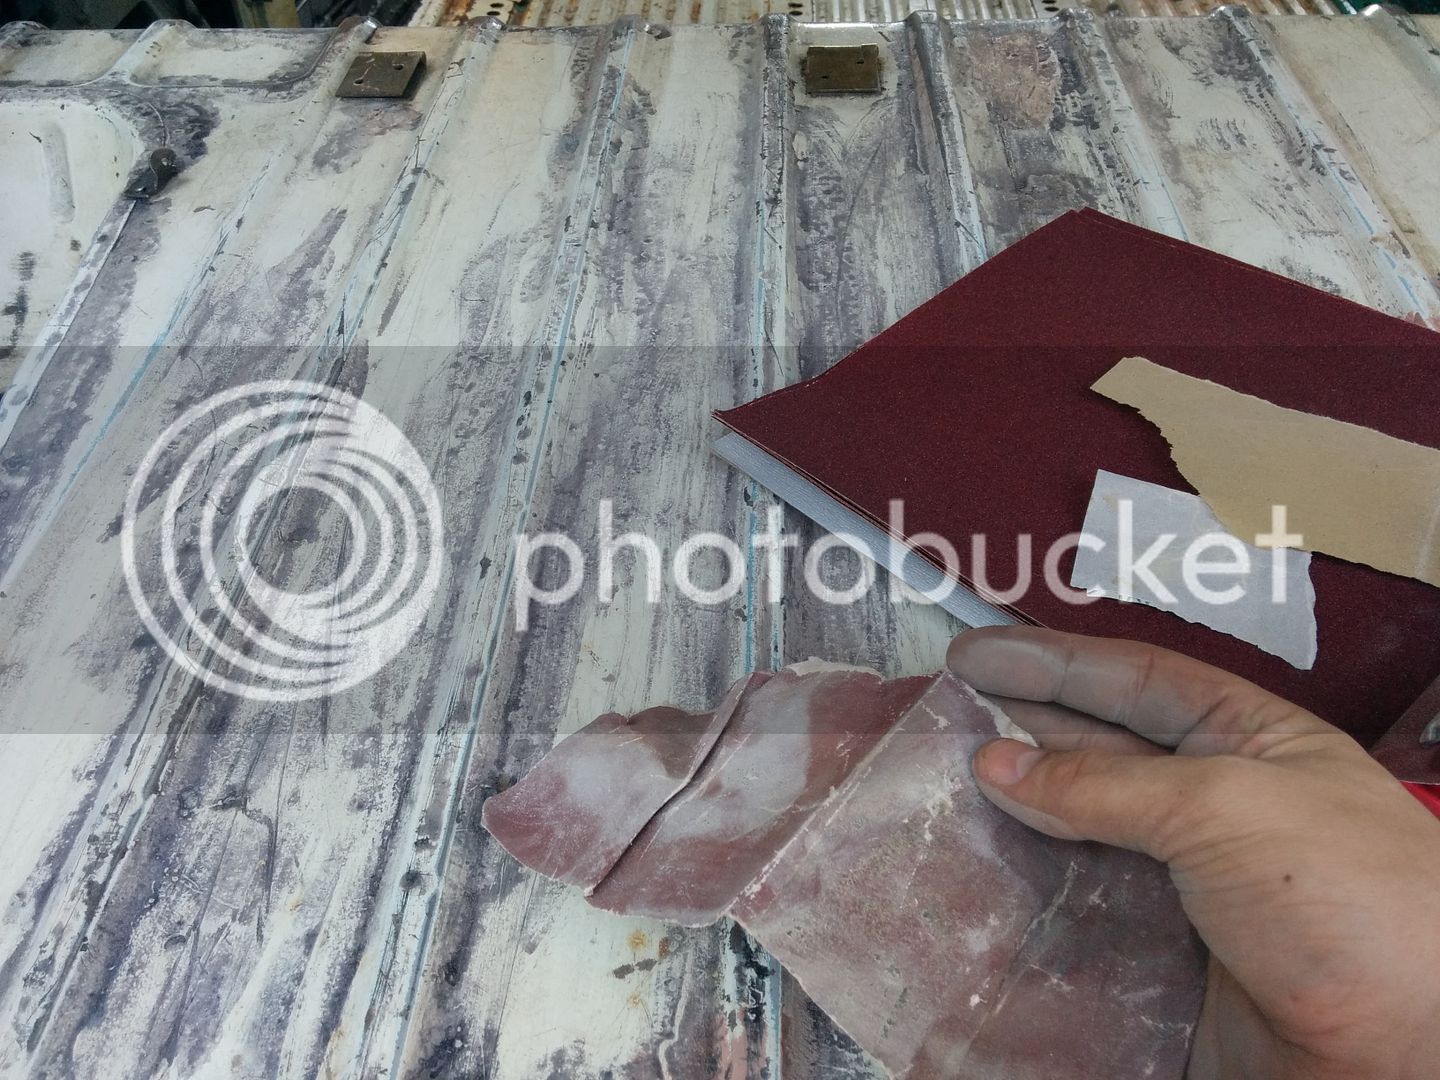
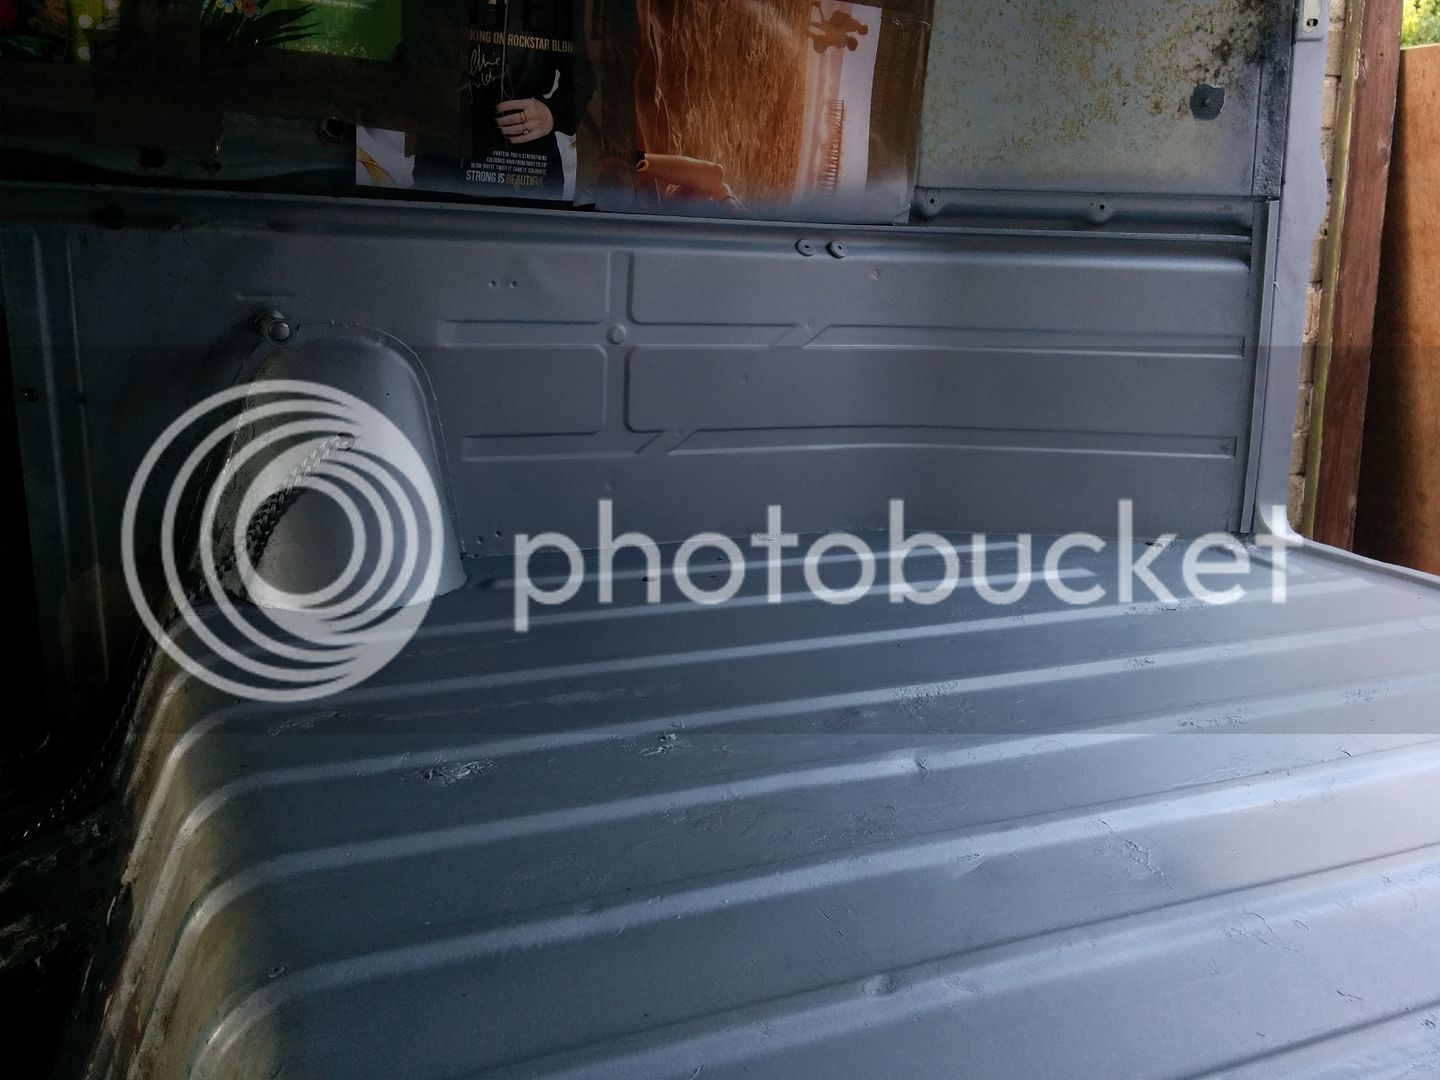
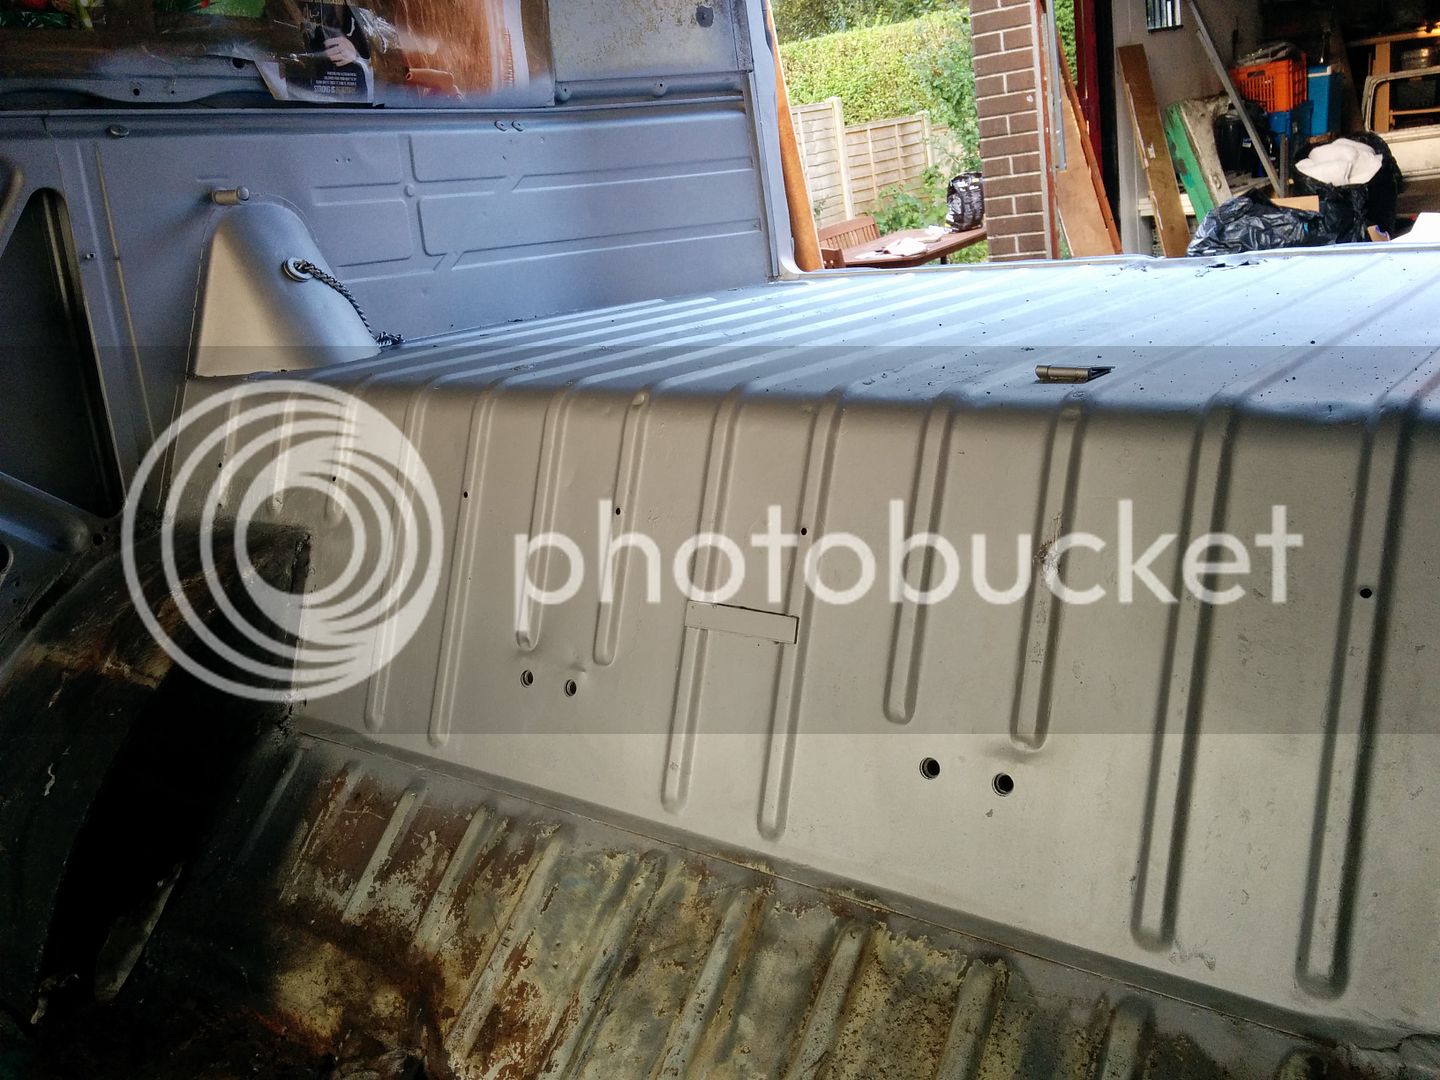
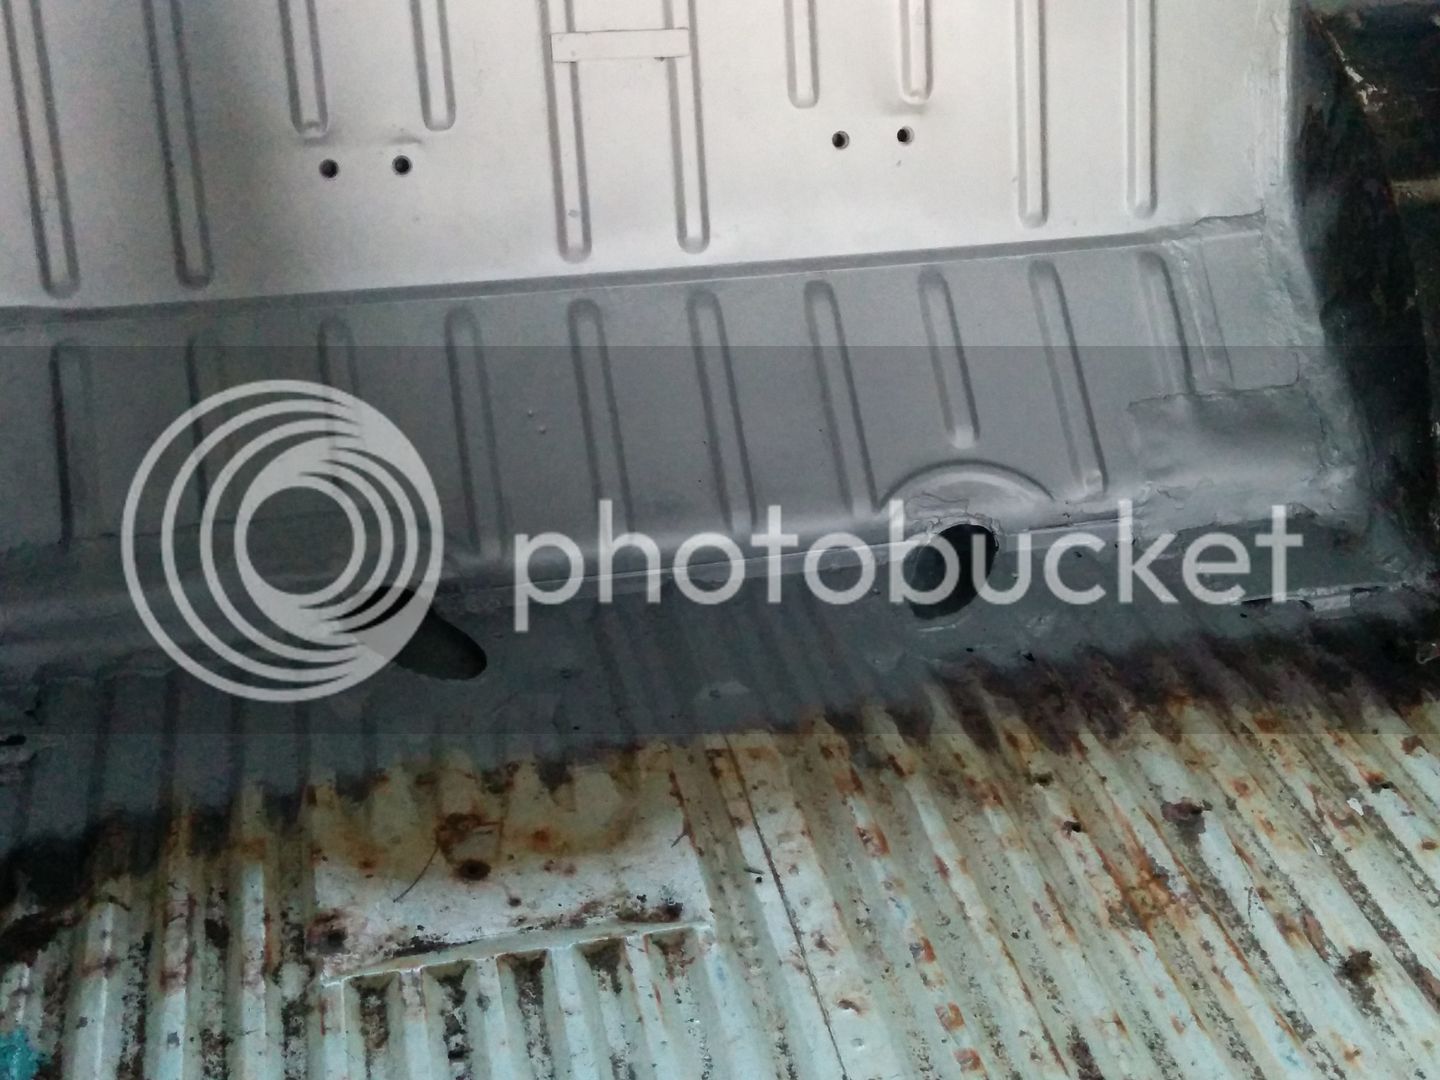
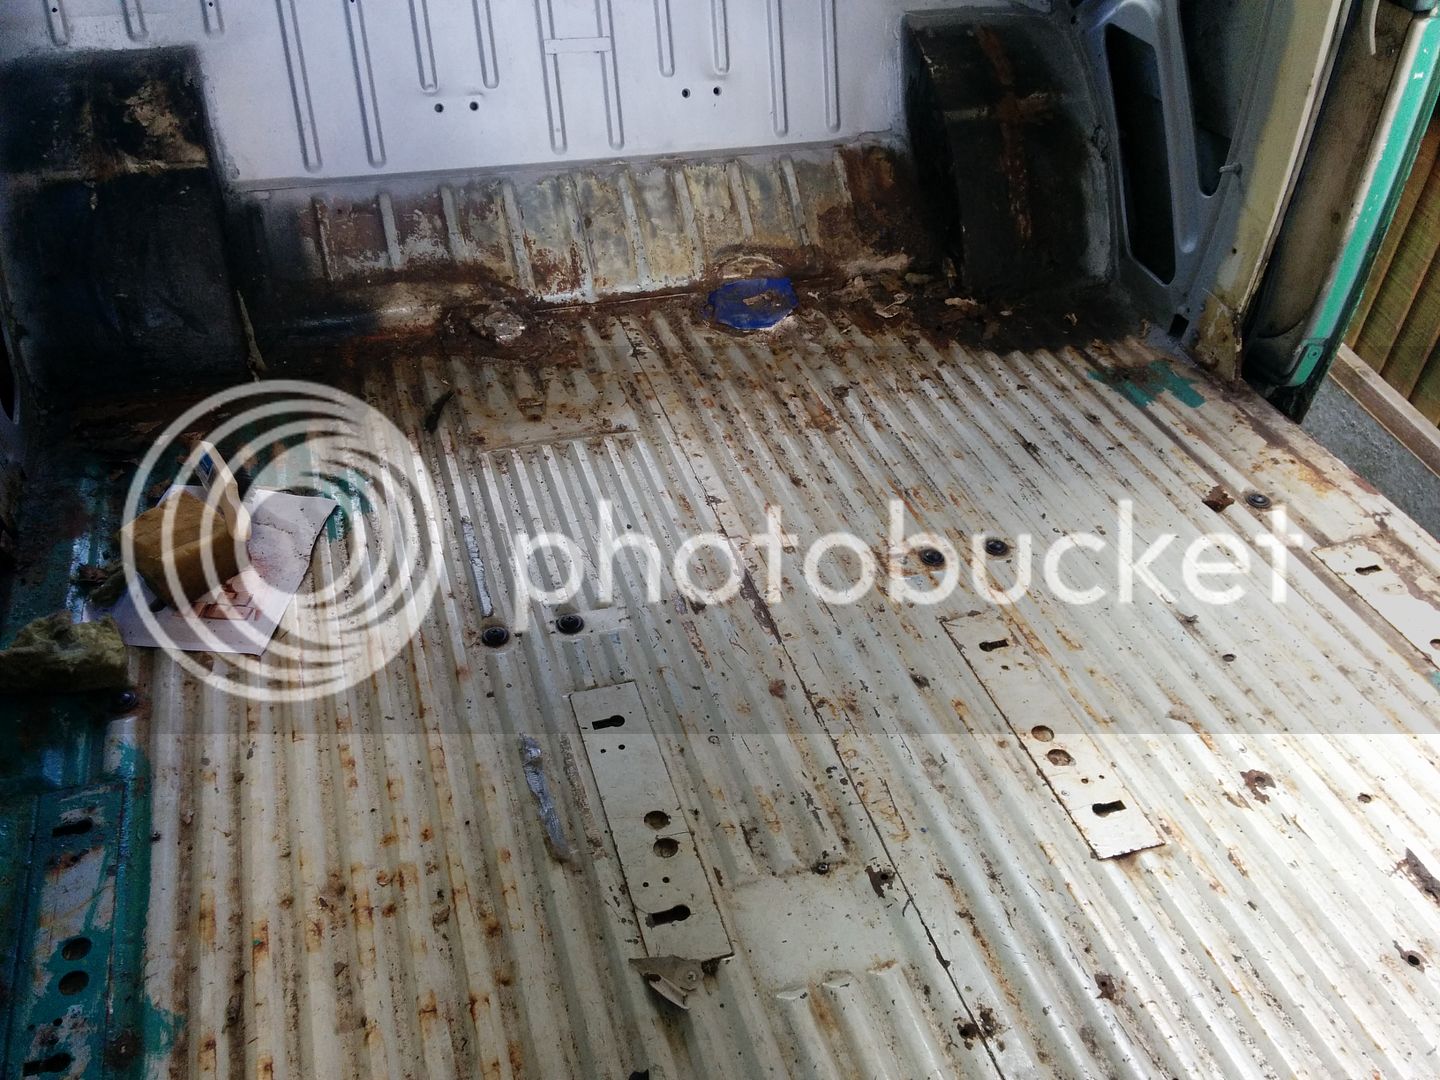
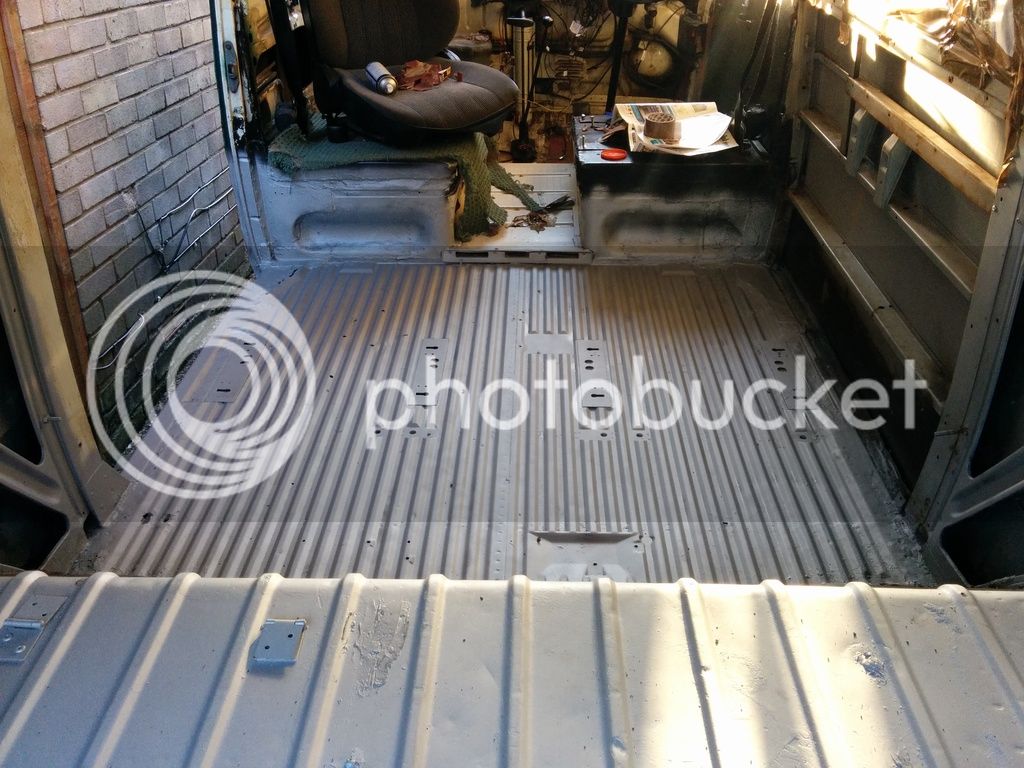
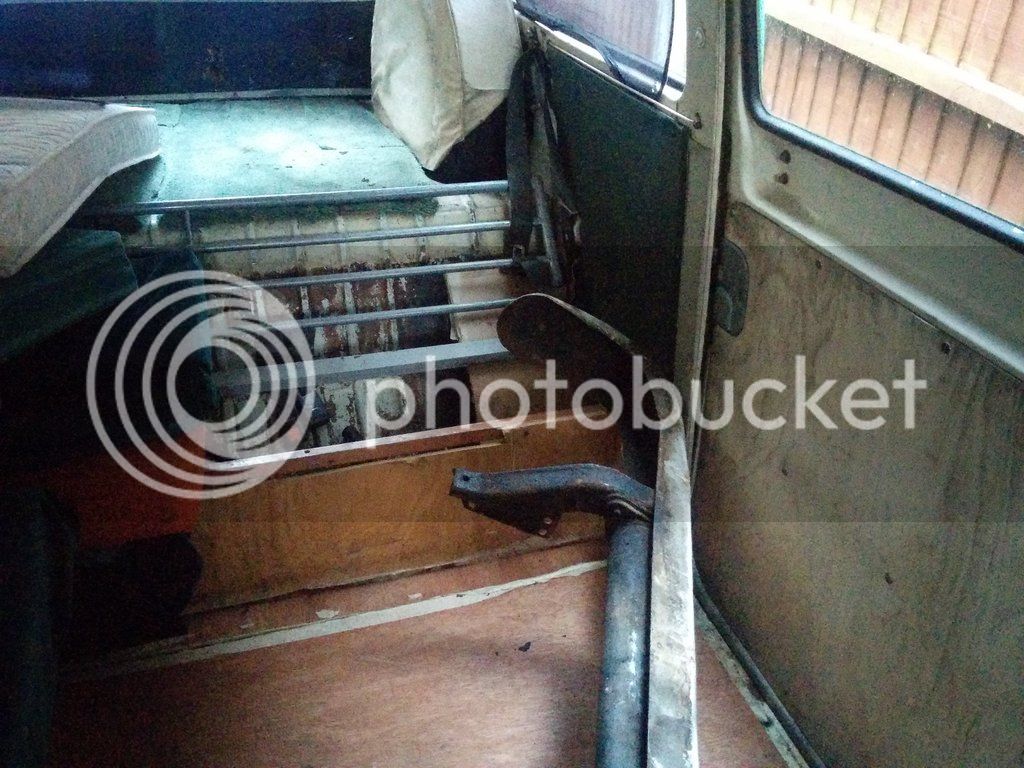
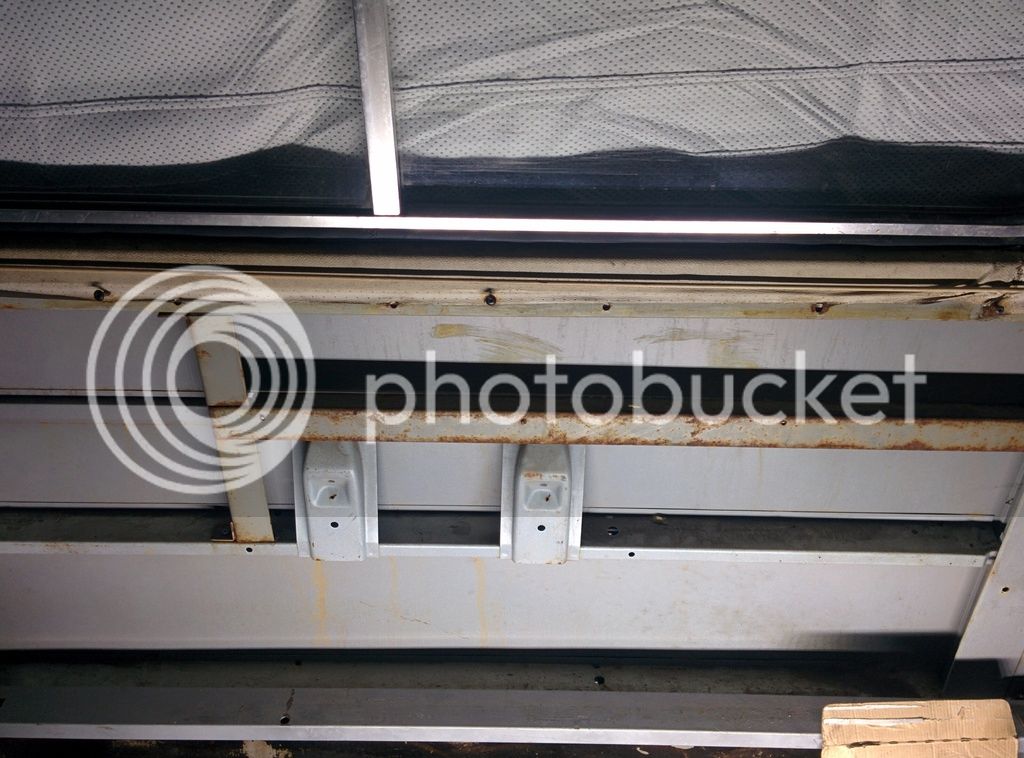
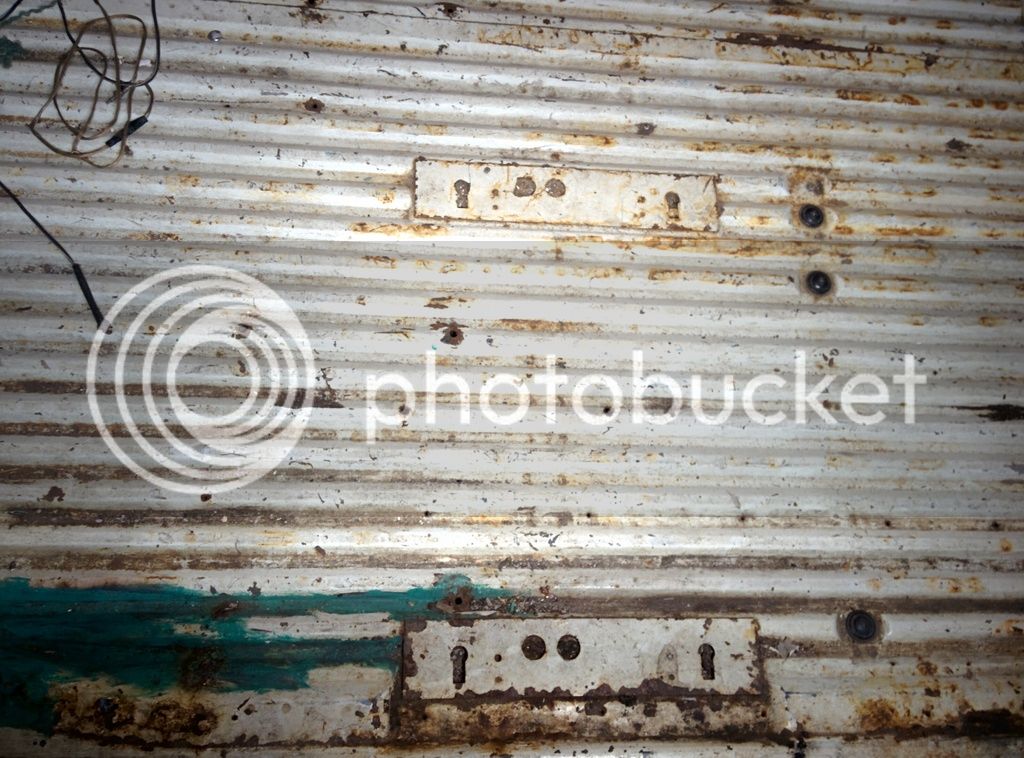
Underseal needs completely removing and bringing back to good metal. POR 15 or similar then black paint.

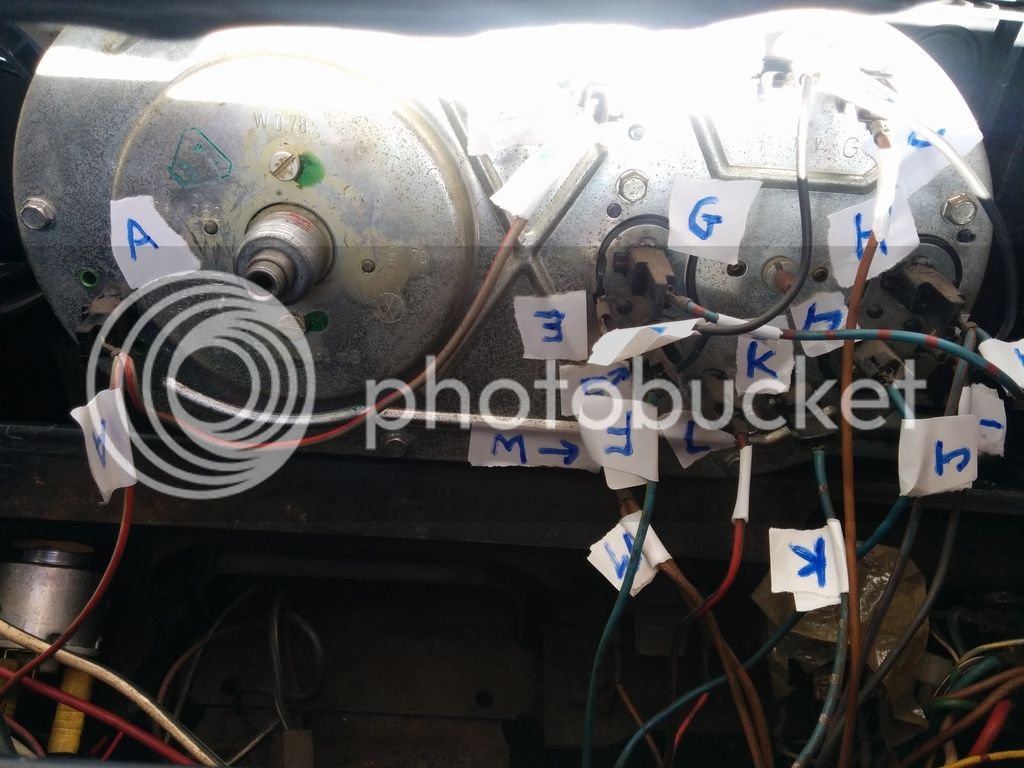
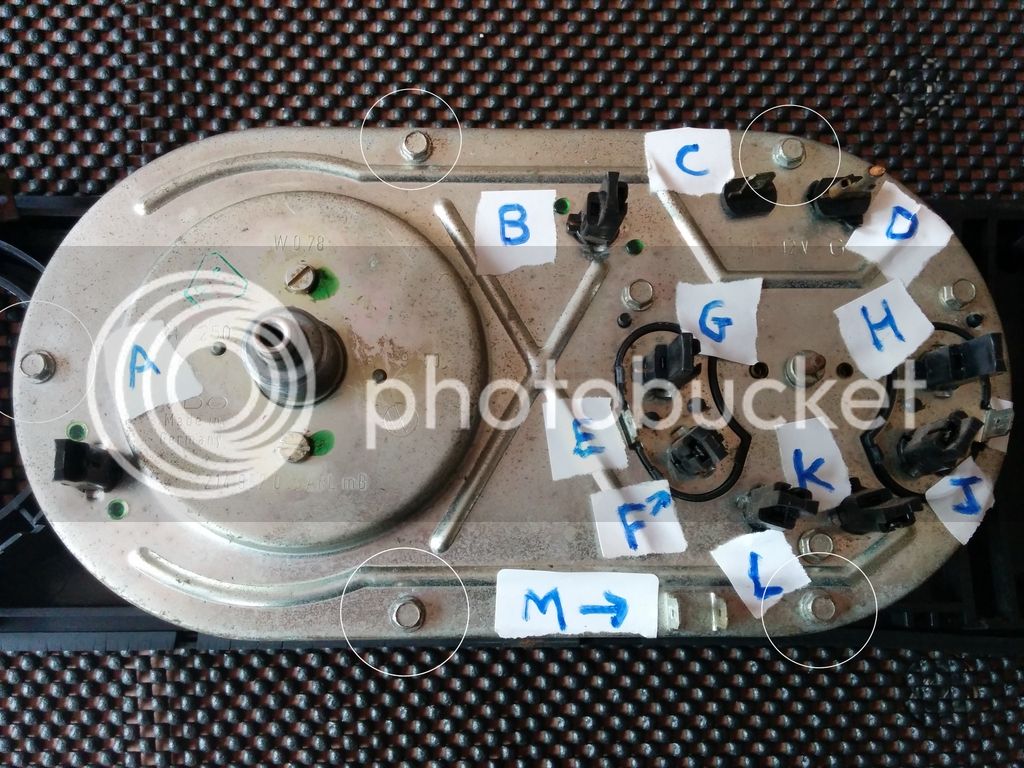
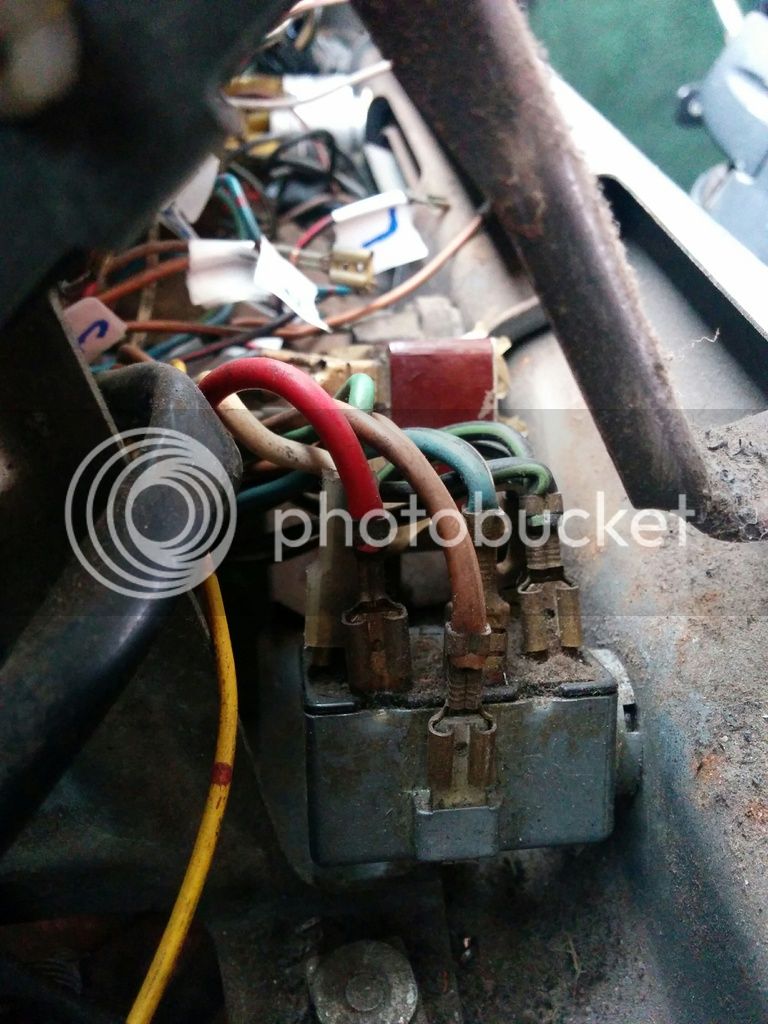
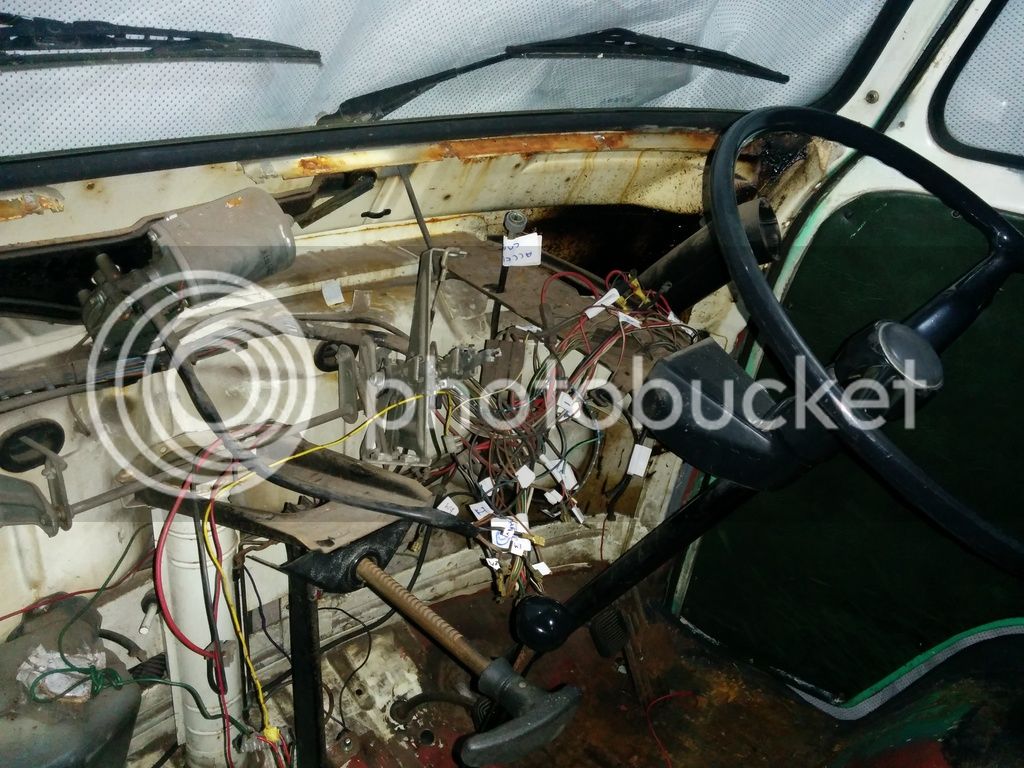
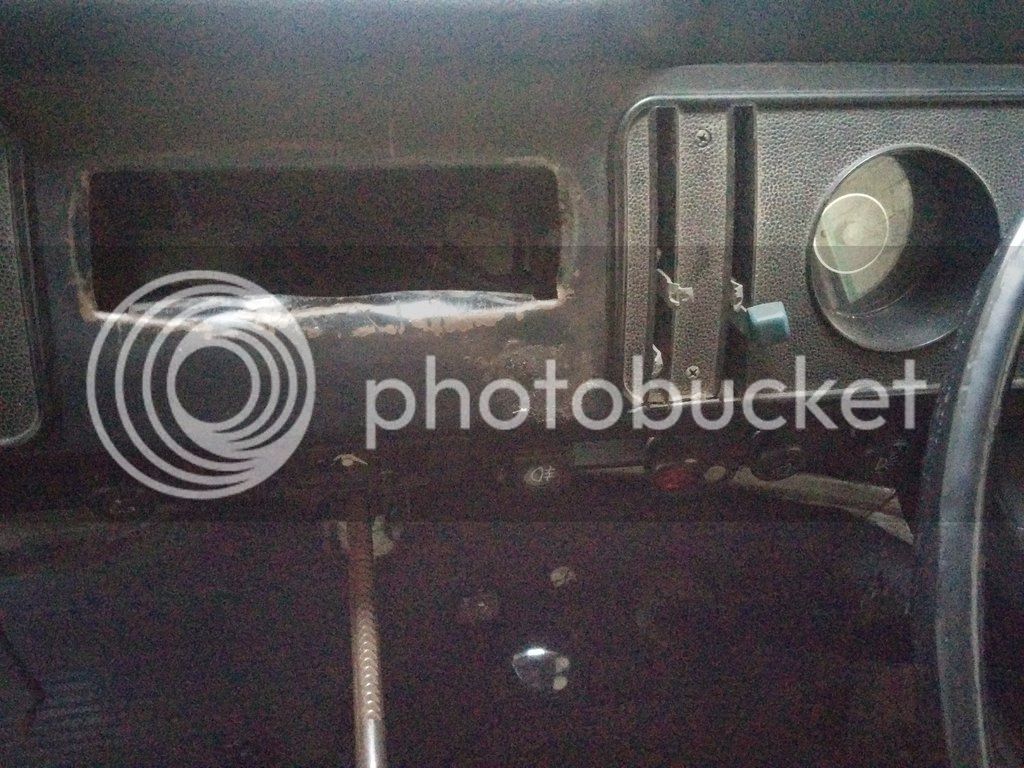
New wiring loom needed. Very heavy damage both behind the dash and under the vehicle. Complete overhaul with addition of appliance cabling/ICE

The engine is beyond repair this time. Steep learning curve, but I intend to do as much as I can myself.

This thread will keep me motivated to get the needed repairs done.
 
What a great little back story (history) you have with this van. Good luck with the resto & keep pics coming..
 
Quick update,

Started today on removing the door cards, and interior panels to expose any immediate work that needs doing before winter properly sets in.

My poor van lives outside all year round. Last week I looked around for a suitable and reasonably priced cover to protect her from the elements. It seems anything VW or Campervan related people add 00's to the price, but eventually I found this gem. http://www.leisureoutlet.com/Carava...Breathable-Volkswagen-T2-Campervan-Cover.html
Was £89.99, now £63.99, bargain. Turns up in a handy storage bag like this.

IMG_20151202_145301_zpsmnkixiqf.jpg


I gave the bus a deep body clean with pressure washer, followed by car shampoo and then a wax protection. I was surprised just how much grime came off the bus!

IMG_20151202_145222_zpsq4exapun.jpg


Shiny and clean, definitely worth the few hours work. Just had time to dry her down with a chamois cloth and put on the new cover before the heavens opened up.

IMG_20151202_160011_zpsxyigbczg.jpg


Helpful tip, the cover I chose had two zips at the front to gain easy access to the doors. If you open the zips and slide the cover on from the front to back you completely avoid the chance of tearing or stretching the material.

IMG_20151202_160037_zpsd9xysbwi.jpg


The rain was a perfect time to test the water protective properties in action, and I sat in the van and looked for any ingress. A brilliant cheap and effective cover, with all the breathable qualities of the expensive ones.

-----

Finally, I found two pictures of the bus solid and 'rust free' just after her last resto in 2000

IMG_5811_zpsida575kp.jpg


1915249_178392864548_3969192_n_zps0xk6fmbb.jpg


The front doors never fit their holes properly..

Thanks for reading
 
skin69 said:
What a great little back story (history) you have with this van. Good luck with the resto & keep pics coming..
Thanks buddy. It only seems right to keep the bus in good order since its been in the family most of my life!

Sent from my Nexus 5 using Tapatalk
 
Taking Stock

Stripped out more of my interior today, took off the remaining wooden panels at the back, the floor above the engine bay, and part of the headlining towards the back

IMG_20160212_193208_zpsx0sgbuep.jpg


Its going to need a LOT of work, but im largely relieved that most places are only surface rust, and rot free. The rear tubs need replacing, I poked a screwdriver right through the last attempt made to repair, which was a mixture of tinfoil, primer and filler.

IMG_20160212_193302_zpscrhg1xh1.jpg


IMG_20160212_194200_zpszheb287q.jpg


The cargo floor is in suprisingly good condition, my dad always used the bus as a works van and he was a windowcleaner, so the floor was always wet as the bucket bounced around :lol:

IMG_20160212_194100_zpszymethtc.jpg


Shine a light from under the bus, and it shows just how many times this interior has been changed / moved with the points redrilled.

As I was poking around, I found this!

be41651f-0e3d-4ef5-94cf-9dc465608747_zpsap5pyvrc.jpg


Which means that my Bus is a tintop Dormobile conversion! This explanes the seats. (The blurred effect was obviously to mask the rustic nature and not atall a result of my poor camerawork skills :lol: )

IMG_20160212_194956_zps2n6v04ve.jpg


Thanks for reading,
 
Some progress on the van
Its been nearly a year with the Bus on the drive outside, and reflecting back I have only spent three full days worth of time on it. I'm sure this situation is common among us all on the forum from time to time, but I really need to get cracking and save her from the rot. I'm hoping by updating this thread with all the little progresses i've made will motivate me to find more time to work.

So what progress have I made since February...
I removed the headlining to reveal the underside of the roof. I was expecting to find A LOT of rust spots / surface corrosion but the roof is 90% solid, with the exception of over the tailgate.

IMG-20160303-WA0004_zps2rqkmtsb.jpeg


After talking a lot with other T2a :D 
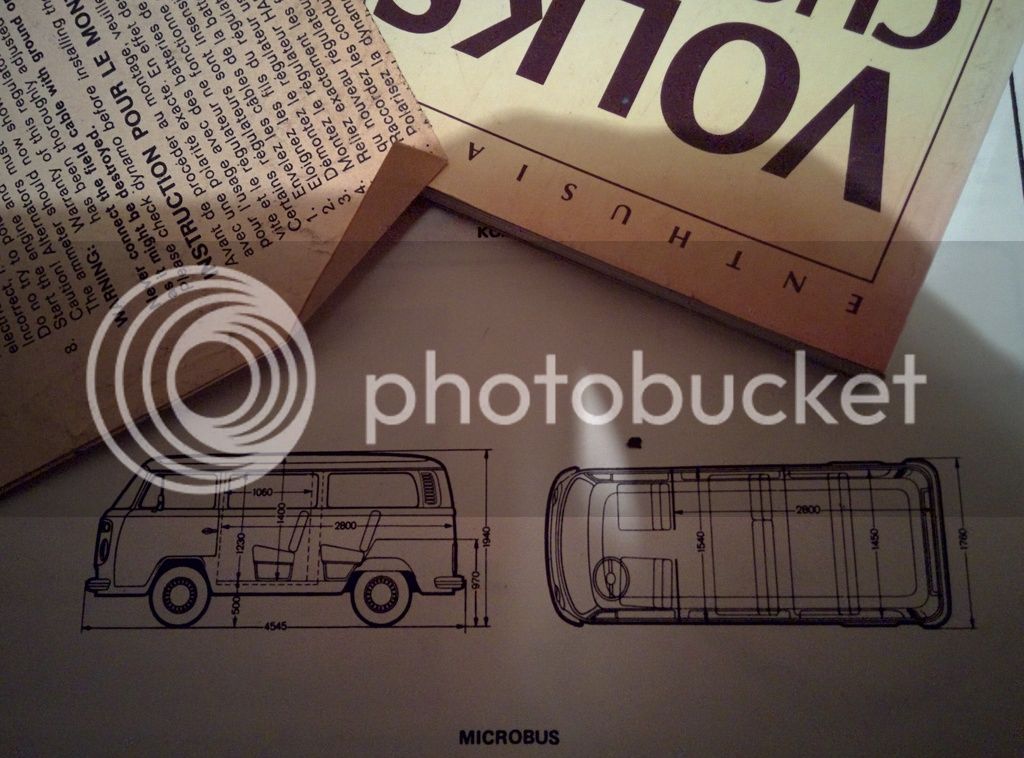
and T2b :msn4: owners, I brought myself some essential reading material..

'VW Transporter and and Microbus specification guide 1967-1979' - Apart from aspects of the interior, colour, and maybe the rear arches, I wanted to bring it back to factory as much as possible. I am told this is the most comprehensive guide to both M codes and the spec / year options

'VW camper, an inside story' - ALL the interior options that were ever mass produced, from the Splitties to T4 this will give me plenty of ideas for interior options.

'How to keep your VW alive by John Muir' - Probably the best book I have ever owned, thanks to everyone who has suggested me to buy a copy. It wont be long before my copy is covered in dirty fingerprints 8)

'Haynes Manual' - Always had one for every car I have owned... Never let me down

IMG_20160202_201056_zpswbtcge0r.jpg


I started work on the rear...
I removed the lock for both the tailgate, and the engine lid.

IMG_20160514_171812_zpsmzcawdyw.jpg


Removed the rear valance... Expecting its condition to be a lot worse. I also expected it to be properly attached to the van!! :shock: It was attached by only 2 of 4 bolts that were FINGER TIGHT. :shock:

IMG_20160617_134846_zpsitvkrjk8.jpg


IMG_20160617_134900_zpsppkolkff.jpg


With a bit of a straighten and fettle, a wirewheel session and a nice dose of Kurust the valance will come up fine :D
I also removed the tailgate, the tailgate seal, the engine lid seal, the numberplate and numberplate light seal.

I figure anything I can remove from the bus I can work on even when its raining. No excuses not to work on her! :shock:

IMG_20160617_133852_zpswjgu7itu.jpg


IMG_20160617_134008_zps45rikf9l.jpg


Above the tailgate is the worst part of the upper bodywork :cry:

Next thing I did was tackle the front seats. The seats in the bus were from a BMW, and were sat way too high.

IMG_20150713_200524_zpsnww9aq7p.jpg


IMG_20160604_172910_zps6mexkoxt.jpg


The bulkheads have been removed, and instead there has been a metal plate welded over the front tubs.
Cant be having that! The plate has been welded to the seat runners! So I need to cut off the plate.

Never fear though, thanks to TSW on here, I sourced myself a set of original seats. A nice trip to oxfordshire brought me back these beauties

IMG_20160617_130254_zpsjkcpfewl.jpg


And this is a trial fit of the seat with the plate still on

IMG_20160617_142357_zpsefqprkoz.jpg


What about other purchases for the van..

IMG_20160617_130148_zpsov4xoame.jpg


Rear arches rapair panels (Think I might of got latebay ones), perfer the 70's flared look
Inner and outer front valance replacement panels
Under window repair sections

IMG_20160617_133738_zpsx14im1oc.jpg


Rear light seal
Tailgate and Engline lid lock seals
Numberplate light seal
Replacement Tailgate bolts

IMG_20160617_134151_zpsqezur0wl.jpg


And a loooaadd of seals (about half what I need to replace)


Thanks for reading guys :msn4:
 
Good luck with your project, definitely worth saving for sentimental reasons if nothing else!!!?
Also, I may be wrong but I think 1971 buses had a one year only rear arch???
 
Very nice van to be working on
Is there any chance you can put a roof between the 2 buildings over the van?
Maybe temporary
 
Lee C said:
Good luck with your project, definitely worth saving for sentimental reasons if nothing else!!!?
Also, I may be wrong but I think 1971 buses had a one year only rear arch???
Its a bit ropey in places, but shes solid and theres plenty more years in her i'm sure! Thanks for the encouraging words :D
I will clarify the arches with C+C, they only listed two types of arch and this was listed as 71+
lolight70 said:
Very nice van to be working on
Is there any chance you can put a roof between the 2 buildings over the van?
Maybe temporary
Thanks matey! I wish I could, the rain has stopped me working on the bus on so many of my days off... :evil: Ive drawn up a couple of ideas for a temporary tarp and wooden framed box to go between the two houses, but the wind blows down the space that fast sometimes i'm sure it would cause me more damage than good. For now i've opted for a breathable cover, which I take on and off almost daily. If I can bring myself to attempt respray myself then I would definitely construct myself something to shelter it then.
 
Rainy Day Project - Dash Dial Cluster

So today I aimed to spend the day on the Bus, and then I remembered that I live in England, and the weather is terrible. :lol:
I always wanted to have a few rainy day projects sidelined so that when I am off work and its raining, I can still make progress.

IMG_20160629_150634_zpsogfstqwi.jpg


I decided to disassemble the cluster because there was a mass of debris between the glass and the dials. The cluster was broken in the corner, and needed to be repaired anyway. Also, the instrument lights, and the backlights were so dull I knew that cleaning would bring them back to life. Finally, the third hole had a barometer glued into it!! :lol:


IMG_20160629_142951_zpsxpcj5abf.jpg


First thing I did was label the cables. I have made myself a diagram of the rear of the unit, and each cable was labelled at its connector where it attaches.

IMG_20160514_165255_zpsf7tmv5gb.jpg


(I took so many pictures from every angle so that I knew EXACTLY where to refit) I removed the connectors. All of the spey ends came free without a problem apart from 'D', its mounting female was loose and I did not want to stress it. I will be replacing the connectors anyway, so I just cut it off.

26844a49-ca2c-423b-b101-4079778a59e1_zpstmeyckhd.jpg


The bolts circled are the ones needed to open the case. The remaining three attach the fuel cluster and instrument lights to the back of the unit. Sufficient access is given from the front to clean this area without removing these. I removed all bolts. The back panel can now be removed; attached to it still is the speedometer. It was at this point I was able to clean both faces.

IMG_20160629_175736_zpsna2jtxin.jpg


I used a damp cotton bud, and I shaved off one end with a pair of scissors. Once bent, this fitted into the small hole on the side of the two green bulb surrounds so that I was able to clean the inside.

Using a small flat ended screwdriver, I carefully undid the two small screws on the face of the fuel gauge

IMG_20160629_155527_zpsvsmoiwea.jpg


The individual segments then remove freely. I used the same bud as earlier to clean the two bulbs in the cluster, and the two on the back plate. THESE WERE CAKED IN DIRT

IMG_20160629_171652_zpsj0z4laac.jpg


If the three bolts were not attached at this point, there would be no obstruction to two of the bulbs

Taking the small segments, I bathed them in soap and warm water and gently rubbed at both surfaces to free years of scum.

IMG_20160629_170149_zpskrqgkqld.jpg


Honestly, 200% better just by doing this. I would not advise using any cleaners or fluids as I was worried on the paint flaking. I'm glad I avoided them.

IMG_20160629_172043_zpsvp2apxrh.jpg


It was at this point that I took a moment to thank a previous owner for his inventive use of a door lock to hold the barometer in :shock:
Quirky things these busses
:lol: :lol:

IMG_20160629_143019_zpsgh6c5muz.jpg


Next on the list for the day was glass, and the pods themselves. Thanks to A member of this forum, I managed to source an original blanking plate and glass for the third hole. I removed the rubber seal that surrounds the back of the pods, and bathed dash pods in a bath of warm soapy water, again nothing abrasive.

There is a lip between the glass and the clusters themselves on the fuel gauge and speedometer. I found it was effective to give this firm rub with a clean, damp cloth. There was so much debris hanging around here...

The pod surround was then treated with coats and coats 'back to black shine and protect' - cheap and nasty, something to coat the surface and protect it.

IMG_20160629_173755_zpssokfeisf.jpg


IMG_20160629_163426_zpsjug4kxe4.jpg


The three pieces of glass were treated with rainx, three applications was enough to remove all the stubborn bits and give me a nice uniform shine.

IMG_20160629_171140_zpslpgp7bfz.jpg


both images were taken facing the same white wall. There was a thick layer of smokers tar deposits on the surface of the glass, which is why the flash triggered and the image is so dark.

All that was left now was to ensure that all parts were 100% dry, and re-assemble the newly cleaned sturfffff 8)

IMG_20160629_183428_zps2l4expac.jpg


IMG_20160629_183303_zpsz2gptosj.jpg


IMG_20160629_183354_zpsmuwmbts9.jpg


I am very happy with the results. I intend to remove the cluster one more time and repaint the front surface of the fuel gauge because there was mild corrosion on the surface from a spilled drink / ingress that has slightly discoloured the paint ;)

Thanks for reading
 
That looks ace! Tempted to do mine but can't be arsed taking the clocks out!! haha.
 
georgeyv said:
That looks ace! Tempted to do mine but can't be arsed taking the clocks out!! haha.
Honestly ive done this thing on other kinds of vehicles and its much easier on a T2. The lights are so much brighter aswell!
 
Removed The Dash

Just a quick update today,
spent a few hours on the van this evening. I disconnected the heater pipes from the totem and dash, and after taking out the govebox I labelled up the dash loom, and removed them from the switches / contacts

IMG_20160703_181347_zpsw9t3gcsi.jpg

IMG_20160703_181625_zpsfvyybyxr.jpg


My plan is replace the loom back to the fusebox, eliminating any chance of an electrical fire from the front area. At the very least, I am going to check for any breaks / damage to the cables.

IMG_20160703_222512_zps94kzr5o1.jpg


Dashboard out :shock: :shock: Pretty sure its the first time its been out too, judging by the years of crud underneath, and there was NO wear on any of the heads!!

While I was poking around for holes I found these two relics of 70's goodness 8)

I thought they were metal plates at first, because they were sat over the fresh air intakes upside down and covered by a thick film of dust

IMG_20160703_224853_zpsndpsvmvc.jpg


31st may 1972 :) both of them preserved on one side by the decades of dead skin and crud 8) 8) I feel like I should frame them or something
 
Bookie said:
Loving the detailing on the dashboard.
Thanks mate, well worth the time and effort
Sorry to hear about your bus, hope it turns up soon for you.
 
No sign of old bus but new one sourced, insurance played ball and now all set to get out camping again!


Sent from my iPhone using Tapatalk
 
Bookie said:
No sign of old bus but new one sourced, insurance played ball and now all set to get out camping again!
Sent from my iPhone using Tapatalk
Good to hear its all sorted for you matey.
 
'Back of house'

Time for an update on things :msn4:
The metal surfaces of the interior of my bus, from as far back as I can remember has always been mixed shades of cloud white paint, red, and blue primer, green overspray and the occasional section of black underseal / crusty waxoyl. And a whole lot of surface rust 8)
I wanted to do this properly, and only once, so that little or no maintenance would be required.
This is what the rear looked like before I started...

IMG_20160625_182345_zpslizpqgnf.jpg


IMG_20160625_182354_zpsxdzzi62h.jpg


IMG_20160625_182336_zps3bvvp4cj.jpg


Well used, or as my dad would say, 'Its had a good life'. In need of some care... :lol:
I started by wirewheeling the area. I started at first with a dremell, but I soon found it much more effective to use a drill, and so I purchased a set of wirewheels with drill attachments. I removed any surface flaking sections of rust, and debris leaving just fresh metal or very thin surface rust.

I then treated the exposed areas with Rustoleum Kurust. This is designed to react with oxidized metal and convert it into a stable, rust-free surface with a protective layer. You can literally see the metal and rust bubble as you apply the liquid with a brush. It slowly turns to a blue, then black layer. I chose Kurust because it was priced in the middle of the market, and because of ease of use. A lot of these type of products require two parts to apply, whereas this product seems to directly react with air and the metal itself, instead of an activator.
I then allowed this to dry for a few hours.

IMG_20160803_172302_zpsee0c32pw.jpg


I covered any area I did not want overspray from the later steps with old magazines and parcel tape ;)

IMG_20160914_145154_zpsfo5agctj.jpg


Next came the exhausting task of sanding down the surface.
This was done for two reasons, the Kurust is a very runny liquid, and this left a very uneven finish. The other reason I did this was to key the surface paint ready for primer. I have seen people skim the surface at this point, perhaps with an epoxy based filler in small areas to cover the blemishes, but I wanted to keep the metal relatively bare; this way I could see any rust should it re-appear.

I used a sanding block at first, but it was too big to fit into the depressions! :lol: I did most of it by hand. Hoovered off any loose dirt and debris.

IMG_20160914_141734_zpsn7xqksya.jpg


I then applied two coats of Zinc 'Weld-through' galvanizing primer to the entire surface. I chose this kind of zinc primer for the bus because I was told this has anti corrosion properties, and it is also able to be welded through as it is conductive. I never intend on welding this surface (Theres some keyed paint underneath that would prevent it) but I wanted the whole bus to be primed inside and out using this type of primer. I was advised not to buy Zinc 182


Anyways, here is the results of my labour...

IMG_20160914_154723_zpsa6i78jrp.jpg


Over engine bay and tailgate, up to the window line


And the same before and after of the metal above the tank

IMG_20160914_154645_zpsk8epvznh.jpg


BEFORE

IMG_20160914_182310_zpsxvw8g6iq.jpg


AFTER

Starting to look usable again.
Thanks for reading...
 
Baby Steps
It was raining, but I was determined to do SOMETHING on the bus today!

IMG_20160925_153604_zpsa8omkwlu.jpg


Began wirewheeling the area. Working at it in little chunks as I don't want to leave bare metal open to the air between days.

IMG_20160925_164942_zpso83965rr.jpg


Added thin layer of Kurust, and allowed to dry, before another layer of Zinc Galvanising Primer.

IMG_20160925_184229_zps70ux3dji.jpg


Does anyone have a picture of the full heater assembly here? My two vents were covered with a metal sheet, and the bottom of a plastic bucket :lol: It would be interesting to see what they are supposed to look like...
 
More 'Back of house' work

Continuing on from the last few sessions on the bus, spent today working on the interior rear.
My intent at the moment is to treat and seal areas of surface rust, and I am marking areas that need more attention with the welder later on. I have been grinding all of the paint around these bad areas down to metal, and aplying only Zinc primer, because I can then weld through the primer without worrying about preparing the surface again.

IMG_20160925_153630_zpsrie9ytqa.jpg


State of the floor before work.

IMG_20161005_173149_zps4jraece9.jpg


And after.

IMG_20161005_180555_zpslkr1dse9.jpg


Just the Tubs, side panels and cab area to do now.

IMG_20161005_180643_zps7taw6xxg.jpg


Ive noticed from other threads that some bus' don't have these bolts on the floor, and also have no thread for them either? Was this something added by Dormobile?

thanks for reading
 

Latest posts

Top