My first bay. My biggest project yet.

Early Bay Forum

Help Support Early Bay Forum:

This site may earn a commission from merchant affiliate links, including eBay, Amazon, and others.
Its hard work in a single garage tho had to take all the doors off and I took the engine out so could drop it to the floor with no wheels to get the up and over door up lol. Least I can crack on agian. its at that poin at the mo where I dont know where to start and it gets me down looking at what I have got to do.

Pics to follow soon yourl all be glad to know!
 
Finding it hard to motivate myself at the moment so hoping that busfreeze down the road will give me a bit of kick up the bum. Currently repairing the cargo floor wish I had just replaced the lot think it would have been easier than letting bits in here and there. If anyone is down at busfreeze I live down the 2mins down the road and the kettle is always on for early bayers.
 
Few picture updates.

DSCF3524.jpg


DSCF3655.jpg


DSCF3596.jpg


DSCF3563.jpg


DSCF3561.jpg


DSCF3560.jpg


Slow progress but its coming along now. Set myself a target to get all the metal work done this year.
 
This is the area i am leaving til last anyone know an easy way to repair this without removing the inner or outer sill?

DSCF3521.jpg
 
DSCF3665.jpg


DSCF3662.jpg


DSCF3660.jpg


I have had to repair my rear corners as there were not avalible at a reasonable price so I have had to let in small sections were the metal was badly pitted. I also found a poor american style repair in front of the rear arch.
 
some good work you got going on there, and fair play it fitting in your garage :lol: couple of fingers up to the complaining neighbour there
 
It is hard in a single garage and in this weather is hard to get motivated

Need to keep looking at peep's resto's that are coming to an end for the inspiration
 
Thanks all for your nice comments! My metal repairs are getting better each time I do an area. Recived my filler and finshing tools today going to start tidying up my repairs as I go along now. Its tight in the garage but its pritty cosy with my oil filled rad and cd changer. Taken all the doors off not so seams to be alot more room. Got 3day this weekend to myself so hoping so get alot of metal work done and start playing around with filling. Il get some better pics when I get the van out the garage this weekend.
 
Spent the whole weekend on my van cutting, welding and grinding. Wish there was a easy way of doing this but moral of the story is buy a rust free one!

camperproject151.jpg


camperproject150.jpg


DSCF3665.jpg


camperproject152.jpg


camperproject161.jpg


camperproject166.jpg


camperproject165.jpg


Think I am going to weld up the westy power point and hide my new one on the underside. Found some more of the dreaded stuff again under the rear window so orderd a repair panel so got something to keep me busy over christmas
 
looking like some good work done there m8.

Really like the look of your lead lamp :lol: :lol: :lol: :lol: :lol:
 
Keep going Alex, you're doing well matey.the skills you are picking up can't be bought.

Loving the Merc wheels, they look in really nice condition ;-)


Sent from my iPhone using Tapatalk
 
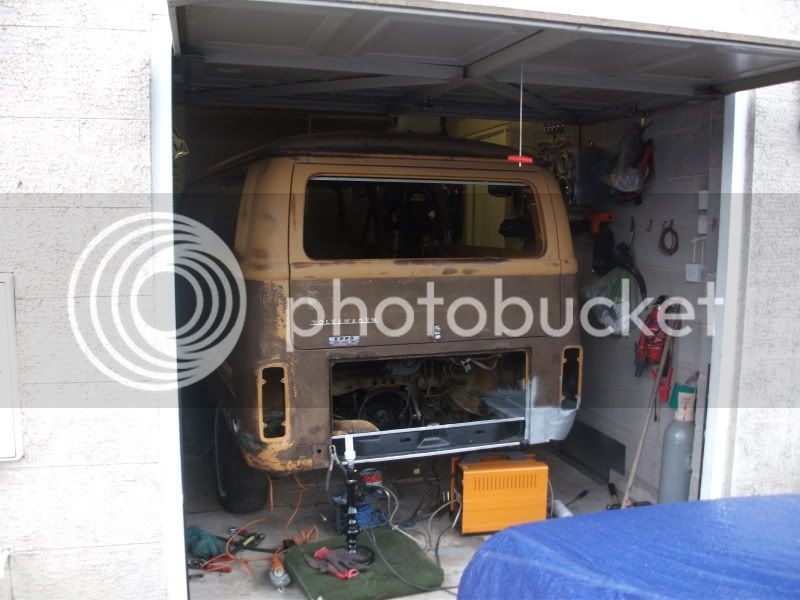
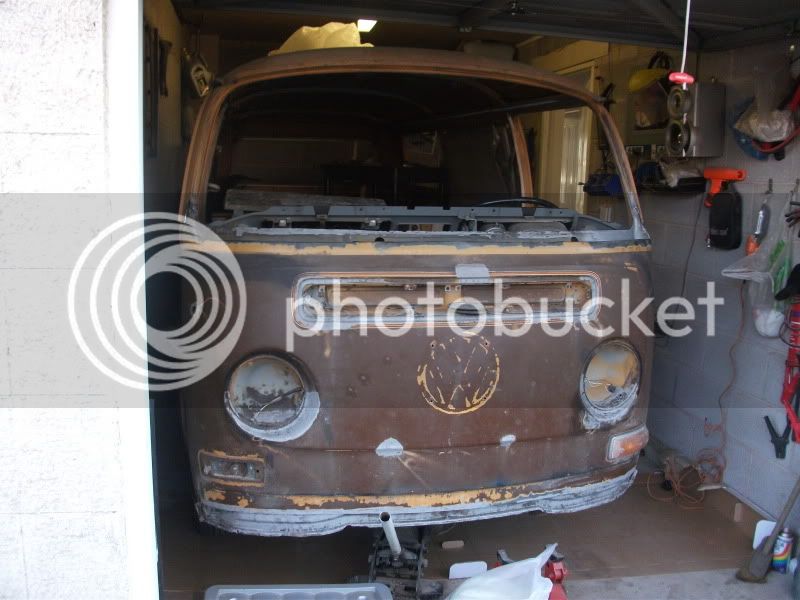
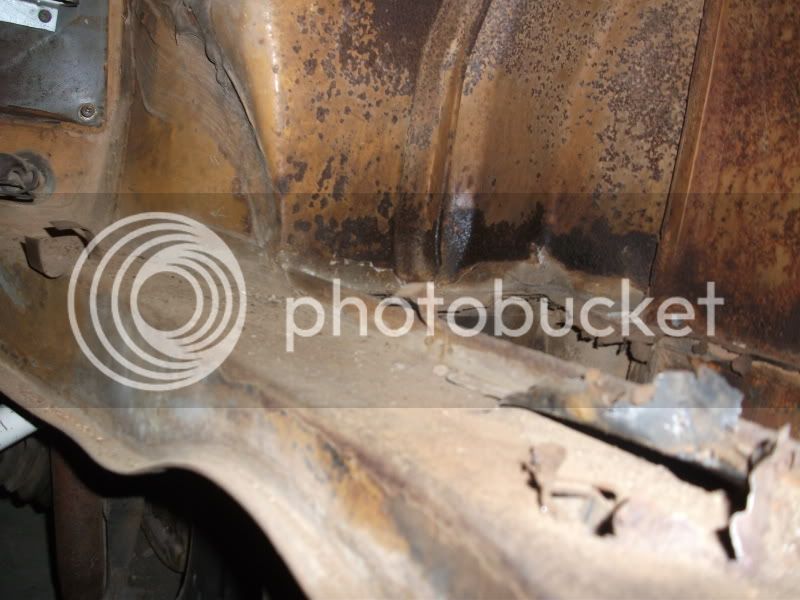
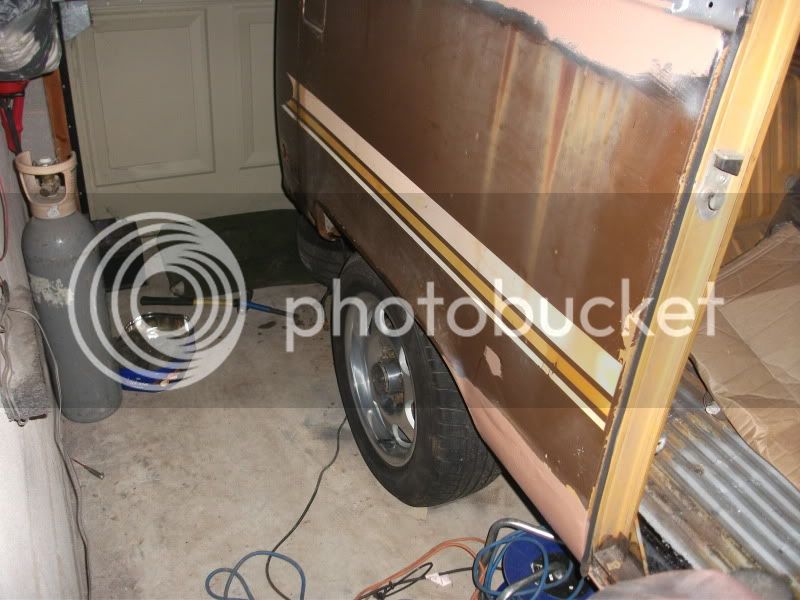
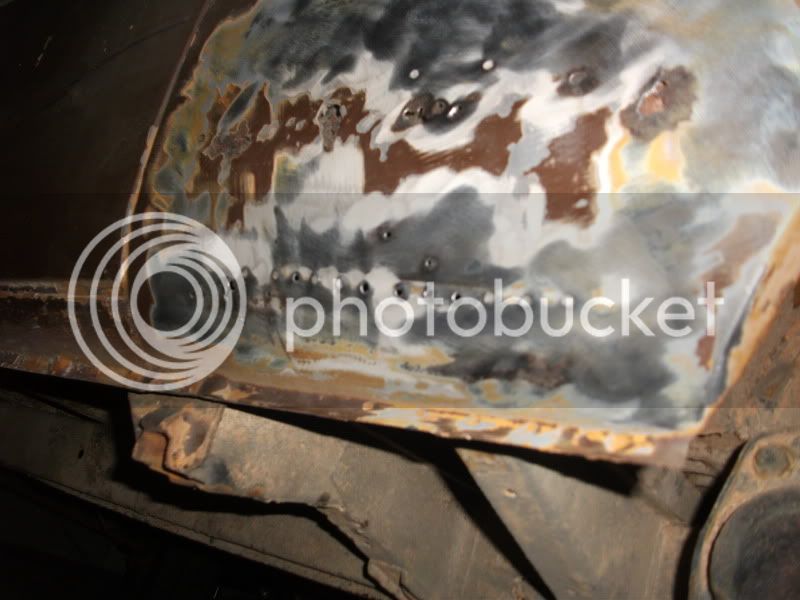
here is a few updated pics for everyone I know how you all like pics and I like see all yours so only fair. I have now invested in a sandblaster and started using recyled glass to blast all the areas with surface rust unfortatunatly its found some more areas for attension.

camper016-1.jpg

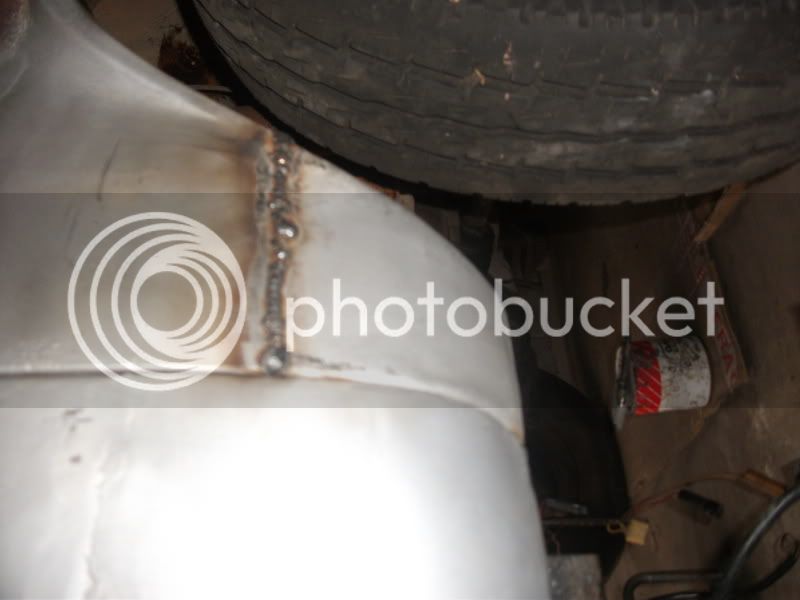
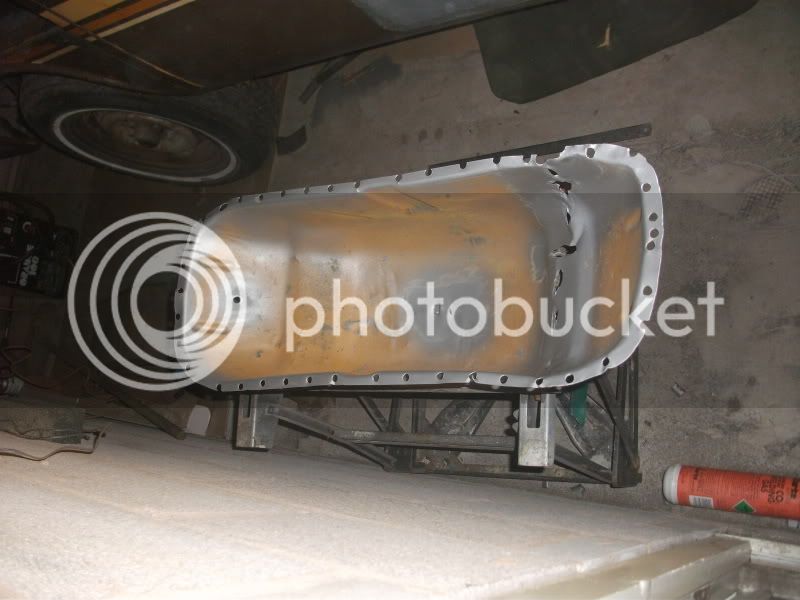
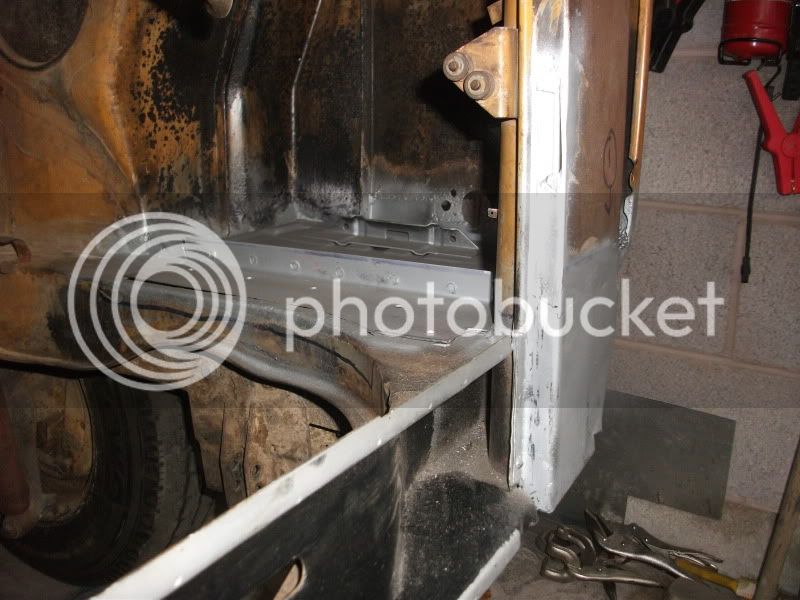
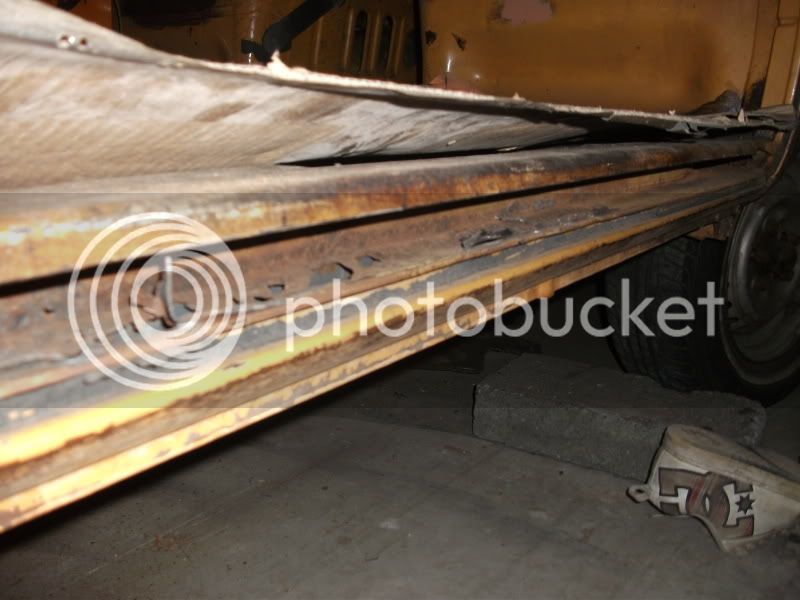
here is a new section of sill welded in after removing the old rusty one full of holes due to bodged US repair.

camper017.jpg

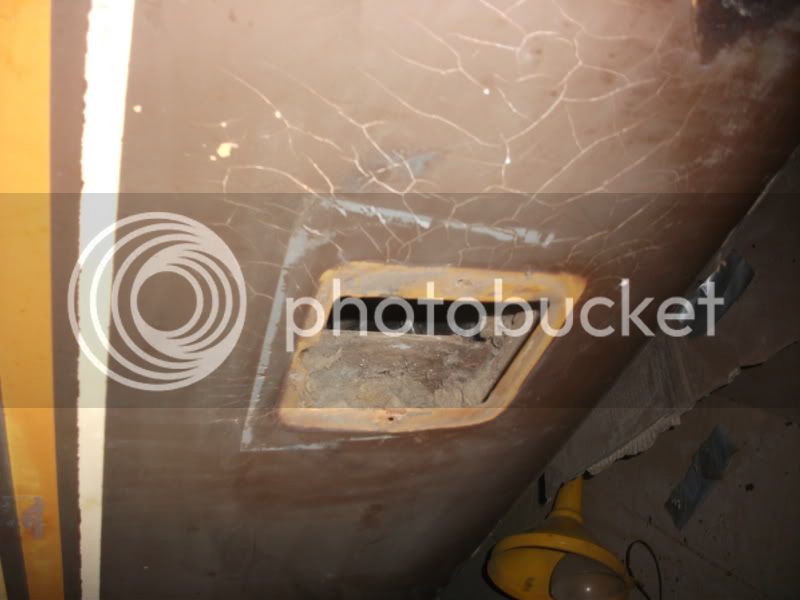
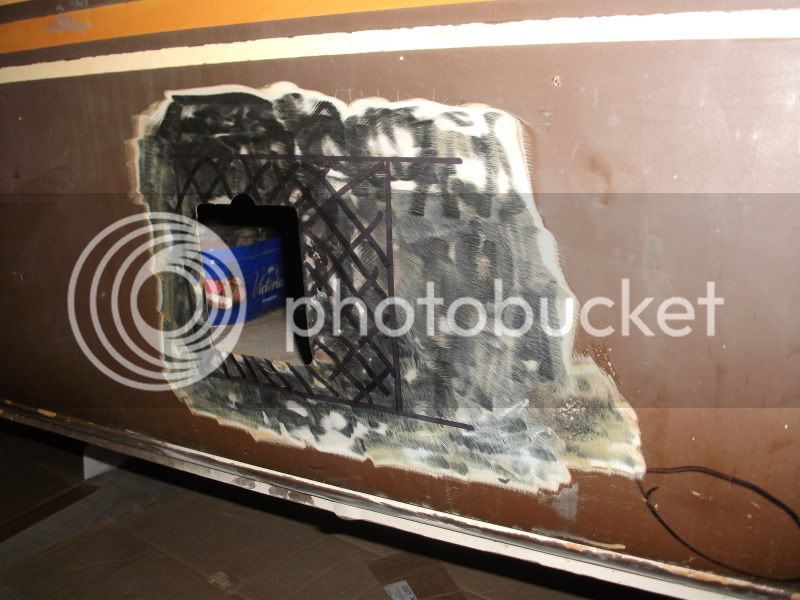
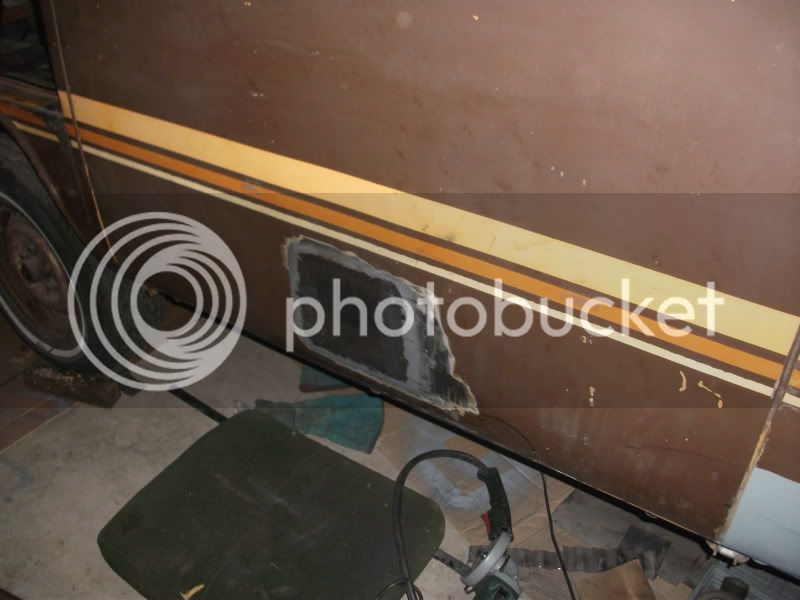
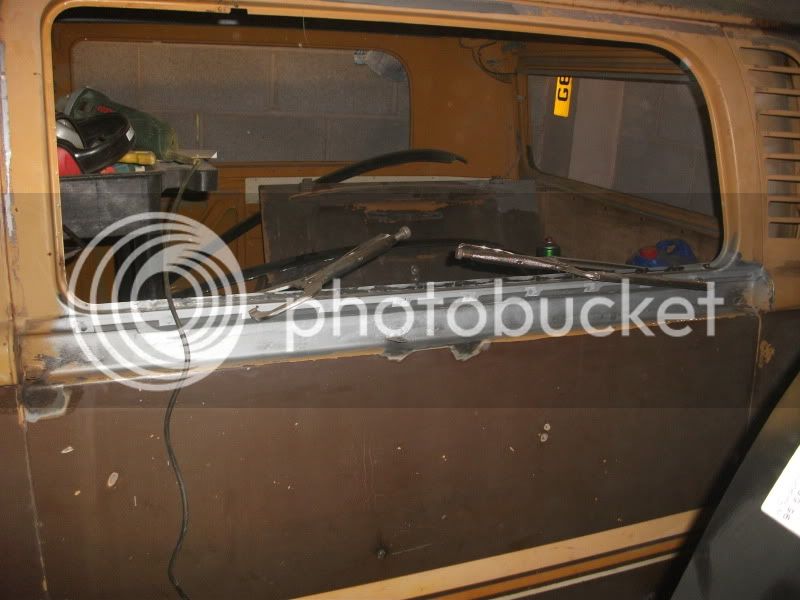
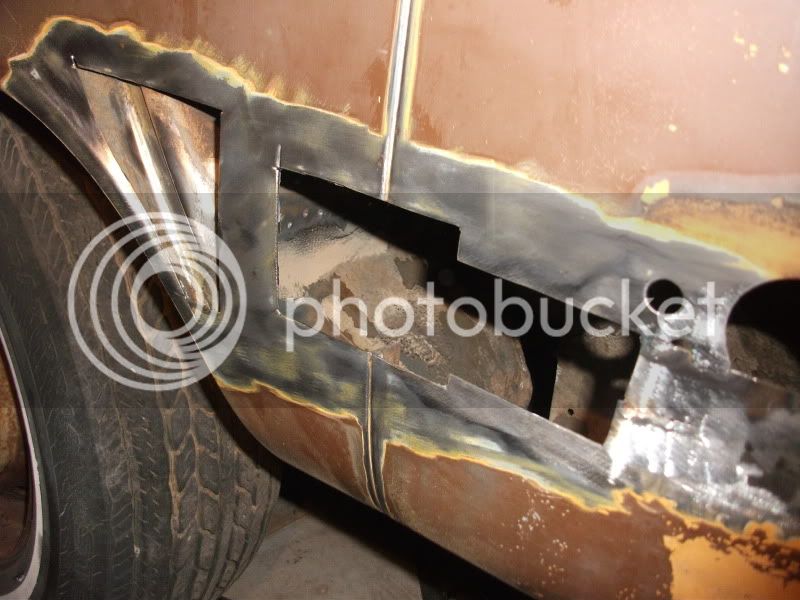
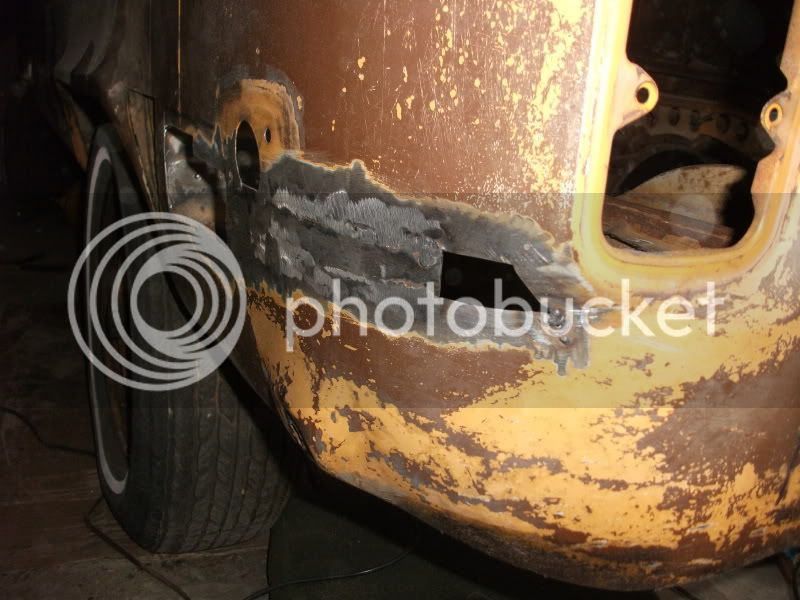
Hate the westy eletric point and its no use anymore. When i started to remove the paint to weld up where it used to be I found loads of filler, at some point someone has cought the plug and bent all the panel and then banged loads of filler in so once it was all removed I could see how bad the metal was around so there was nothing for it so I cut it all out and let a new peice in.

camper024.jpg

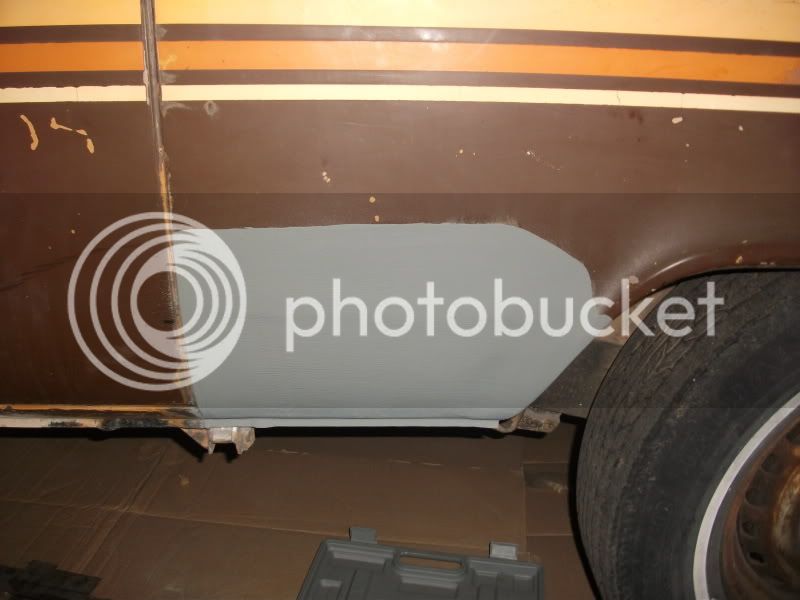
New peice let in, I did it very slowly keeping it cool and the end result is very straight panel only needing a light skim of filler.

camper025.jpg

Fully welded and ground back.

camper019-1.jpg

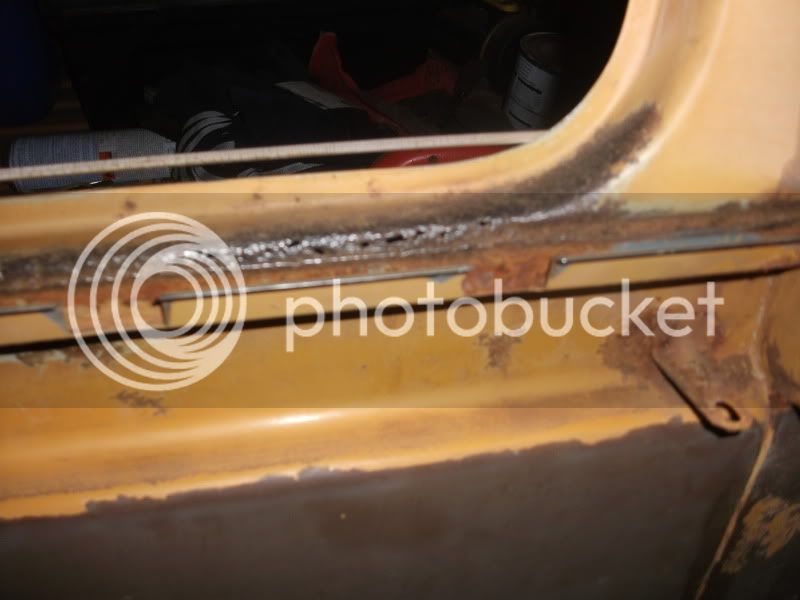
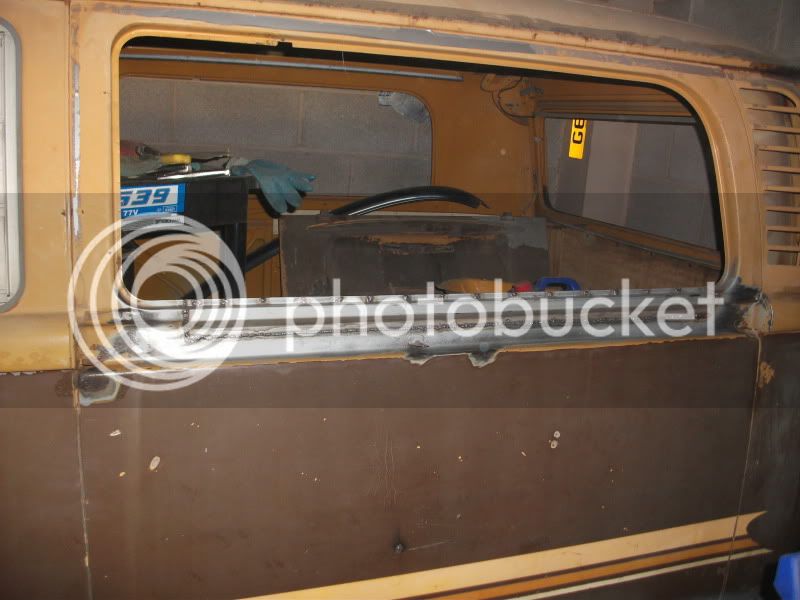
Under the window cut out to a point easy to grind the weld back.

camper027.jpg

New peice in, new panel from Just kampers wasnt very good match for the profile so had to give it a good tweek.

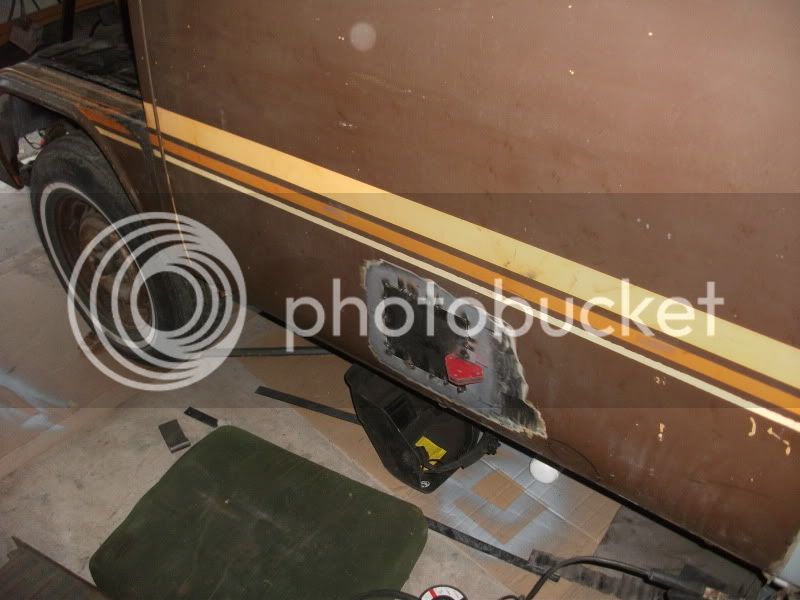
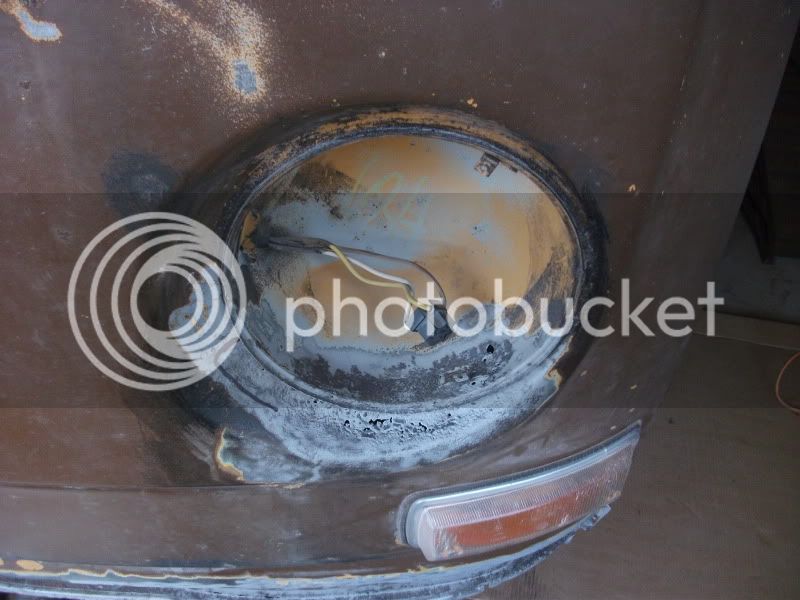
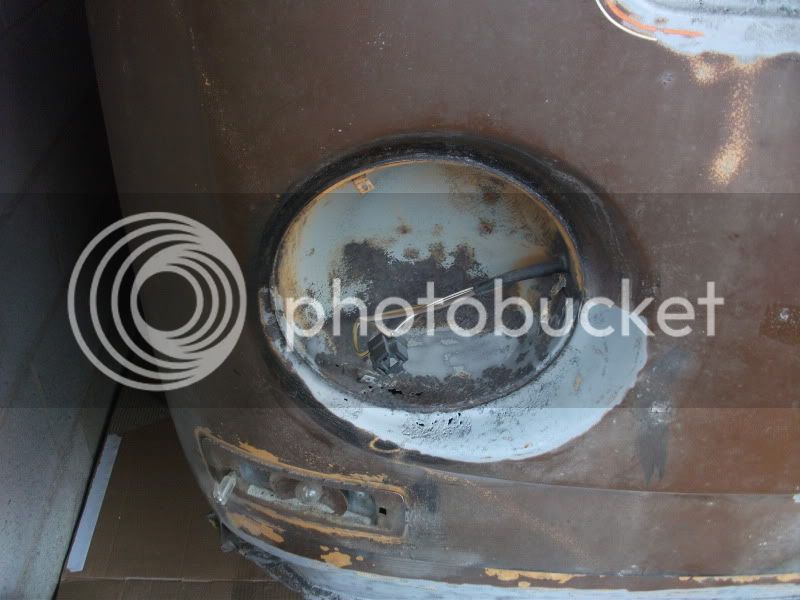
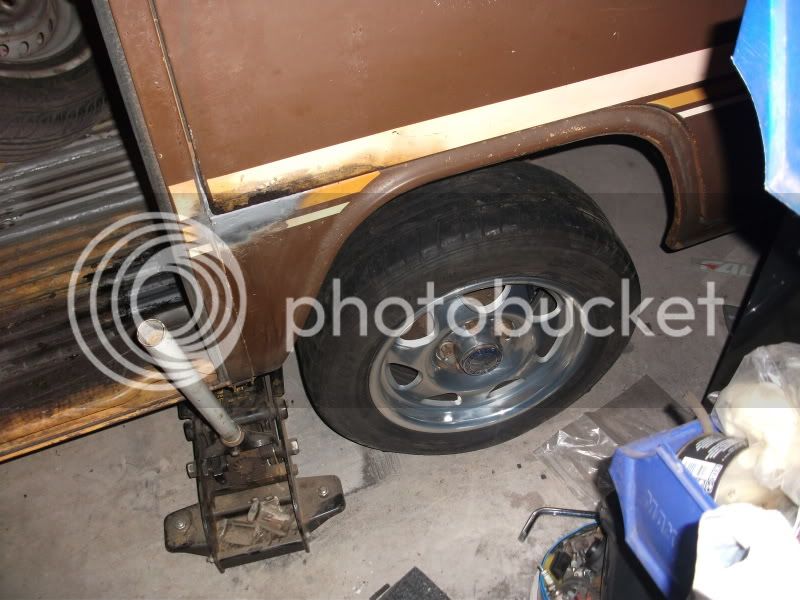
Here is a few areas I now have to replace after finding metal was rubish with the blaster.

camper022.jpg


camper021-1.jpg


camper020-1.jpg


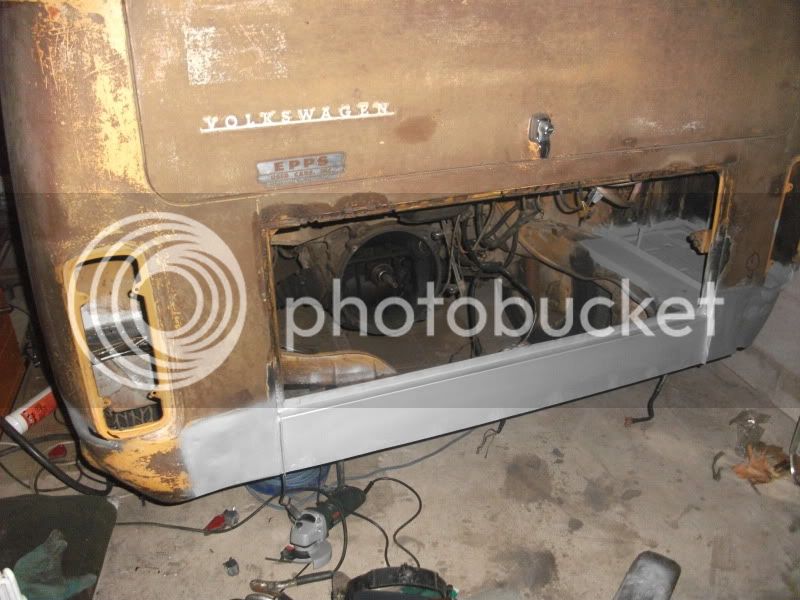
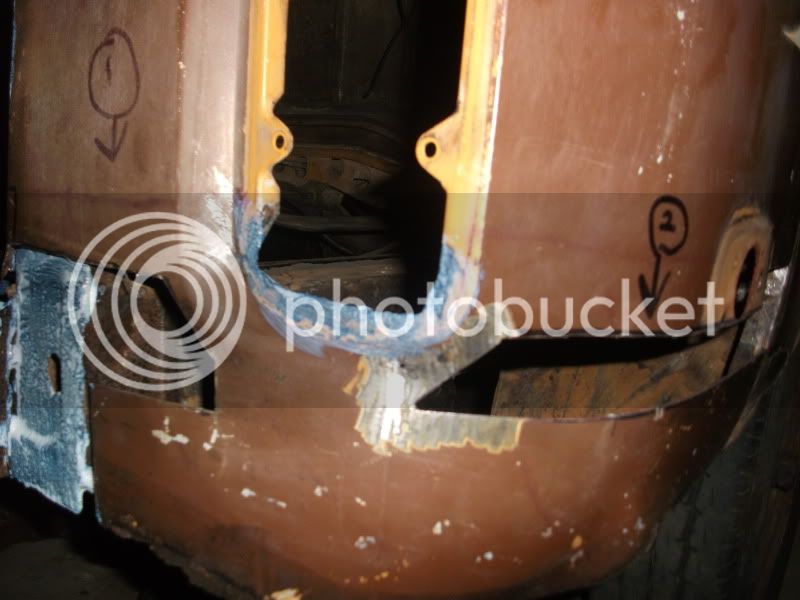
Not sure how to go about repairing the headlamp bowls. weather to cut round the bowl or just replace to afected lower half?
 
DSCF3822.jpg

Just welding in the peice that holds the cover on now and all the areas ground back.

DSCF3821.jpg

Taken the original headlining to my grandfather who is goin to restore it to its former glory.

DSCF3825.jpg

DSCF3823.jpg


Used spare wheel well is all ready to be welded in place.
 
Some nice welding (again!!).

Its a bummer when you have to replace more metal than you thought.... :(
 
^ what he said "Respect" 8)

Great work there..!! Keep plugging at it and you'll get there..!! :D
 

Latest posts

Top