You are using an out of date browser. It may not display this or other websites correctly.
You should upgrade or use an alternative browser.
You should upgrade or use an alternative browser.
My Montana Red sunroof deluxe new stance
- Thread starter petegee56
- Start date

Help Support Early Bay Forum:
This site may earn a commission from merchant affiliate
links, including eBay, Amazon, and others.
EgoTrippin
Well-known member
Looking good Pete 
Glad the trims worked out fella.
Glad the trims worked out fella.
froggy
Well-known member
Very nice 8)
Loving the existing interior
Loving the existing interior
Ok got a couple more bit done,
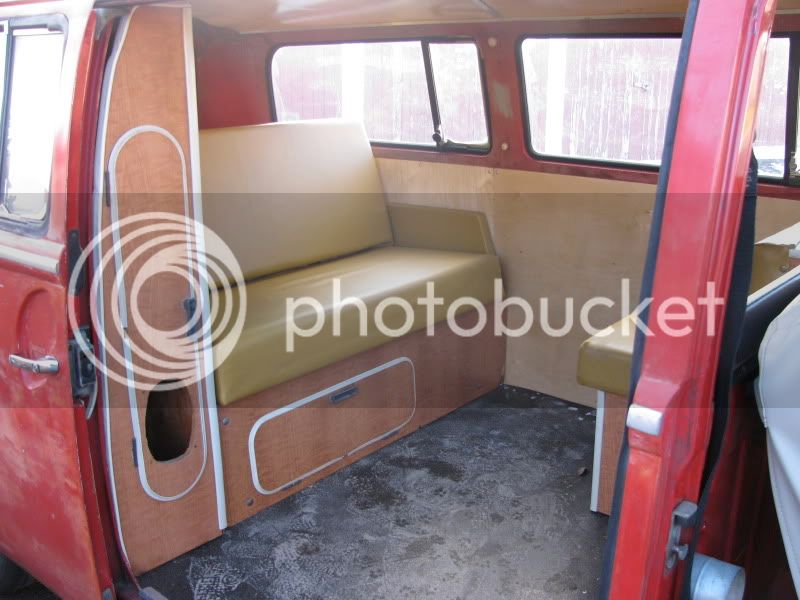
Interior is in
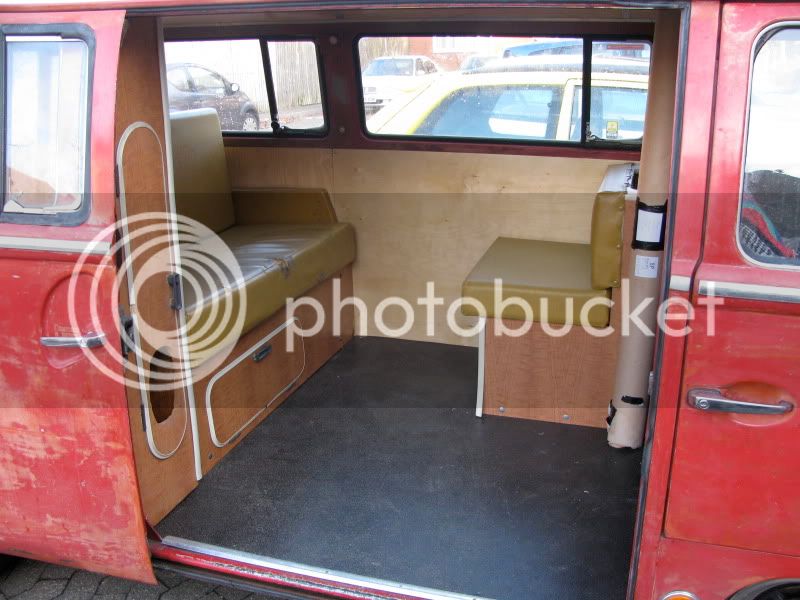
Im looking for a few bits to finish the interior off, such as new doors for the wardrobe, and the overhead locker,
next step is upholstery, the cab seats and front door cards need doing, and i cant decide whether to re upholster the bed or just try to find a replacement cover for the bed, i would like to keep te mustard yellow i think but we will see so if you have any westy bits knocking about please check out my wanted thread
thanks for the comments so far
Pete
Interior is in
Im looking for a few bits to finish the interior off, such as new doors for the wardrobe, and the overhead locker,
next step is upholstery, the cab seats and front door cards need doing, and i cant decide whether to re upholster the bed or just try to find a replacement cover for the bed, i would like to keep te mustard yellow i think but we will see so if you have any westy bits knocking about please check out my wanted thread
thanks for the comments so far
Pete
Analog
Well-known member
very very nice bus 8)


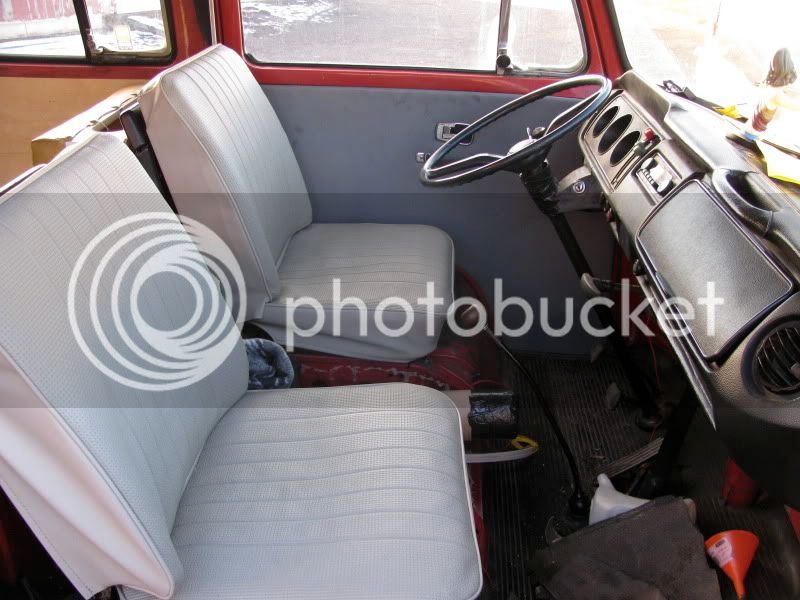
Well i have started on the upholstery, started with the cab seats, couldn't decide on what colours to go with but in the end decided to go with something a close to the stock colours of light grey that i could find, so i ordered a set of cab seat covers from spirit of the 50s. decided to have a go at fitting them myself to try to save some cash
started with these
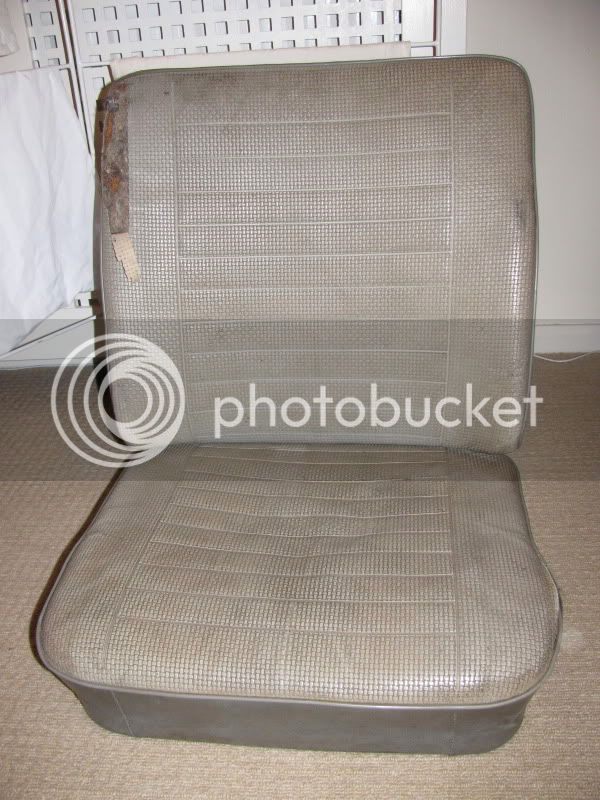
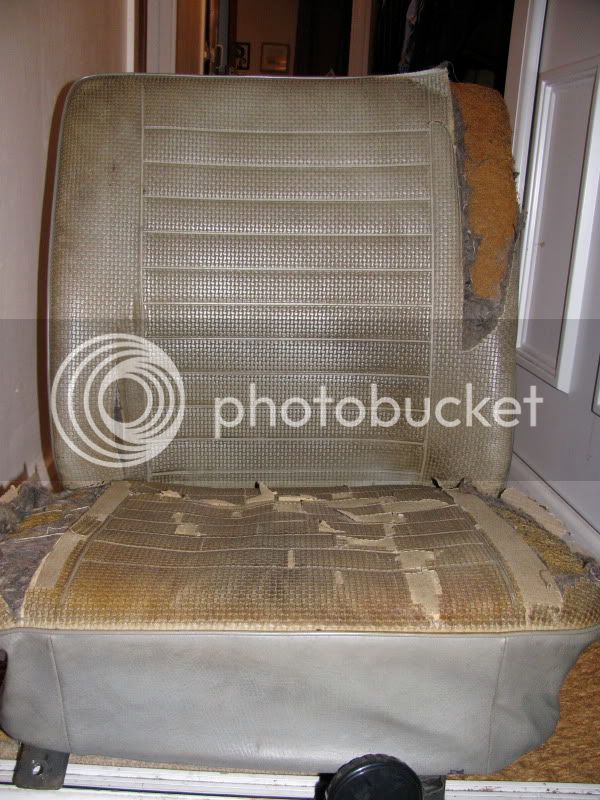
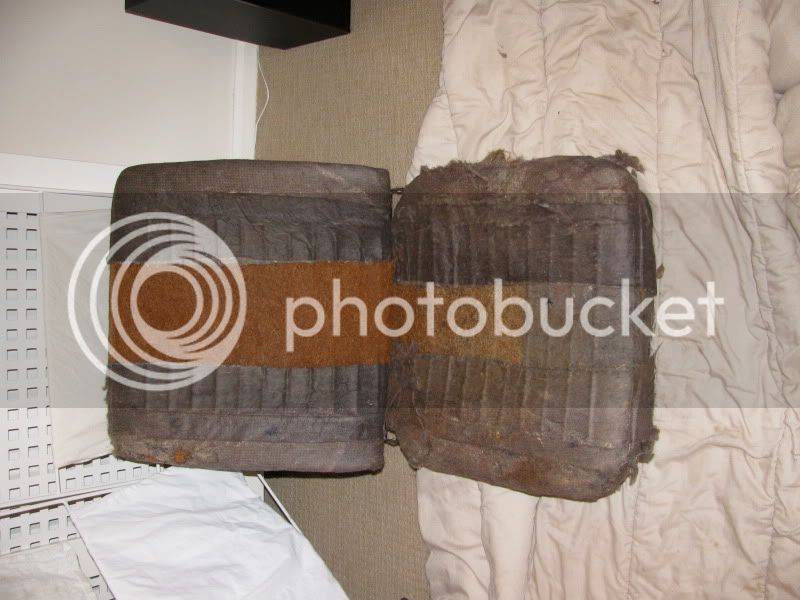
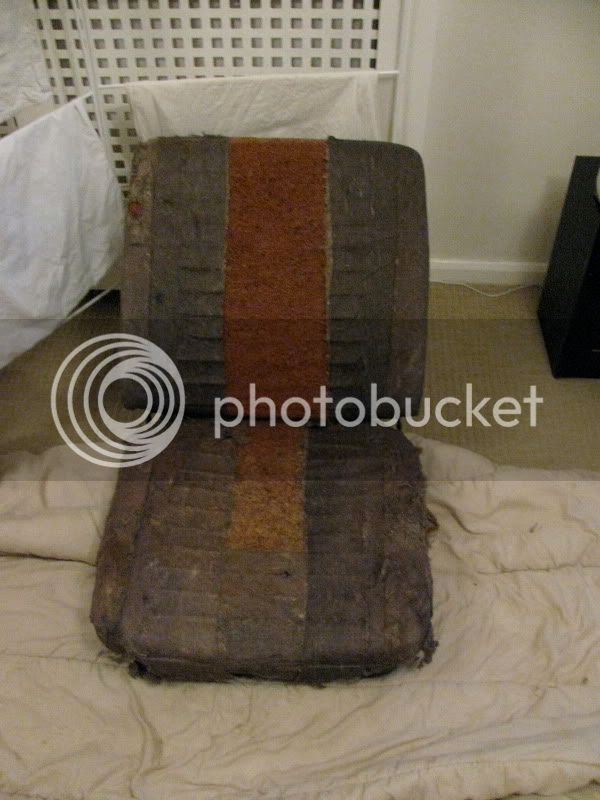
stripped down to these
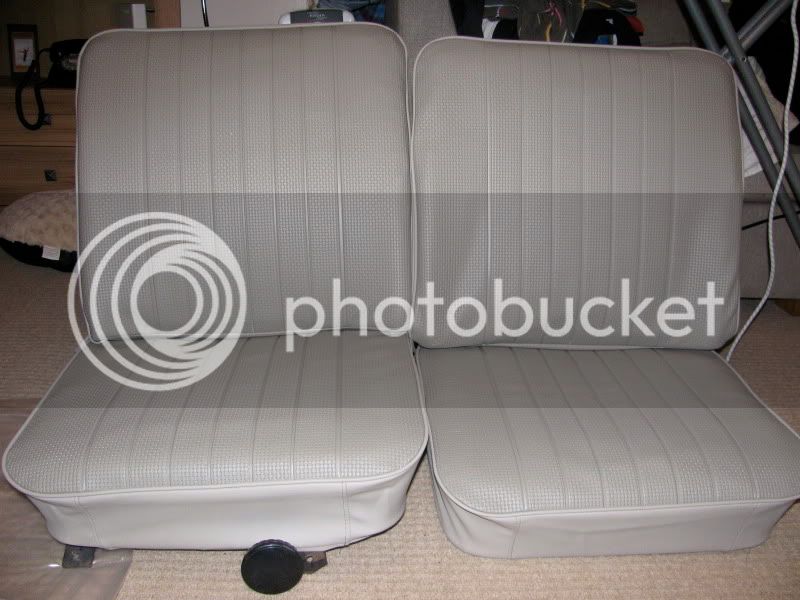
well the covers were easier than i thought they would be, just need a little fettle to tighten them up once he covers have settled a bit but overall im quite pleased with them
i ordered a pair of matching front door cards at the same time, hope to get them the end of next week
started with these
stripped down to these
well the covers were easier than i thought they would be, just need a little fettle to tighten them up once he covers have settled a bit but overall im quite pleased with them
i ordered a pair of matching front door cards at the same time, hope to get them the end of next week
Thanks 71dormy,
very minor update, due to never ending boredom i decide to clean the sunvisors from my bus, only got one before shot and it was of the cleaner one, however they did come up quite nicely
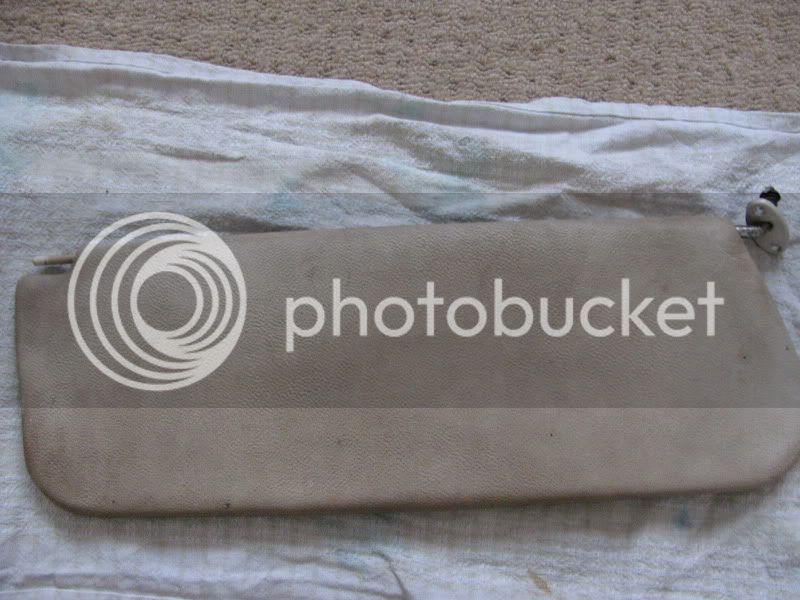

Pete
very minor update, due to never ending boredom i decide to clean the sunvisors from my bus, only got one before shot and it was of the cleaner one, however they did come up quite nicely
Pete
Hi,
another small update, spent most of the day taking out all the stereo equipment put on by the previous owner,
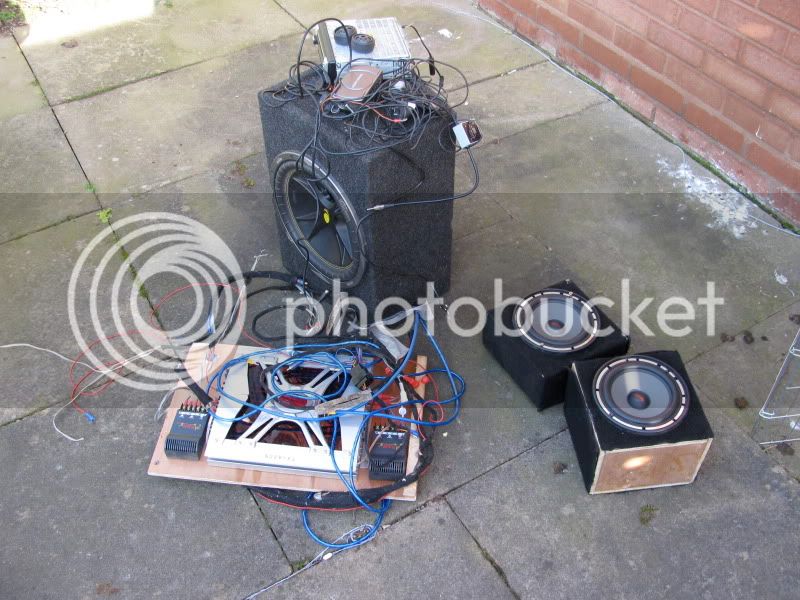
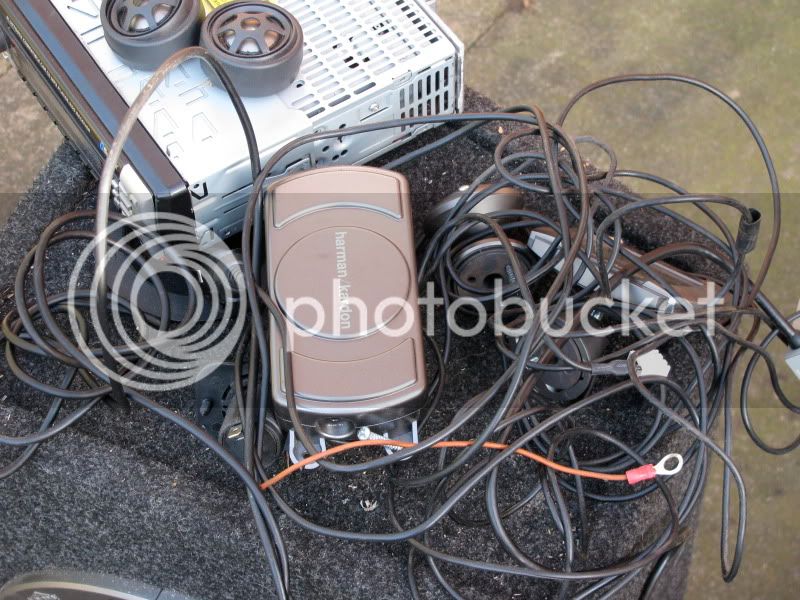
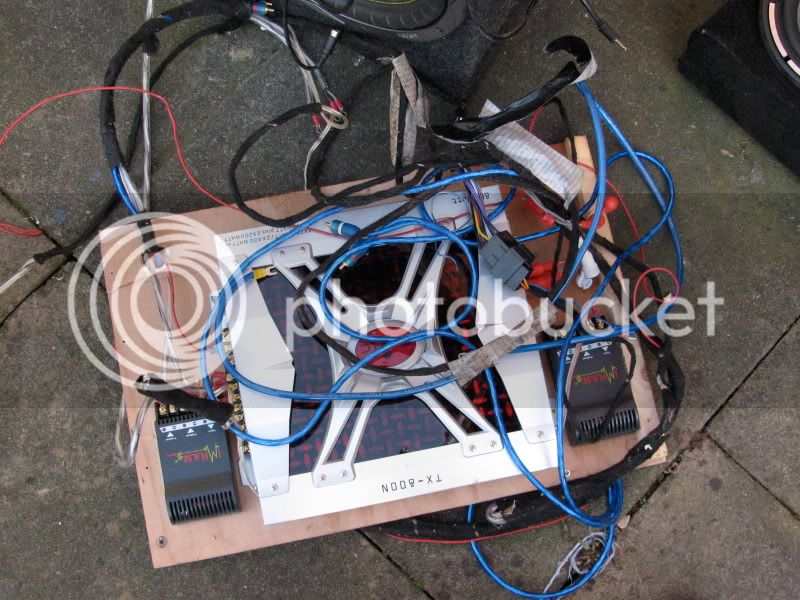
I will probably re-use most of it, but i want it all hidden out of the way and discreet so will re-position most of it and try to strip back some of the wiring
Pete
another small update, spent most of the day taking out all the stereo equipment put on by the previous owner,
I will probably re-use most of it, but i want it all hidden out of the way and discreet so will re-position most of it and try to strip back some of the wiring
Pete
dubscum
Well-known member
sweet 8) saw this bus in the slammed bays thread on the samba
Great van mate
If you don`t mind me asking, would you be able to give a bit more info on how you made and fitted the headliner from plywood as this is something i`d like to do with mine?
Also - i`m guessing the numberplates were fitted when you bought it - i`m after this style aswell, but i wasn`t sure if they are officially legal (!) ? If you did get them, where did you buy them?
cheers, mike
windsurfer
Well-known member
Nice Dude, new headliner and panels is the next job for me. You're making me feel very lazy :lol: The sun visor came up really well, did you use any special cleaning solution or just good old fashioned soap :mrgreen:
Your bus looks better all the time
Your bus looks better all the time
Thanks for the responses,
Mike, the plates were on the bus when i got it, they are not legal due to being the wrong size and font, i will PM you details when i get chance re the headliner im sneeking on here at work :shock:
Windsurfer, thanks dude if i can get it looking as cool as yours i will be happy, they were cleaned with cif bathroom cleaner with bleach
Pete
Gadget Boy
Well-known member
petegee56 said:
Jesus Pete no wonder you were going mad about how much wiring for the stereo :shock: :shock: :shock:
Also If anyone does want to know ,I now do Motivational tapes to play whilst doing work on your buses , Pt 1 of '' Shut Up you Girl and get the plugs in'' is now avalible :lol:
Gadget
Ok been doing a bit more stuff to the bus
Got the seats in up front, just waiting for my matching door cards to arrive, then could do with a good clean round
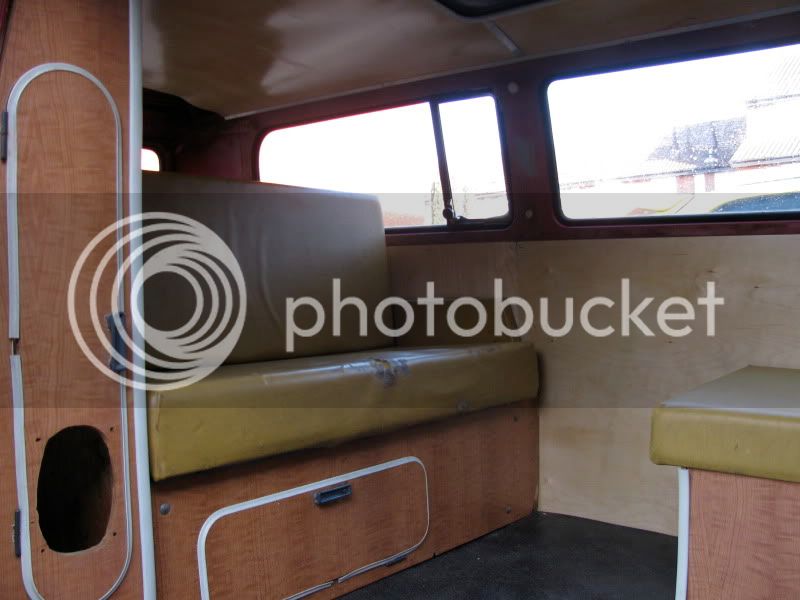
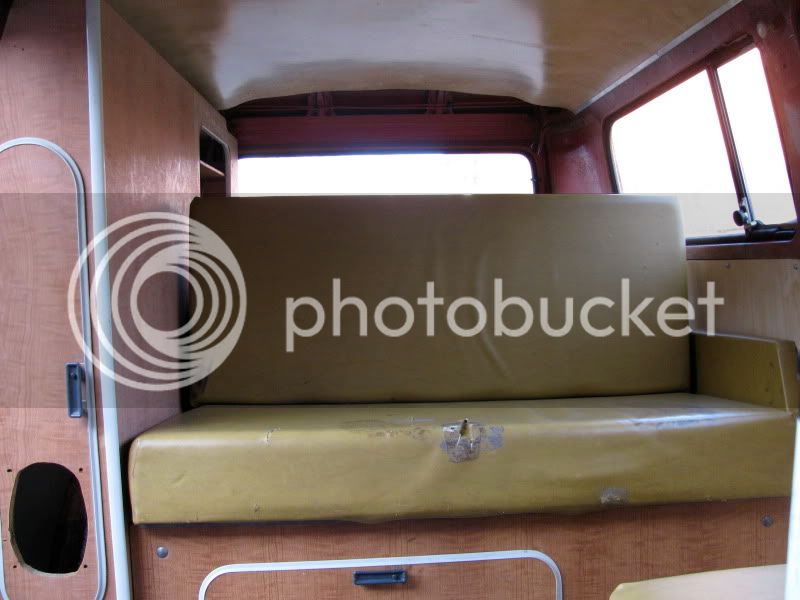
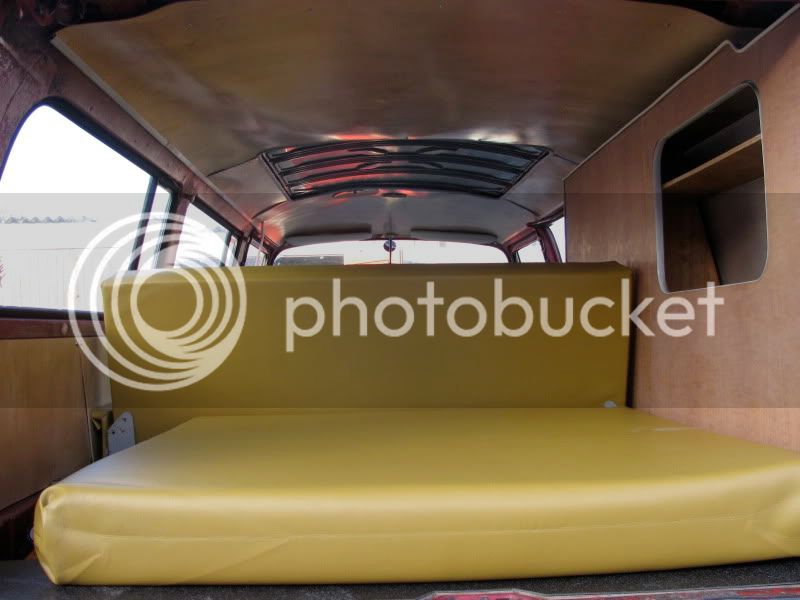
I have also re trimmed my westy bed, once again thanks again to gadget boy for his help, think the bed looks pretty good now
this is how is was
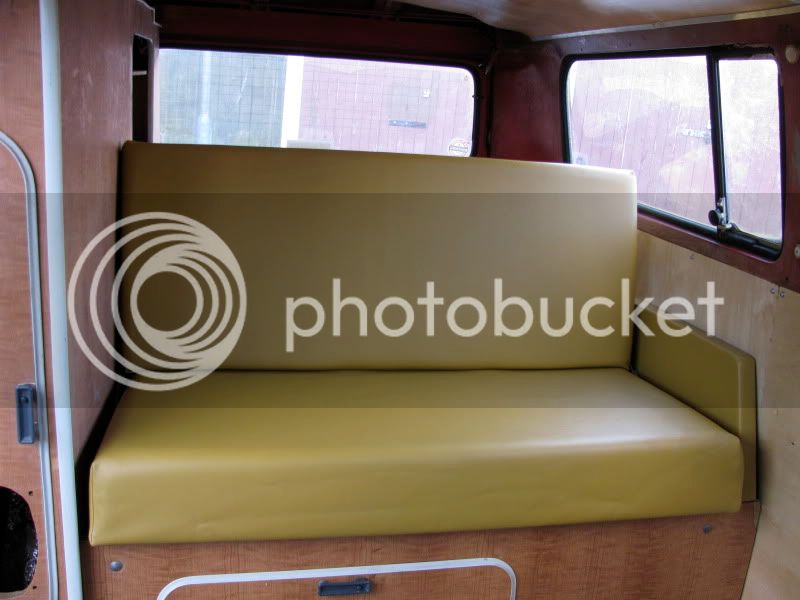
And this is how is is now
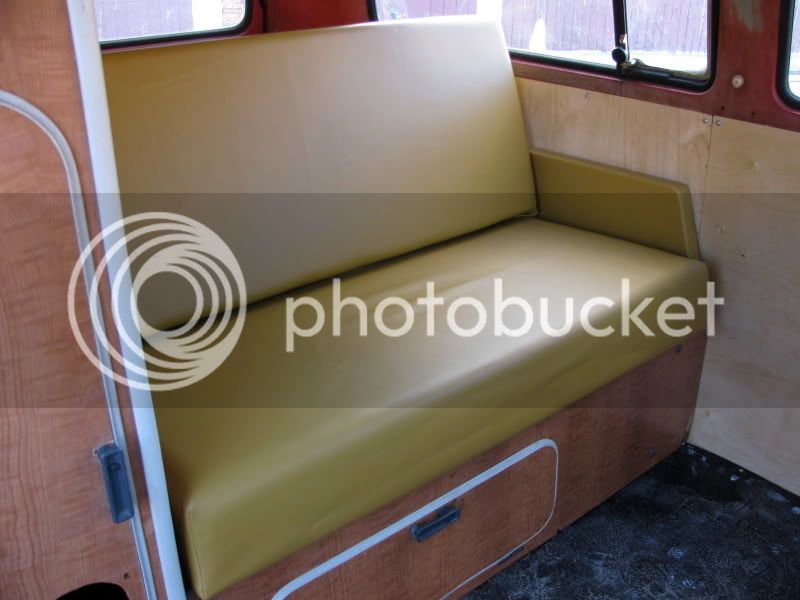
I also put some edging trip round the edge of my wardrobe, can just see it on the edge nearest the door in this photo, must remember to get better pictures when i do this
The edging has made a big difference to the look of the wardrobe, it looks much better now, it just looks tidy
Need a new front door as the one i have with the speaker hole is bugging me and really letting down the rest of the interior
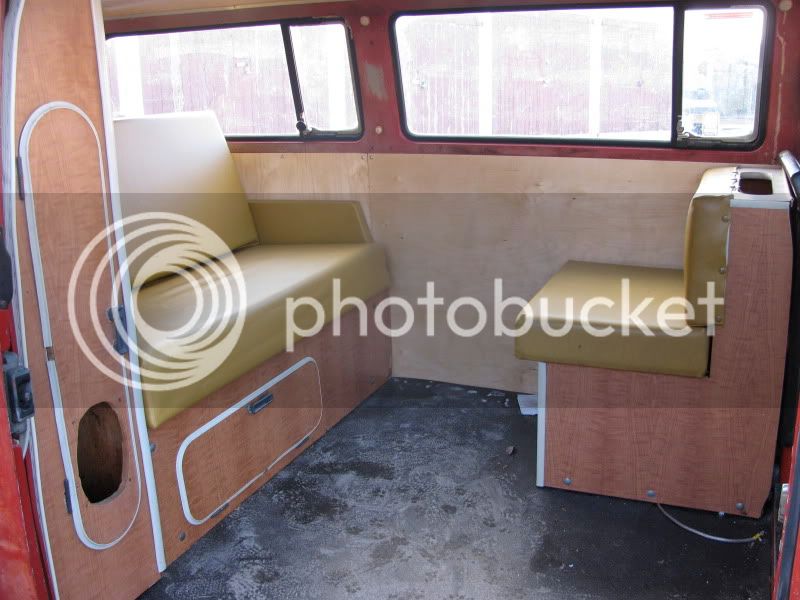
A shot of the re trimmed rear cushion, you can also see the edging on the top edge of the wardrobe in this shot
I picked up a rear door for my wardrobe today at dubfreeze from rocket ron (thanks ron)
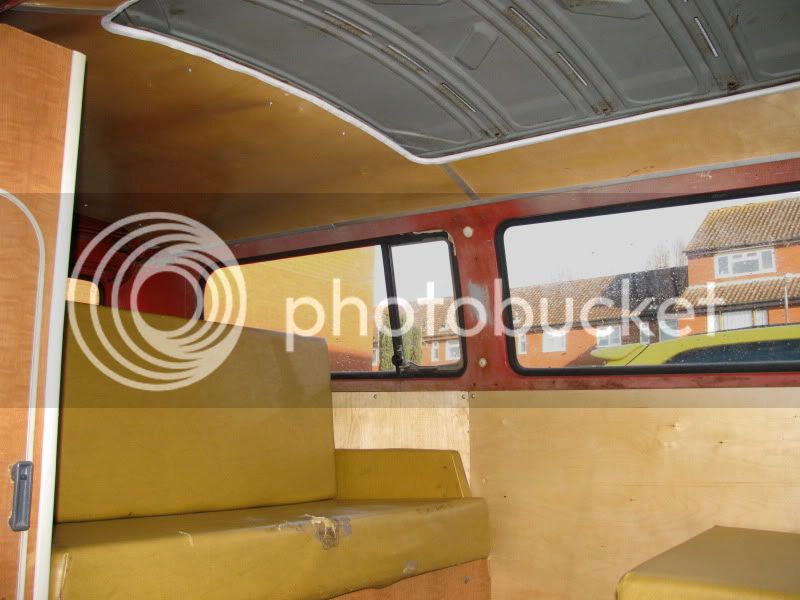
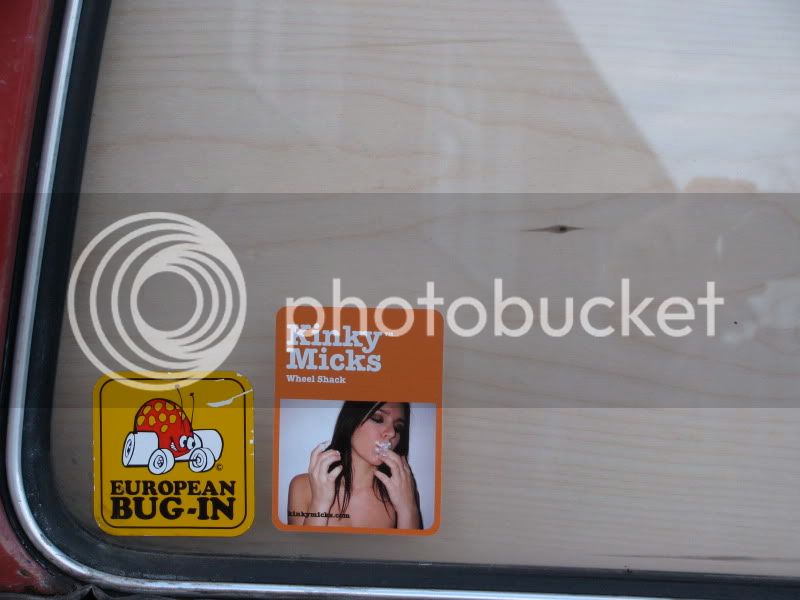
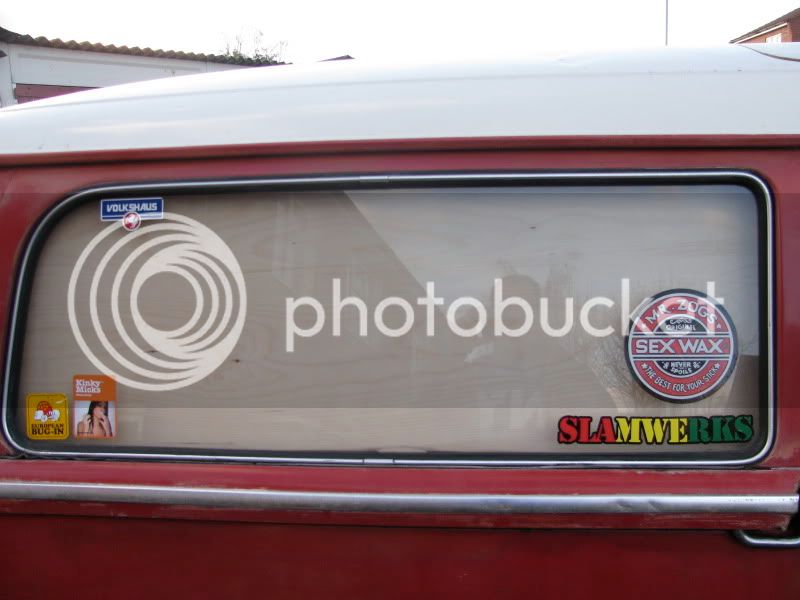
I also put some wood over my rear window where the wardrobe sits
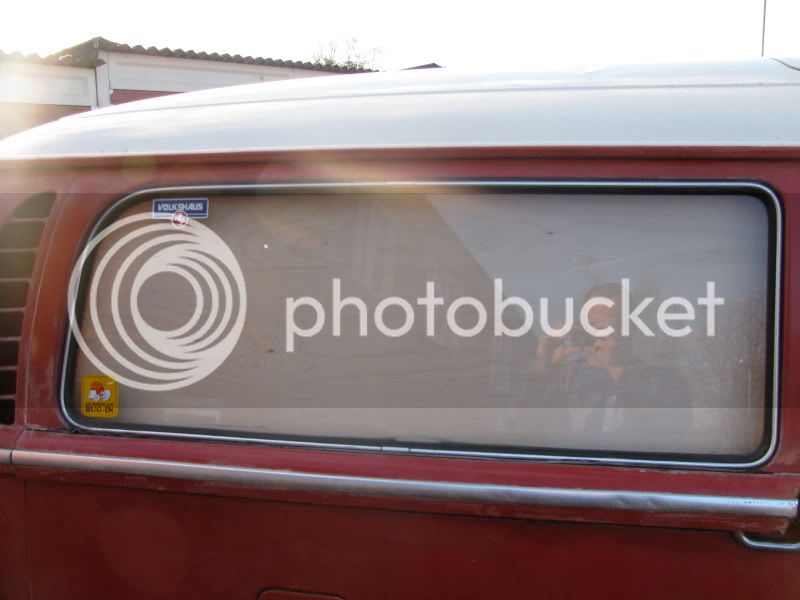
And of course started to fill the window with stickers

now i need to give the floor a good clean up, next up is to get the bus sitting a little lower, and get a sink unit and an overhead locker to finish off the interior, but its starting to come together now
Enjoy
Pete.
Got the seats in up front, just waiting for my matching door cards to arrive, then could do with a good clean round
I have also re trimmed my westy bed, once again thanks again to gadget boy for his help, think the bed looks pretty good now
this is how is was
And this is how is is now
I also put some edging trip round the edge of my wardrobe, can just see it on the edge nearest the door in this photo, must remember to get better pictures when i do this
The edging has made a big difference to the look of the wardrobe, it looks much better now, it just looks tidy
Need a new front door as the one i have with the speaker hole is bugging me and really letting down the rest of the interior
A shot of the re trimmed rear cushion, you can also see the edging on the top edge of the wardrobe in this shot
I picked up a rear door for my wardrobe today at dubfreeze from rocket ron (thanks ron)
I also put some wood over my rear window where the wardrobe sits
And of course started to fill the window with stickers
now i need to give the floor a good clean up, next up is to get the bus sitting a little lower, and get a sink unit and an overhead locker to finish off the interior, but its starting to come together now
Enjoy
Pete.
ant
Well-known member
very nice Mr Gee very nice
Pete B
Well-known member
- Joined
- May 3, 2008
- Messages
- 2,003
- Reaction score
- 8
- Year of Your Van(s)
- 1968
- Van Type
- Bus
Top bus fella! Particularly impressed with the re upholstery work on the bed. Didn't know Dean was any good with a needle and thread :lol: Seriously, was this done from scratch or is someone selling a kit now? I no kit is available then perhaps there is an oportunity for someone?