new to this...

Early Bay Forum

Help Support Early Bay Forum:

This site may earn a commission from merchant affiliate links, including eBay, Amazon, and others.

coupcoup

Active member
Joined
Nov 19, 2011
Messages
36
Reaction score
0
hello all. New to this site but very glad i've found it.
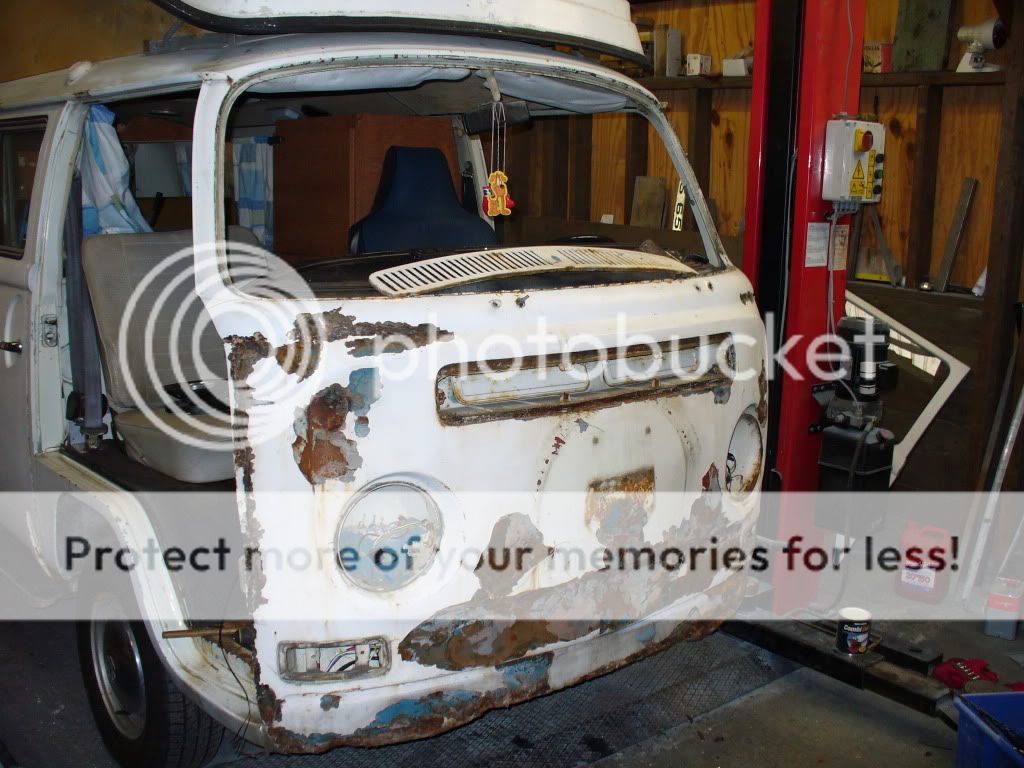
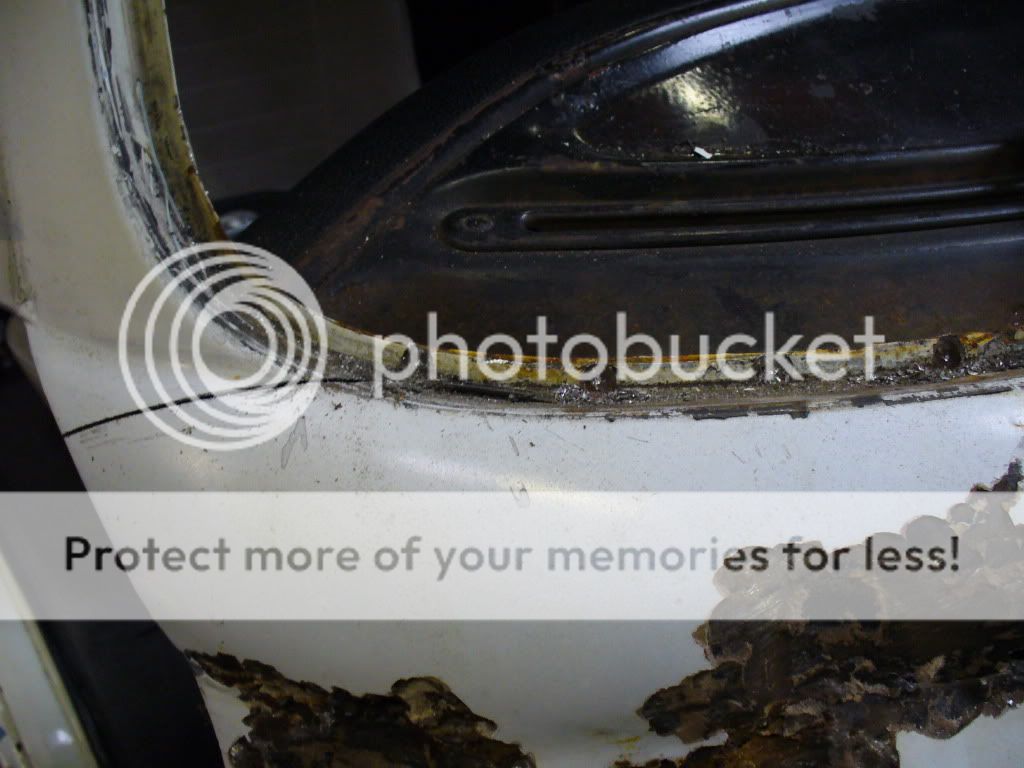
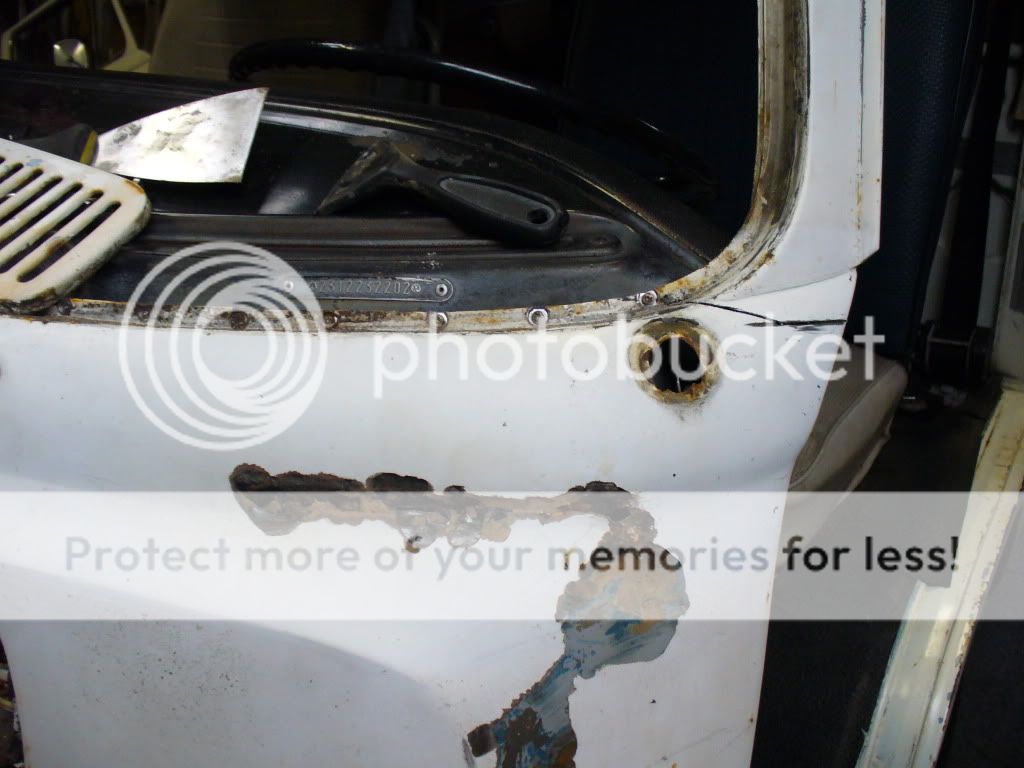
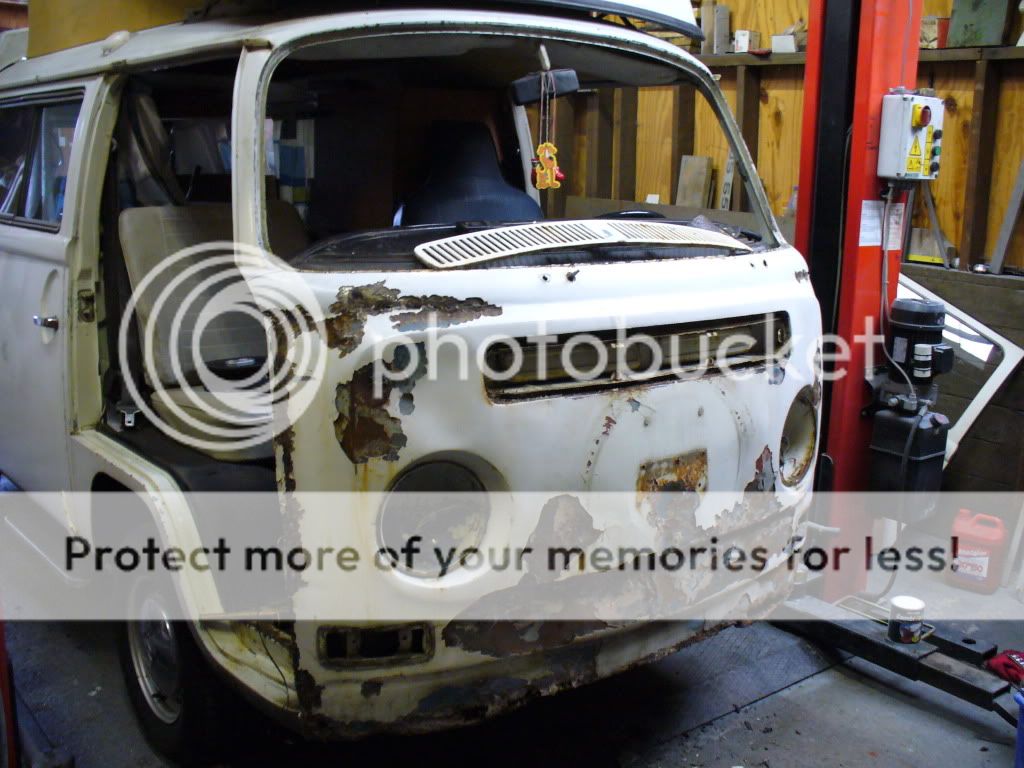
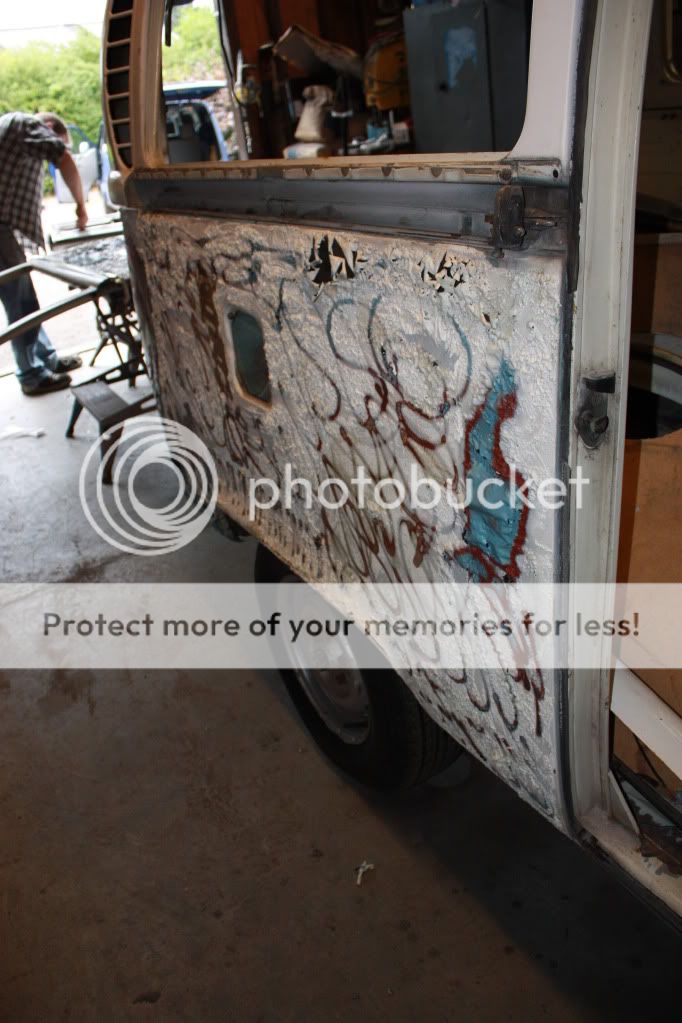
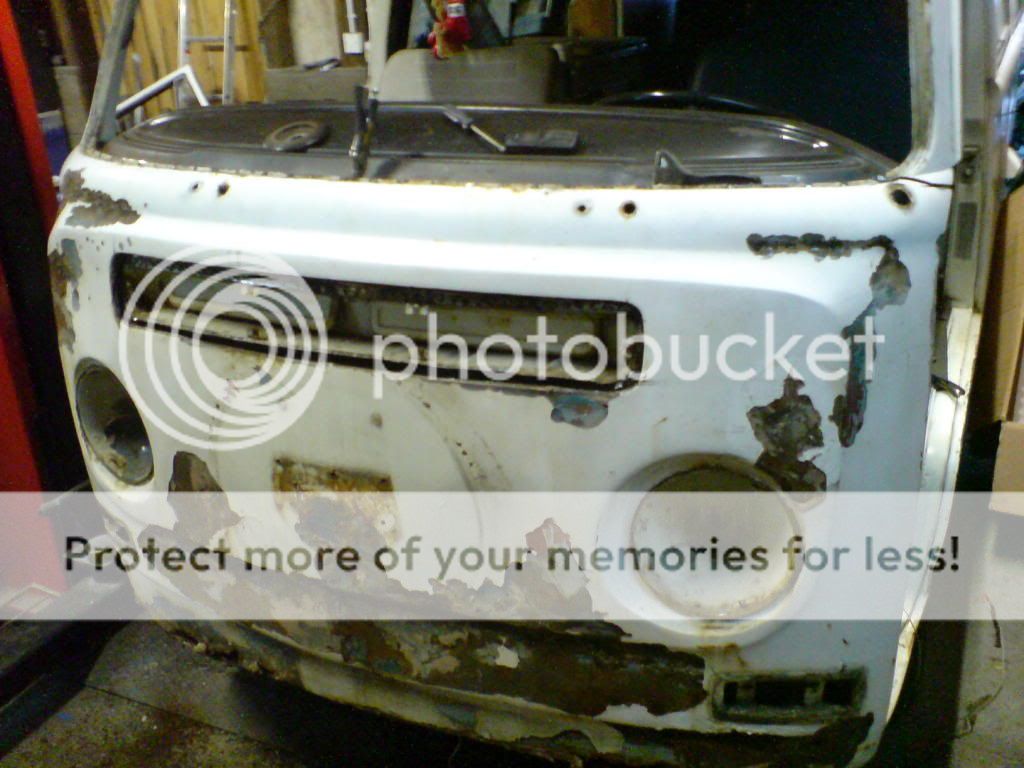
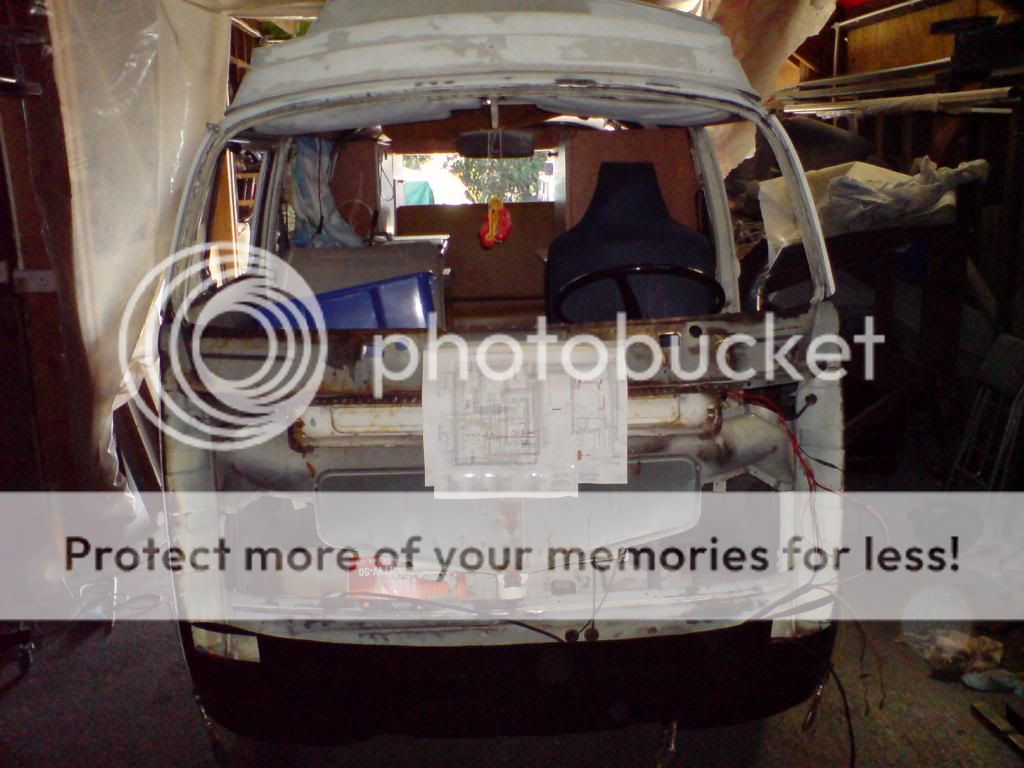
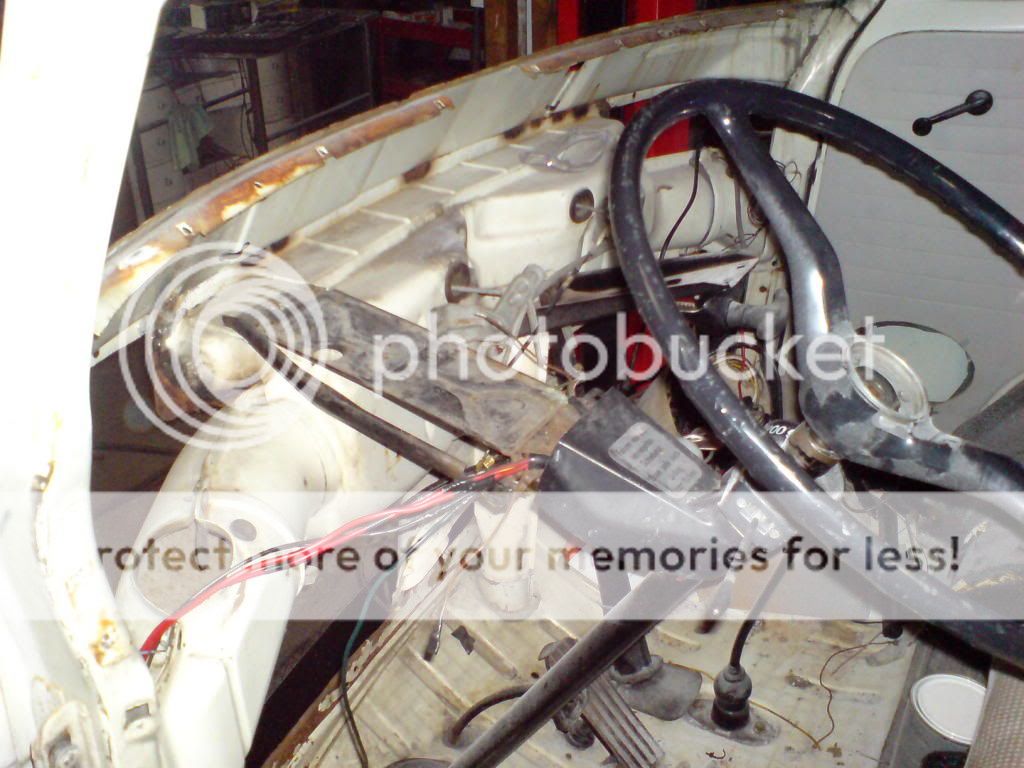
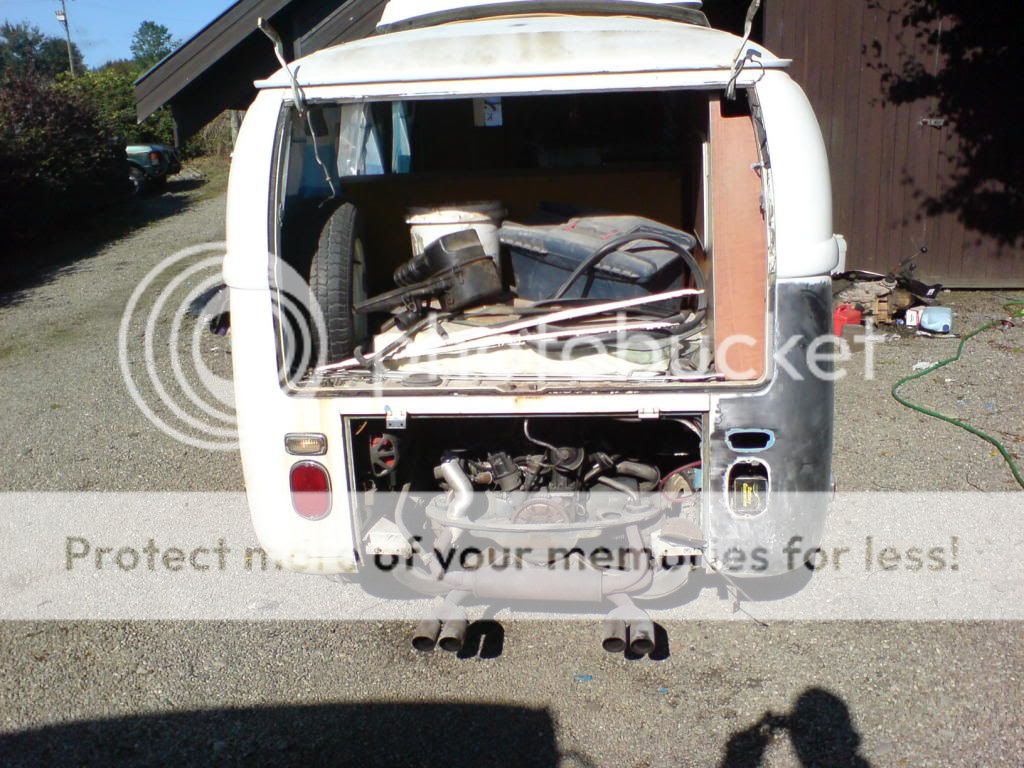
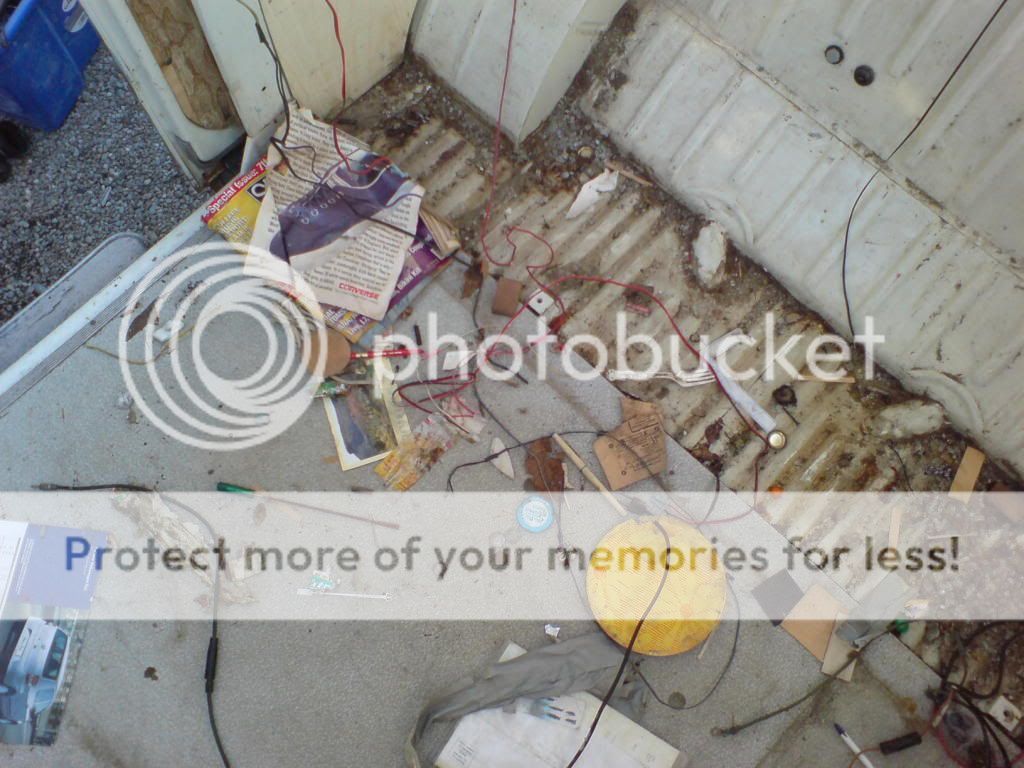
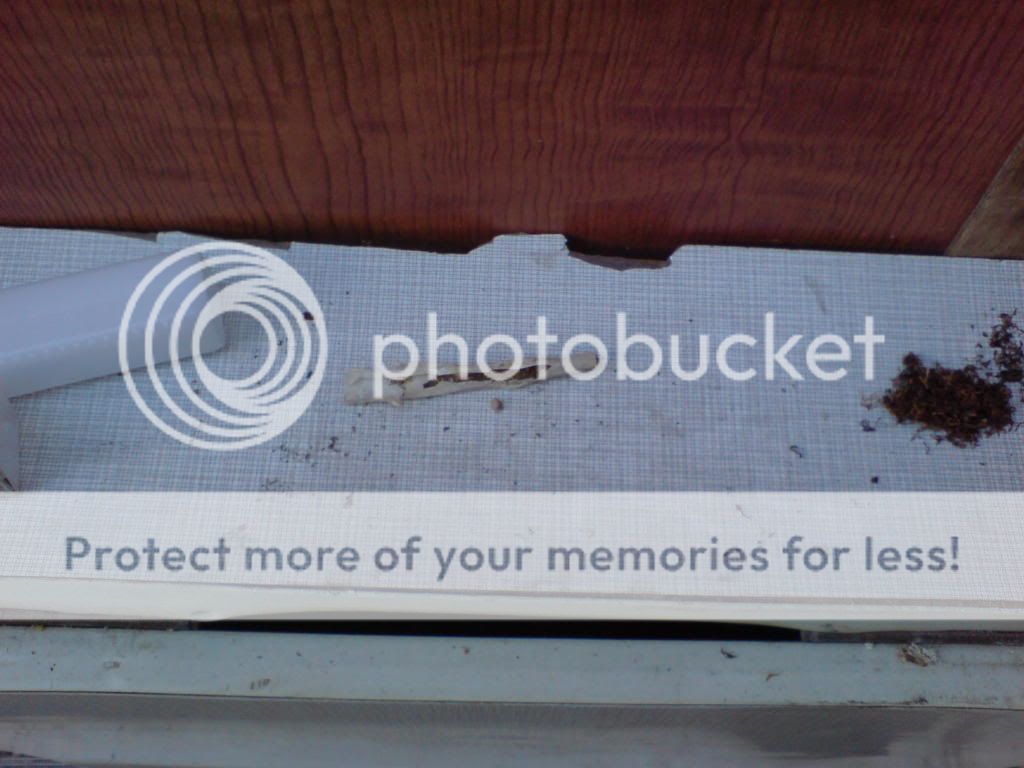
Bought a '71 westy two and a half years ago in the full knowledge that it would need a wee bit of work to get going. thought i'd get some summer fun with the weans in it, but then we bought a house and work became very busy ( i build dry stone dykes and other stone work)...so the van has until last week been in a sorry state, actually it is in a sorrier state now that i've taken the engine and gearbox out but at least it is in a garage and not outside with a too small tarp on it.
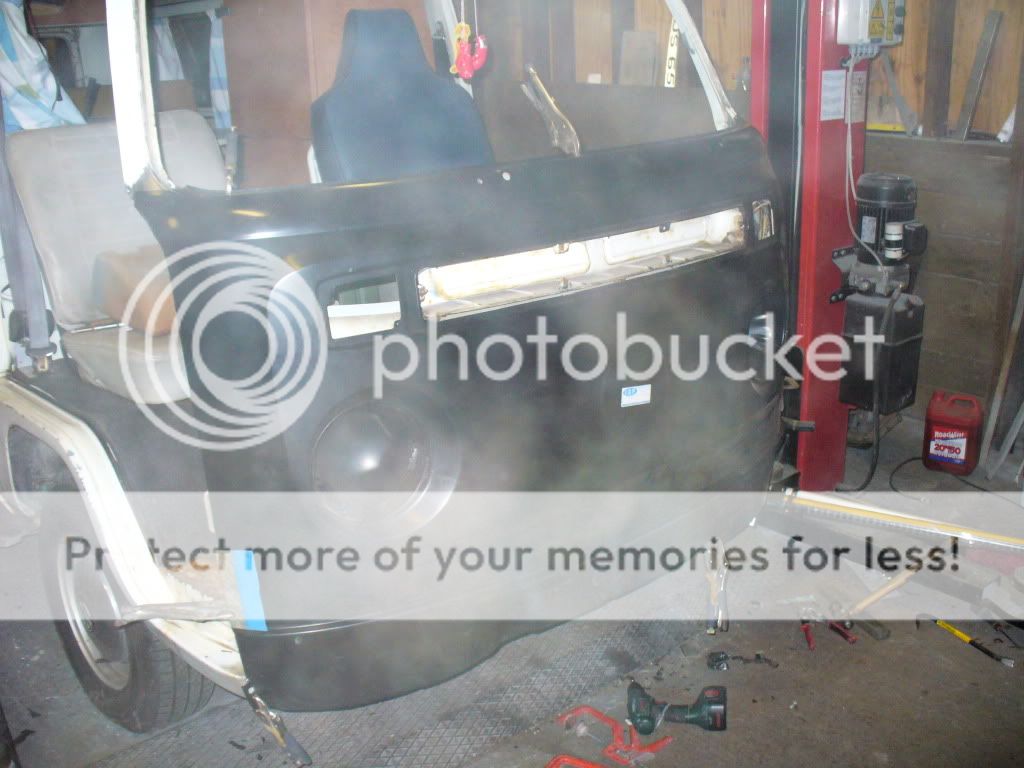
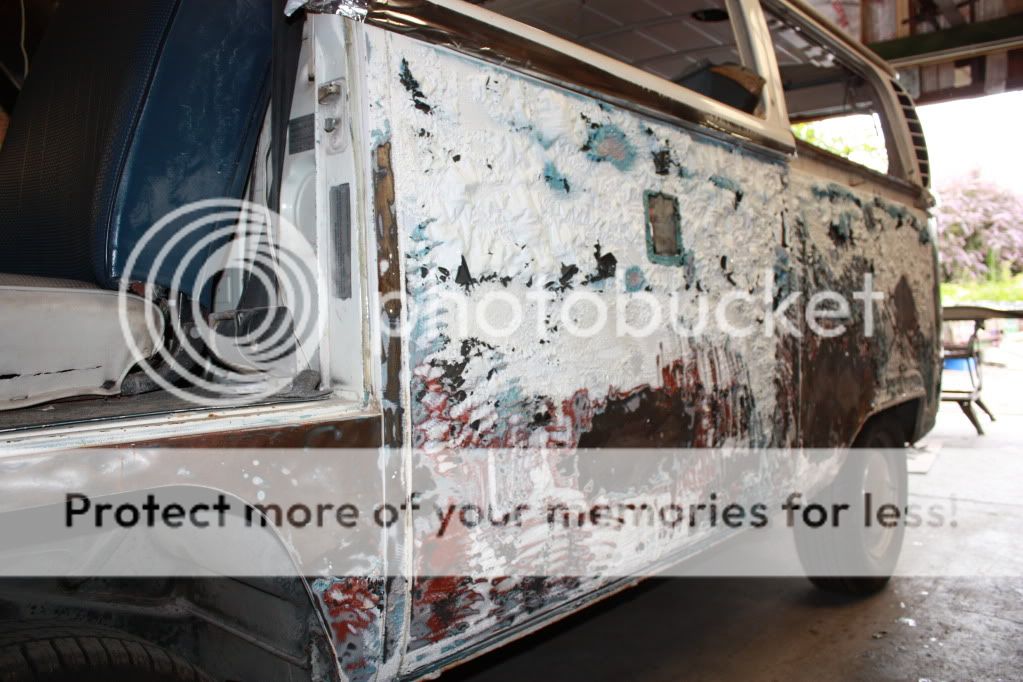
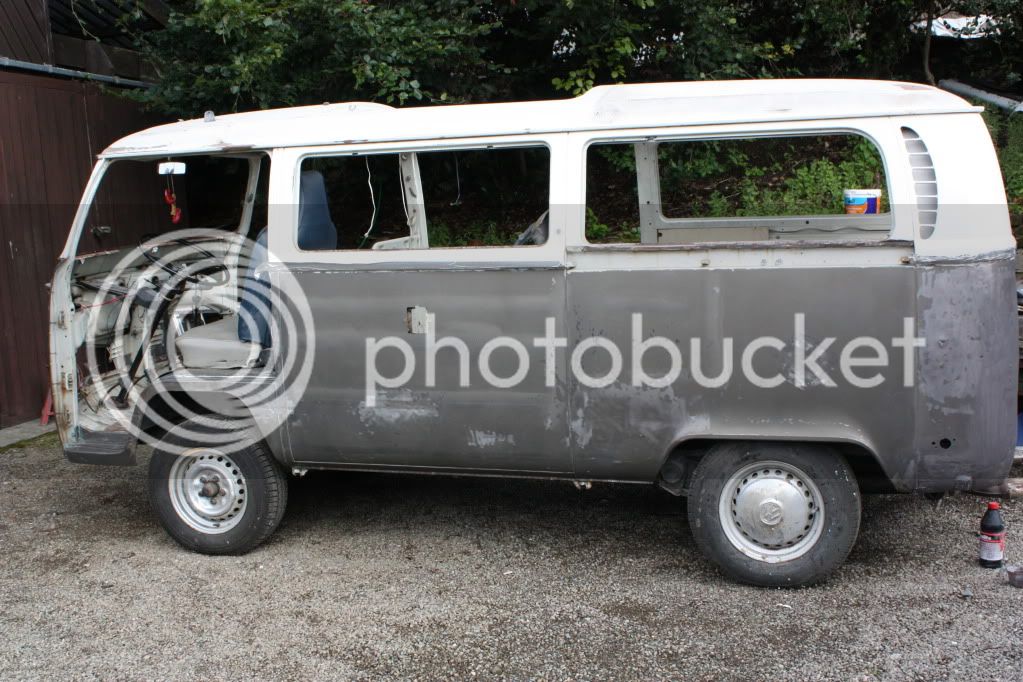
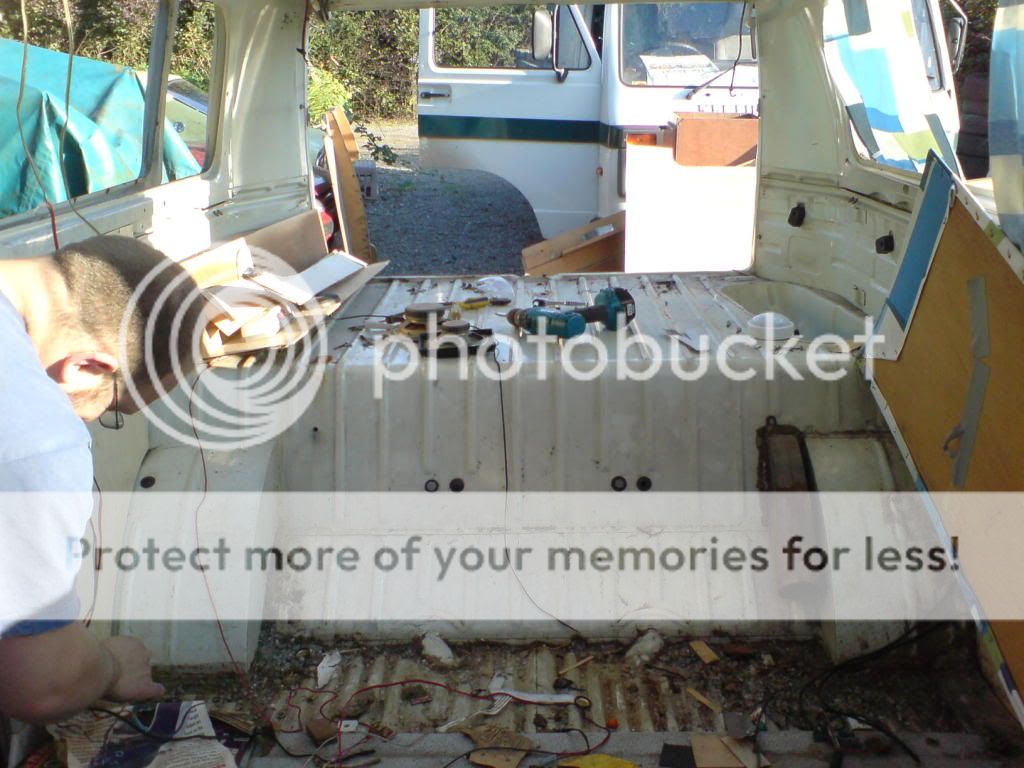
I don't know what to do with the van i.e. fix it and drive it and enjoy it or fix and sell. I didn't pay a lot for it but because i've srtipped it it is going to cost a lot to get on the rad, i'm sure i'm not the only one to have started a small job and torned it into a full resto.

So happy days here we go....
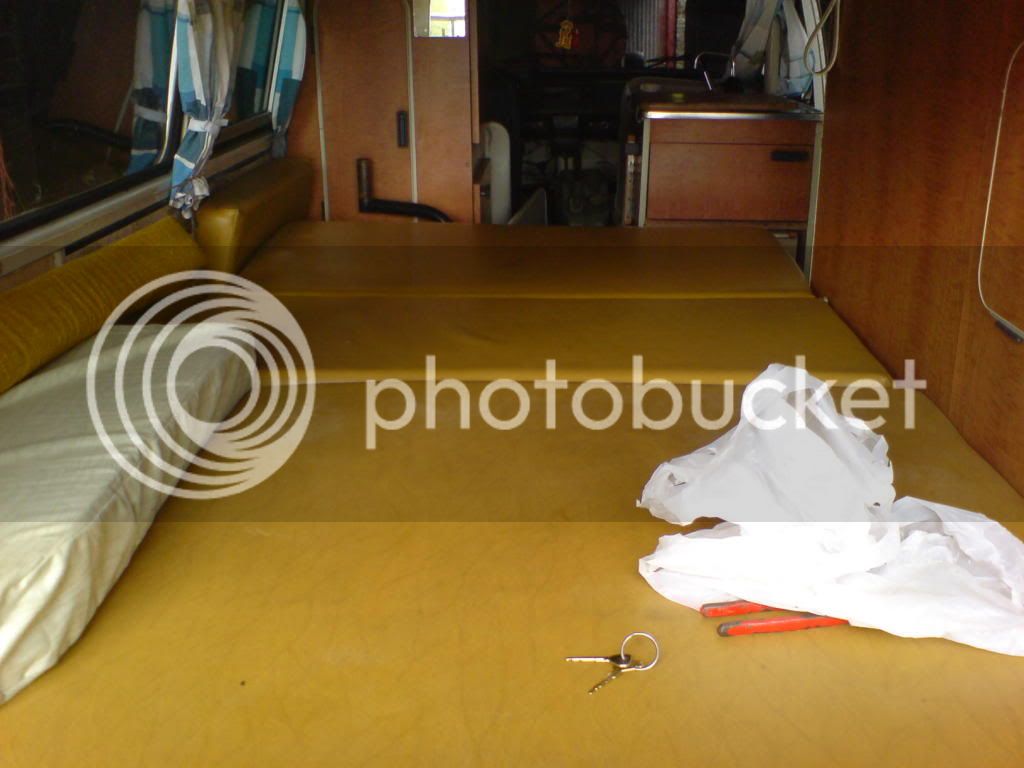
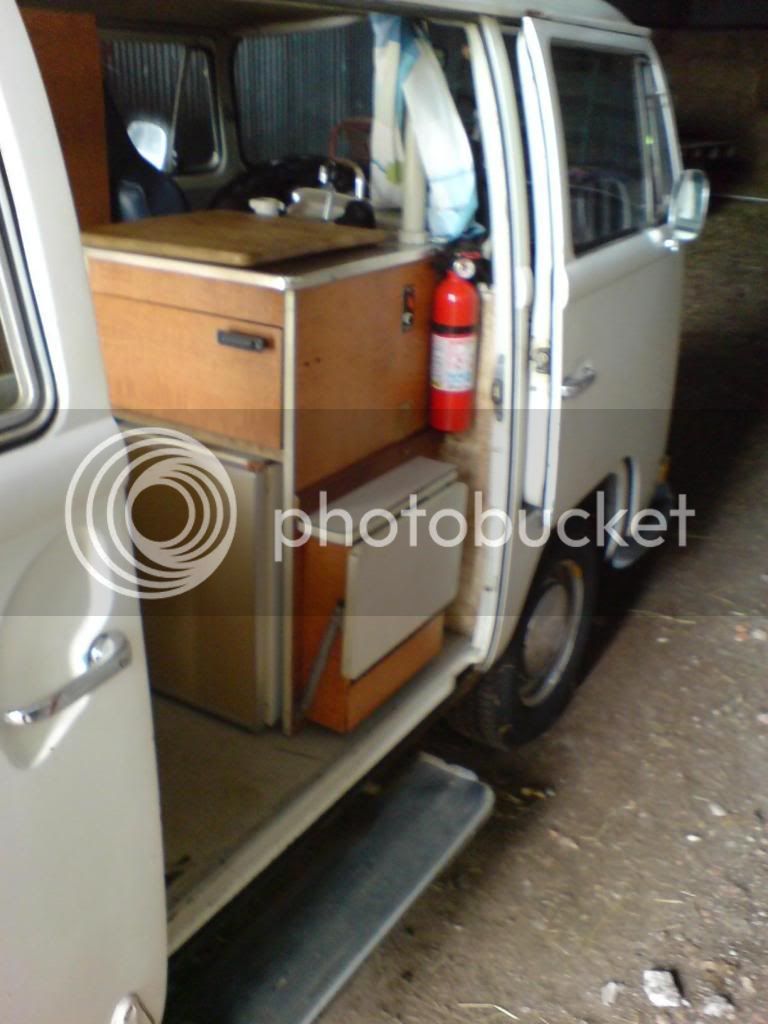
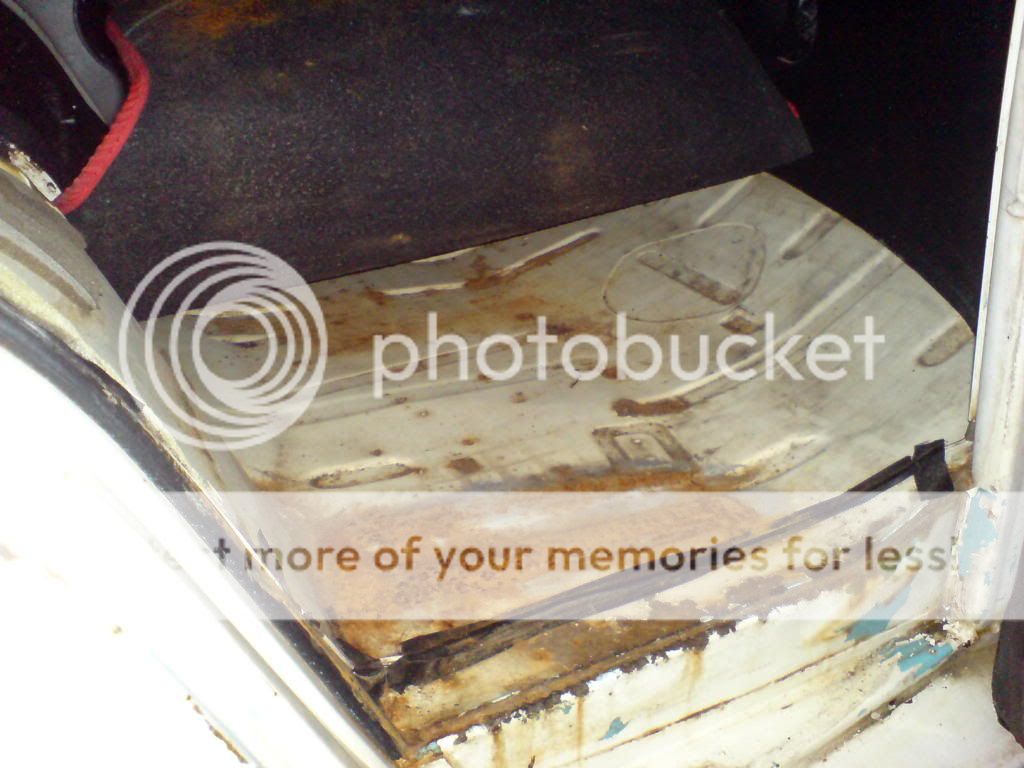
westfalia30.jpg

westfalia4.jpg

westfalia1.jpg

westfalia2.jpg
 
im very interested in your opinions about te best way to proceed. perhaps i should show the story so far...

the van looked pretty solid..there was signs of some filler here and there but it was a californian import so didn't have rotten holes all round it. the front panel was the worst with streaks of rust coming from behind the filler. i took a screw driver to it to find a mess.
westfalia19.jpg


so we (me and parkneuk restorations) chopped it off

westfalia12.jpg


the wiring was a disaster too. there were two ignitions in it. and both of them started the van. out it came with the idea to rewire and fit a new front panel. a bit of a rub down and paint and on the road i'd go....
westfalia41.jpg


but the fraser left me alone with an angle grinder and i was keen to see what the paint was hiding so i had a wee go at the rear corner
westfalia38.jpg


at this point fraser reckoned i was a dickhead but if i was going this far i'd have to make a proper job of it and therefore strip the roof windows and interior soo..
westfalia23.jpg

westfalia36.jpg

there was loads of stuff in it including this wee number under the passenger seat!!!!
westfalia37.jpg


i like to think this was vintage californian, but the van had spent some time in amsterdam!
...
 
Hi,

Looks like a good project you got there.

Good job you didn't buy the rear hatch from me as it's a aug 71> so would not of fitted your <aug 71. They have different hinge bolt positions.

Good luck with your bus. :D Will watch your progress.
 
I had no idea that there were so many small changes to the styles of the early bays until i started looking on here. and still didn't realise that he hinges were different, so yeah that was a stroke of luck.

how would i find out the month of build then to avoid this happening again and to allow me to buy the right vintage of parts?

thanks
 
You can find out the scheduled build date from the M code plate, this plate should be riveted to the bulkhead behind the passenger seat, it will be painted over. In the bottom left hand corner there should 2 digit number with a single number next to it, what does yours say? I/we will have a look when it was scheduled to be built for you.

Your bus though is a '71 model year so thats Aug'70 to Aug'71

:)
 
excellent. the numbers are 23 5. an ominous numerological portent...

more and better photos on the way of the stage we got to before it sat outside for the best part of 2 years...
 
Is the panel badge buldge remaining or will that be getting cut and plated out too.......

looking to be a good front clip replacement so far.....
 
i should really have cut it out sooner but i might still. i much prefer the look with a chrome badge although this had a wheel attached before the question is is the bulge going to detract from the look that much?
 
Painted it does look odd but then if the spare goes up front its not noticed or some have modified the badge so it sits over the bulge flush to the panel.
 
the paint had to come off...


116_2583.jpg


IMG_0692.jpg


the funky swirls are angle grinder art1!

IMG_0684.jpg


IMG_0709.jpg


IMG_0704.jpg


sandblasted. 3 days of misery...

IMG_0053.jpg


a couple of dents

the repair shop in california seemed to prefer the drill a hole in it and the fill over the hole method of repair. so at this point all the filler was gone and lots of dents and holes were left. they were plug welded and ground back while i decided what to do. two years later i've saved some money and am i'm back on it.

IMG_0709.jpg

IMG_0077.jpg


IMG_0078.jpg

IMG_0080.jpg

116_2568.jpg


will post some more of the latest next week. lead loading the dents in the arch and pulling out the what looks like pellet marks...


IMG_0709.jpg
 

Latest posts

Top