OMX 461K - Cross Over Restoration

Early Bay Forum

Help Support Early Bay Forum:

This site may earn a commission from merchant affiliate links, including eBay, Amazon, and others.

Air Cooled Rookie

Well-known member
Joined
Jun 19, 2007
Messages
151
Reaction score
4
Location
Wiltshire
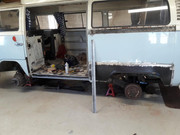
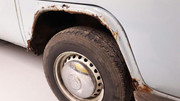
I've owned my van for about 16 years now, but after the last two attempted camping trips ended up with us being brought back on the back of a back down wagon, in June 2016 I just stuck it in the garage and tried to pretend it didn't exist. By October of the same year I came to the conclusion that I had lost my van mojo for good and that I'd stick 12 months MoT on it and sell it to someone who'd enjoy it. A quick poke round and I assessed that it needed a new front arch, a patch welded to one of the jacking points and a windscreen washer nozzle and it would go through the test with no problem. It turned out I was being incredibly optimistic :50: :50: :50:

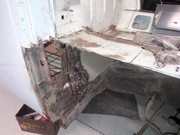
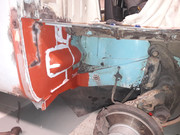
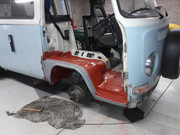
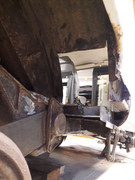
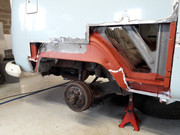
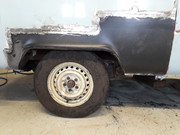
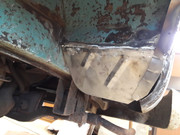
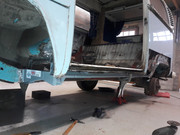
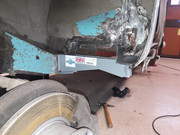
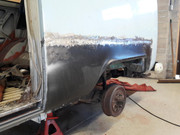
I started cutting the off side front arch off and replace it with one I'd bought a year or so previously when I was feeling flush (Cross over front arches are NOT cheap!).
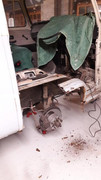
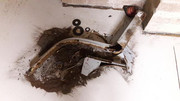
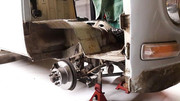
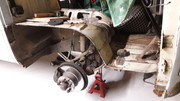


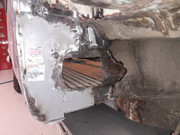
It became clear that the inner arch and seat belt mount had had it so I got busy with the angle grinder again.
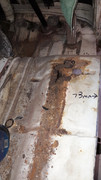
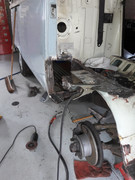


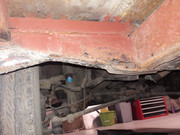
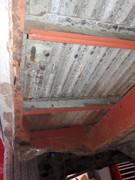
The more I cut out, the more rust I found, the B post outer panel and inner sill clearly needed work. I was beginning to realise that this was not going to be a quick job.
 
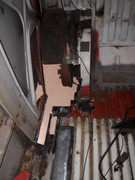
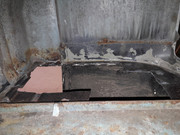
As I couldn't get a repair panel for the cab floor under the seat I spent ages welding patches into this, becoming more frustrated at trying to weld to lace whilst attempting to retain the original contours. In the end I ended up with a compromise between factory pressing shape and decent thickness of rust free steel. At least you can buy the seat belt mount so that was relatively easy :)


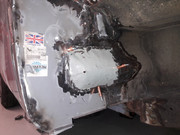
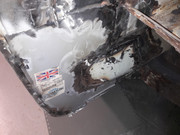
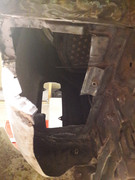
I also replaced the inner arch with a pre-made panel but the panel for the bulge in the frnt arch seemed quite expensive for what it was so I tried to repair what I had. However, it soon became clear that I would end up chasing holes with my MIG torch again so I cut the dodgy part of the bulge out and using a big hammer and the old one as a pattern/former I made a new one.


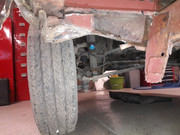
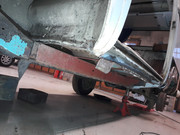
You may have noticed from the photos that by this stage the jacking point had come off as it needed more than the small plate repair I first thought. From picking up the angle grinder for the first time, repairs so far had taken about three months of evenings and weekends. As you will come to see, I am not the fastest worker....
 
As an aside, it amazed me that parts of the van could be so rusty, while literally millimeters away , under the underseal was factory fresh paint and unblemished seam & spot welds.


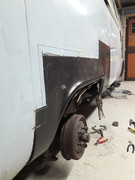
Anyway, finally it was time to trial fit the outer panel. This, as with everything so far, took longer than I expected.


Until finally :bliss:


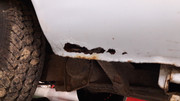
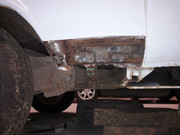
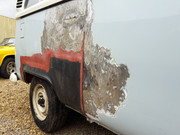
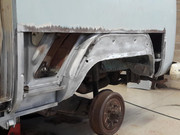
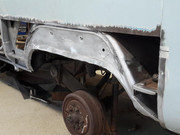
Once the front off side arch had been done I moved onto the rear arch, which had a small hole at the bottom next to the sill.


I also knew that the cargo floor above the rear outrigger had rusted through so this time I had a good idea that things in this general area were worse than they looked on the outside.


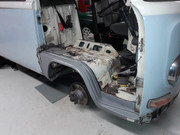
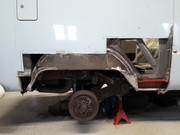
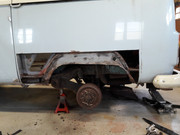
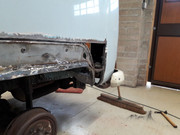
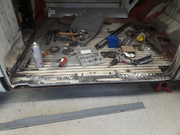
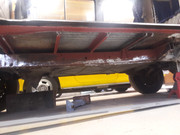
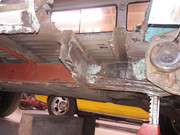
I really had to commit now by taking out all the interior. Then I started cutting, and cutting, and cutting. The rust just seemed to go on forever. The rear outrigger came off along with the top hat section above it, the rear jacking point and a lot of the inner arch.


Something I'd been aware of for a while was that at some time in it's life my van had been scraped down a post or similar, and had long, deep dents down it's side which had been filled. I was amazed at just how much filler had been used.


Although the rust in the rear arch did not extend far at all, I had to use the whole height of the repair panel at the front to enable me to cut out some of the dents in this area, hence the step in the cut line.


I have to say that I'm pretty disappointed in the quality of the rear arch repair panels. I don't know what they are like for earlier bays without the flared arch lip, but on mine there are significant ripples at the corner where the shape has been pressed out. From chatting to the guys at Schofields
I believe that they are all like this, no matter where you buy them.
At least you can get the outer aches though, unlike the inner arch. It was a right pig of a job to make up the curves in the inner arch to meet the outer neatly.

 
Moving back I found that the battery tray had also had it so that came out.


It was about this time that I had to remind myself that this was only supposed to be a bit of welding and a windscreen washer jet for the MoT. :?

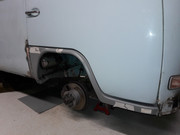
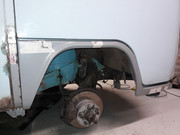
Once the battery tray was back in I got on with fitting the rear outer arch. Having a step in the cut line seemed to help here.


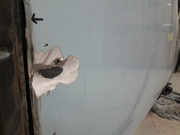
Here you may be able to see the dents in the side panel. On the top one I had to run the cutting disc down the deepest part of the 'valley' and pull the dent not as best I could before welding the cut up again. Not perfect - in fact the whole panel is a bit of a mess as the dents have created shallow ripples along the length of it, which will be horrendous to smooth out when the time comes - but it'll need a lot less filler than was in there before.

 
Great Read ... looking forward to see future updates [emoji106]


Sent from my iPhone using Tapatalk
 
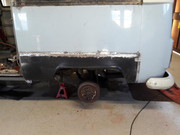
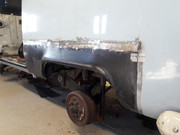
The near side rear arch didn't look too bad, but did have signs of corrosion starting in the lip and the clincher was the fact that someone had dented it whilst the van was parked in a public car park. So off it came.


Again, making up the lip on the inner arch was a pain which took several attempts before I was ready to fit the outer arch over the top of it. To be honest I'm not really happy with it even now, but it's all metal and no one will ever see it so I moved on.


Deja vu as the rear splash panel proved to be rotten on this side as well. Happily a cheap panel that's easy to replace.


To make sure that all the contours and bottom lip of the rear arch, sill and front arch all lined up I cut an awful lot of the van away and attached everything with self tappers and welding clamps first. This took ages; what started off as me removing the outer rear arch ended up with me moving forward down the van following the rust and the removal of the inner sill and front jacking point.


The inner sill had both rust and poor previous repairs....


.......so I took it off, drilling out all the spot welds from the top of the cargo floor. I strongly recommend spending a tenner on a proper spot weld drill to anyone doing this job.


Trial fitting the inner sill and front jacking point.


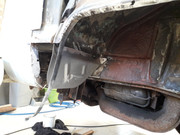
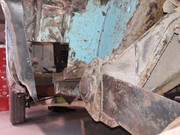
The rust had spread up the front inner arch as well. It was still a mess when I took this photo.


Back at the rear of the van the outrigger and jacking point needed work/replacing - of course. :roll:


Along with the front part of the inner arch

 
I'm certainly lucky with my garage. Built about 3 years ago after a life time of working on the drive, in cramped single garages or a filthy old cattle shed, it's the culmination of about 20 years of planing and saving and a very understanding wife.
 
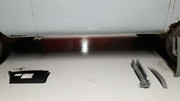
Looking through the photos of the van I found a photo I took at the beginning of this job showing the panels I thought I'd need to fully sort the van.


:lol: :lol: :lol: :lol:
 
It's been a while, but as I said at the beginning of the thread I'm not the fastest of workers. However progress has been made, even though it's been slow. I must confess I'm not too proud of end result with the his inner arch, and it falls squarely in the category 'Sound but not pretty', something I wanted to avoid. However I needed to move on, and as no one will ever see this part of the van again I went with it this time.


The outer arch finally went on ok and allowed me to align the curve of the outer sill correctly, and from that the alignment of the B post outer repair panel. Definitely one of those stages of a job where it seems like you make huge progress in a short time after weeks of seemingly hardly any.


Latest posts

Top