PumpKINstien

Early Bay Forum

Help Support Early Bay Forum:

This site may earn a commission from merchant affiliate links, including eBay, Amazon, and others.
Very nice bus there 8) It reminds me of the Panzerfaust bus that the Volksworld crew rolls around in.
 
Nick-Rackham said:
From memory (and I'm going back over 25 plus years) the adjustment on coilover shocks is not designed for height adjustment (although I am always willing to be proved wrong!) but to adjust the preload of the spring which in turn stiffens or smooths out the ride. The springs have a spring rate curve which allows at "normal" adjustment to take bumps without being too harsh, yet progressively gets stiffer the more it's compressed. Therefore, by lowering the bus by slackening off the springs to allow the bus to settle lower will effectively soften the suspension, as will compressing the springs to raise it a little increase the harshness of the ride. This will need to be balanced by the adjustment on the dampers to effectively dampen the change in spring rate. i.e. too harsh a spring rate and too soft damper setting will have the bus wallowing after a bump

So the point of all this rambling, which could be complete cr*p (memory isn't what it used to be!) is don't set the ride height by the coilovers, set it by the rack height adjustment, and tune the ride comfort by the spring adjusters in conjunction with the damper settings :)

Hope that's helpful?

Good post and I agree with what you said, but...just so I didn't sound like an idiot... ;)

This is from the Red9 description of the kit...

It is adjustable for height using two methods. The first is a coarse adjustment on the 4 bolt holes. This give 3”, 4”, 5”, and 6” drop. Then there is approx. 1.5” on the coilover which makes a possible total of 7.5”! Fine adjustment can then be carried out using the coilover.

Stiffness is adjusted as our other coilovers using the knob at the bottom.

So... based on that description, there is a height adjustment available on the coil overs AND stiffness is another adjustment all together. I could be wrong... I'll know more in the coming days.
 
Adjusting the 2 lock rings on the damper alters the ride height. The spring is under the same load (compression) whether at the top or bottom of adjustment. That is the compressed length is the same. Therefore adjusting the lock ring effectively lengthens or shortens the damper.
 
Right, Updates...

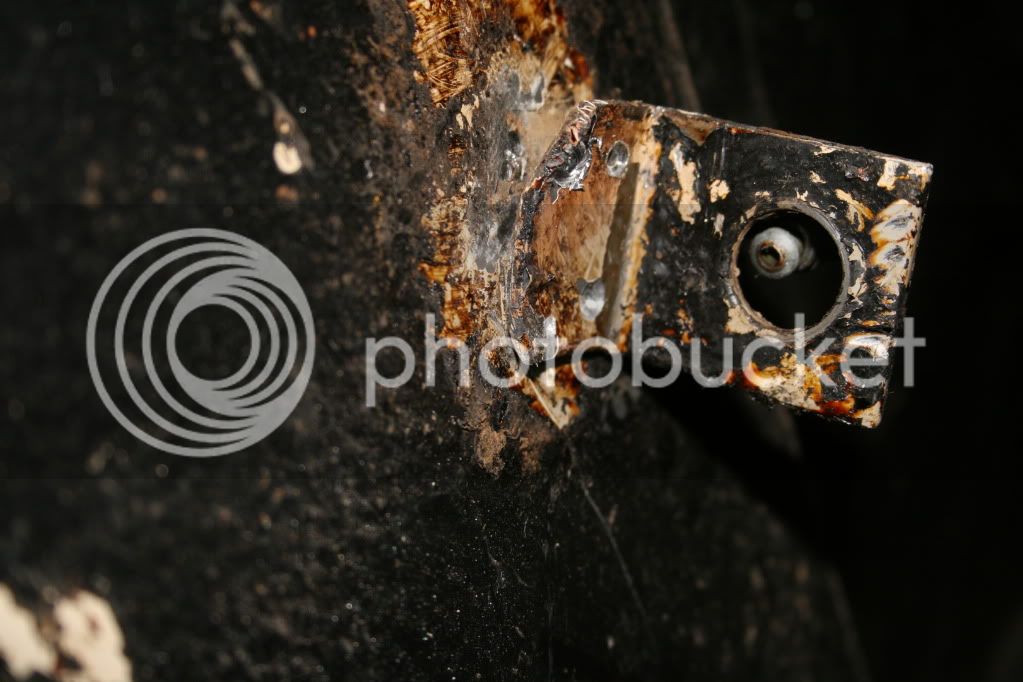
With the beam off I'll document my findings in another post I started work on removing the brake line bracket as this currently fouled the red9 sideplate. I attacked it with drill bit a very large screwdriver and plenty of force.

IMG_6475.jpg


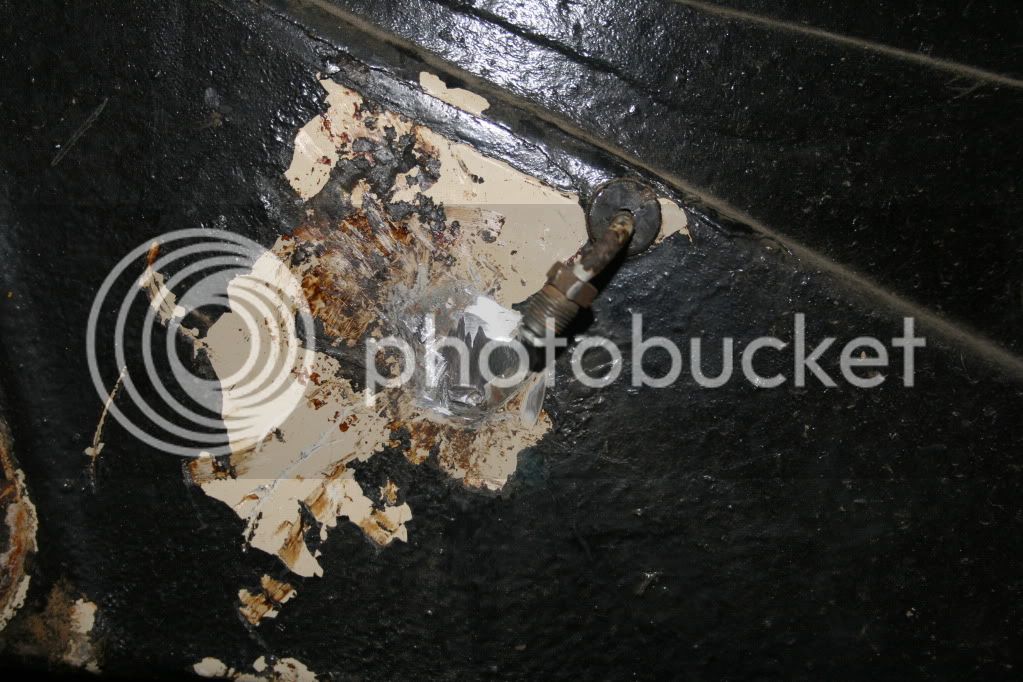
Bracket off, I grinded it down, also original paint underneath 8) I'll leave it as it is though...

IMG_6477.jpg


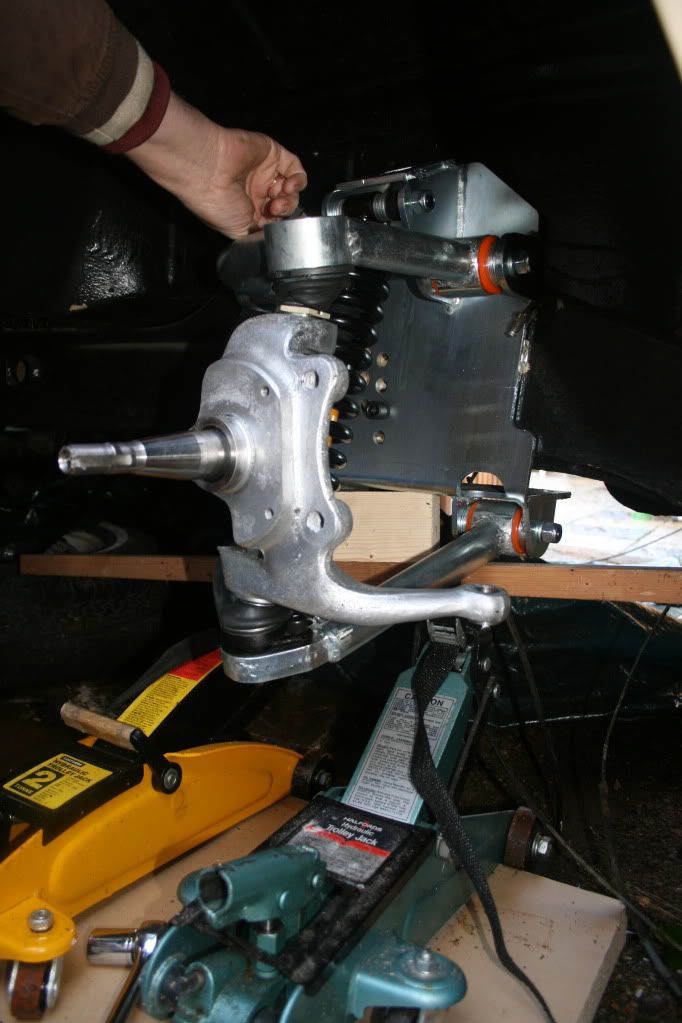
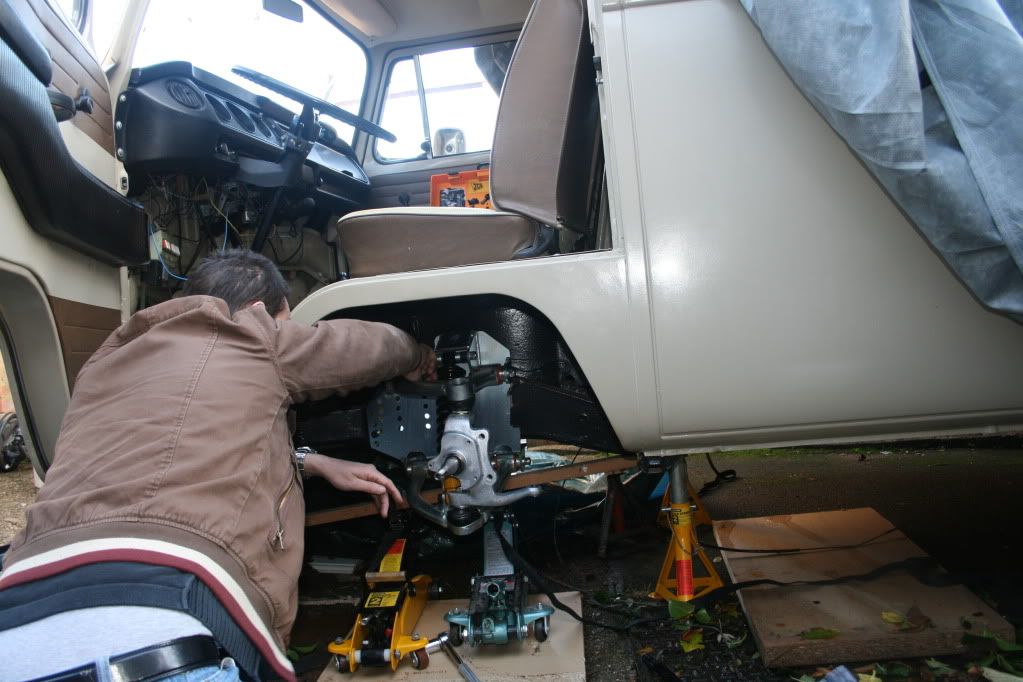
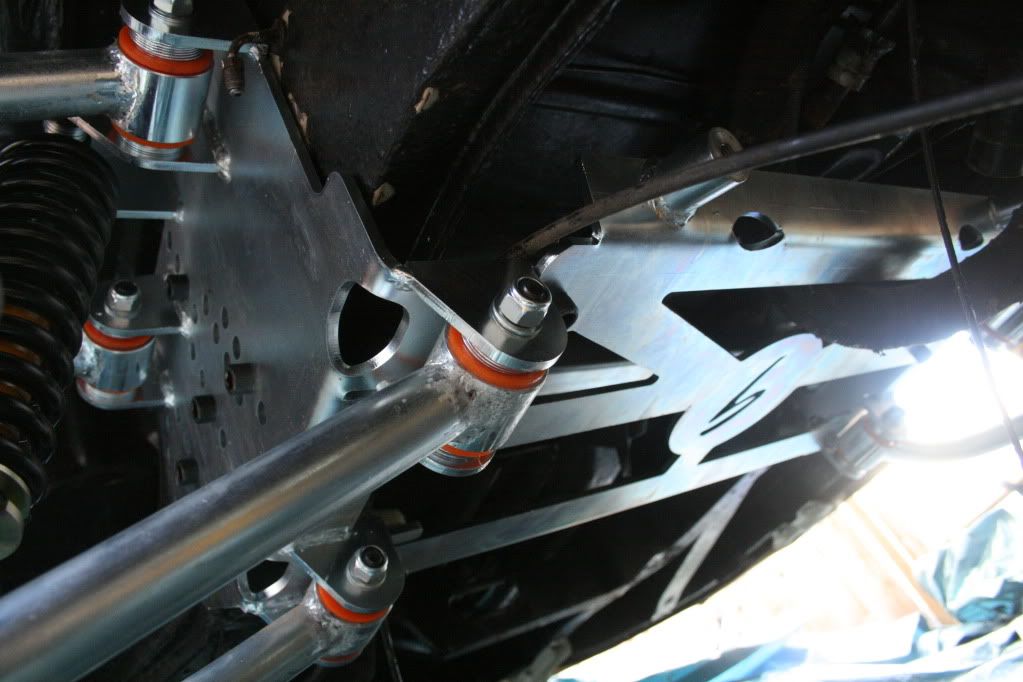
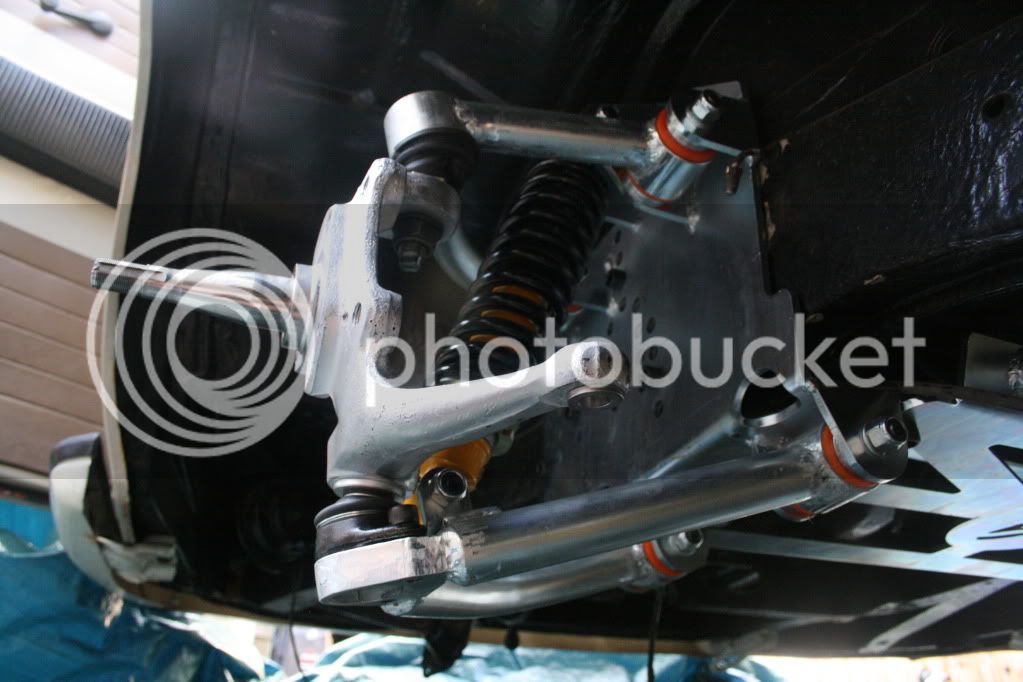
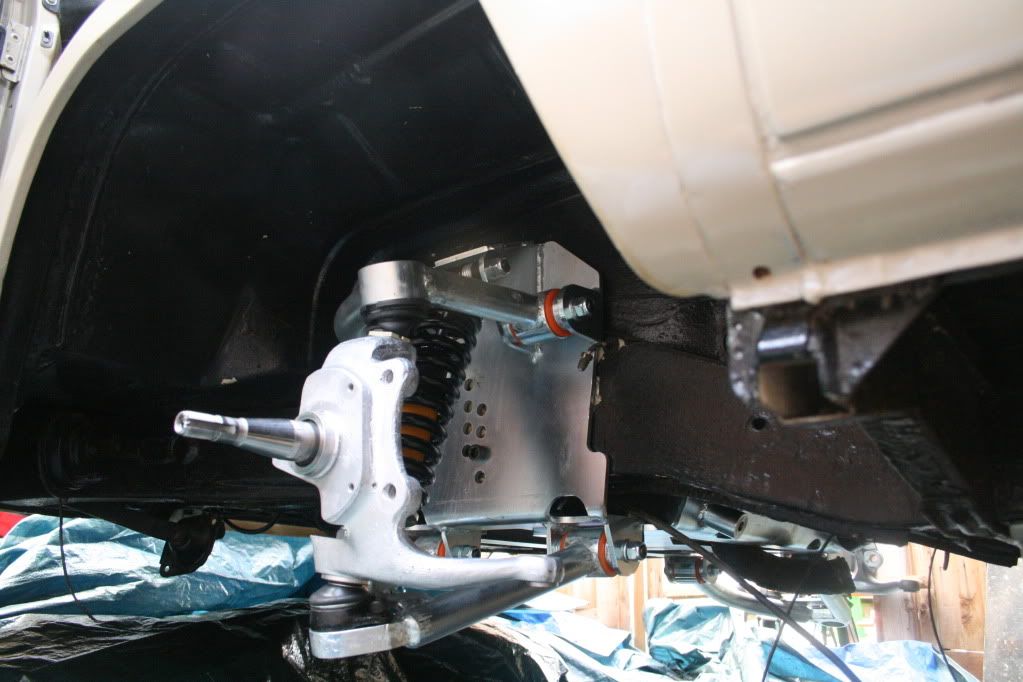
Mate of mine came round to help mount the side plates, with the A arms in place they are extremely heavy, not to lift but to get them in place and held there. We employed the use of jacks but in the end I crawled underneath the bus and rested the plates on my knees, pushed it into place then my mate popped in the bolts.

IMG_6479.jpg


We'd done both sides then realised we'd forgot the cross bar. There is no way it will go in with both side plates botled in place so they had to come off, then we noticed the plates needed to be shimmed each side :evil: Arghhhh, plates of again 1 shim each side per bolt.

IMG_6480.jpg


Anyway, we are getting there side plates, cross bar and the bottom plates all botled on, just need to hook up my brakes then the steering rack. Here are a few piccies.

IMG_6482.jpg


IMG_6483.jpg


IMG_6484.jpg


Noticed the piper work for the rear vents are fouling the bottom plate so this will need re-routing or modifying. All in all though a pleasing day.

Des
 
dubscum said:
really interested to see what the ride quiltys like when its all sorted

x2 "think they went a bit ott with the washers "
edit....... on second thoughts this could be for adjustment.Ive not seen the instructions :|
 
ground hugger said:
dubscum said:
really interested to see what the ride quiltys like when its all sorted

x2 "think they went a bit ott with the washers "
edit....... on second thoughts this could be for adjustment.Ive not seen the instructions :|

no, the washers stay there, there are hundreds of them lol


looking good though, keep us updated.

Mark
 
Mate that looks the dogs bolox i cant wait for mine to arrive
next friday simon has promised me!!!!!!!!!!
Keep the pics & tips coming i need as much as i can get
 
As the weather has been a complete dog recently I've not had much time to spend on my bus but Saturday was nice and sunny, the morning anyway!

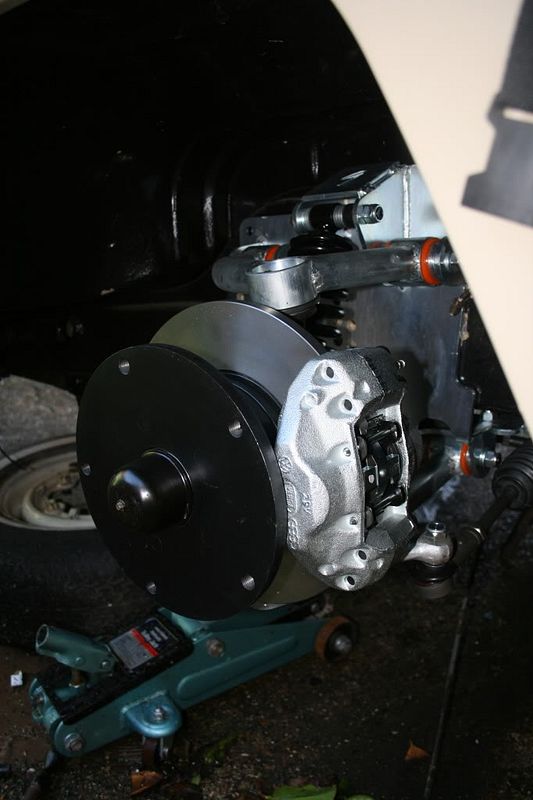
Cracking on I bolted greased up my bearings and bolted on my hubs/discs/calipers

IMG_6491.jpg


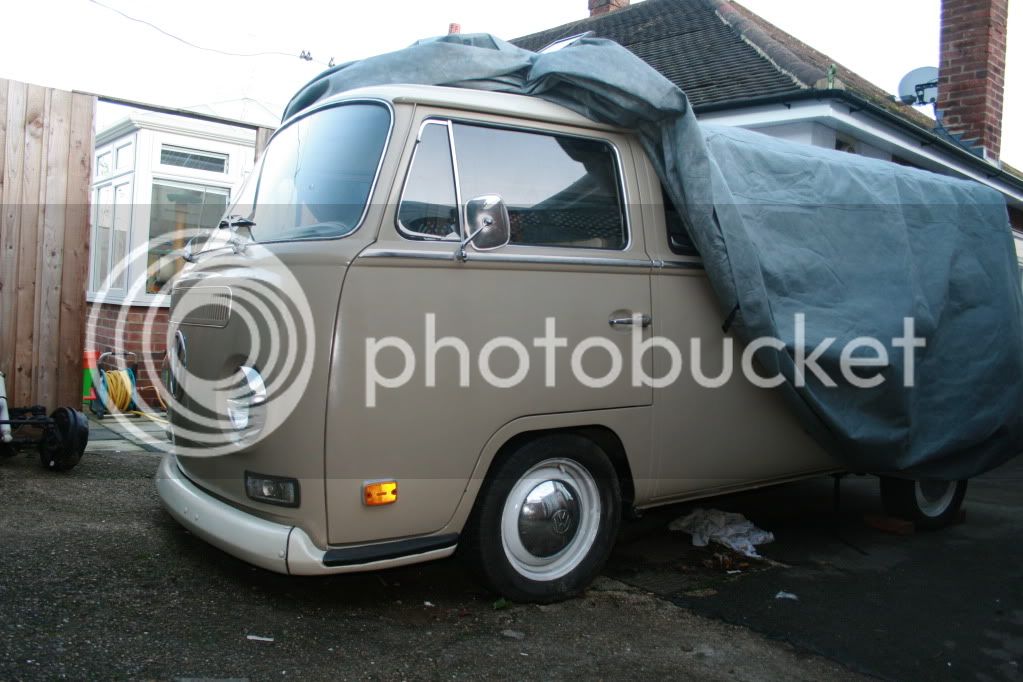
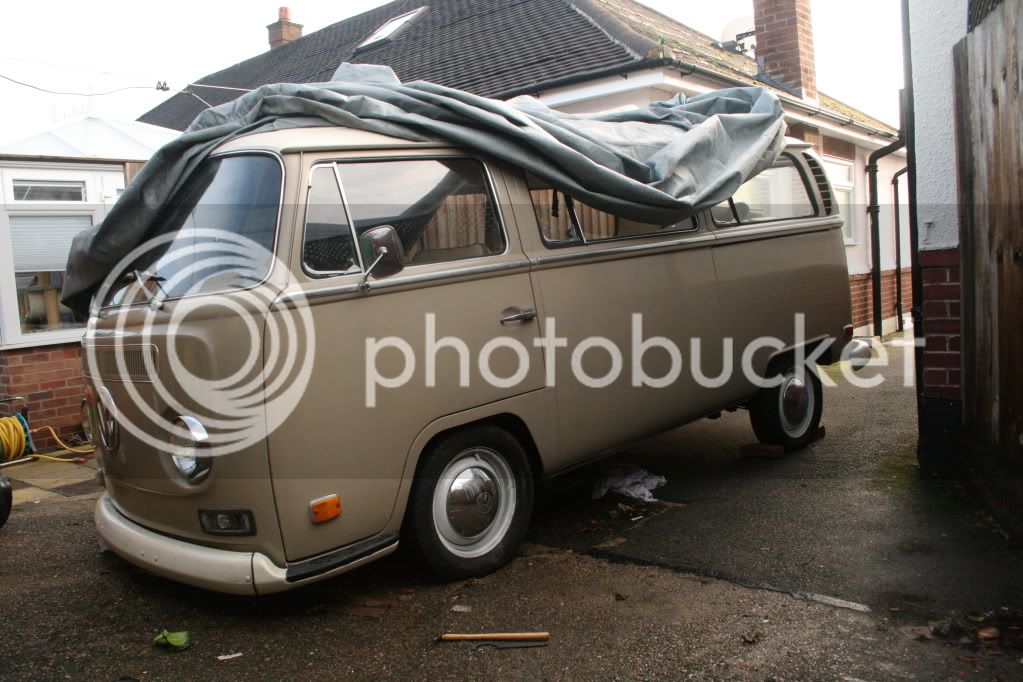
Slapped on the 15" steels, then lowered her down after 6 weeks on axle stands, note that there is a further inch available on the coarse mounts on the side plates, plus another inch on the coilovers.

IMG_6562.jpg


Check out the rake, need to mount my 4" springplates.

IMG_6495.jpg


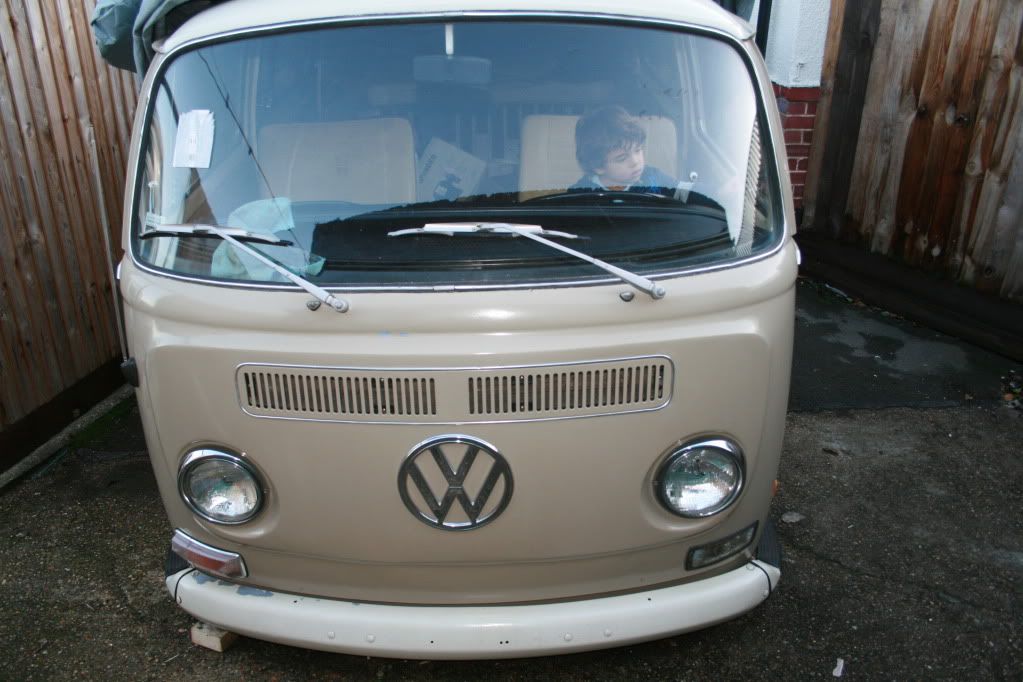
The wifes response when she saw it, "Bloddy Hell, your not drive it like that!" I also enlisted a little helper to get the steering wheel off so I can mount the rest of the red9 kit.

IMG_6561.jpg


Des
 
That is a beautiful bit of manufacturing. Love the red 9 logo on the underside. Good work bud.
 
lookin good ma man i'll get some pics up of mine
soon as i learn how to use that photoshop
thingy!!!!!!!!!!!!!!!!!!!
 
Will get some more pics up this weekend, been to damned cold to work on the floor under the bus so I concentrated on getting my steering wheel off, cleared out the interior then sorted out a few that I need to fit. Oh and ordered up a shift rod guide bush, boot and a urethane gearshift coupling (the original one had seen better days).

Des
 

Latest posts

Top