5erge
Well-known member
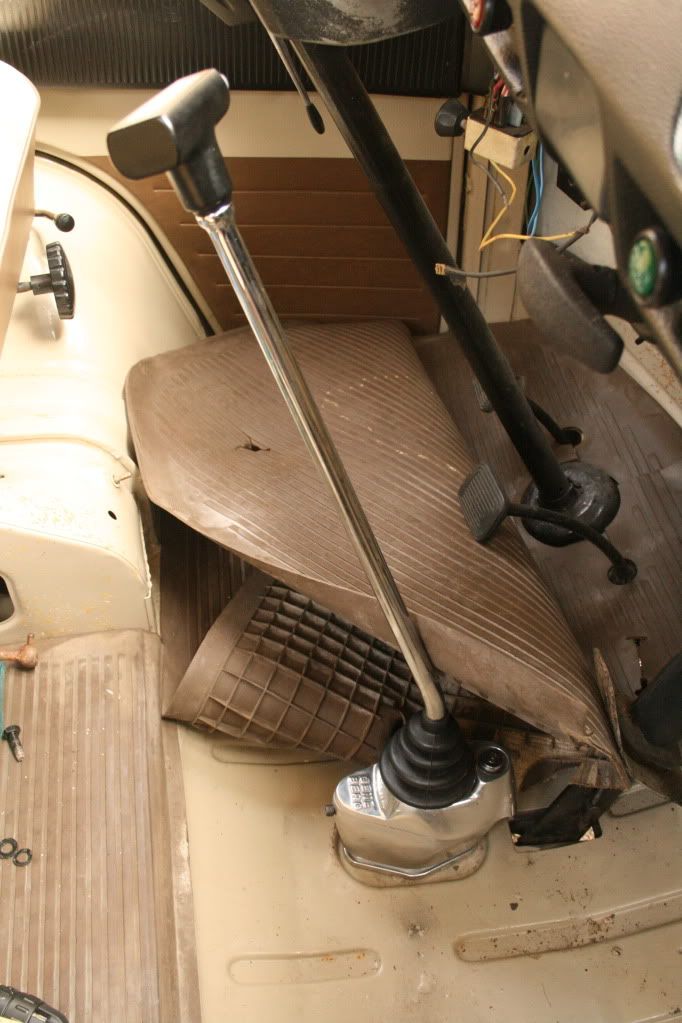
Some more progress;
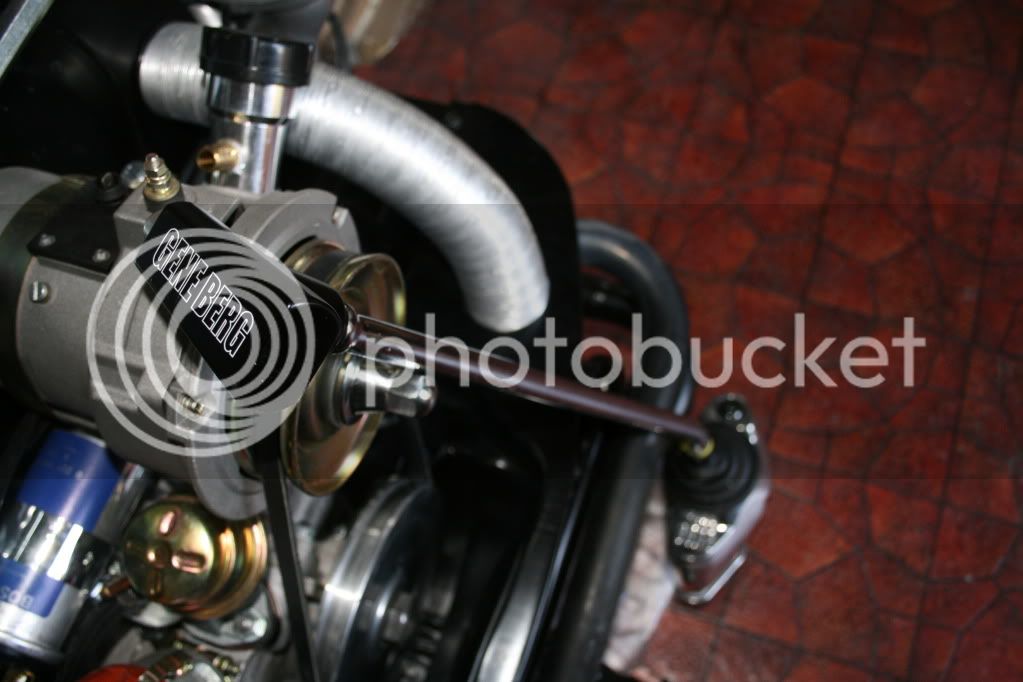
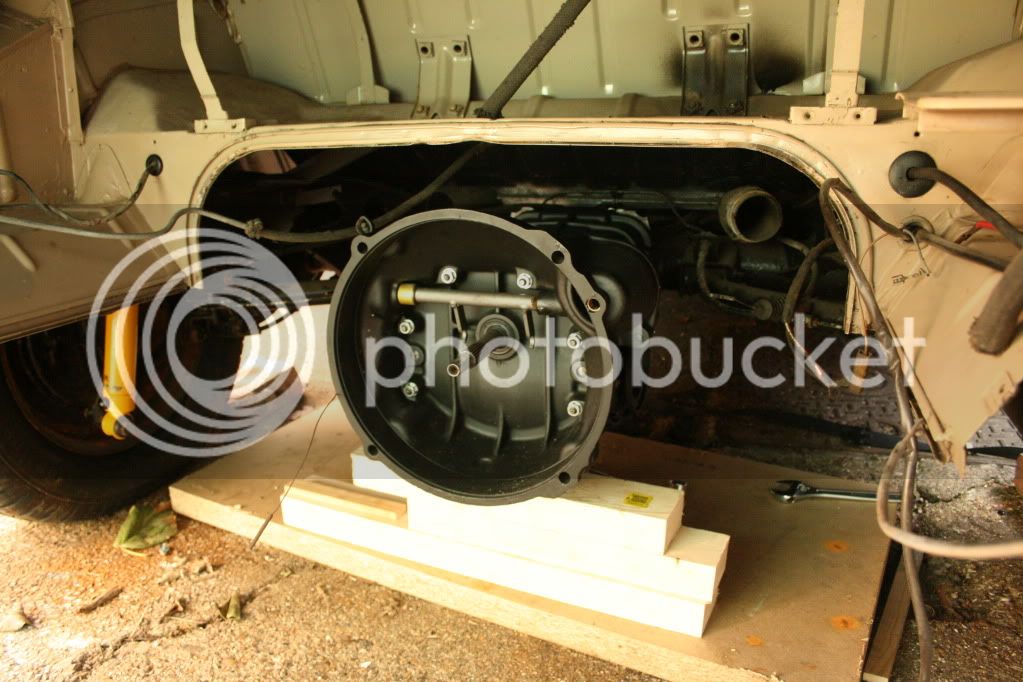
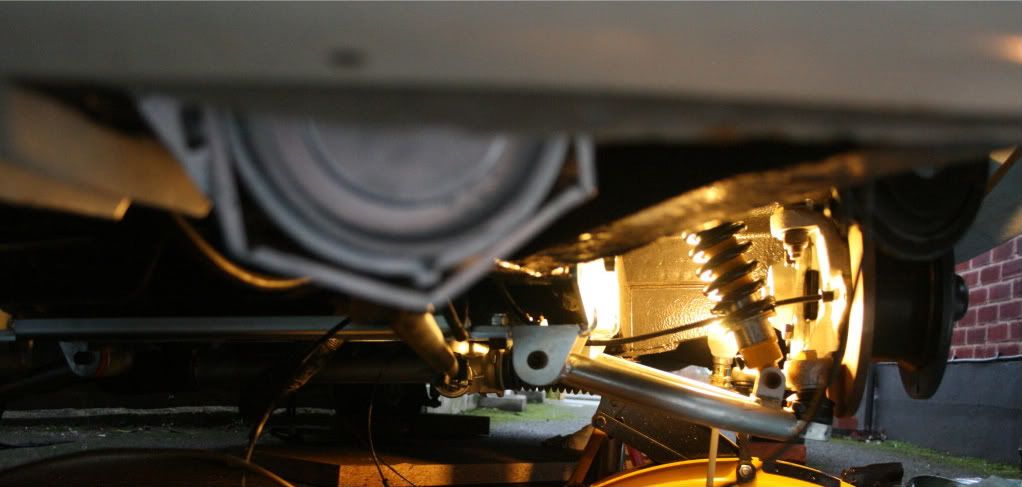
Removed the old steeringbox (not the easiest thing to do by yourself) then bolted on the coupling to the bevelbox/steering rack
Ignore the crap on the floor
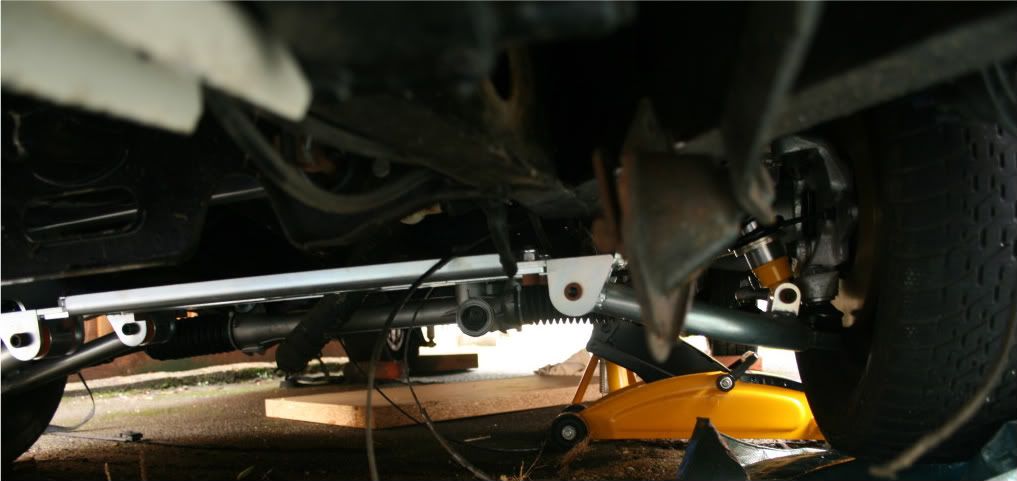
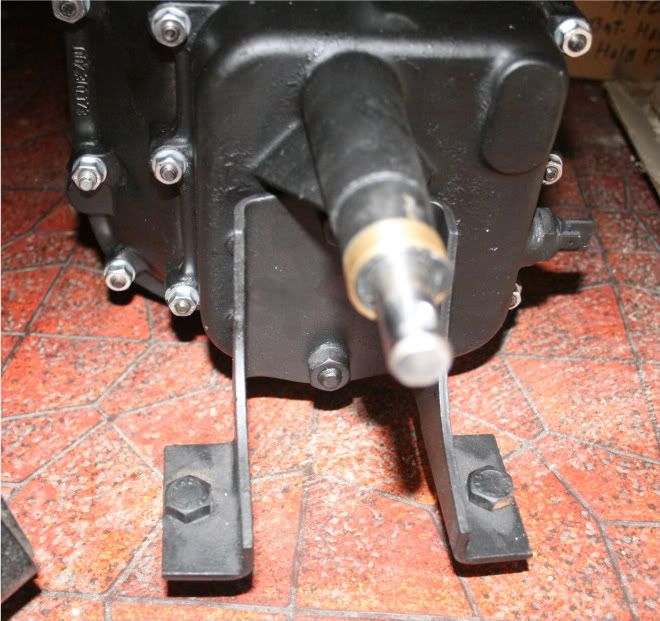
I wasn't happy with the front mount on the coupling so tried to remove it from the bevelbox and re-fit, during this process I managed to screw up the splines, so a quick call to Red9 and they are sending me out another one.
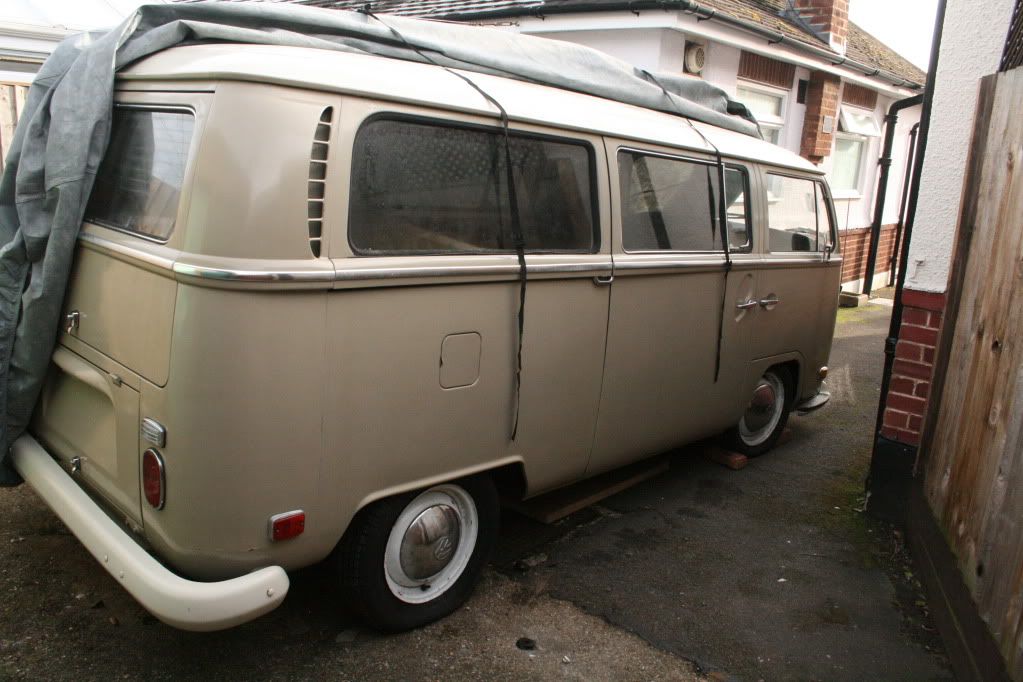
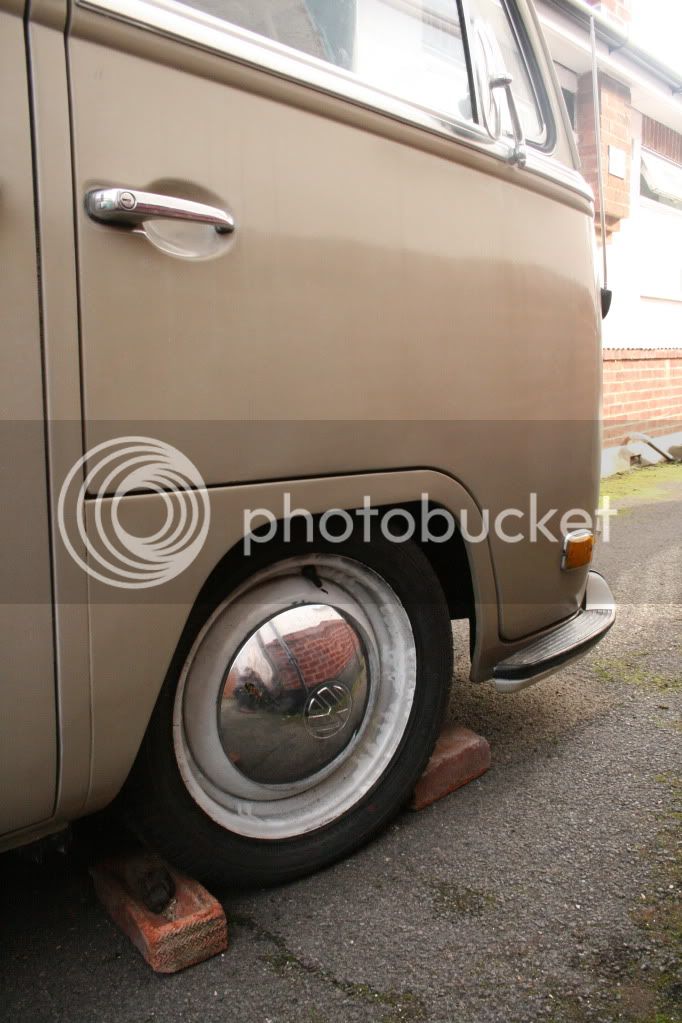
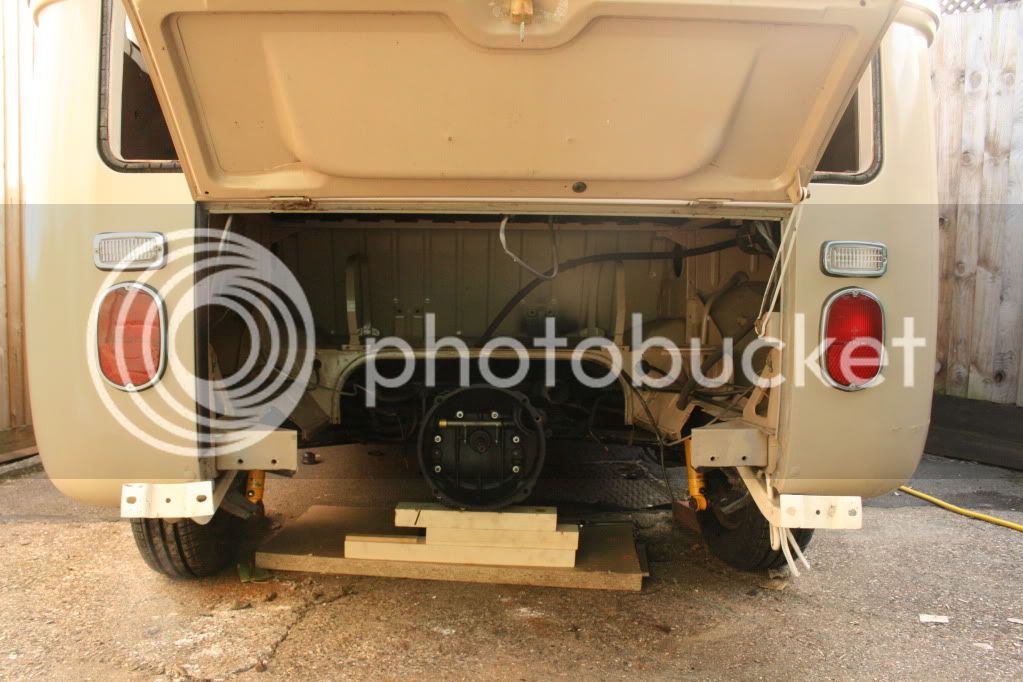
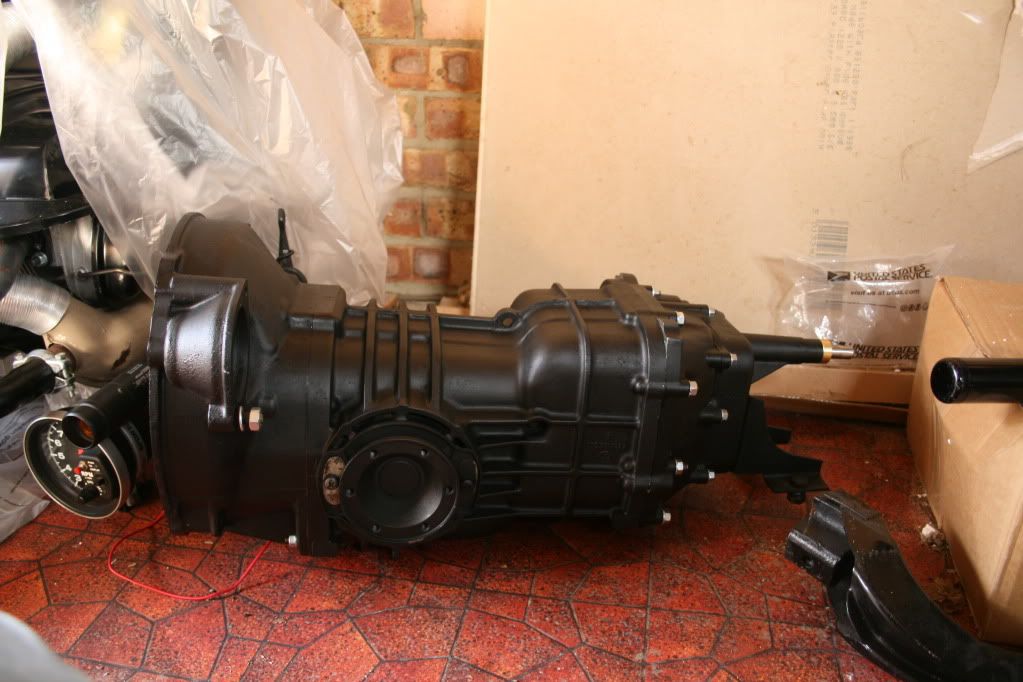
Next job; lower the rear and fit my Bears re-furbed gearbox
Removed the old steeringbox (not the easiest thing to do by yourself) then bolted on the coupling to the bevelbox/steering rack
Ignore the crap on the floor
I wasn't happy with the front mount on the coupling so tried to remove it from the bevelbox and re-fit, during this process I managed to screw up the splines, so a quick call to Red9 and they are sending me out another one.
Next job; lower the rear and fit my Bears re-furbed gearbox