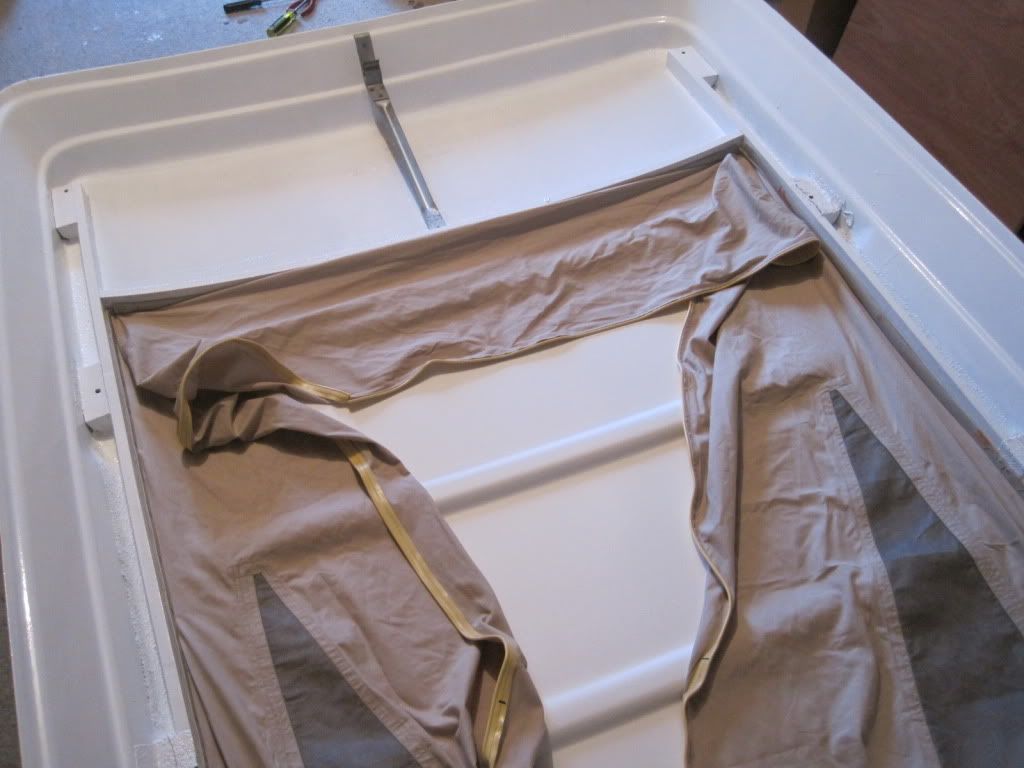
Roofs Off pics! (Now going back on with new canvas)

Early Bay Forum

Help Support Early Bay Forum:

This site may earn a commission from merchant affiliate links, including eBay, Amazon, and others.

simo

Well-known member
Joined
Jul 29, 2010
Messages
1,406
Reaction score
1
Location
Tiptree
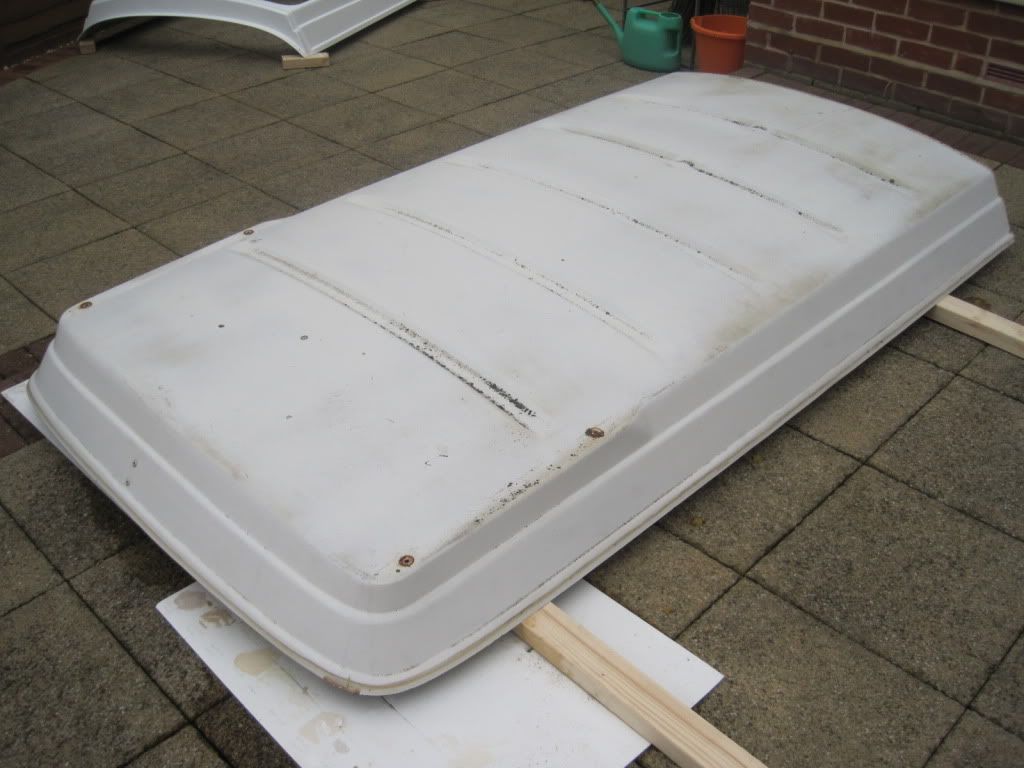
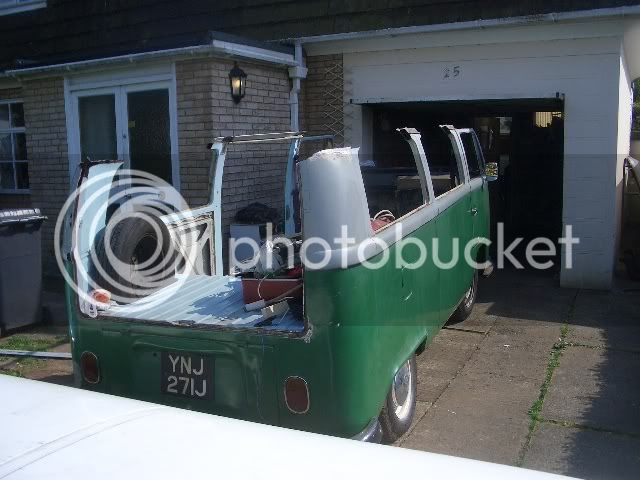
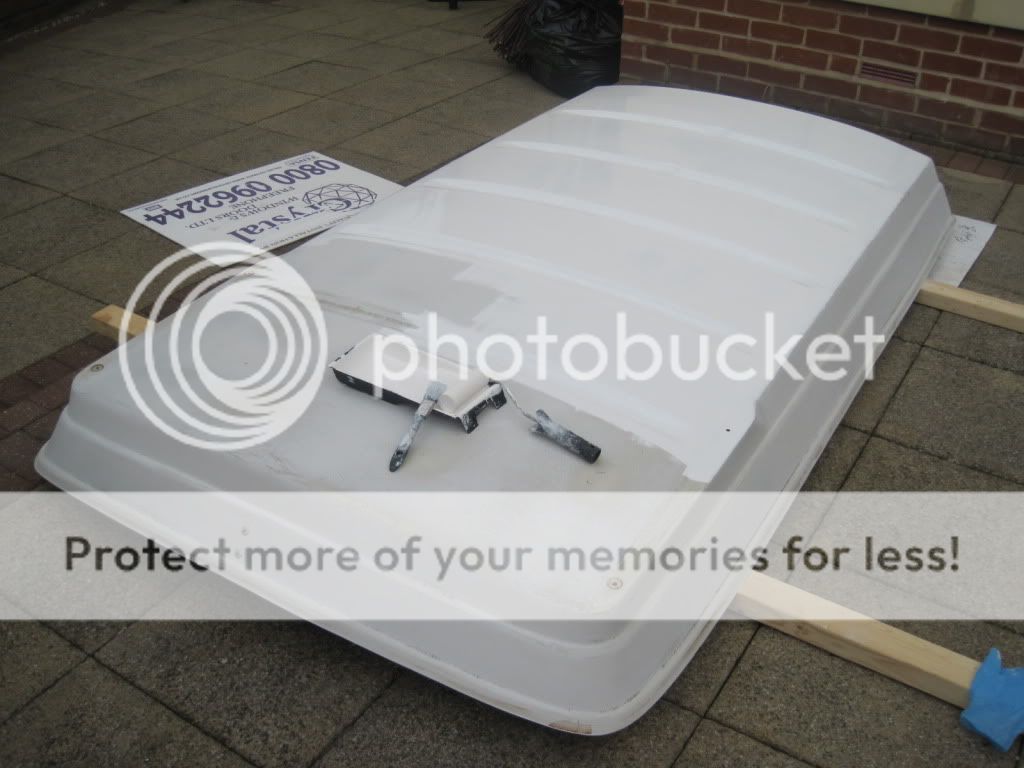
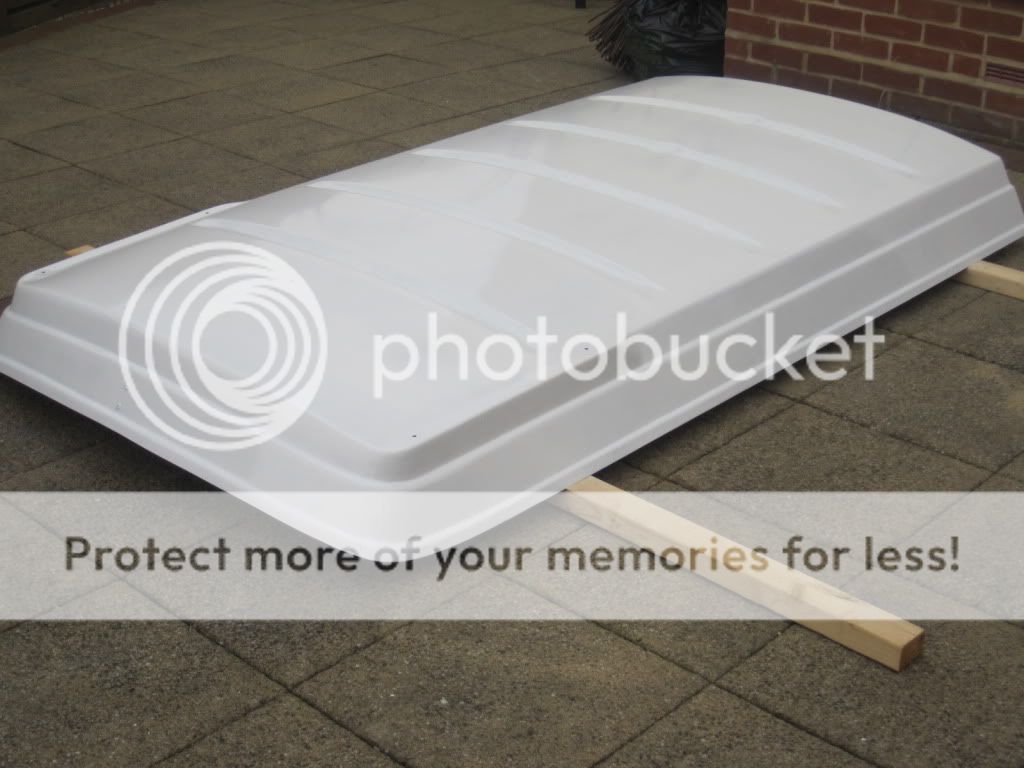
Roofs off for a tidy up :shock:
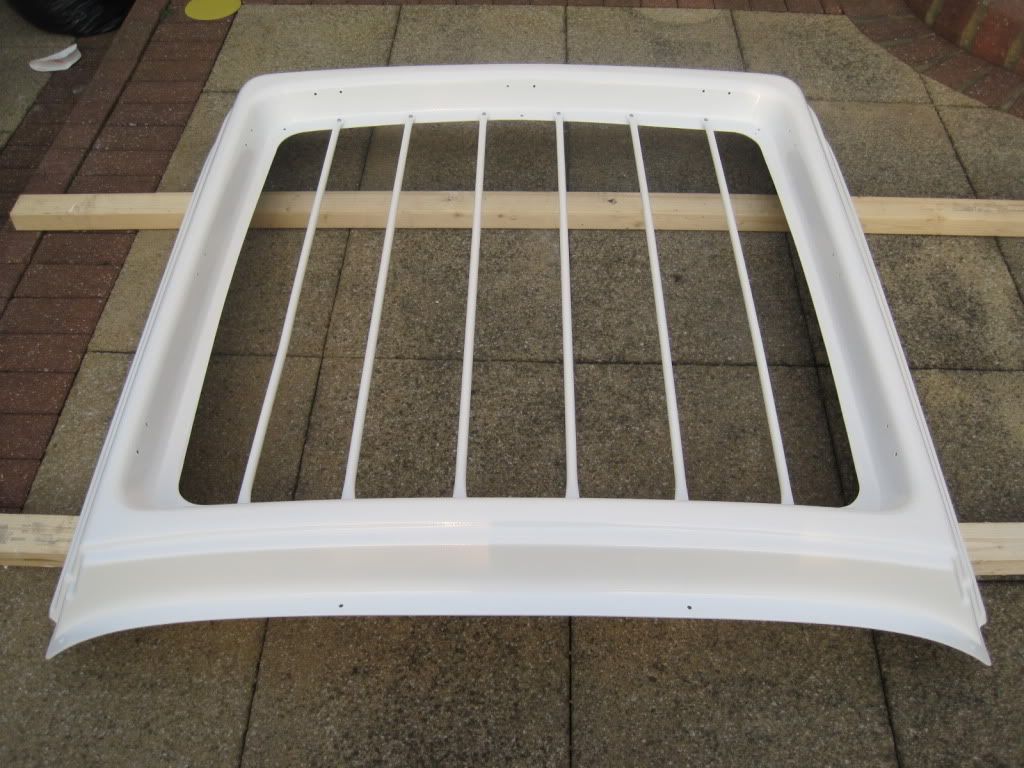
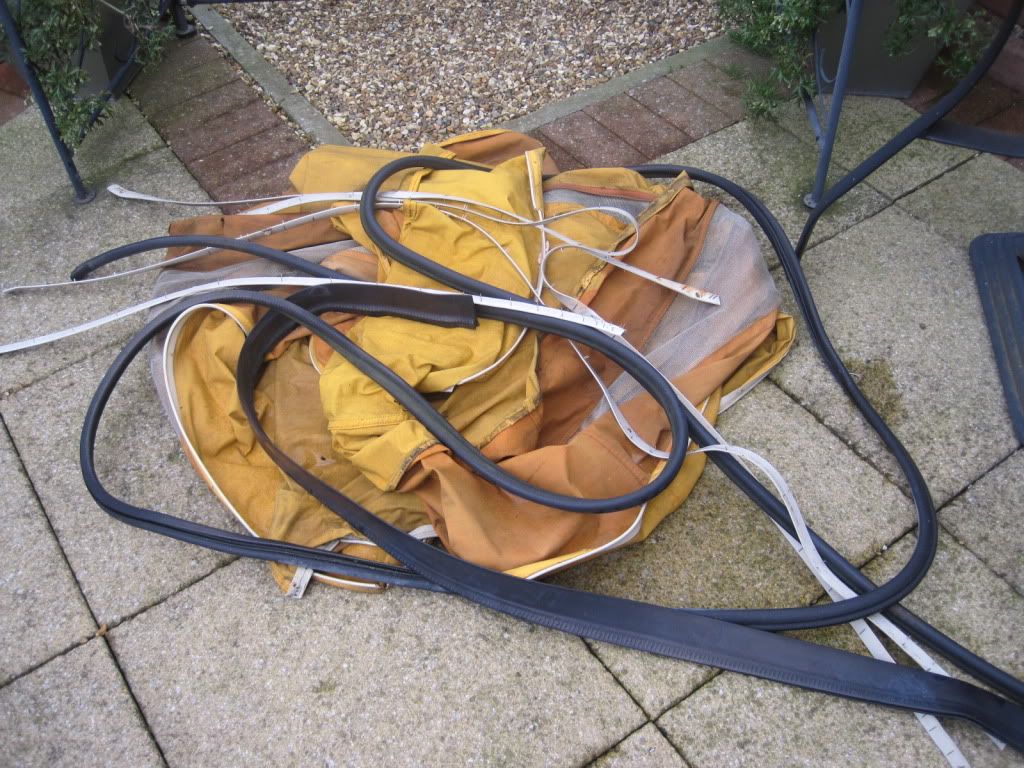
Bit of a challenge, rusted coach bolts, the metal srip on top of the roof had screws going downwards, upwards and rivets :shock: that was fun lol! Think i need a new fringe as well :lol: :lol: and maybe a new canvas :mrgreen:

march09037.jpg


march09038.jpg


march09040.jpg


march09041.jpg


march09045.jpg


march09044.jpg


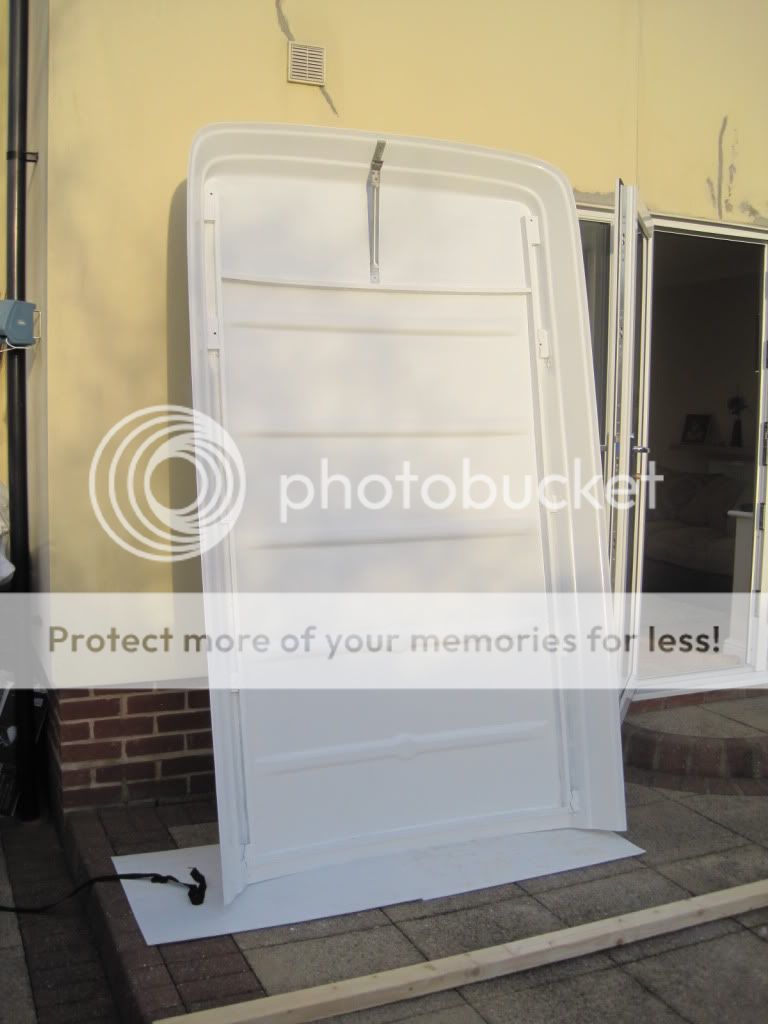
Am using a paint made for boats, which is designed for painting lockers and bilges etc, seems to give a gloss finish and using a roller is better than a brush. Paint is called Danboline by International http://marinestore.co.uk/PLYMA100-750X.html" onclick="window.open(this.href);return false;
and i bought the 750ml tin which i have thinned slightly and should be good for 3 - 4 coats of the whole roof i rekon!
 
Nice job you are doing there, how was rear/rack section fixed?
I need to do the same to my roof as fibreglass has discoloured and canvas
has seen better days.
I see you`ve removed the tie down bars on rack section, does any one do replacements?
Cheers Paul
P.S Let us know how paint comes out :D
 
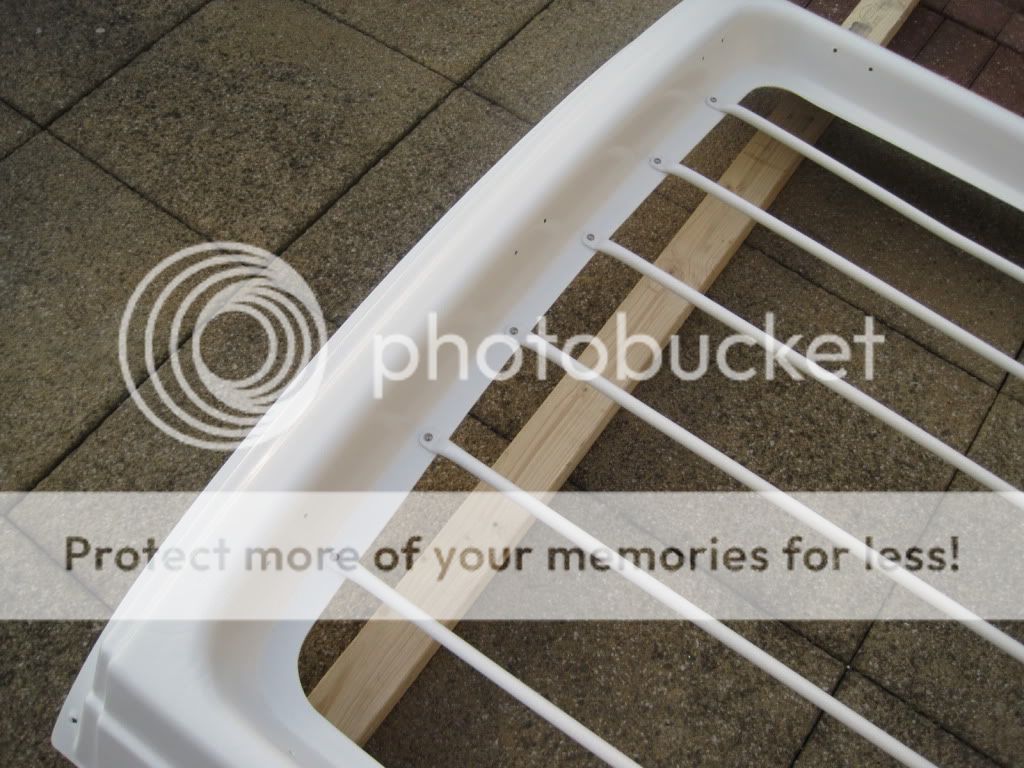
Hi m8 - the roof bars were riveted on so was acase of drilling them out and the same with the small brackets were the same. Most of the rivets still had the rusty rivet pins left in them but take your time ( you can tap some of these out, i used a masonry nail to knock them out before drilling the rivet)
one of my brackets was missing, but luckily was still under the rear section.
Not sure where you could get relacements tho but im sure someone out on EB will! ;)
 
CHILDSEY said:
Hey Tofufi, i hope you hav`nt done that just to get in your garage :shock:

I was going a bit fast when I tried to see if it would fit in the garage ;)

It's got a roof again now :)

CIMG9564.jpg


I really need to get on and sort out the bodywork... :?

Apologies for the thread derail Simo :lol:
 
CHILDSEY said:
Nice job you are doing there, how was rear/rack section fixed?
I need to do the same to my roof as fibreglass has discoloured and canvas
has seen better days.
I see you`ve removed the tie down bars on rack section, does any one do replacements?
Cheers Paul
P.S Let us know how paint comes out :D

Childsey - :oops: thought you ment the roof bars earlier but just reread your post and if you ment the whole rear section that is screwed down under the join of the 2 sections and 3 screws at the back, you can feel them if you put your hand over the top of the roof from the rear and these screws have large rubber spacers between them and the metal roof!
 
simo said:
CHILDSEY said:
Nice job you are doing there, how was rear/rack section fixed?
I need to do the same to my roof as fibreglass has discoloured and canvas
has seen better days.
I see you`ve removed the tie down bars on rack section, does any one do replacements?
Cheers Paul
P.S Let us know how paint comes out :D

Childsey - :oops: thought you ment the roof bars earlier but just reread your post and if you ment the whole rear section that is screwed down under the join of the 2 sections and 3 screws at the back, you can feel them if you put your hand over the top of the roof from the rear and these screws have large rubber spacers between them and the metal roof!
Yes Simo that was the section i ment.
Did it come off easy?
How does it screw to roof?
Sorry for so many questions, as need to know how tricky it will be :roll:
Cheers Paul.
 
Yes mate comes off real easy, as previous post just 3 screws where the roof bars are at the rear and 4 screws along the front edge where it meets the front section ;)
 
Bit more done , wasn't happy with the rear sections brush finish so flattened down with 1200 wet n dry and re-finished with a foam roller, better now :mrgreen:
Started on the front section now, gave it a couple of coats underneath first to clean it up and now working on the ceiling section before turning to the outside :roll:
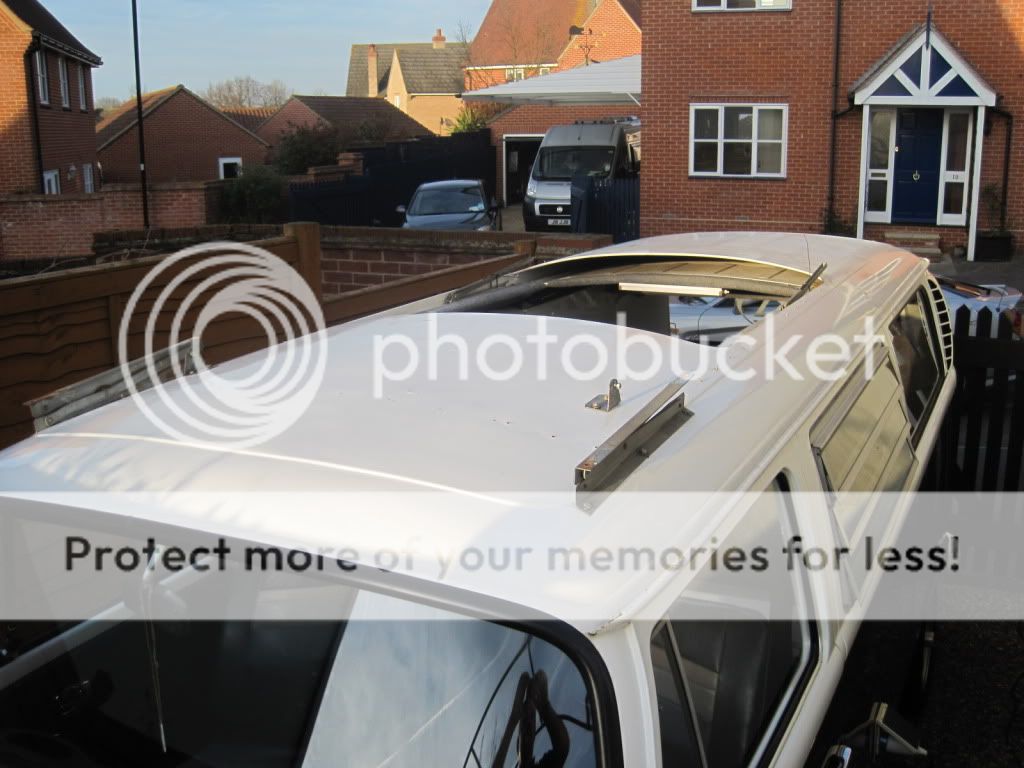
Had a look at the metal roof today, washed it down and started to t-cut it back to see what we got!

Q- have the roof hinges got captive nuts underneath if i remove them?
Q- Has anyone painted the insides of the gutters with something that would seal them and also prevent rust ( maybe hammerite ??)?


015.jpg


013.jpg


018.jpg


019.jpg


simo 8)
 
Bit more done this weekend- boring watching paint dry tho :roll:

001.jpg


004.jpg


005.jpg


006.jpg


Fitted the bas using stainless steel nyloc nuts bolts and washers - really must get round to jet washing that patio sometime :lol:
 
I'm doing exactly the same to my west roof at the moment and have not been stisfied with the brush finish that I am getting. I am buying a compressor and spray gun to do some work on the van soon, so was going to finish it off with that.How is the roller finish coming up would you say??

I used international toplac with a prekote base, so sounds pretty much the same as what you are using if it is for boats and GRP :)

I had the same where most of my coachbolths were rusted so they were ground off! and I had to repair some of the fibre glass tape on the underneath.

Tim
 
yes happy with it now, coming along nicely :D

Tim - i did look at the other paints in the range but chose this one as it was a basic one coat paint so not too complicated! :mrgreen:
i started with a brush but wasn't too pleased with the finish at the start. then added some thinners (not too much) and am not using a brush at all now! giive it 2 coats now with the foam roller, then flat it with 1200 wet n dry slightly and then do the top coat.
i think the trick is to roller a section on, then do the next section, then return to the previous one and with hardly any pressure ease the roller back over removing any bubbles etc!
You get better as you go along i think !!
I did buy one of them foam brushes that they seem to use on the boat finishes but havn't used it in case it all went wrong :lol:
 
Hi Simo,
Looks good so far, let us know how it looks after you`ve
top coated it.
I may have a go myself if you get a good result :D
It would save getting it sprayed!
Cheers Paul.
 
no worries m8, hopefully will be finished painting 2moro, get some pics up in the next few days.
Used 2 x 750 ml tins in the end @ £17 each :D
simo
 
Started on the new canvas - put the tack strips in place and drew a line all around the battens, then marked the centres of each side and also on the canvas. Then stapled the canvas to the line, first at the 4 centres and then at about every 6 inches. Then stapled the tack strips on top

001-1.jpg


002-1.jpg


003-1.jpg


005-1.jpg


008.jpg


009.jpg


006-1.jpg


simo
 

Latest posts

Top