OK I didn't get gang green and rot... although tomorrow took a while to get to.
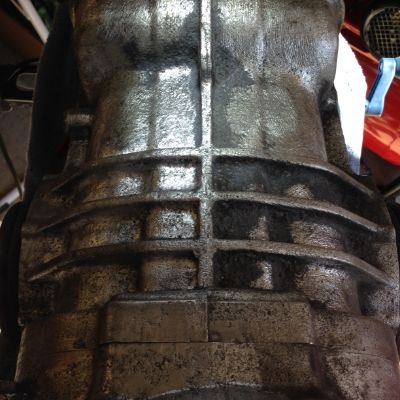
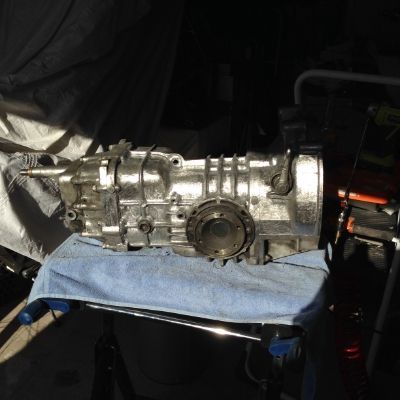
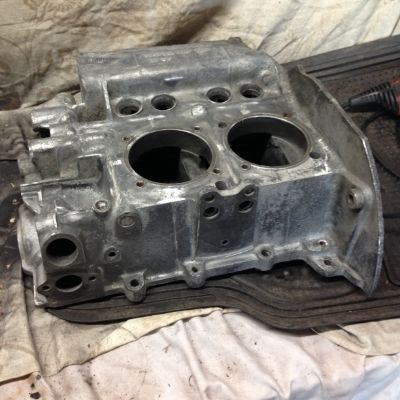
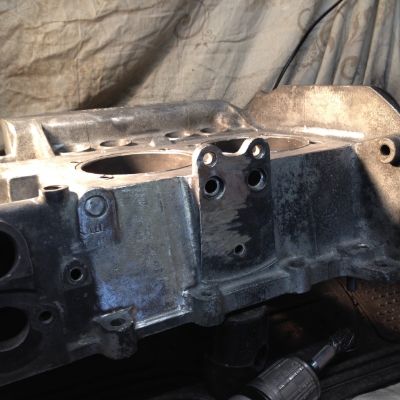
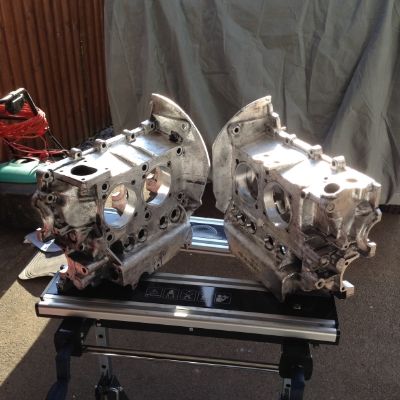
Here are the polished engine cases as promised.
Still got a little more to do but got other priorities for now...
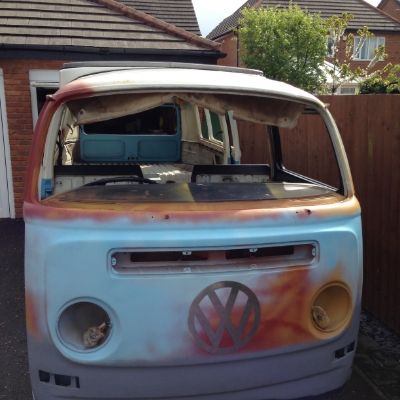
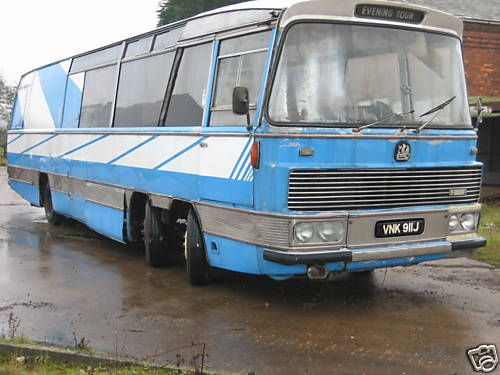
I have been looking into the bodywork and investigating the best way to resto and make it last, chatting to a few people media blasting has too many cons for me to consider, however it was an option.... I could sand it down... but lets be honest, that is a ball ache!
Chem dipping.... back to metal, everything... shiny!! You know I love shiny! Apparently it is likely to look like a teabag when it has been dipped.... so you could say the van is going to get a good tea bagging.... sorry but couldn't resist that gag.
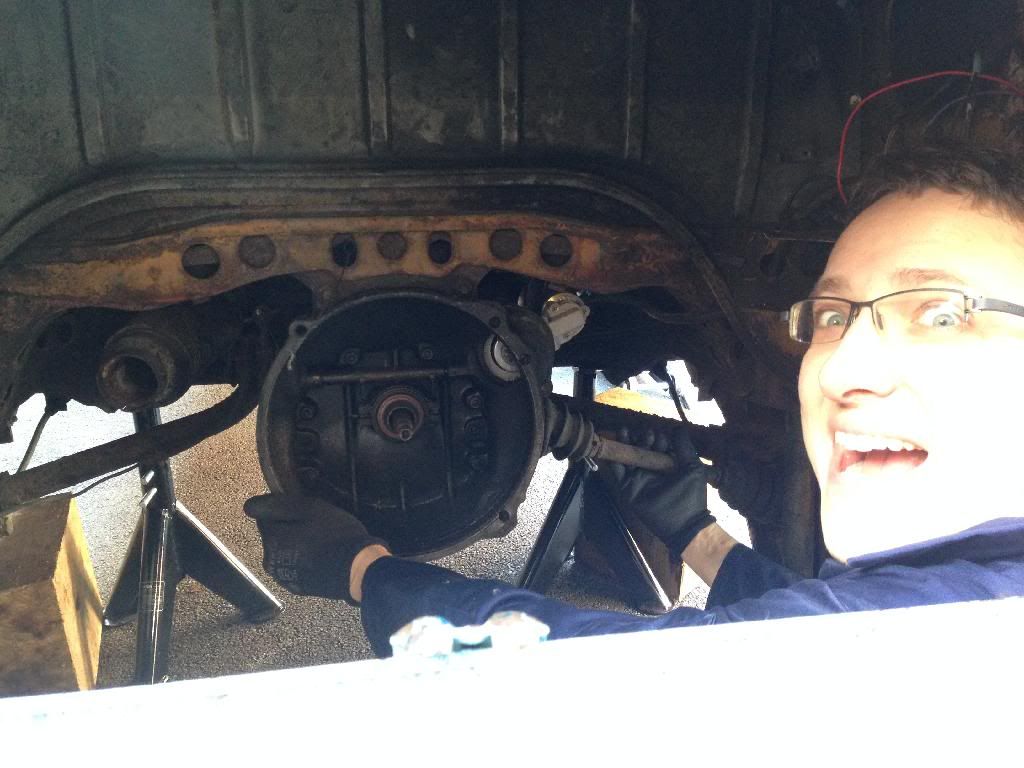
I have found a guy who will be doing the welding, bodywork (not that there is much... body work that is... chassis is fooked!)... The downside.... I have to take everything off, and take it back to a shell.... that means EVERYTHING!! So, it starts.
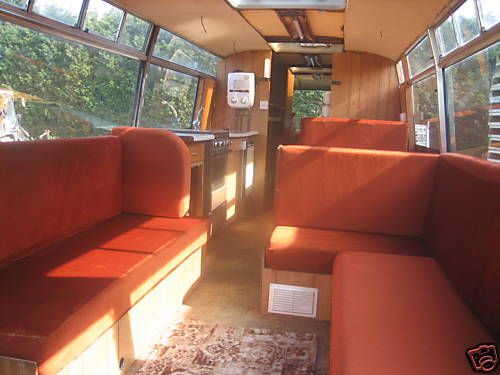
Windows out.... BOOM! (and headliner started... and finished shortly thereafter)
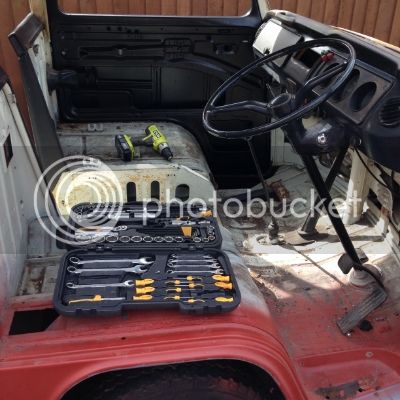
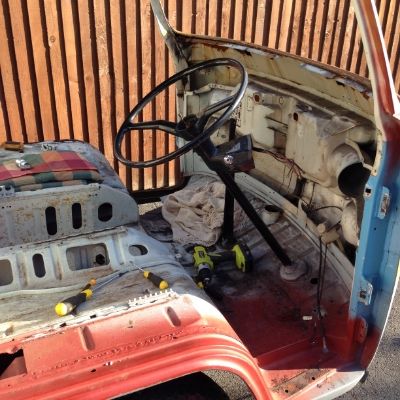
I always wondered how tricky it is to get the dash out, pedals and steering wheel out.... tools; ready. enthusiasm; armed
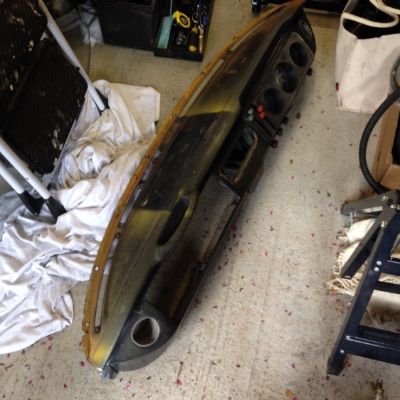
Dash and pedals out.... BOOM!.... Steering wheel.... hmmmm.... I'll sleep on that!
Dash.... (but don't hurry... you'll damage it.)
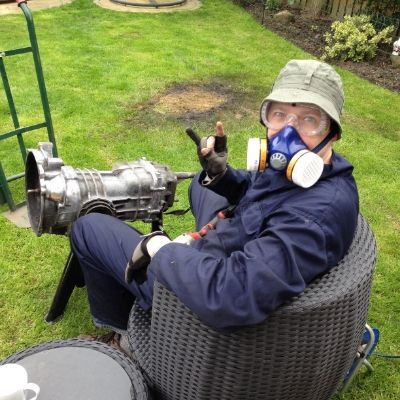
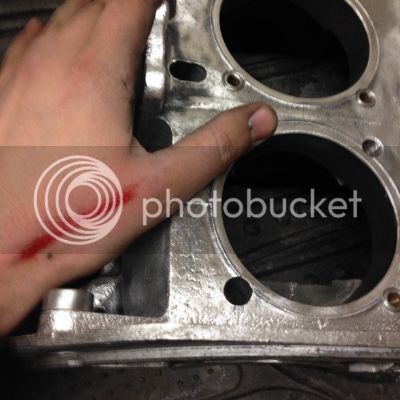
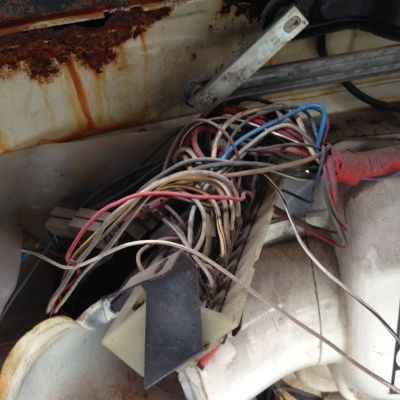
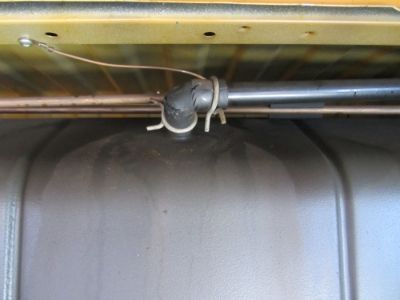
As I started to strip the wiring loom, I saw a lot of damaged wires, that repairing would just bodge and further back in the bus something had got under the van and damaged the outer casing and cut through a couple others... I may well regret it but looks like I will be doing a full re-wire!... the photo below is the only one I took of the wires as my rubber coated copper journey around the bus kept me busy for a while!
Time for bed....
Rather annoyingly and as promised I was dreaming about my steering wheel all night..... here's how to get one off very easily, shame the steering wheel was cracked already from a previous owner's attempt...
I used an old screw, big enough to block the hole in the middle, and to stop the puller from going down..... there's a pun there I just don't know how to deliver it.
Boil a kettle and pour it over the middle of the wheel, making sure it goes into the splines, and catch it in a towel. The theory behind this is that the hot water makes the splines expand and when they cool it frees off the grip on the wheel.... then just pull it off, I had to use the puller a little, but it came off nicely.
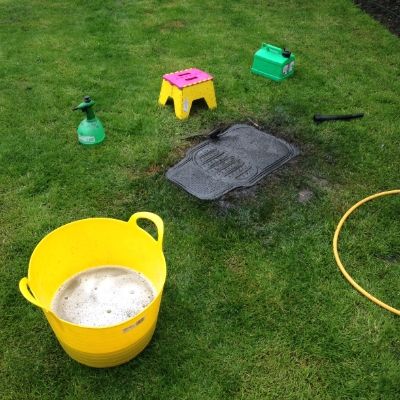
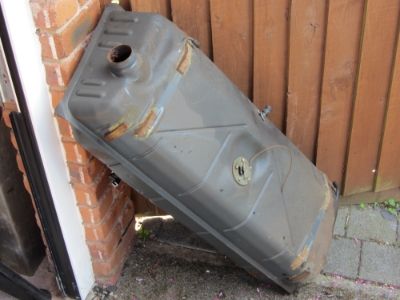
My next job for the day was a little less graceful and involved 3 trips to the tip to dispose of the waste fuel... which was treacly and brown.... and you will see why.
It was my intention to remove the fuel tank only to facilitate the tea bagging process, however, as with most jobs on this van I am always pleased that I go that little bit further than originally planned.
Once the tank was drained and I was happy that I was not going to explode I started work trying to get the panel off at the back of the fuel tank, it is supposedly held on by a few screws at the bottom.... but on this day there was a greater power at work!!!
Suffice to say this "greater power" hadn't met my crowbar before.... admittedly I will now need to source a new panel...
The panel detached and the fuel tank looks shiny new.....having been hidden away for 4 decades.... but it was hiding a dark secret....
... oh.... and the bolts to those straps were a major pain in the arse, and the right hand strap needed cutting off.
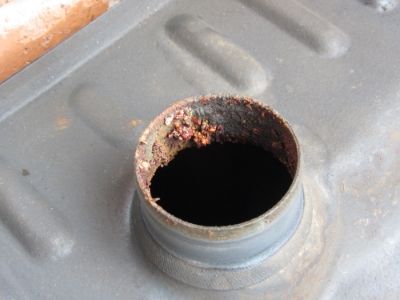
One of the elbows on the breather pipe was significantly fractured too, which would have resulted in leaking fumes...which no-one wants that close to an engine.. glad I caught it.... no this is not it's dark secret
Fuel tank out.... BOOM!!! Thank god it didn't... as let's be honest, anyone who starts to take a fuel tank out with a crow bar is waiting for the BOOM!!!
I removed the fuel sender to keep as a spare.... look at the discoloring and gunge on it!! The engine had been used with additive, and this had gouged up the sender, I would be surprised if the fuel gauge worked at all.
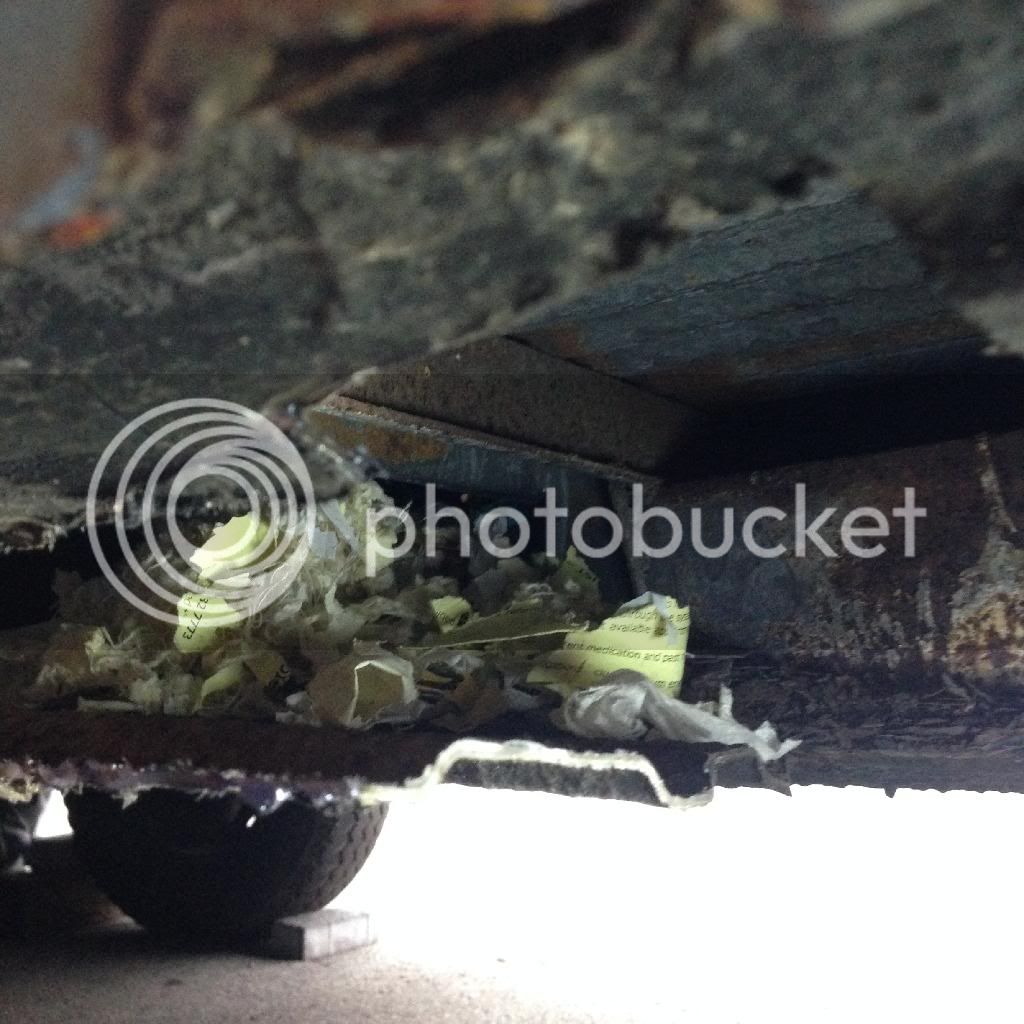
The next shot give you an idea of the rest of the inside of the tank, which I could not get to come out properly on a photo. I am not sure WTF all that gunk is but I am certain it is not supposed to be in a fuel tank.... furthermore in an engine!
All the fins inside the tank were rusty and covered in the same build up so suffice to say it needs replacing.
So a pretty eventful weekend... next week end I intend to jack it up, take the steering and brake system apart, leaving only the suspension, axles and wheels to be done prior to getting onto a flat bed, for delivery to Tetley's.
Question:
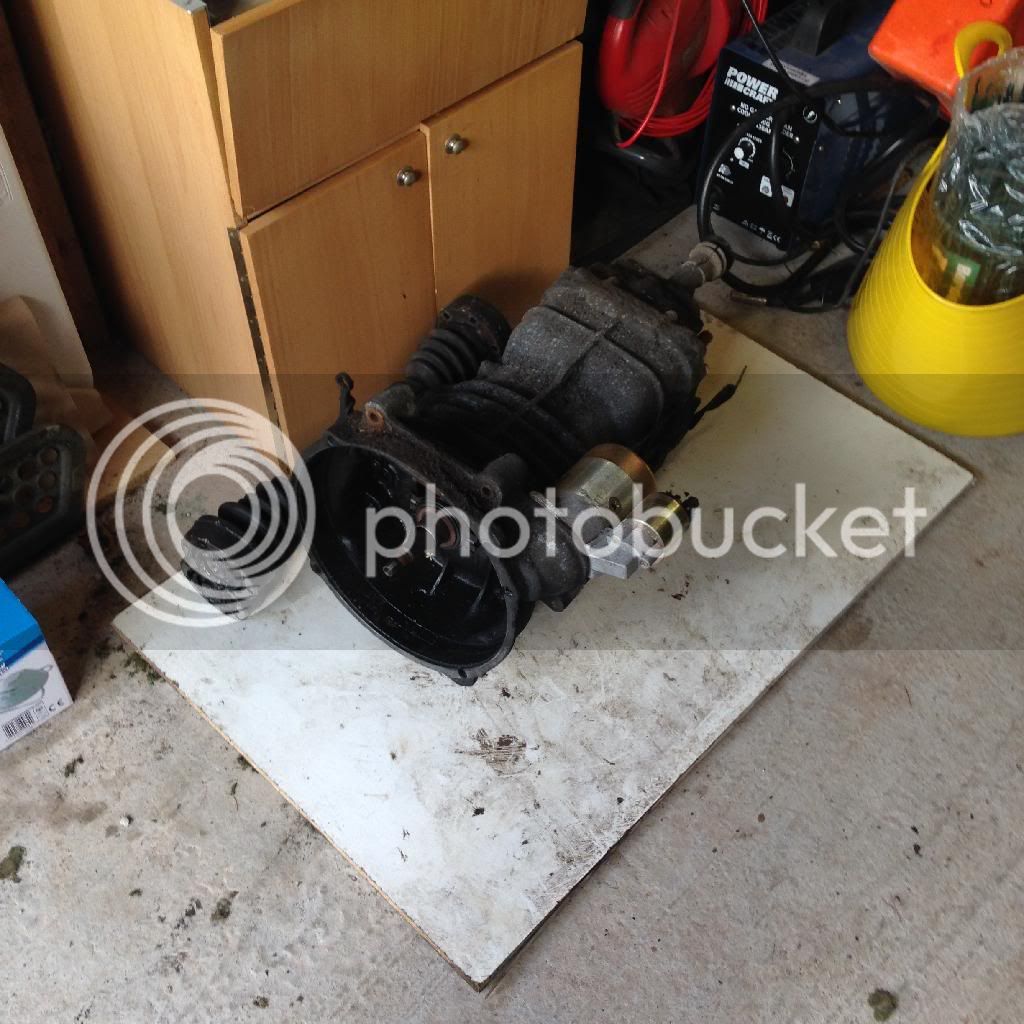
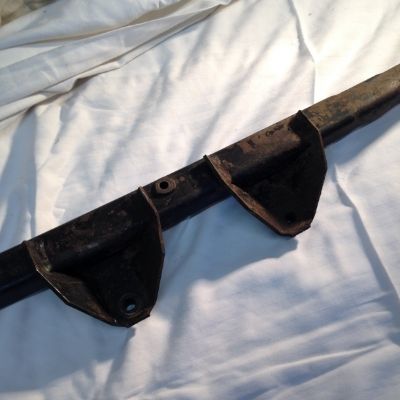
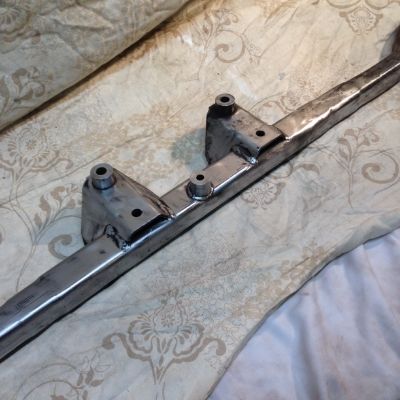
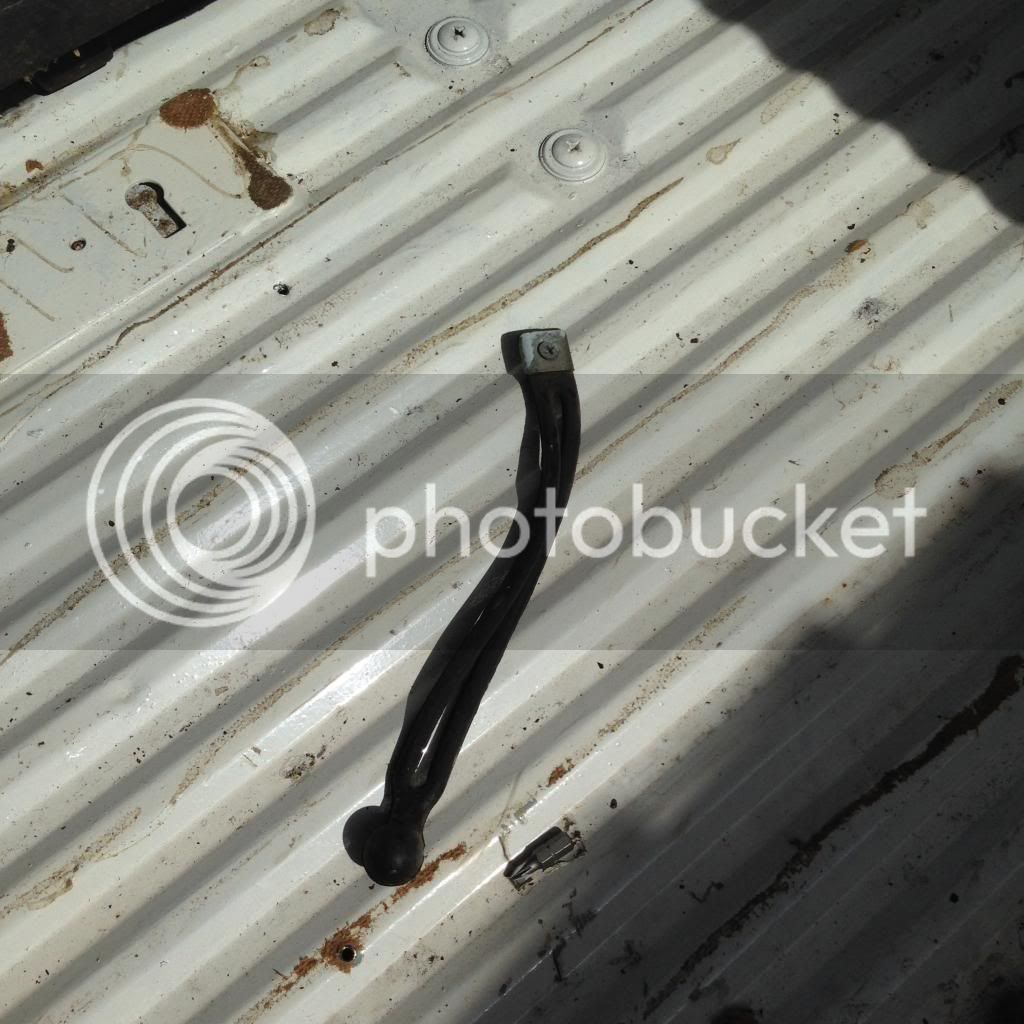
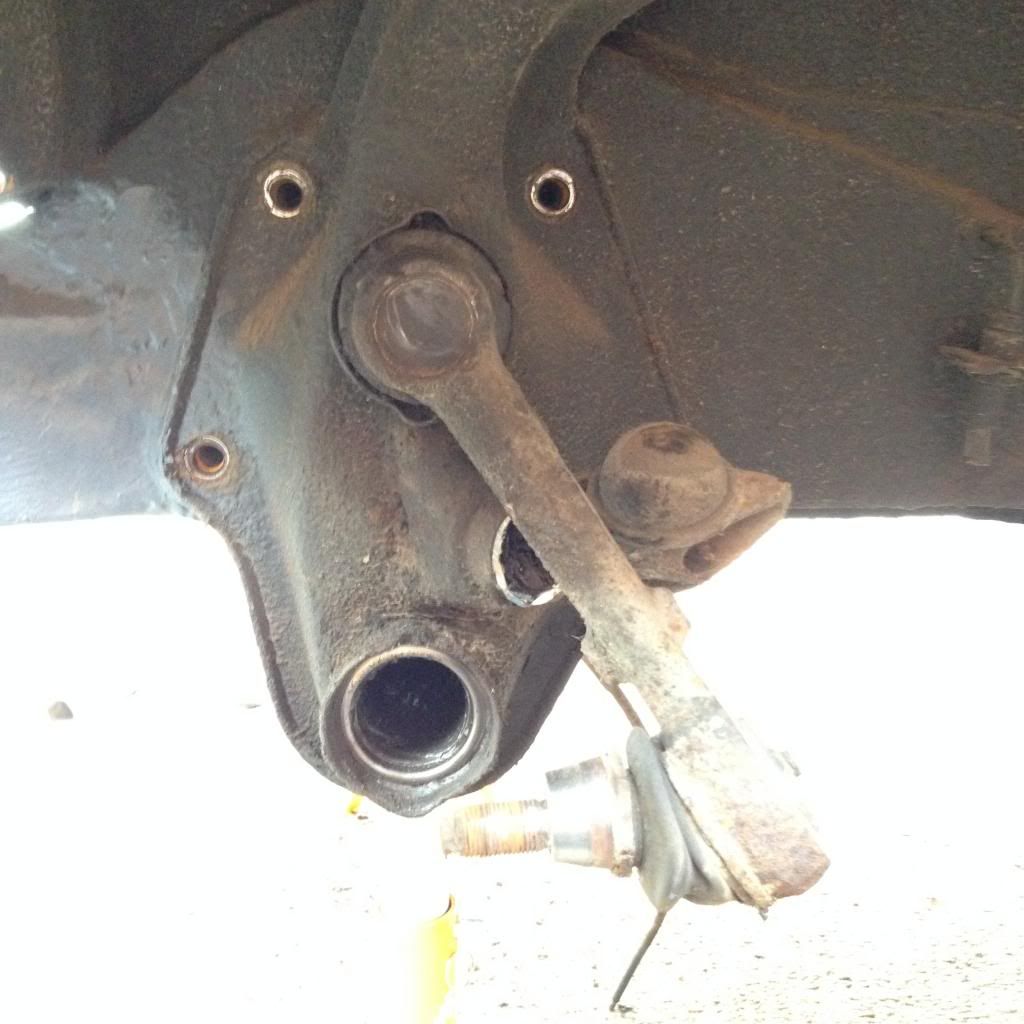
Name the part.... I'll give you a clue... it came from the front half of the van.... and I can't work it out!!
I have left it big so it can be seen.
That's it for now.
Steve


 arty0051: