RUSTY THE CAMPER GOES FOR RESTO

Early Bay Forum

Help Support Early Bay Forum:

This site may earn a commission from merchant affiliate links, including eBay, Amazon, and others.

camperman3617865

Well-known member
Joined
Nov 19, 2008
Messages
190
Reaction score
0
Location
Bedfordshire, England
While surfin the net I came across this thread

http://forum.earlybay.com/viewtopic.php?f=4&t=33777" onclick="window.open(this.href);return false;

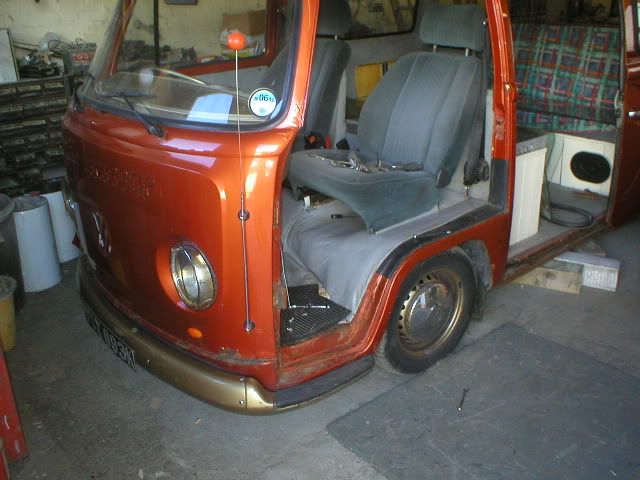
To cut a long story short and having a haggle about prices.... its now in our workshop having the parts done to the chassis and loads of other work on the rest of it, including a full respray.

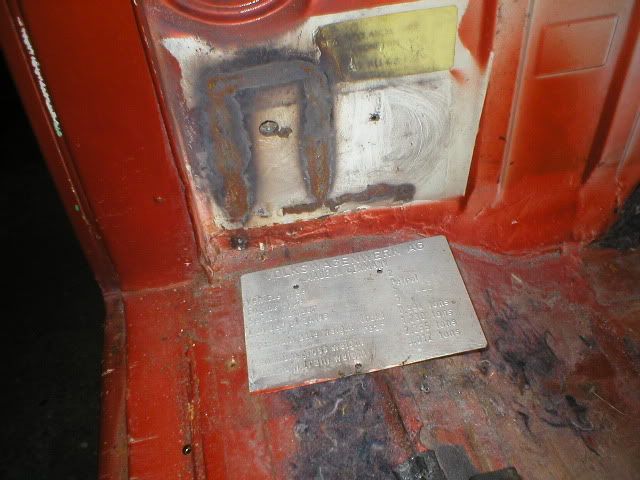
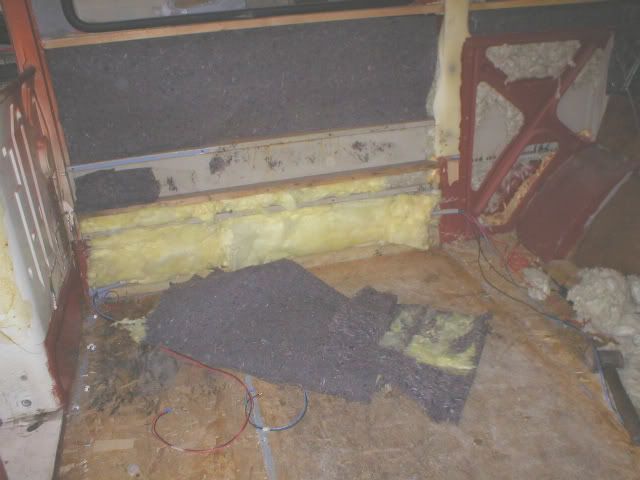
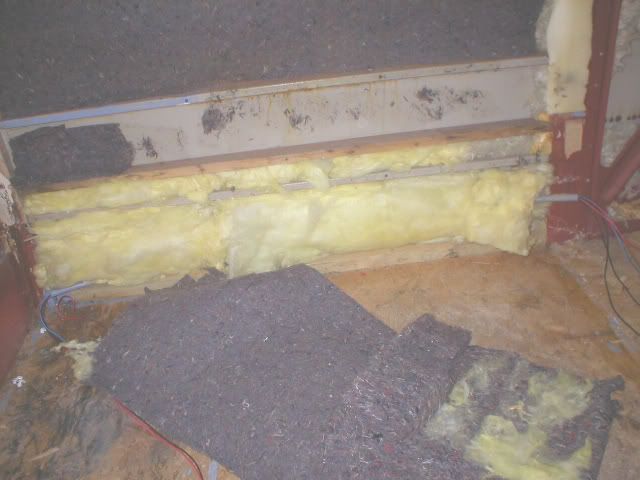
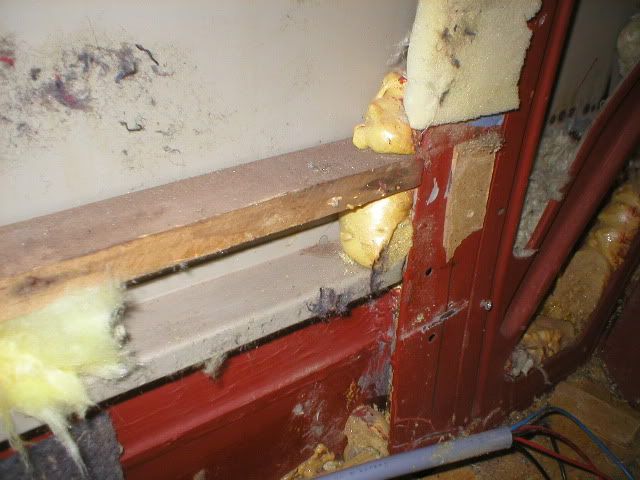
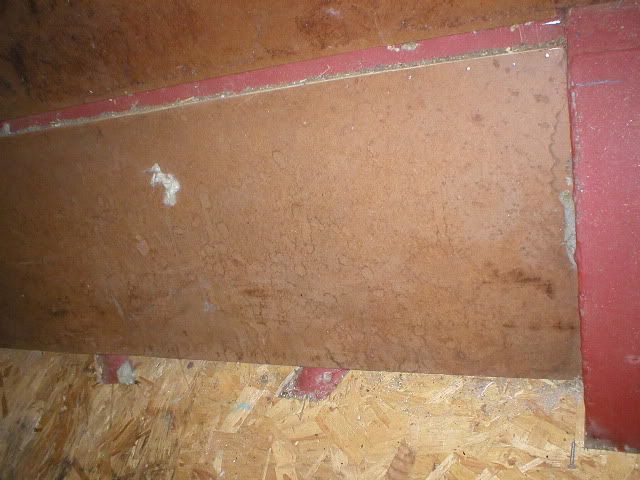
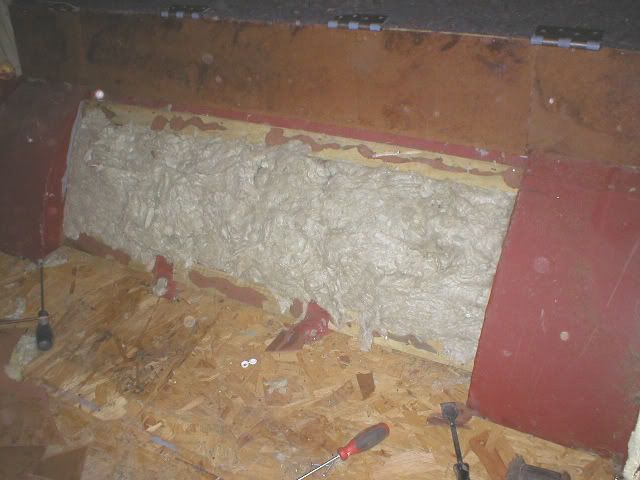
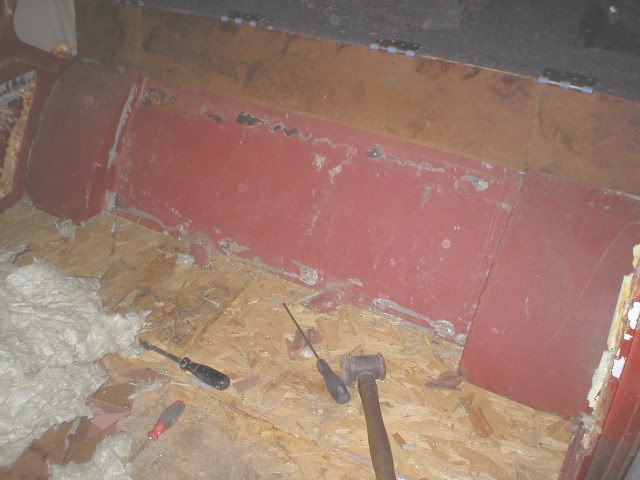
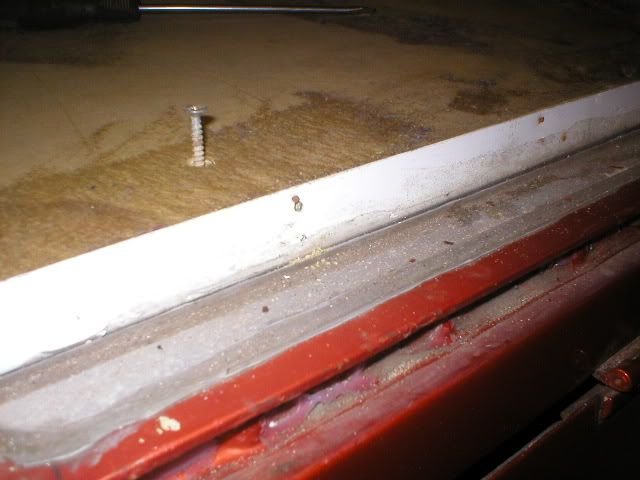
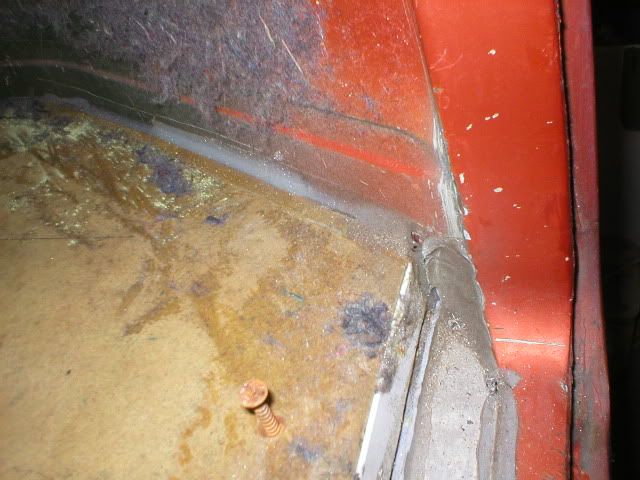
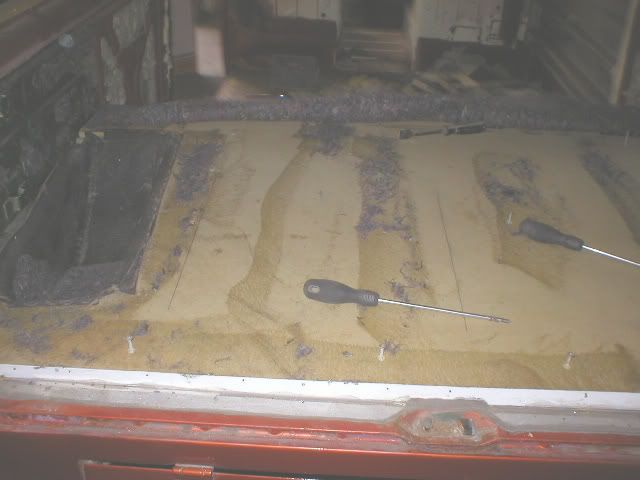
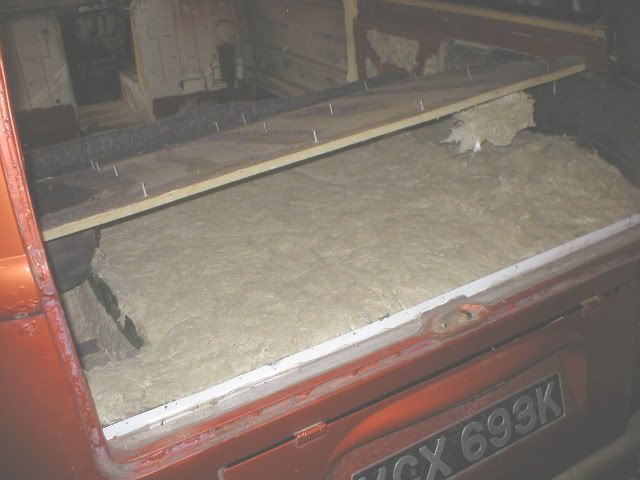
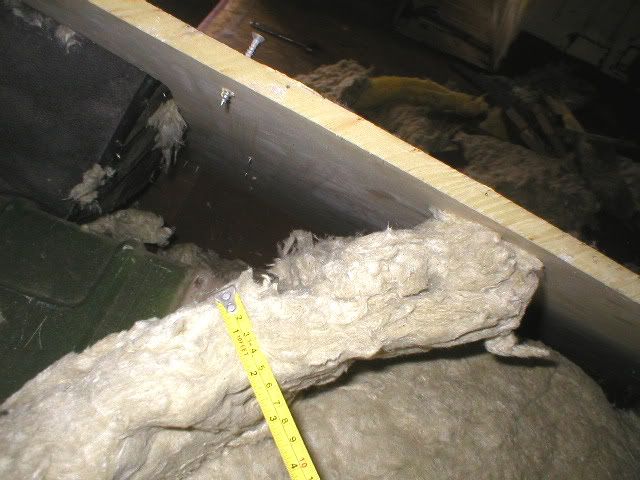
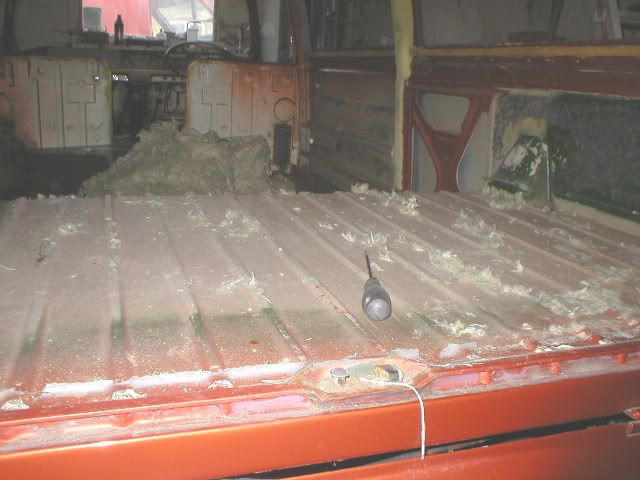
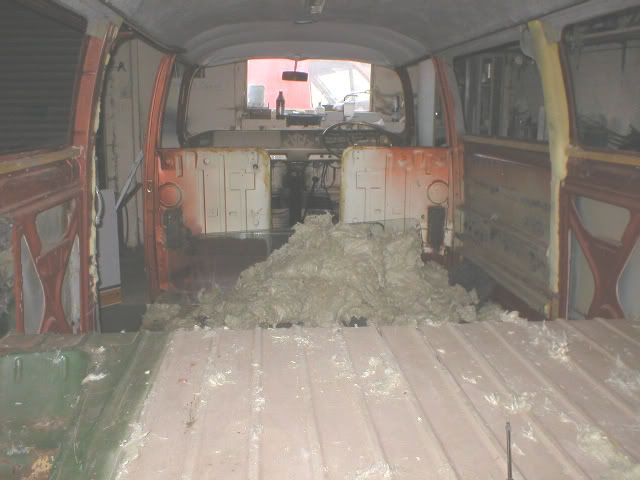
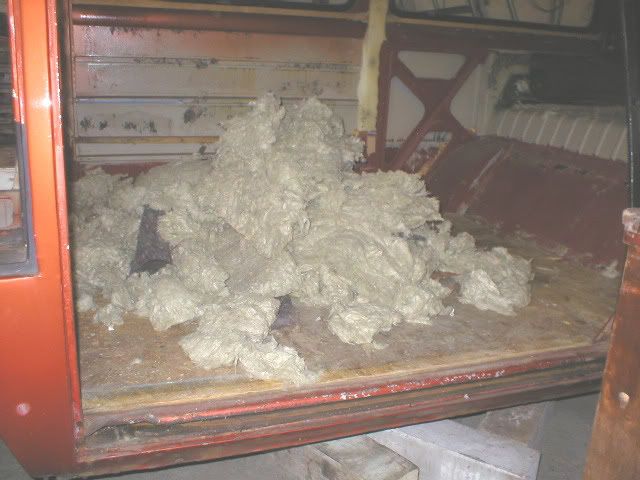
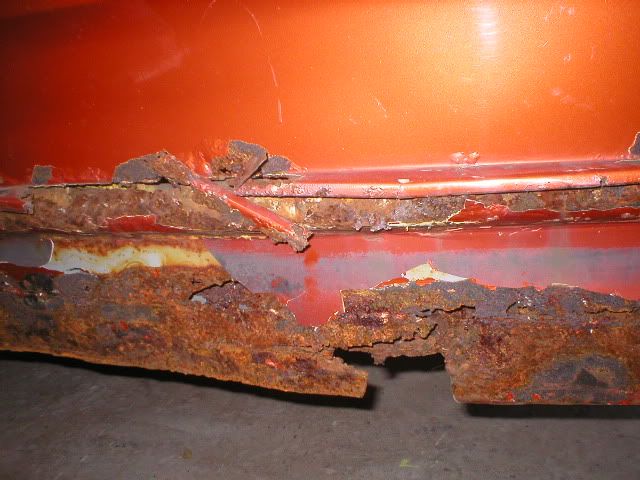
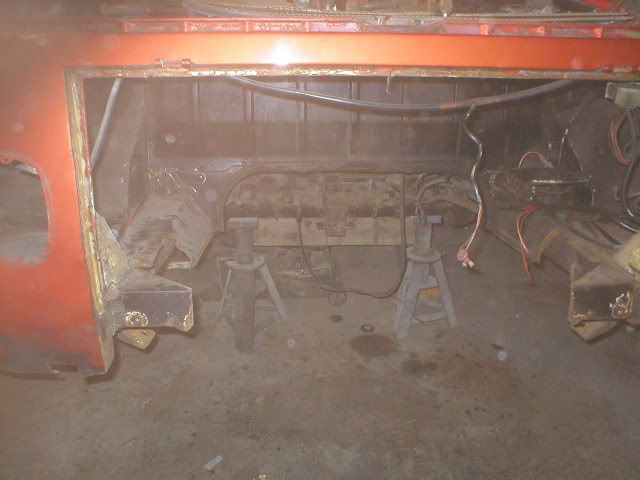
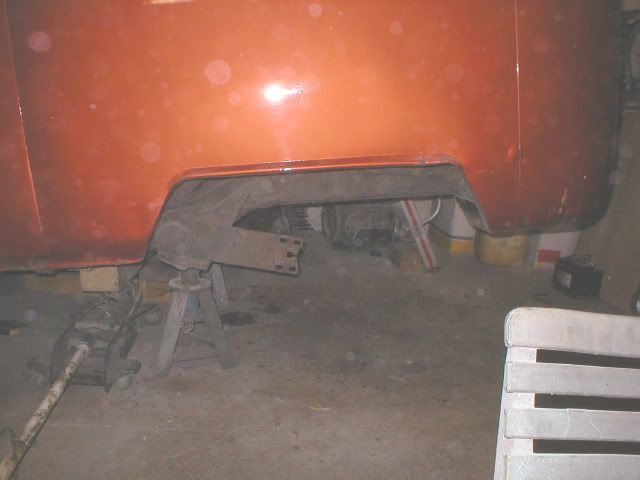
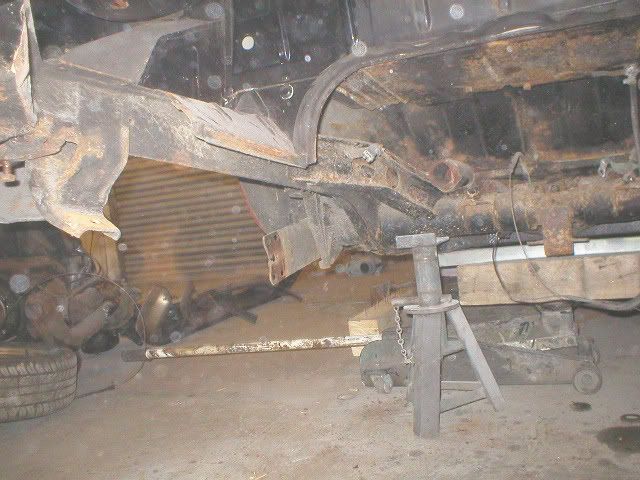
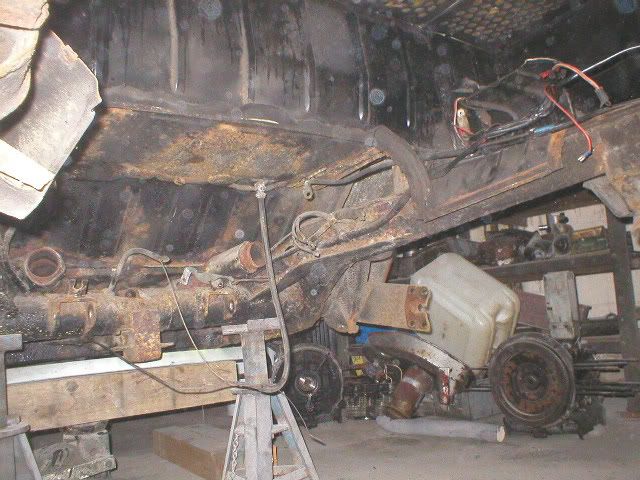
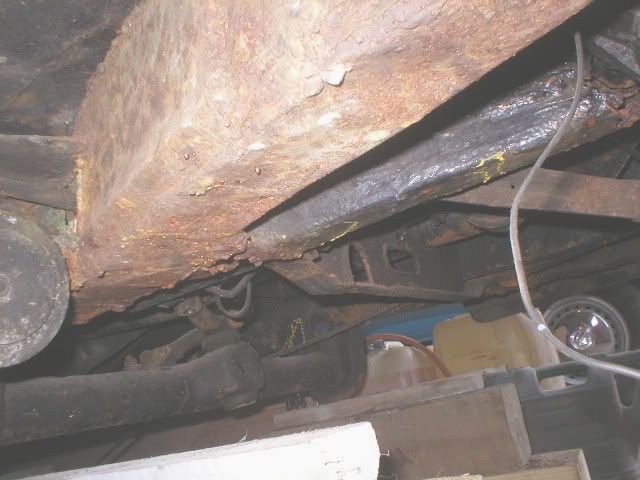
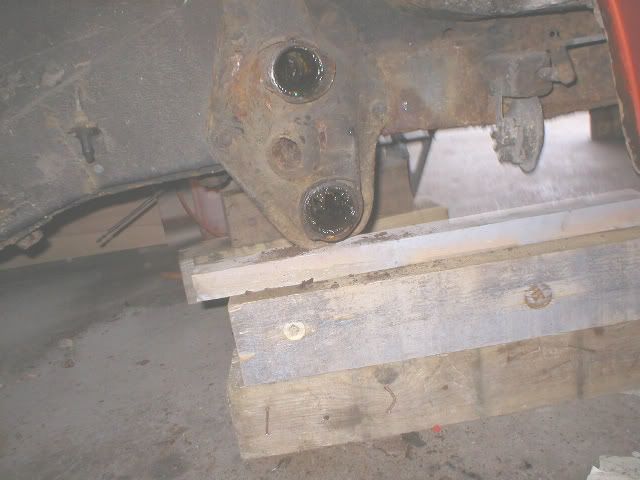
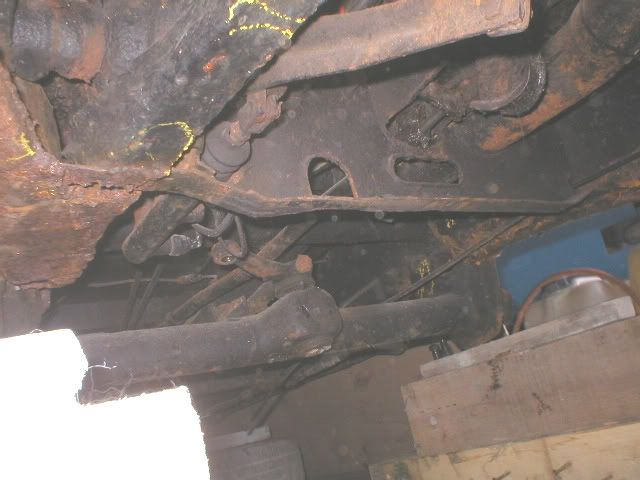
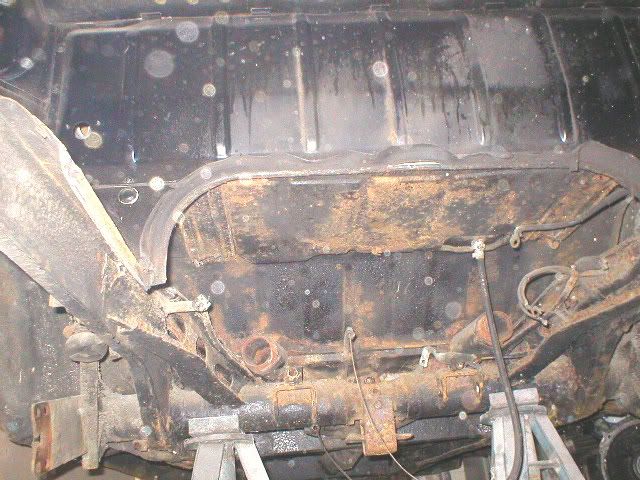
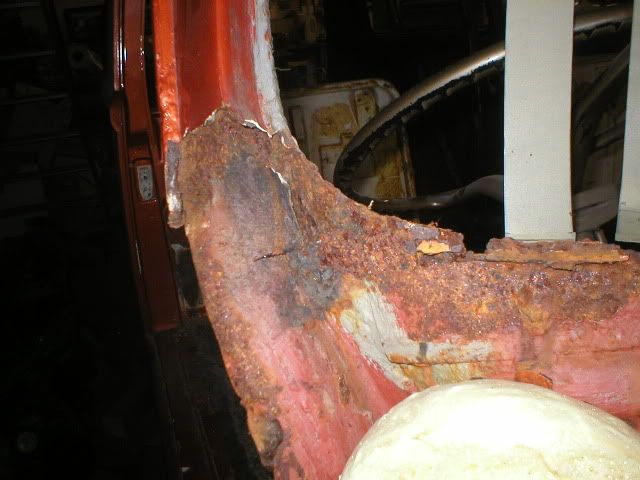
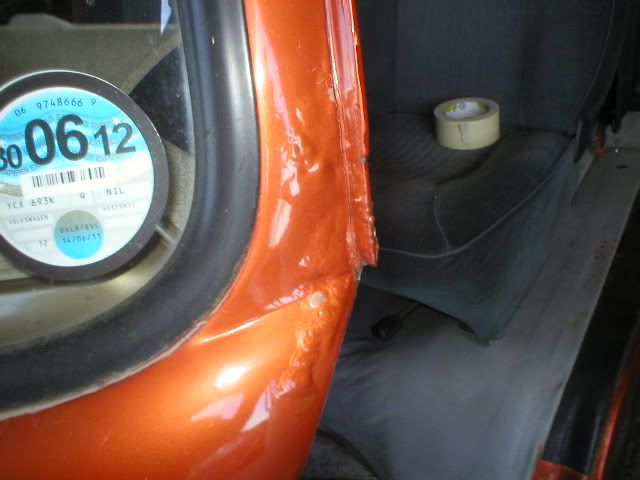
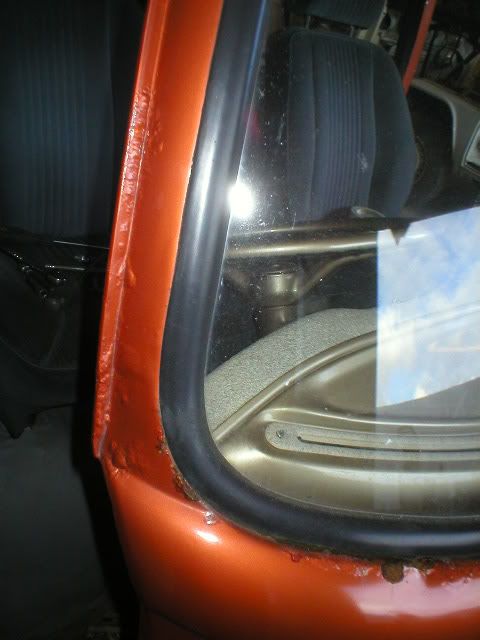
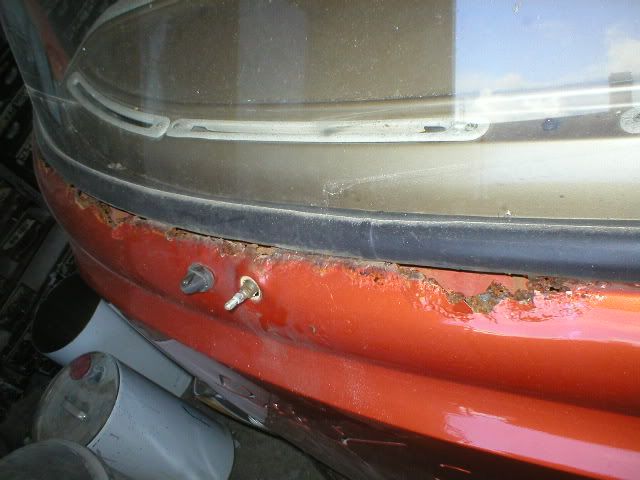
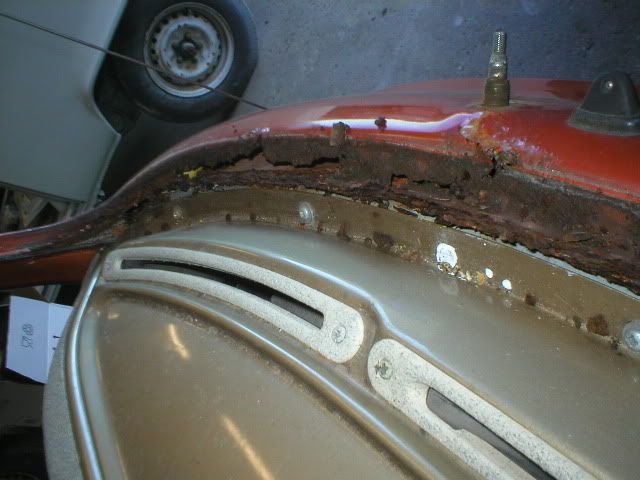
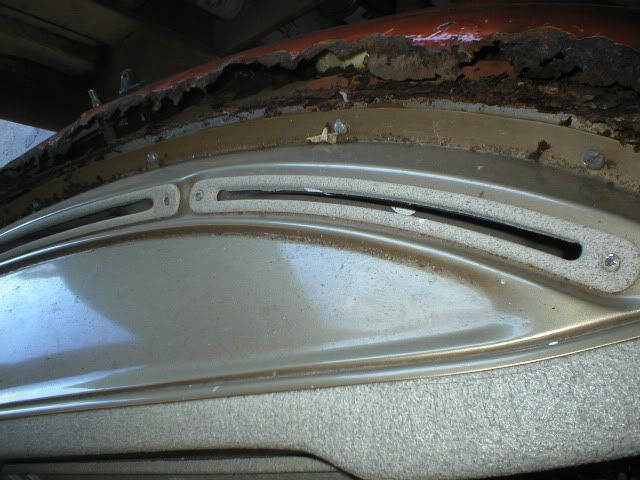
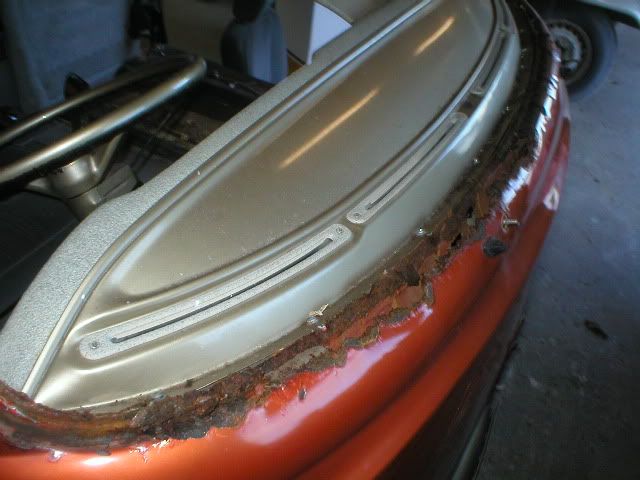
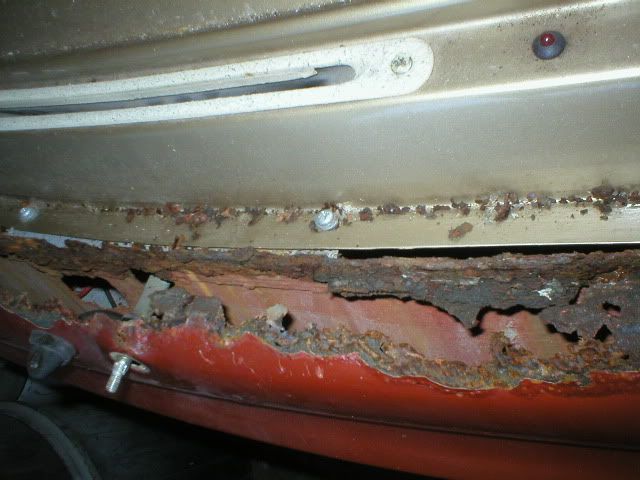
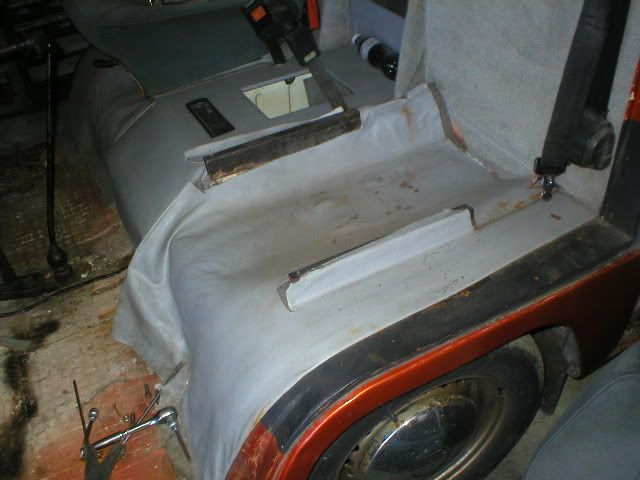
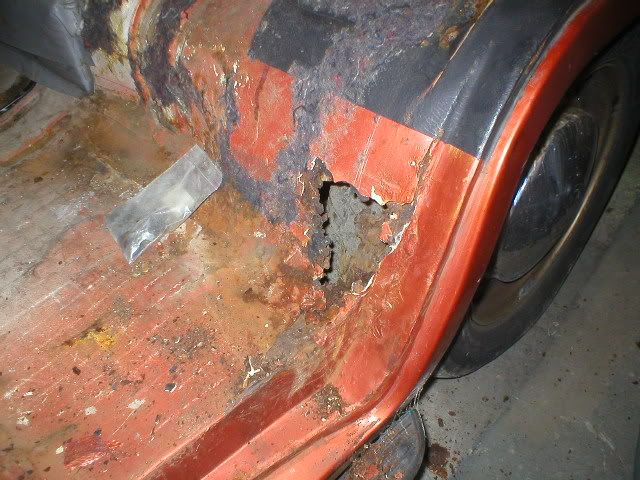
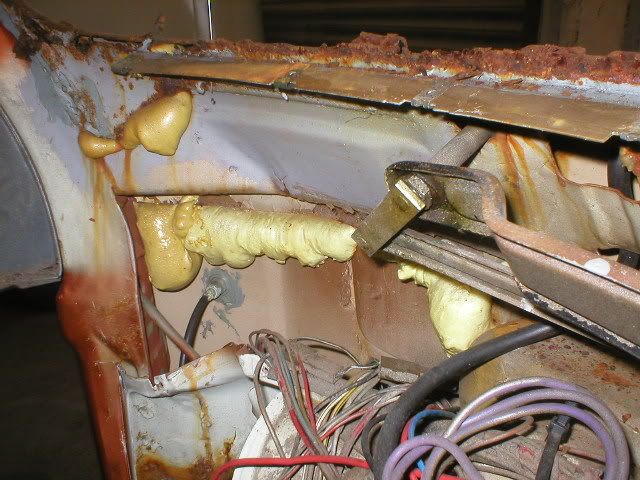
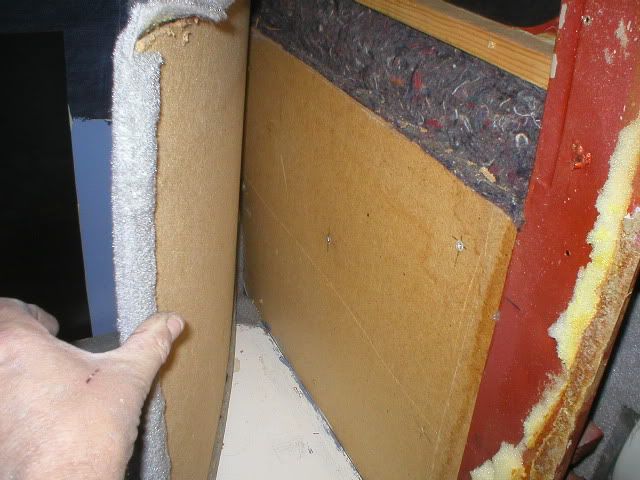
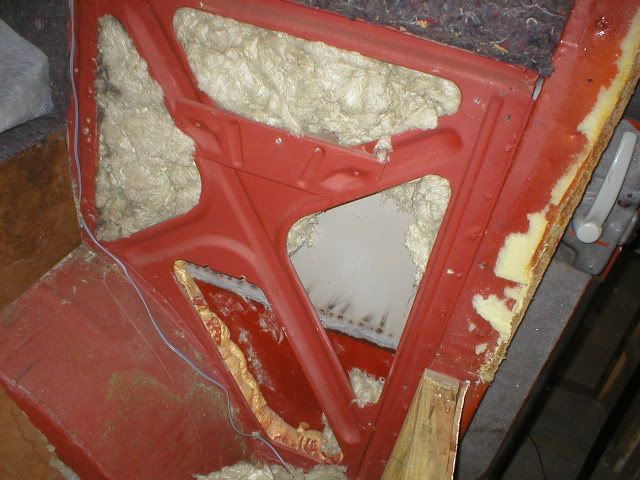
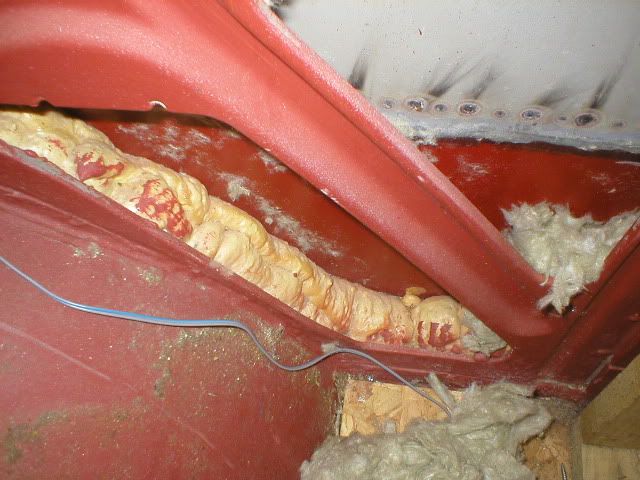
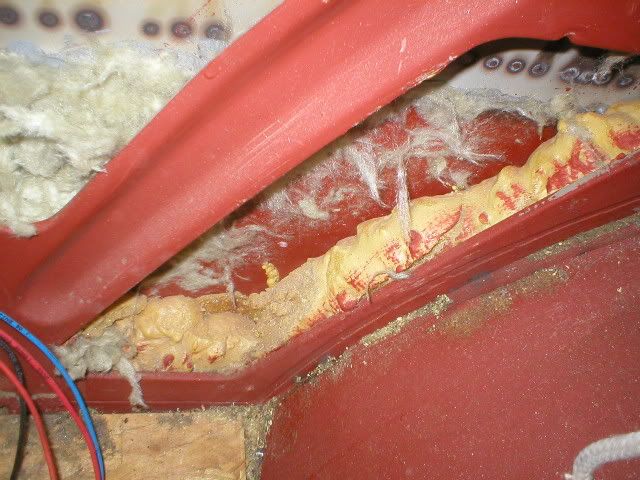
Unfortunately when we started to take it apart ... we found that water has entered between the inner and outer panels in some areas making all the rockwall and insulation very wet, and rust is a major issue.
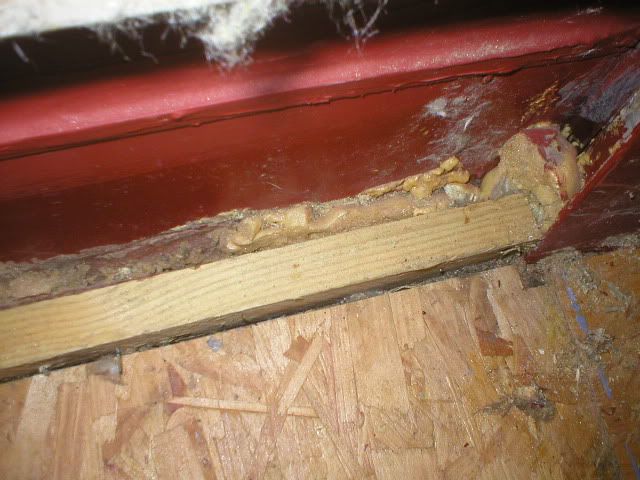
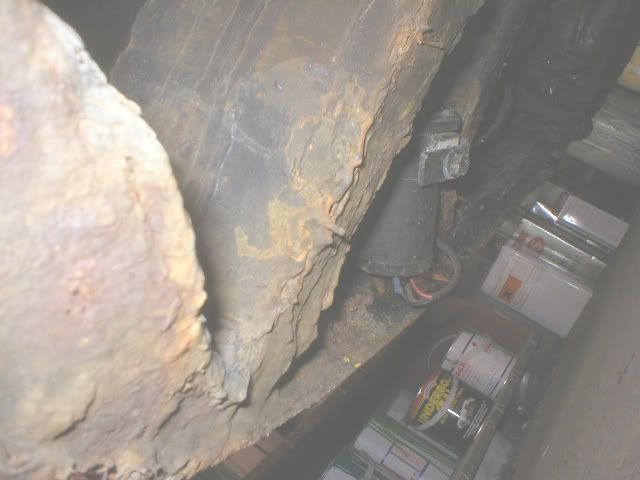
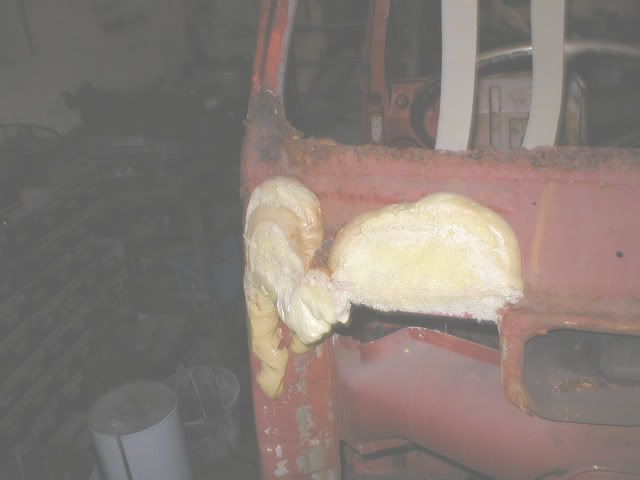
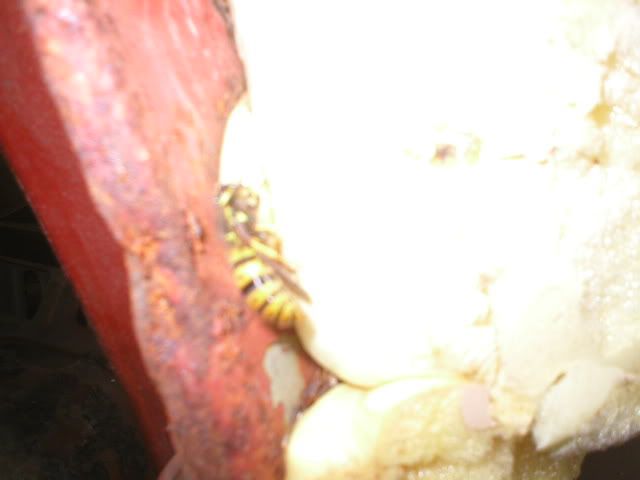
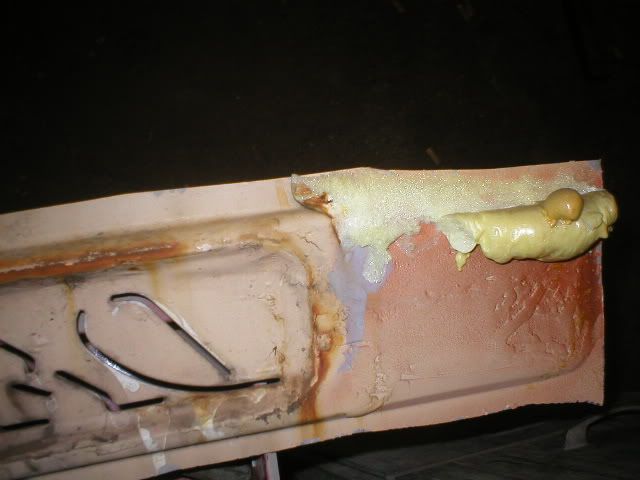
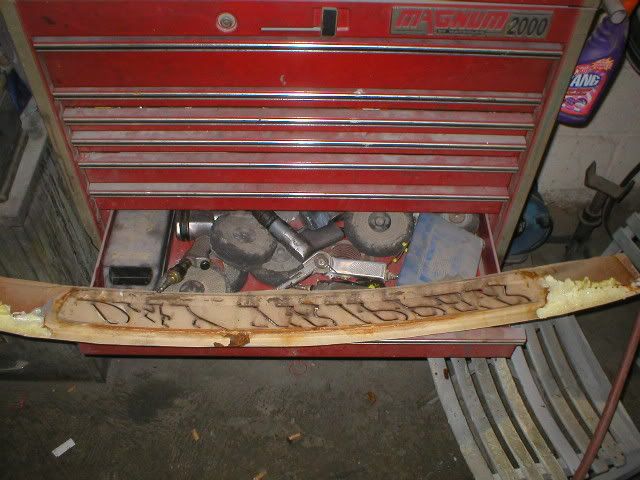
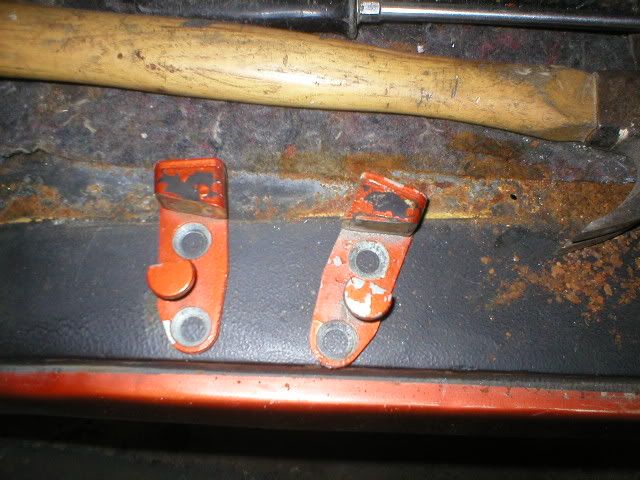
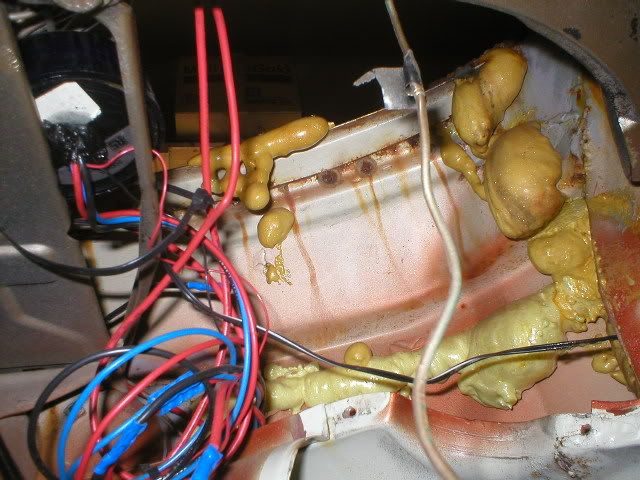
But the amount of expanding foam I have so far found that has been used on this van, is in my mind ...criminal

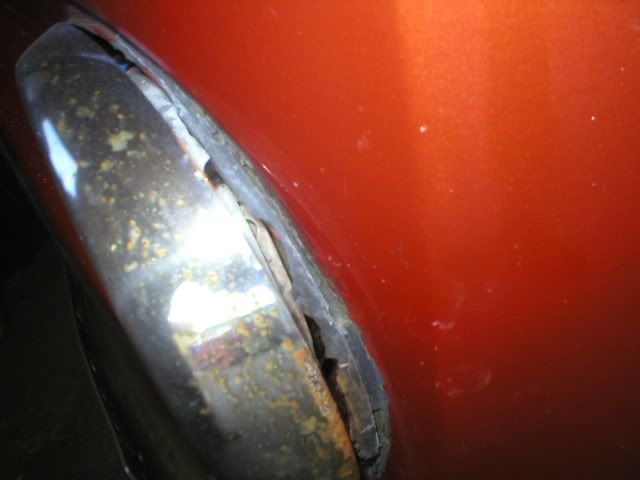
Here are a few pics so far

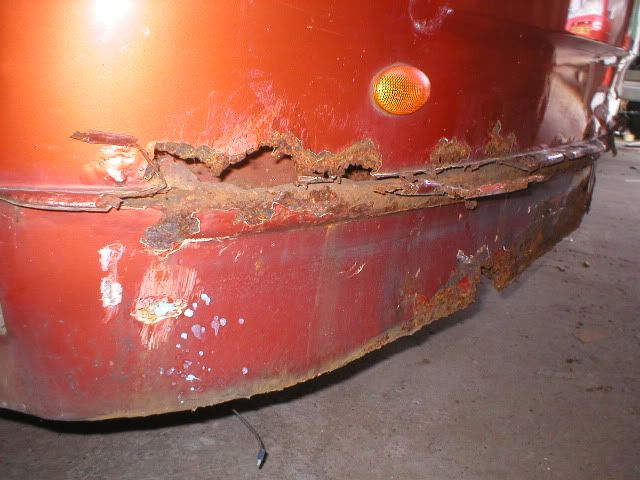
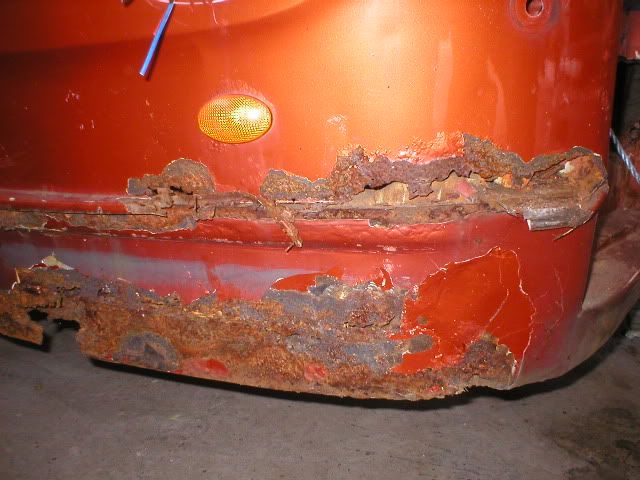
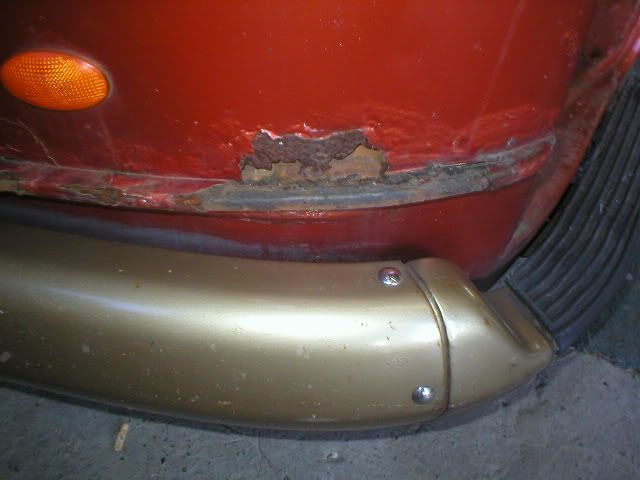
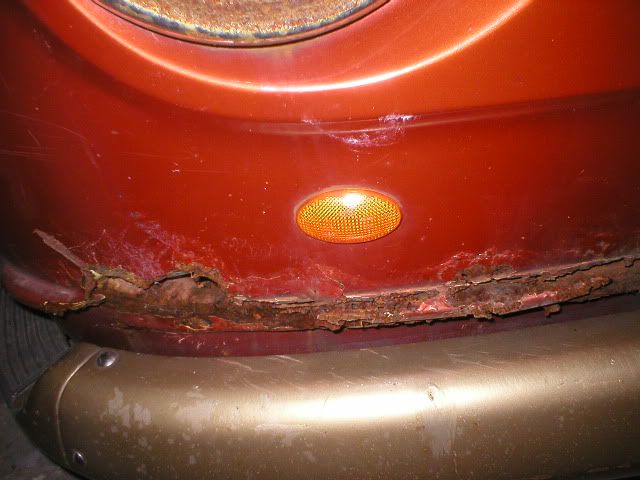
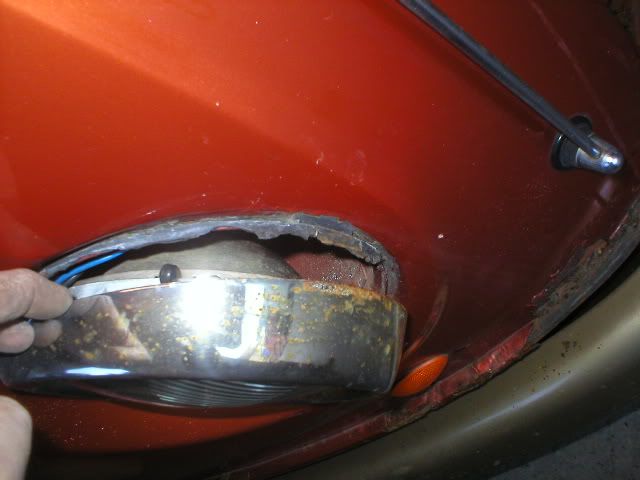
Front panel is a bit rusty and due to be changed back to original low indicator

P1010699.jpg


P1010700.jpg


P1010701.jpg


P1010705.jpg


P1010708.jpg


P1010707.jpg
 
So sad the way some of these vans or treated by the PO's :evil:
 
After removing the seats and trim underneath I found a small hole and a lot of corrosion in the n/s tub, which was why the underfelt was wet

P1010710.jpg


P1010712.jpg


Parts like these that were not removed the last time it was sprayed will all have to be cleaned before refit

P1010739.jpg
 
So I decided to make a few investigations in the rest of the van

When removing the side panel behind the sliding door, I found another panel holding in more wet rockwall.... and would you believe it...under the rockwall was more expandable foam , and on both sides of the van

P1010751.jpg


P1010753.jpg


P1010754.jpg


P1010755.jpg


P1010756.jpg


Strangely enough , if you look at the last picture , you can see weld marks clearly showing where a replacement panel has been welded on the outside of the van ...over the top of the original panel,

Why don't people just do the job properly :roll: :roll:
 
When taking out the interior cupboards ... I found this in the gas locker fixed in with 3 self tap screws

P1010757.jpg


But I am sure its supposed to be riveted on here, well it will be :)

P1010758.jpg
 
Under the back seat and between the two rear inner wheel arches I found this boxed in area 2" deep

P1010764.jpg


P1010763.jpg


Lo and behold... it contains more rockwall

P1010765.jpg


It didn't need to be there so I took it out

P1010766.jpg
 
UN FLIPPIN BELIEVABLE!!!! you'd think even the cheapest of spray on wash paint jobs would include taking the door catches off !!! That rock wool & expandable foam has just helped to trap moisture.looking forward to seeing the progress. If its anything like Andy's 'old POE' it'll be a beltin transformation :mrgreen:
 
Now, here is a part of the van that has had the floor raised just to put in another 2" of rockwall... I am so glad I have got gloves on, or I would be scratching all night after removing all this


note how well it has all been siliconed in


P1010767.jpg


P1010768.jpg


P1010769.jpg


P1010770.jpg


P1010771.jpg


now removed

P1010775.jpg


P1010774.jpg
 
We have found a bit of corrosion under the front bumper when we finally managed to get it off, it had the mounting bolts where they should have been but the brackets were also welded to the inner front panel and chassis :shock:

P1010793.jpg


P1010792.jpg


P1010791.jpg
 
Considering how rusty this van is, its no surprise that it has taken a long time to try and get it apart... every nut, bolt or screw has been an absolute pig to undo.
But we are finally getting there with the strip down...just a few pipes and fitting to go now before we start cutting

Here are some pics of how far we have got since i last posted


P1010794.jpg


P1010803.jpg


P1010802.jpg


P1010804.jpg


P1010805.jpg


P1010816.jpg


P1010815.jpg


P1010814.jpg


P1010817.jpg


P1010819.jpg


Sorry about the spots on some of the pictures but the flash picks up the dust in the air
 
Having sourced some more parts we are ready to start cutting the front section open

After removing the upper section of the front panel more foam and corrosion was found

P1010917.jpg


P1010931.jpg


and a huge wasp

P1010932.jpg


The "DAY TRIPPER" sign on the front was also held on with foam and silicone sealant

P1010928.jpg


P1010929.jpg


P1010927.jpg
 

Latest posts

Top