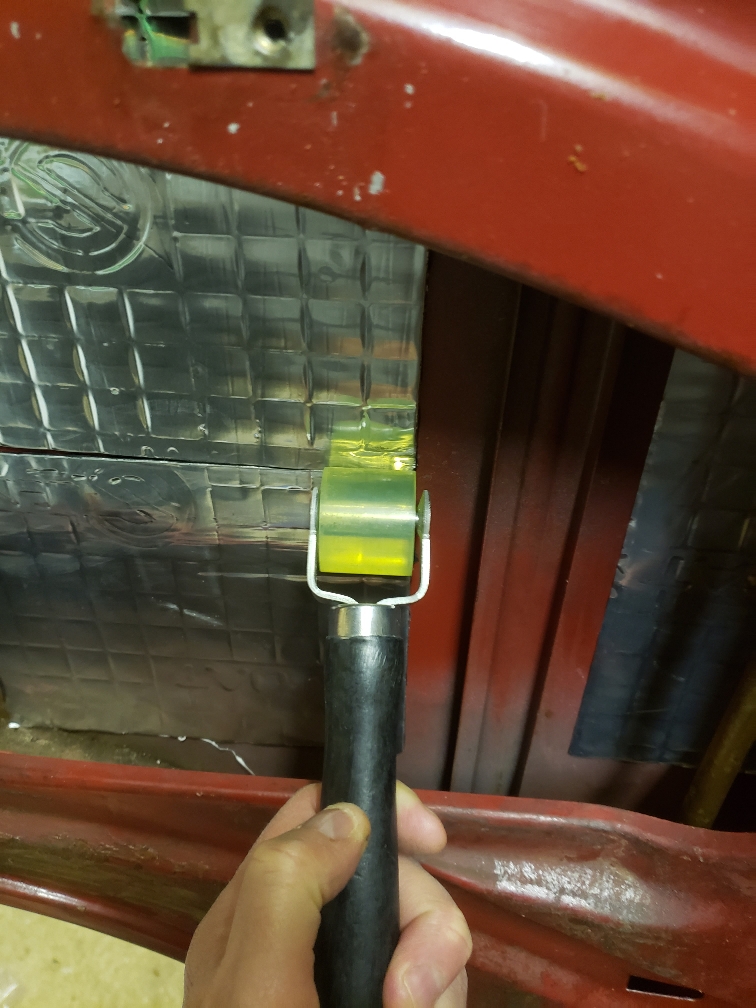
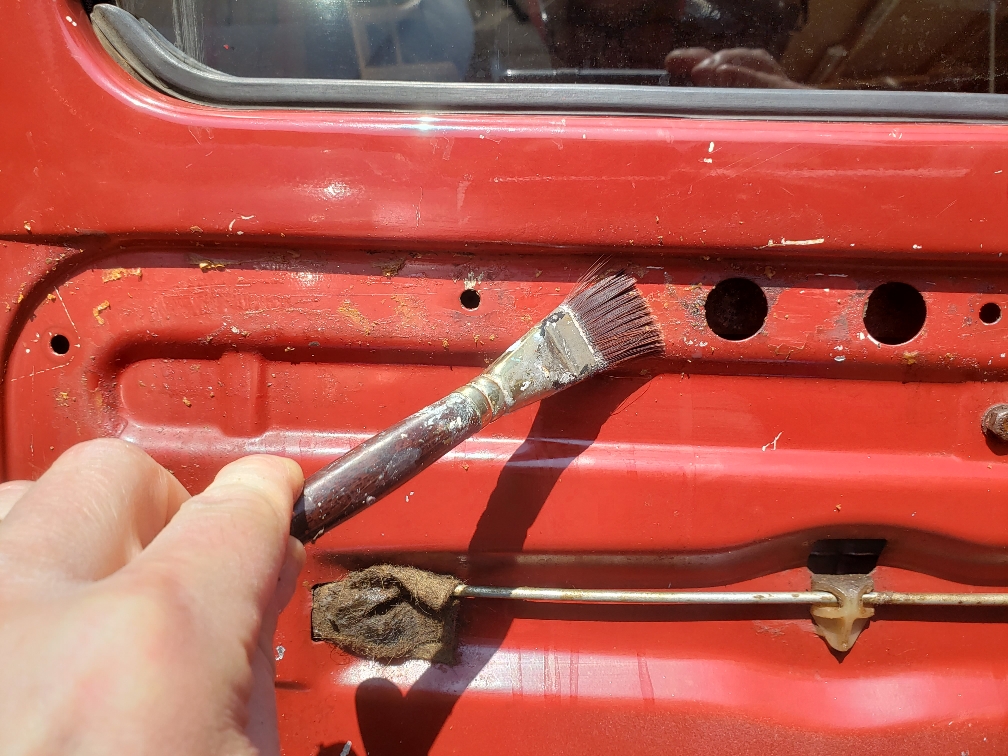
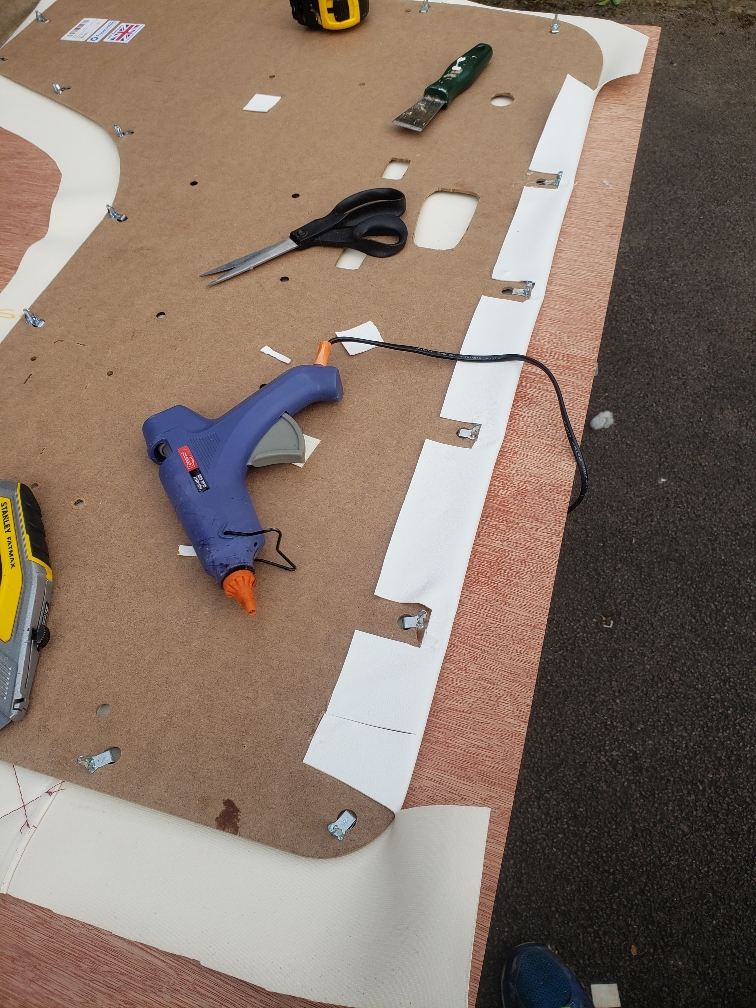
Just seen your question about the clips. No, I used the metal clips pushed into the rubber bungs which I fitted after the final piece of plastic vapour barrier was stuck to the door inner panel. I find they fit well although you have to carefully push them into the bungs as the clips tend to move about a bit before fitting. Don’t be tempted to just bash them in with your fist without checking they are in the right place. It’s worth buying some new bungs if yours are cracking or split.
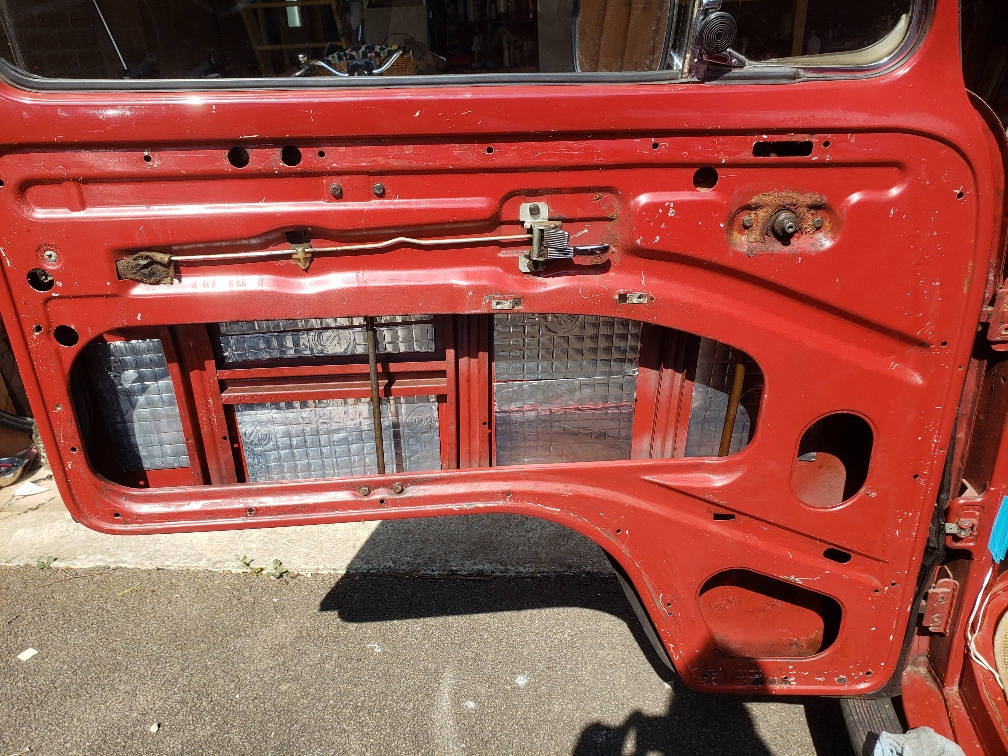
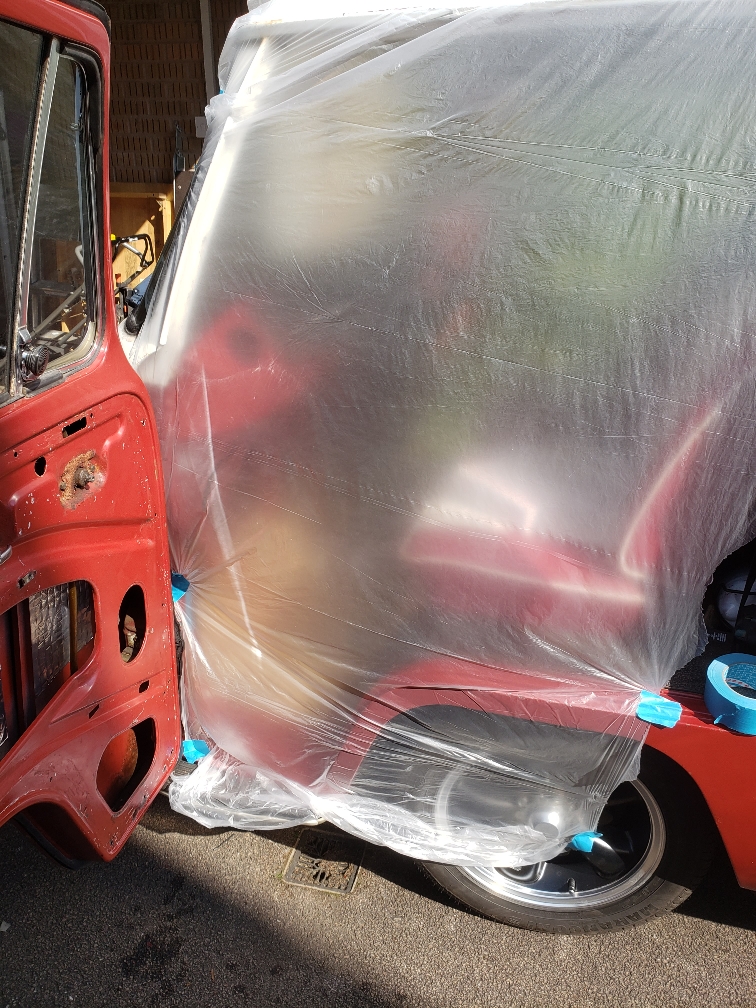
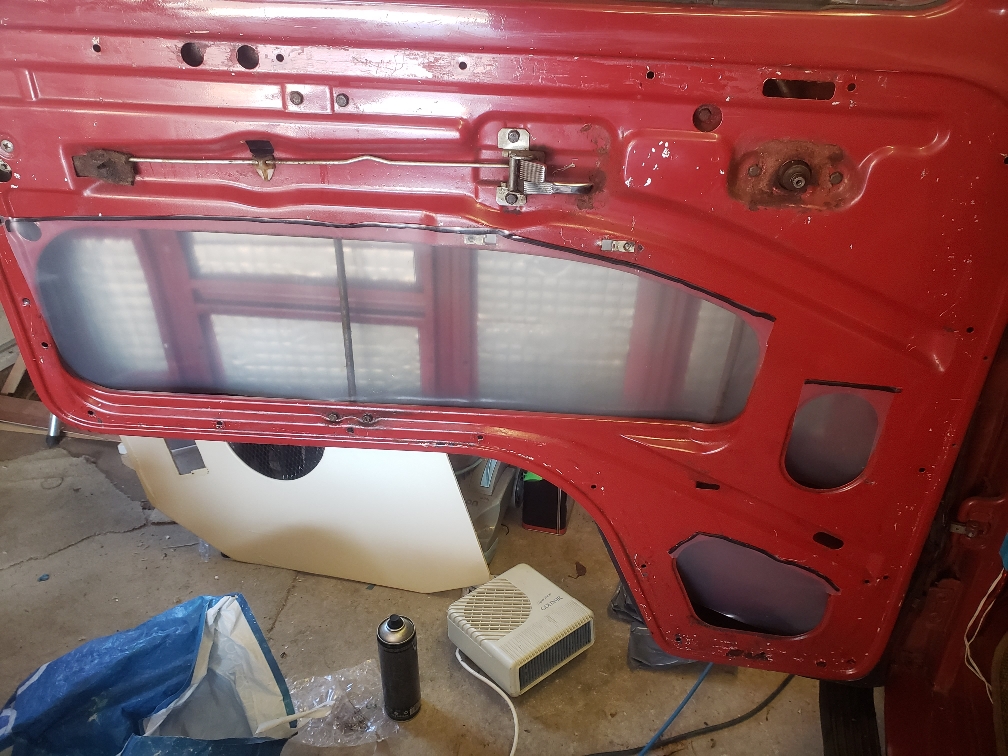
The flaps in the holes of the door are to stop drops of water splashing and to keep water inside the door where it will hopefully drain away through the two holes at the bottom of the door. The final piece covering the whole panel is to stop water vapour ie damp, getting into the door card which will the eventually cause mould and rot, even if you treat the door card to some coats of varnish.
Hope this helps [emoji3]
Sent from my iPhone using Tapatalk Pro