Steve's 1971 Dormobile

Early Bay Forum

Help Support Early Bay Forum:

This site may earn a commission from merchant affiliate links, including eBay, Amazon, and others.
Cheers. Thanks for the comments. In fact it's comments like that that keep people like me motivated to get more things done.

Anyway, got the remaining gauge holes drilled at the weekend. Need to order the Autometer Arctic White electric speedo though to fill the remaining hole:

5980_112442485956_670915956_2706139_3293596_n.jpg
 
Oh yes! Lots of masking tape and patience. Some of the paint has come away at the edges, but once the gauges are firmly in, you don't really see those bits.

Just gotta work out what I'm doing with the heater controls now.
 
Got some work done on the fuel tank this weekend. Needed to fit an Autometer sender to work with the Autometer gauge.


Tank out. Looks lovely and fresh being sheltered from the elements in its hole.


No rust in there.


New sender unit adjusted for tank size.

Also tried to fit the windsreen last night with the help of my wife...what a ball-ache task that is. We gave up after about an hour and after reading about them on some other threads, I reckon the JK seal could be to blame :(
 
VeeDubMan said:
Cheers. Thanks for the comments. In fact it's comments like that that keep people like me motivated to get more things done.

Anyway, got the remaining gauge holes drilled at the weekend. Need to order the Autometer Arctic White electric speedo though to fill the remaining hole:

5980_112442485956_670915956_2706139_3293596_n.jpg

definitely a thing of beauty! 8)
 
Seeing as the weather's been a bit warmer of late, I've made some progress on the rear suspension. The aim was to fit the Red-9 lowered spring plates...but I ended up cleaning up the wheel arch too:


new stone-chip guard sprayed on with a Schutz Gun using U-Pol Gravitex and then sprayed Dinitrol on top of that

26061_387611910956_670915956_4470569_31192_n.jpg


26061_387611930956_670915956_4470570_2975282_n.jpg

new drum, backplate, handbrake cable etc.


Red-9 supplied the rear shocks too with the lowered spring plates.


Just got the other corner to do before the end of the month and then it's onto the steering conversion to rack & pinion (the cheaper way, not the new Red 9 way)
 
Your finished inner arches look gold in the pictures - is that correct?

Anywho - looking very nice indeed 8)
 
gninnam said:
Your finished inner arches look gold in the pictures - is that correct?

Anywho - looking very nice indeed 8)

Nah, they're brown. Goes quite nicely with the Vauxhall Space Green. Think the interior may get a splash of brown upholstery too.
 
VeeDubMan said:
Nah, they're brown. Goes quite nicely with the Vauxhall Space Green. Think the interior may get a splash of brown upholstery too.

Let you off then ;)
 
Seeing as we're (hopefully) moving house soon, I've had to pull my finger out recently and attempt to get the van back on 4 wheels so it can be trailered to the new place.

A friend, Jeremy, had fitted a steering rack from a Bedford Rascal to his BaySplit and has started doing DIY kits to allow fitting to bay window vans. Having heard how much more 'modern' the van feels to drive with one of these on, I decided it was worth doing in the long run. So, this morning, we set up fitting it all up:


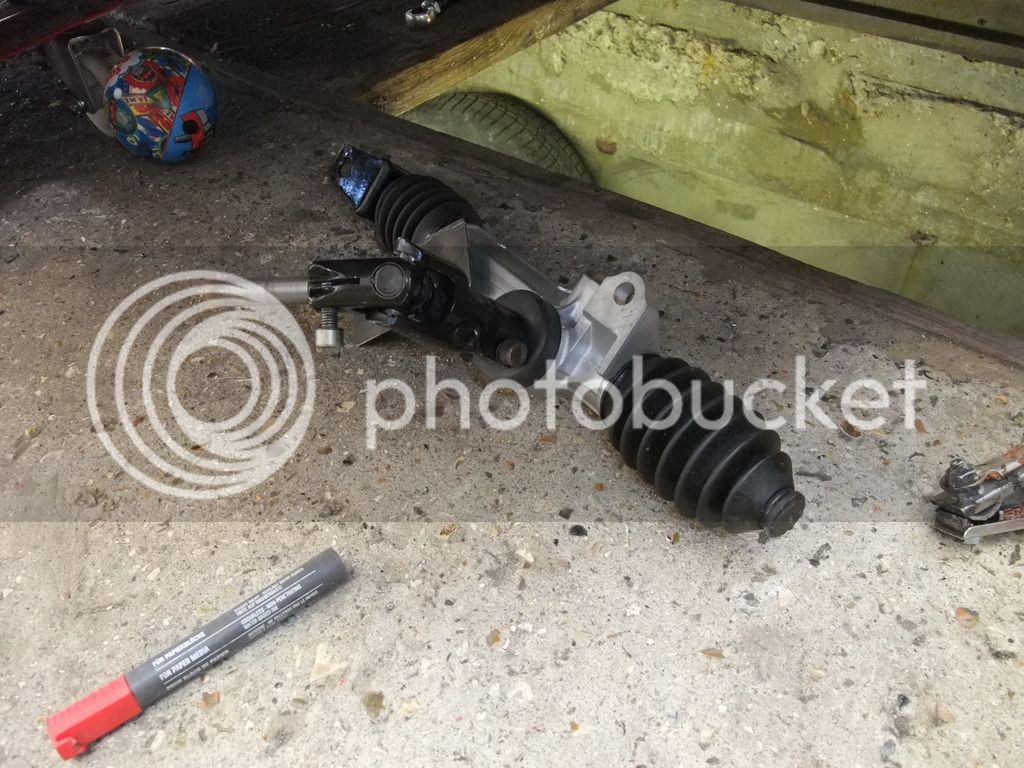
Reconditioned rack with universal joint. The bit sticking out the top of the UJ gets welded inside the old steering column


Chassis leg it prepped. The hole here has to be big enough to take the plate that has a captive nut welded on its back


Jeremy trial fitting rack


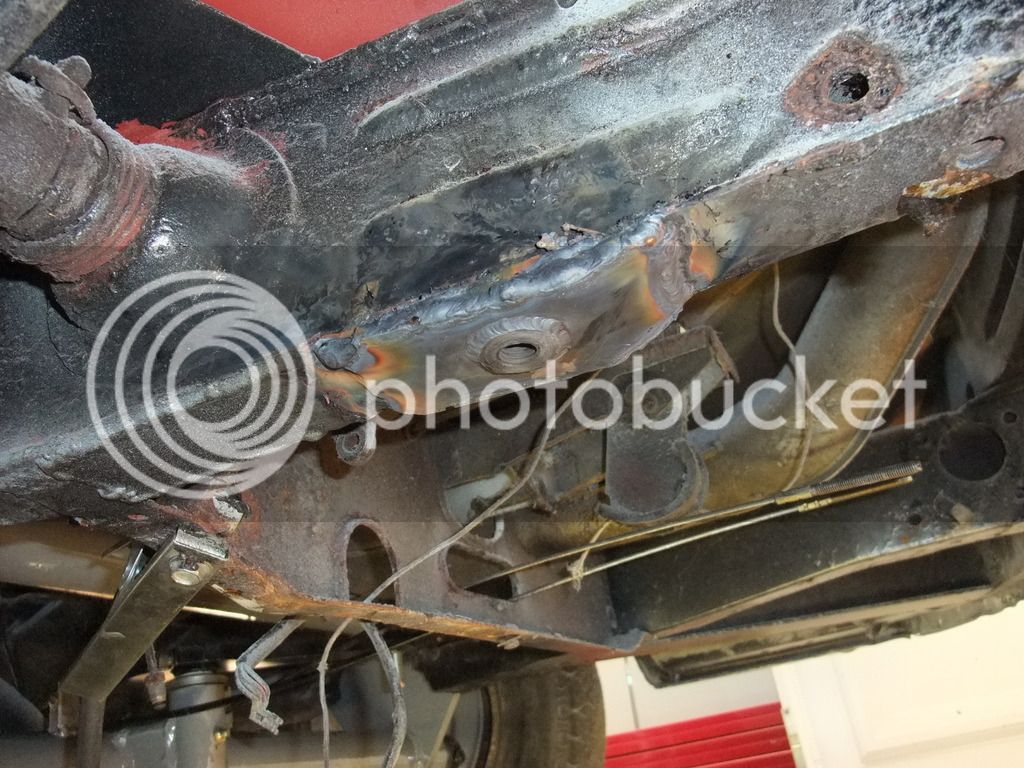
Plate TIG welded in place
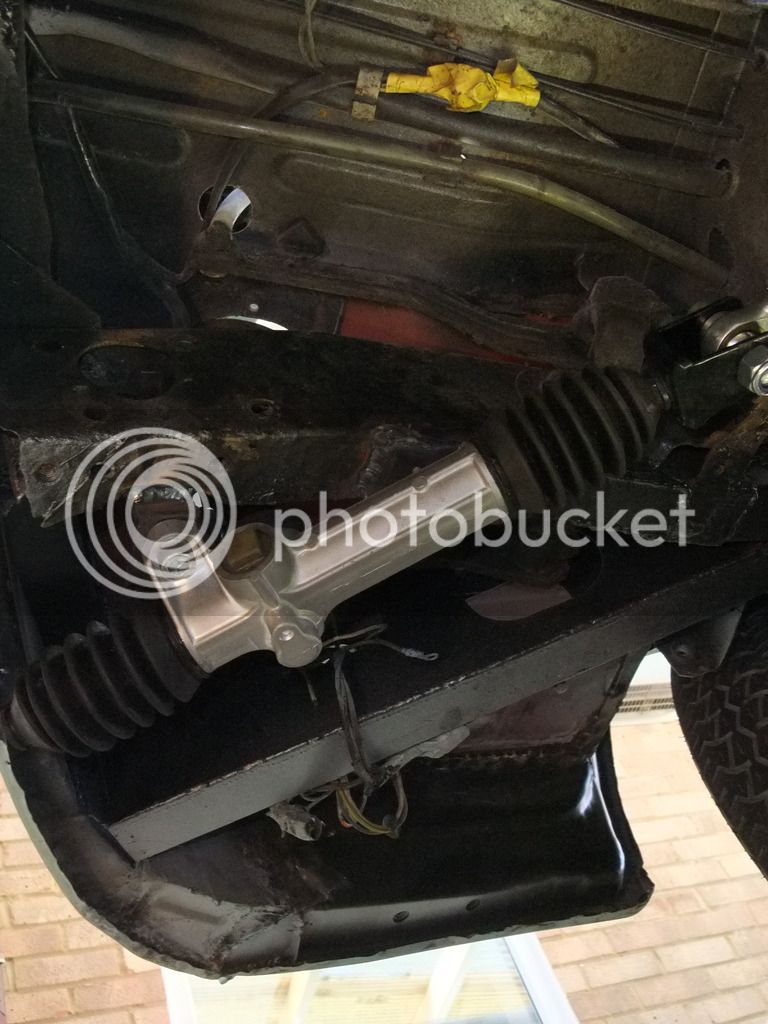


Rack in place


Gives you an idea of the whole geometry change. Arm on the swivel/steering pin is custom made


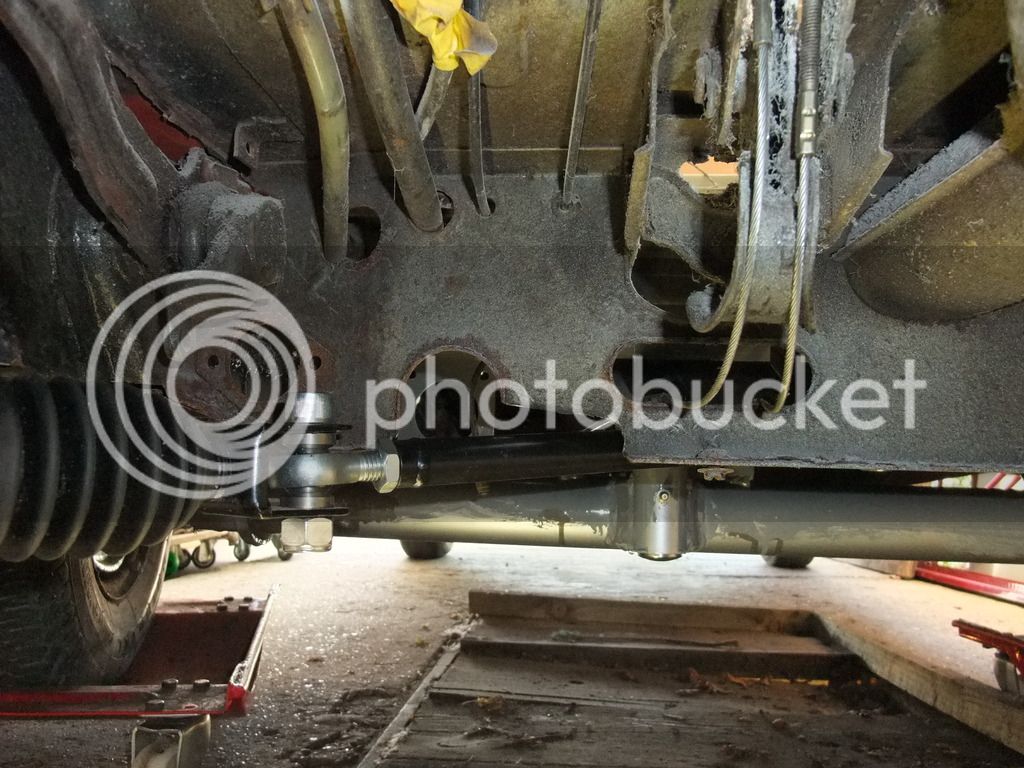
Had to cut out some chassis sections to make room for the connecting arm

This was a morning's work, and having an inspection pit helped no end :D

If anyone's interested in having one of these mods doing, pm me and I'll pass on Jeremy's details. He's doing the kit for £450 + fitting if needed.

Right...I may have steering and four wheels now, but still need a gearbox and engine in, brakes doing, wiring, windows, pop-top.......
 
That looks really interesting.
Is it and electrically or vacuum assisted?

Roll on dude 8)
 
VeeDubMan said:
Cheers. It's neither. It's just a manual rack but performs much better than the original box.

Fair enough and makes sense now :oops:
 
I heard about it being talked about before but good to see how it works. Are there any issues with ground clearance if your van is low? or does it all tuck up in under higher than the lowest point of the beam?
 
good work - did similar to mine a few years back.
you sure your rack is alligned right tho? looking at the third pic up it looks like youll get unequal lock? just rememebr having this headache with mine as the angle of the rakc makes it V sensitive to tiny increments.
 
Johnny said:
I heard about it being talked about before but good to see how it works. Are there any issues with ground clearance if your van is low? or does it all tuck up in under higher than the lowest point of the beam?

The beam is still the lowest point, but if you go too low, I reckon you could be knocking the rack on kurbs in parking bays if you're not careful. I'm only going for a mild drop anyway, so should be OK.
 
richbaker78 said:
good work - did similar to mine a few years back.
you sure your rack is alligned right tho? looking at the third pic up it looks like youll get unequal lock? just rememebr having this headache with mine as the angle of the rakc makes it V sensitive to tiny increments.

It's on there temporarily at the moment as I'm still waiting for new track-rods to arrive but the rack was set at it's mid-travel point, the connecting bar adjusted in length and the plate (where the track-rods connect to) set to the centre position. I can see what you mean now though looking at the picture. Will check when the track-rods arrive.
 

Latest posts

Top