


junglefacejake
Well-known member
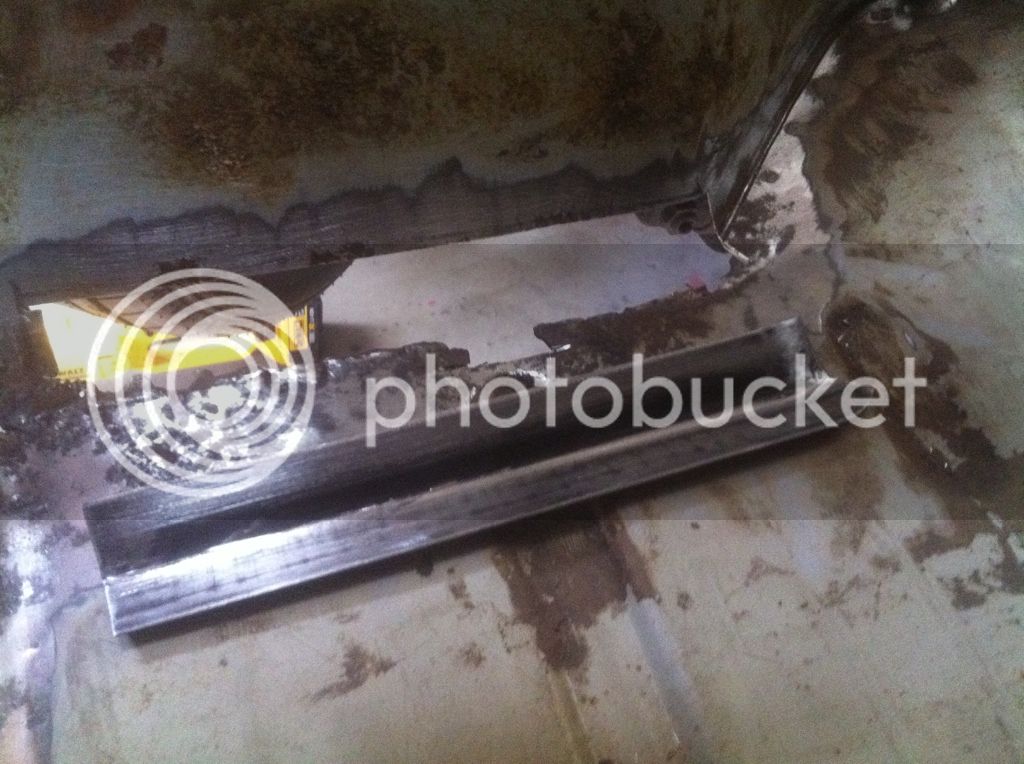
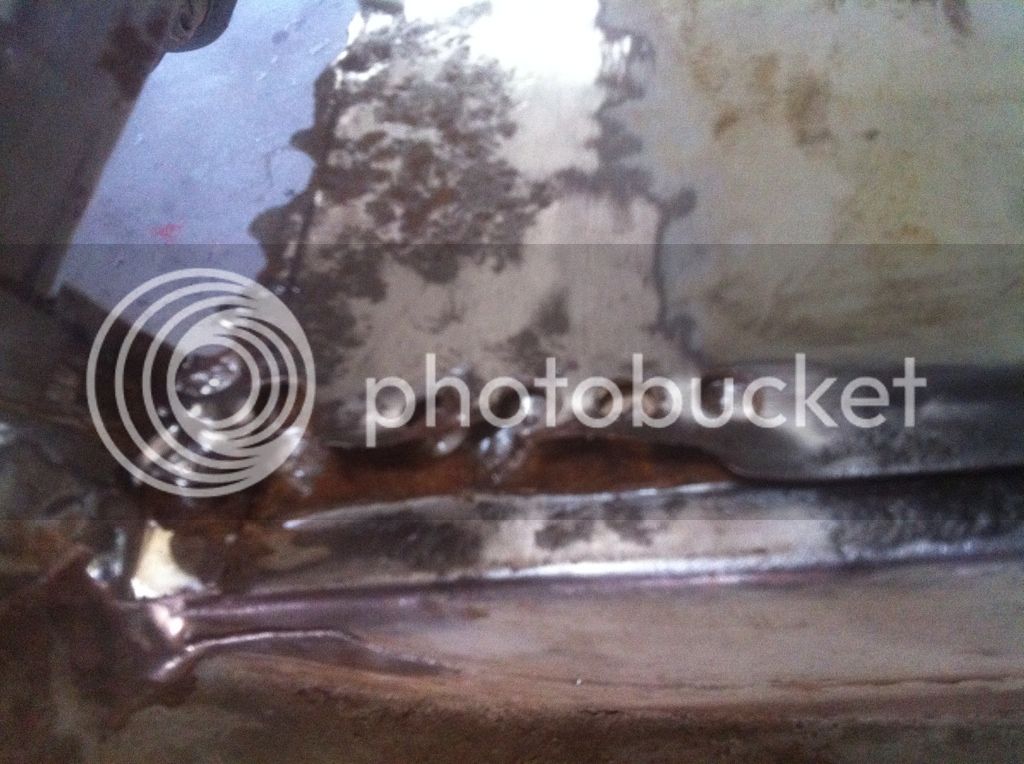
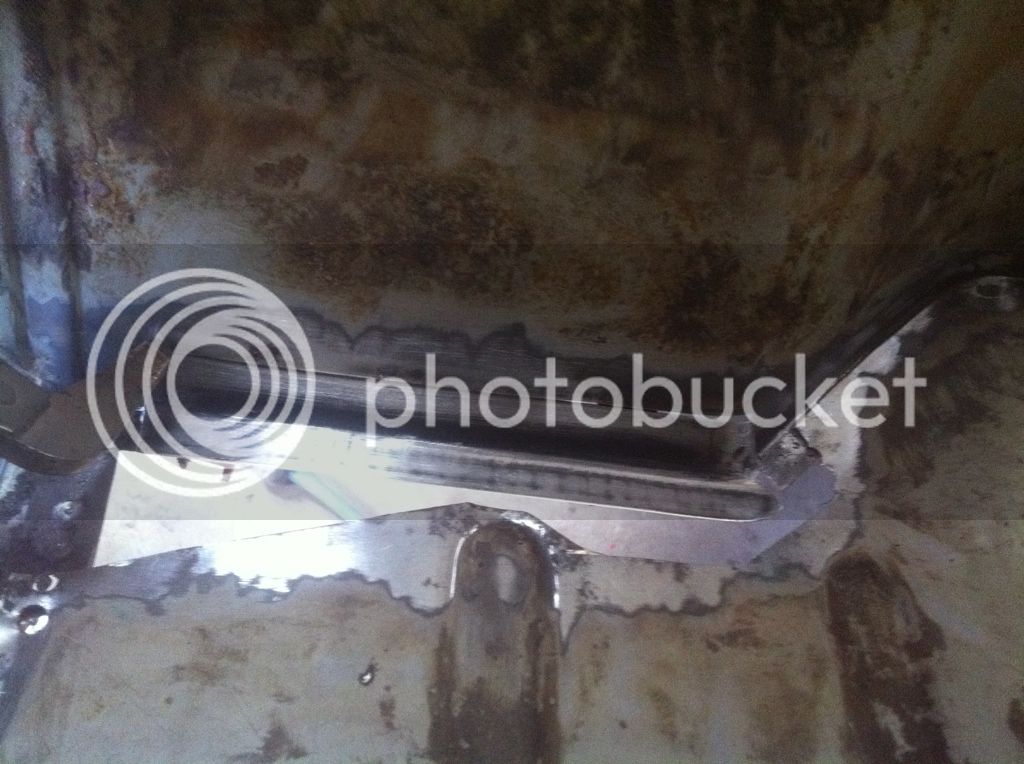
I didn't want it to look like this when it was welded in


")


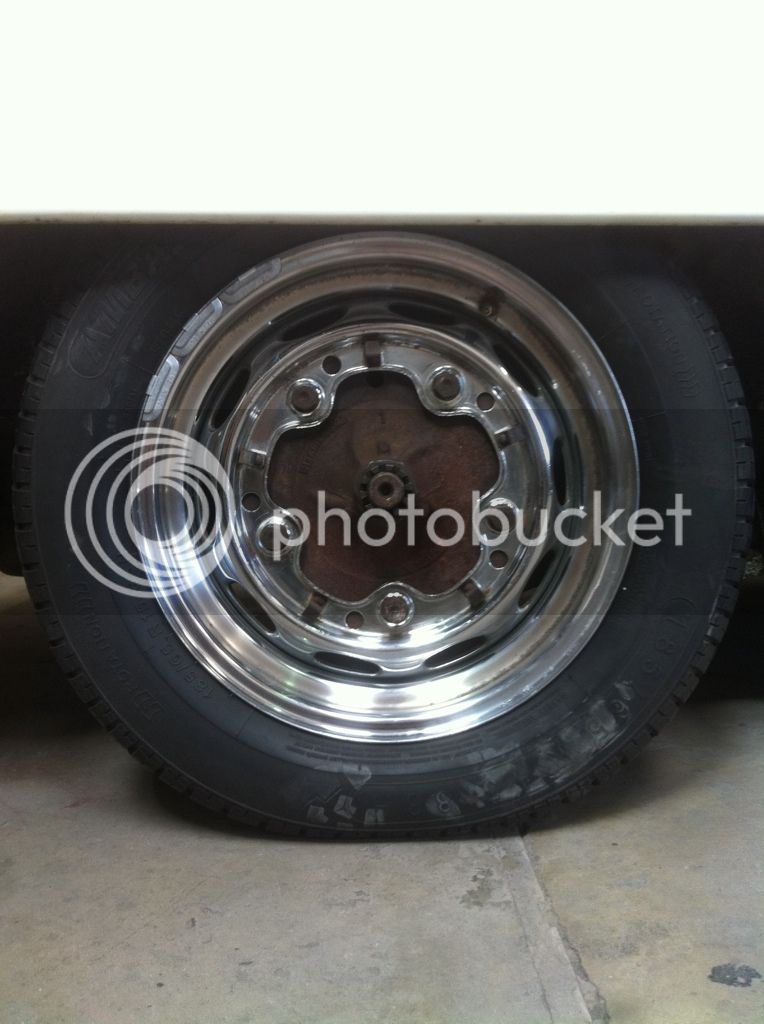
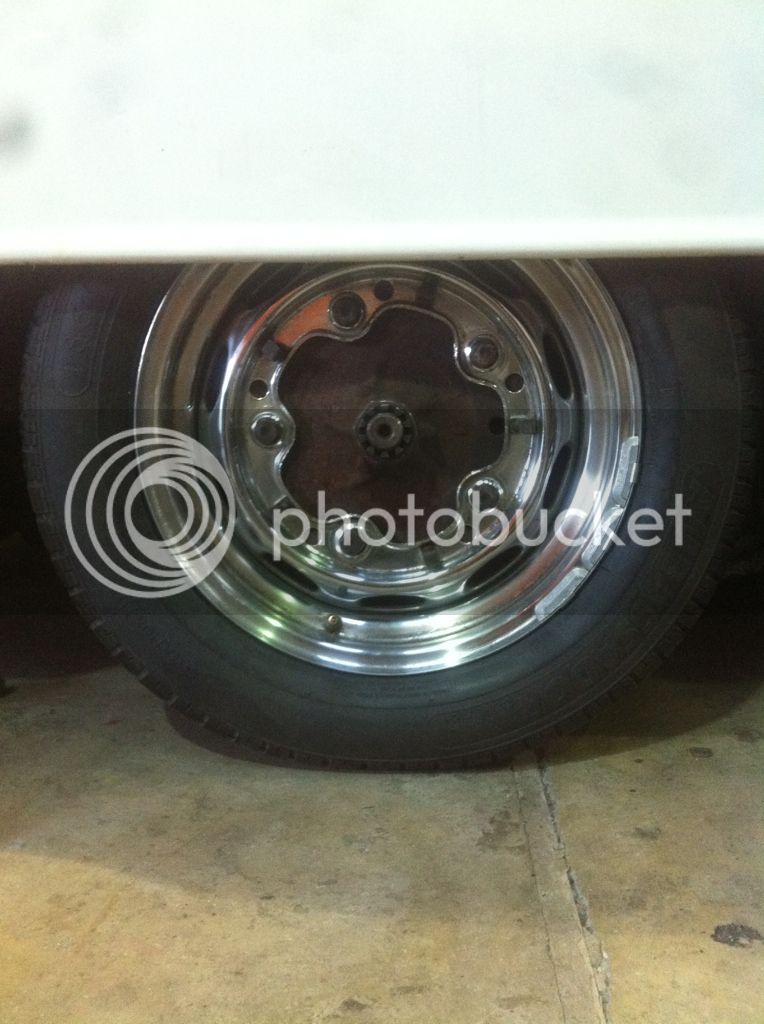
junglefacejake said:This was the difference between the two set-ups on the ground


gvee said:Very tidy!
I was thinking of adding horshoe plates to the panel to increase suspension travel, but I am worried that I'll never get a bloody wheel off!
Is it much harder to change the rears with this combined set up?


