The Delux Dry Cleaning and Laundry 1968 DD Panel

Early Bay Forum

Help Support Early Bay Forum:

This site may earn a commission from merchant affiliate links, including eBay, Amazon, and others.

Gadget Boy

Well-known member
Joined
Dec 6, 2006
Messages
1,654
Reaction score
7
Location
In Gadgets Speed Shop modifying a Bus
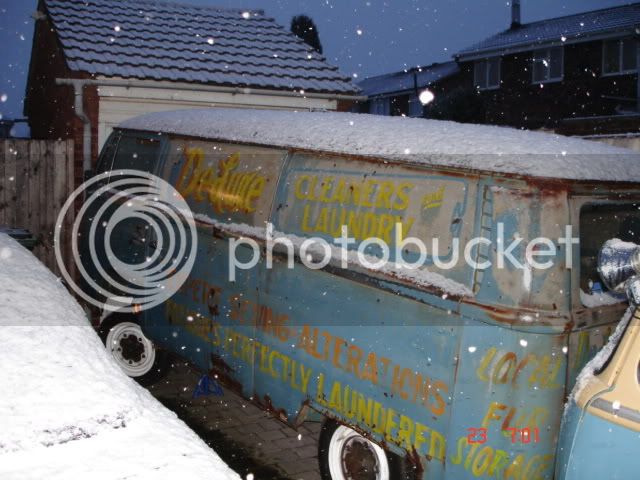
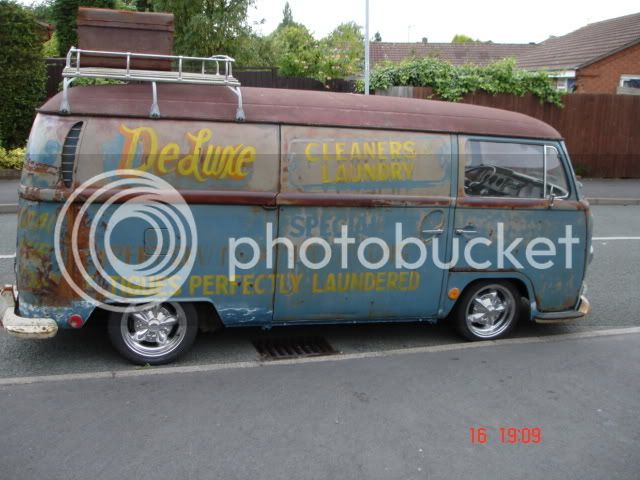
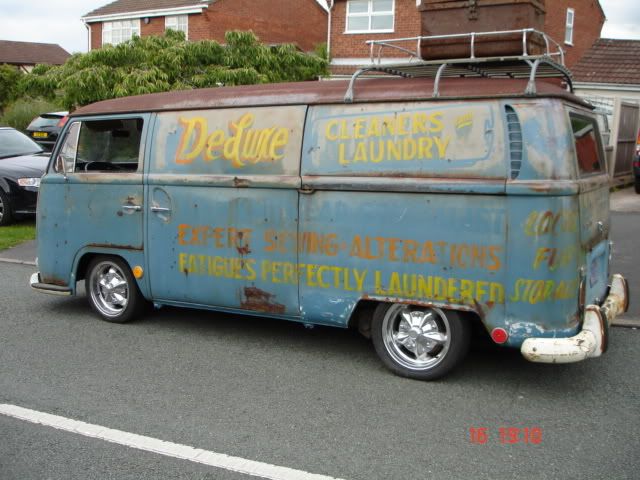
The Delux Dry Cleaning and Laundry Panel

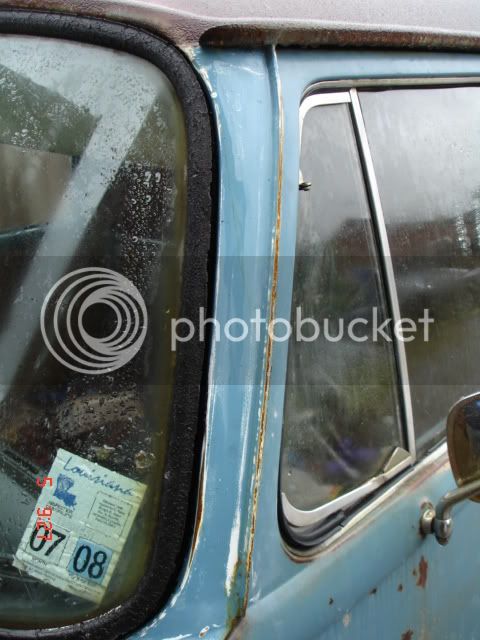
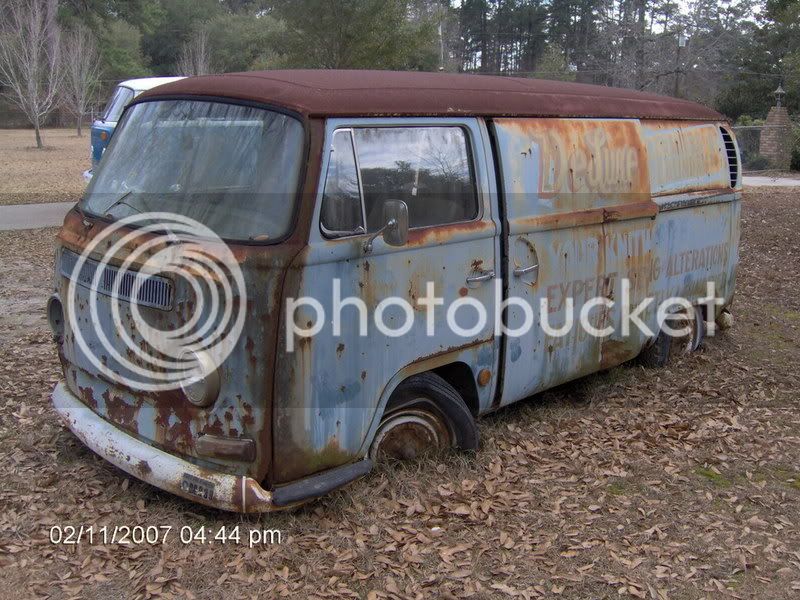
Ok well this is why you dont get on the Samba.Com when your pissed on a sat nite and have come in from the pub . Quick history the bus is a june 68 double door walk through panel van . Sold new from Central vw dealers in Leesville Louisanna in oct 68 to the Delux Dry Cleaning and laundry Company . The original owner kept the bus untill May last year he had been using it as a wood shed since 1983. The guy that found it had to buy him a new shed . Ive gots lots of before/during/after resto photos and its taken 5 1/2 months under a tarp on my drive .
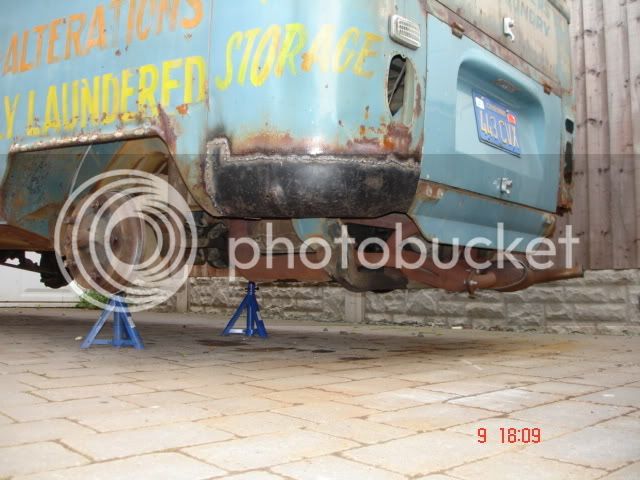
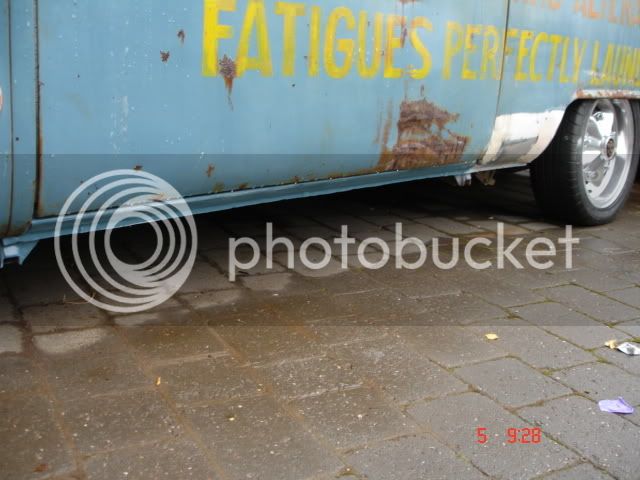
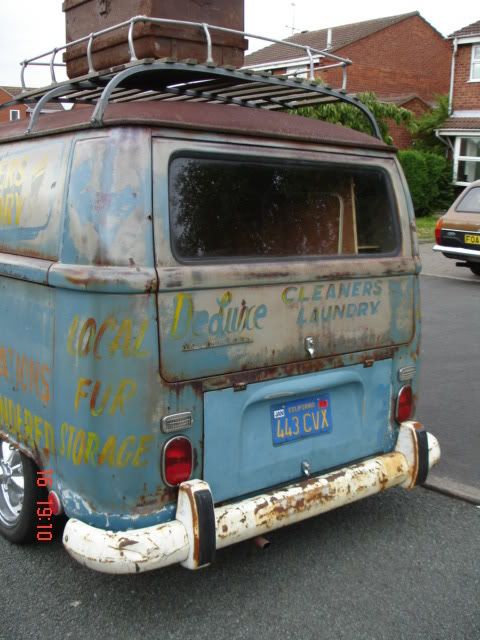
The sign writing is original and from 1968 the bus has faded Phone no,s on the doors of 233-3344 .The shop is still in the same location and under the same ownership as it was in 1968 and they still use the same phone no too
The bus has its first M.o.t today Thurs @ 8.30 am ready for the Jam on Fri morning .

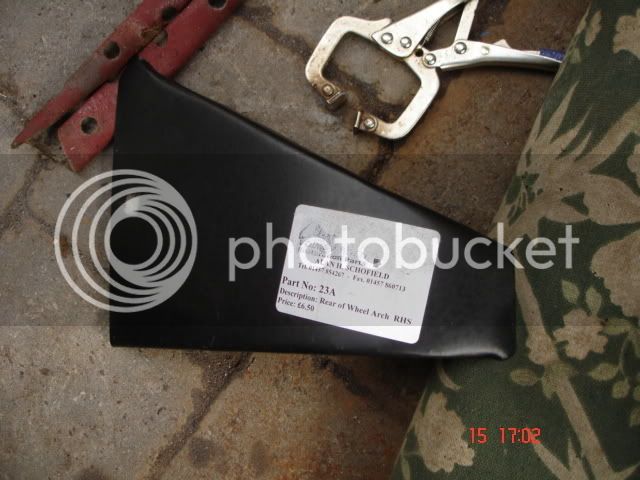
I must Thank Kempy 4 keeping it to Himself :wink: AGC for the rear splash guards :D AOGrady for the strict no photos rule Thanks mate ,The guy that sent me the rear reflectors 4 Free Ive 4 gotton ur name but i will name u asap .Ego 4 the inspiration on the wheels NEVER again :twisted: Amie Kemp and Paul Aucott 4 all there help and Hannover Heritage for the now infamous 68 Only dash top . also Steve Johnson for the westy interior and Rocket Ron 4 the overiders also Rons wife 4 deciding she didnt like em :D :wink:

Lastly my Debs 4 letting me get on with it Again X

Quick Spec

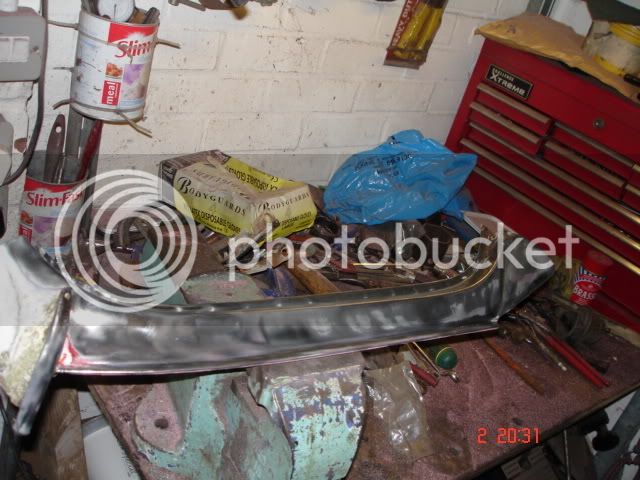
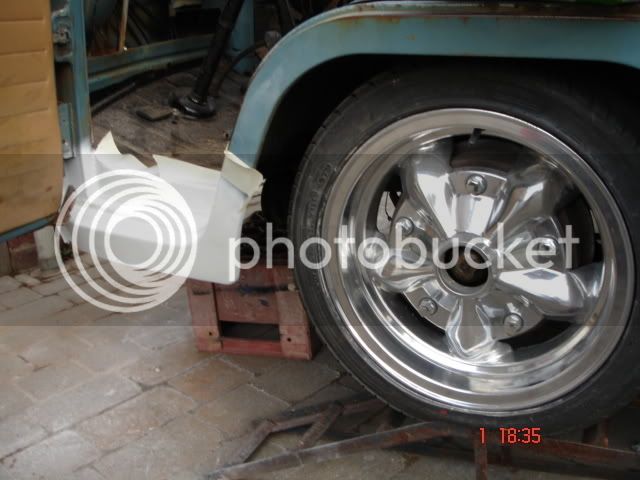
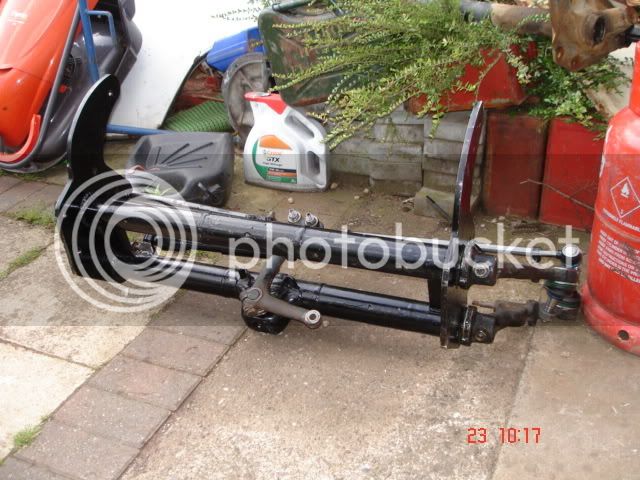
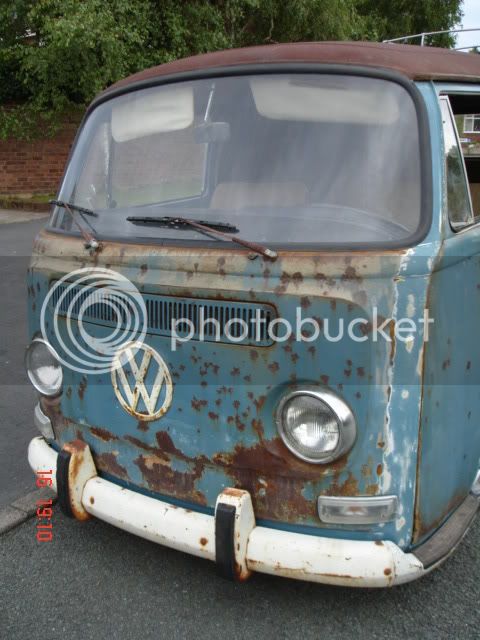
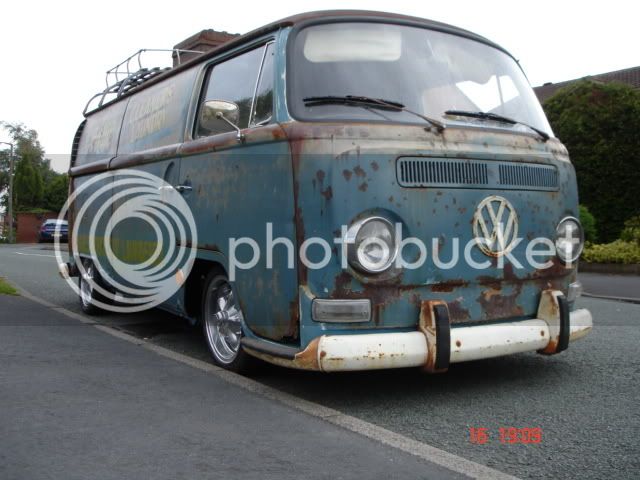
All done by me 4'' beam slammed 170mm frt 110mm rear Torkers fully polished og paint us spec bumpers and loads of repairs

See u at Bug Jam

Gadget :wink:


DSC00715.jpg


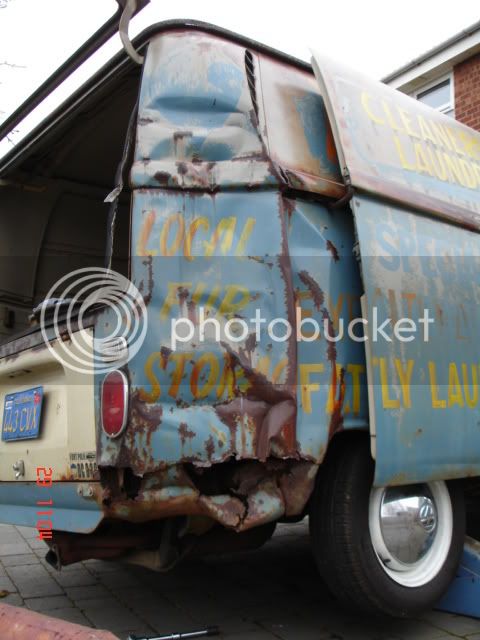
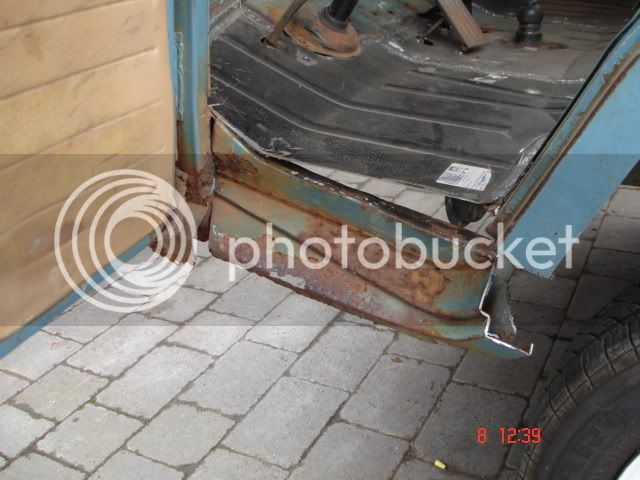
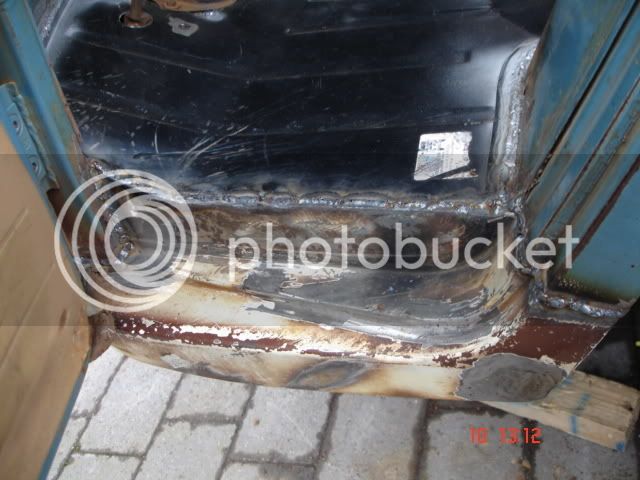
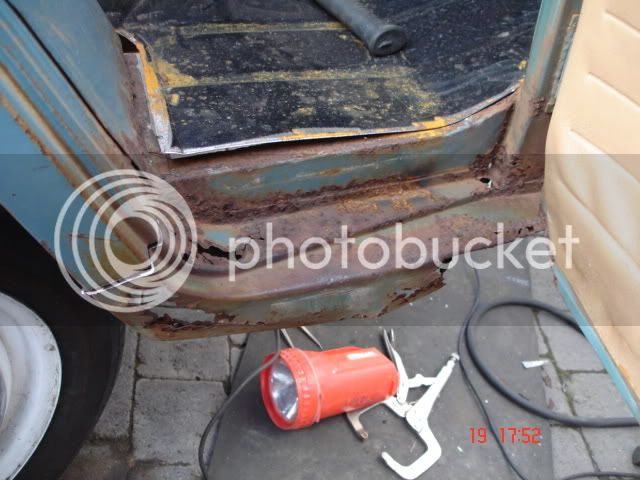
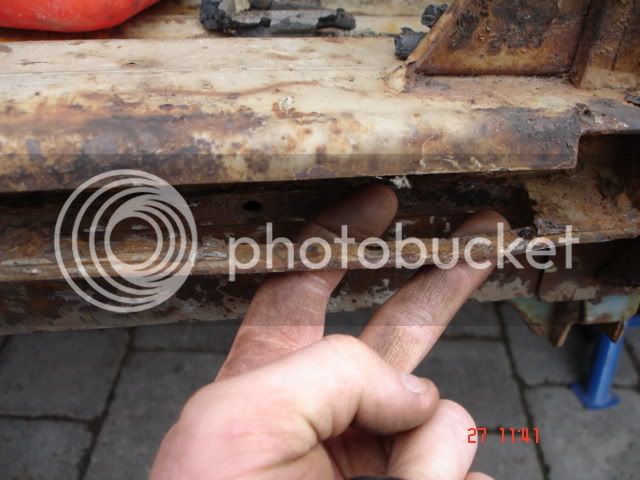
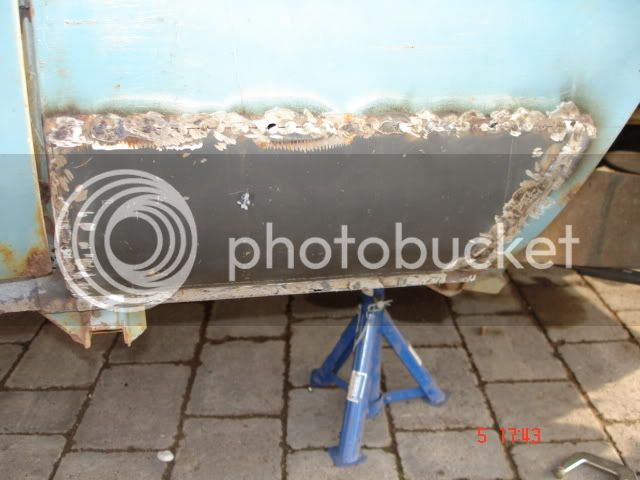
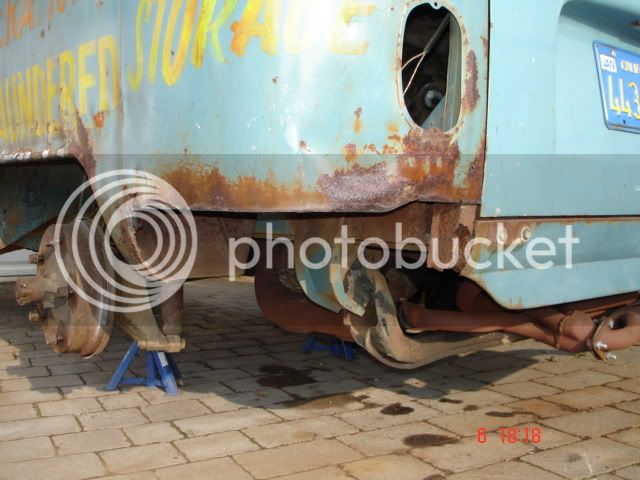
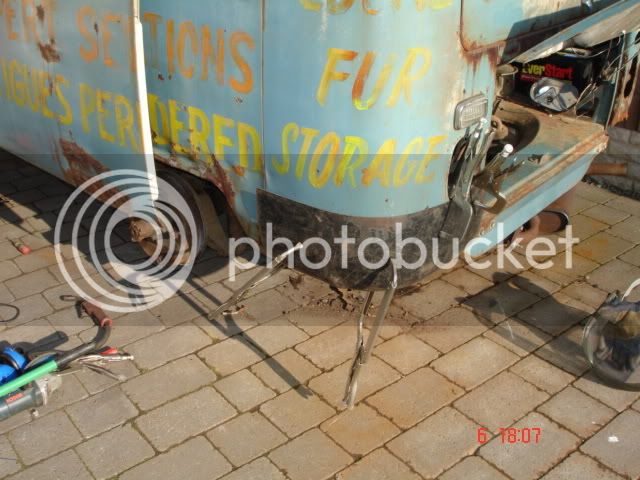
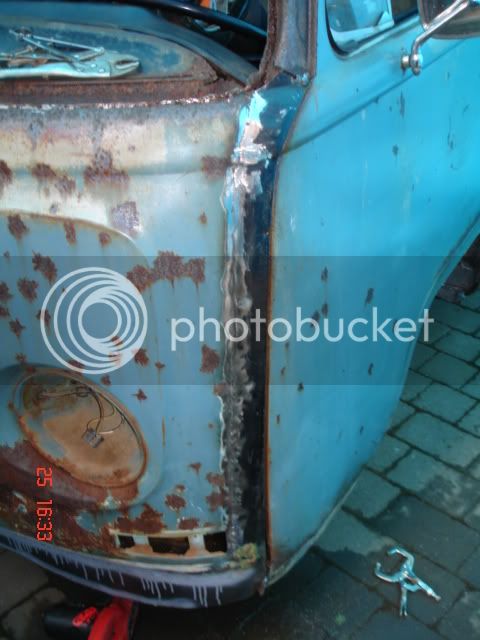
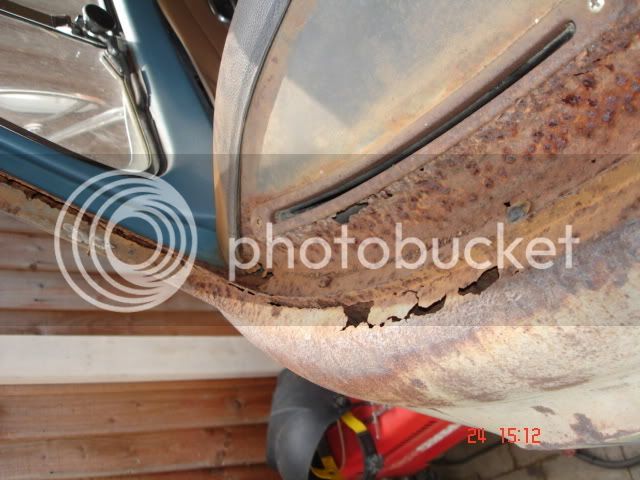
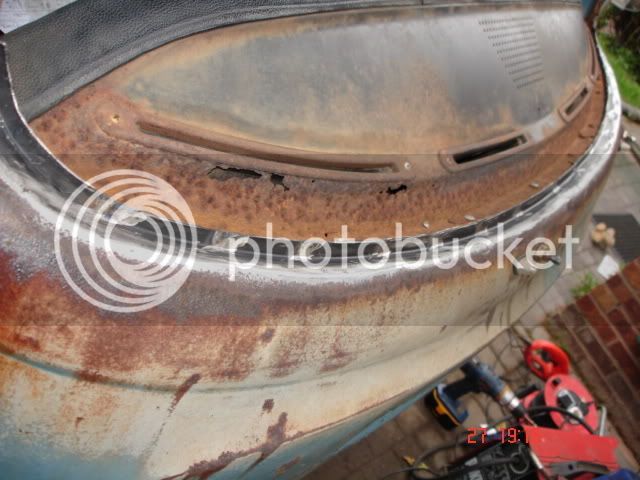
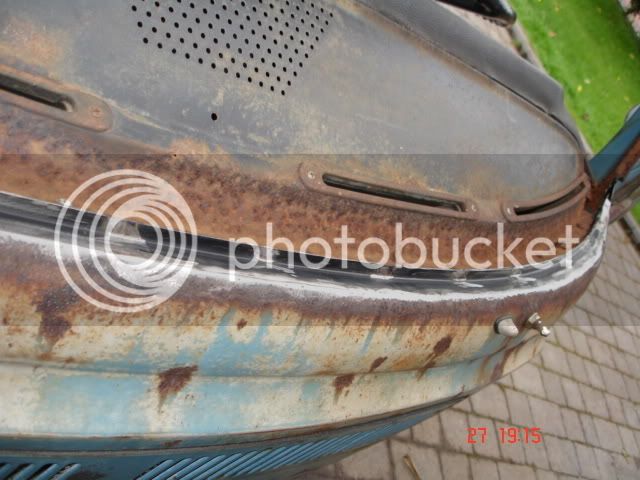
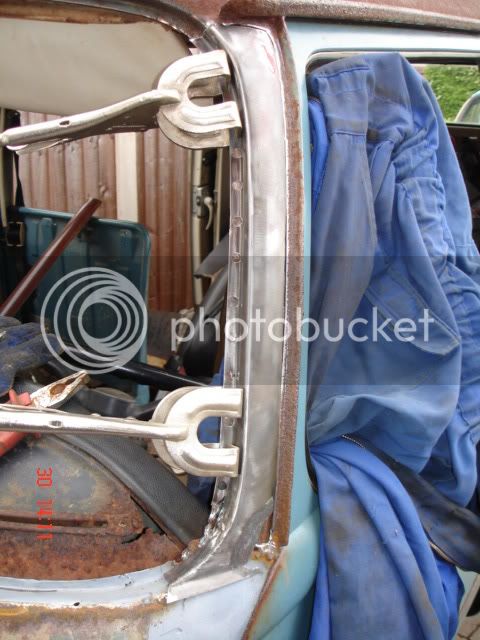
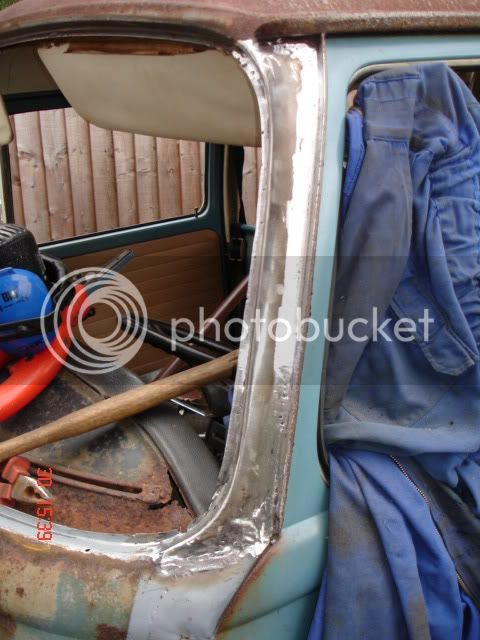
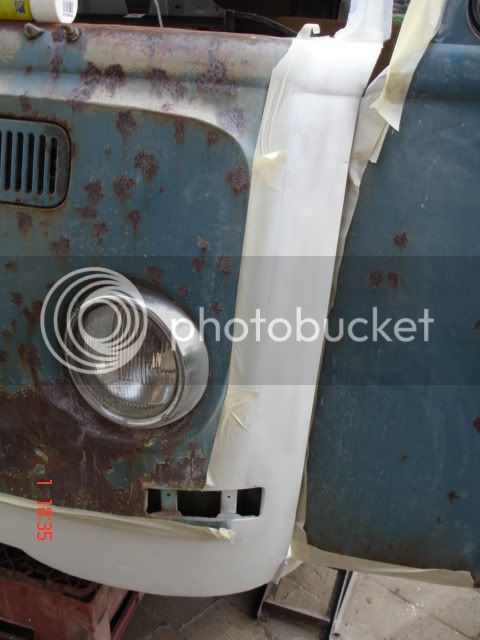
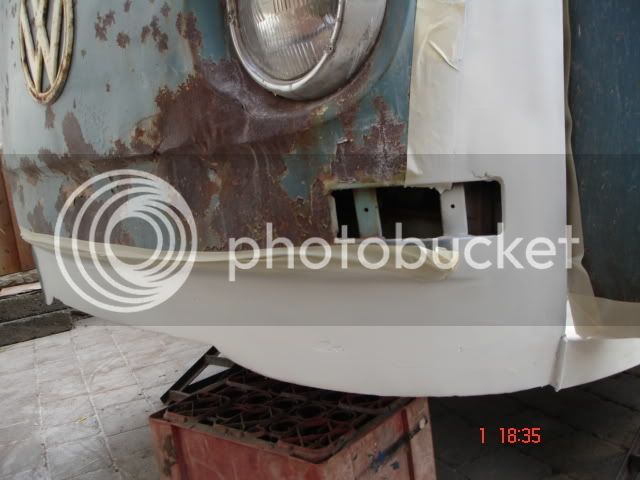
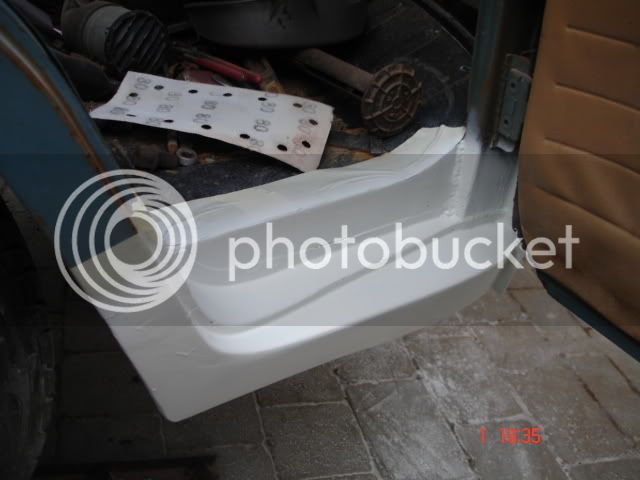
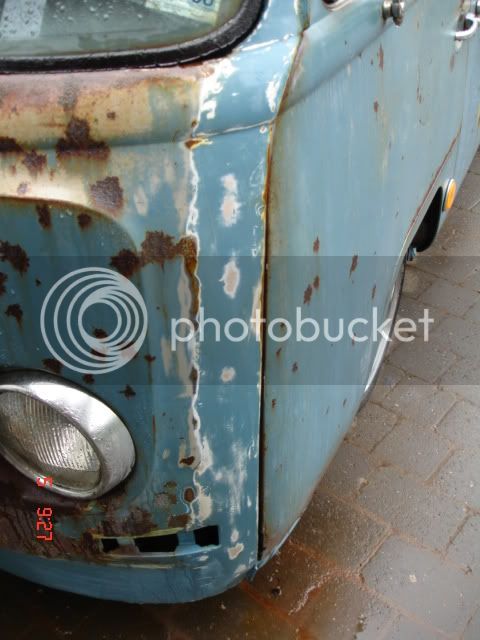
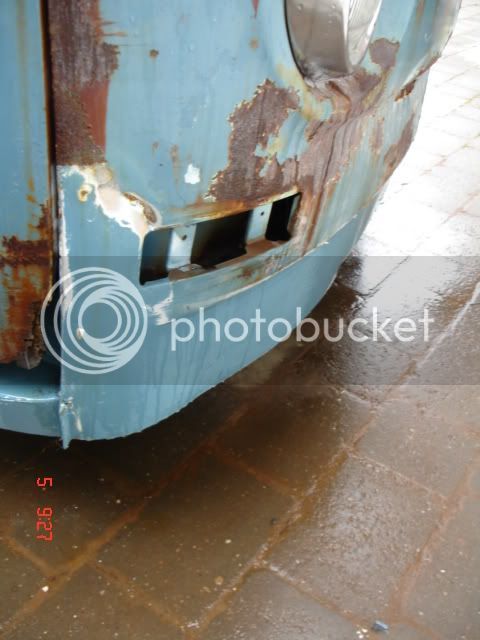
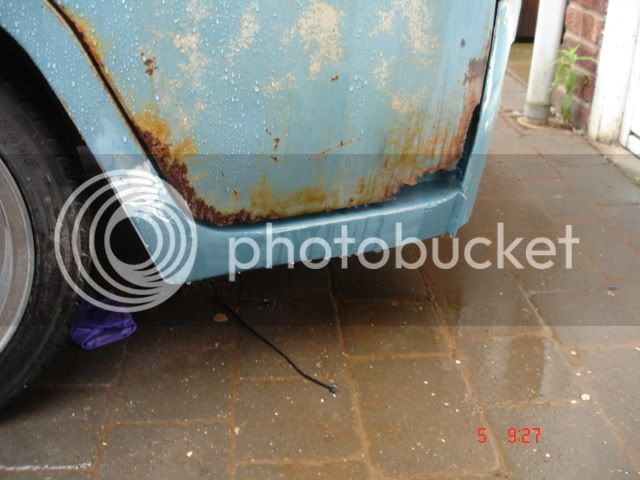
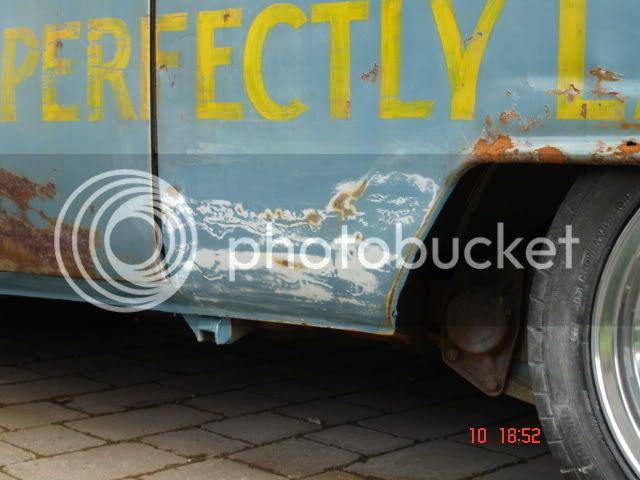
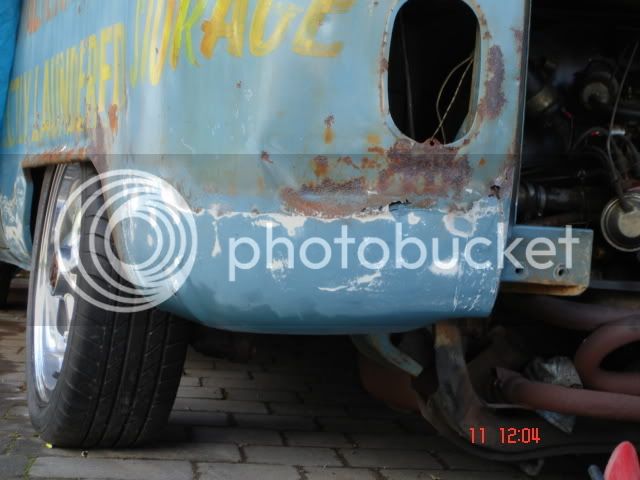
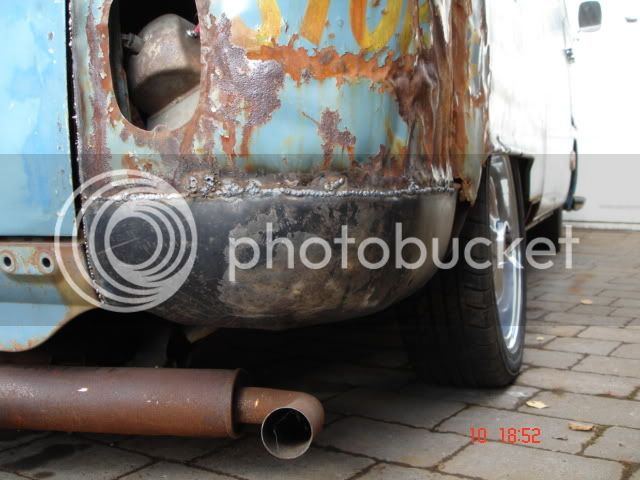
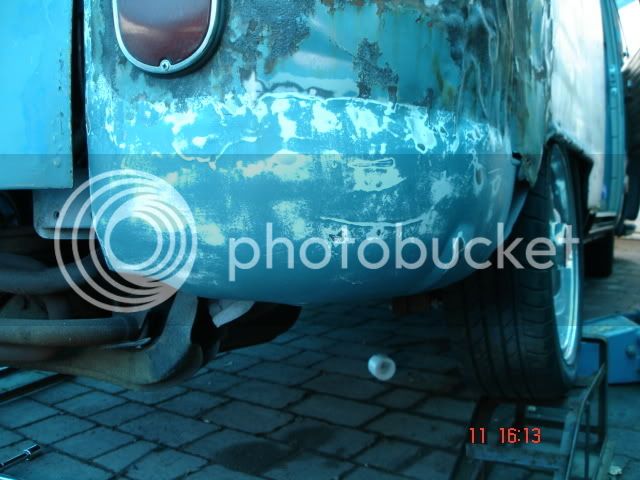
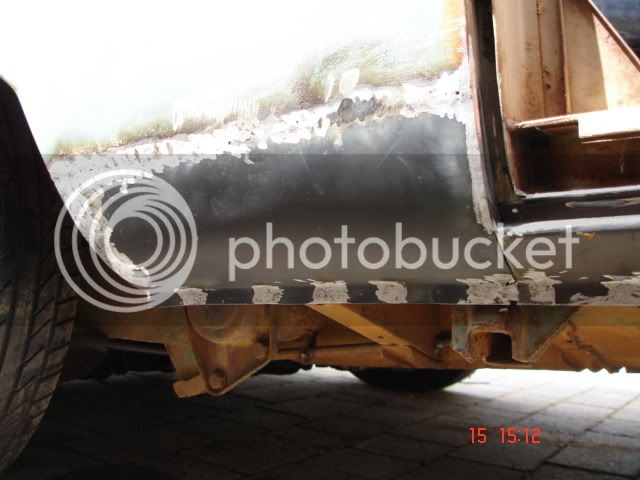
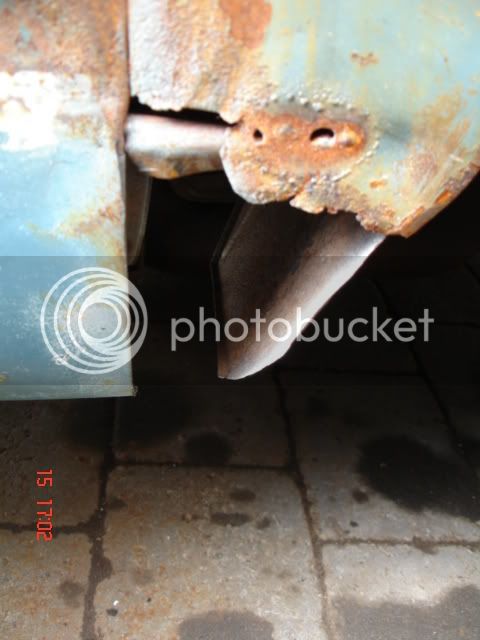
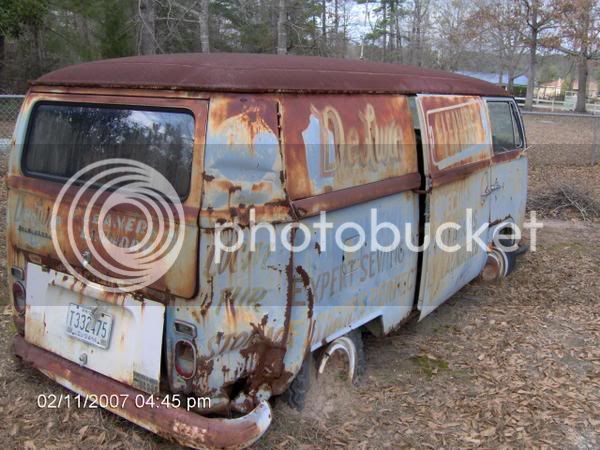
the rear corner was bad

DSC01056.jpg


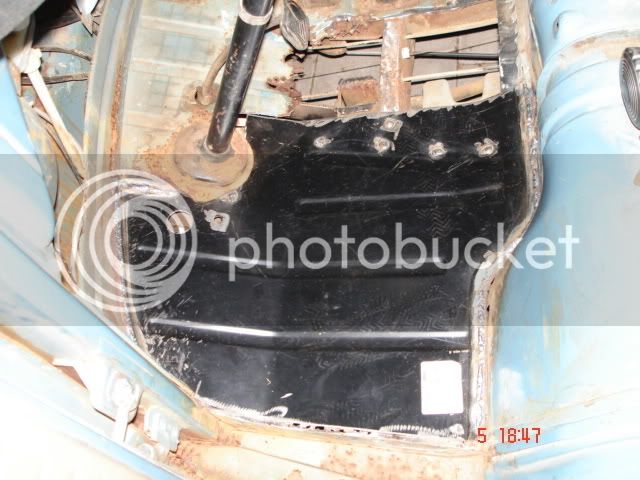
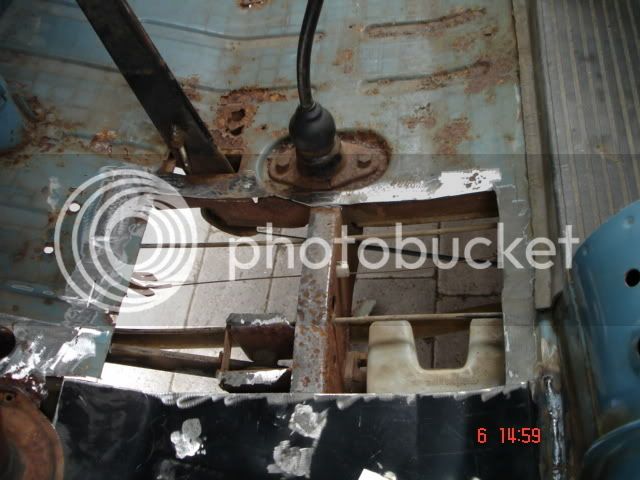
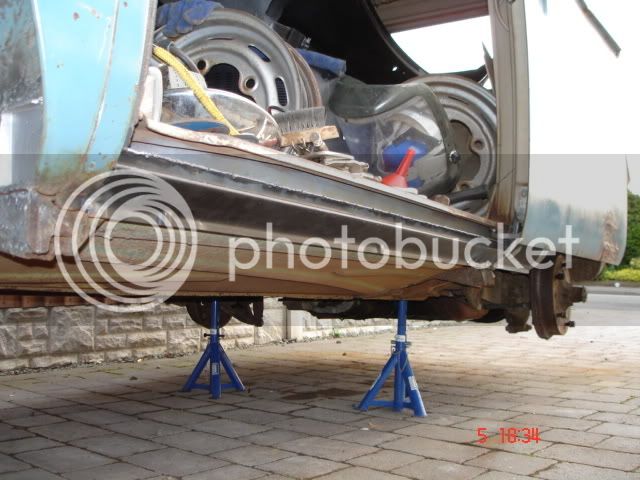
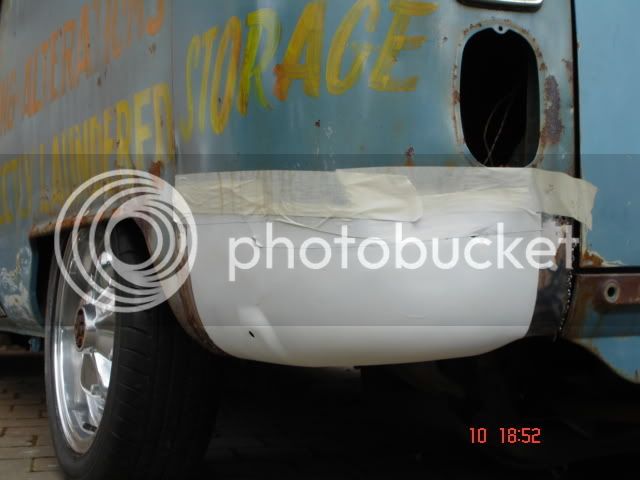
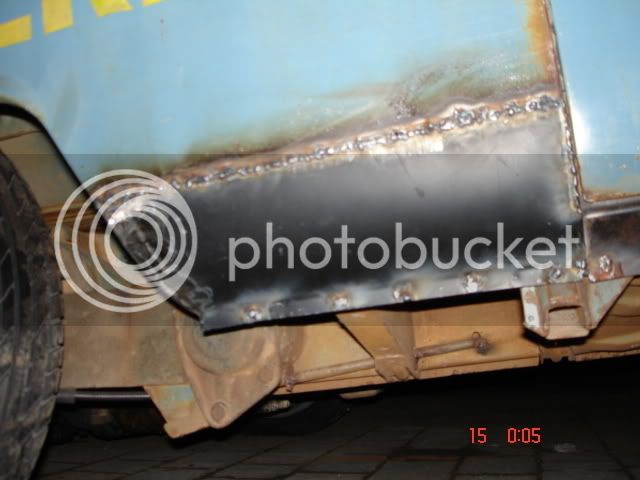
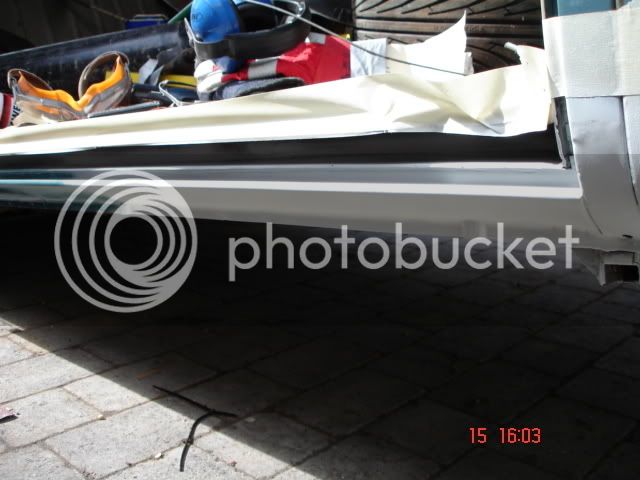
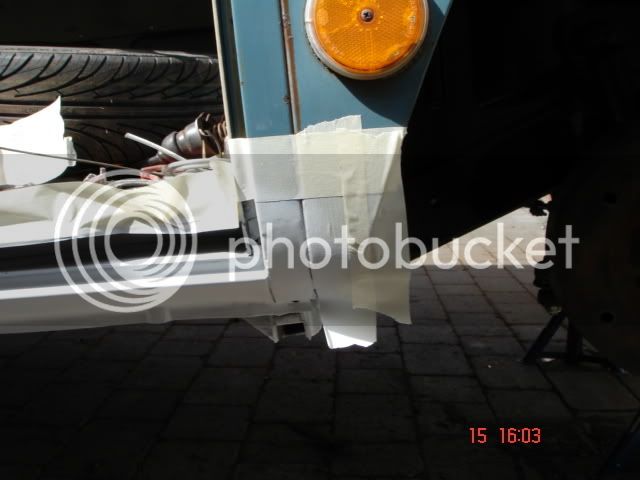
It took a lot of work to get it back
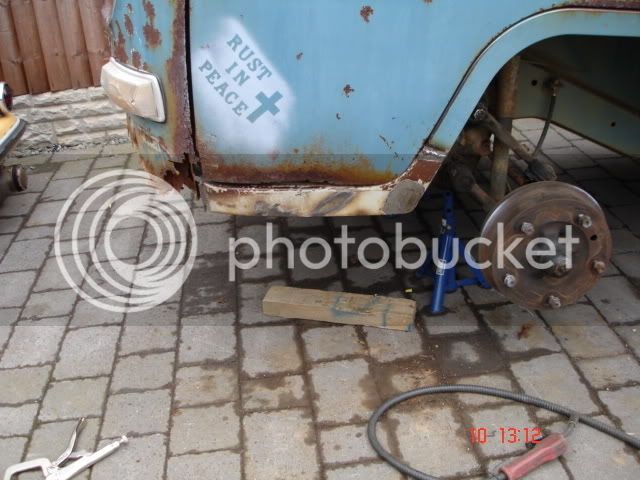
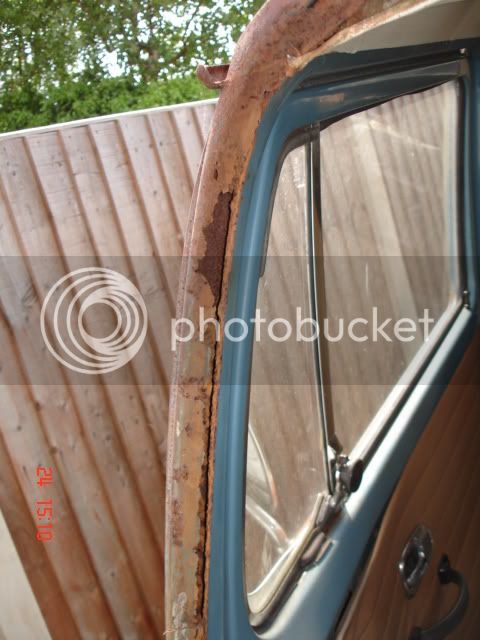
DSC01052.jpg


DSC01053.jpg


DSC01055.jpg


DSC01054.jpg


DSC01050.jpg


When i first saw it

DSC00044-1.jpg


DSC01060-1.jpg


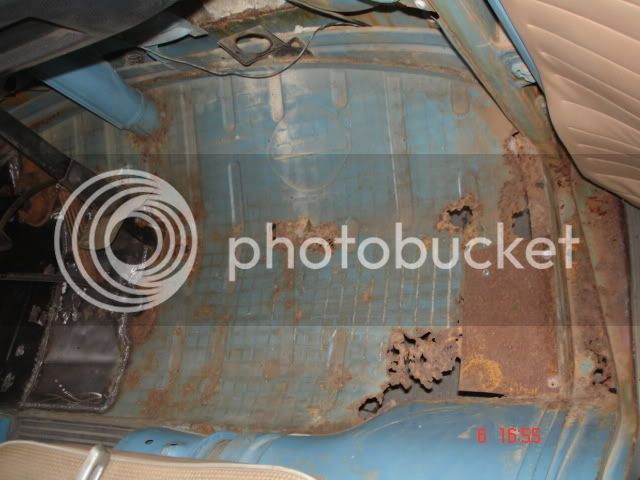
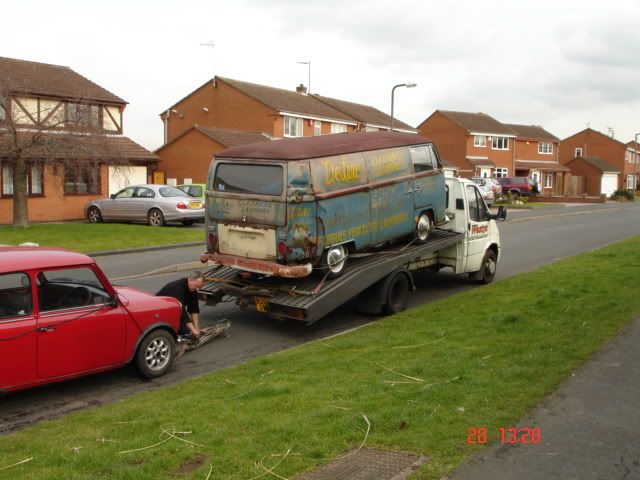
When it got here on the transporter and the missus said '' Its worse than you thought '' and it was :cry:

DSC00701.jpg


DSC00718.jpg


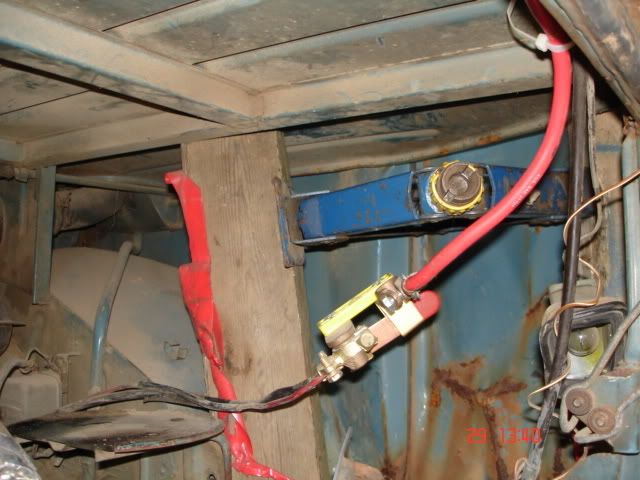
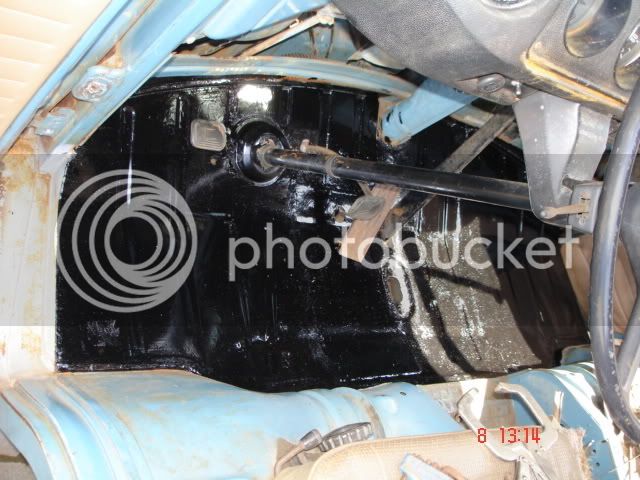
live battery connections were just hanging in mid air ..... The first job was to get rid of that :roll:

DSC00724.jpg


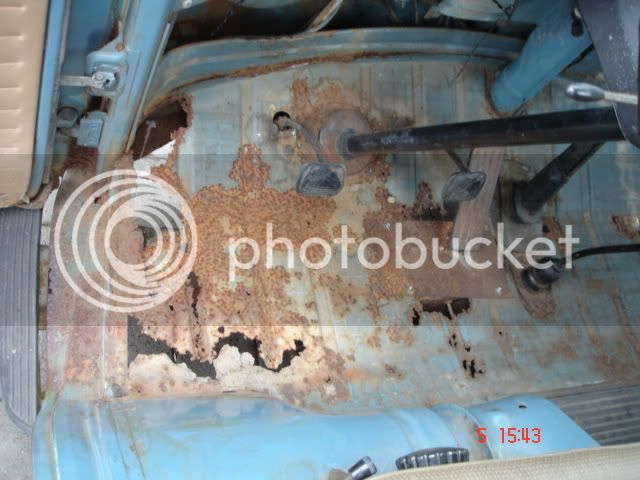
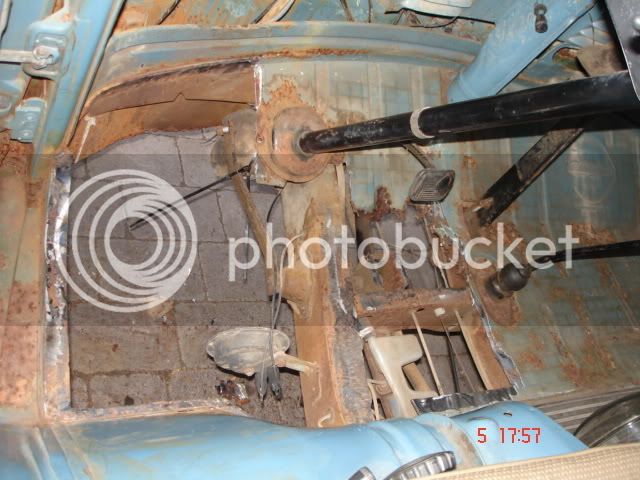
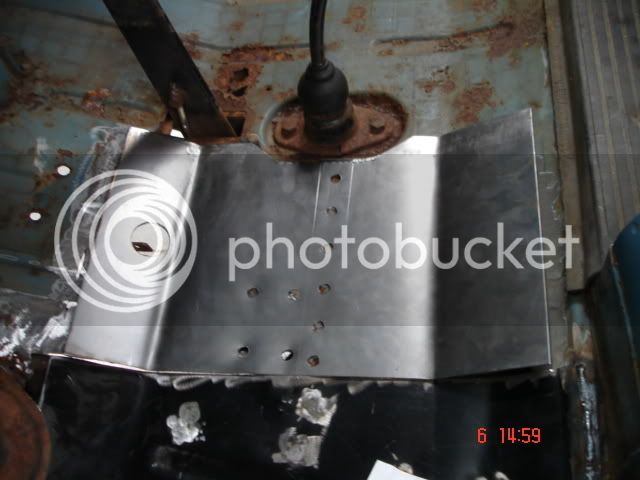
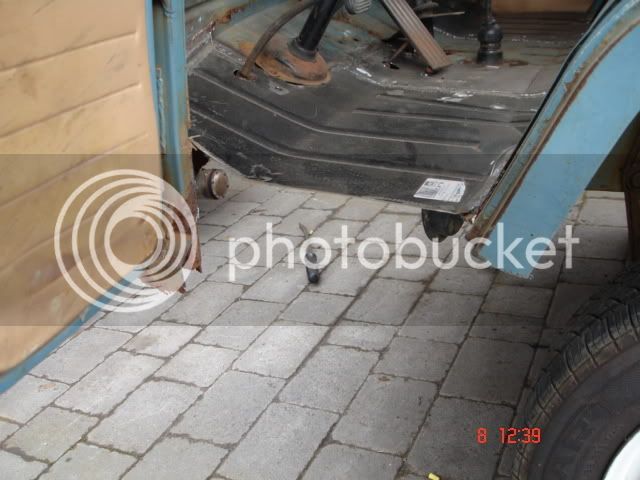
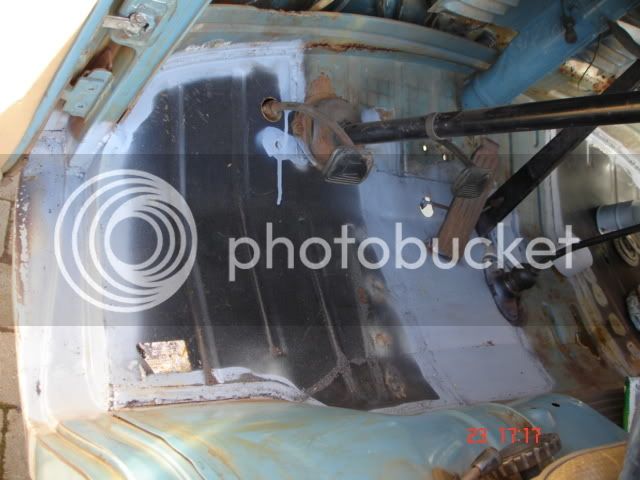
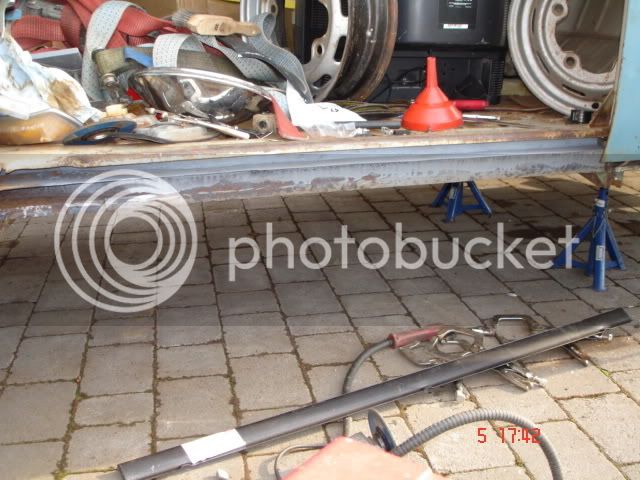
Work started properly on the 5/3/08 out with the floor

DSC00724.jpg
 
DSC00726.jpg


DSC00727.jpg


DSC00728.jpg


Some panels Schofields dont make :roll:

DSC00730.jpg


DSC00731.jpg


So i make em :mrgreen:

The passenger floor wasnt any better

DSC00734.jpg


DSC00737.jpg


Thats better

On to the cab steps i got a pair of genuine og cab steps for £25 quid yes £25 quid :wink:

DSC00756.jpg


DSC00754.jpg


DSC00755.jpg


Thats better

DSC00779.jpg


DSC00781.jpg


passenger side

DSC00799.jpg


Ive got loads more photos i will post em Up :wink:

Gadget
 
looking forward to em already! nice work Gadget 8)
 
its nice to see the WIP pics Deano, its shows the amount that actually went in to getting it on the road and right :shock: . The replacements blended in really subtly 8) , you did an excellent job with the A pillar, it looks rotten in the first pic!
 
You've done a cracking job of blending the new with the old looks like a different van.I noticed on the picture with the cab floor removed,dont left hookers have the extra chassis forking off thats a pleasure to replace?....any way good on you for having such vision and balls to take on and achieved this from a so called wreck.
 
ground hugger said:
You've done a cracking job of blending the new with the old looks like a different van.I noticed on the picture with the cab floor removed,dont left hookers have the extra chassis forking off thats a pleasure to replace?....any way good on you for having such vision and balls to take on and achieved this from a so called wreck.

No they werent fitted til 1970 model year (for LH or RHD models).
 
i love that bus well done gadget hope its going to vanfest would love to see it in the flesh
 
just a quick question have you coated the body with something to protect it as it looks like it has a coating of some sort if so what is it as im attempting to create a rat myself at the minute and not sure what to put on to protect it once ive giot it to a desired state
 
Ok more WIP photos guys :wink:

DSC00854.jpg


After it had all been ground down and linished to get it as smooth as poss I zinc primed all the joints and seam sealed underneath this should ensure she lasts another 30 years :mrgreen:

DSC00805.jpg


Unfortunatly that nite Snow stopped play :(

DSC00855.jpg


Drivers and passenger sills were original but both sliding door guides were fooked so i had to cut em off

DSC00856.jpg


DSC00860.jpg


DSC00902.jpg


The inner sills were mint just surface rust Thank God so i just had to replace the sliding door guide its easier to say than Do .............
Unfortunatly it was proper mullered so i bought a sheet metal bender and made new pieces for both sides . this side, the drivers was 800mm long :cry: This was the 5/5/08

DSC00907.jpg


The new sill went on and i plug welded all along the bottom edge and ground it down as well as seam welding along the front edge for max strength

DSC00905.jpg


new rear quarter was butt welded into place :mrgreen:

DSC00910.jpg


Then i cut off the rot on the rear drivers corner and butt welded the new one on :mrgreen:

DSC00908.jpg


DSC00913.jpg
 
The front panel was bad this photo looks like rust marks but its completly rotted through as was the windscreen lower surround and both the outer A pillars ....Which you cant bloody buy :evil: . So i had to drine a 250 mile round trip and cut some mint pillars out of a scrapper :twisted:

DSC00915.jpg


DSC00921.jpg


DSC00917.jpg


And in the background you can see the rotten dash too . Unfortunatly alot of was ahead

DSC00923.jpg


DSC00925.jpg


DSC00916.jpg


rotten outer A pillar the other side was the same

DSC00979.jpg


New pillars about to be stripped :mrgreen:

DSC00930.jpg


DSC00933.jpg


And the passenger side

DSC00981.jpg


DSC00987.jpg


While is was at it I found another Hornets nest :shock: this was the biggest at the size of my fist . I found 6 in total :shock: :shock: Very Fortunatly None of the residents were at home :wink:

DSC00985.jpg


a coat or two of smoothrite takes care of everything

I had to take all the dash out to repair the windscreen lip and it needed replacing anyway . It took nearly 2 months to find one :twisted: But i fitted a proper 68 only dash :mrgreen:

DSC01000.jpg


DSC01002.jpg


DSC01001.jpg


Repairs started in two pack Neptune blue from a spray can and then i rubbed and aged it back to look older :wink:
 
DSC01003.jpg


The painting begins :mrgreen:

DSC01005.jpg


DSC01013.jpg


DSC01015.jpg


DSC01014.jpg


DSC01016.jpg


DSC01017.jpg


DSC01019.jpg


The drivers side sill

DSC01020.jpg


DSC01021.jpg


DSC01027.jpg


DSC01022.jpg


The bottom of the infamous rear corner this was the 10/7/08 just a week before the jam :shock:

DSC01029.jpg


DSC01040.jpg


This schofield rear quarter panel didnt fit :twisted: So i had to cut it and section it at the back to meet up with the original rear wheel arch Bloody crap repop panels :twisted:

This was welded on on the Monday nite before the jam at 12.10 AM :oops:

DSC01042.jpg


DSC01046.jpg


DSC01044.jpg


DSC01045-1.jpg


bottom of the b pillar needed a light repair too :roll:

DSC01048.jpg


DSC01049.jpg


The last panel to go on nearly 6 months on this drive under a tarp :cry:

DSC00995.jpg


The 4 inch narrowed beam which i also made myself and fitted all new balljoints/trackrods/steering drag link /steering damper rebuilt all the brakes fitted new exhaust and fitted new shocks and sorted out the wiring to UK spec :mrgreen:

After a service the motor ran like a top :D . There is so much stuff you will never see or notice thats been done . im just finally glad ive got it Done .................

And the Thursday nite B4 Bug Jam i panelled out the inside in rose coloured ply and fitted a full retrimmed westy weekender interior to make it al comfy :mrgreen:

Gadget now taking a break :wink: .................For Now .
 
Hat's off to you fella, I have to admit that when I first saw this one appear on this or another forum, I thought to myself: "This van is never gonna be salvageable...."

I'm glad you've proven me wrong.

But is it MoT'd already? Aren't they gonna be a little bit on the sceptical side due to it having so much surface rust?
In my country there's no way this could pass the MoT.
 
T2-Nate said:
But is it MoT'd already? Aren't they gonna be a little bit on the sceptical side due to it having so much surface rust?
.

No nate as long as the van is solid underneath and doesnt have any loose or dangerous/sharp parts rpotruding . Also under neath is mint and all painted gloss black :mrgreen:

Which was a shock for the MOT tester :wink:

Gadget
 

Latest posts

Top