1968 Campervan conversion

Early Bay Forum

Help Support Early Bay Forum:

This site may earn a commission from merchant affiliate links, including eBay, Amazon, and others.
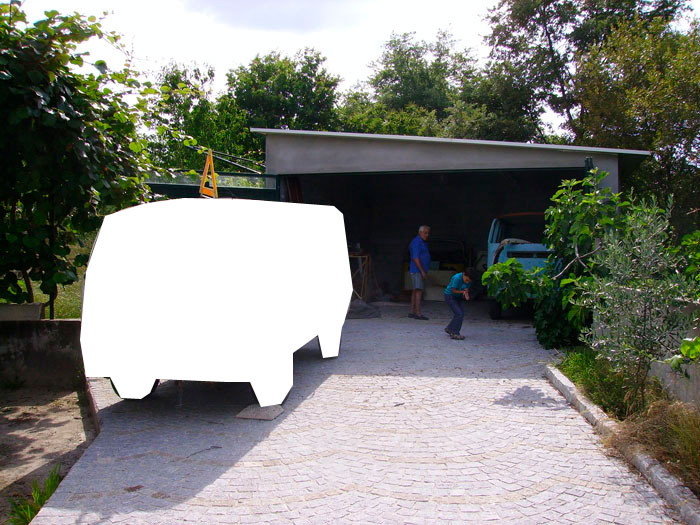
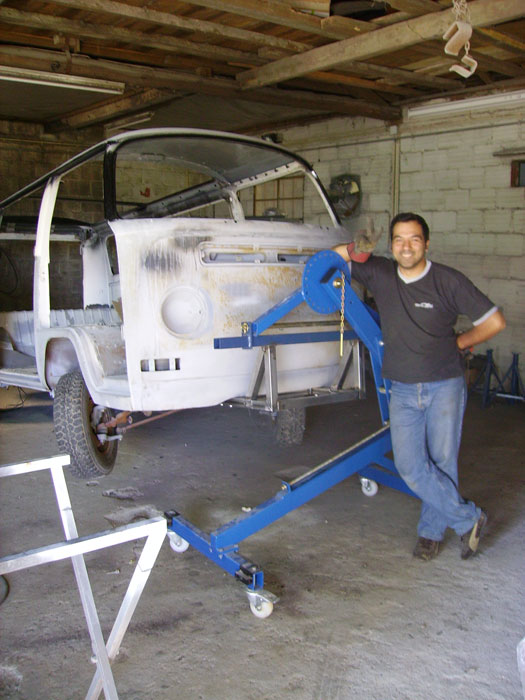
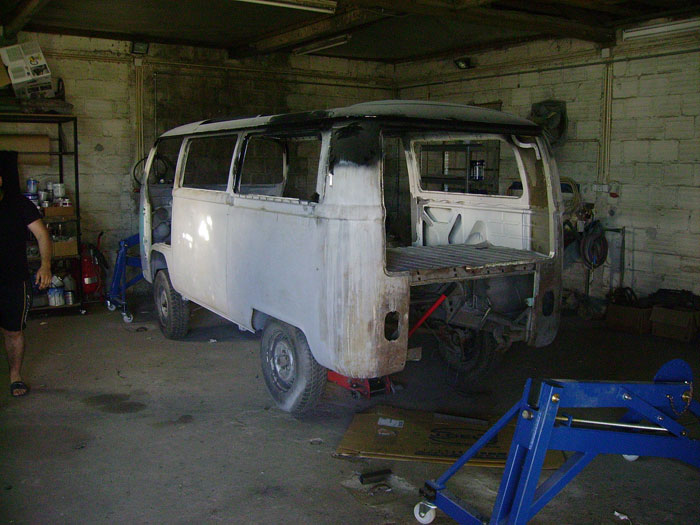
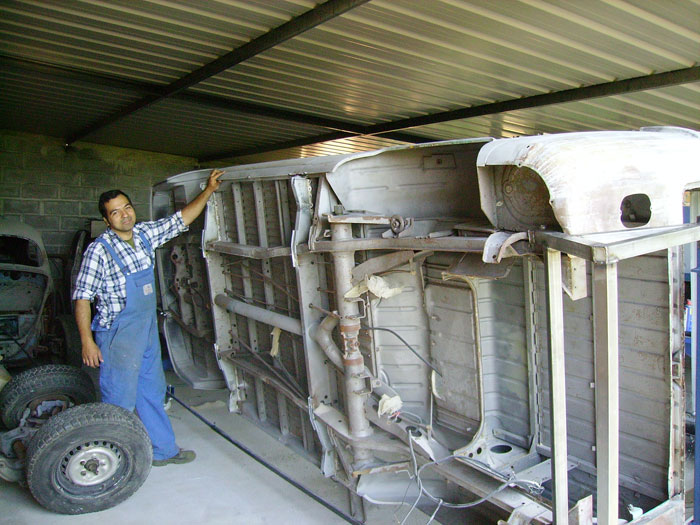
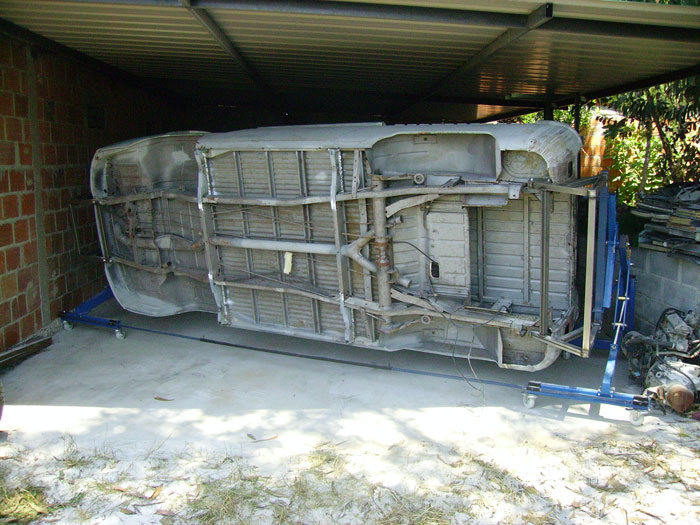
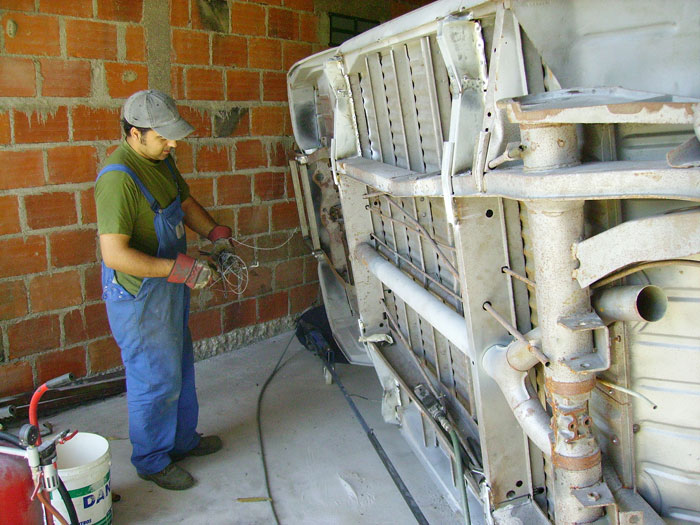
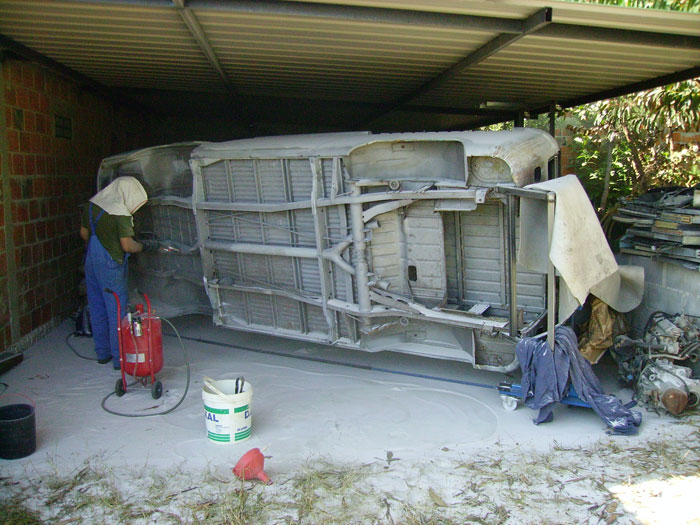
Glad you are still working on the bus :D

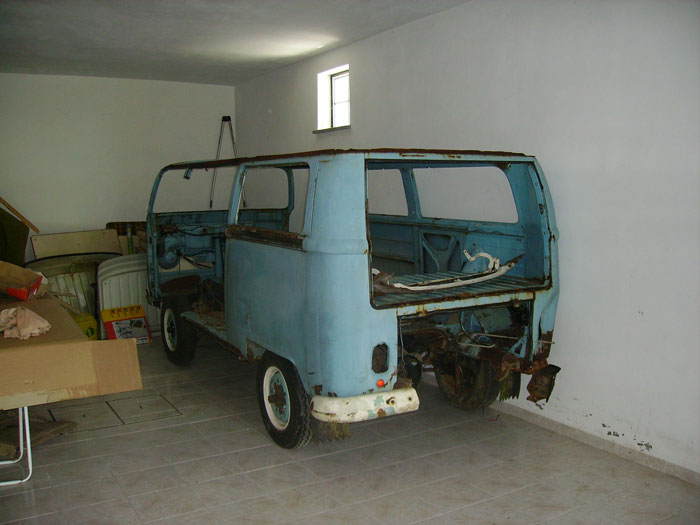
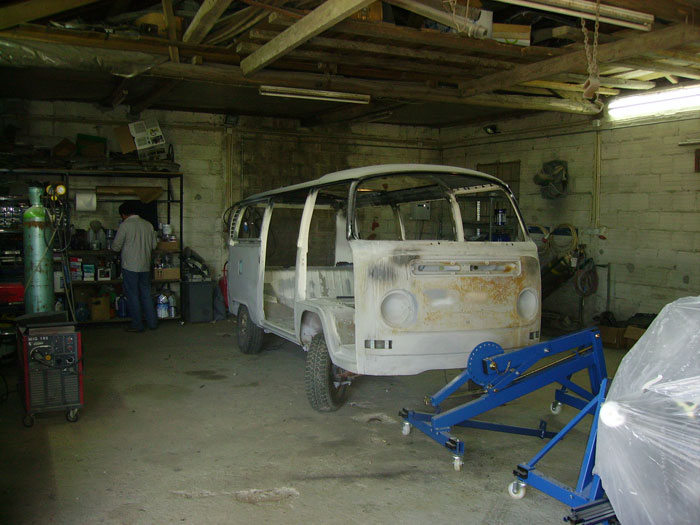
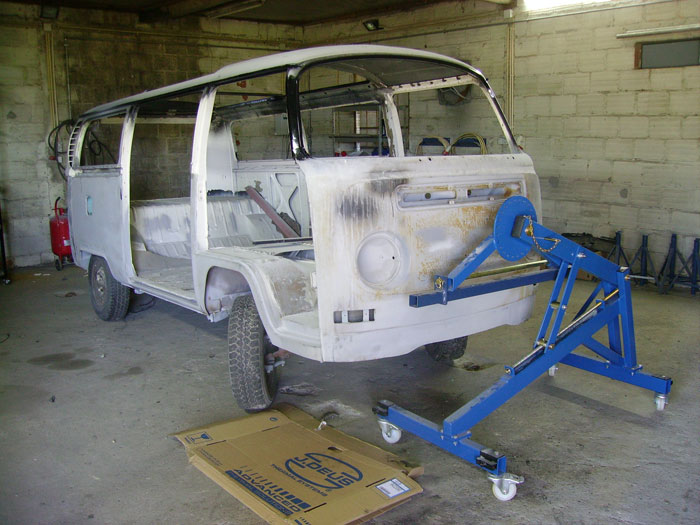
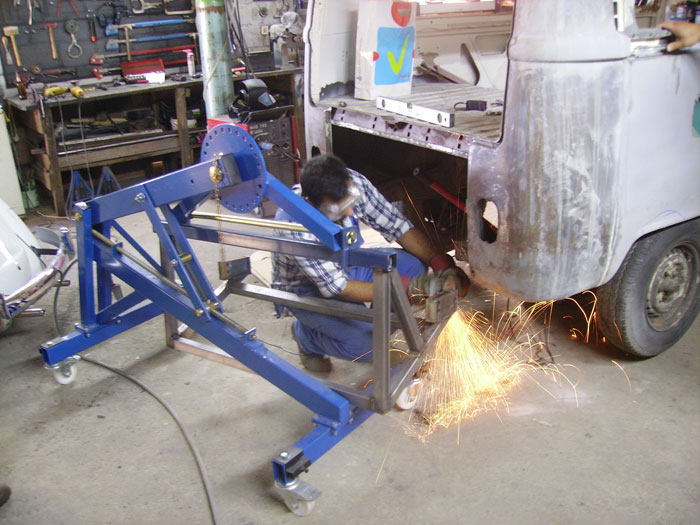
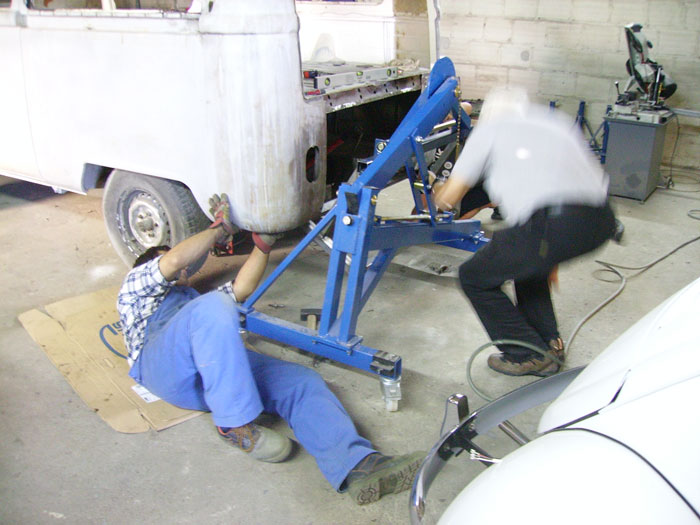
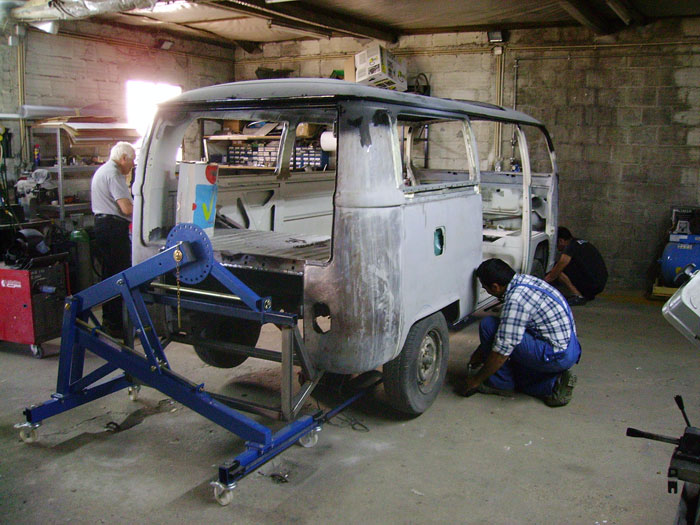
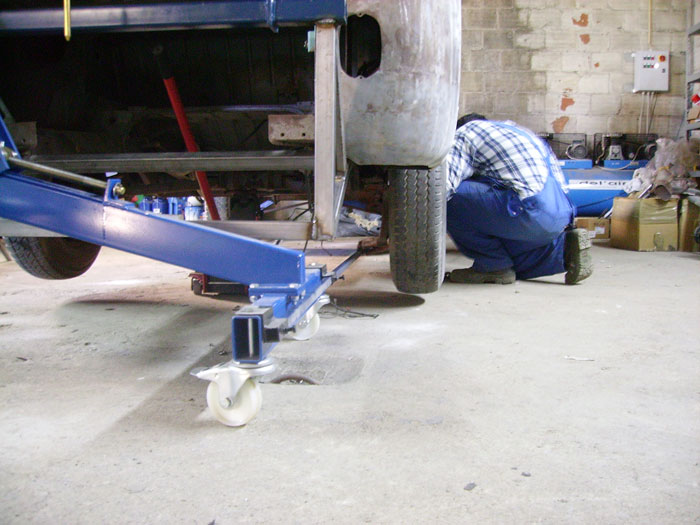
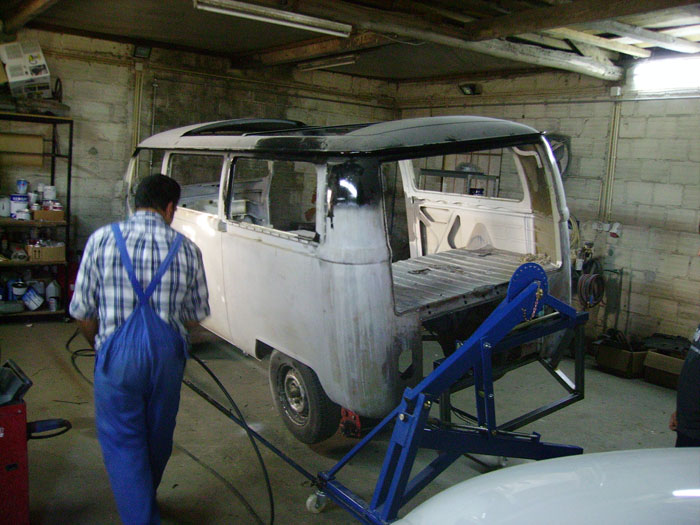
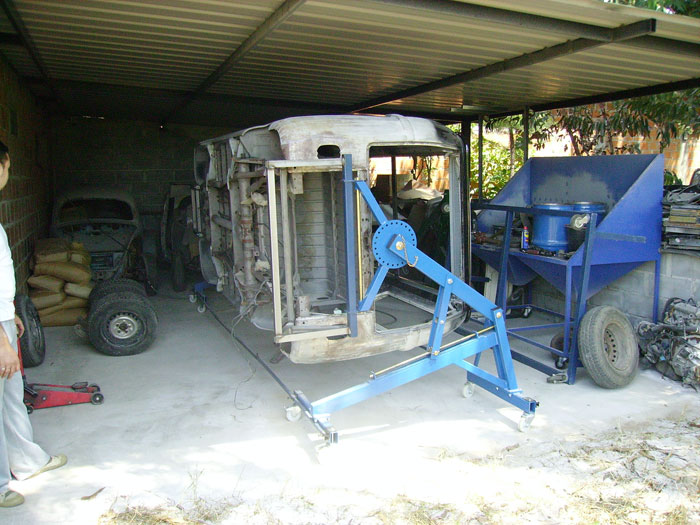
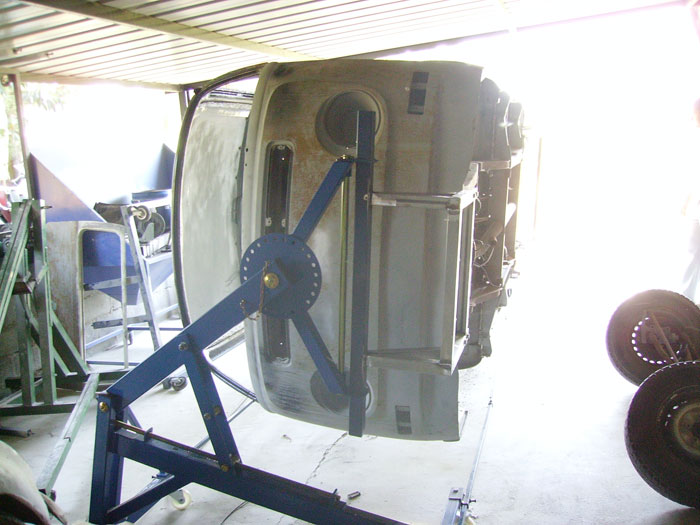
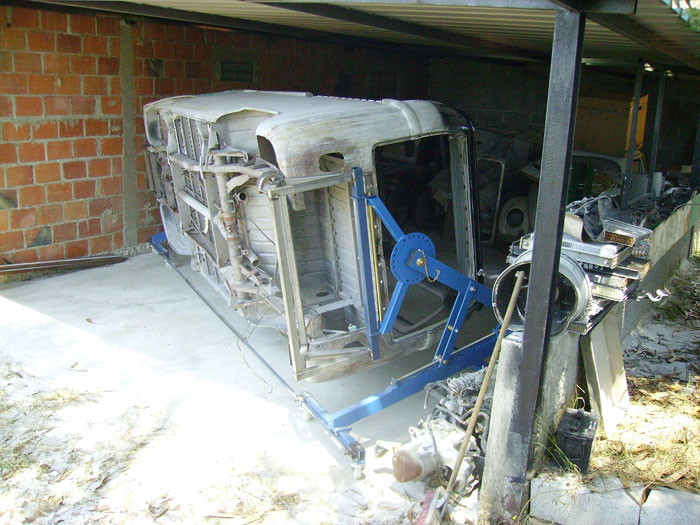
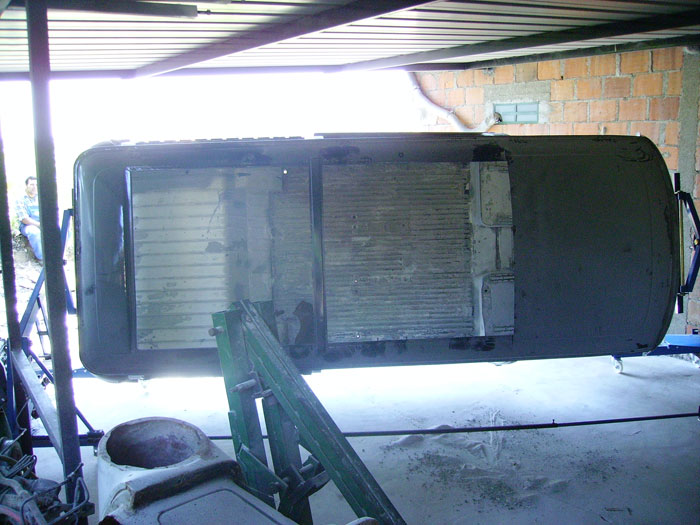
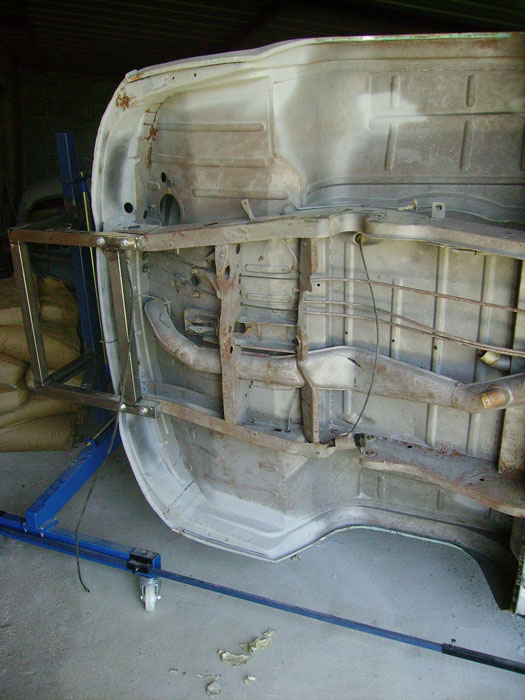
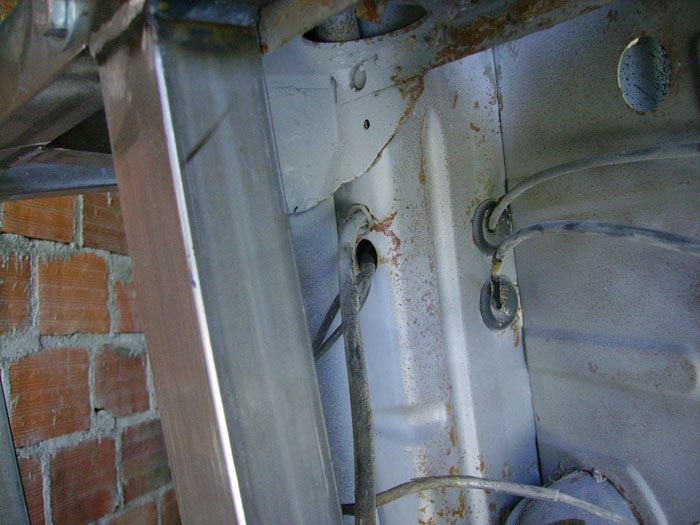
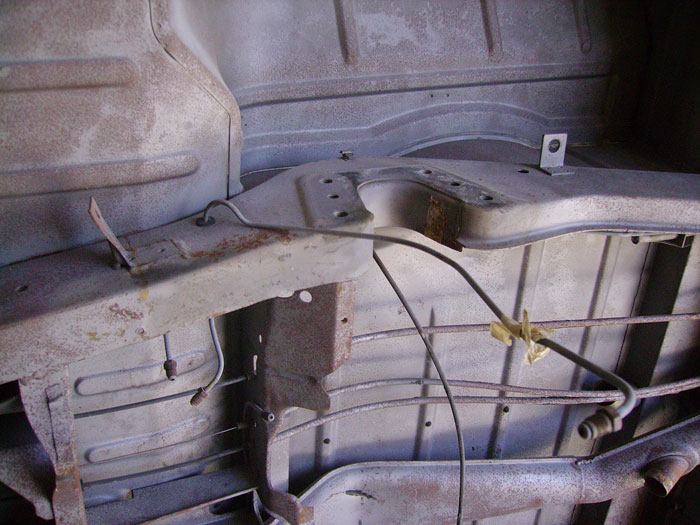
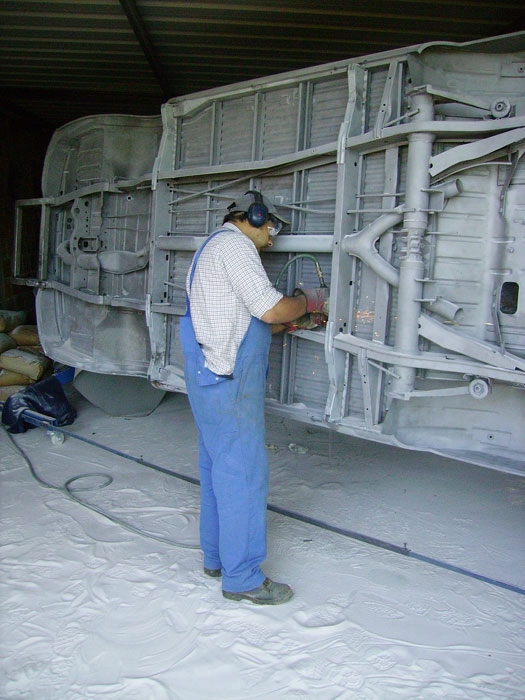
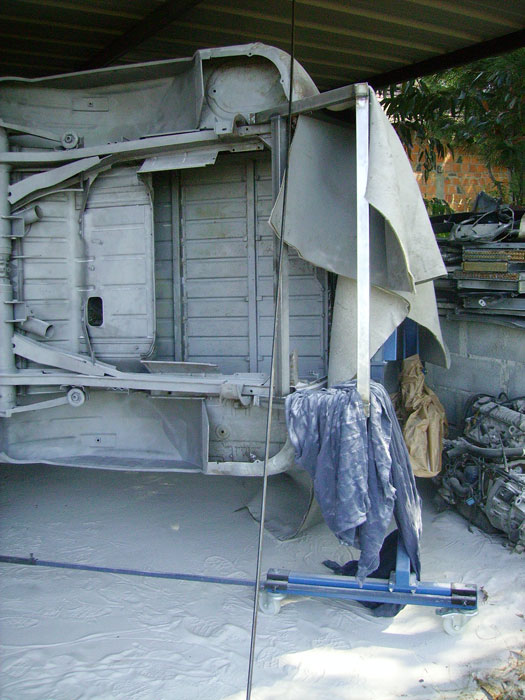
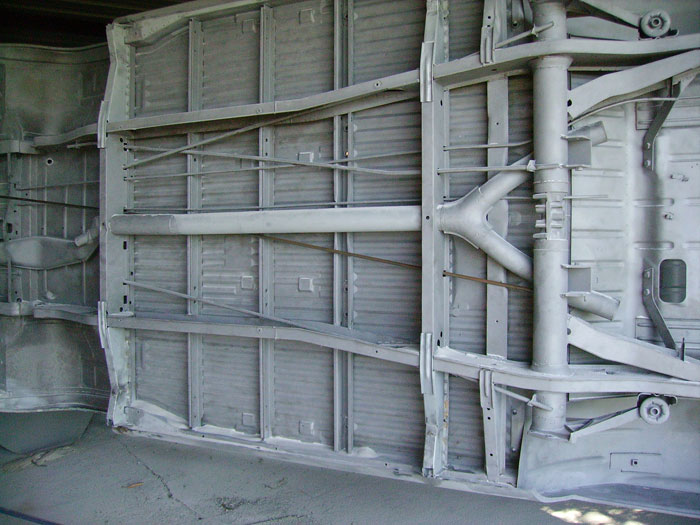
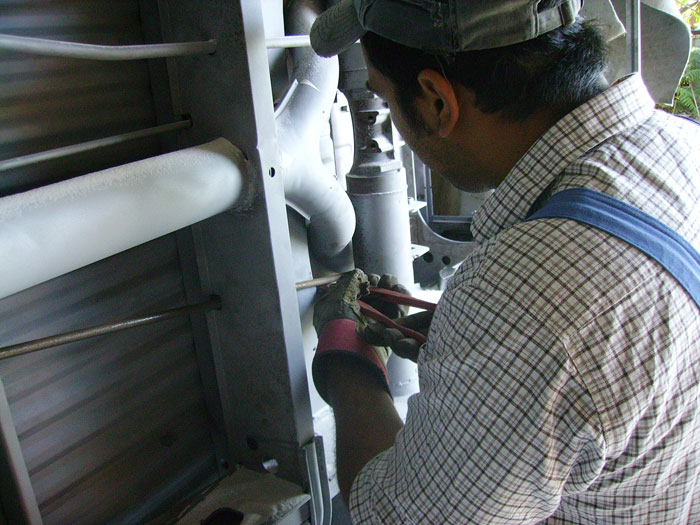
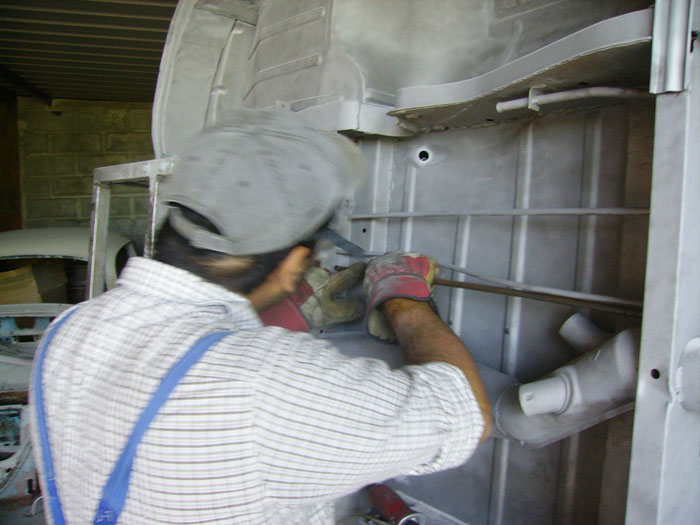
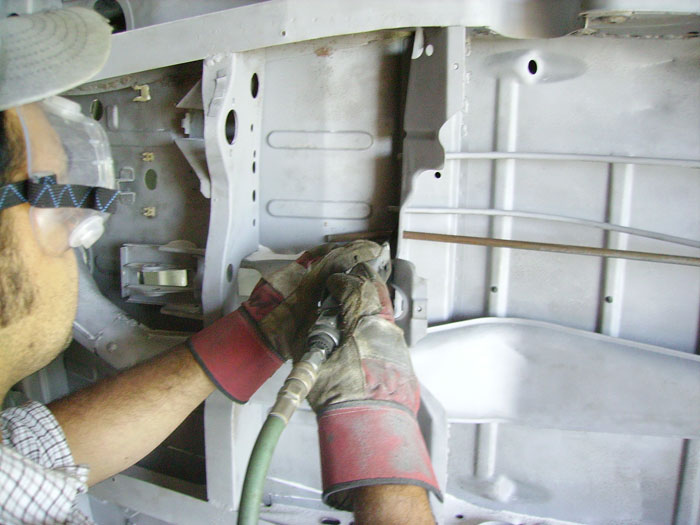
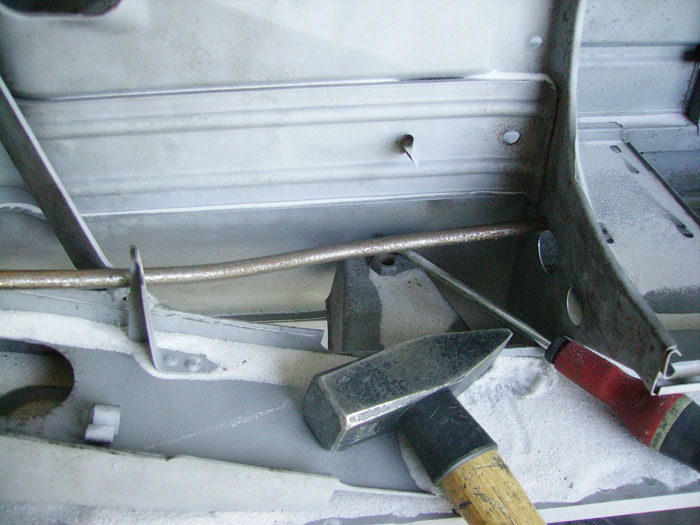
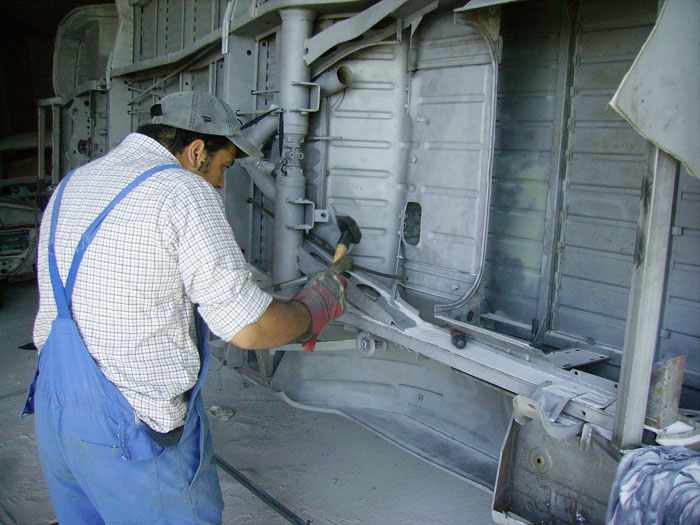
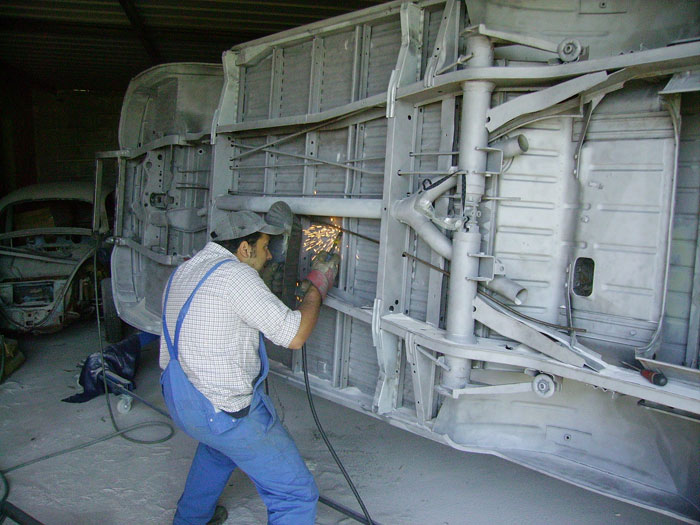
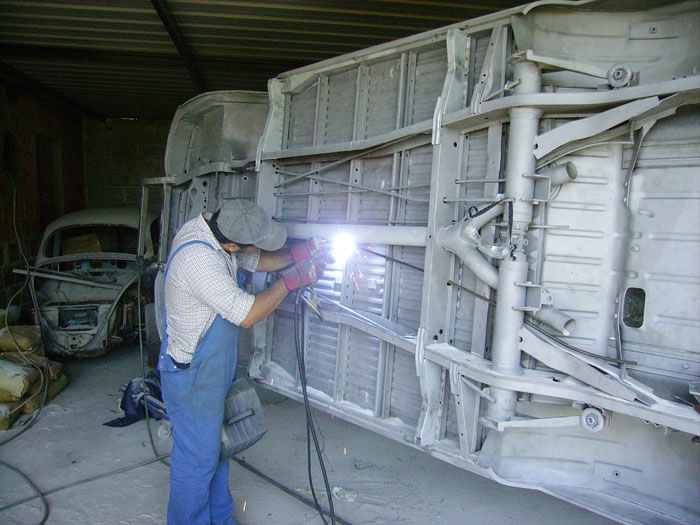
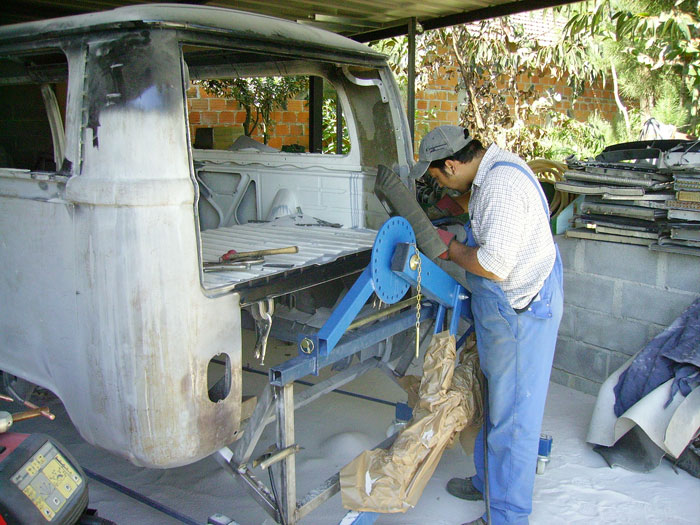
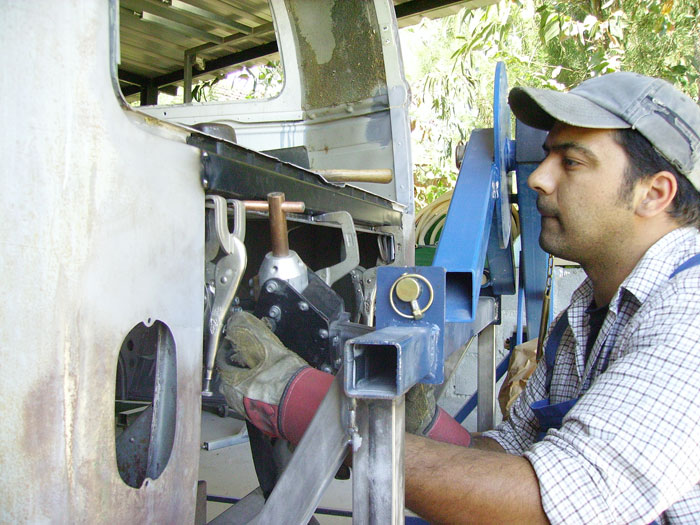
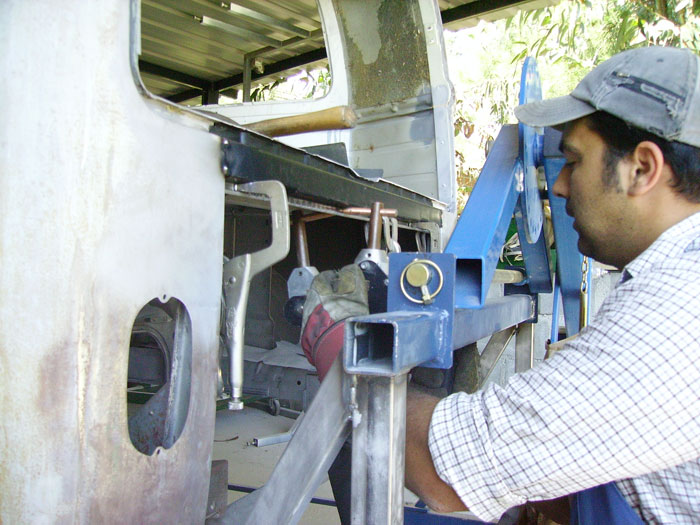
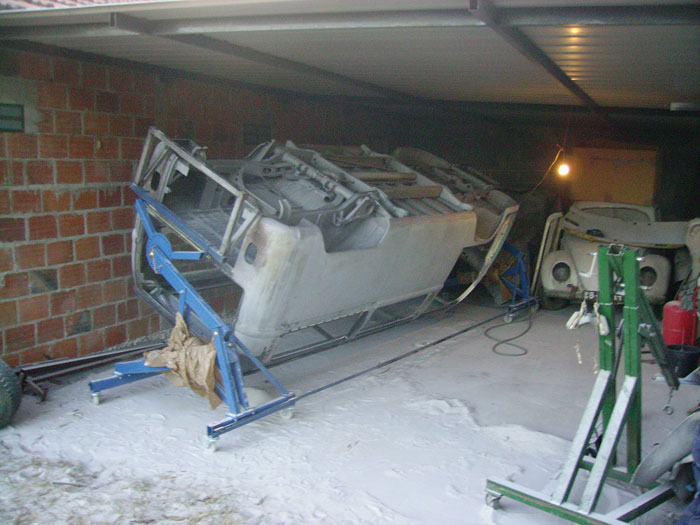
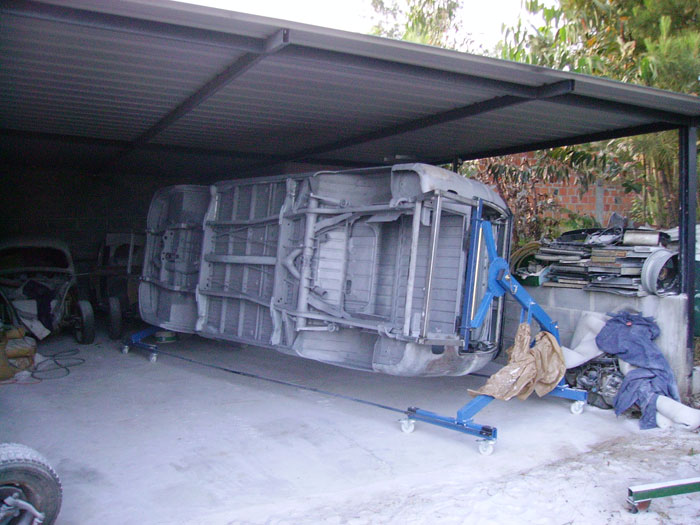
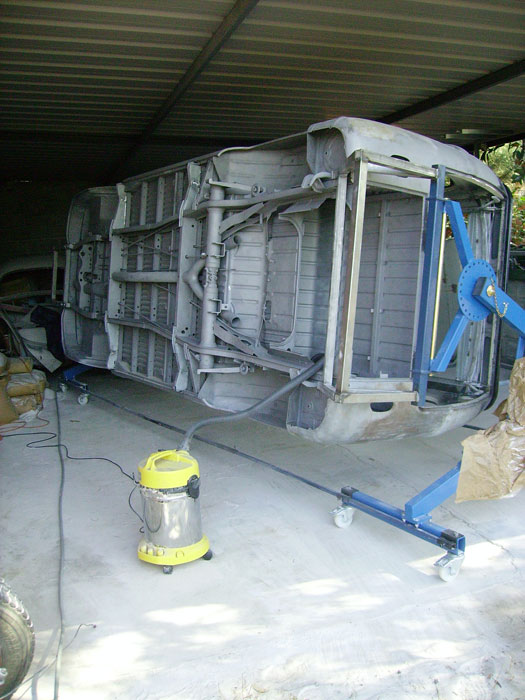
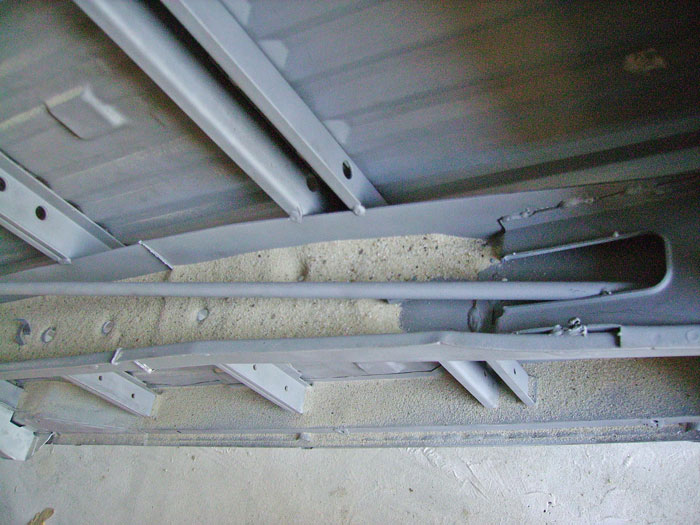
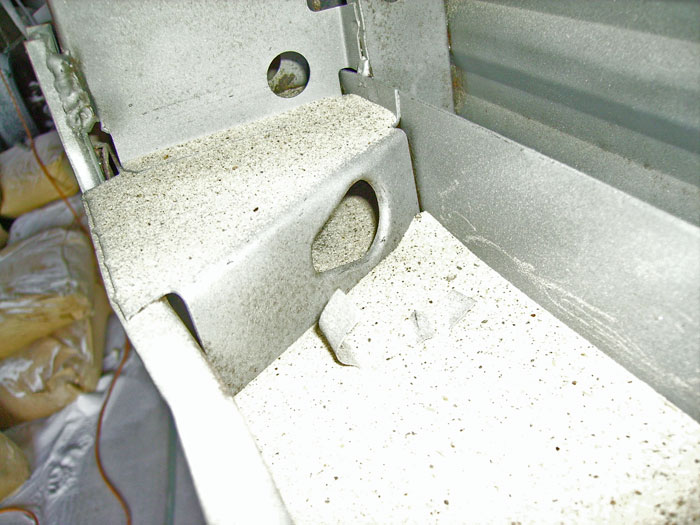
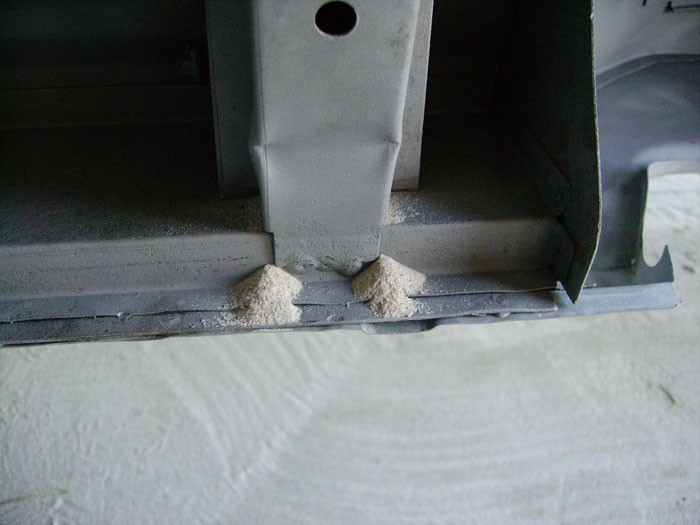
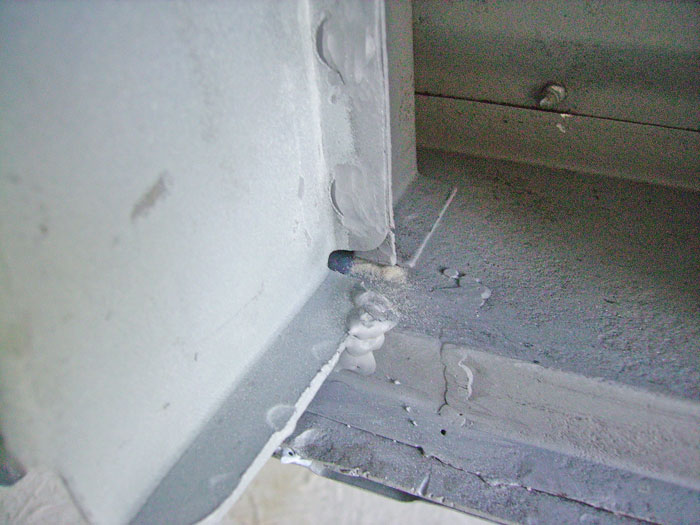
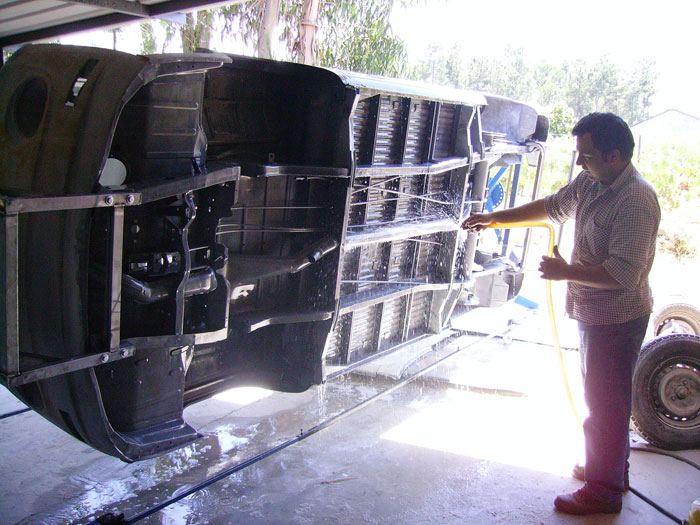
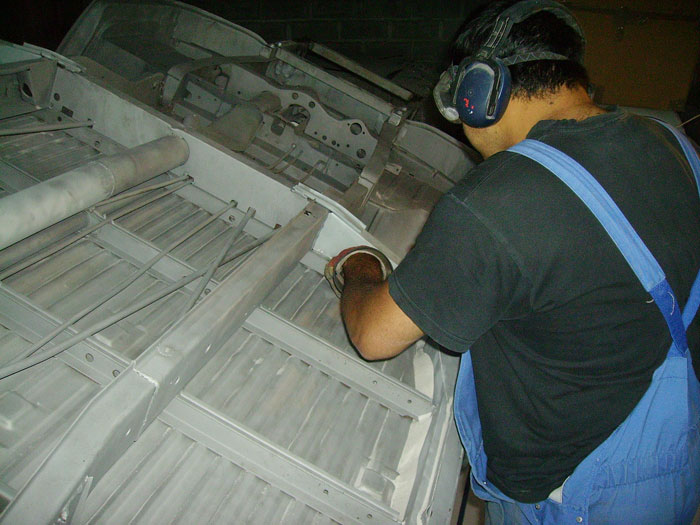
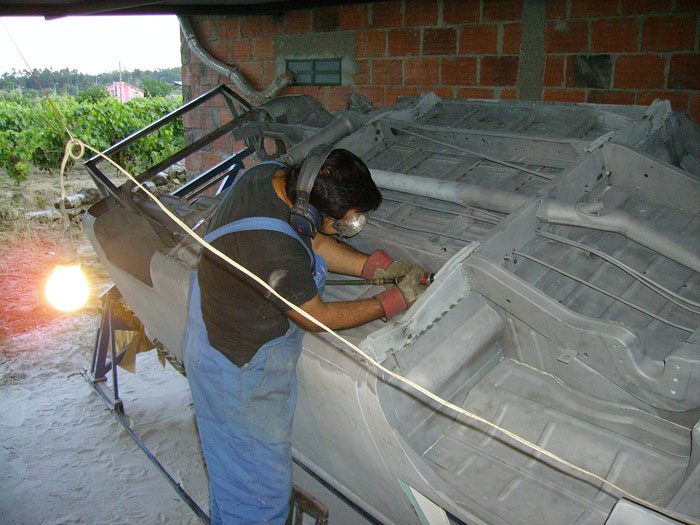
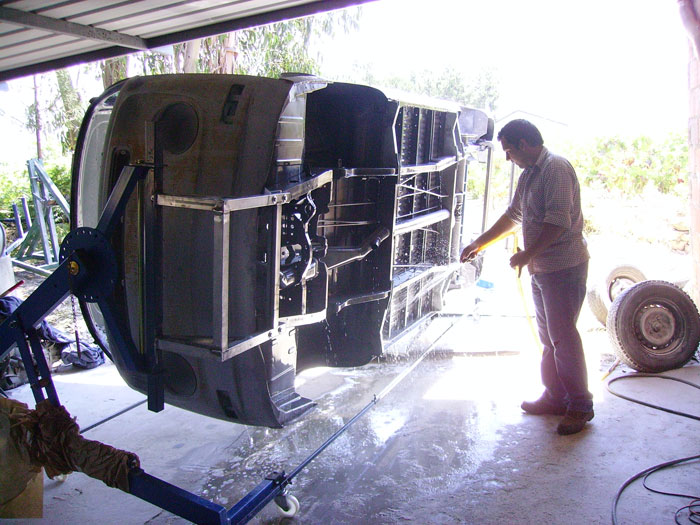
Looks like you have done a good job with the roof - used plenty of POR 15 (not cheap) and like you say, hope it does what it says on the tin ;)

Looking forward to the updates :mrgreen:
 
so, here i'm again 8)

Since the tasks in Hugo's bodyshop are almost over, it's time to start planning and executing the new interior. For that I decided to use the rest of the blue one to act as a "cast" and after some parts are finished, transfer them to the bus.
So first, I had to move some cars from one side to the other, starting with this one that I use as safe for some of mine vw parts.

IMGP0984.jpg


IMGP0985.jpg


IMGP0986.jpg


.... and then I had to move the blue one.
Since I got another one, I had extra work for completing this task.

IMGP0988.jpg


IMGP0989.jpg


IMGP0990.jpg


After changing places, I had to store them again...

IMGP0991.jpg


IMGP0993.jpg
 
After changing cars places I went to Hugo's bodyshop where we started another task. It was time to use his new bodyroller.
To start making the brackets between the bodyroller and the bus, we pushed the bus inside as well as the two bodyroller parts.

IMGP0995.jpg


after we took the correct measures, we bought some pieces of metal tube and started building the front one:

IMGP0996.jpg


We "found" the horizontal center of the bus, to find the correct height of the bracket :

IMGP0998.jpg


... and some more measurements:

IMGP0999.jpg


I just loved this machine... what an excellent tool for the task:

IMGP1000.jpg
 
While Hugo was cuting tube and welding them, I decided to see if this purchase was functioning correctly.

IMGP1001.jpg


IMGP1002.jpg


IMGP1003.jpg


I guees they will work for what I'm planning 8)
Meanwhile, hugo was making progresses in the front linkage:

IMGP1004.jpg


IMGP1005.jpg


IMGP1006.jpg


IMGP1007.jpg
 
A couple of hours later, the front bracket was almost finished:

IMGP1009.jpg


IMGP1010.jpg


... and with the help of a friend, we bolted it in place:

IMGP1011.jpg


and joined it to the front bodyroller part

IMGP1012.jpg
 
after correctly welded and bolted in place, it was time to give it a try:

IMGP1013.jpg


... and it worked! 8)

IMGP1016.jpg


... up in the air:

IMGP1017.jpg


so, if it's working, why not try it to its maximum?? :lol:

IMGP1019.jpg


hugo and his new toy:

IMGP1020.jpg


Since the front bracket was done, we started making the rear one:

IMGP1022.jpg


IMGP1023.jpg
 
next day morning, Hugo was already making the rear bracket:

IMGP1024.jpg


IMGP1025.jpg


Meanwhile, I went to buy some more bags of sand to use in the sandblaster.
On arrival, Hugo was already finishing the rear bracket:

IMGP1026.jpg


IMGP1029.jpg


and the rear part of the bodyroller was already with the same height as the fron one:

IMGP1027.jpg
 
When finished, it was time to bolted it in place:

IMGP1030.jpg


but some welding excesses were in the way.....

IMGP1031.jpg


IMGP1032.jpg


so, when grinded, the bracket could be bolted in place correctly:

IMGP1034.jpg


and then, we joined the bodyroller parts with the proper linkages:

IMGP1035.jpg


IMGP1037.jpg
 
and ready to try it for the first time:

IMGP1038.jpg


IMGP1039.jpg


IMGP1040.jpg


and it worked!

The first attempt (but with both suspensions, it was too heavy!)

[youtube]http://www.youtube.com/watch?v=pu5uW3IMsPE[/youtube]
 
Great work as usual from Hugo :D

Now it's in the air and ready to be rolled over, what are the plans now ??
 
thanks Andy 8)
Plans were clean it again and paint it with POR-15... but these aren't just plans anymore ;)

Next day we pushed the bus outside and we started doing what I was planning for a long time (3 years :lol: )
Without suspensions two guys can make it rotate 360º

IMGP1044.jpg


IMGP1045.jpg


IMGP1046.jpg


and of course, Hugo was very proud of his new toy :lol:

IMGP1047.jpg


I then prepared everything for the exciting task of sandblasting

IMGP1048.jpg


IMGP1049.jpg


IMGP1050.jpg


and it could almost be placed sideways...
 
But before sandblasting it for the last time, to remove all the superficial rust due to 3 years without any anti-rust treatment, there were some few and last parts to remove...

IMGP1051.jpg


IMGP1052.jpg


IMGP1055.jpg


IMGP1058.jpg


but one of the pipes from the heating system was obstructed and after several attempts to unblock it, Hugo decided it was time to cut it off:

IMGP1059.jpg


and for the rest of the day, I spent several hours on this so exciting task:

IMGP1060.jpg


[youtube]http://www.youtube.com/watch?v=joMIqXOZw7g[/youtube]
 
on the next day, after buying 3 meters of new pipe, I took it to Hugo's bodyshop, so he could start welding it into place. But before, there were some welding excesses to be grinded (from the new jack points):

IMGP1063.jpg


.. and the new pipe:

IMGP1064.jpg


... almost in place:

IMGP1065.jpg


But to be in the same place as the old one, Hugo needed to bent it and cut it while pushing it into place:

IMGP1066.jpg


IMGP1067.jpg


IMGP1068.jpg


IMGP1069.jpg


IMGP1070.jpg
 
IMGP1071.jpg


when in the right place, Hugo started welding it:

IMGP1072.jpg


IMGP1073.jpg


IMGP1074.jpg


And after welding it... a few more hours of sandblasting.
After we made the attempt of rotating it 360º... and it worked!
Cool! 8)

[youtube]http://www.youtube.com/watch?v=guy1mhD_dxw[/youtube]
 
... and it was time, finally, to weld one that should be the last piece of sheet metal in the bus (excluding both cab doors). The replacement part that I bought from Alan Schofield almost a year ago:

IMGP1075.jpg


After I cleaned the area with the sandblaster, Hugo removed all dust....

IMGP1076.jpg


IMGP1077.jpg


... and prepared the area with a can of spray from Wurth and started welding the new part in place:

IMGP1078.jpg


IMGP1079.jpg


IMGP1080.jpg


IMGP1082.jpg
 
IMGP1083.jpg


IMGP1084.jpg


IMGP1085.jpg


IMGP1086.jpg


And done! The part is already in place.
At the end of the day, Hugo spent some minutes grinding the last welding spots. It's so much easier welding, cutting and grinding in this positon rather than laying beneath the bus or standing with your arms up.
;)

IMGP1090.jpg


IMGP1092.jpg


.. and it stayed this way, for the next day:

IMGP1089.jpg
 
Next day, I finished cleaning it with the sand blaster. After, I spent several hours cleaning all the sand. But I didn't clean ALL of it... as it seems to be an impossible mission :evil:

IMGP1096.jpg


Meanwhile, I took the "mold" for the Unity brackets....

IMGP1094.jpg
 
On the last day, I spent more hours trying to remove all the sand, using a vaccum cleaner and a compressed air pistol:

IMGP1098.jpg


... but the more I blew into pipes and holes, more sand appeared:

IMGP1099.jpg


IMGP1101.jpg


IMGP1102.jpg


IMGP1103.jpg


... and more sand ended falling from the bus, while I was rinsing it with water, after using Marine Clean and Metal-Ready:

IMGP1104.jpg


IMGP1105.jpg
 
Next day, after it dried well, Hugo painted it with POR-15 Silver:

Imagem(960).jpg


Imagem(961).jpg


Imagem(962).jpg


Imagem(966).jpg


Imagem(967).jpg


Imagem(968).jpg


Imagem(969).jpg


.... but at one point, Hugo left the bus rotate alone, since it was to heavy for him to rotate it without any help and some sand that was still inside the bus fell on top of the paint... well, nothing that I can't clean... moreover, now that I've seen it live.

Imagem(963).jpg


Imagem(964).jpg


Imagem(965).jpg


Despite these small areas, it looks awesome 8) :

Imagem(970).jpg


Finally I'm seeing some light at the end of this long, long tunnel :mrgreen:
 
The POR15 silver does look good 8)

That's the problem with sandblasting - it gets everywhere and can be a bugger to totally remove it!! I bet you will still be finding sand next year :lol:
 

Latest posts

Top