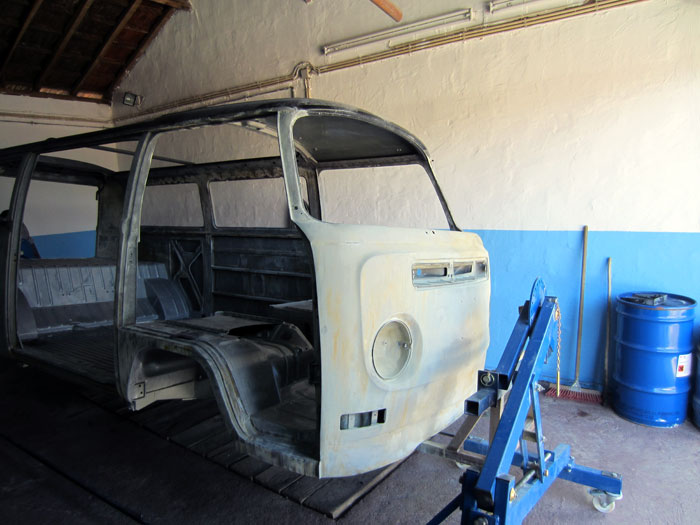
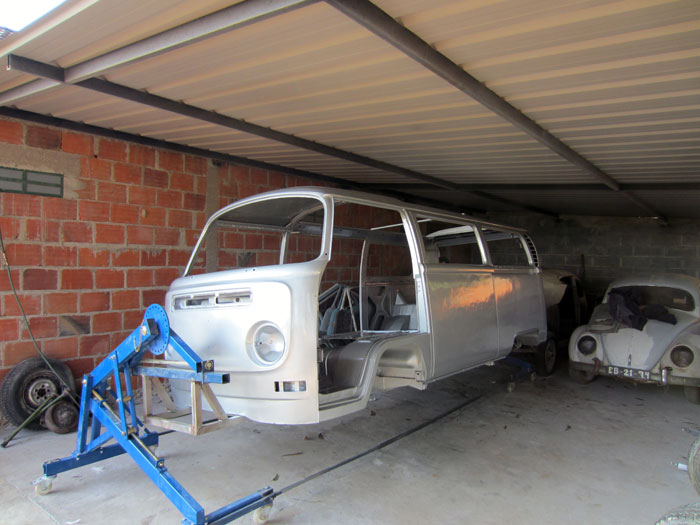
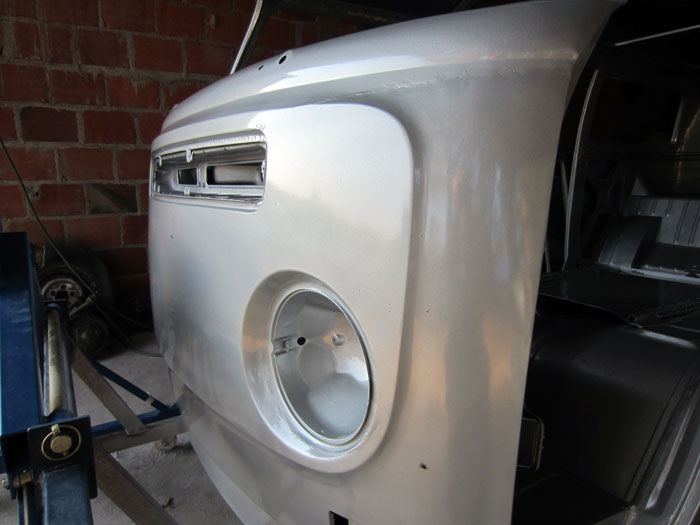
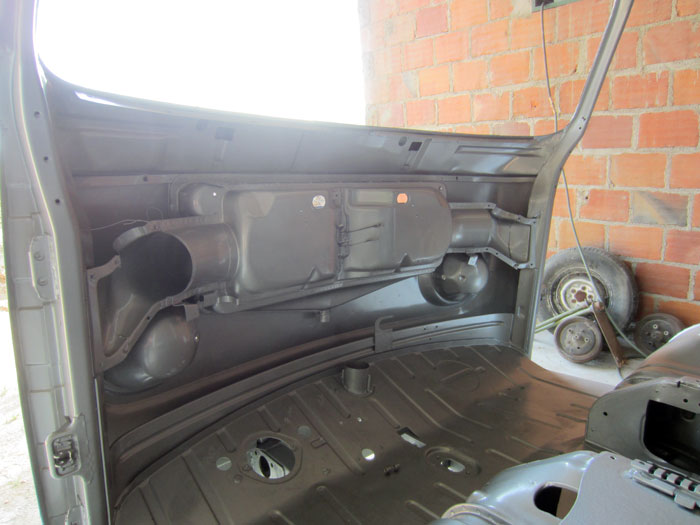
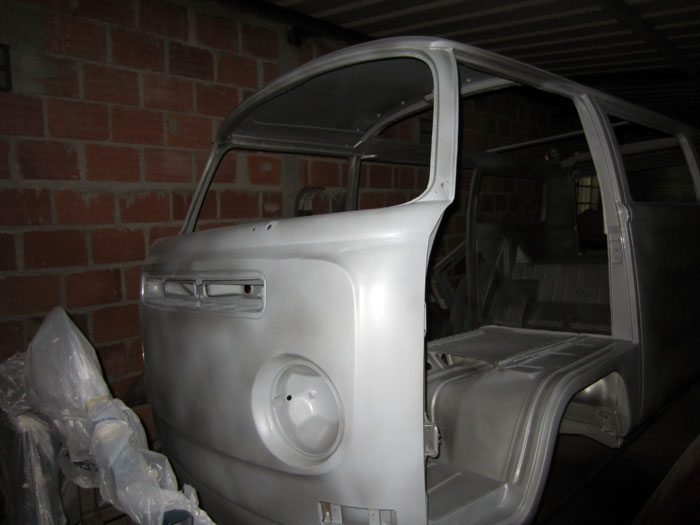
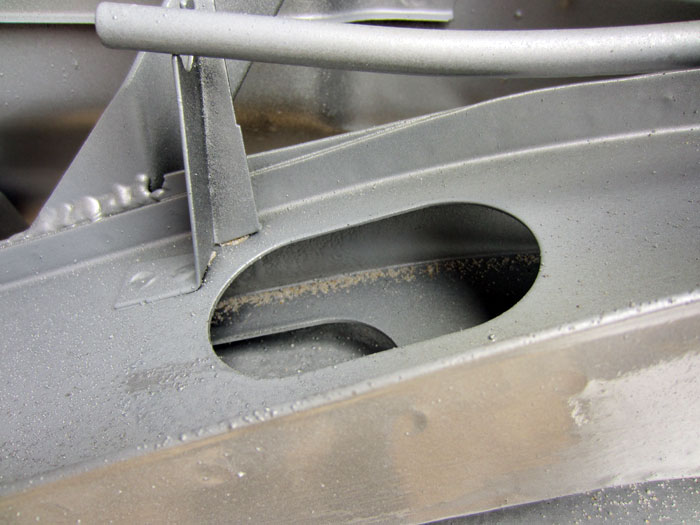
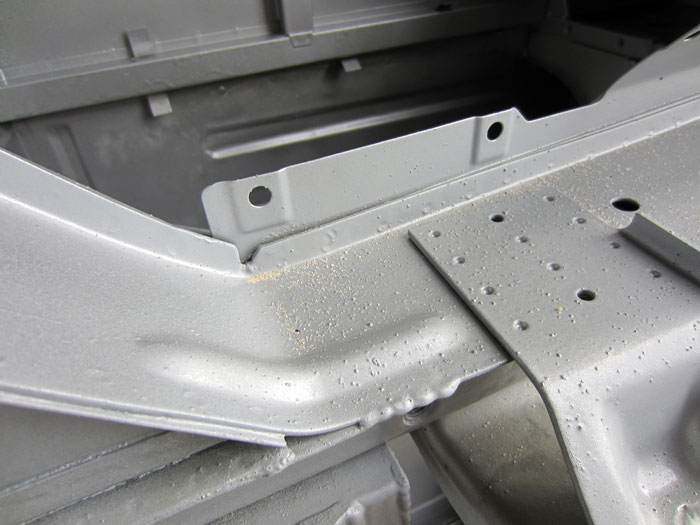
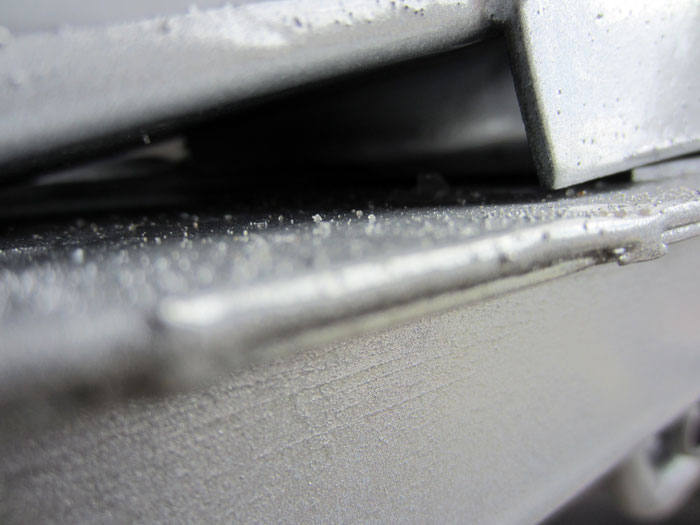
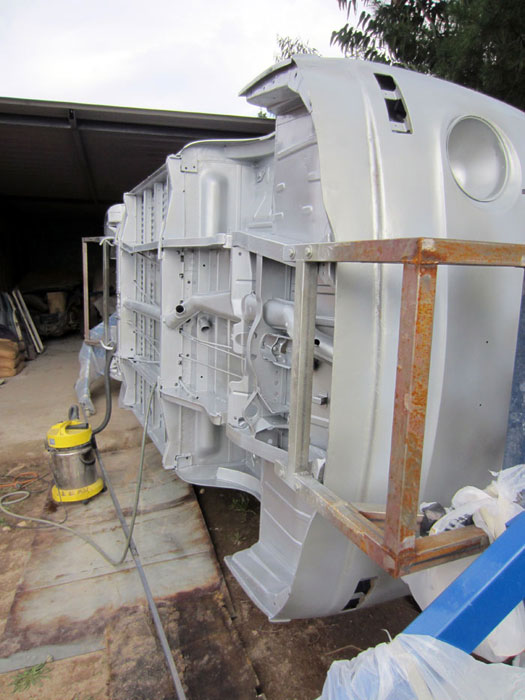
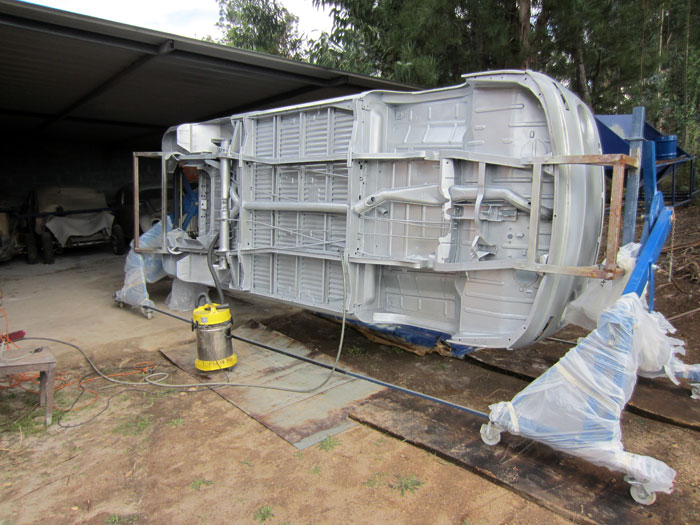
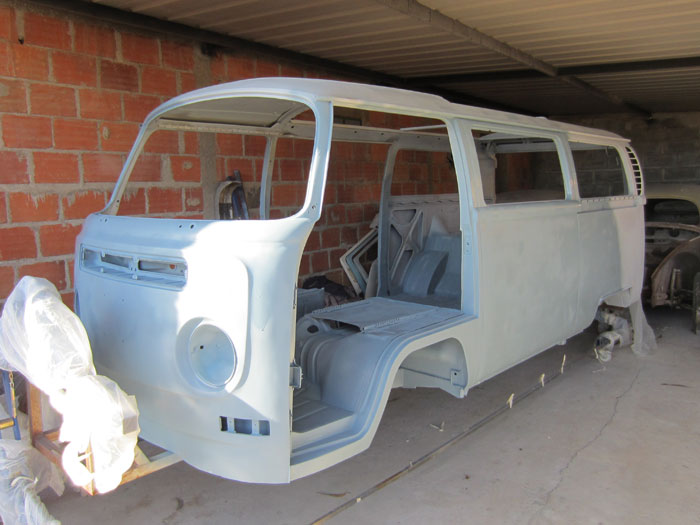
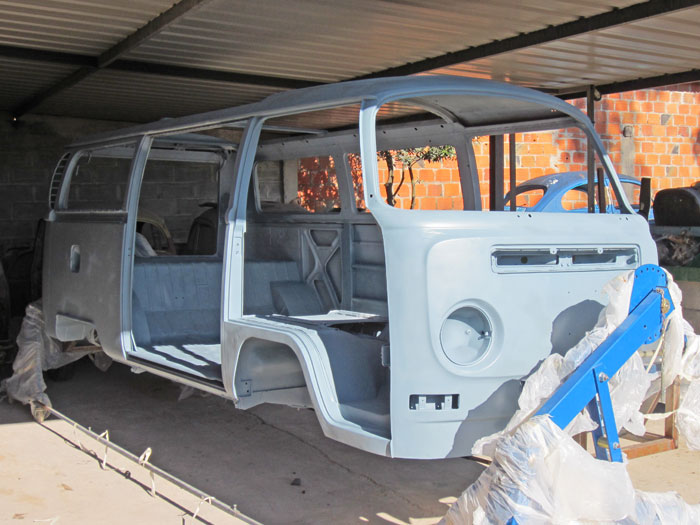
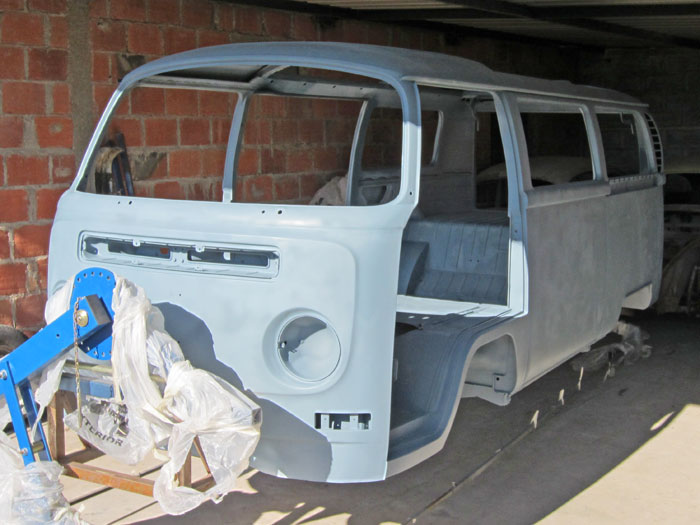
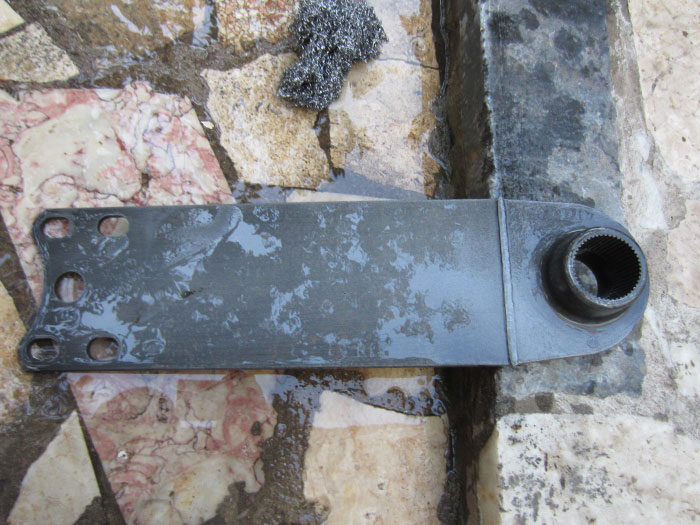
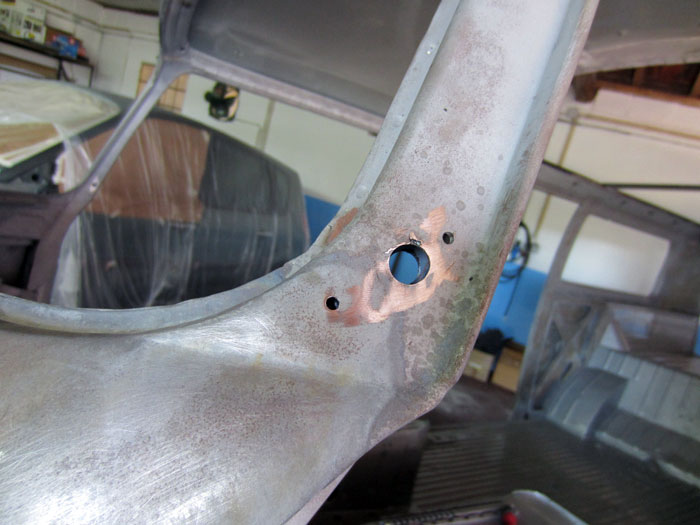
1968 Campervan conversion

Early Bay Forum

Help Support Early Bay Forum:

This site may earn a commission from merchant affiliate links, including eBay, Amazon, and others.
and the end result:

IMG_0231.jpg


IMG_0232.jpg


IMG_0233.jpg


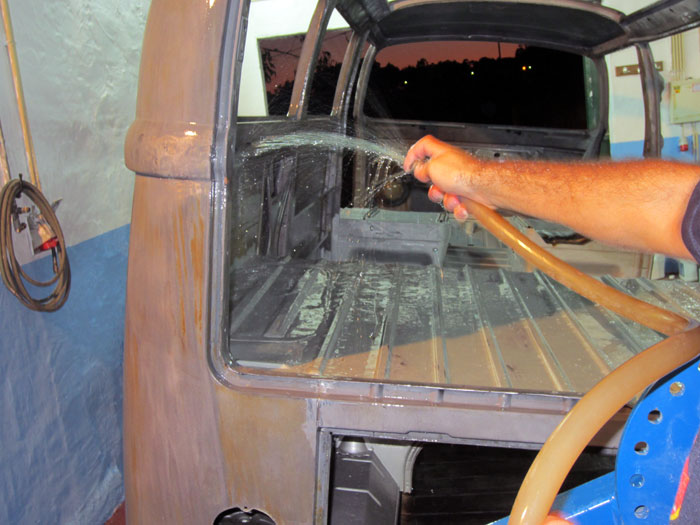
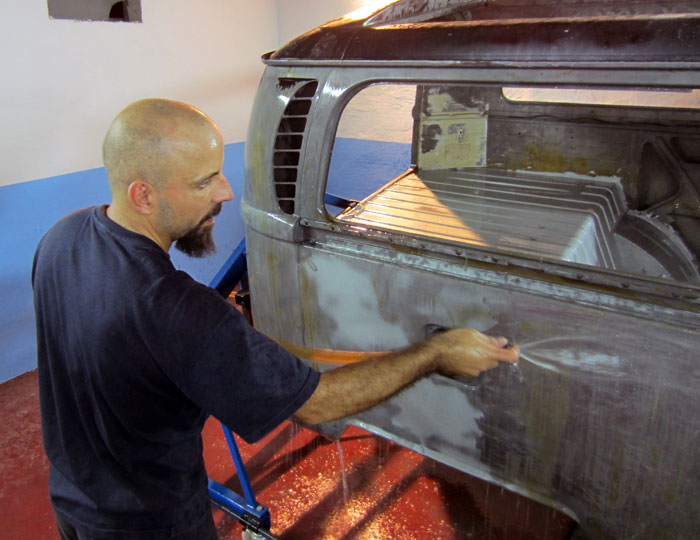
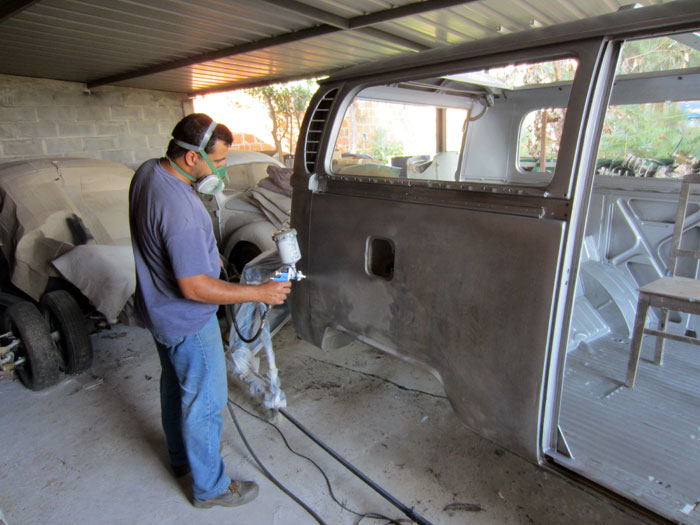
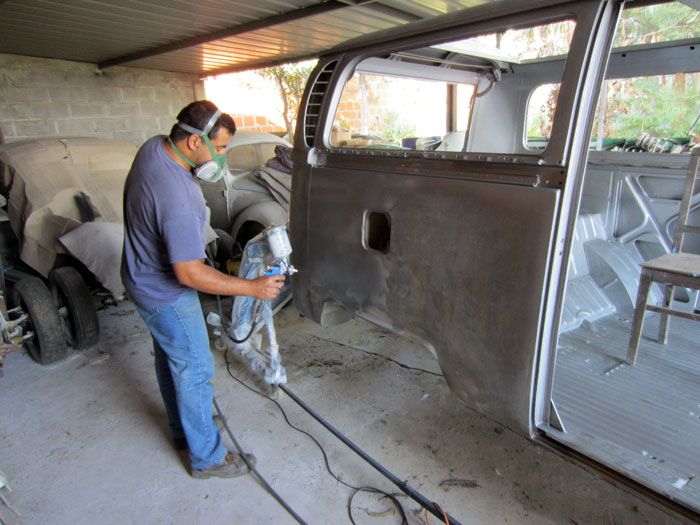
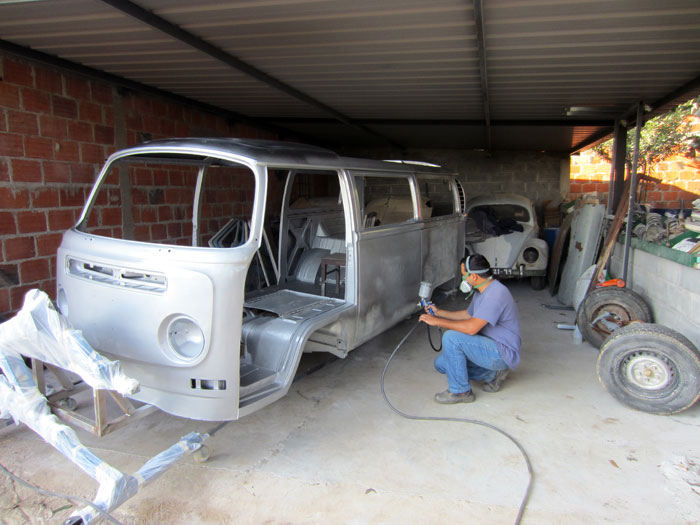
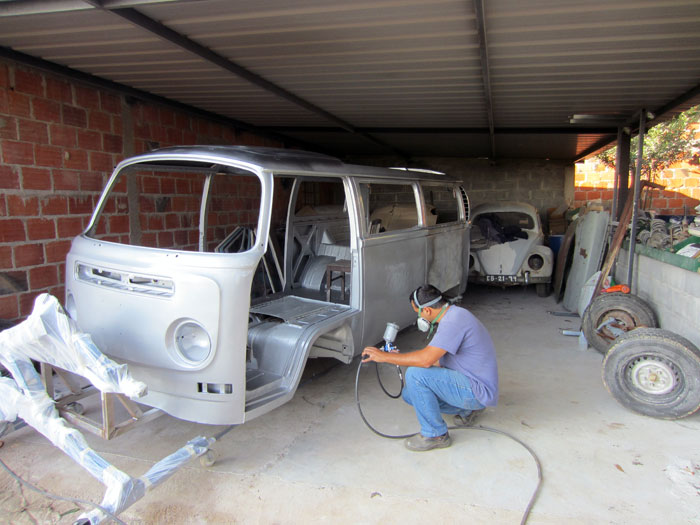
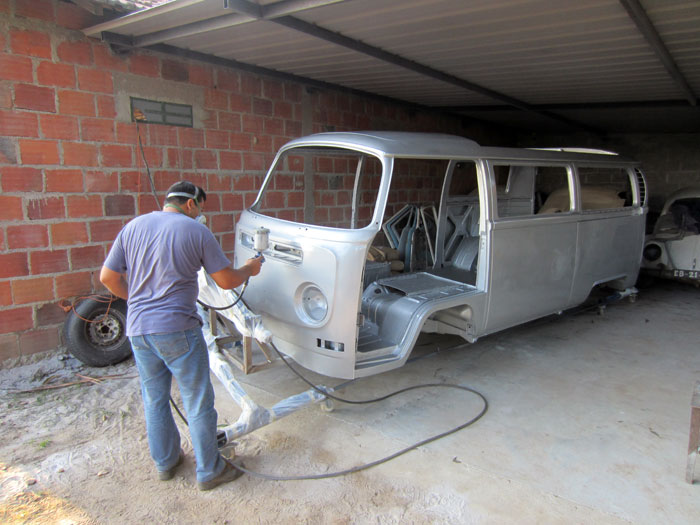
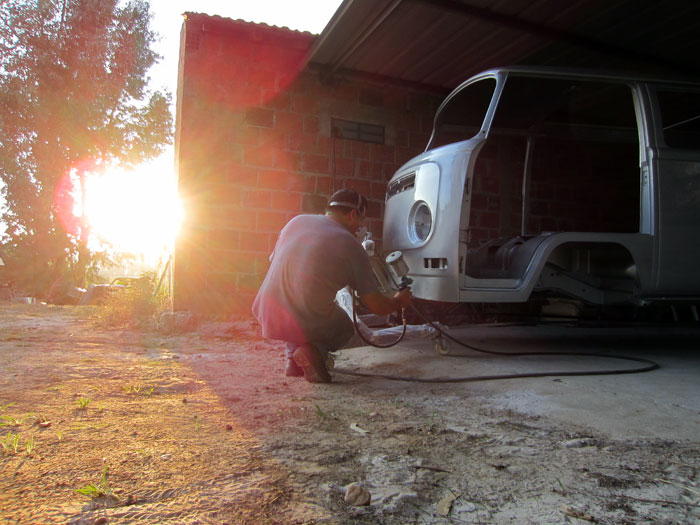
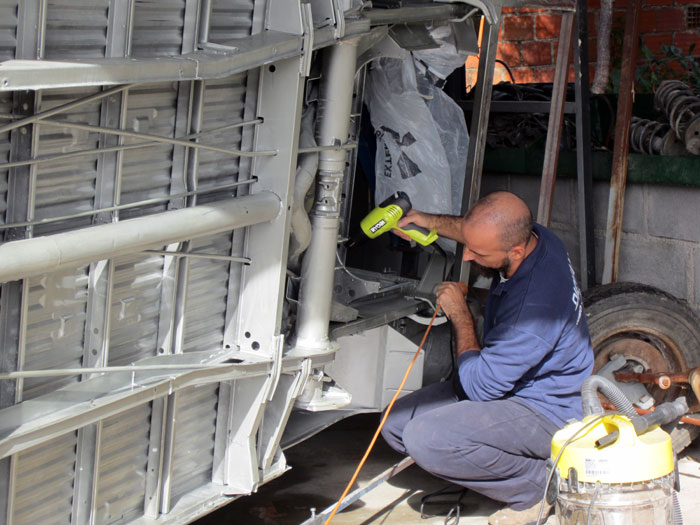
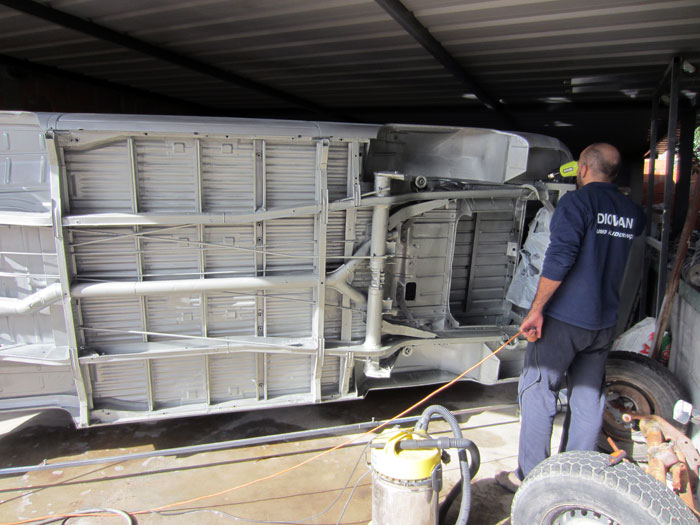
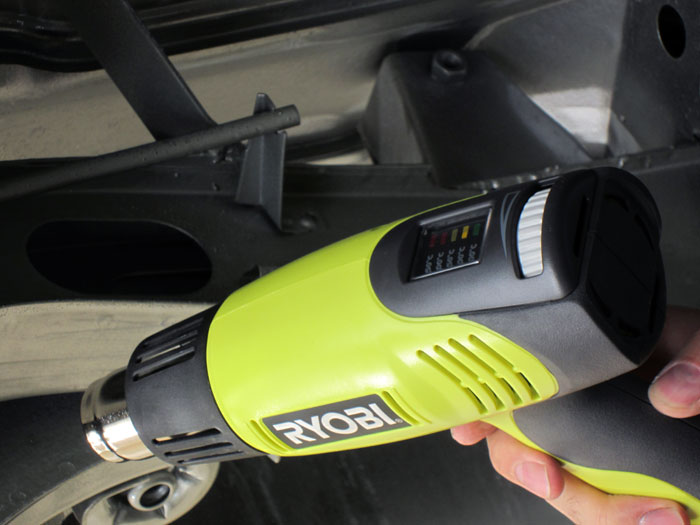
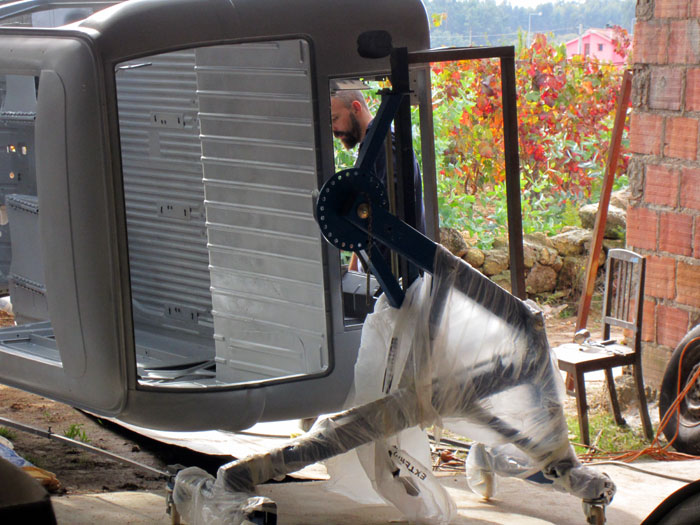
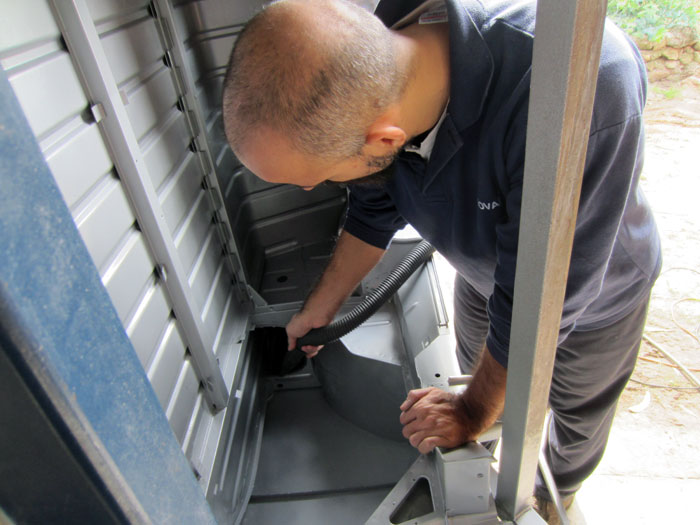
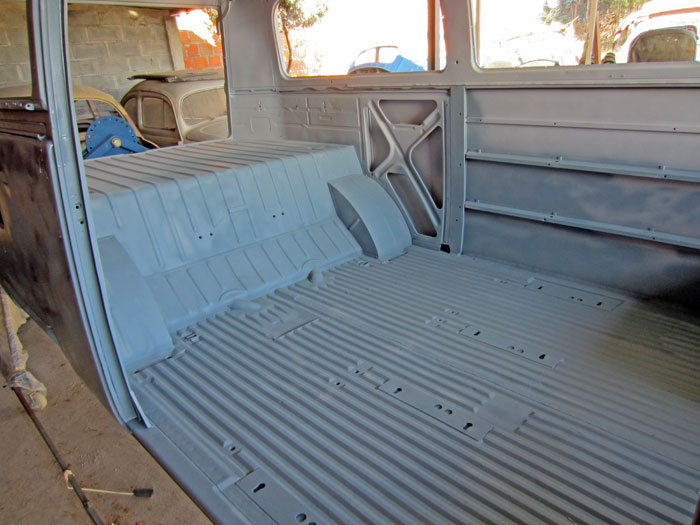
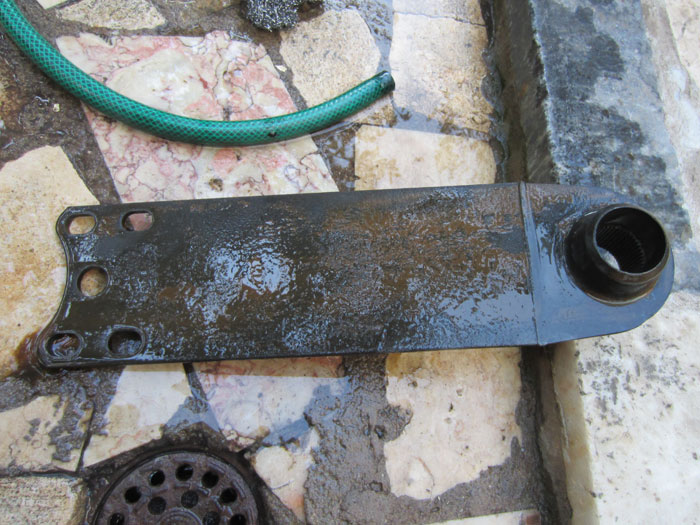
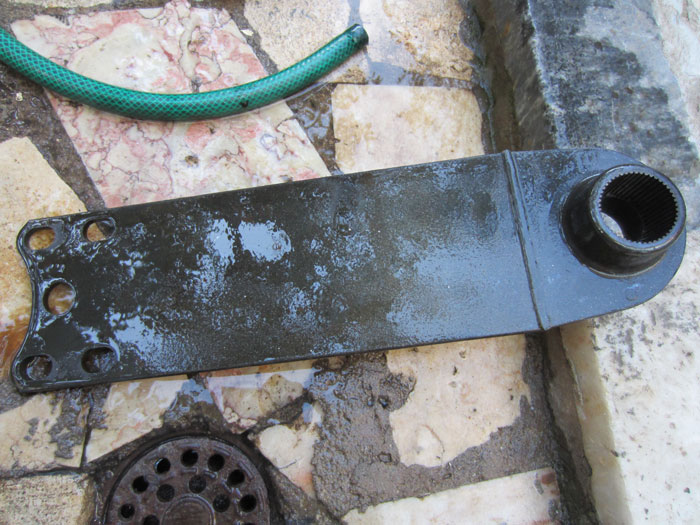
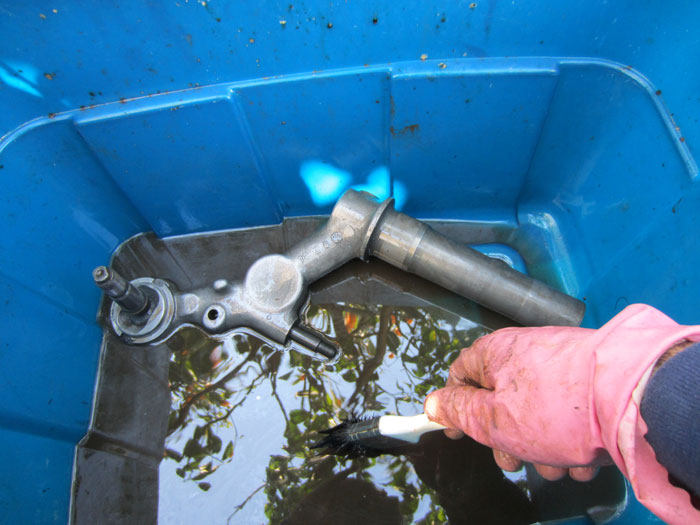
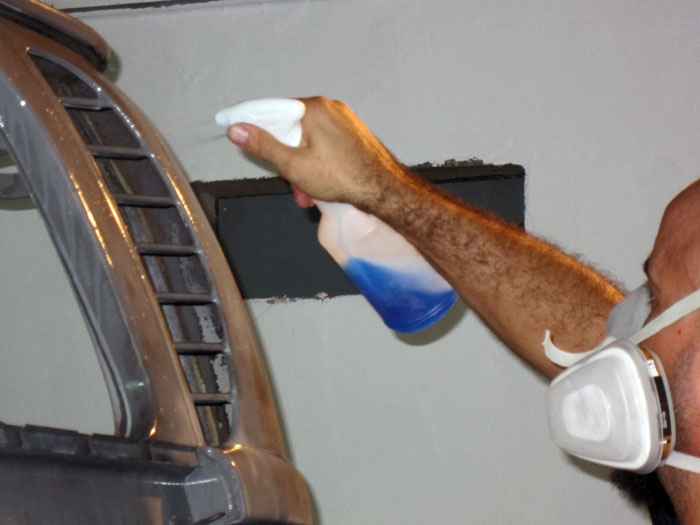
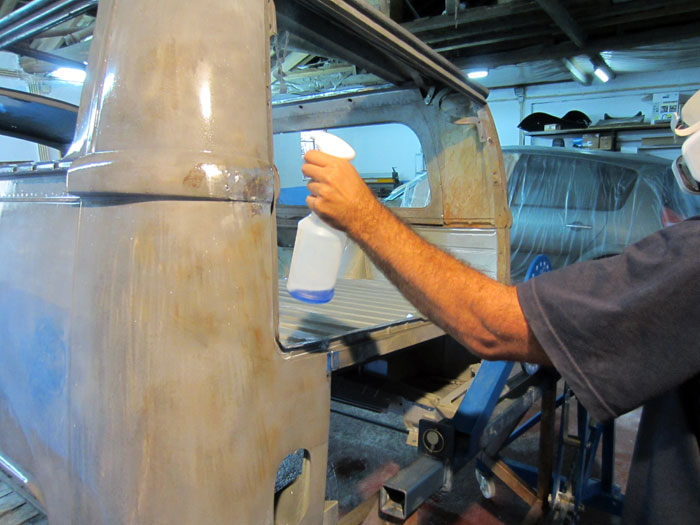
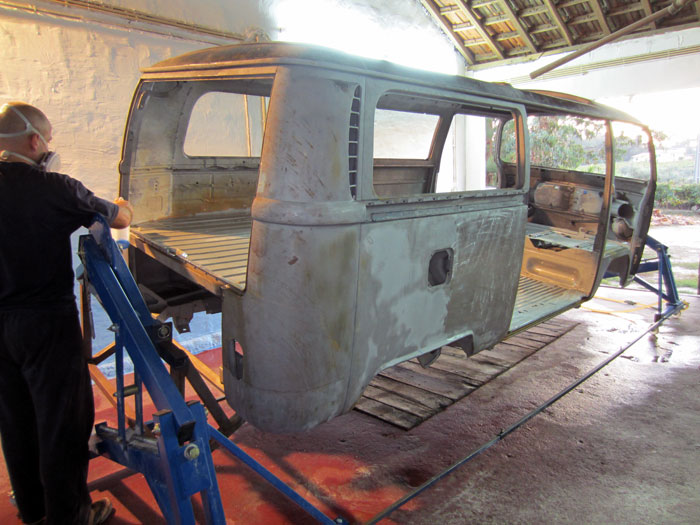
Afterwards I started aplying Marine Clean and Metal Ready to the entire bus.... the "rinsing with water" part of the task, gave some chills down my spine but we spent some minutes dry the entire bus with a pair powerful heat guns....

IMG_0234.jpg


IMG_0235.jpg


IMG_0237.jpg


IMG_0238.jpg


IMG_0239.jpg
 
A couple of weekends later and taking advantage of a very high temperature it was time to start painting the entire bus. But first we needed to degloss all the old por-15 paint.

IMG_0582.jpg


... and this is how the bus was looking before we painted it:

IMG_0583.jpg


IMG_0584.jpg


IMG_0585.jpg


IMG_0587.jpg


IMG_0588.jpg


IMG_0589.jpg
 
on the next day, we painted some areas that we left unpainted....

IMG_0607.jpg


The end result was great.

IMG_0608.jpg


IMG_0609.jpg


IMG_0610.jpg


On the end of the day, I left it upside down since we injected some paint on a couple of cavities.

IMG_0611.jpg
 
A few days later and after sanding all bus with 320 grit sandpaper I painted all bus with self-etch primer

IMG_0619.jpg


IMG_0620.jpg


IMG_0621.jpg


IMG_0622.jpg
 
a few weekends later, I returned to Hugo's bodyshop to give a new coat of paint in some areas where I didn't paint the first time. So, after using Marine Clean and MetalReady, I used Por-15 preventive paint and self-etching primer again:

IMG_0640.jpg


IMG_0641jpg


IMG_0642.jpg


IMG_0643.jpg


IMG_0645.jpg
 
... but yes, it's true... I keep finding sand all over the bus. While I was blowing and drying, a lot of sand was still inside the central heating tube:

IMG_0648.jpg


IMG_0649.jpg


IMG_0650.jpg


IMG_0651.jpg


IMG_0658.jpg


IMG_0659.jpg


IMG_0660.jpg


... so, after a few hours of blowing and vaccuming a lot of sand, it was time for another pass of self-etch primer:

IMG_0653.jpg


IMG_0652.jpg
 
Great work! its going to be an amazing bus thats going to last forever! 8)
 
thanks easy... 8)
If it will last forever I'm not sure... I just hope this treatment works as well as they say it will 8)

So, after these last steps regarding the preparation for the paint job I decided it was time to take care of the front suspension because it's been a couple of years since I sandblasted it and now, it was starting to get heavly rusted:

IMG_0682.jpg


... and since I was fed up with sand and sandblasting (although I will return to this kind of task later on :mrgreen: ) I decided it was time to try another method for removing rust the easy way... however it takes a couple of weeks so hurry is something that you can't have, if you want to go this way.


This time, I decided to use molasses. So, one day at 8.00 am I went to another town (40 km's from Lisbon) to get 60 Litres (or liters?) - it's about 100kg since this solution is very dense... and the only way you can fill small cans is this way:

IMG_0674.jpg


IMG_0675.jpg
 
This molasses comes by sea from Morocco and Egypt....

IMG_0677.jpg


.... and stored in these silos....

IMG_0676.jpg


... from where is then loaded into tank trucks ...

IMG_0678.jpg


... and after they are weighed. Each truck takes an average of 26 tons ...

IMG_0681.jpg


With my two cans fully filled and stored inside my car and with it also weighed....

IMG_0679.jpg


... I made another journey that weekend and this time to Viseu where I have all my bus parts.
 
To remove rust from metal parts we need to put them inside a molasses and water dilution. So with the help of an old metal bathtub....

IMG_0686.jpg


... and after removing some litres from the cans...

IMG_0688.jpg


... I poured them into the tub and added water...

IMG_0690.jpg


IMG_0691.jpg


... and then I left the parts inside that dilution. This is how the molasses really is:

http://www.youtube.com/watch?v=A0F32cU74ws&feature=g-upl
 
so... after 5 weeks (3 more than expected), I went again to remove all parts from the bathtub but I found out that this first try didin0t work as I expected... Why? My fault: first, I didn't mix the molasses and water as I should have done... and second, I didn't clean the suspension parts... so I stick them inside the dilution full of grease and dust...and where's grease there will be no moisture (or water).
I then dedided to remove everything from the bathtub, clean them all and bring everything inside my car to Lisbon....

IMG_0750.jpg


IMG_0751.jpg


IMG_0752.jpg


IMG_0753.jpg


... where I did it all over again, this time in the right way. After cleaning all parts from all the old grease and after mixing well molasses and water I put all parts inside the bathtub again.... And after a couple of weeks, the result was very impressive :mrgreen:
 
meanwhile, the bus has a new color... it's looking a litle bit blue, since I coated it with Tie-coat primer from POR-15:

IMG_0761.jpg


IMG_0762.jpg


IMG_0763.jpg


IMG_0764.jpg


IMG_0765.jpg


IMG_0766.jpg


Now I'm just waiting to mount on the front suspension and I will pass it to a professional painter...
 
about the front suspension parts, when I removed them from the dilution, they were looking like this:

IMG_0773.jpg


IMG_0774.jpg


IMG_0771.jpg


... but after cleaning them with water and with a good brushing, they were looking like new:

IMG_0776.jpg


IMG_0777.jpg


IMG_0772.jpg


... and after Marine Clean and Metal Ready:

IMG_0775.jpg


I still have some parts inside the molasses dilution.... I will remove them this next weekend but I already saw them and they look awsome...
Molasses will not remove paint or grease... it just removes rust. Too bad... :mrgreen:
 
There was still the front suspension tubes to be cleaned. So, after removing most of the old grease with newspapers and also with diluent and Marine Clean, I decided it was best to give it a wash in a car jet wash station. So at 6.00 A.M. on a Sunday, I did it:

IMG_0789-copy.jpg


IMG_0789.jpg


This last picture shows how they were after a couple of years without any kind of rust prevention... and althoug I left them inside the first molasses dilution for about 5 weeks.
But after a week inside this new molasses dilution, it was looking like a new piece... This is really an awsome method:

After being in the dilution, the pieces start loosing a kind of dirt... like soot:

IMG_0804.jpg


... and they look like this.. dirty...

IMG_0807.jpg


.... but after a good scrubbing, they look like new:

IMG_0805.jpg


this is the end result:

IMG_0808.jpg
 
and after metal ready, they look like this:

IMG_0810.jpg


IMG_0811.jpg


But then I decided I needed to change my balljoints but since I don't have the propper tool, I decided to ask for a friends help:

IMG_0812.jpg


... and after a small struggle, the task was finally done... and I was able to paint them:

IMG_0814.jpg


IMG_0815.jpg


they look great but there are some steps left to be done.

:wink:
 
In this last weekend we did something else. Since I want to use a servo, we welded the piece necessary to mount it in place that we removed from a latebay front suspension:

IMG_0817.jpg


IMG_0819.jpg


... and after I sandblasted it...

IMG_0820.jpg


IMG_0821.jpg
 
....Hugo welded it in place:

IMG_0822.jpg


IMG_0823.jpg


IMG_0824.jpg


meanwhile, I painted almost all parts with Por-15:

IMG_0826.jpg


IMG_0827.jpg


There are still some steps left untill they're done...
 

Latest posts

Top