1968 Campervan conversion

Early Bay Forum

Help Support Early Bay Forum:

This site may earn a commission from merchant affiliate links, including eBay, Amazon, and others.
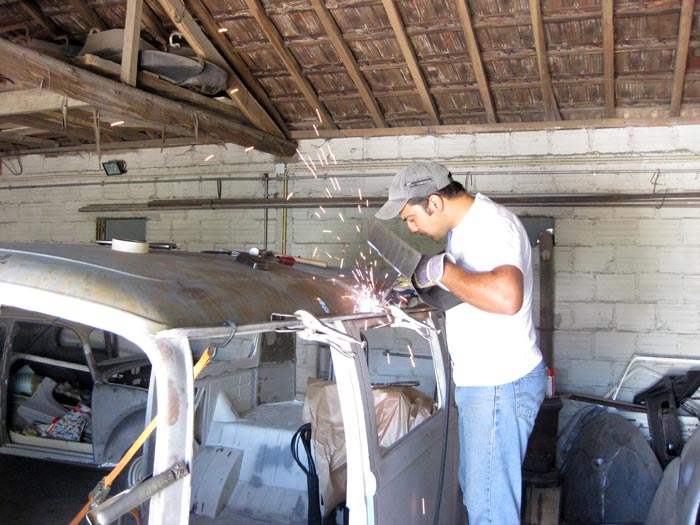
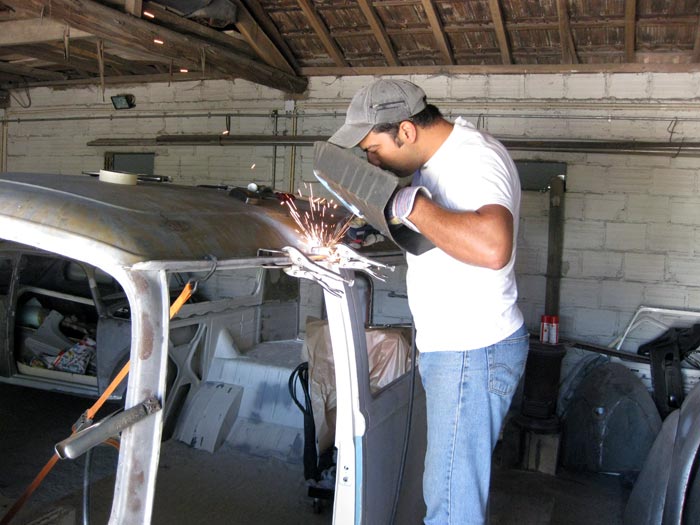
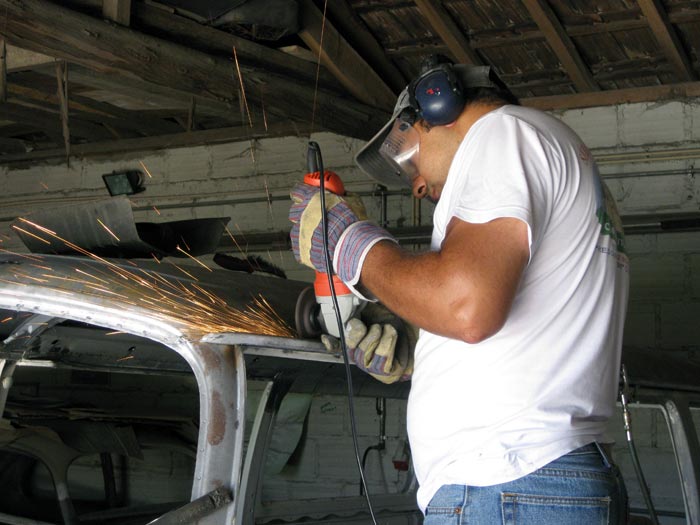
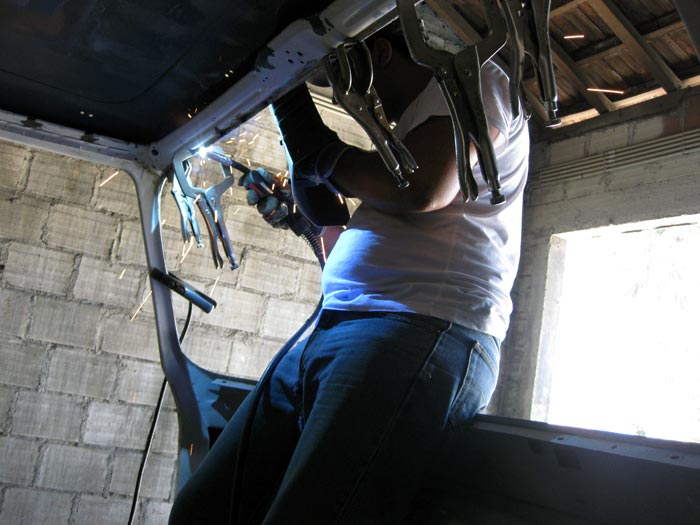
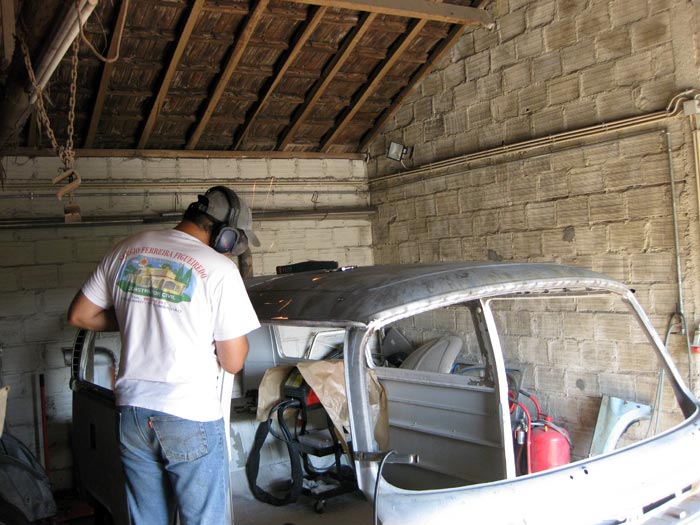
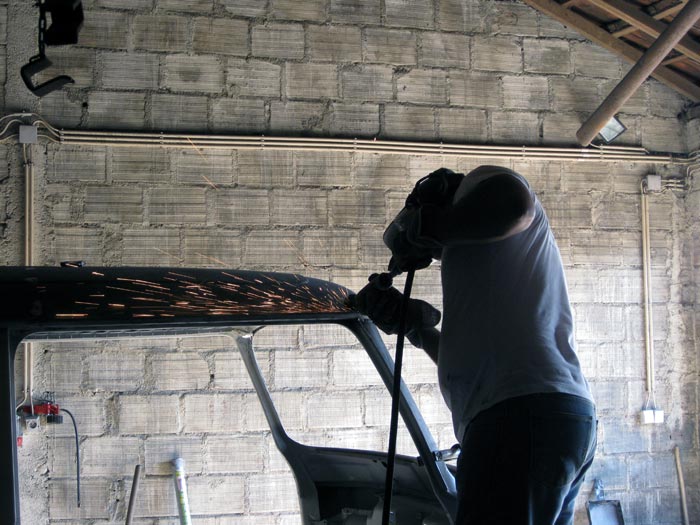
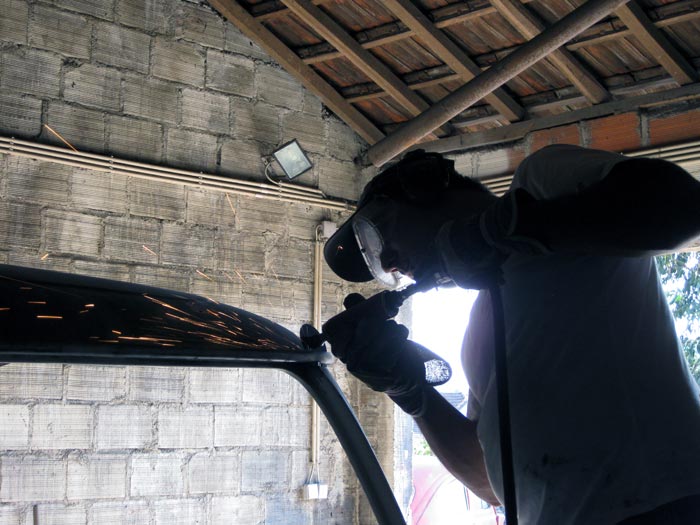
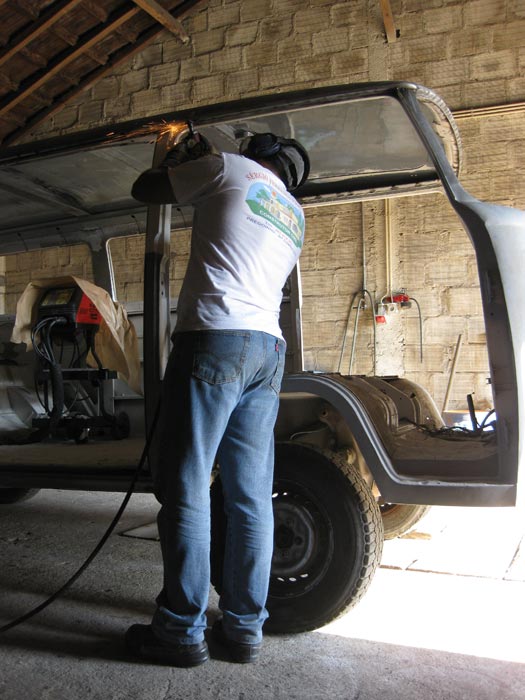
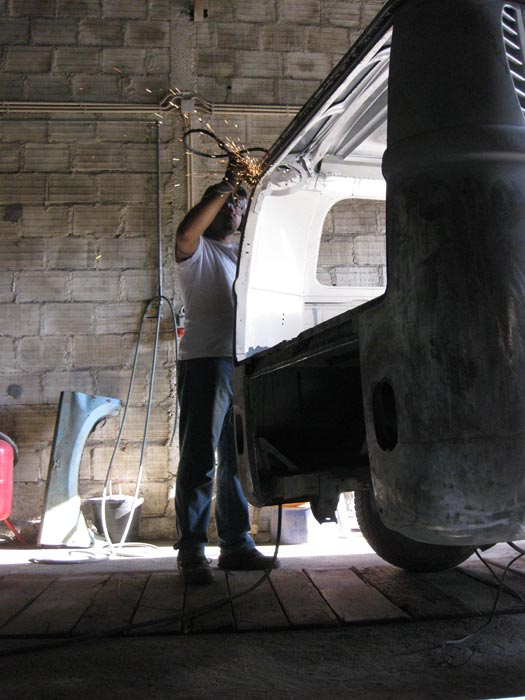
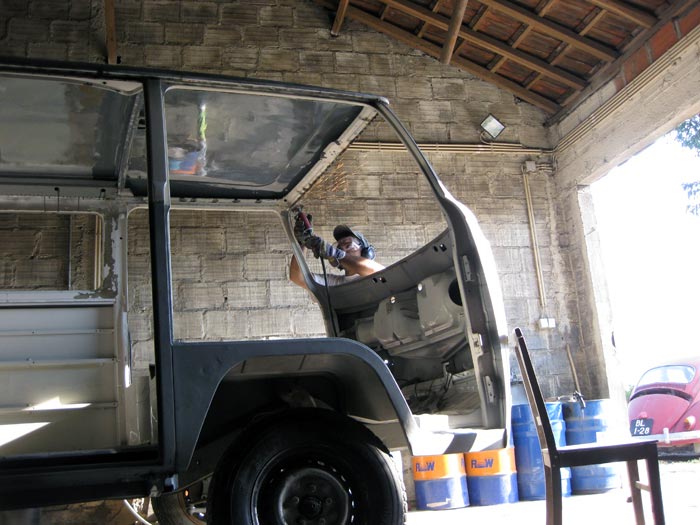
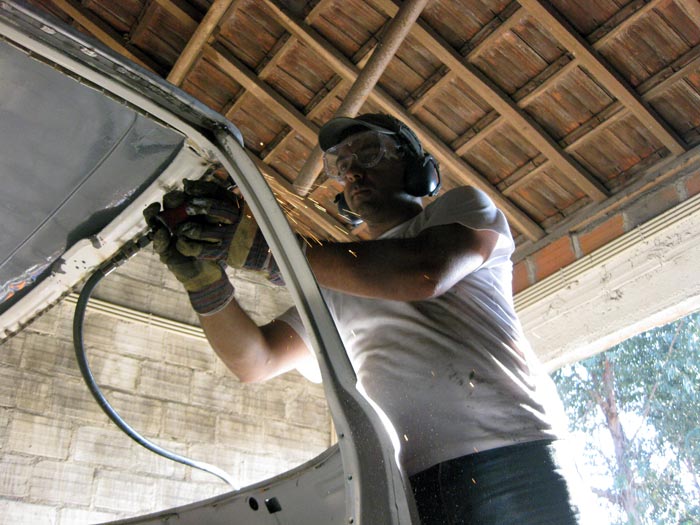
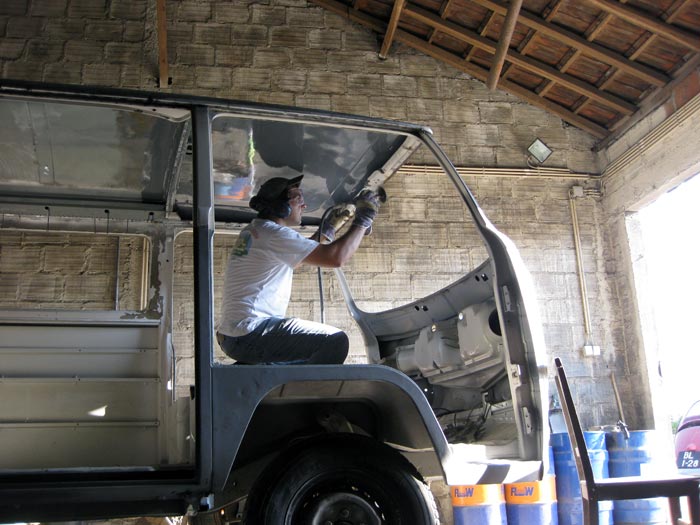
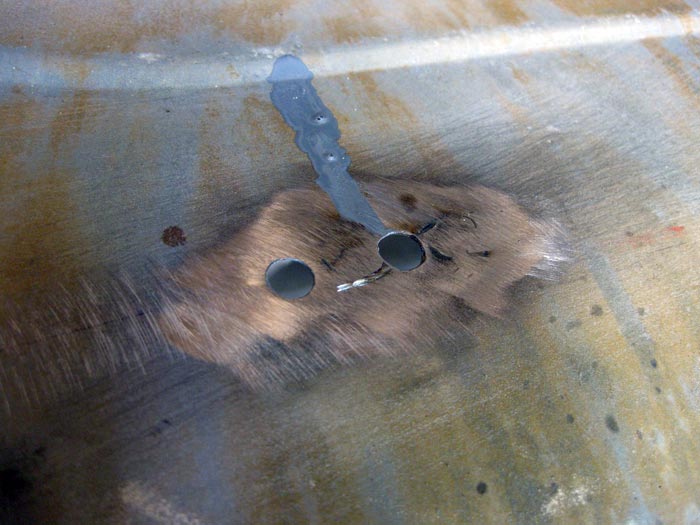
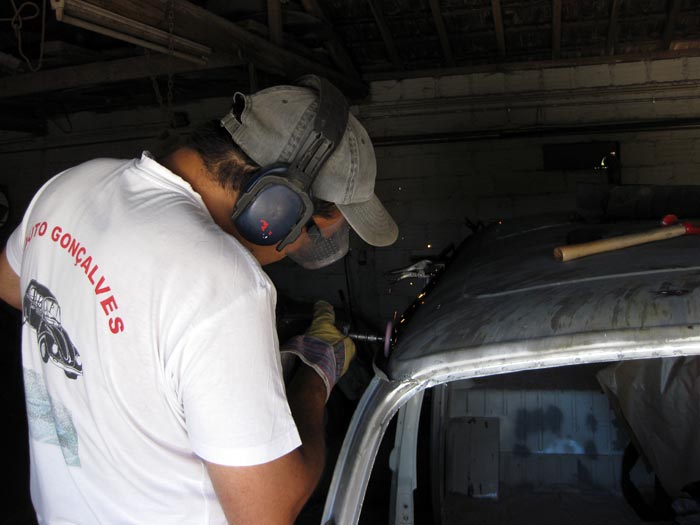
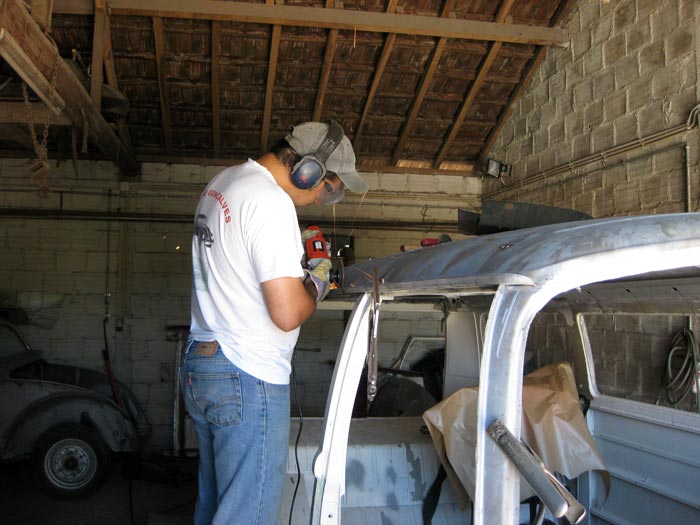
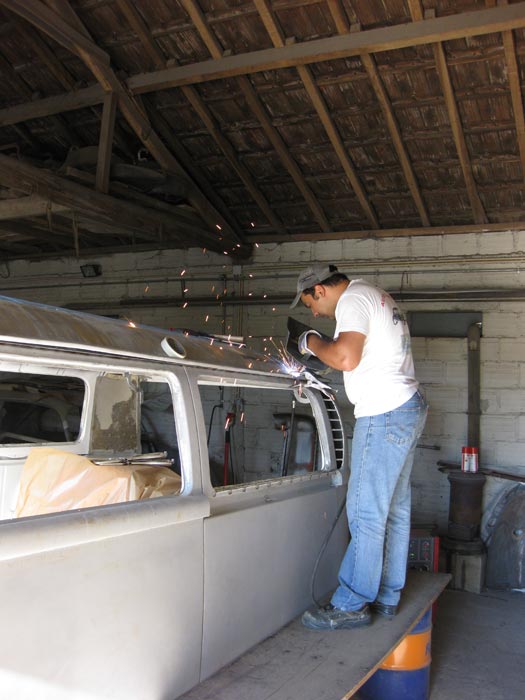
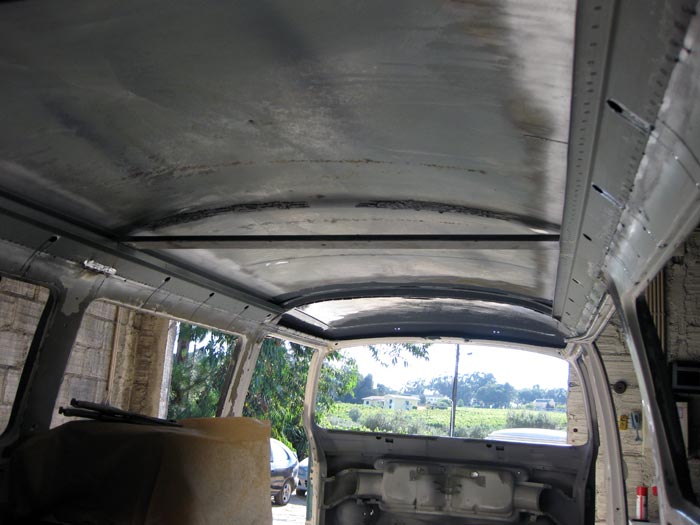
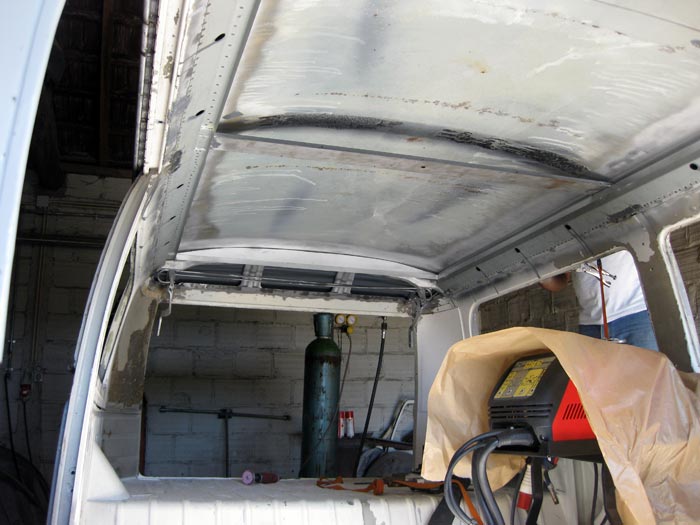
after welding all the parts in place, hugo started grinding all the welding excesses on the roof:

IMG_2280.jpg


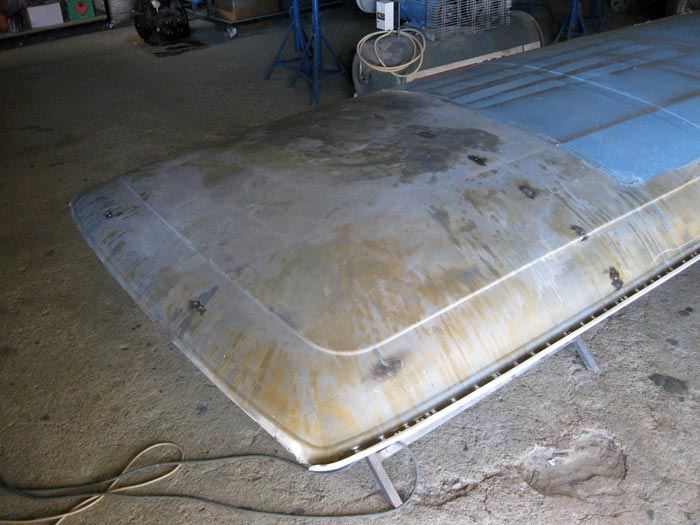
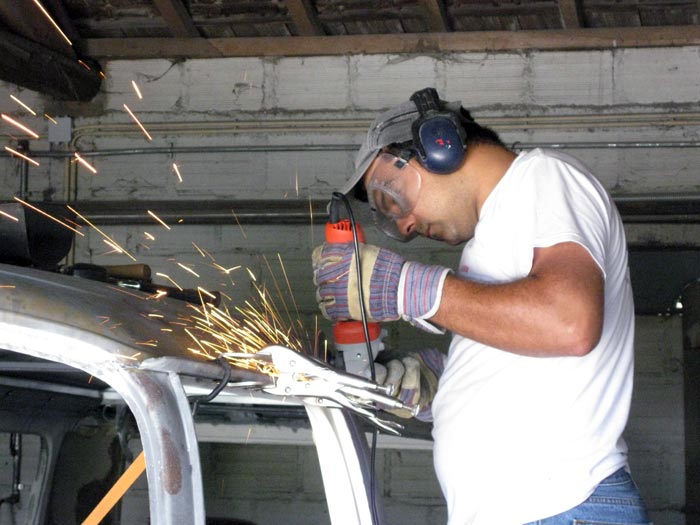
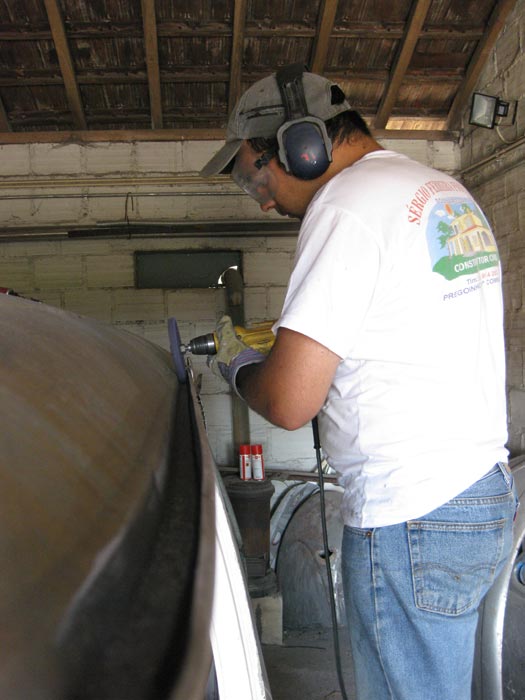
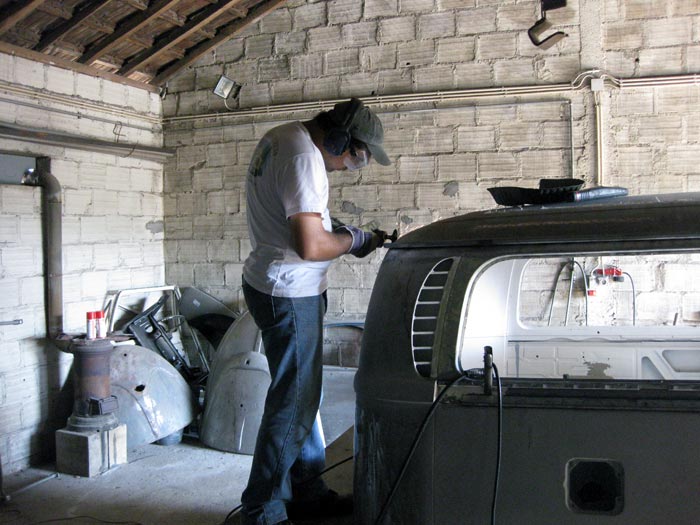
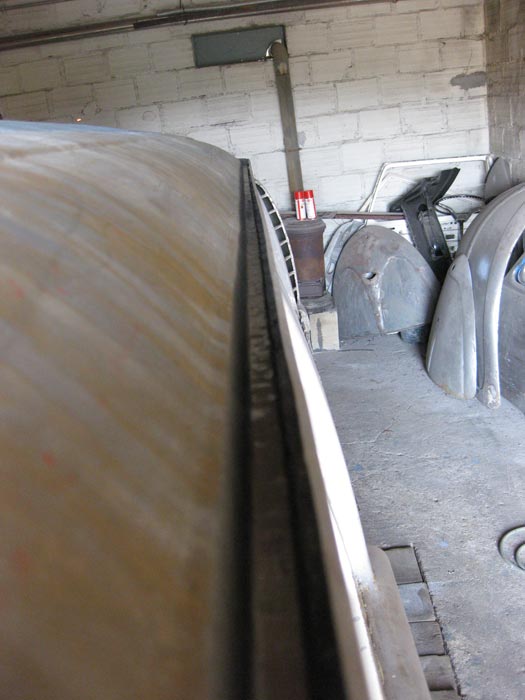
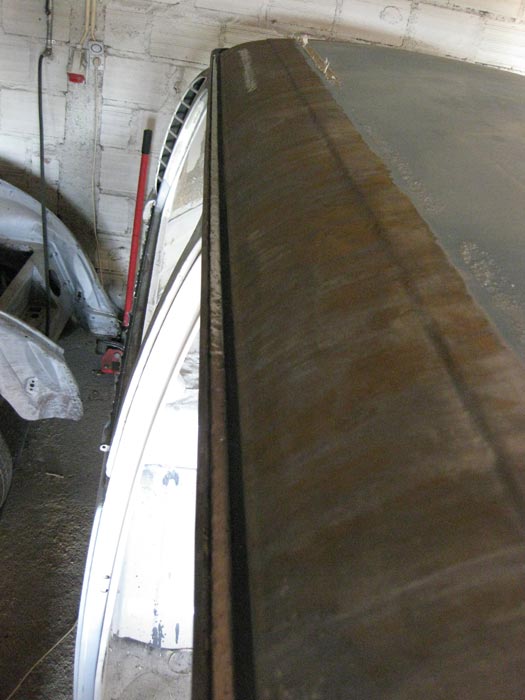
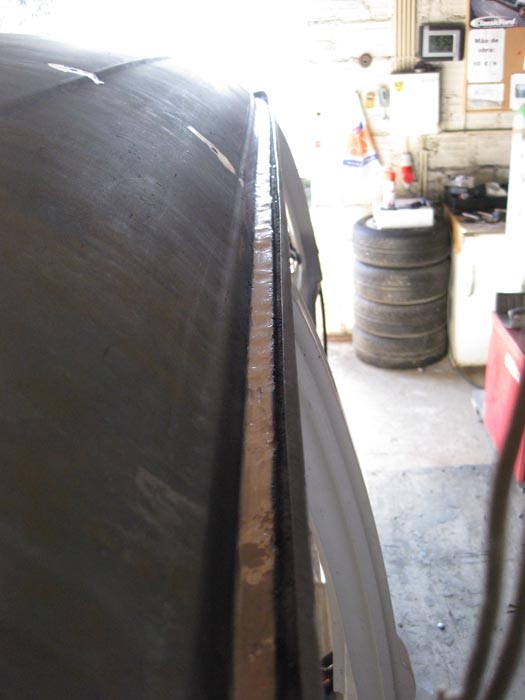
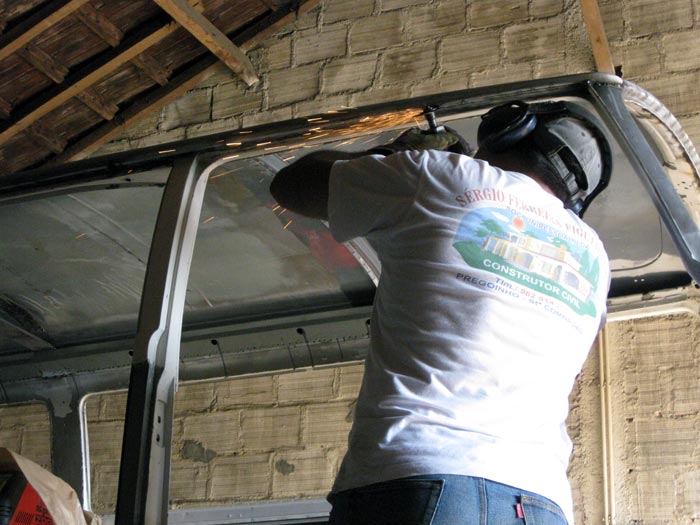
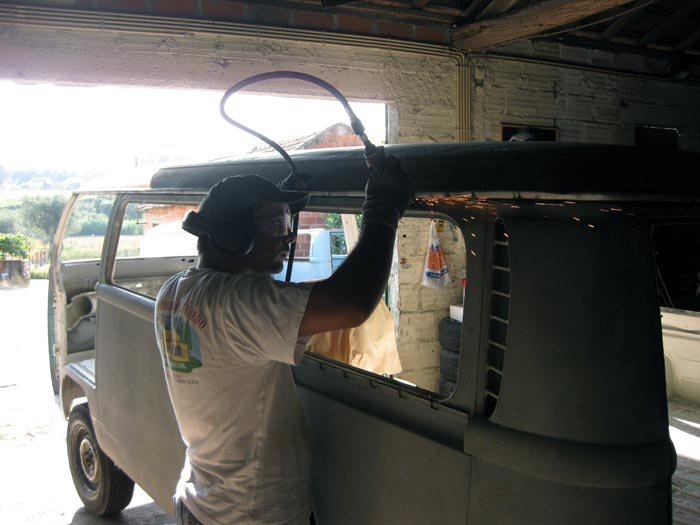
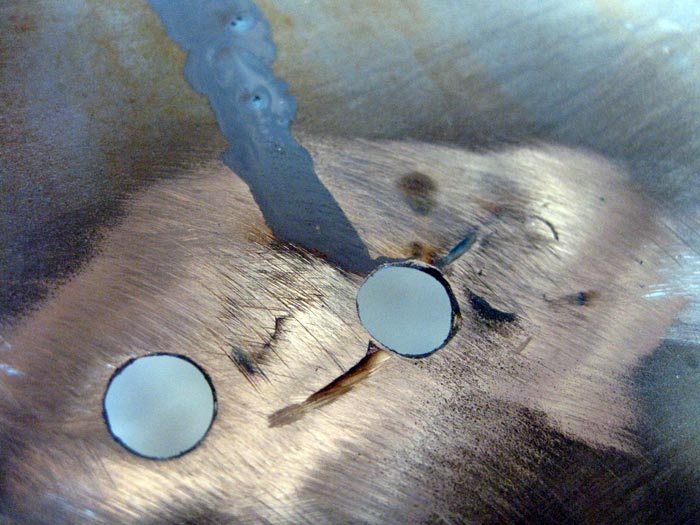
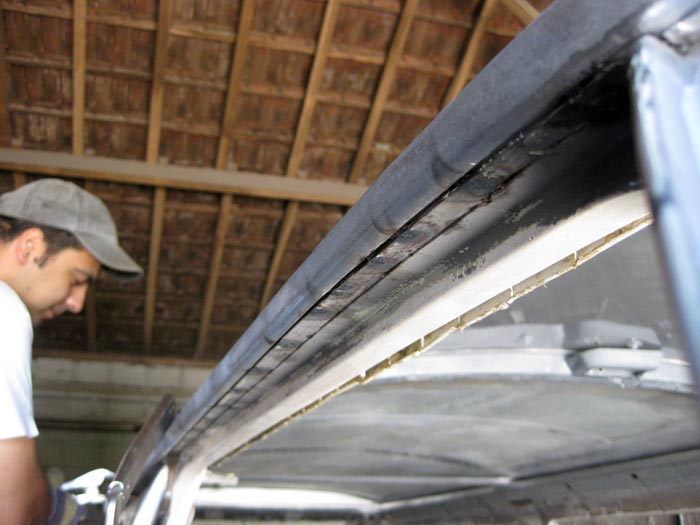
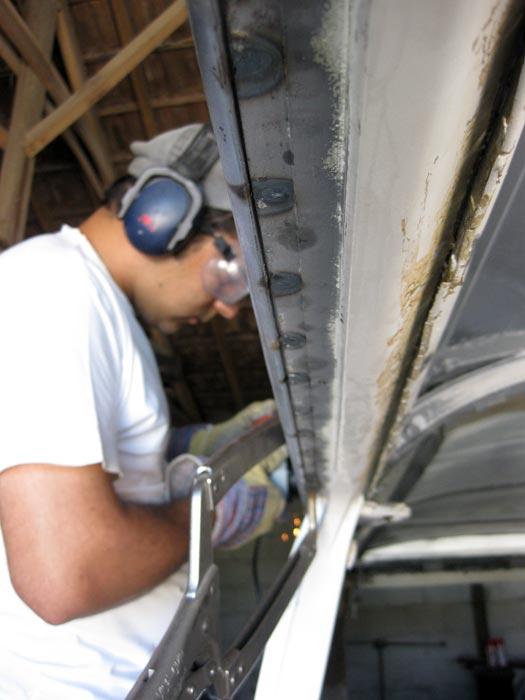
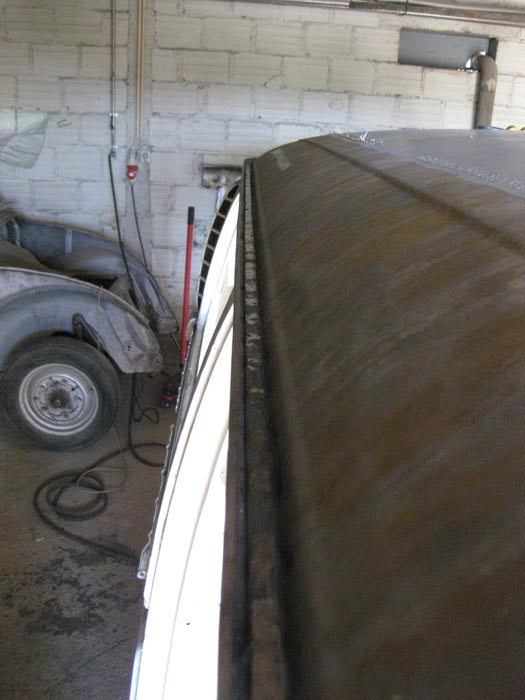
and here was when Hugo really started changing his mind about POR-15 products. The paint was really sticked to the roof.
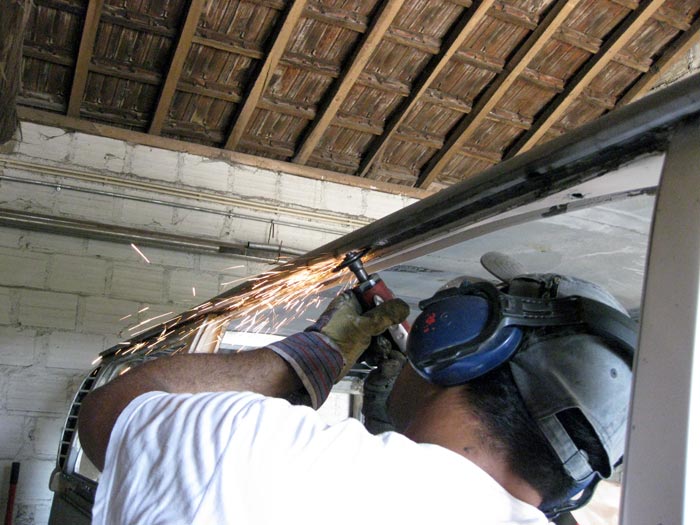
While the metal gets grinded the paint remains in place :shock:
I just hope it really works.

IMG_2283.jpg


IMG_2282.jpg


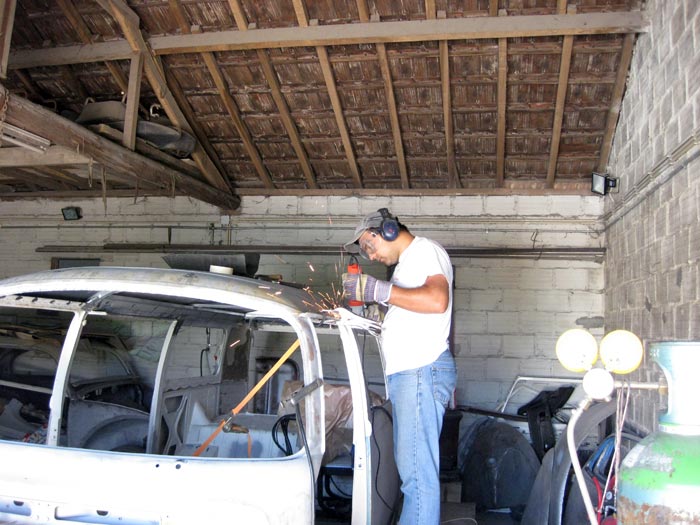
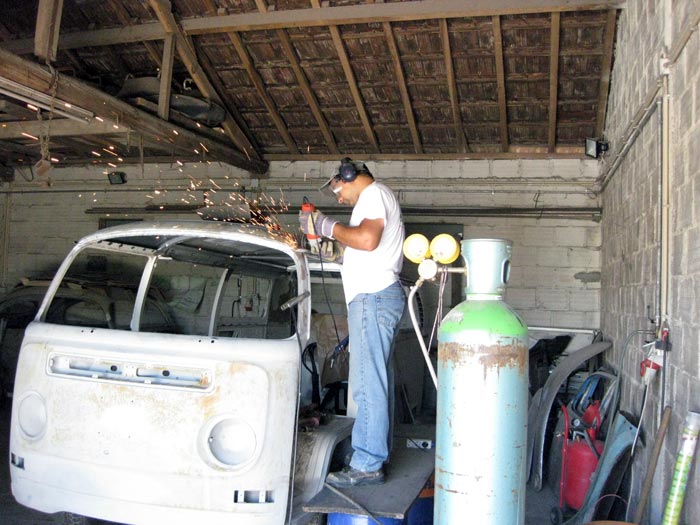
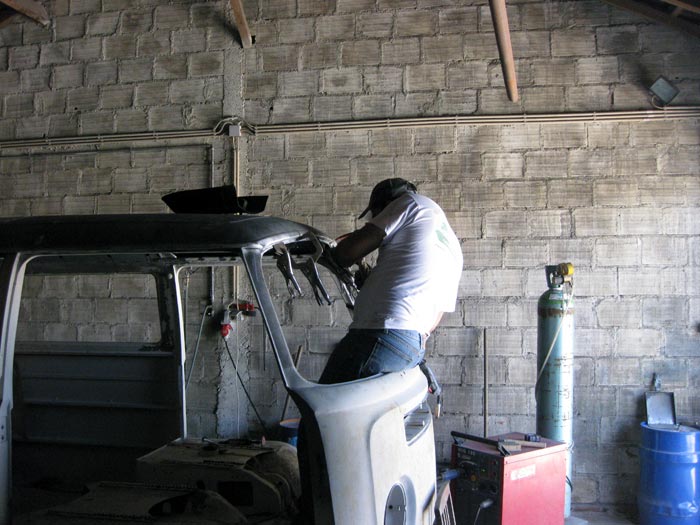
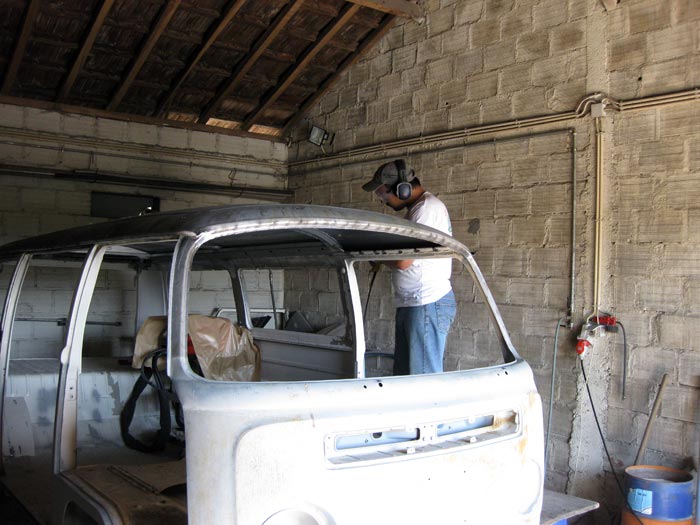
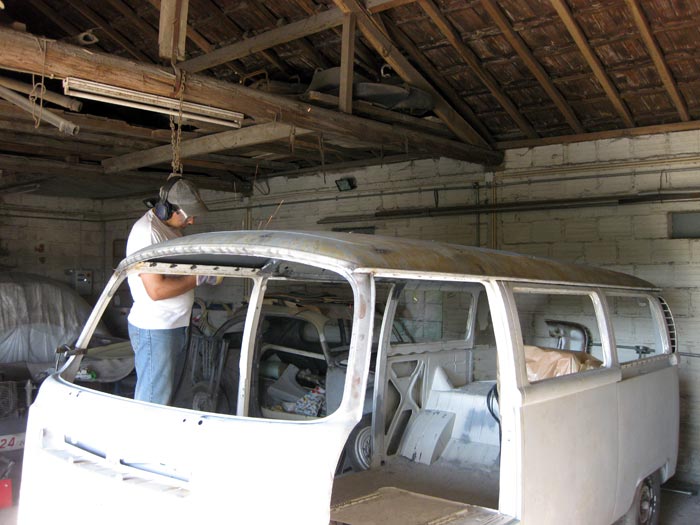
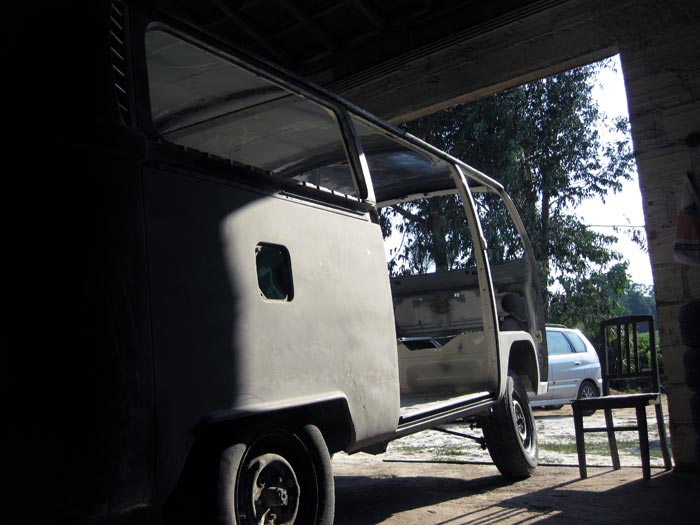
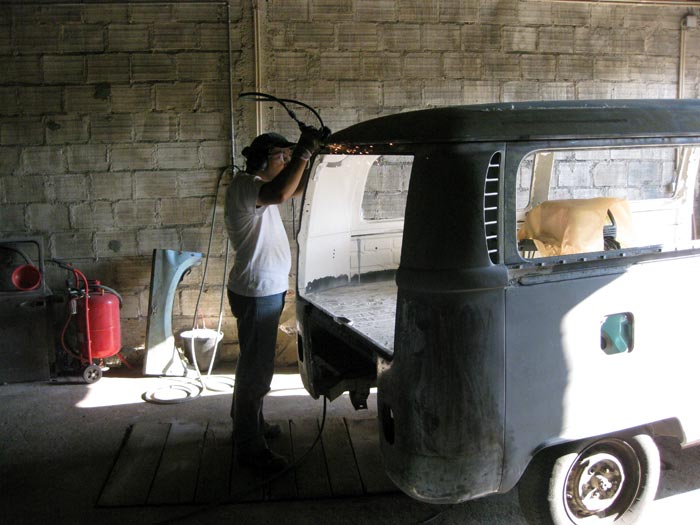
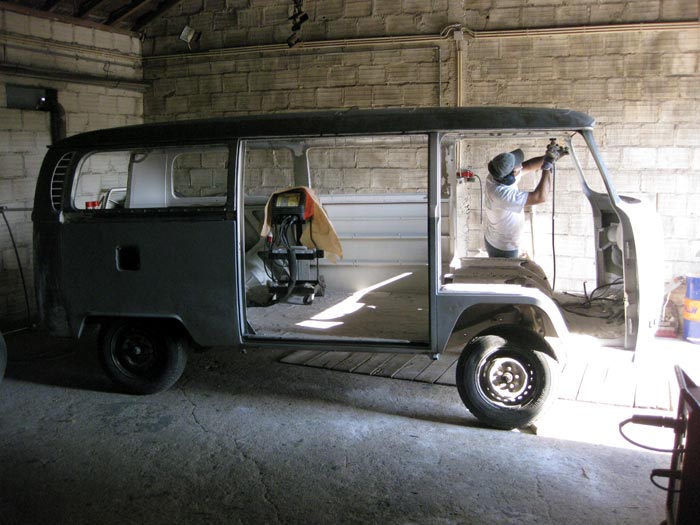
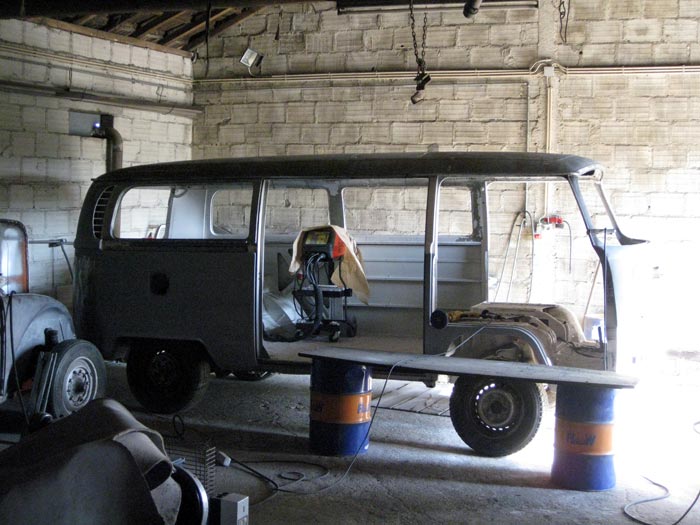
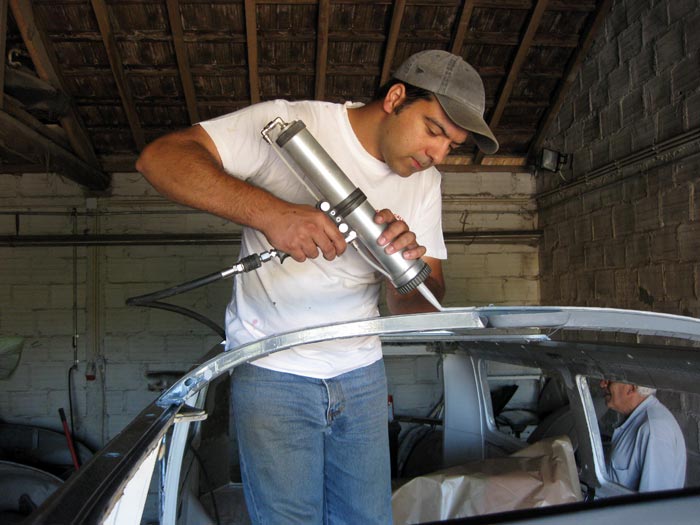
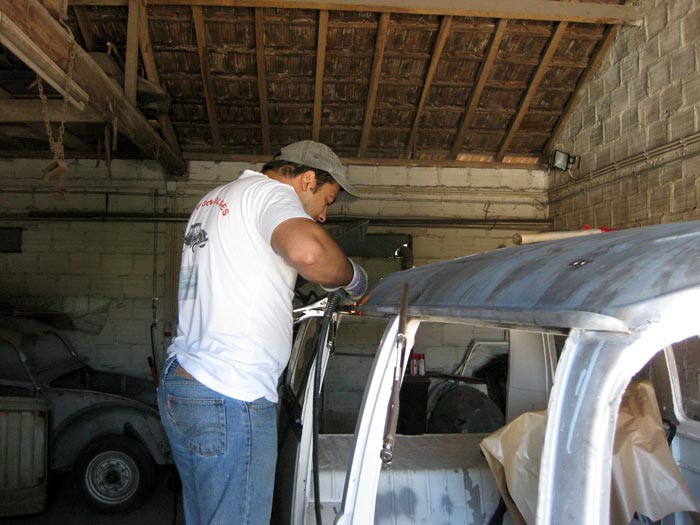
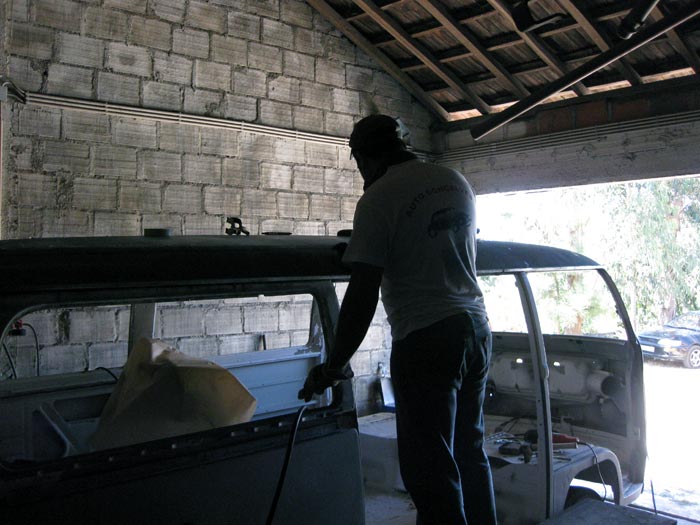
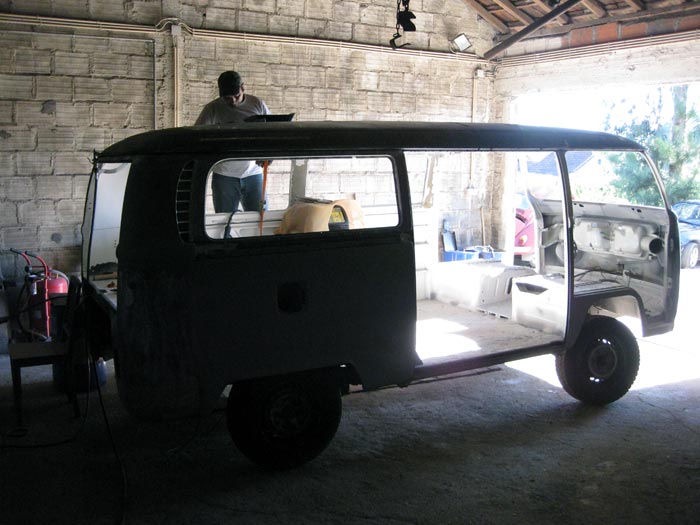
and a general view of the task in progress:

IMG_2284.jpg


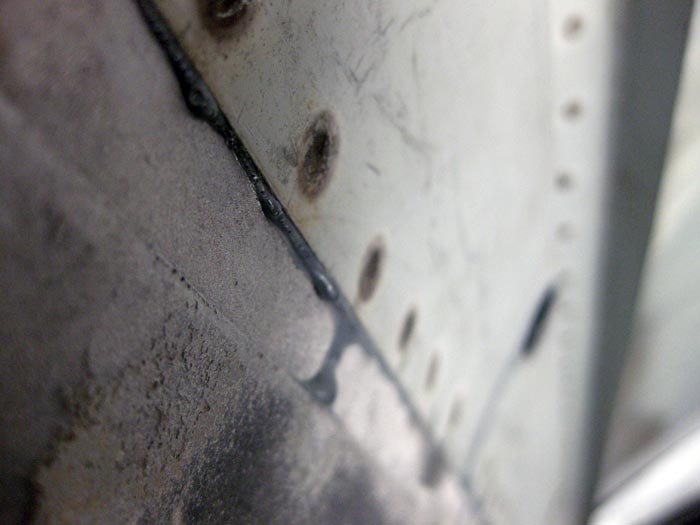
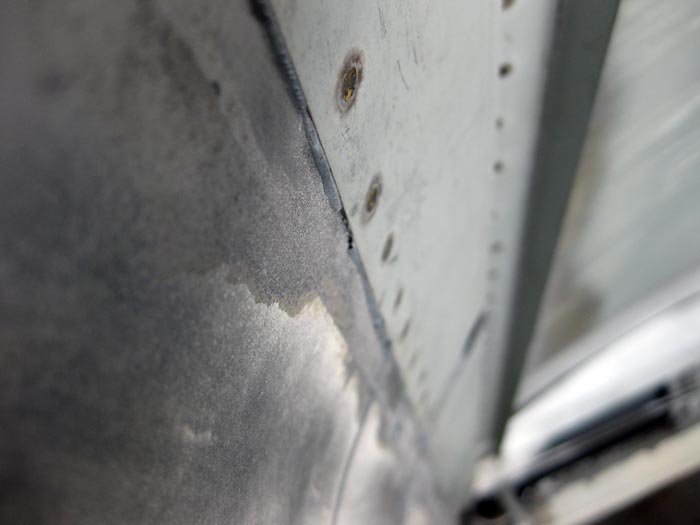
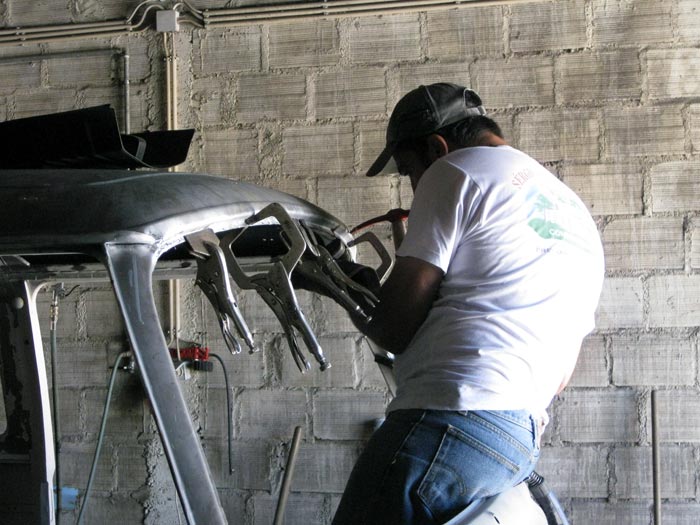
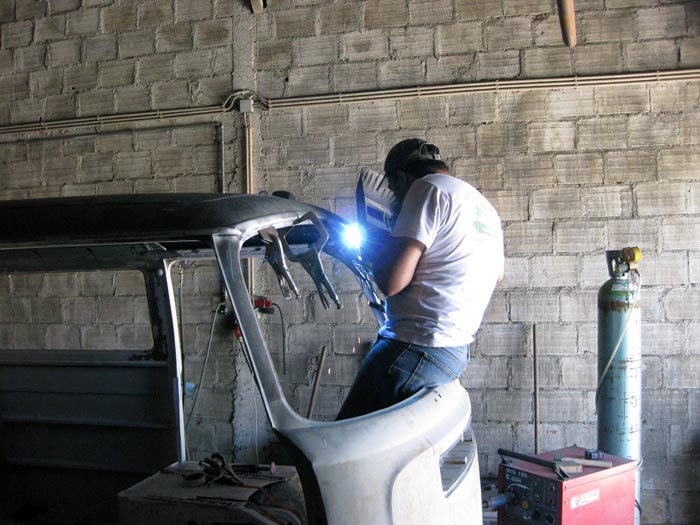
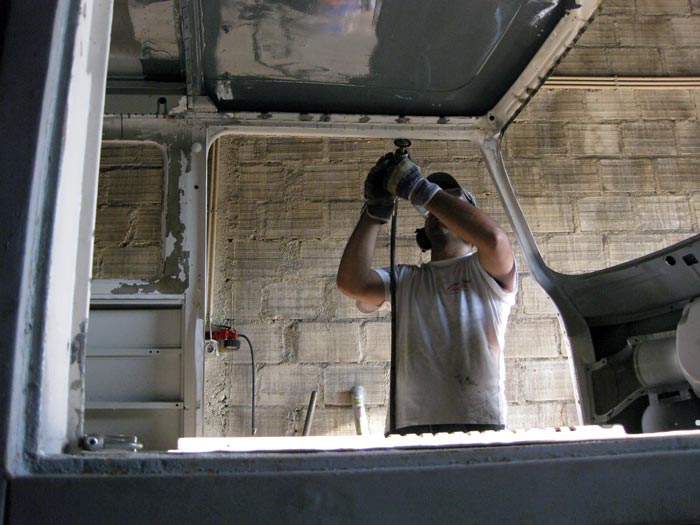
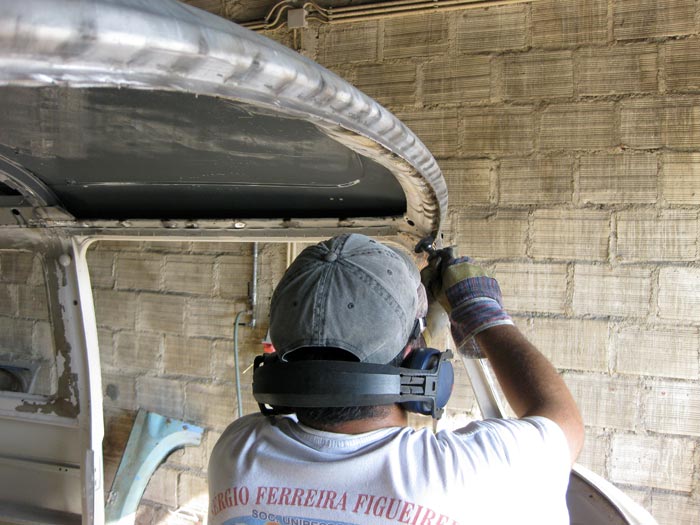
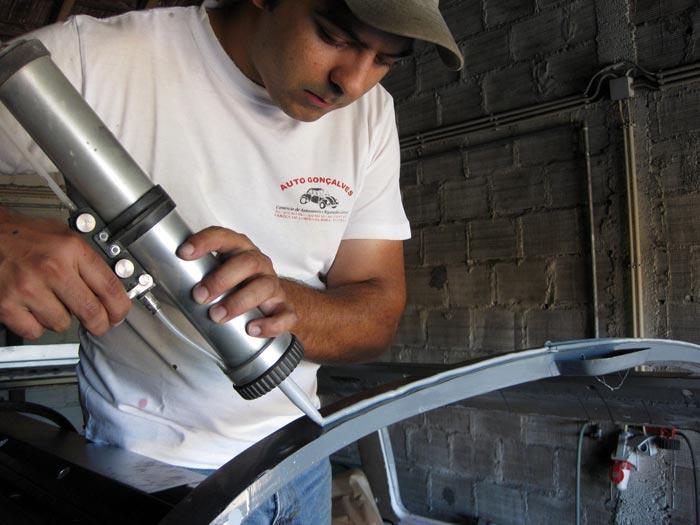
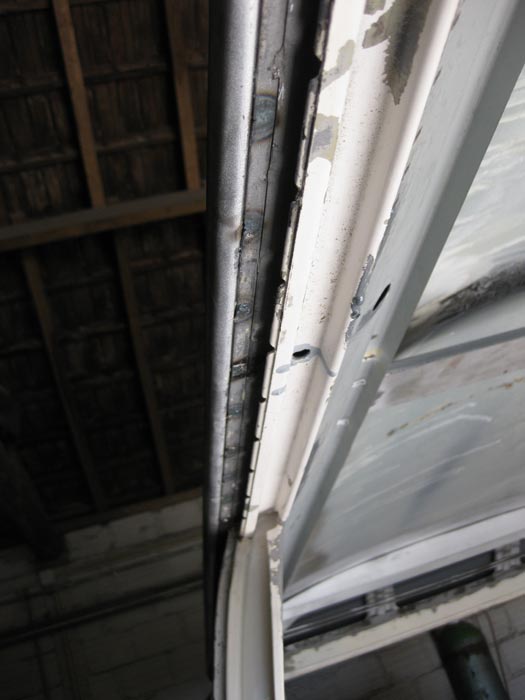
and after everything in place and before we started welding the roof, we filled all the empty spaces of the bus with 3M cavity wax. A lot more liquid than the one from Dinitrol:

IMG_2285.jpg


IMG_2286.jpg


IMG_2287.jpg


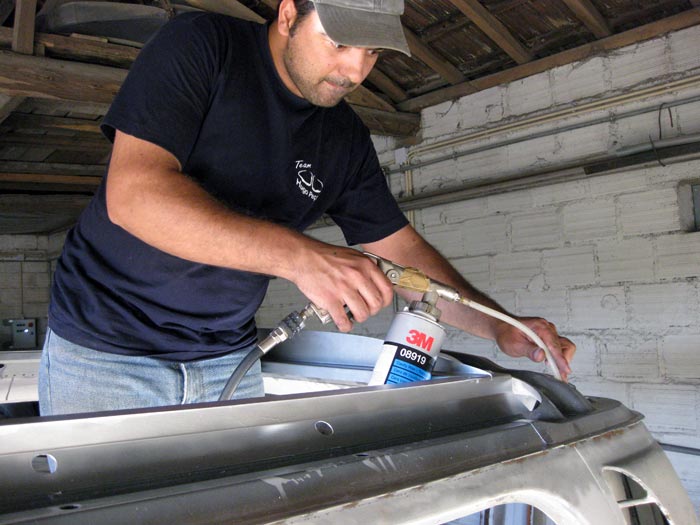
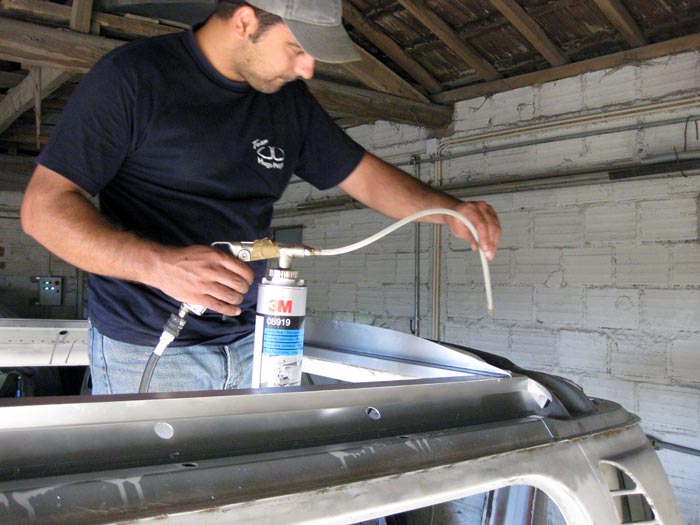
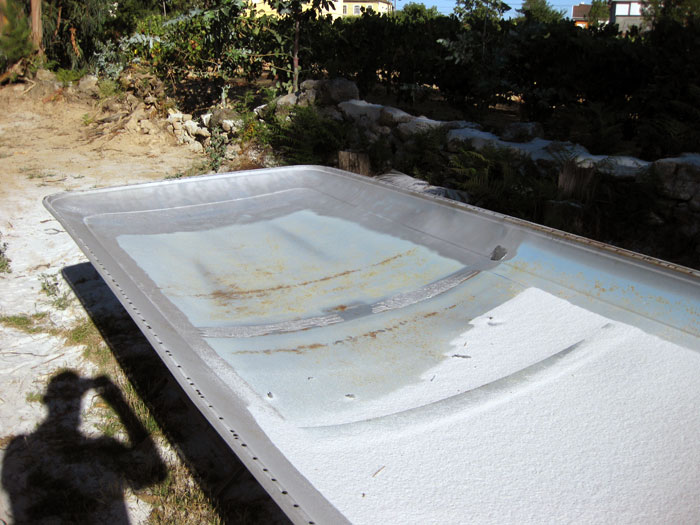
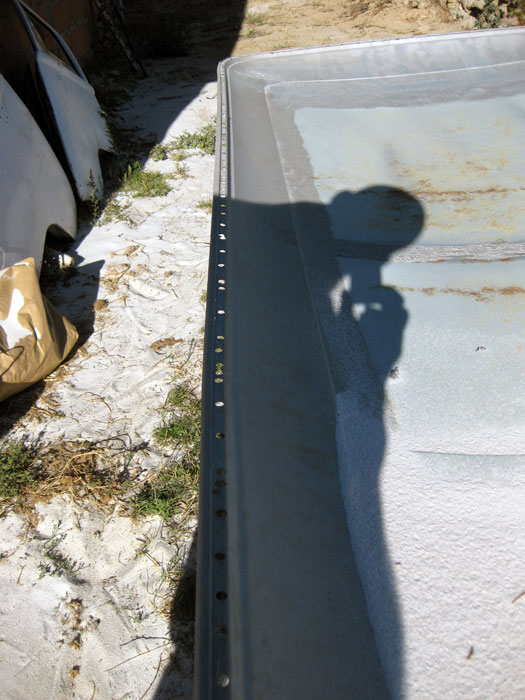
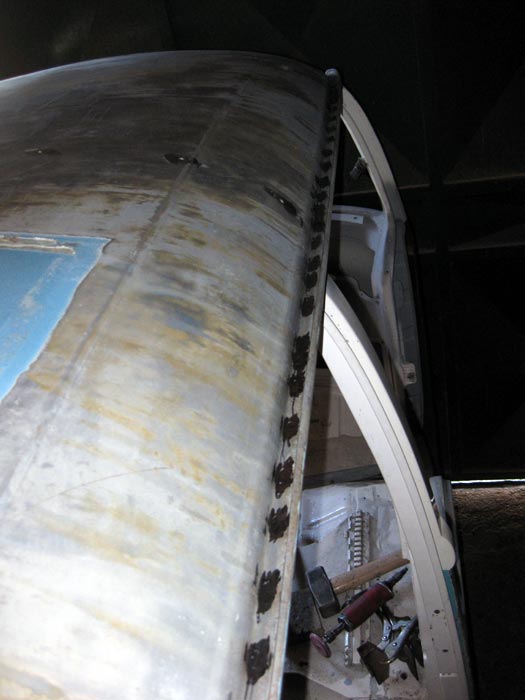
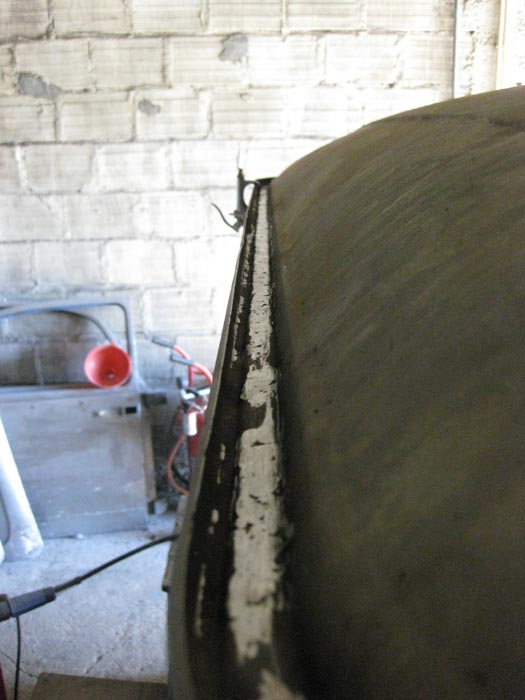
.... and a couple of minutes later, we realized that the wax was leaving the bus from all the small holes:

IMG_2288.jpg


IMG_2289.jpg


IMG_2290.jpg


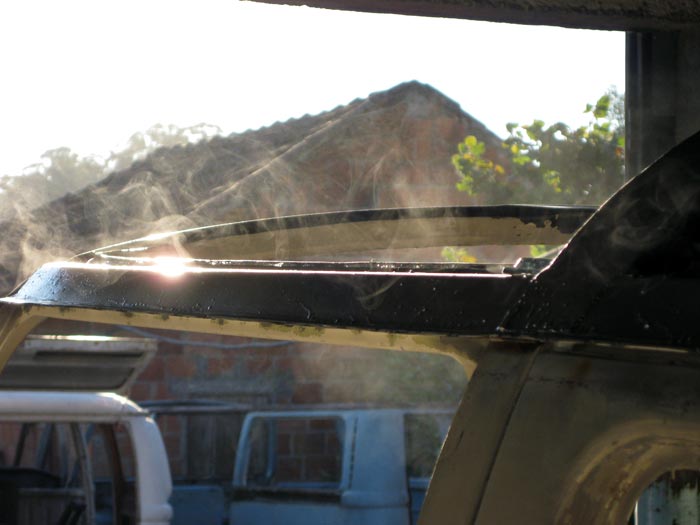
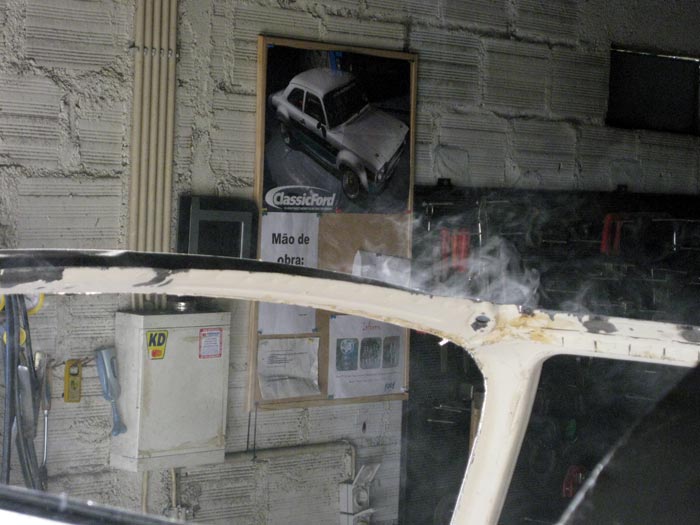
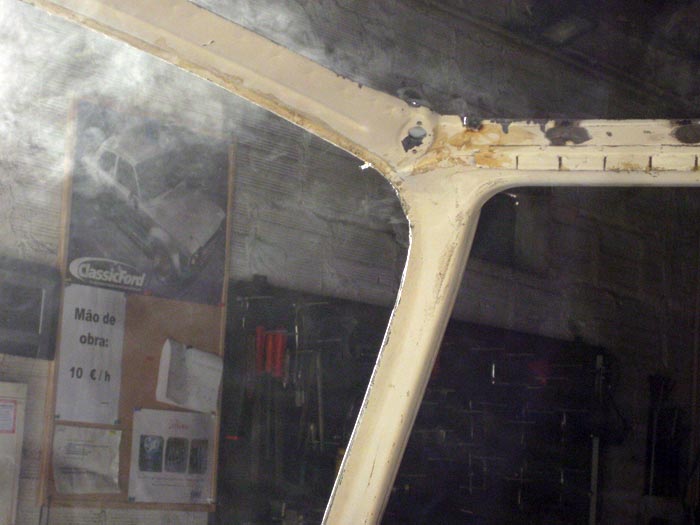
If there hasn't been a huge rust treatment on the bus originaly, now I hope it will resist, at least, a few decades :mrgreen:
 
Great work by Hugo and yourself as usual (the pics are great :mrgreen: )

Those helicopters and the proximity of the fire must make it a bit unnerving :shock:
 
Thanks andy...
and yes they did!
But for now, at least in that region, things are back to normal.... and the rain came again, so the arsonists have to wait for the next year :evil:
 
so, getting back to the saga.... :mrgreen:

On the following day, Hugo started welding the roof. But before, he applied 3M sealing mastic on top of this piece:

IMG_2291.jpg


IMG_2292.jpg


...and so the task began:

IMG_2293.jpg


IMG_2294.jpg


.... and it was perfect:

IMG_2295.jpg


IMG_2296.jpg


IMG_2297.jpg


IMG_2298.jpg


IMG_2305.jpg
 
IMG_2307.jpg


after a first passage (welding plus grinding all welding excesses) this was the result:

IMG_2308.jpg


IMG_2309.jpg


IMG_2310.jpg


IMG_2311.jpg


but there was still one side missing....
 
while Hugo was welding the missing area, I went to see it inside.
I was not used to see it with a complete roof :mrgreen:

IMG_2312.jpg


IMG_2313.jpg


IMG_2314.jpg


... and while I was watching and wondering the new interior, I realized that Por-15 paint had dripped between the welded parts. Nice! ;)

IMG_2315.jpg


IMG_2316.jpg
 
But once again the day was almost over and although there was still a small area to be welded, we went home.
a few hours later, at 10 pm, I got home and realized from the balcony, a true miracle :evil: .
At that hour, another forest fire was begining :evil:... probably another misterious case of spontaneous combustion!

IMG_2320.jpg


:roll:

On the next day, the welding task continued:

IMG_2322.jpg


IMG_2325.jpg


IMG_2326.jpg


IMG_2328.jpg


IMG_2330.jpg


IMG_2336.jpg
 
more welding action:

IMG_2337.jpg


IMG_2338.jpg


IMG_2340.jpg


IMG_2341.jpg


... and after he had welded the roof, he needed to go back again to check for possible small areas that needed some more welding and a final grinding:

IMG_2348.jpg


IMG_2350.jpg
 
and finally, the bus with a complete roof... it almost makes me sad just thinking in cutting it :mrgreen:

IMG_2370.jpg


but there was still work to be done.
Hugo still needed to grind all the welding excesses under the rain gutter... what a boring and tiring task!

IMG_2362.jpg


IMG_2364.jpg


IMG_2366.jpg


... at all the way around....

IMG_2367.jpg


IMG_2369.jpg
 
Seriously nice work dood, keep it up and buy Hugo a drink from me! he is a blinking hero 8)
 
thanks for your words ;)
8)

67panel: he already has a spot welder ;) but there's no way he can weld this.....

IMG_2079.jpg


IMG_2080.jpg


... with a spot welder. Grinding is really a task you just need to do :mrgreen:
 
Imagem(723).jpg


the parts we welded inside, helped alot in keeping the curvature while hugo was bending the roof:

Imagem(724).jpg


and the spot welder worked a lot again... what an excellent machine:

Imagem(734).jpg


Imagem(735).jpg


Imagem(737).jpg
 
and the central piece already welded to the roof:

Imagem(736).jpg


and all the welding excesses grinded:

Imagem(742).jpg


and the rear part, that holds the bed in place:

Imagem(738).jpg


Imagem(739).jpg


Imagem(740).jpg


Imagem(741).jpg
 

Latest posts

Top