

G
Guest
Guest
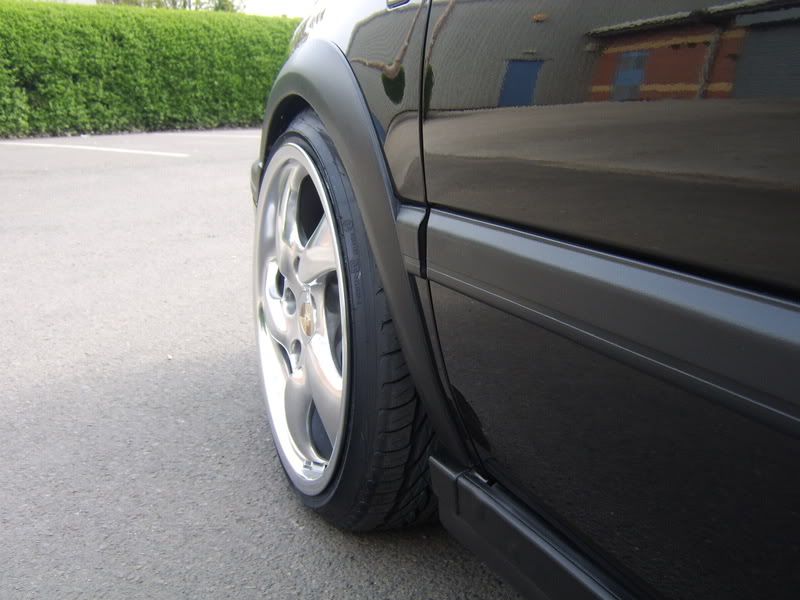
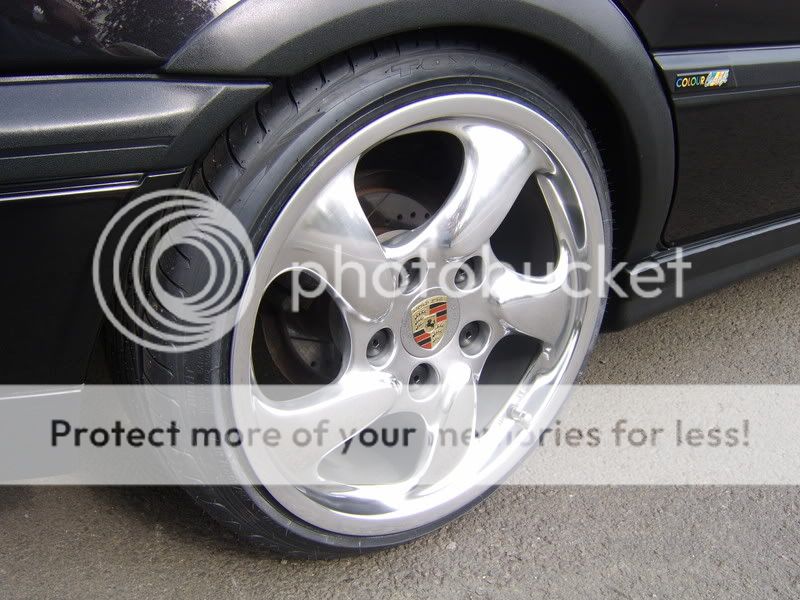
very nice 8) , i got a set of 18mm adapters for my cookie cutters and would love to know how the back sits when you get them fitted.
Johnny said:very nice 8) , i got a set of 18mm adapters for my cookie cutters and would love to know how the back sits when you get them fitted.
") the rear 8.5's look pretty wide to be honest. we'll soon see.
the rear 8.5's look pretty wide to be honest. we'll soon see.Haveacamper said:............watch this space.


Haveacamper said:there's little to report on the camper front due to a combination of slight loss of enthusiasm and the fact that i'm missing driving it around.
due to committments changing (Girlfriend and i moving in together) i think that i'm going to have to evaluate where i will get to at the start of october and then get a body shop to finish it off for me. i'll be moving away from where the camper is and it will be impractical to work on it during the week due to distance, and i dont think i'd get to work on it much during the weekends due to commitments with girlfriend - seeing friends and family etc....you know how it is.
So i've jotted down what i think i can tackle between now and October. do you guys and girls think that this is feasible if i've got evenings and probably the odd weekend.
to do list:
Inner and Middle N/S sills
Jacking points and Outriggers N/S
Chassis front Cross member
Top hat sections x3 (2 rear, 1 front)
Seat bulkheads N/S and O/S
B & C pillars
Rear wheel Tubs
Rear Cargo Floor
Front Clip – require doors and prepare replacement clip
Front Door Section O/S
Front Inner Wheel Arch N/S
Front Cab Floor
as followers of this thread know, alot of the cutting out has been done, so it will be prepping and welding.
i thought about moving the camper to where we will be living, but dont think neighbours will appreciate me grinding and hammering late into the night.
thoughts please
71Dormobile said:Note your looking at FBI for panels got my doors from them and rear engiene lid, they do have very good parts worth a drive down.


combideluxe1969 said:I watched the whole post is a good novel photo. :lol:
You must be motivated.
Good for continued work. :wink:
Raphael
... i know, what a guy!!!


