'69 deluxe project Lefty - back on the road again!!

Early Bay Forum

Help Support Early Bay Forum:

This site may earn a commission from merchant affiliate links, including eBay, Amazon, and others.
mychatype3 said:
MetPeter said:
Thnx Dubscum and Airtime!
I didn't remove the OG paint at the bottom . . . I know RX5 works best on blank steel (with at least 24 hrs of surface rust on it). So this is a test with RX5 on a 'painted' bottom ;)

I also didn't take the original paint off (only on places were there was rust) that's now three years ago, under carriage is still looking clean :D

Thanks Peter and Mycha! 8)

The beam and air-setup look fantastic, can't wait to see it on it's wheels. :D
 
Spend a few hours yesterday to clean up the engine room. I wan't to keep the color 'patina as well, so only removed the old grease and dust ;-) Now only remove some old traces of glue (I think it's glue).
Also removed the fuel tank, cleaned it and placed it back.

Motorruimte1_zps4ccb7b62.jpg

motorruimte2_zps518469d7.jpg


The wheels are there already . . . only need some nice tires but still thinking of the measurements.

Dozensprintstars_zps45646a23.jpg

Sprintstarachter_zps13d5470d.jpg
 
Looking good Peet, i cleaned my original paint with commandant cleaner.
Tires 165/55/15 and 185/65/15 are good choices or 195/65/15 at the rear if possible!
Greetings westy
 
There's a little progress . . . found some nice deluxe vented windows with 3/4 glass, new seals and chrome line. Including a cool decal ;-)

Deluxeramen_zps7bc885d3.jpg


Last week started building the front beam with a friend. All the new parts are there but need serious modification! The little swing arms (which are fitted to the airbags) didn't center in the lower tube. Just a little work with the grinder (making more space in the tube) and remove al the powdercoat of the arms.

We tried to fitted the urethane bushes but that didn't workout well. The diameters of the tubes aren't 100% (differences of 2 mm!!) so we have to sand it with grid paper. Unfortunately 2 bushes stucked, we had to saw it out of the tubes. Damn! :evil:

Today contacted Erwin of Volksprojects.nl for some new urethane bushes. He advised me to make them fitting exactly on the front beam tubes. Otherwise maybe the spindels don't fit. So the front beam is going to the real specialist! (Whit nowadays knowledge: better buyed a full set at Volksprojects) :|

Till next time . . . hopefully next week the frontbeam is ready and installed under the van.
 
Unfortunately no big updates, busy at work and again a problem showed up . . . :(

Last monday visited Volksprojects to get some new urethane busses. Erwin asked me to bring in the beam also, so he can take some measurements. In about 2 minutes he figured out that this beam isn't okay at all!! Both tubes are curved, probably by welding. The plates the fit the airbags aren't centered, the hole for the central steeringpin (bad English ?) is to big, the side plates aren't under 90 degrees on the tubes . . . Damn! That's the third beam that isn't right! Feeling a little desperate, but decided to order a complete new front beam at Volksprojects. The wrong one goes back, I've the get back my money :evil: :evil:

Within a few weeks the new beam is ready! It will be a 3" narrowed airride beam. I already have the dropped spindles, Porsche 944 Schwimmsattel discbrake setup and Volksproject wheeladapters to drive the 5 x 205 Sprintstars.

In the meanwhile I get back to work to finance al the new stuff ;-)
Next week gonna make bigger notches in the back to get a better stance.
 
After some busy weeks, finally some little updates!

The previous non fitting beam I brought back to the reseller . . . In my opinion the only option to solve this ongoing problem was give back my money, but he made me a new beam again and told me that’s all he could (and want to) do.

I’m now selling that airride beam, because I ordered a new one with needle bearings at Volksprojects.


Last week I picked it up . . . me happy! The Volksprojects beam looking good, the measurements are 100%. I’ve decided to install a needle bearing (instead of the urethanes) and narrowed the beam 3”. All the parts are in so let’s build up !


I didn’t realise that the space for the airbag plates isn’t free under the van . . . so I had to remove the heating-pipe which sist under the front floor. Still thinking of a solution for this, maybe with some flexible pipe between the 2 beam tubes.


Before installing the beam under the car, I had to made a little start on the air lines on top of the bags. After installing the beam there’s no place ;-)


Little updates . . . finally got some money from the insurance company! :D So when the bay is back on his wheels it goes to the 'panelworker' to fix the damage.
Last week started with the air setup. I want to place all parts in the space under the spare wheelcover. Did take some measurements, everything fits so the build goes on! Started with painting the bottom black and made some holes to mount the compressor. I've got a pancake tank and that fits perfectly above the compressor. Also the valves will fit, I allready mounted them. The next thing is wiring it and, off course, mounting the hoses.


A good friend of mine, Marcel, made me really happy! He's the one that made my front brakes (Porsche Schwimmsattels). Last week he finished everything, so next week will go further with the front beam by mounting the spindles and brakes.


Found and bought a nice Nardi steering wheel . . .


Last week finished the beam by mounting the dropped spindles and steering parts. I'm pleased the way it look: a shiny blue underside with glossy black parts ;-)
After finishing the beam I did some little work on the airride setup, starting with the air hoses. In the engine room you don't see any hoses. If placed theme in the fueltank room. At the left and right side made some small holes so the hoses will be near the rear airshocks.


Yesterday picked up the wheels, front tires are 165x55/15 and back 195x65/15. Looks okay ;-)
Started with the electricity for the airride for controlling the valves. The air hoses and electricity are almost ready to connect. Because this Friday the bay is going to the plate worker, I'had to clean up the inside a little bit. Then I mounted the wheels and it goes finally on the floor!


As you can see in the last two pictures, the stance is very nose down. I didn't make any adjustments on it yet. Just installed the adjustable springplates and beam and let it down. When the van is back from the plate worker I can work on the stance. The engine and gearbox aren't mounted yet, so finally it will be much lower in the back 8)
 
A few weeks ago, just before the summerholiday, Lefty came back from the plateworker. The result is very nice in my opinion! They replaced a piece of the dogleg (thx to the original part I bought from 'Humby') and repaired the big dent's in the side panel. The rocker is completely new. Also the dent in the roof is nice and straight now. Me happy!!


Next week I'm working on the electricity for the airride, finally get my hands on it after weeks of waiting.
 
Took a while since the last update . . . shame on me! Due summerholiday in July and a lot of work at my own company there was no time left to work on Lefty.

A few weeks ago I’ve started with checking and 'refreshing' the rear brakedrums. After opening it, it realy don’t look bad at all.


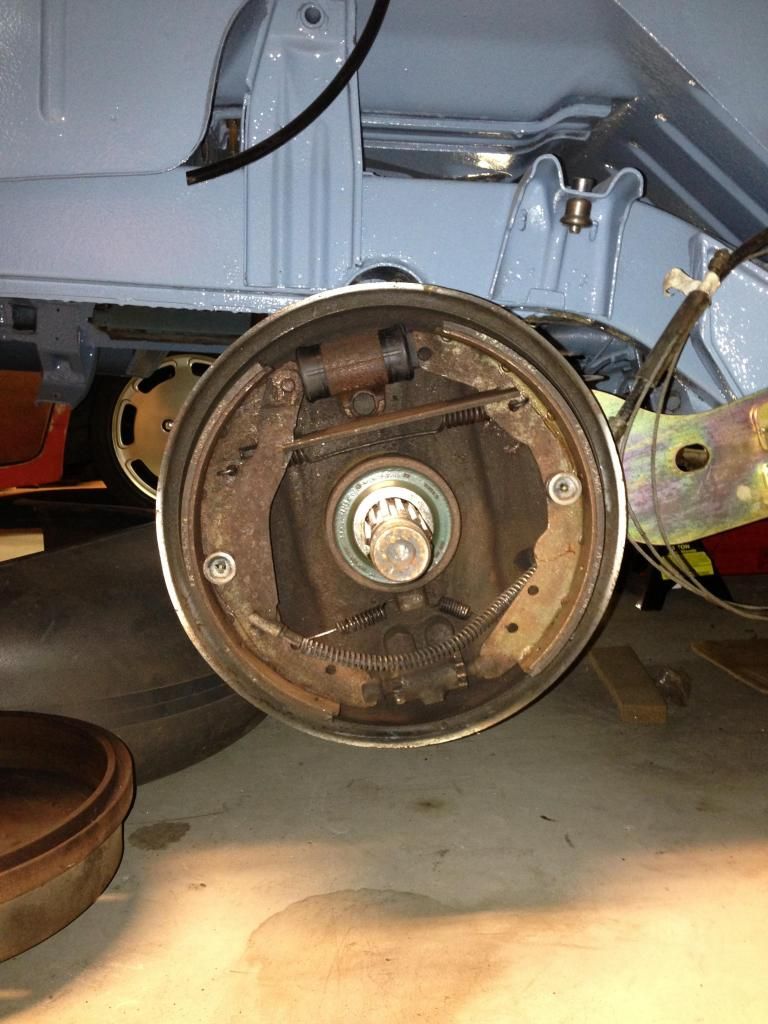
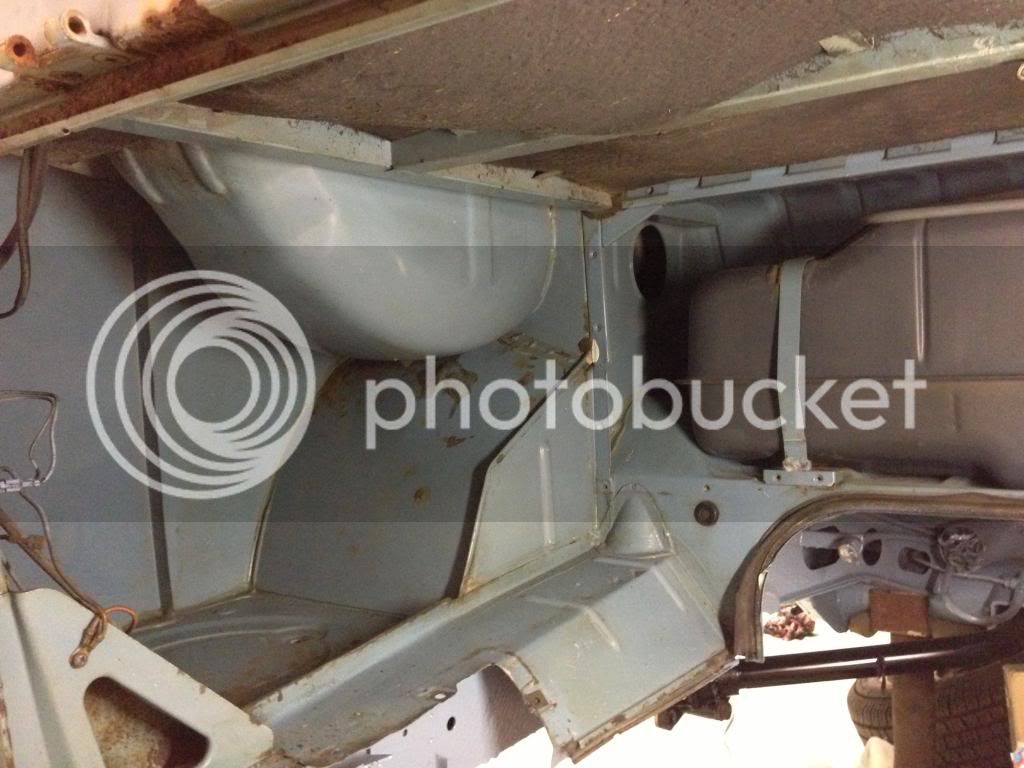
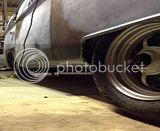
Looks a little sad without his wheels . . .


Both brake backplates had a little surface rust, but nothing bad. So cleaned them and sprayed them black again. Replaced cilinders, returning springs, adjusters and brake shoes, so it has to be ok now ;)

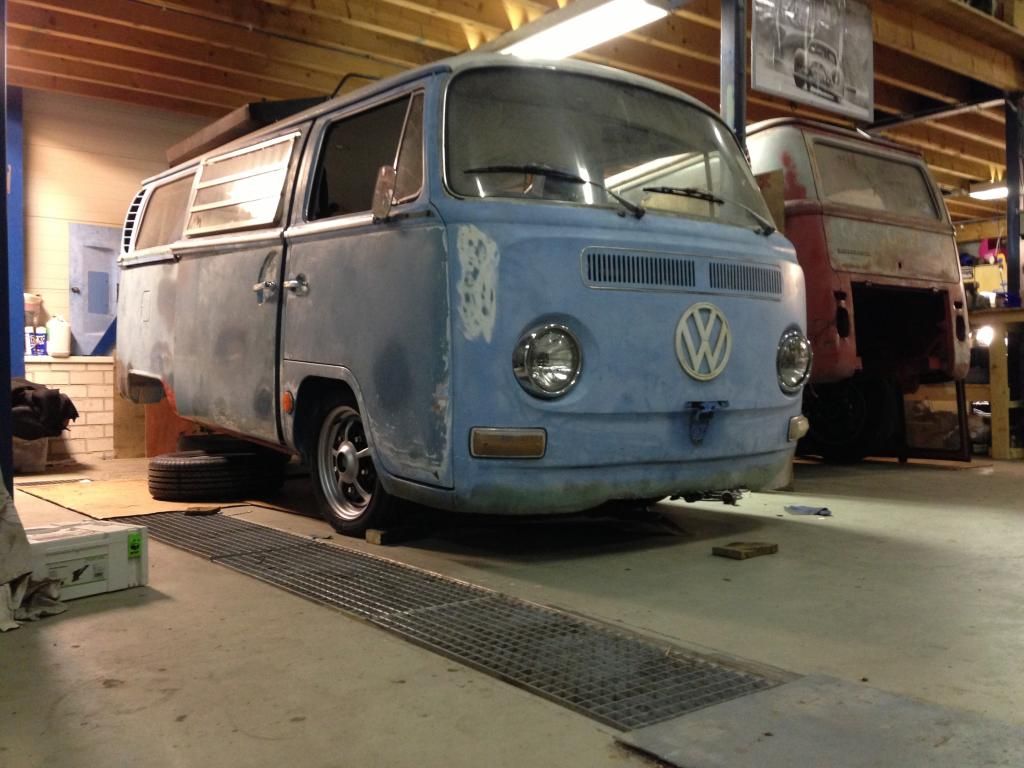
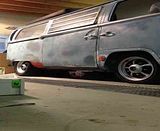
Gave the adjustable springplates a few splines to have a little impression of the stance. There’s still no gearbox and engine in it . . . so it will be a little lower after installing them I guess ☺

Also installed the Gabriel airshocks. Mycha (http://forum.earlybay.com/viewtopic.php?f=2&t=21827&p=453670#p453670" onclick="window.open(this.href);return false;) 
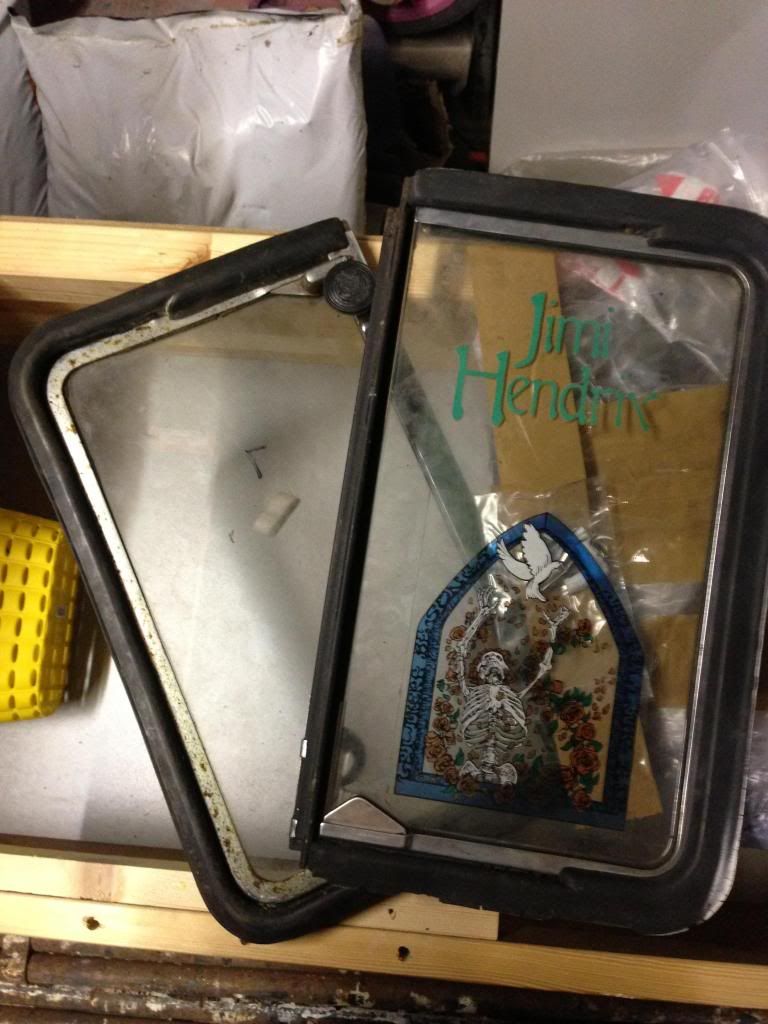
has figured out how they could be installed the best way. With that good advice I’ve done some preparations at the (top) assembly point of the shock (long time ago, before spraying the whole underside of the bus). Installing of the airshocks was easy, they fit really nice! Sorry . . . made no pictures of the ‘cleaned’ brakes and airshocks (will do).


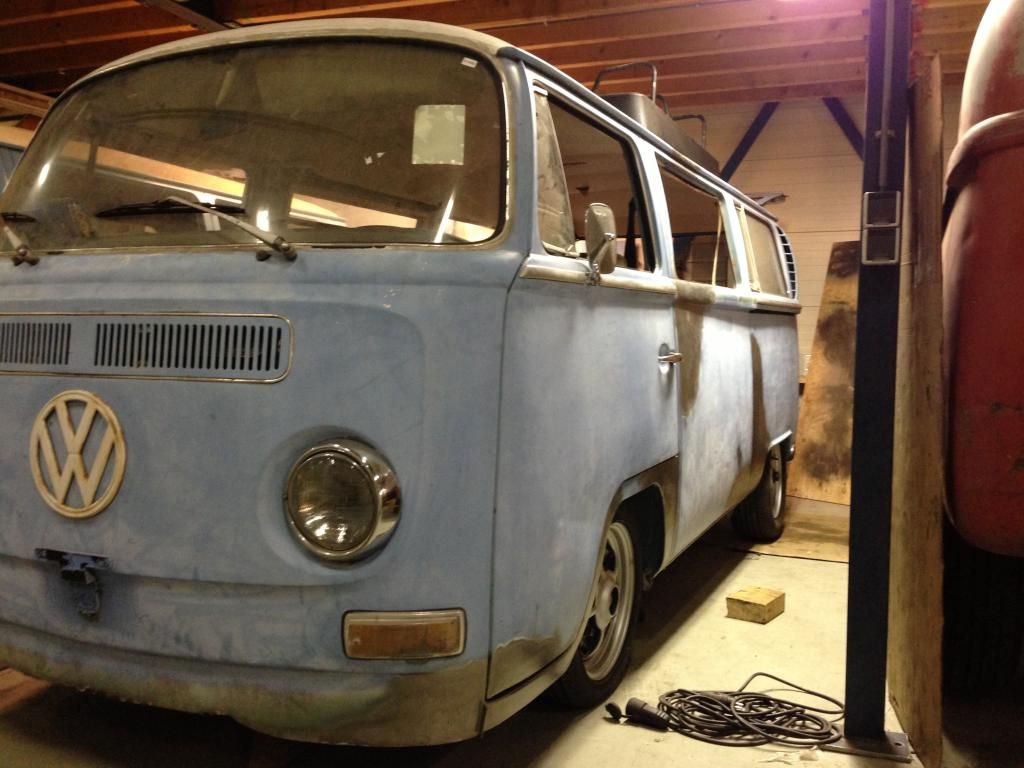
This week Lefty was back on his wheels. Next thing was sorting out the airride electricity. Mycha helped me out, again, with a wire diagram so finally installed the relais and compressor. Did some little testing at 130 psi. The system need some adjustment but first ‘clean’ up all the wires and hoses, install the new switches and then we take a look again.


Next week installing the new switches!
 
Very impressive work on the suspension and the body work - brilliant 8)
 
Thnx for the nice words guys!

Yesterday I've made a start with 'Project-X' . . . It's kind of a copy, one of my friends did it a few months ago ;)
Just modified the ashtray to put in the switches for the airride . . .


Today I've sprayed it black, next week installing the switches.
 

Latest posts

Top