71 Bay Resto Custom

Early Bay Forum

Help Support Early Bay Forum:

This site may earn a commission from merchant affiliate links, including eBay, Amazon, and others.
Hand fabricated a steel Sun Visor today swaged rolled bead edge - Just needs a little blending should look okay .
Screenvisor003.jpg

Screenvisor001.jpg

Screenvisor004.jpg


Engine Cover next !!!!
 
I have been offered a scooby engine 2ltr turbo, uk turbo 205hp unit, with all the bits and bobs ie ecu loom etc - I didnt really want to change her into a water pumper so anyone out there interested in a swap maybe for a uprated 1600 or a nice 2ltr unit -its vw bus i think it should stay that way.
so if interested contact me

Dale
 
Had an hour to myself so i lowered one side of the rear 2 clicks .

before
moregladys004-1.jpg

Loweredrear004.jpg

Loweredrear002.jpg


Not sure if thats enough it dosnt have any weight in it shall i go one more ??
 
My Bus now has a set of Audi 200 15" multi spoke rims - they will have the slam tyres i got for free 195 -45 -15 fitted

Questions of which I would like some thoughts
Shall I paint the pearl white
Paint then Chrome silver
Paint them gloss black
or polish them

Or not use them at all ???????????????????????????
 
A little update I will take some pics tomorrow -
It now sports the volkswagen script fabricated into the tailgate
Drivers side rear arch is now roughed into shape -
The rear is now all lowered 2 clicks -
The pop top is coming off and a full length moon roof going to fabricated.
The audi rims are staying all the spokes to be polished and the remainder will be pearl white.
A bit more tidying up under the bus (cleaning and painting)
Waiting for the new engine cover panel very trick.
All the welding is now done underneath at last
Motor time soon and paint anyone want to help ??
 
A small update the pop top has now gone and soon the new full length panoramic will be fitted.
D/side window channels have been repaired -
Custom swirly seat frame all fabricated and fitted -
Just a bit to cold at present to get on with it - new job soon should give me a bit more time

Bits needed
Rear Bumper Irons
Cab door window channels
headlights
door handles (cab)

Merry xmas to all of you out there

Dale
 
Hi all not been on for a while so a few updates for you all
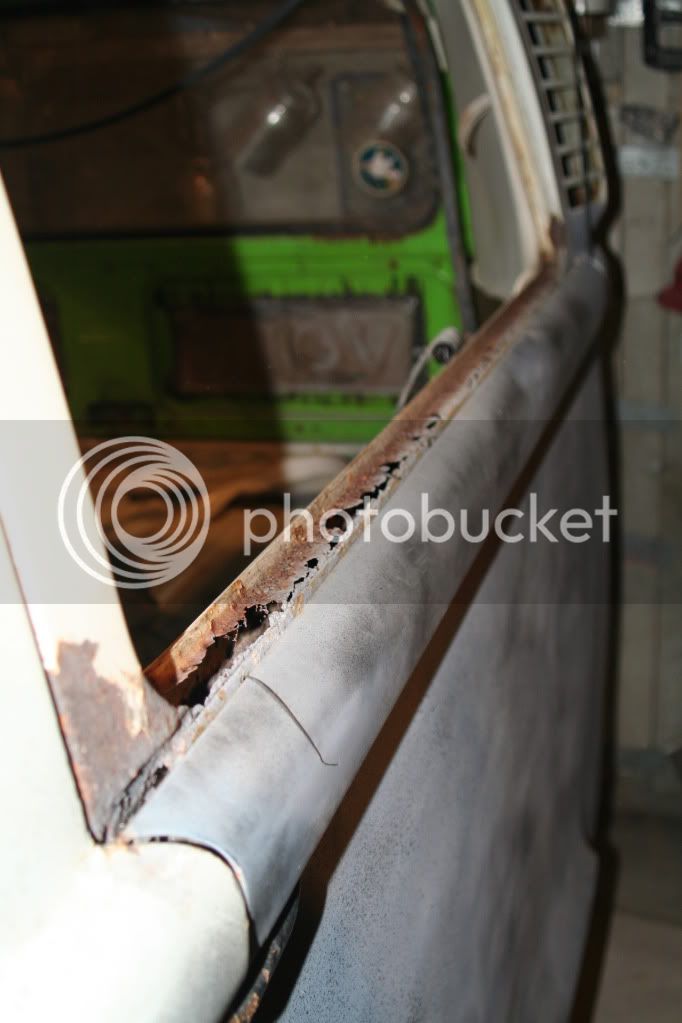
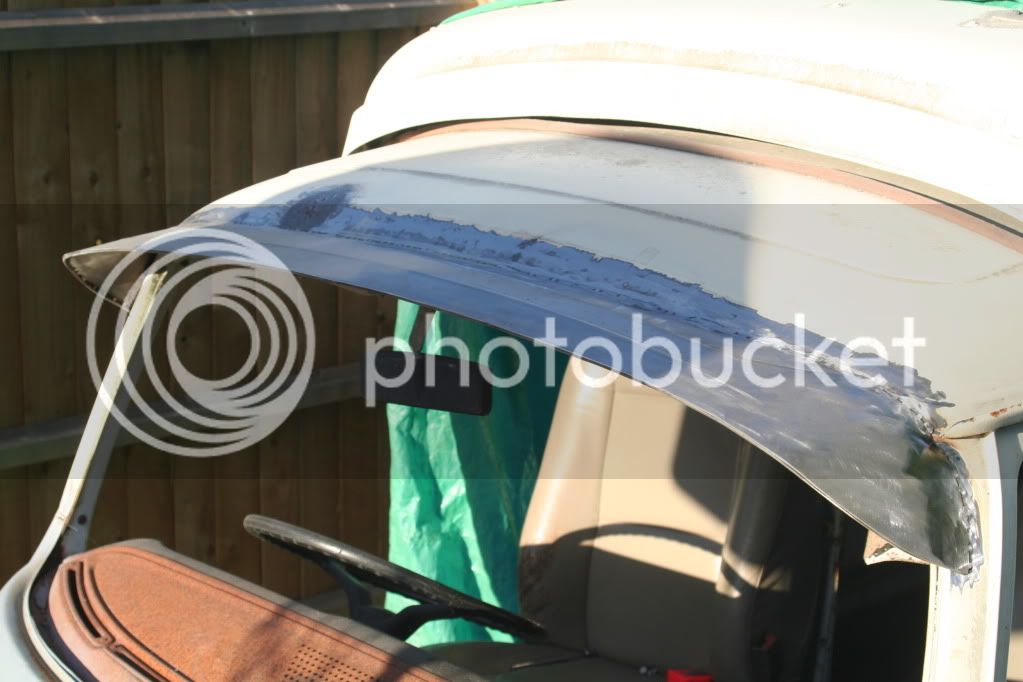
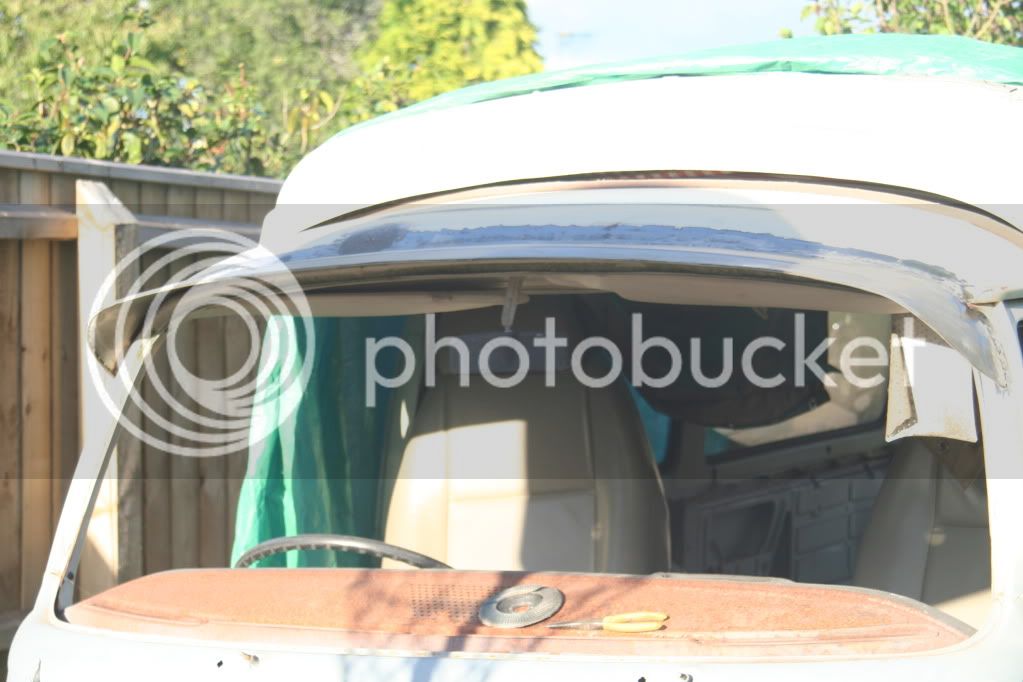
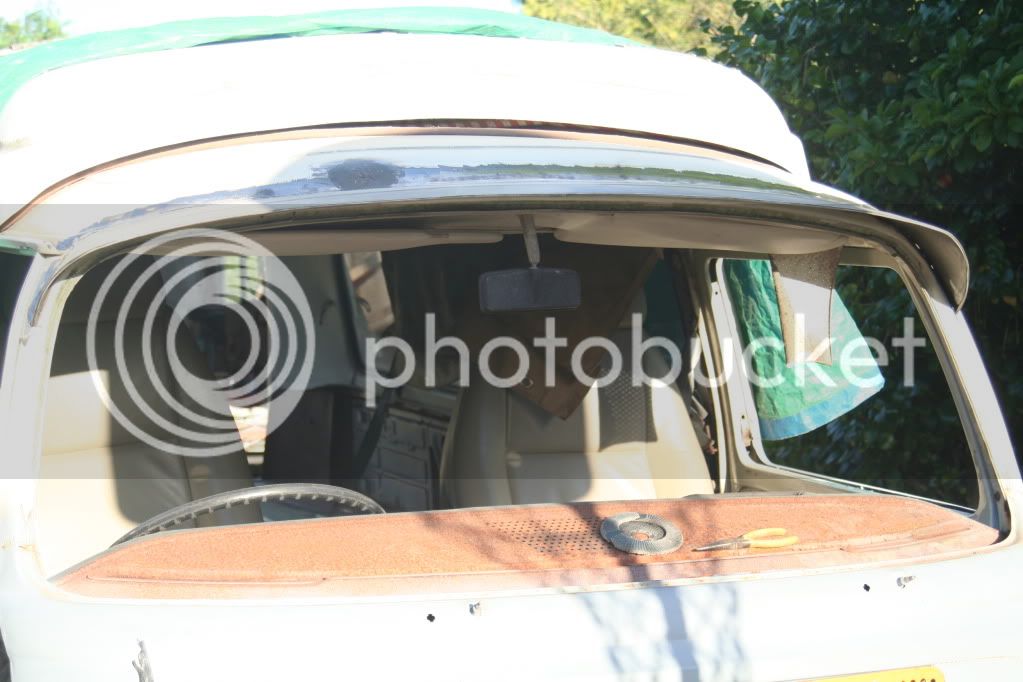
All of the roof repairs are now complete and the gutters repiared
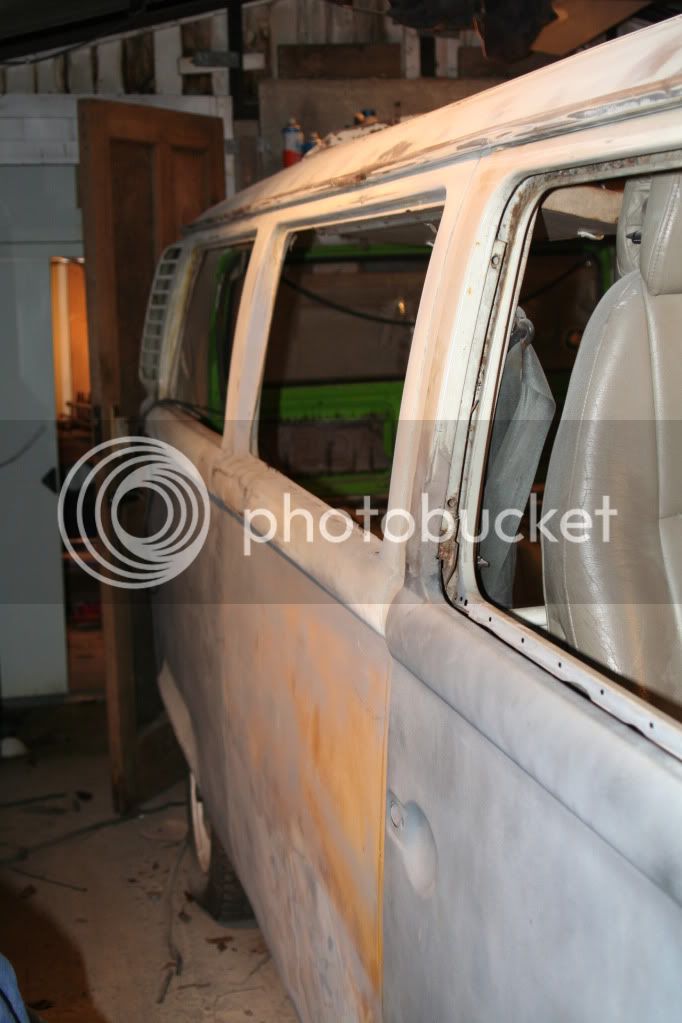
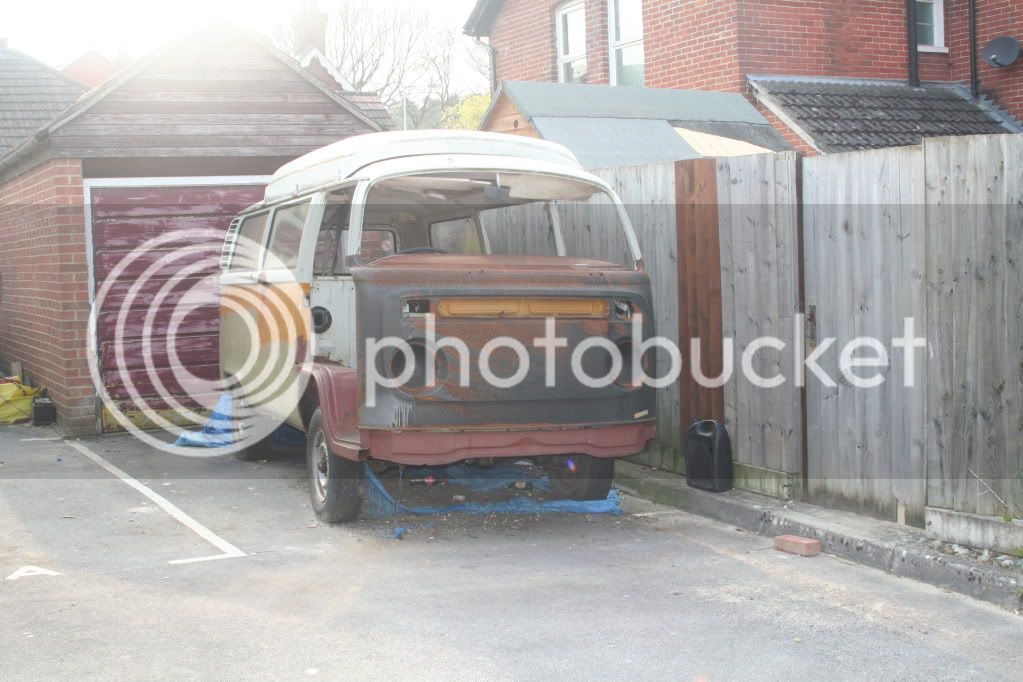
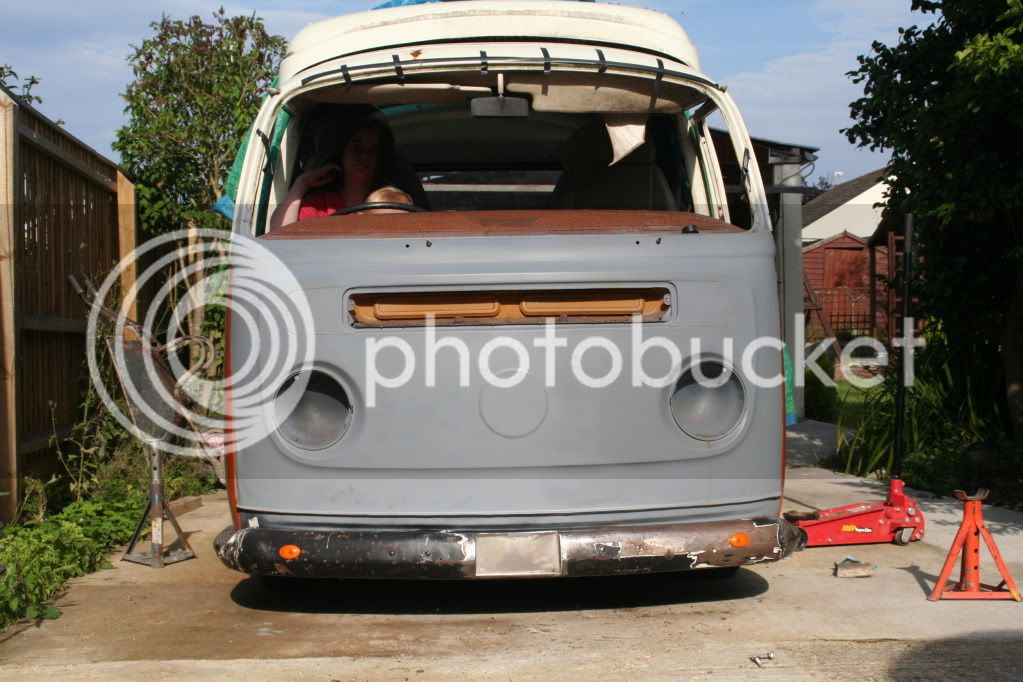
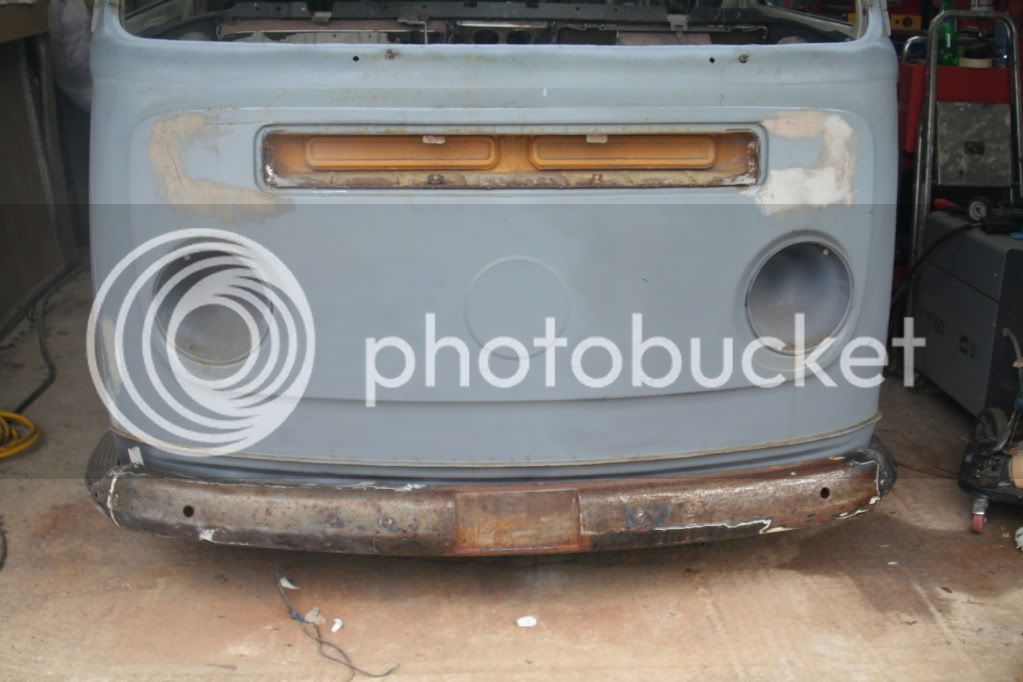
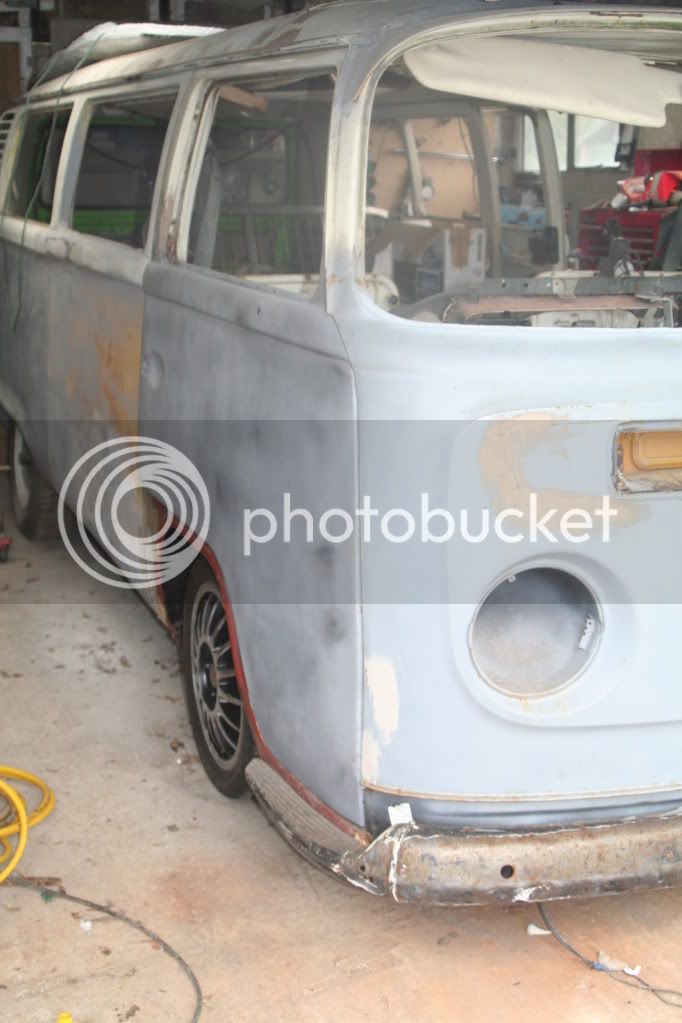
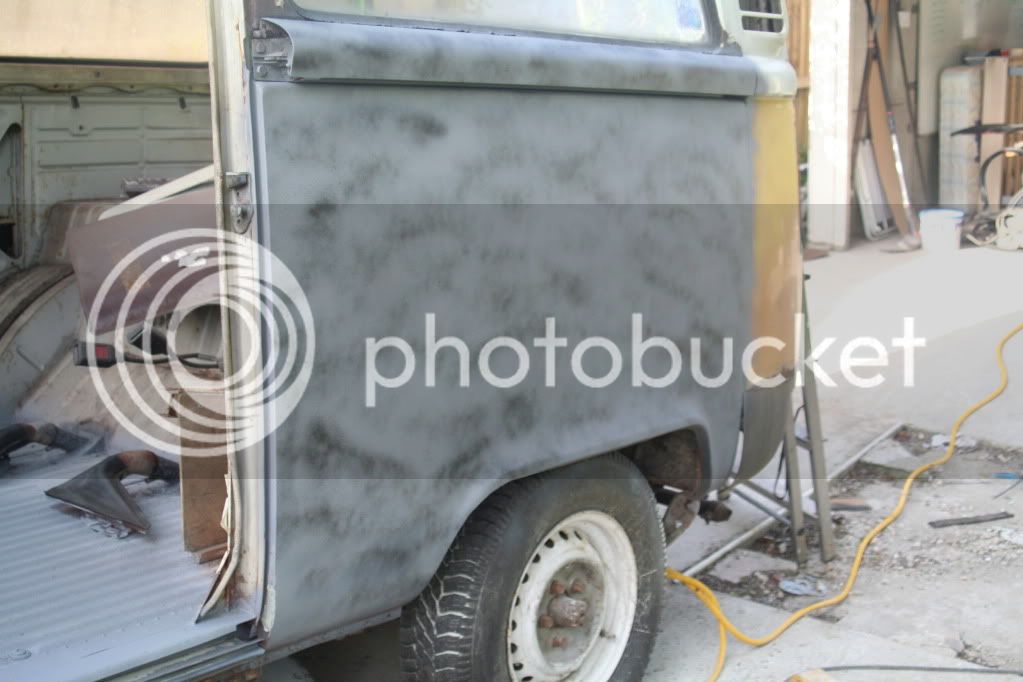
All of the body repairs are now done jut need final paint prep.
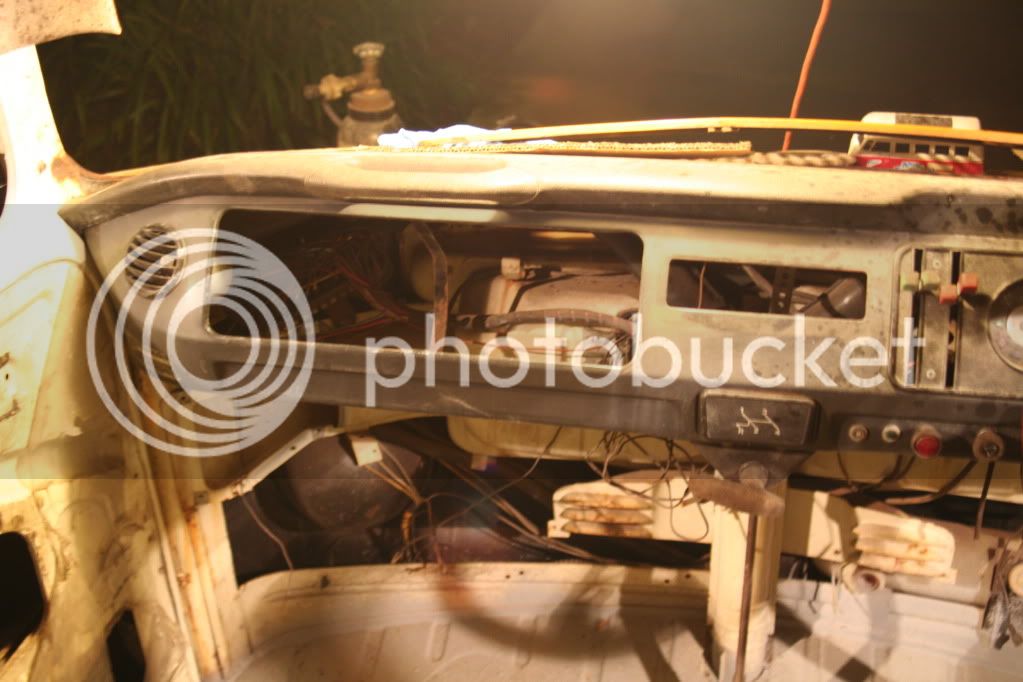
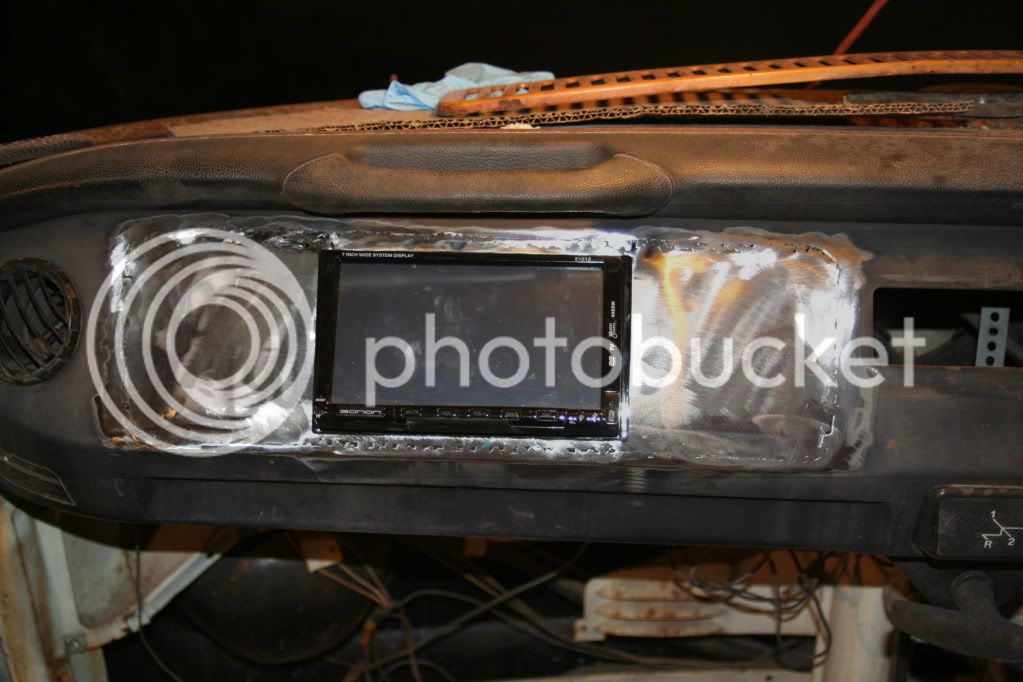
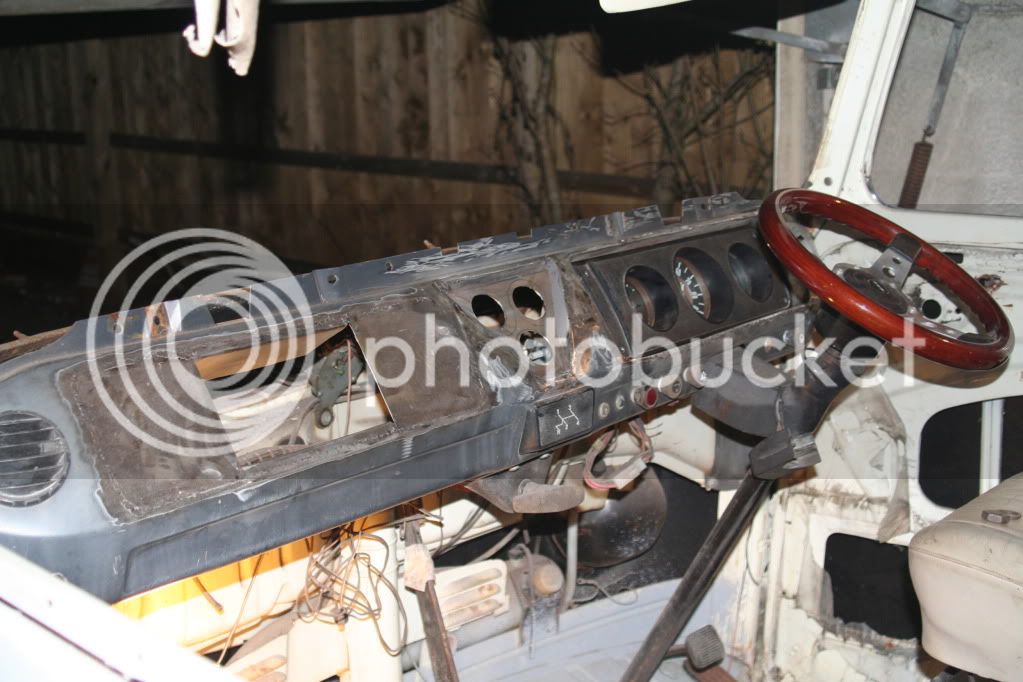
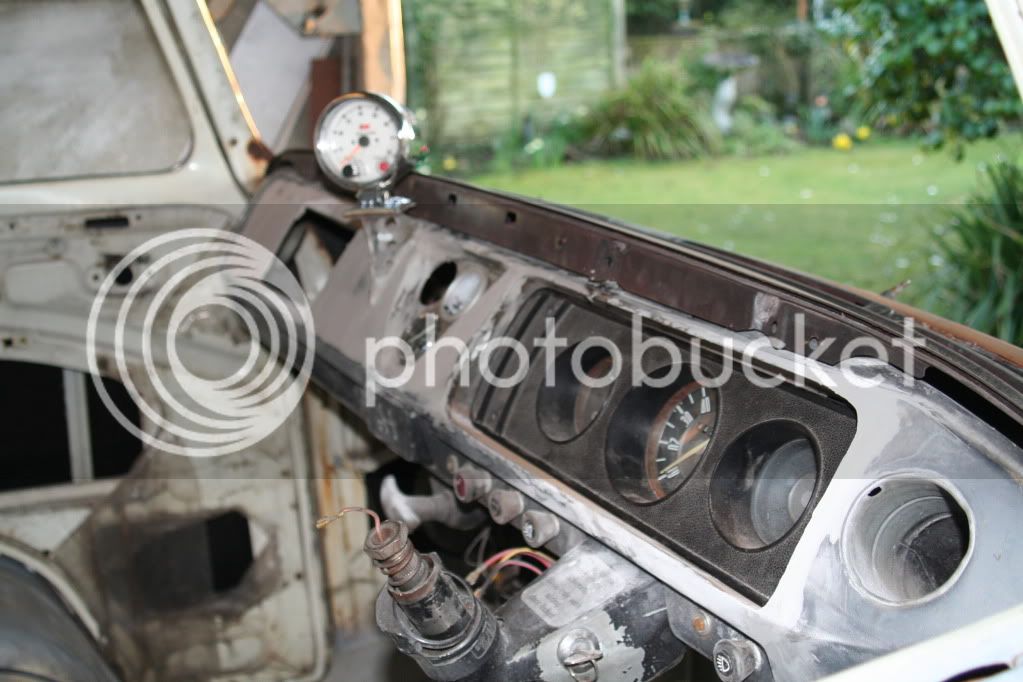
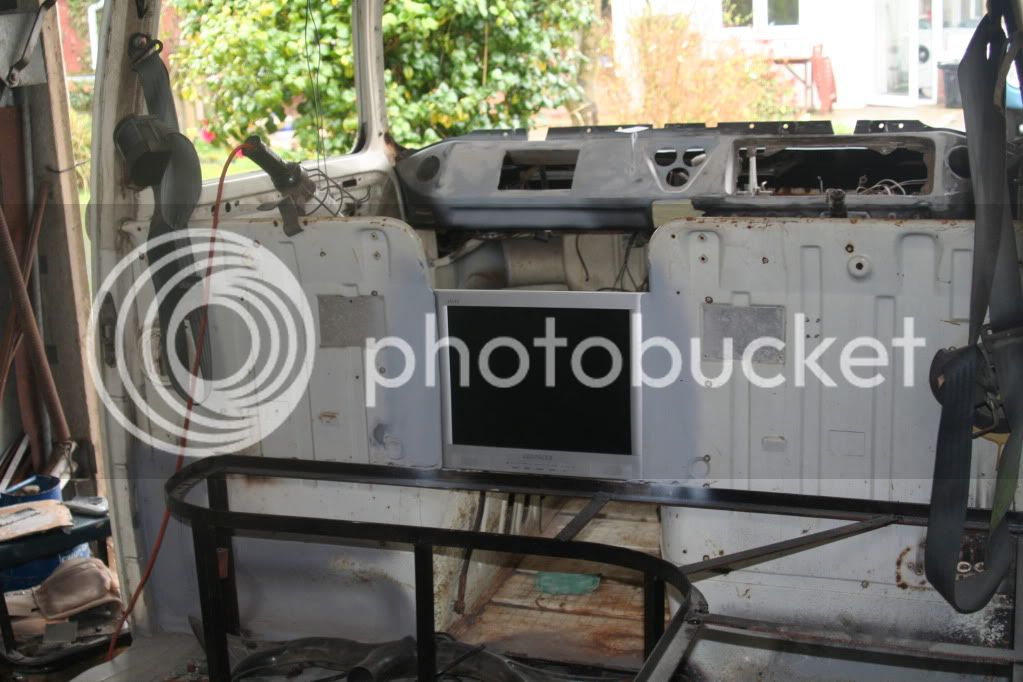
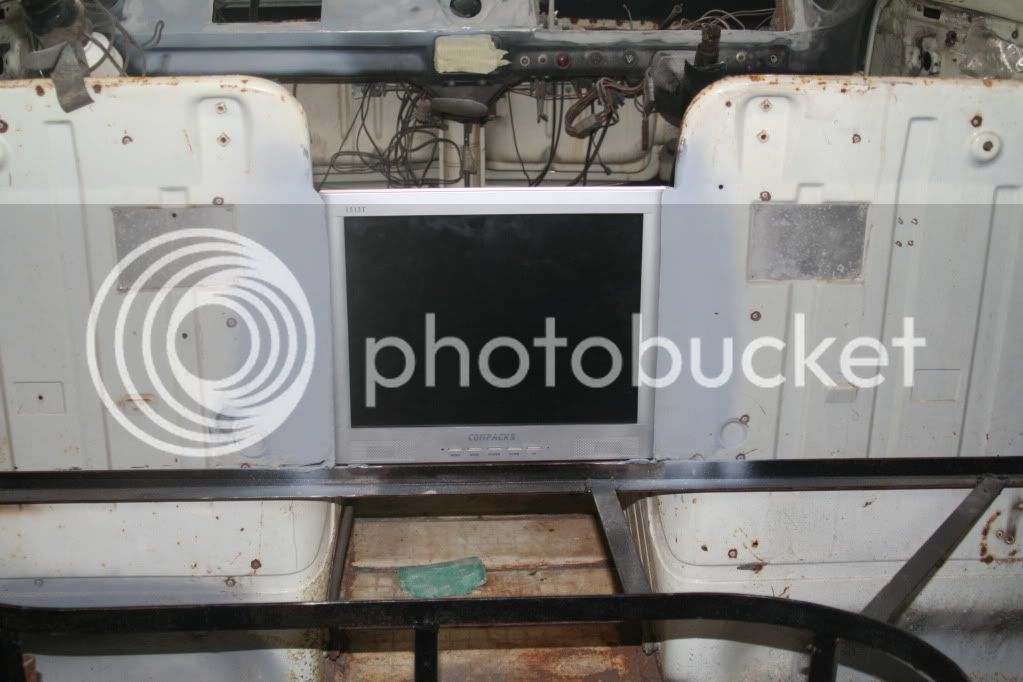
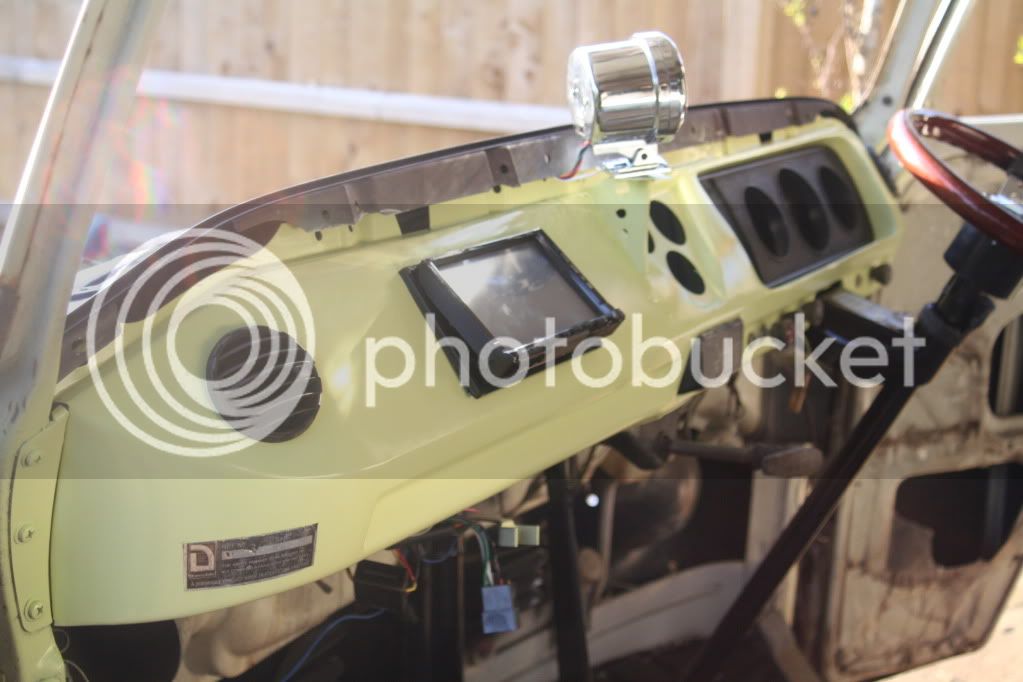
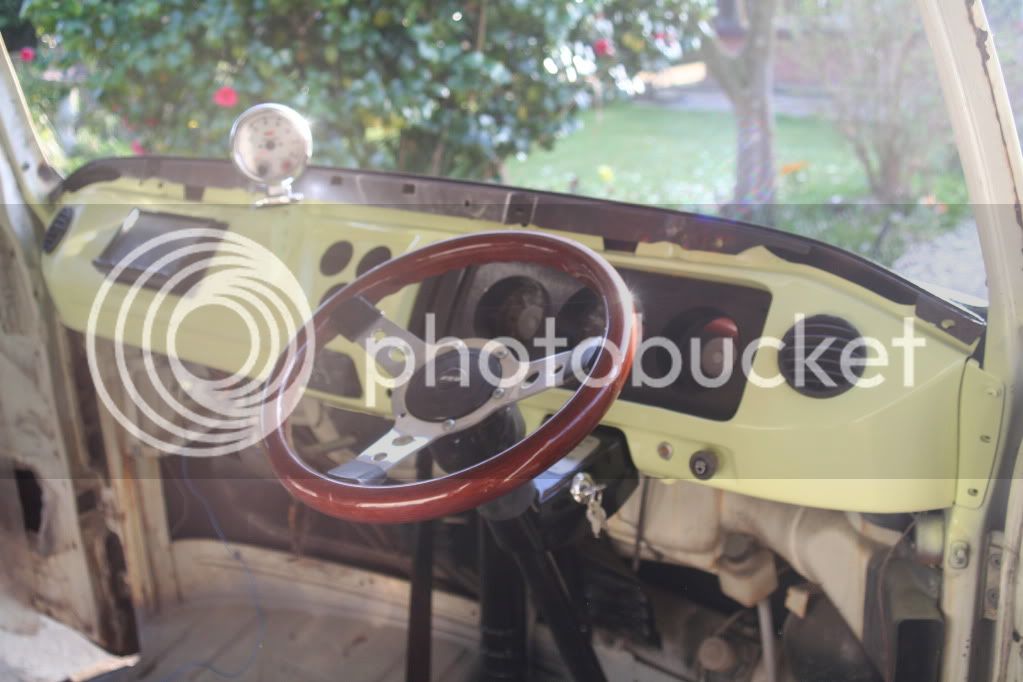
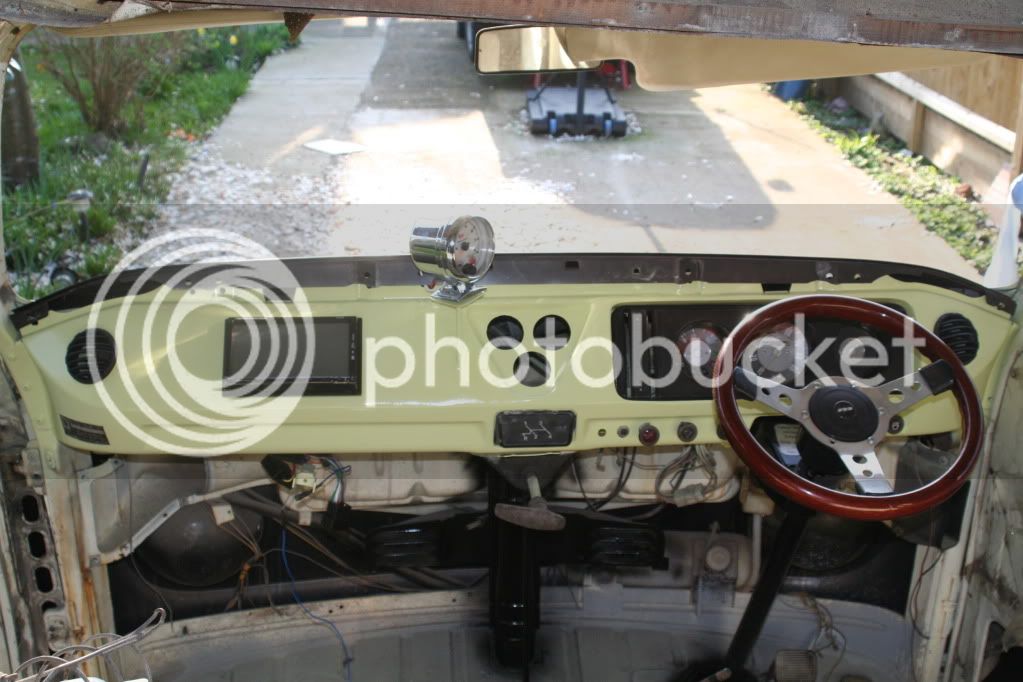
I have frenched the orginal dash pod into the dash - now I have fitted a 7" tv dvd cd unit into the dash - also frenched some extra gauges into the dash - just needs paint prep now -
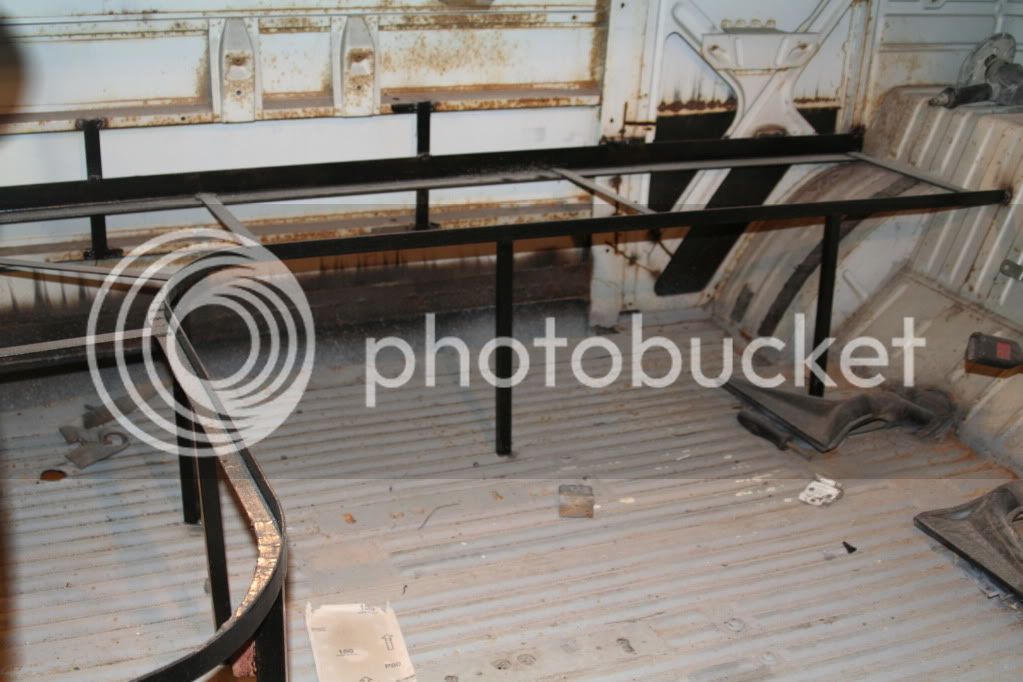
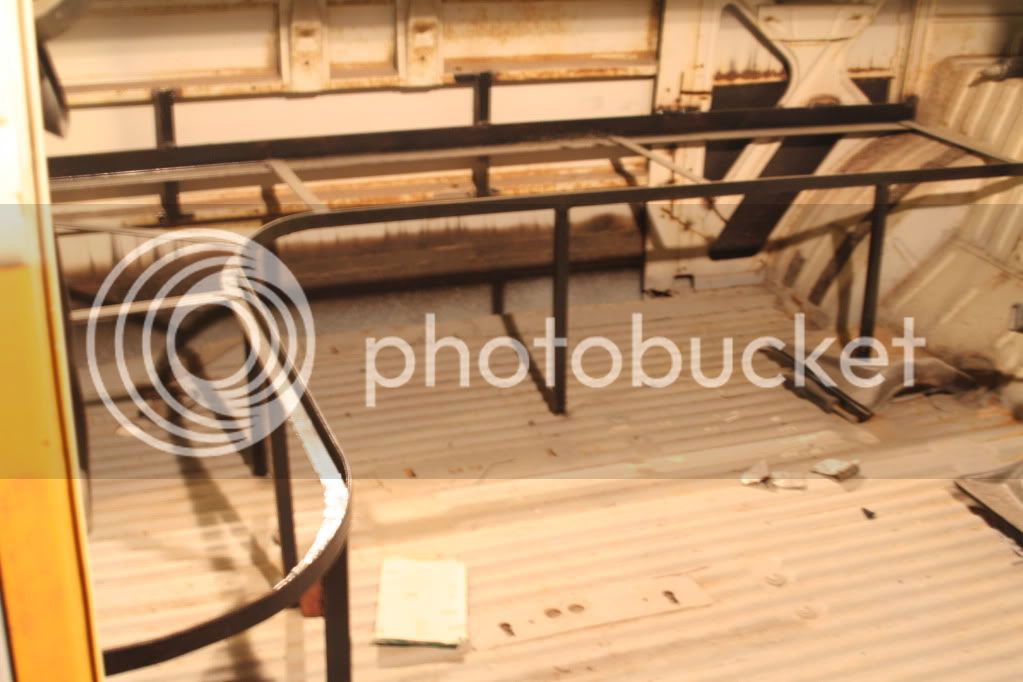
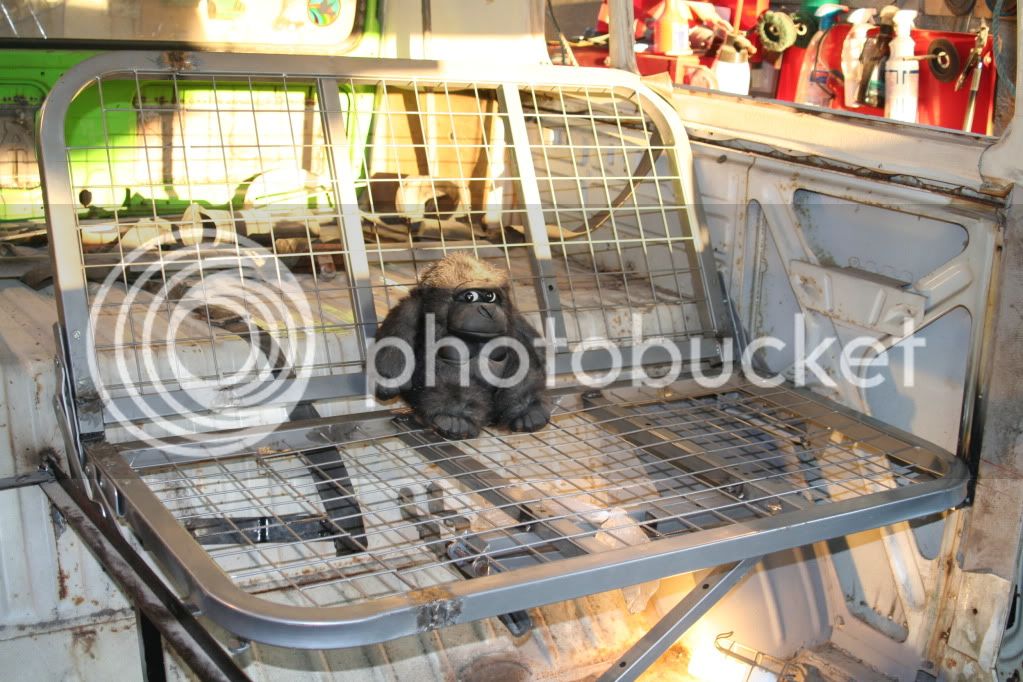
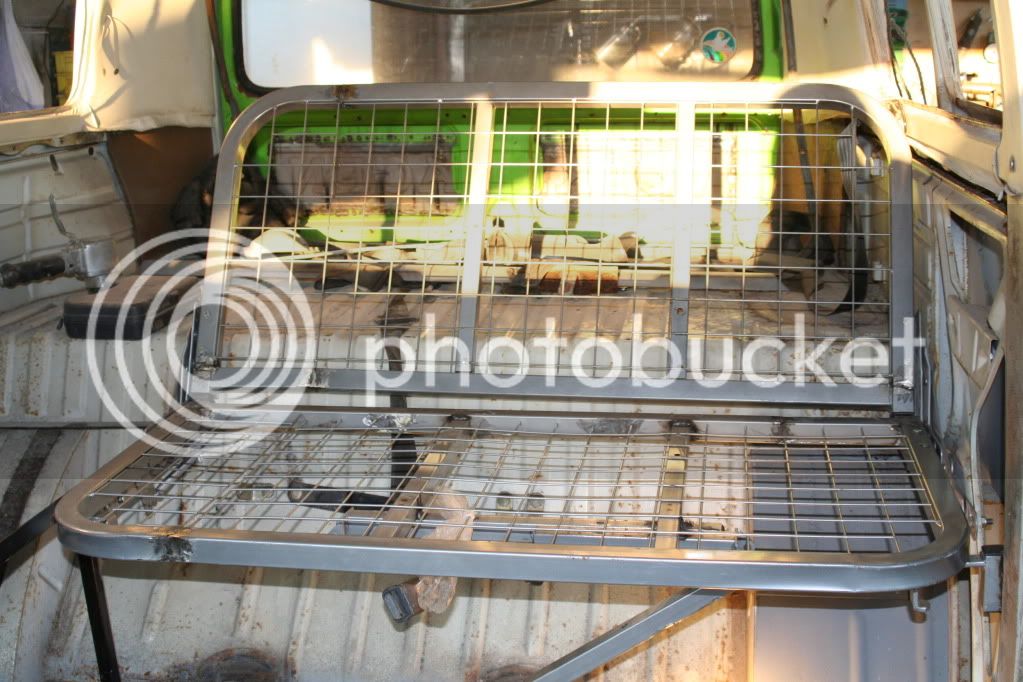
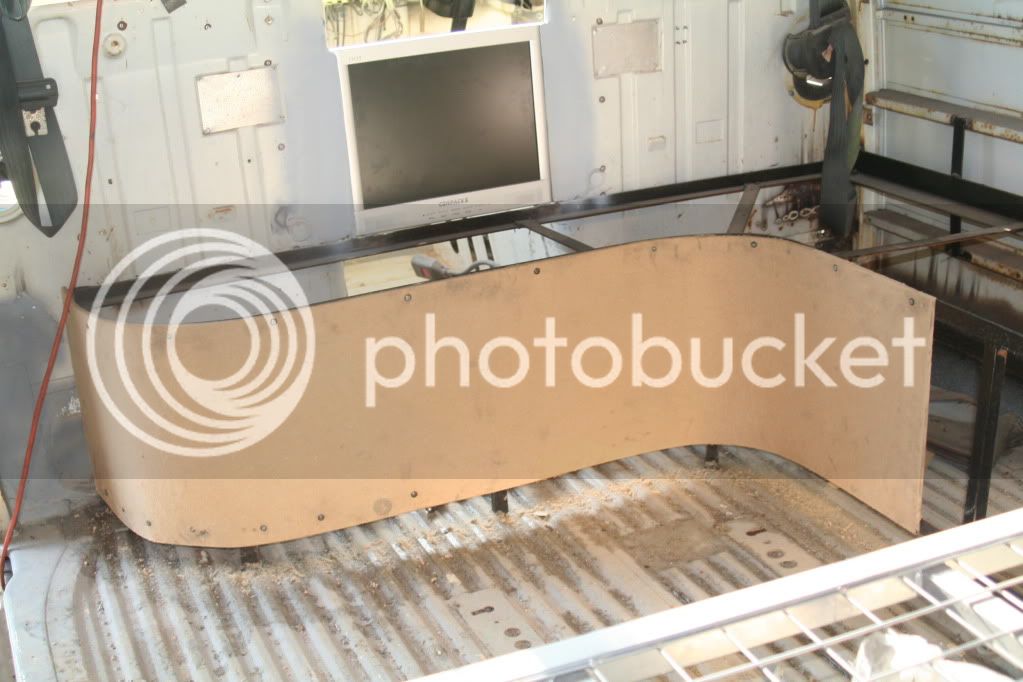
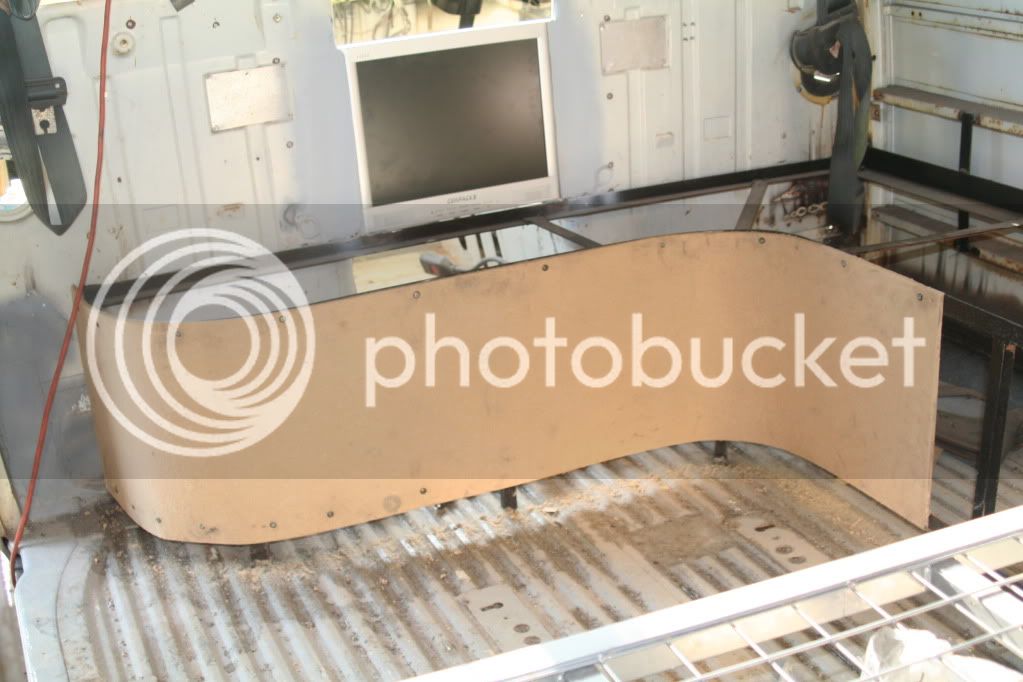
The rear seating arrangement has also been fabricated and put in the van - I have also fabricated a rock n roll bed and fitted it.
The pop top has now also gone and I am in the process of fitting the framework for the moon roof -
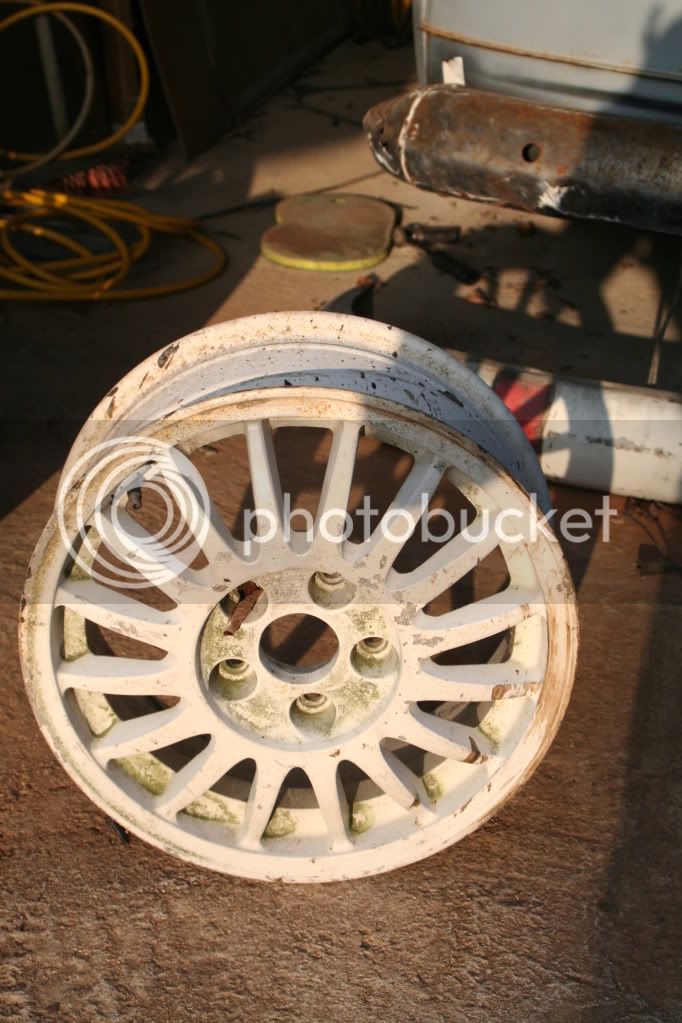
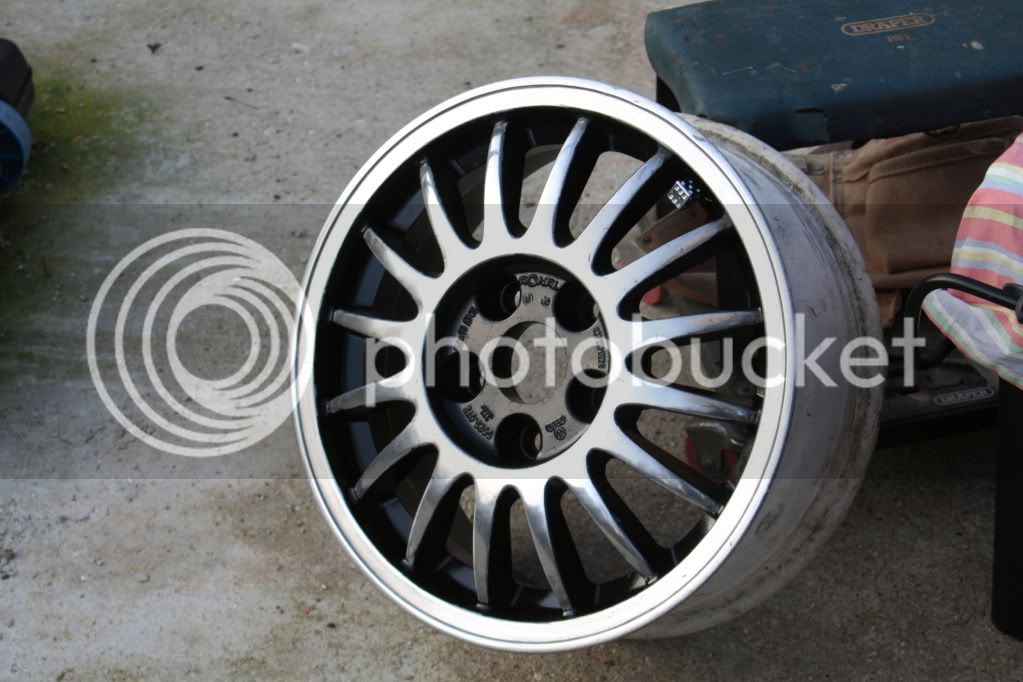
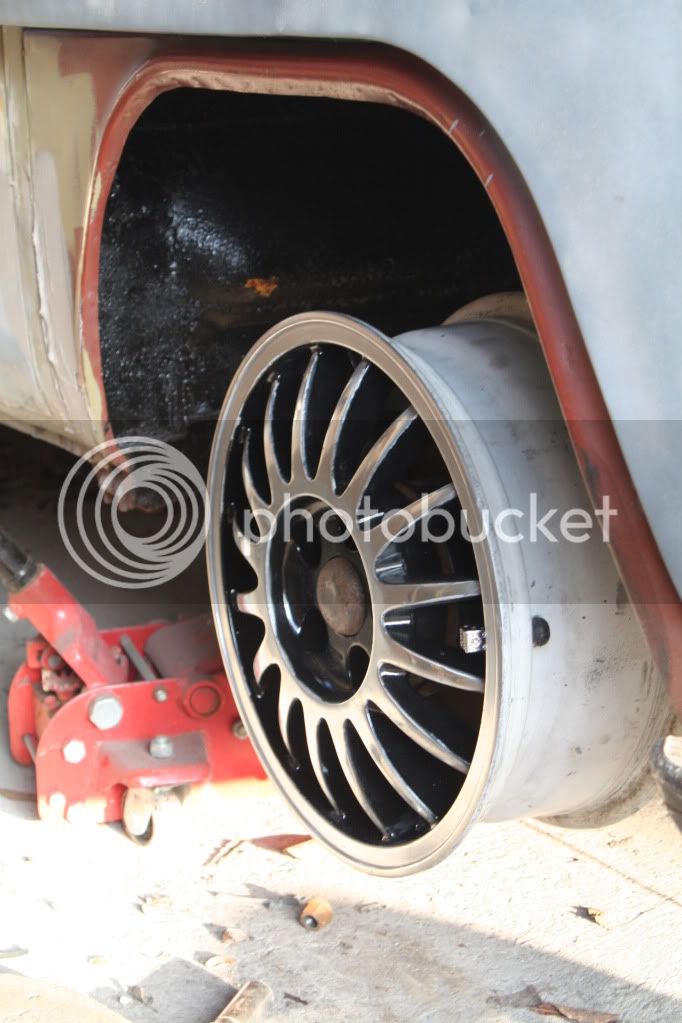
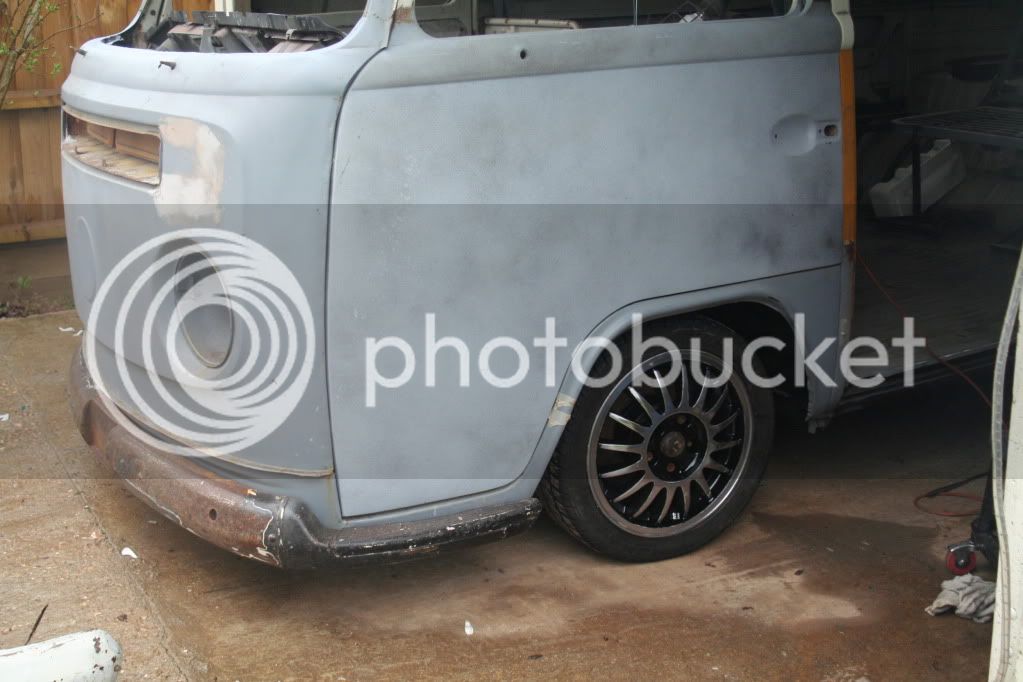
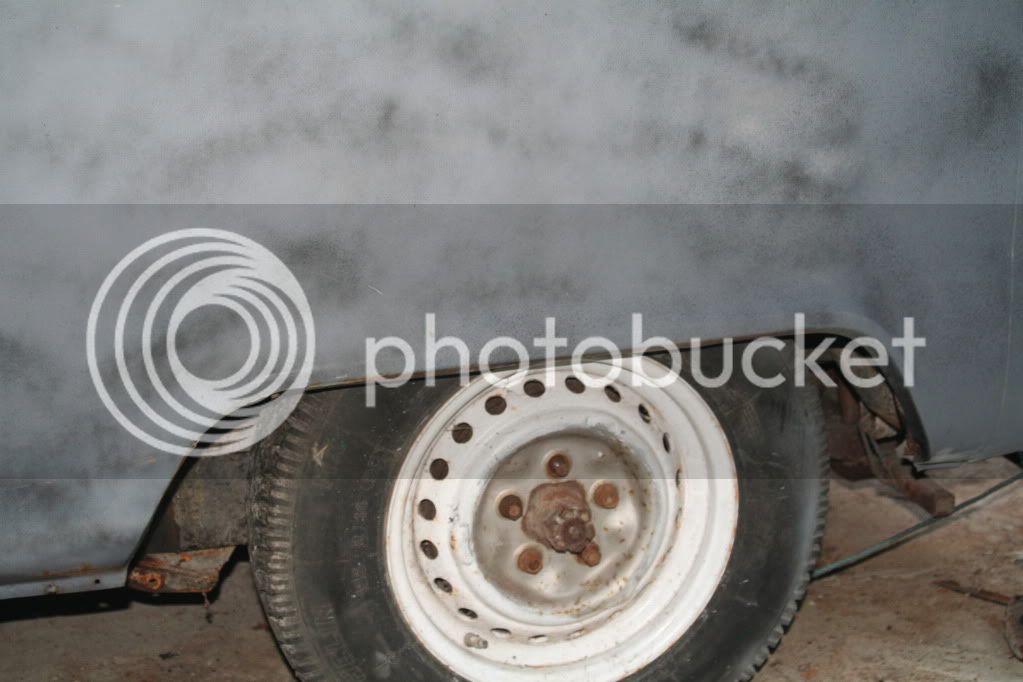
I have also had a mess around with an old Audi 200 multi spoke rim not sure to use them or not - I have a set of 40 profile tyres to go on them as well
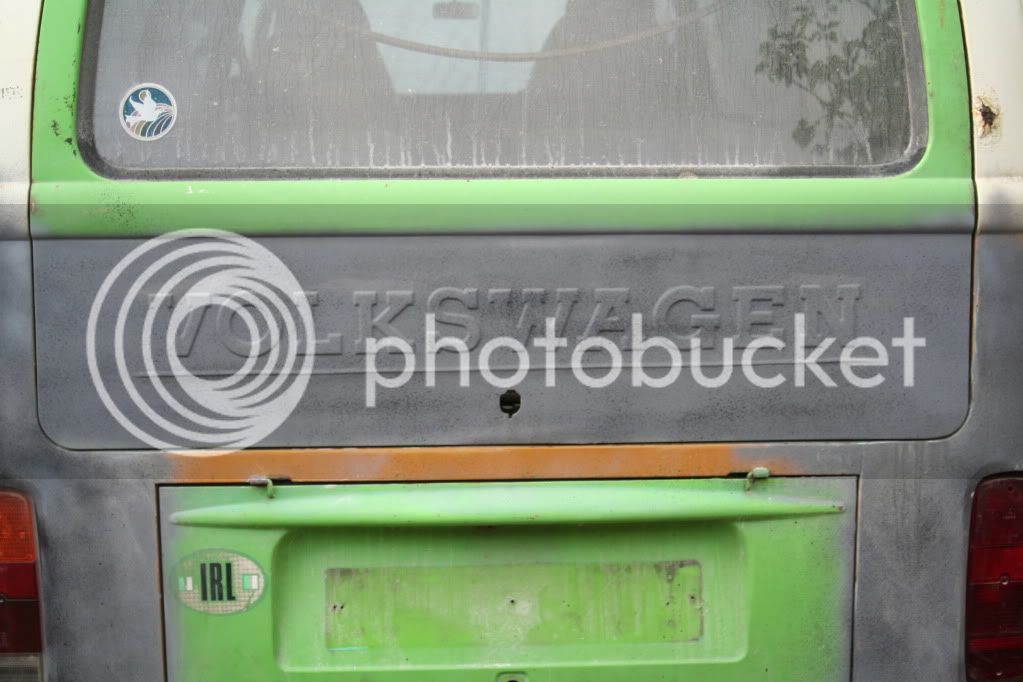
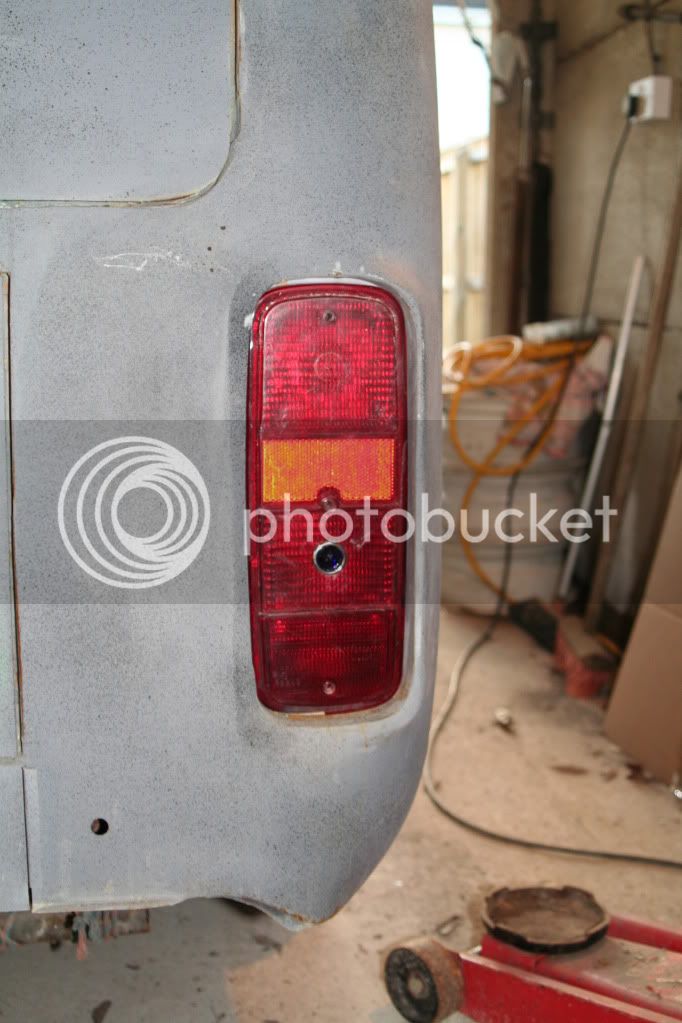
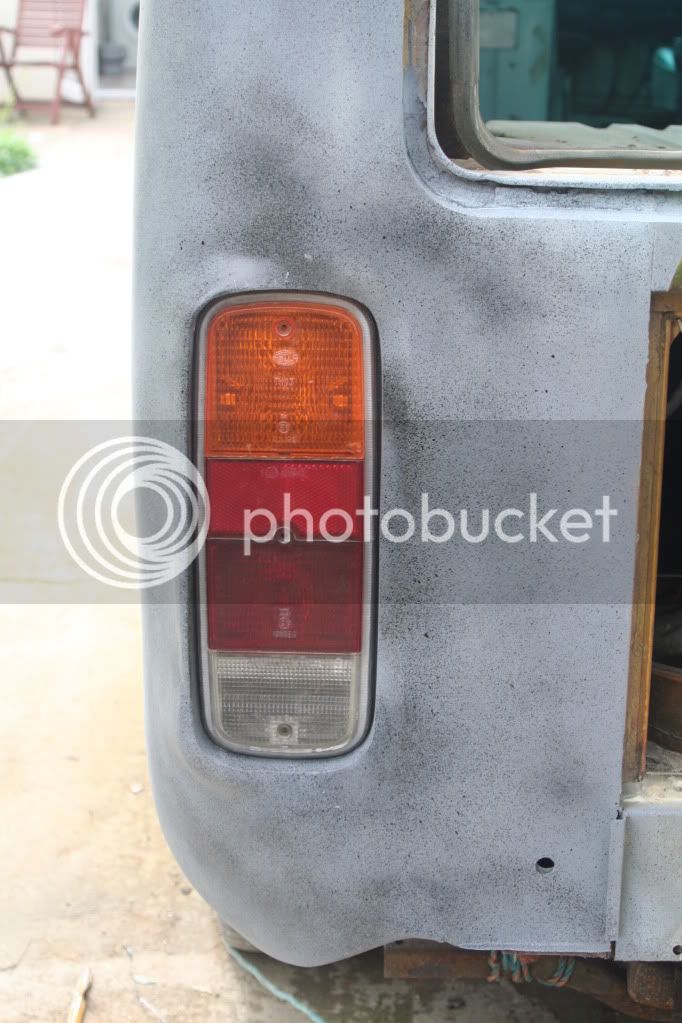
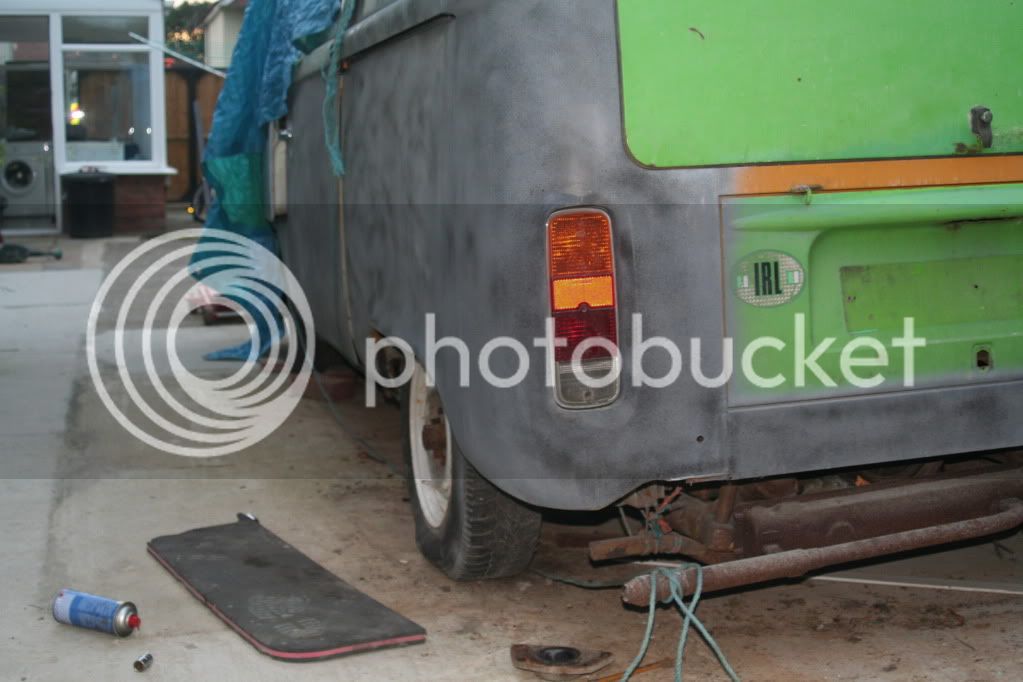
I have also blue dotted the rear lights
Still need parts
Rear bumper Irons and a nice motor would be good -
102.jpg

101.jpg

095.jpg

105.jpg

dash009.jpg

rocknrollbed011.jpg

dash003.jpg

099.jpg

093.jpg

rocknrollbed008.jpg

rocknrollbed001-1.jpg

005.jpg

002.jpg

003.jpg

rocknrollbed009.jpg


Thats about it at the mo wante to get in all in primer soon anyone fancy painting it ??
 
Hi all a bit more progress I have fabricated and fitted a tv between the front seats, I have now set it on some road wheels and tyres to set the ride height -
It is at 4 3/4 " bumper height without any weight

gladystv003.jpg

gladystv001.jpg

Pre lowering
gladys005.jpg

1st step
gladys030.jpg

Current set up
gladystv006.jpg

gladystv005.jpg

gladystv008.jpg


Paint prep & wood work time soon
 
i love all the custom touches like the front bumper 8) you are pretty handy with a break, roller and welder. nice!
 
I have now found the colour that I want its a bit like piss yellow as in Milners hot rod
The dash is now painted and mocked up
The rear seat has had some magical bendy wodd installed so I am well on the way now
dashmockup009.jpg

dashmockup001.jpg

dashmockup003.jpg

dashmockup007.jpg

dashmockup006.jpg
 

Latest posts

Top