72 Sierrayellow Westy

Early Bay Forum

Help Support Early Bay Forum:

This site may earn a commission from merchant affiliate links, including eBay, Amazon, and others.
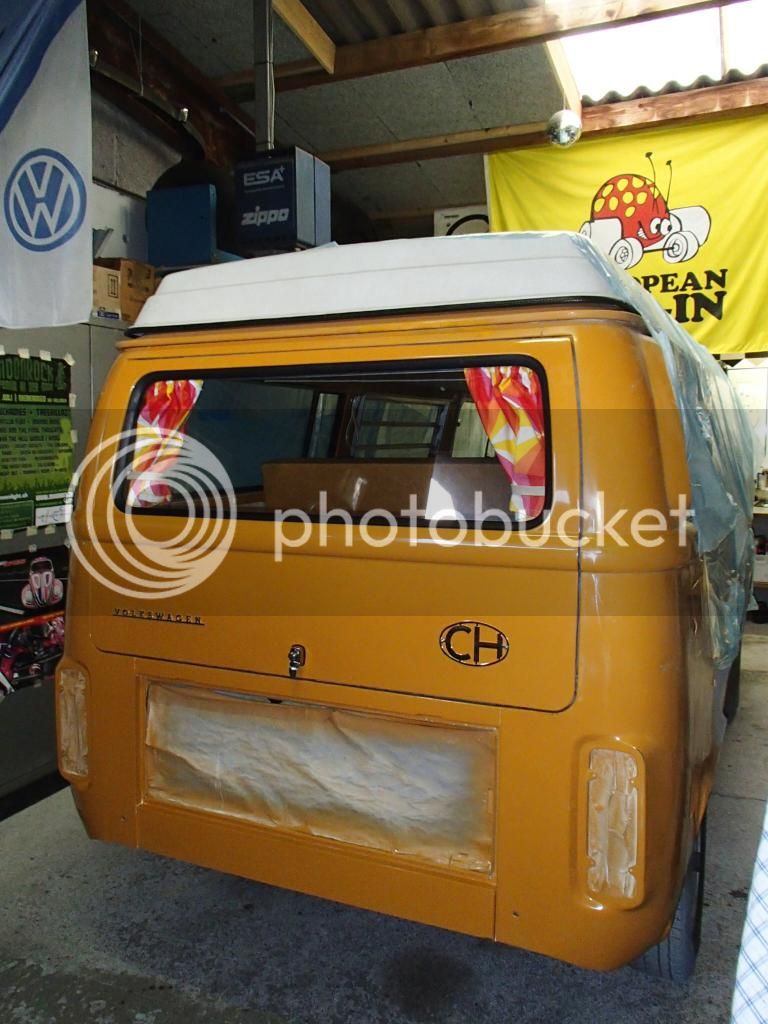
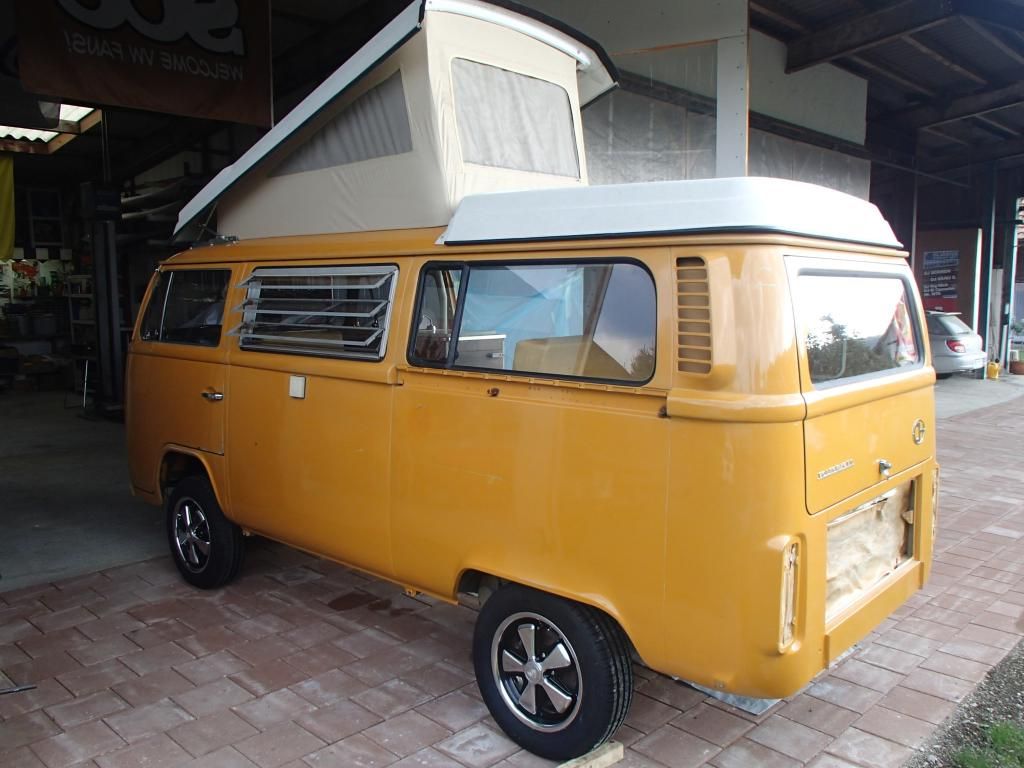
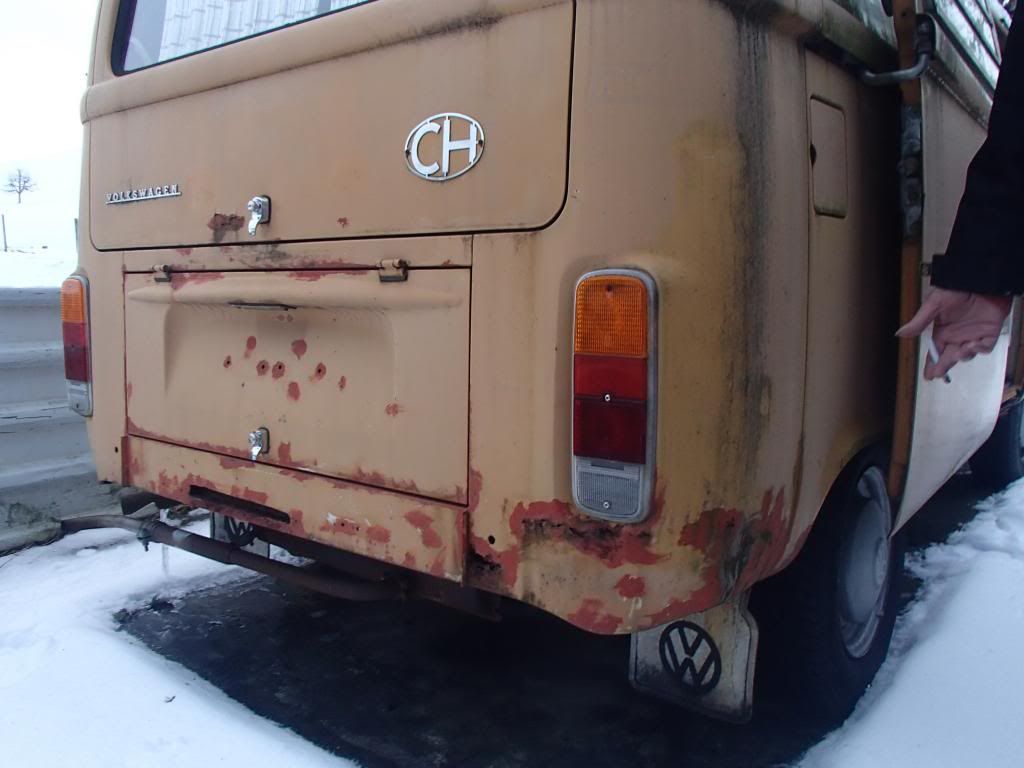
Small update...

From this:
P1240705_zps73655a71.jpg


To this:
P8153252_zps0ee100c2.jpg


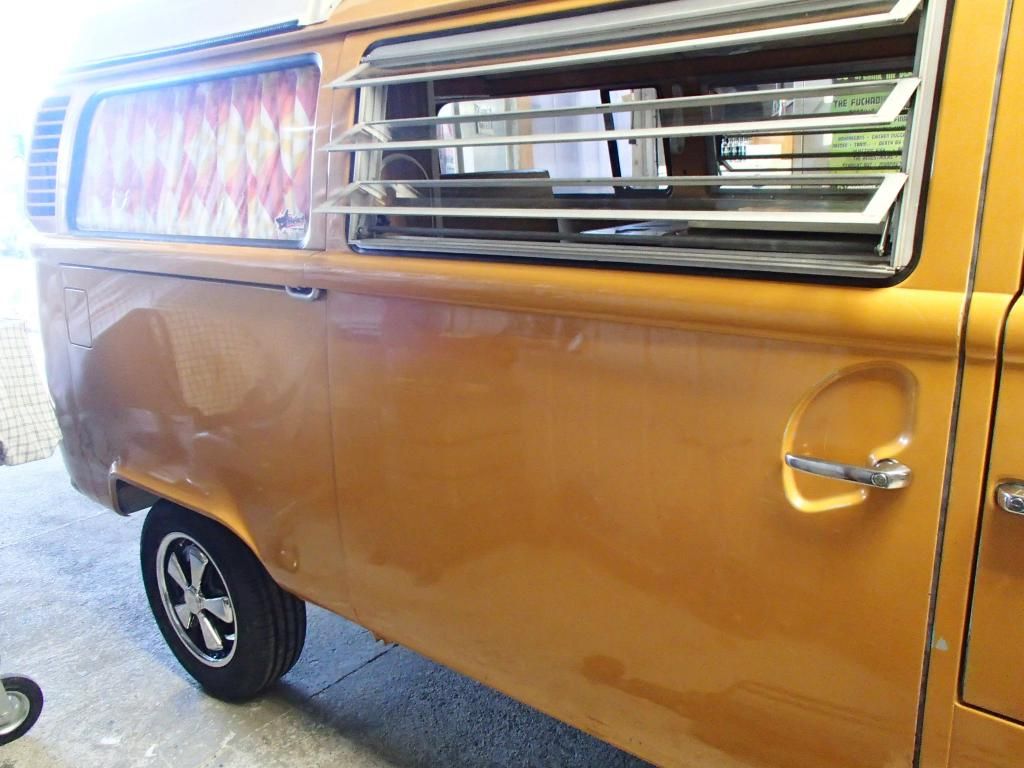
I've blended the paint as good as possible! In my opinion it looks nice!! :) :)
Have a nice evening!
Cheers
Reto
 
Hi everybody!
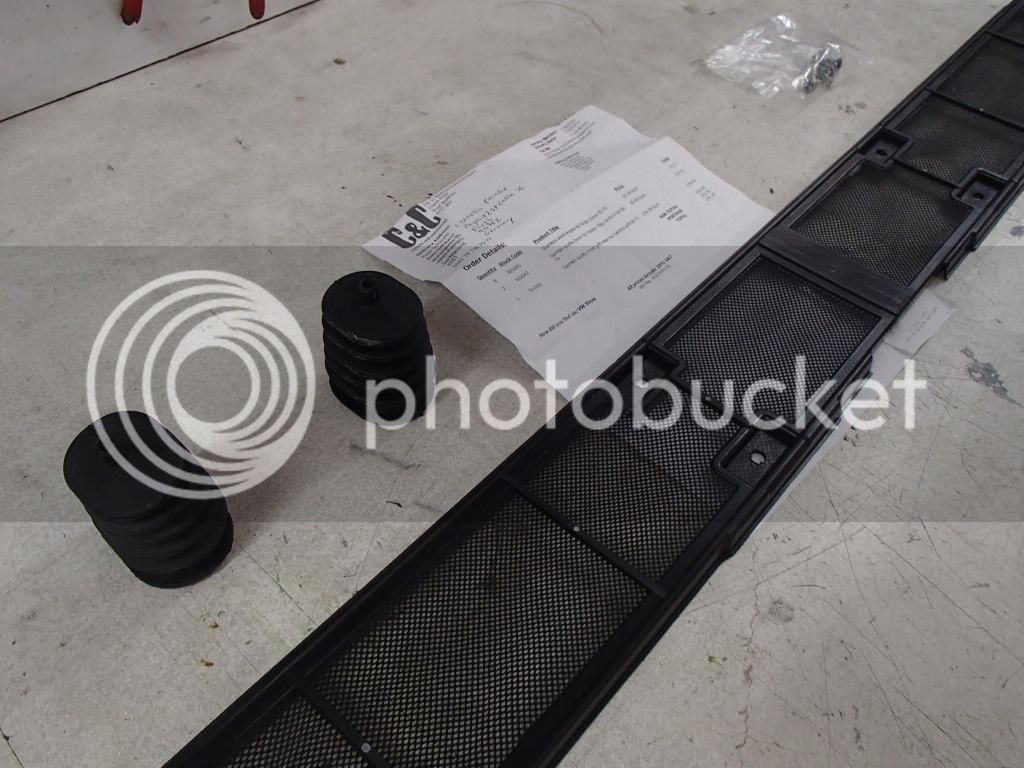
I've got some parts from C&C this week. There was no chance to get this parts anywhere in Switzerland. :?
P8253344_zps193b931b.jpg


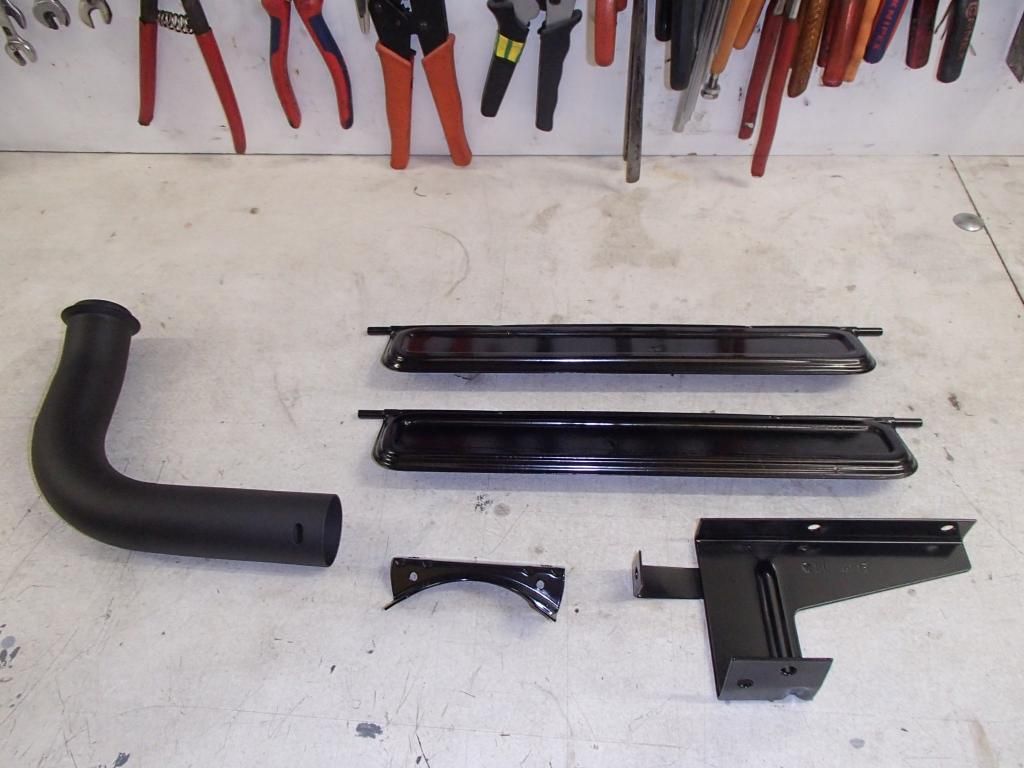
Got also some parts back from powder coating.
P8253338_zps09842b8b.jpg


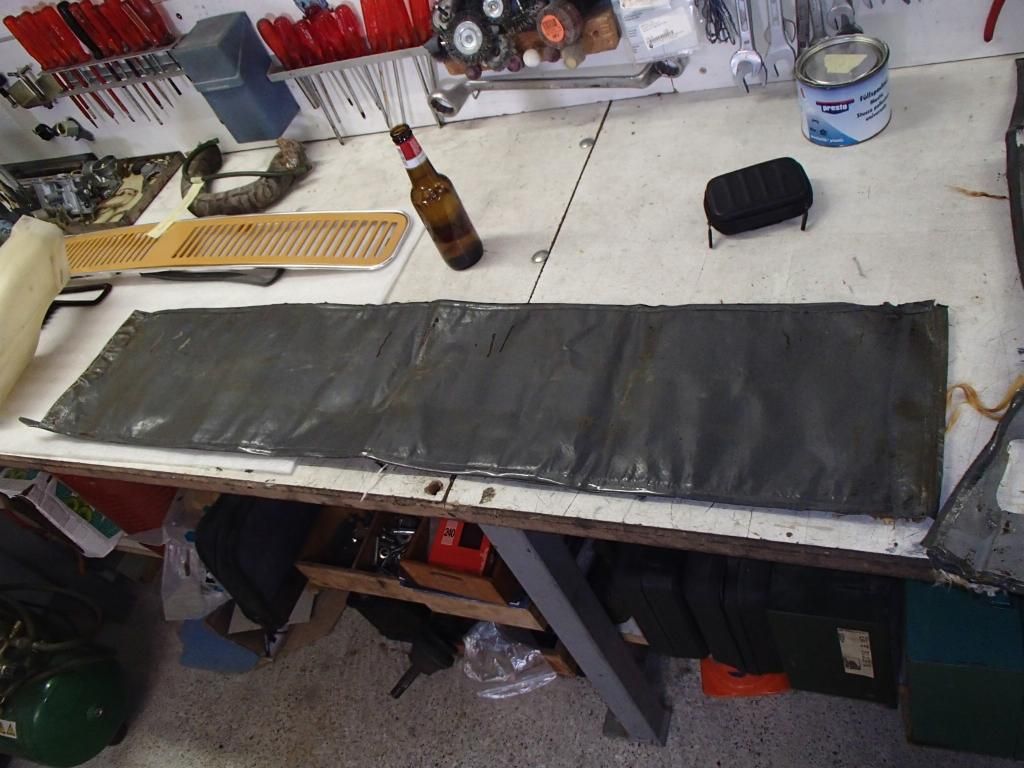
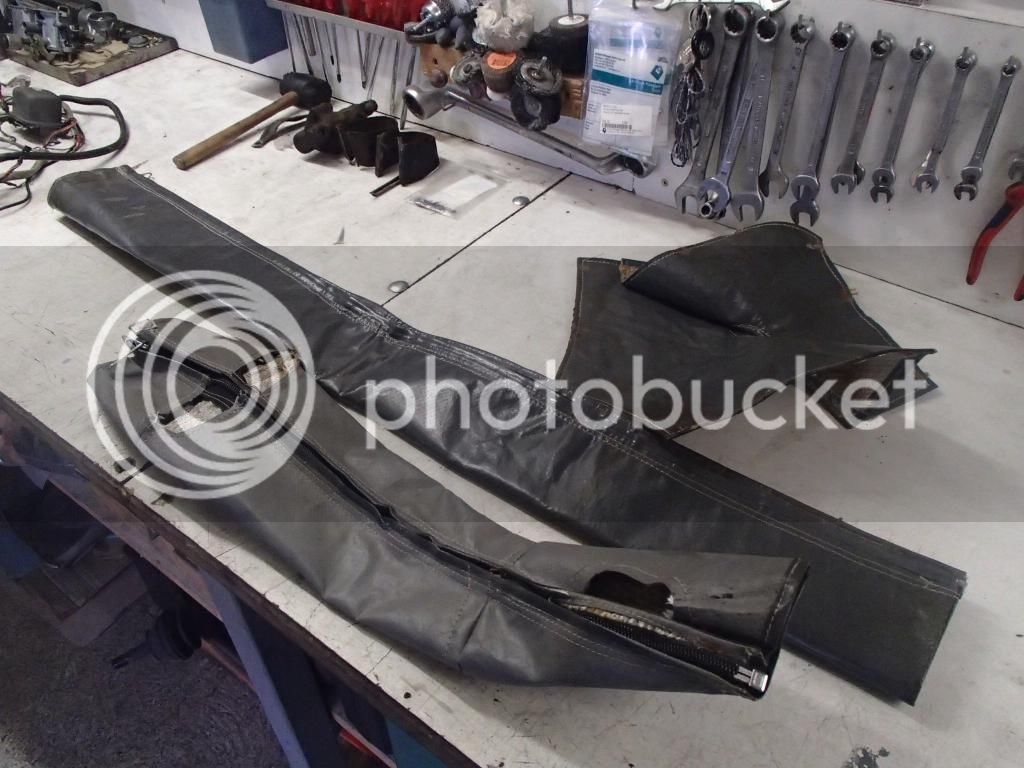
And finally I've cleaned up the insulation mats from the heater pipes.
P8193350_zps6eacf0b0.jpg


Wish you all a nice weekend!
Reto
 
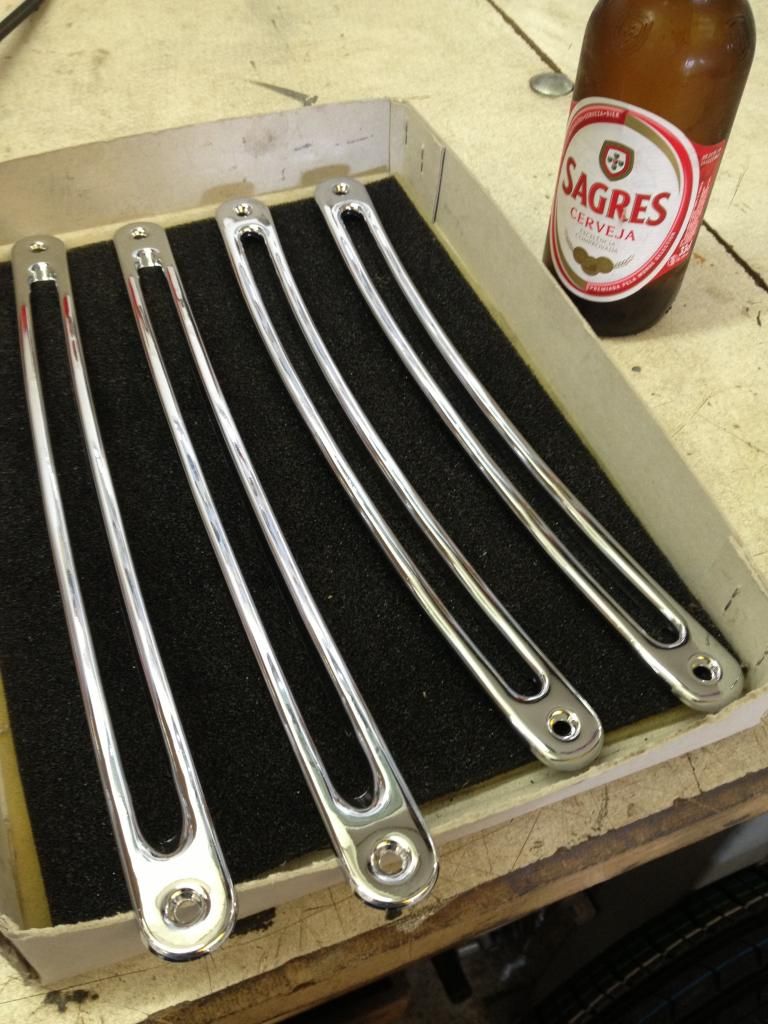
Got some parts back from chrom plating! :D
IMG_0652_zps5a983a5f.jpg


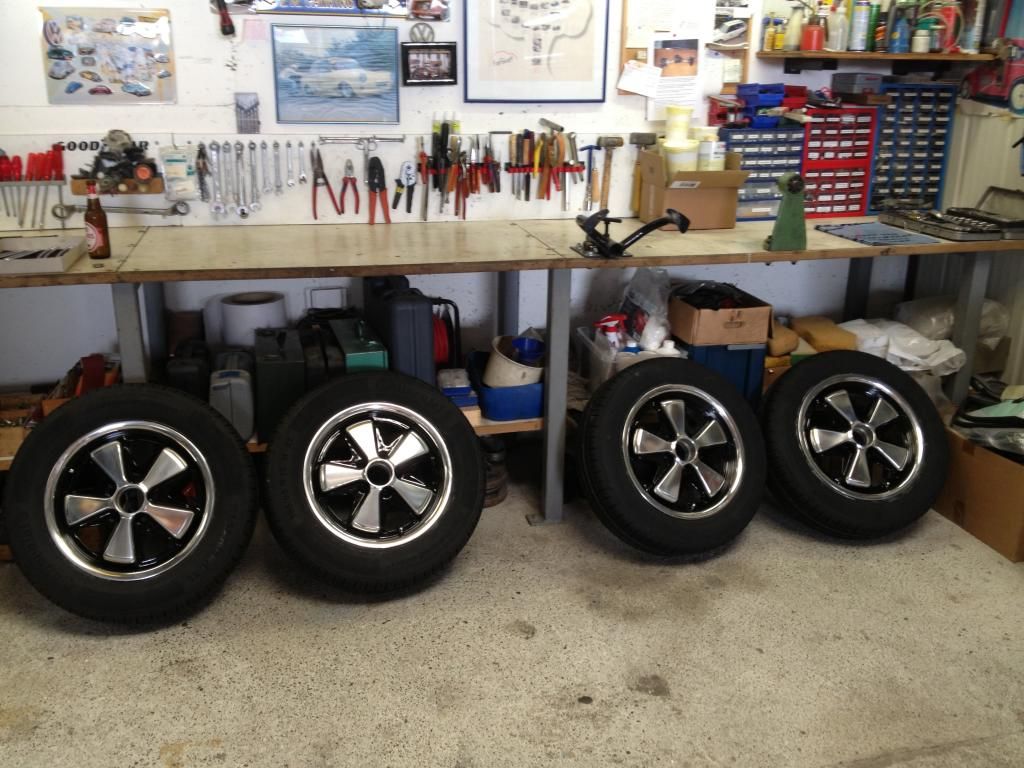
And finally my fuchs wheels got some new tyres!
IMG_0654_zps1957b7ca.jpg


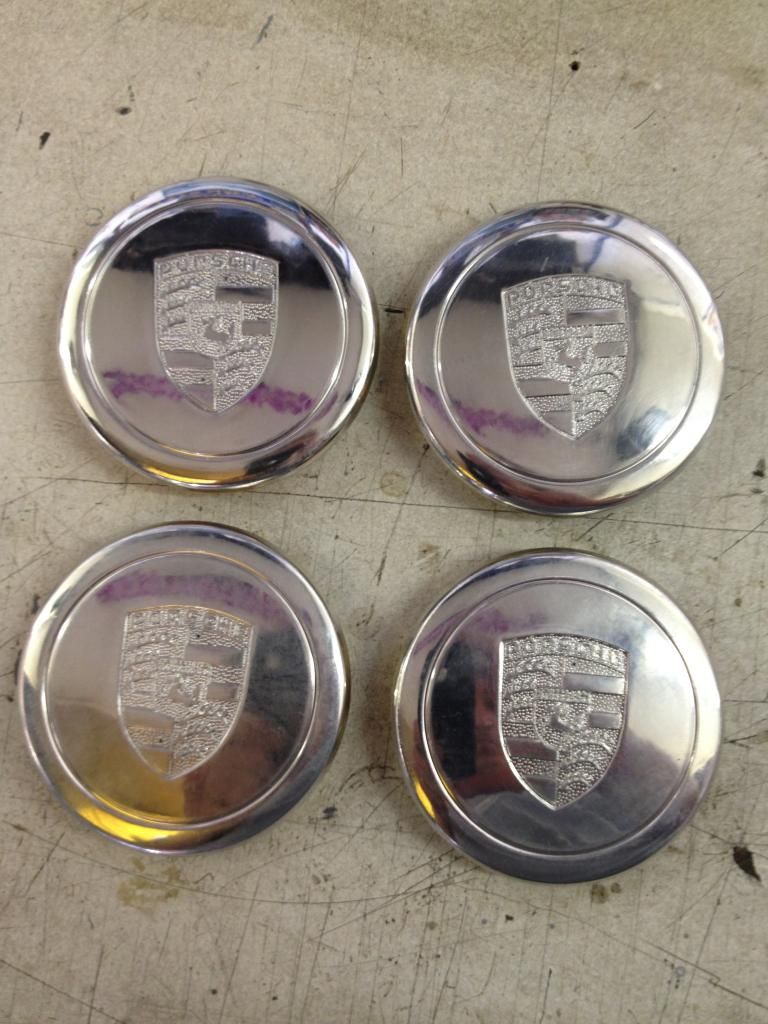
My buddy walter organized some original porsche caps for me! Thanks a lot! :)
IMG_0656_zps65831e37.jpg


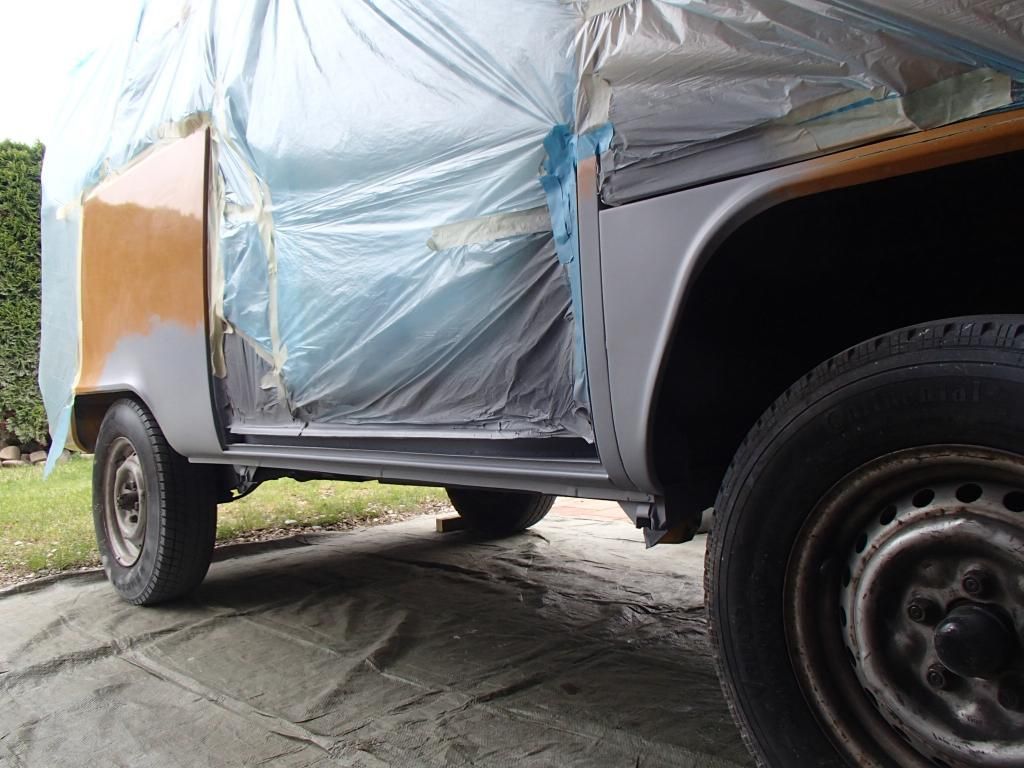
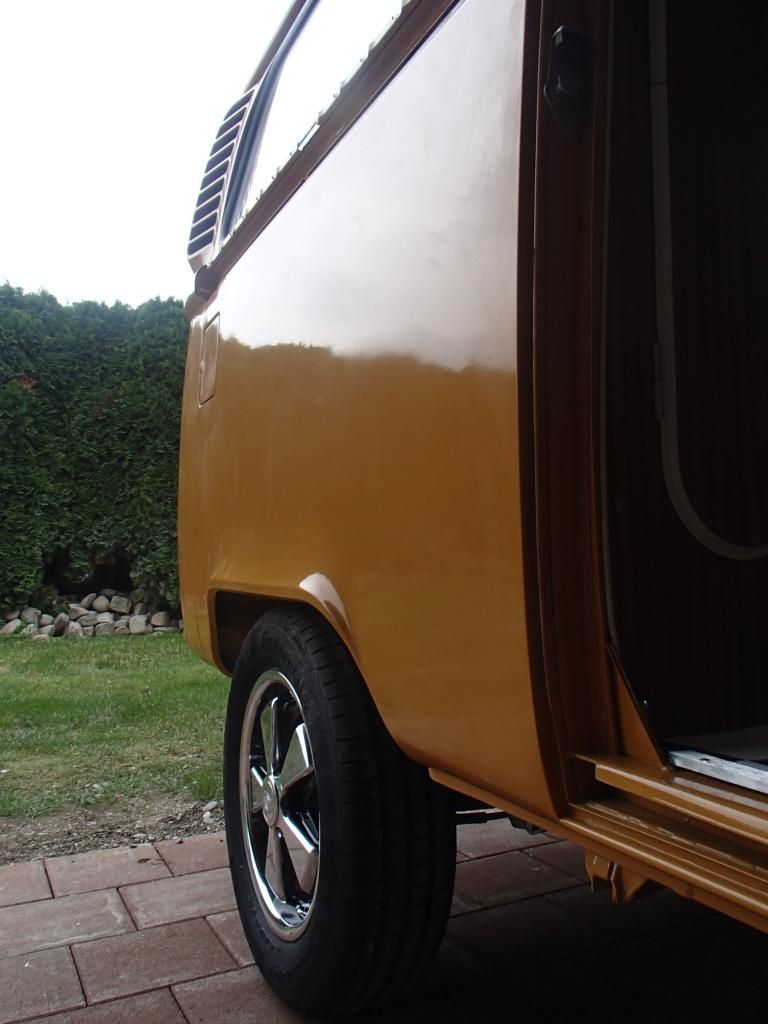
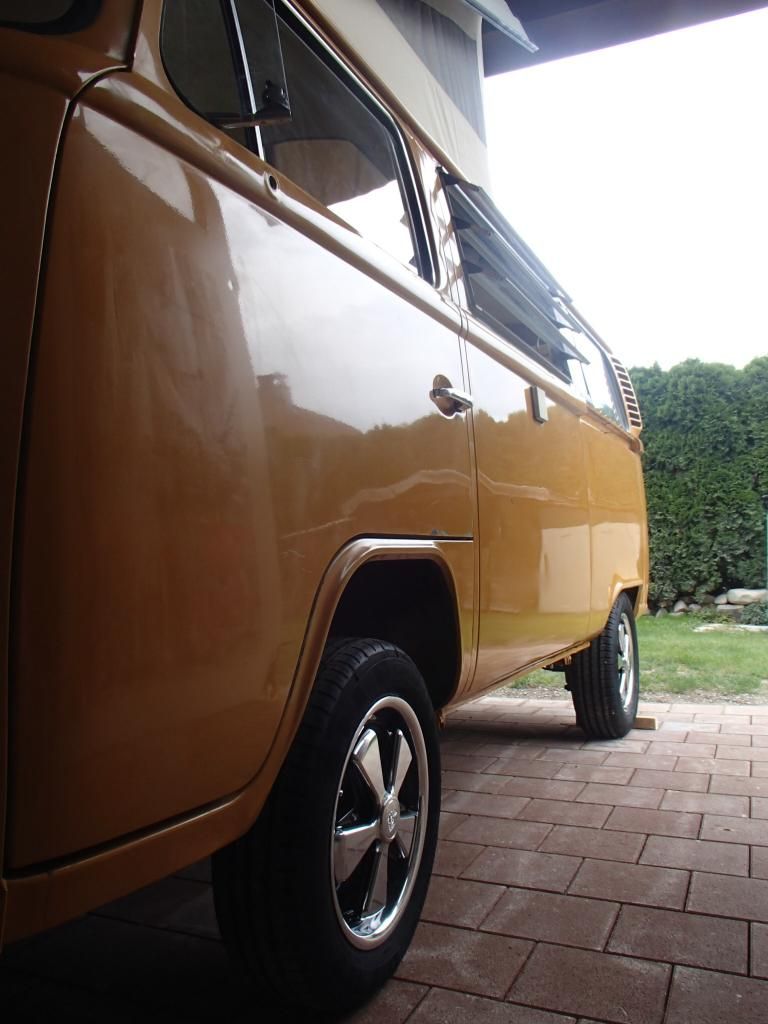
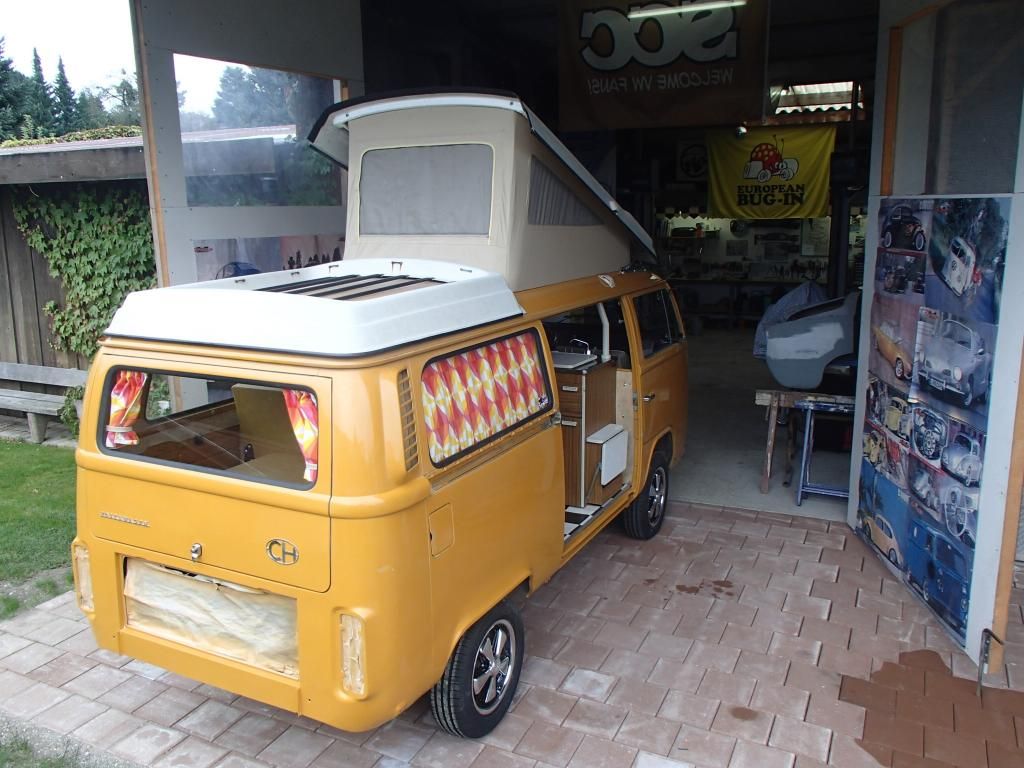
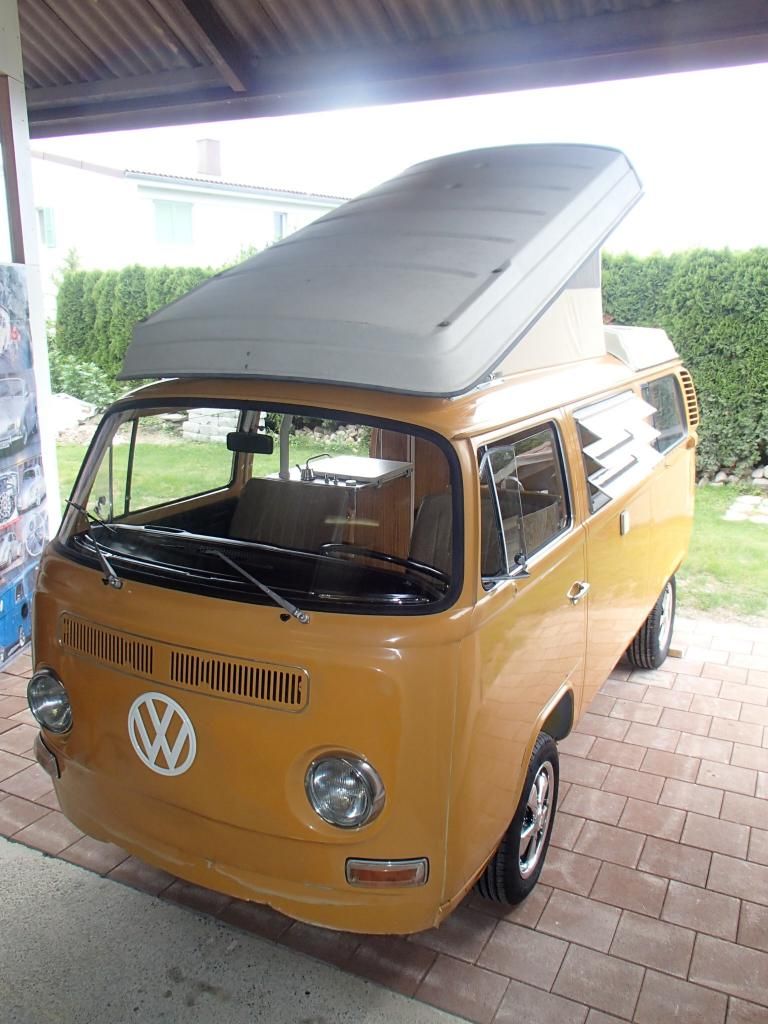
One big step forward was made with the paint blending. After many hours of grinding the bus got his final coat of sierra yellow!
P9133366_zps1030ee0d.jpg


From this:
P9123355_zps2cb1249f.jpg


To this:
P9243702_zps22373ed3.jpg


P9243695_zps54eb9862.jpg


P9223689_zps2c03c36b.jpg


P9243712_zpse28b6ec6.jpg


P9243691_zpsb8c7c69c.jpg


I'm really happy with the result! :party0049: :D
P9133368_zpseadafdcd.jpg


Cheers
Reto
 
Nice work Rito the bus coming together nicely.
What is the next step for you ?
 
*Sam* said:
Nice work Rito the bus coming together nicely.
What is the next step for you ?

Thank you! :)
Next step is to mound the sliding door. Then I had to weld some small patches in the engine area and paint this. After this, I will spend the next few month on the underside of the bus with detailing, painting and much more.
Hope the bus will be ready for next year!
Best regards
Reto
 
gninnam said:
Nice job with the prep and the paint :mrgreen:

Thanks Andy! :)
It was a lot of work, but it was definitely worth it! The bus has now still a lot of the original sierra yellow. That's really cool! :D
Cheers
Reto
 
Hi everybody!
Hope you all had a great christmas time!?! Since my last post, I made some steps forward on my baywindow project. But all this details takes a lot of time and I'm not sure that I'm ready for next season... :lol: I will give my best! :)
So here some work I've made over the last few months...

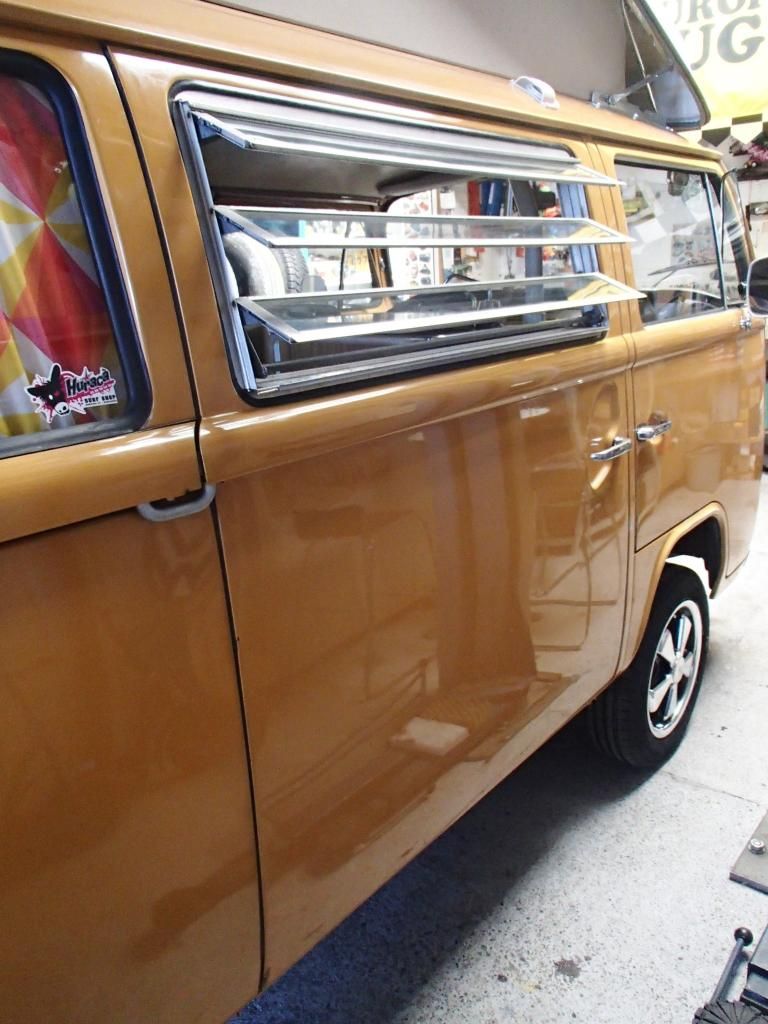
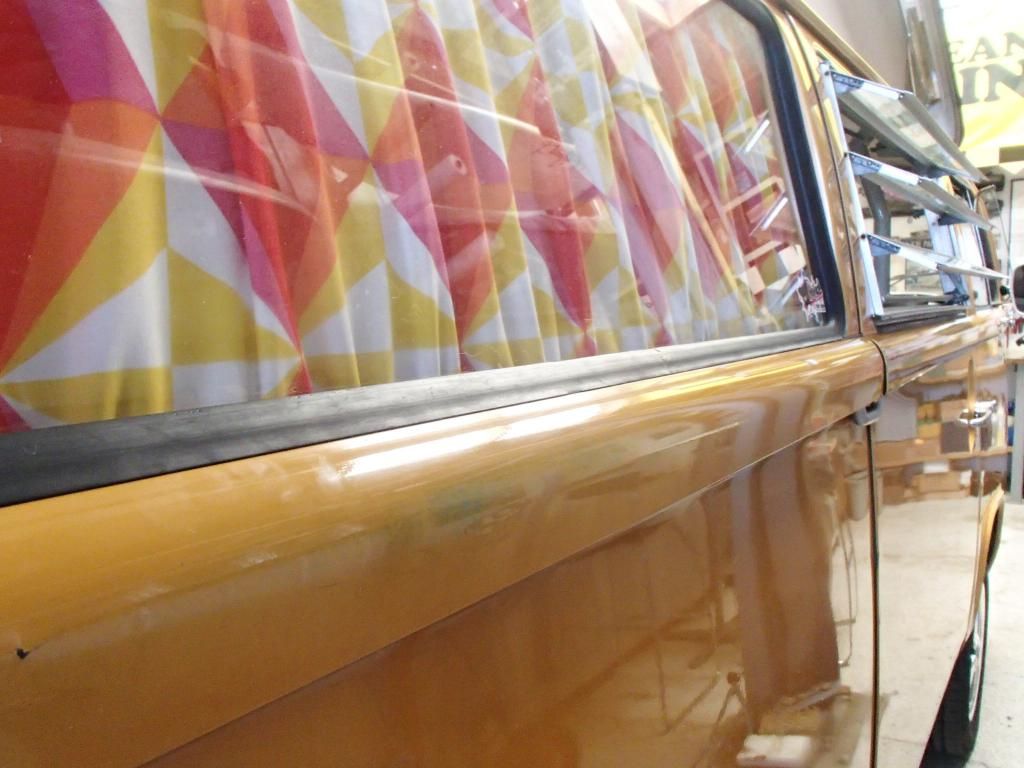
The sliding door is finally mounted.
PA023682_zpsb4764fa0.jpg


PA023684_zpsee87ae85.jpg


shiny! :)
PA023689_zpsc9d053d3.jpg


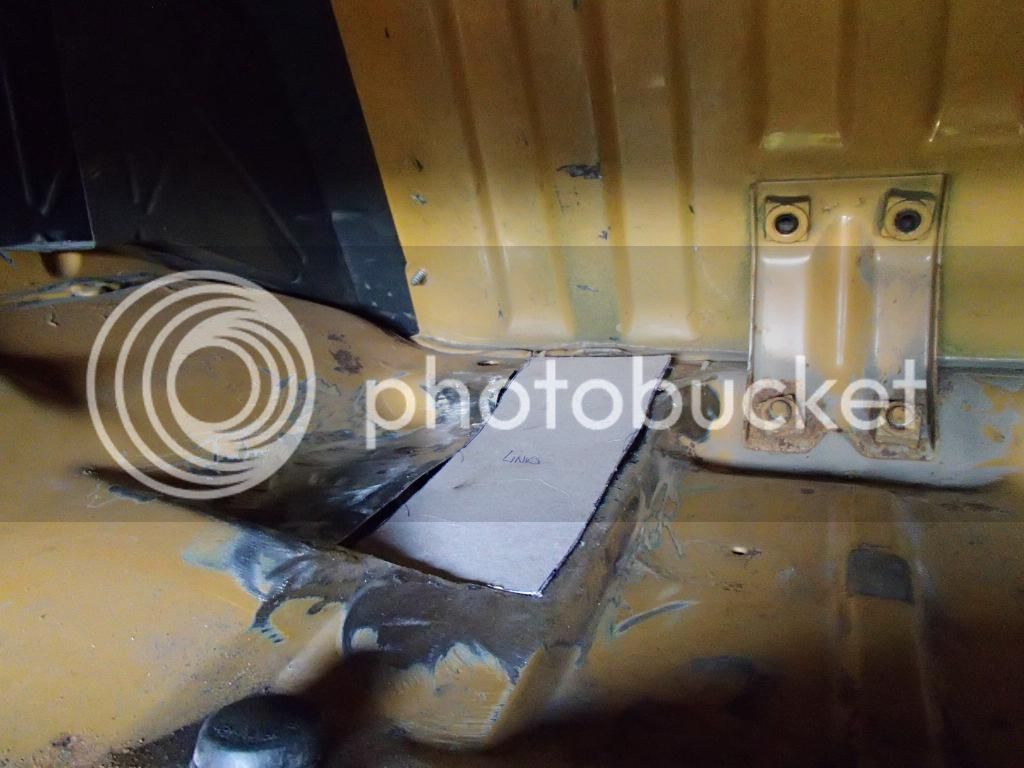
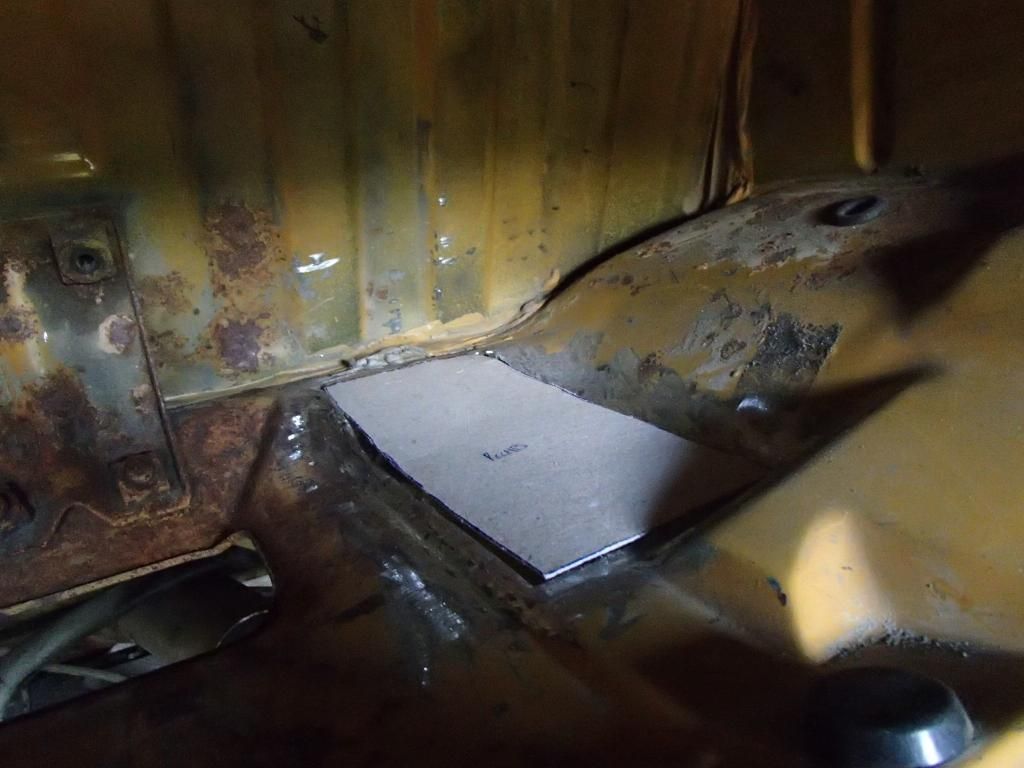
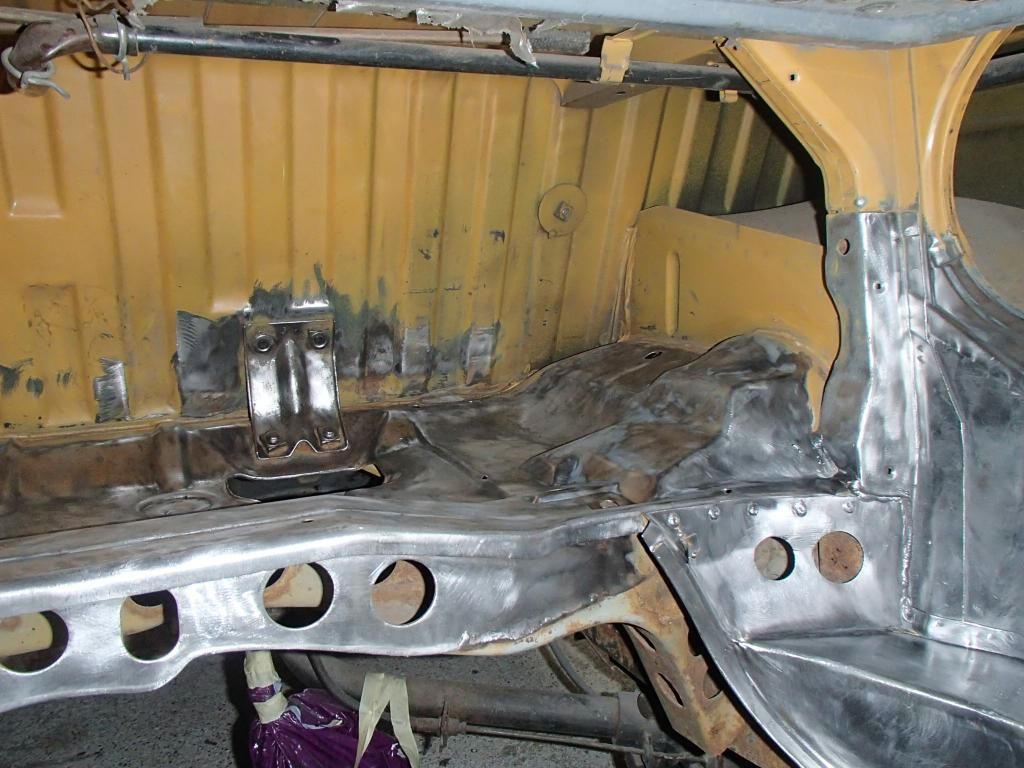
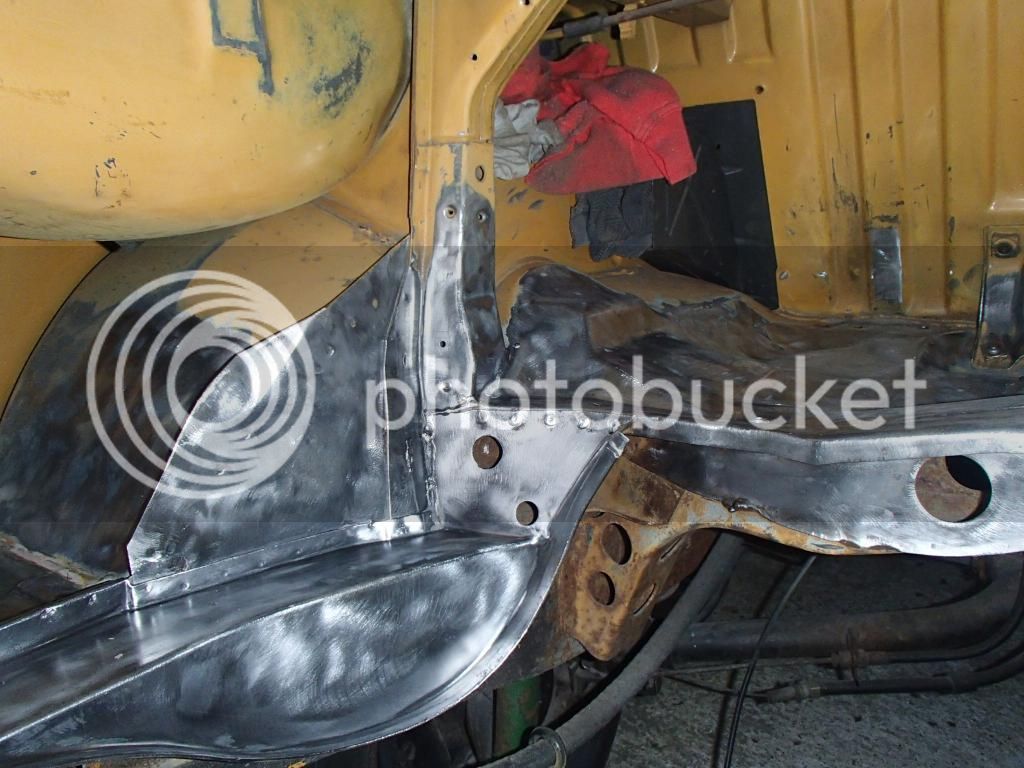
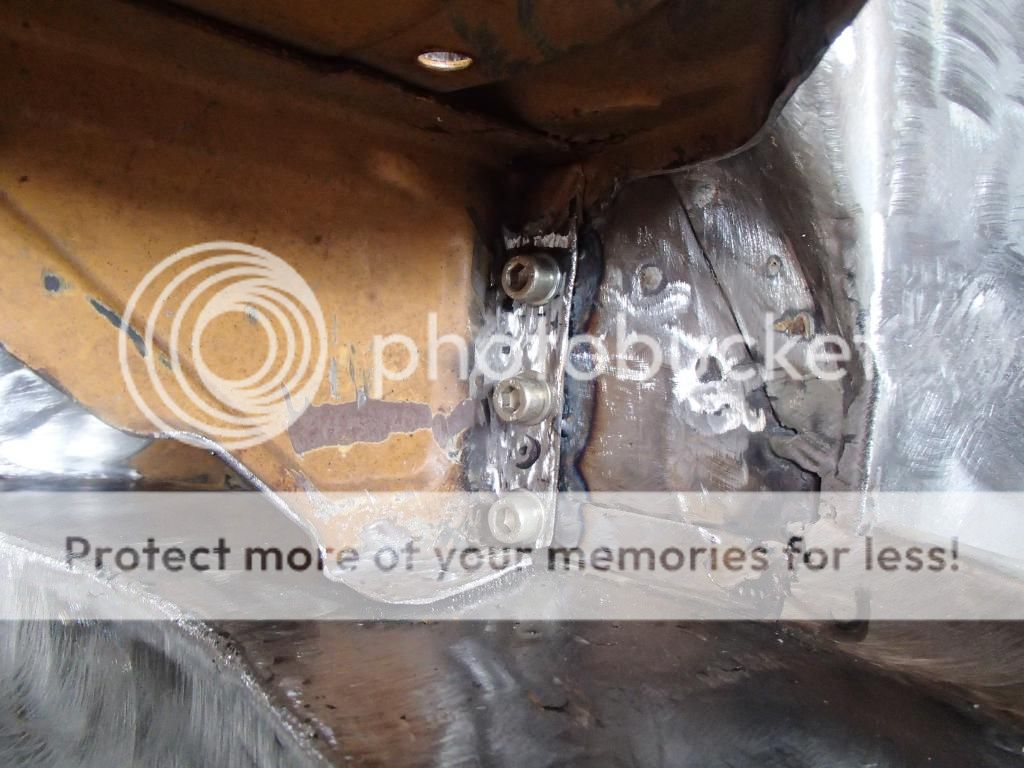
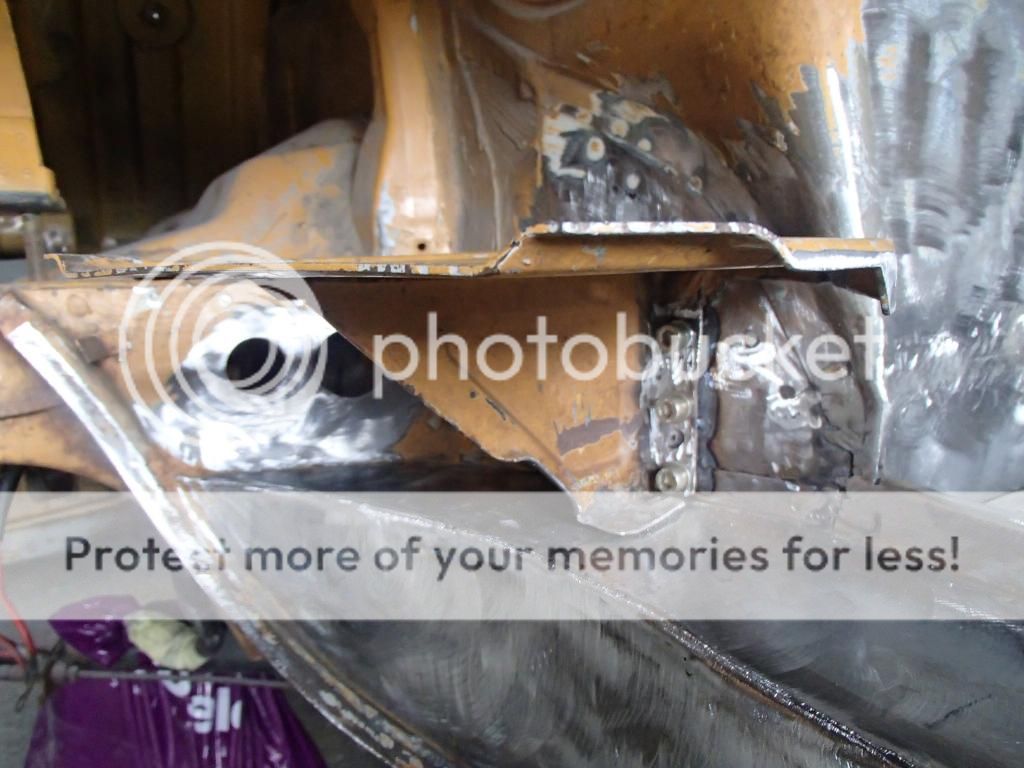
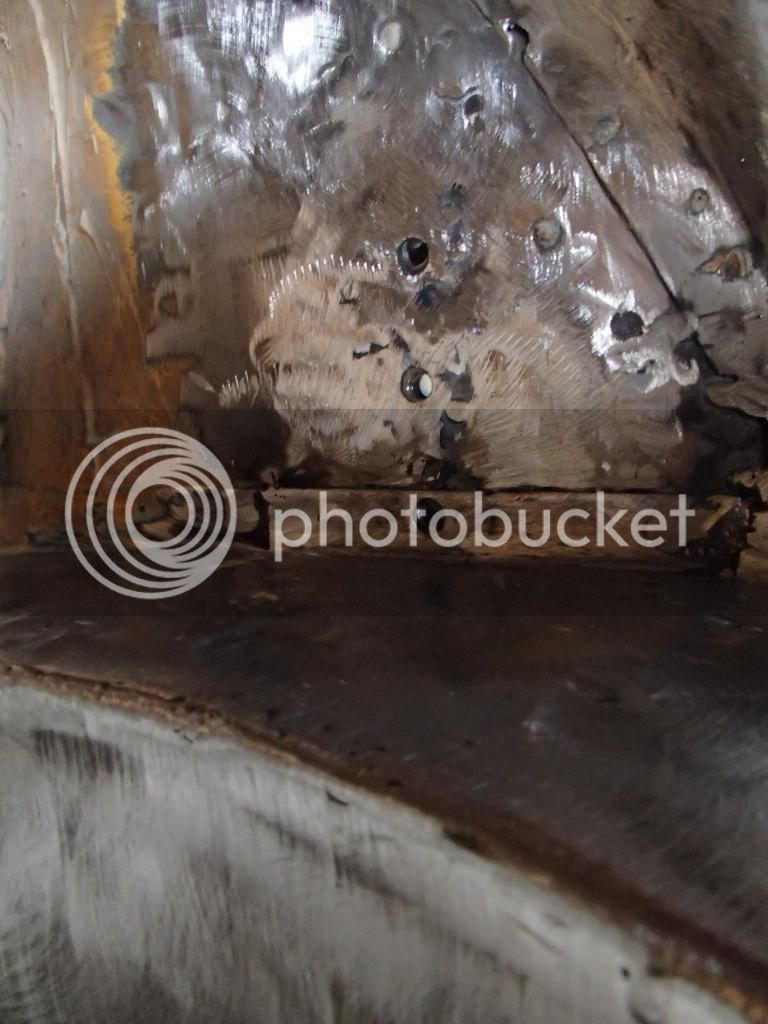
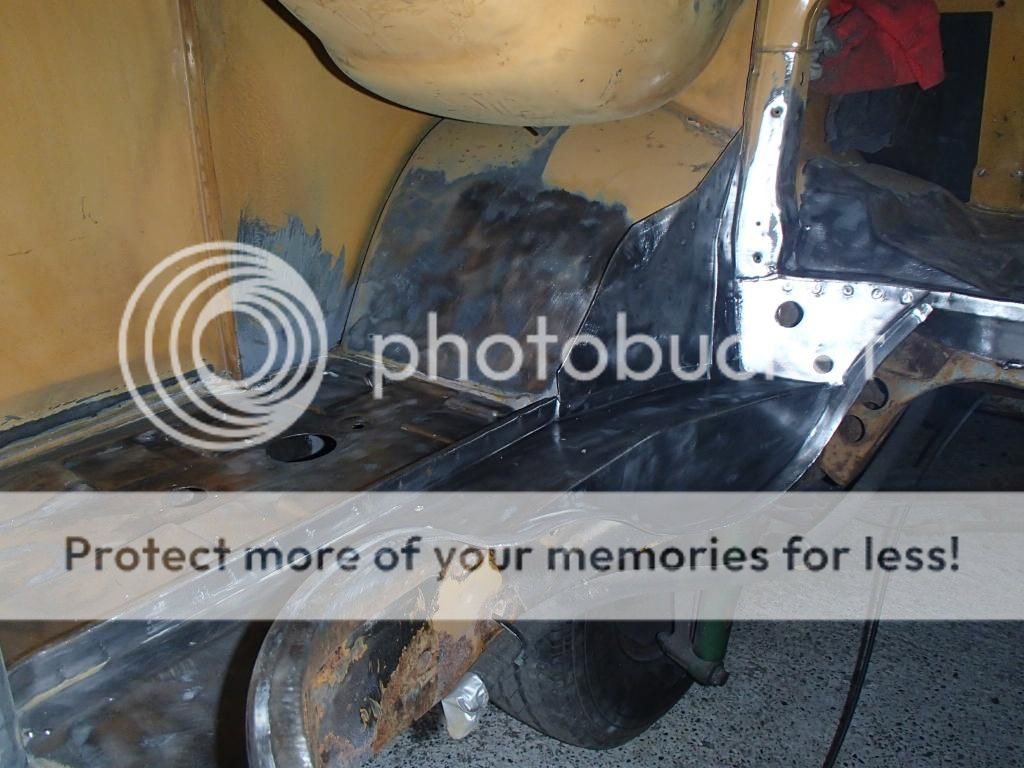
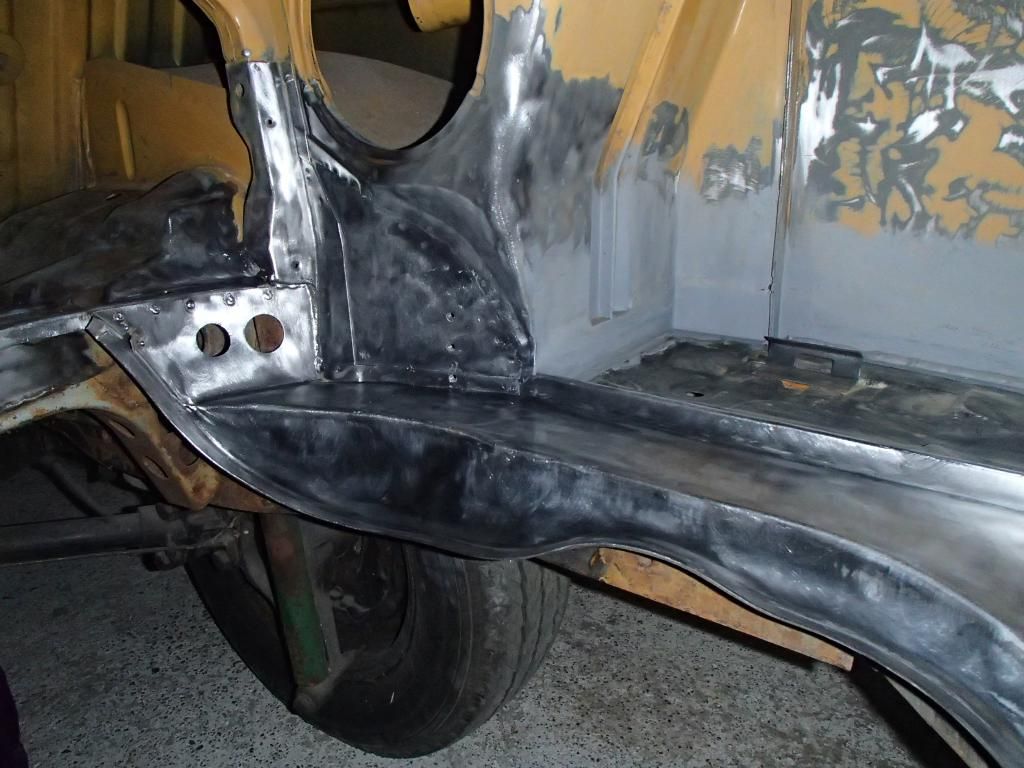
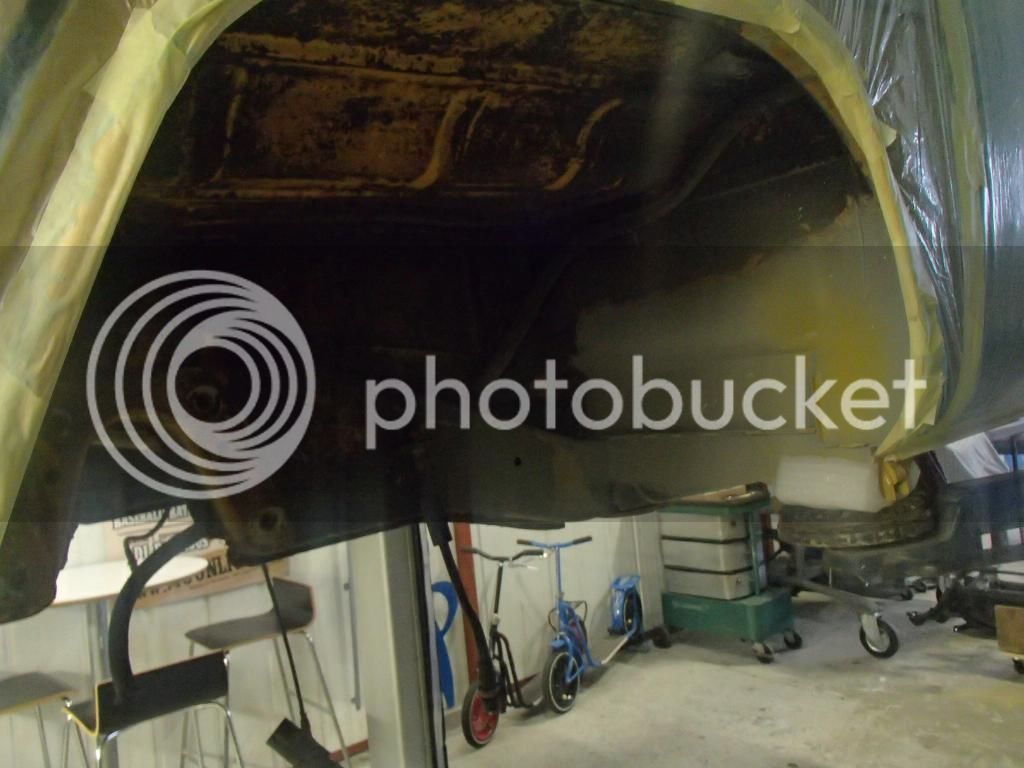
Then I started to clean the engine bay. Under the gas tank were still some rusty areas. I cut them out and welded some new metal in.

Template for the left side
PA233734_zps47d8735c.jpg


Template for the right side
PA233732_zps2463f1ad.jpg


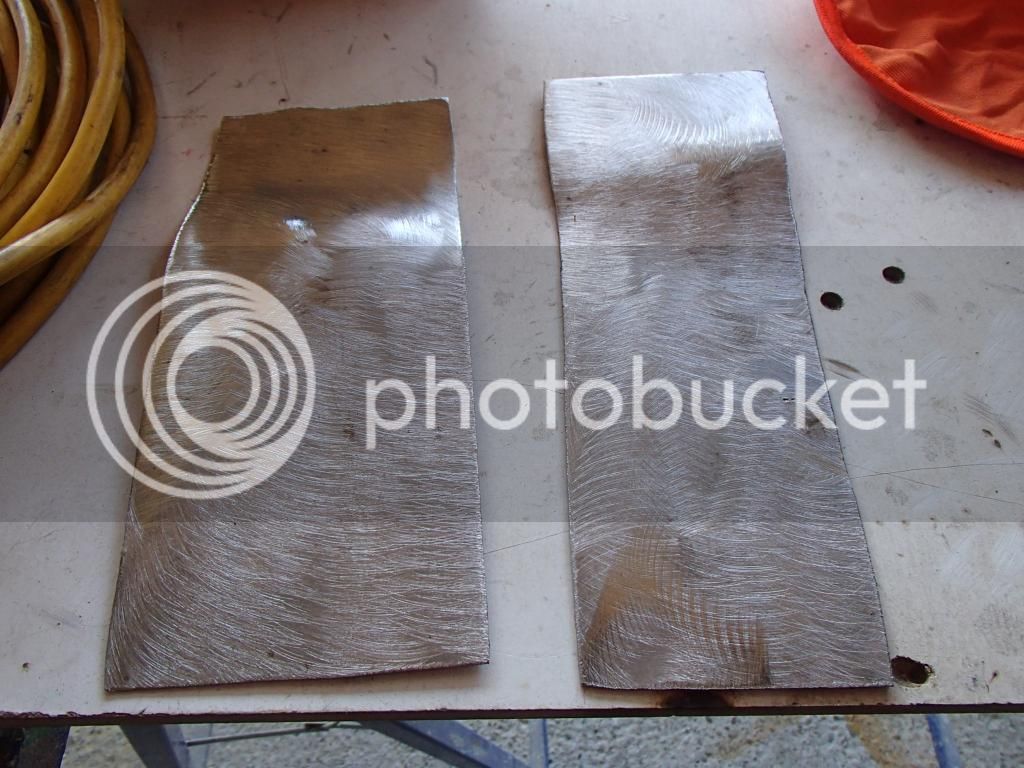
Cut out some fresh metal
PA233736_zpsf7cf6e39.jpg


And finally welded in
PB103767_zps91b3635b.jpg


PB103763_zps6a99d172.jpg


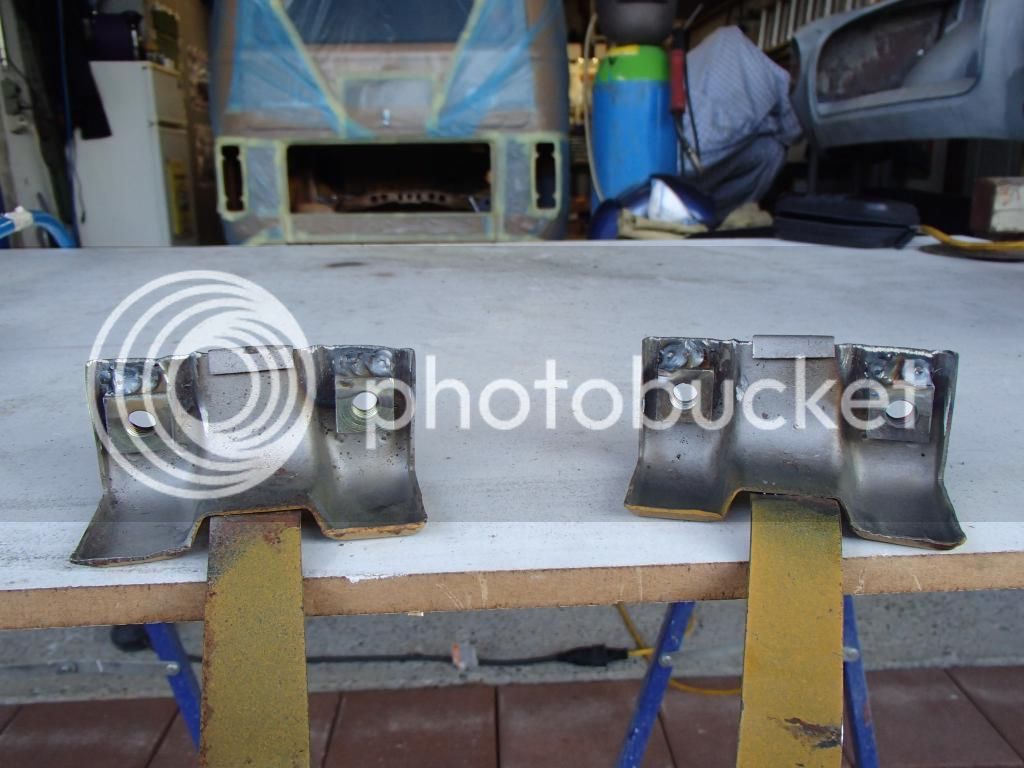
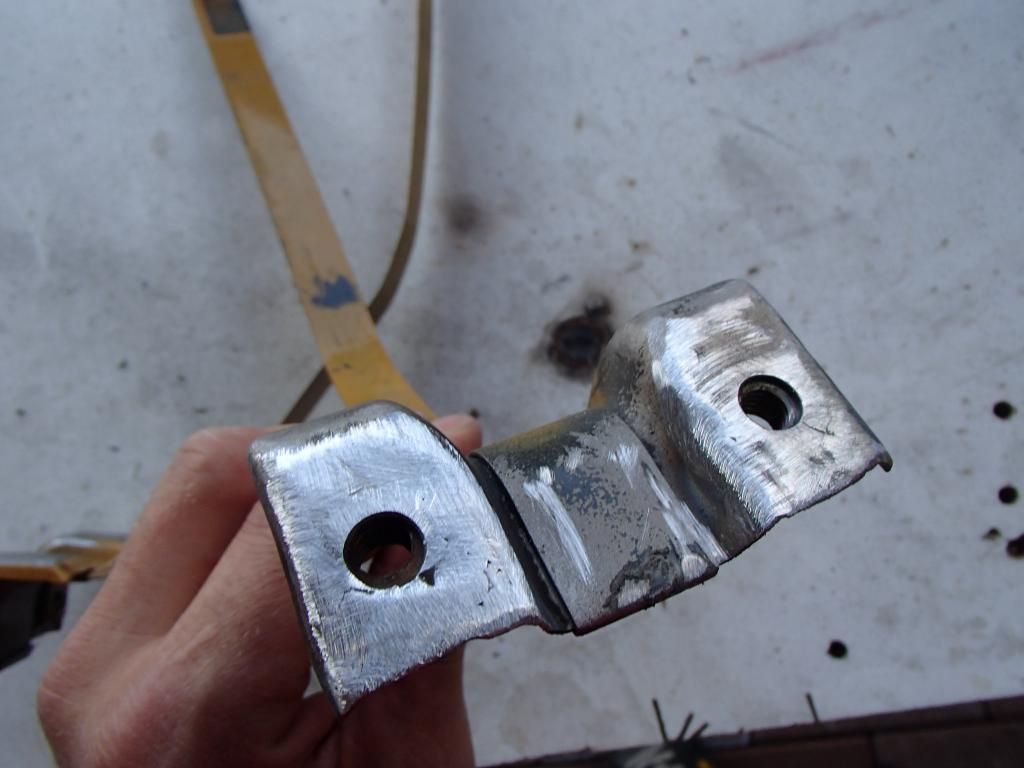
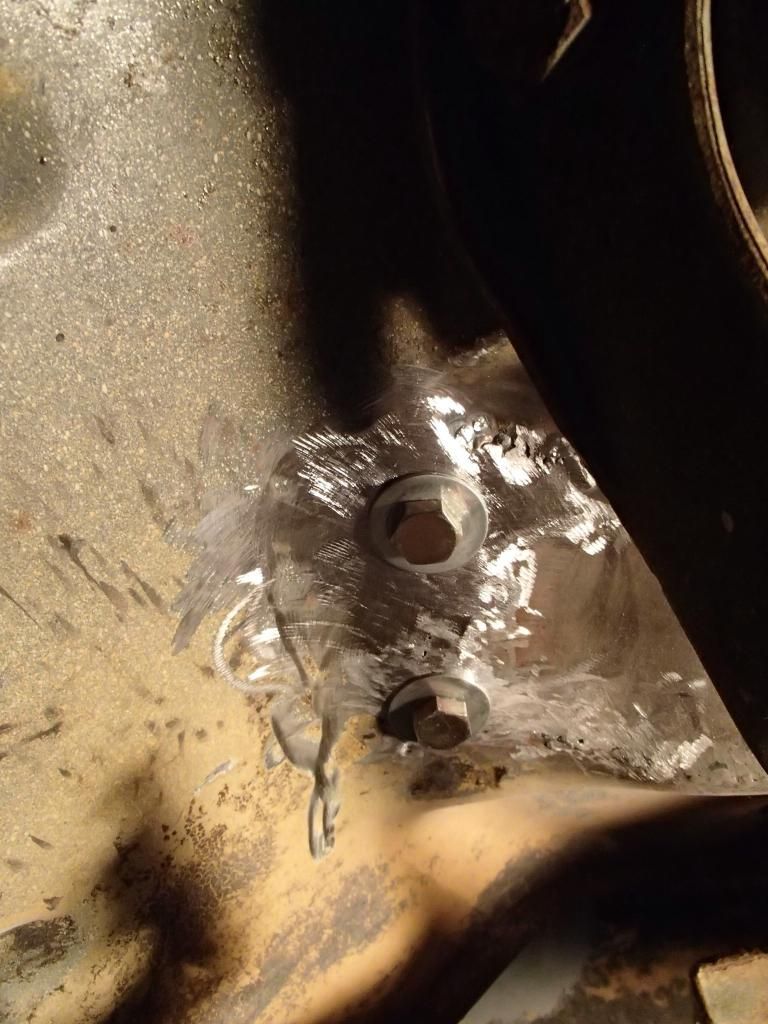
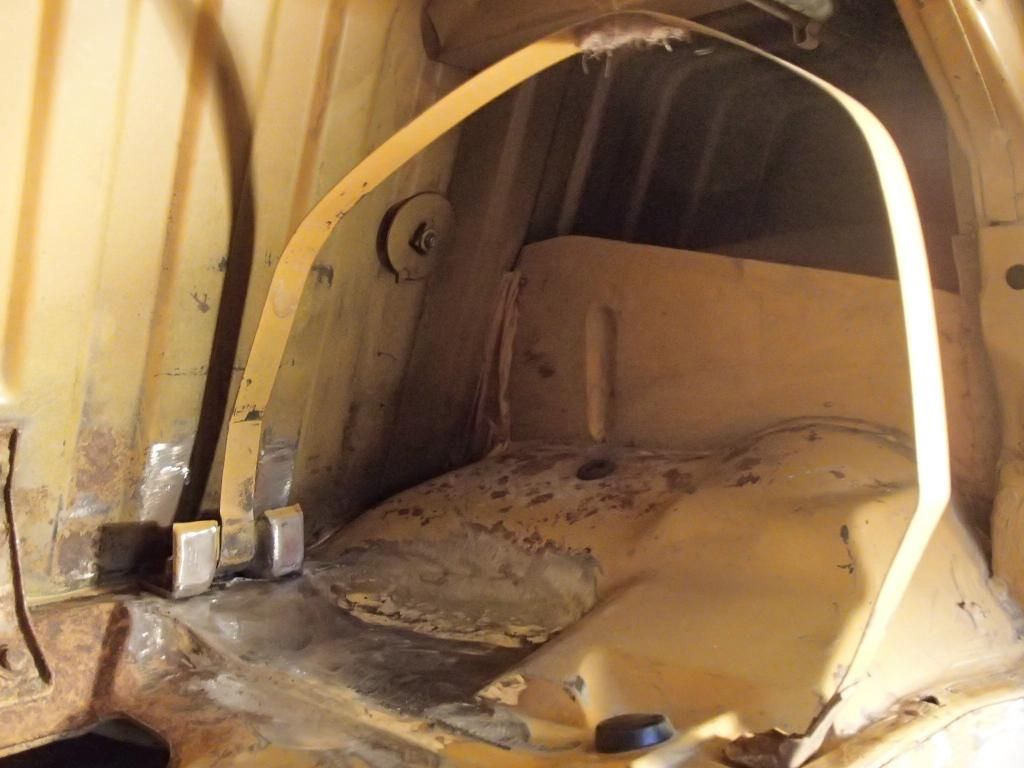
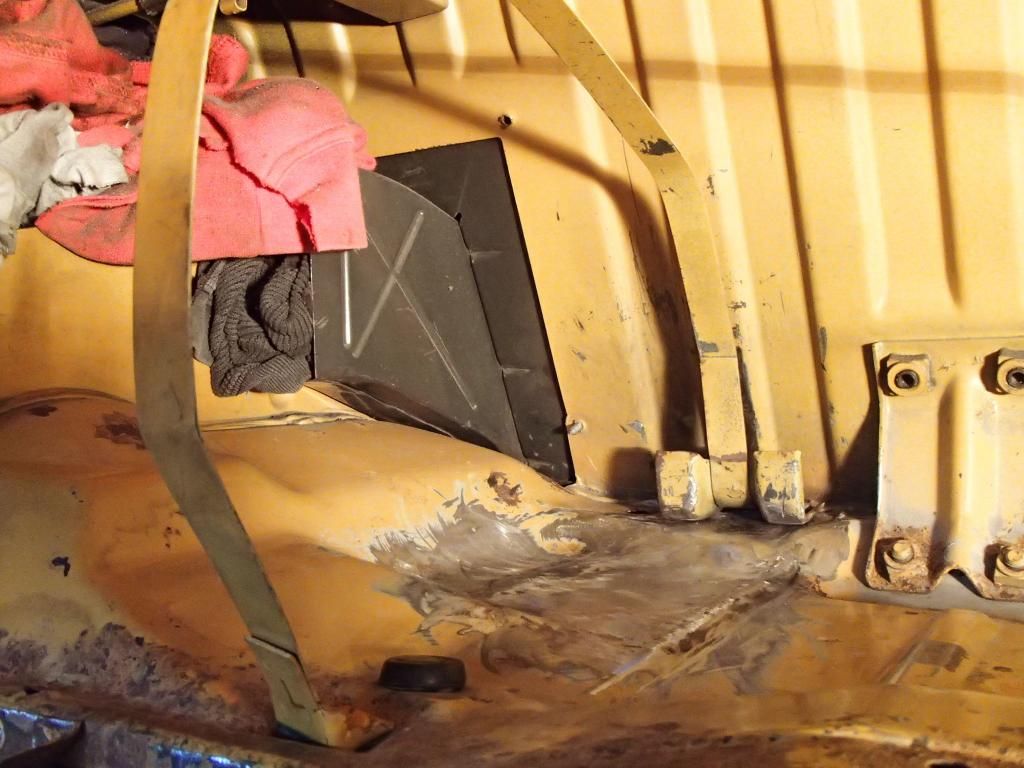
The straps for the gas tank mounting I've made screwable. This because they were rusted and It's much easier to mount.
PA233730_zps4d55b182.jpg


PA233727_zpsc0c1a341.jpg


Underside...
PB053740_zpseb2f2459.jpg

Testfit the mounting straps
PB053751_zps182fa835.jpg


PB053749_zps0de9d770.jpg


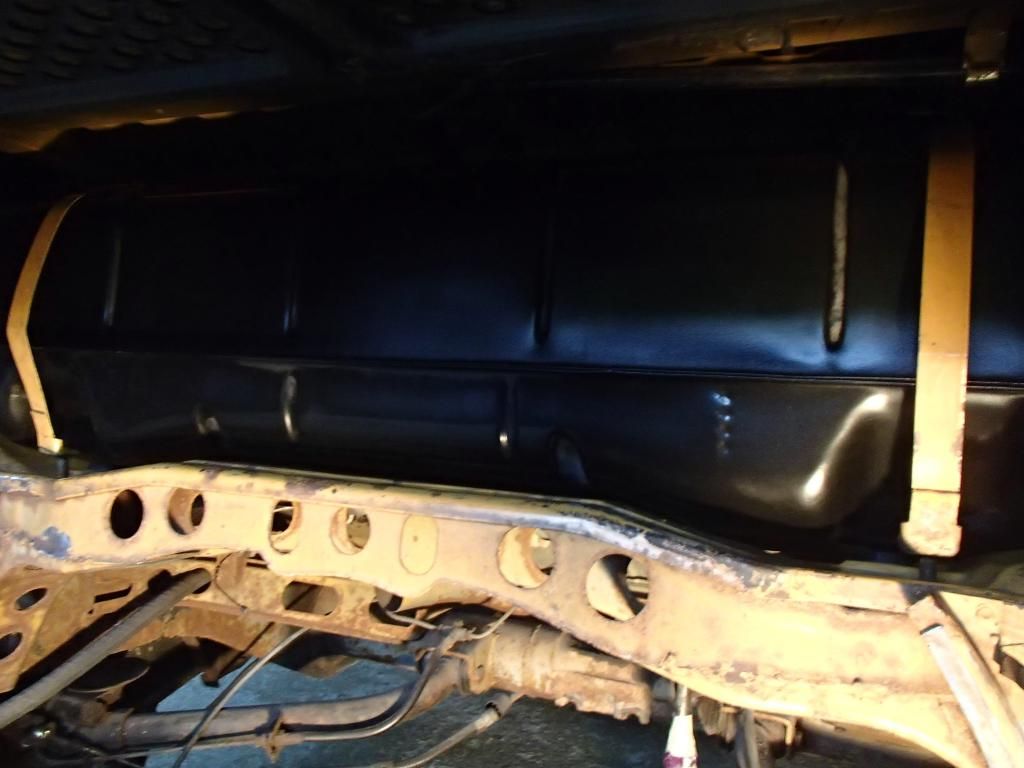
And with the freshly powder coated gas tank.
PB053739_zps13fef35c.jpg


The holder for the air cleaner I've made also screwable. So it will be easy to install some 36 Webers on my engine later on! ;)
PA153709_zpsa4b6b6ff.jpg


PA153708_zps5d41a4f9.jpg


42295d90-e496-4dd5-b322-0d591547102a_zps654b0d68.jpg


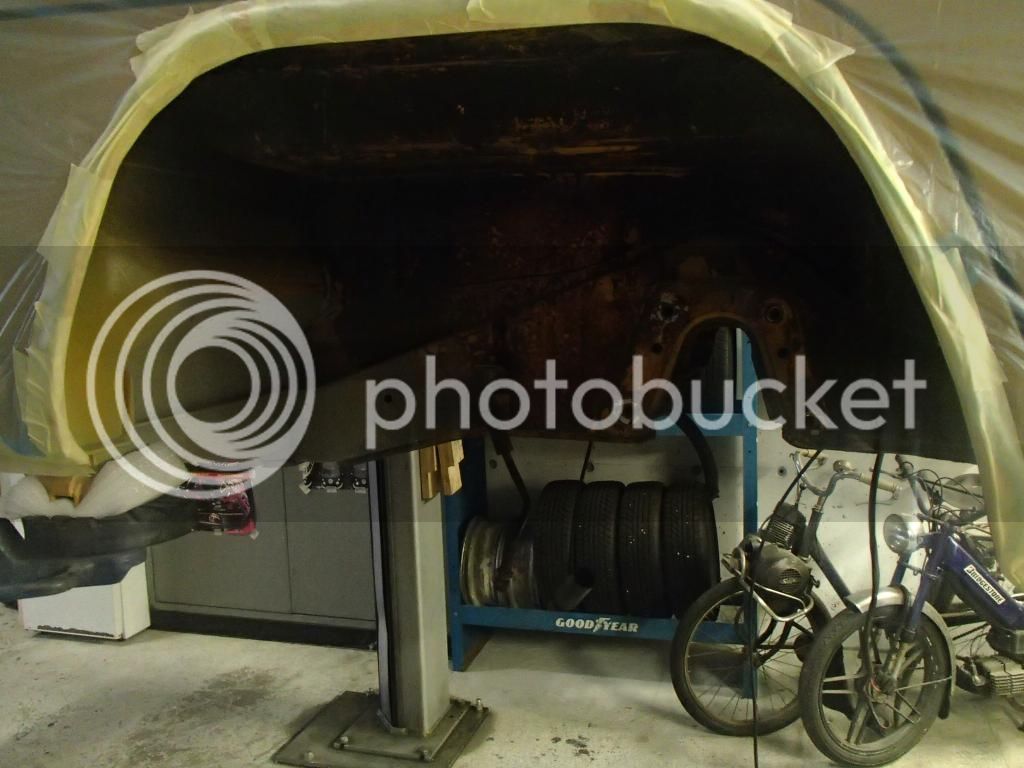
After welding, I've grinded the whole engine bay. What a **** job!

Left side
PB103771_zps8b6fa1c2.jpg


Right side
PB103770_zpsae7bf15d.jpg


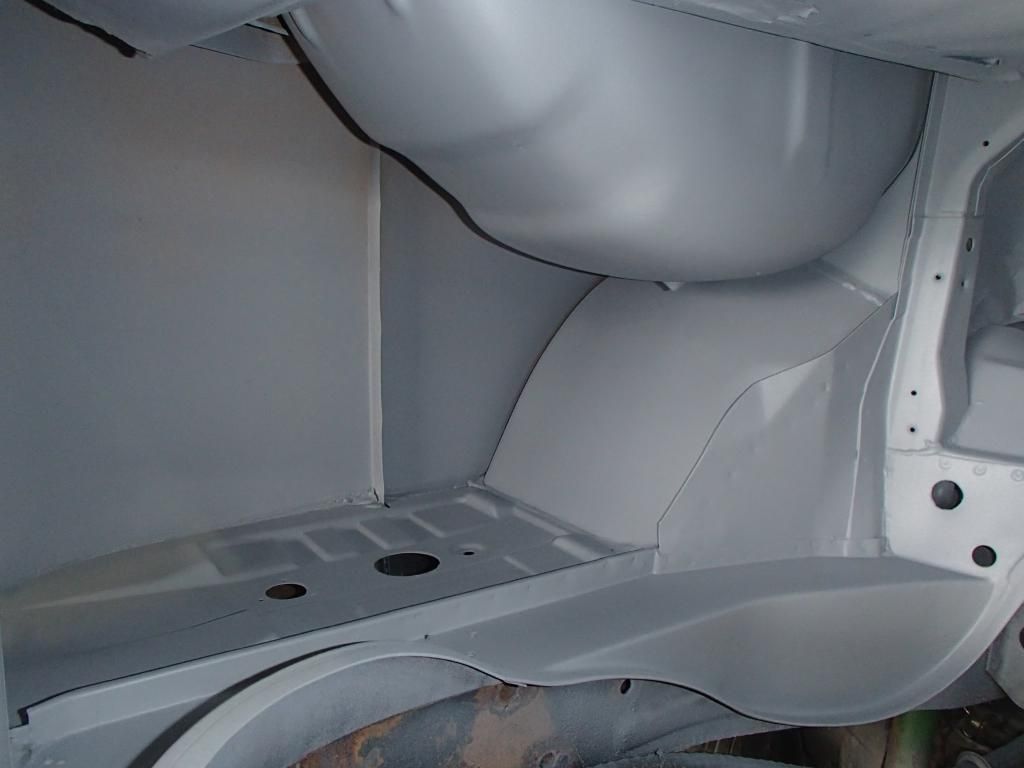
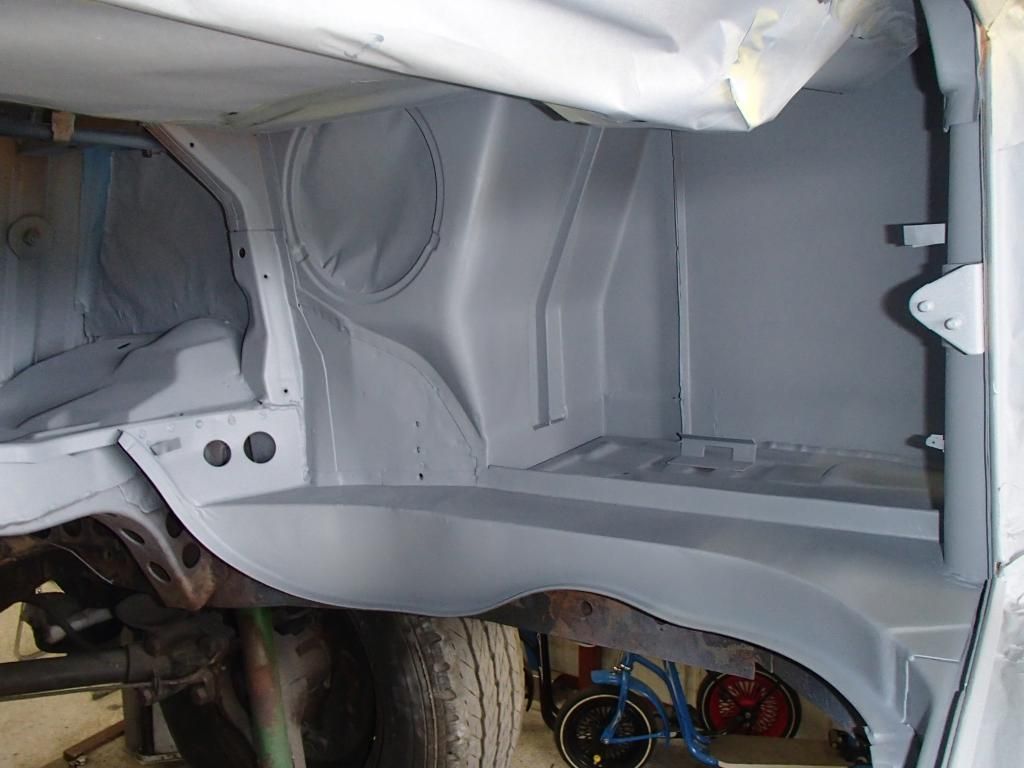
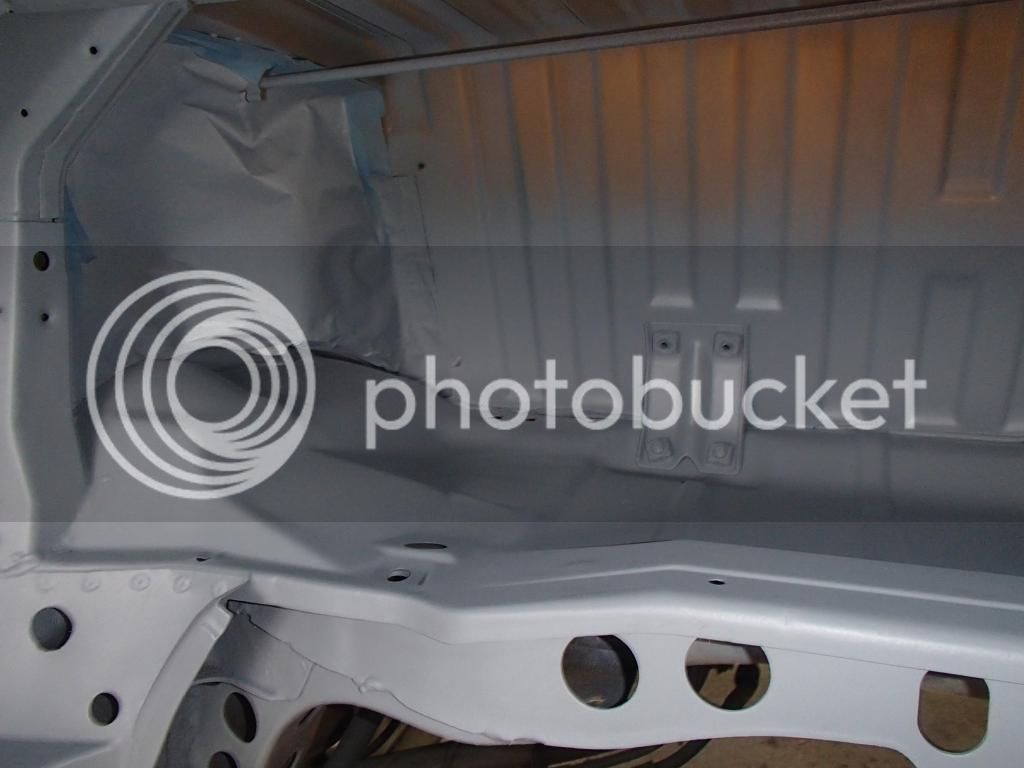
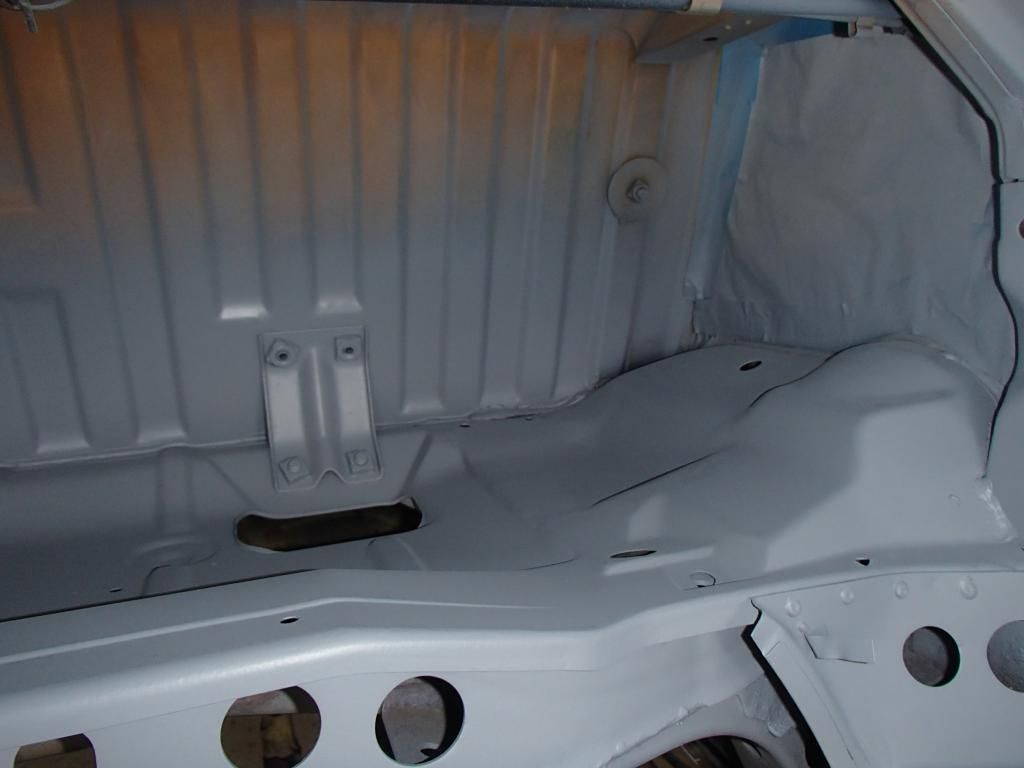
And for the moment some 2K primer
PB133807_zps5f113044.jpg


PB133808_zps5cc88227.jpg


PB133806_zpsf7d054d1.jpg


PB133805_zpsaf185072.jpg


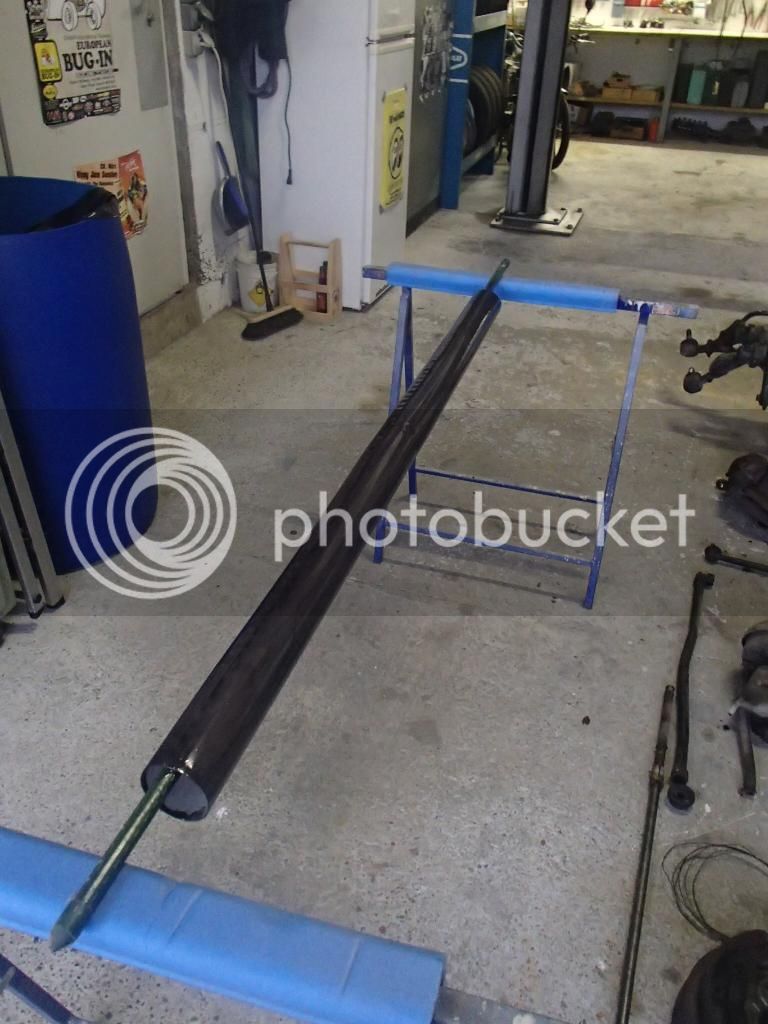
The middle section of the header tube was rusted away. So I made out of 1mm steel plate my own tube. My steel roller is only 90cm long. The heater tube is around 1,2m, so I made 2 pieces and weld them together.
The final heater tube with some primer on
c03a5949-96c3-4097-b861-466247d19495_zps1592f283.jpg


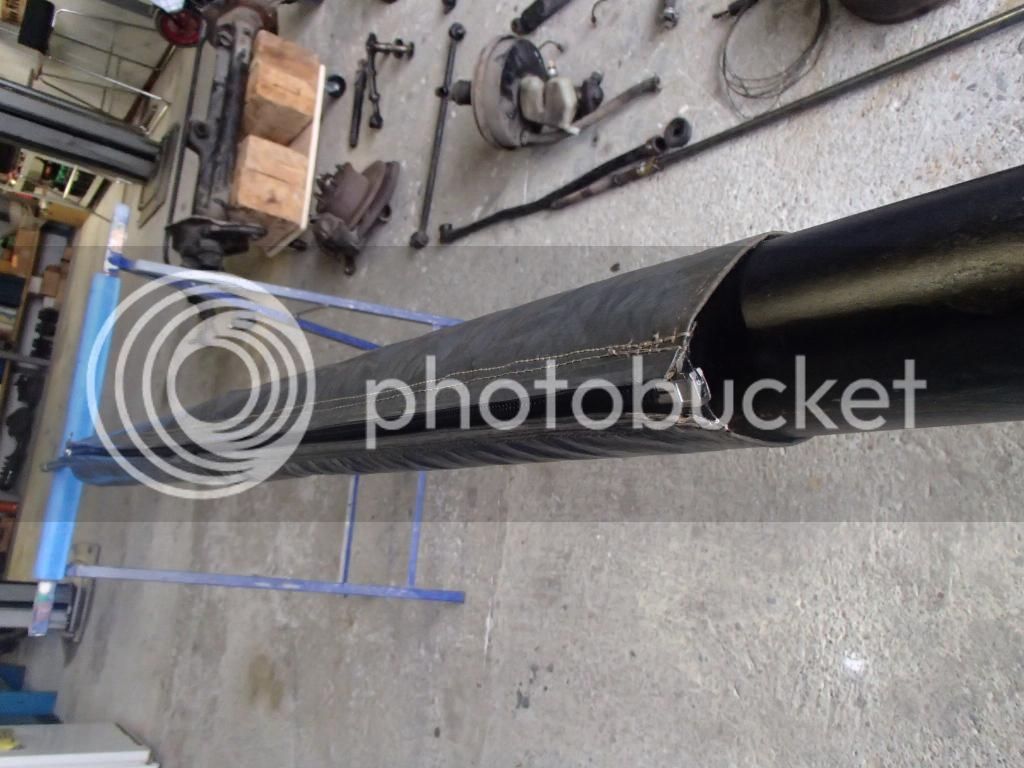
To mount the isolation mats easy, they all got a new zipper.
PB273888_zps91e9c7d2.jpg


PB273884_zpsfd139e5f.jpg


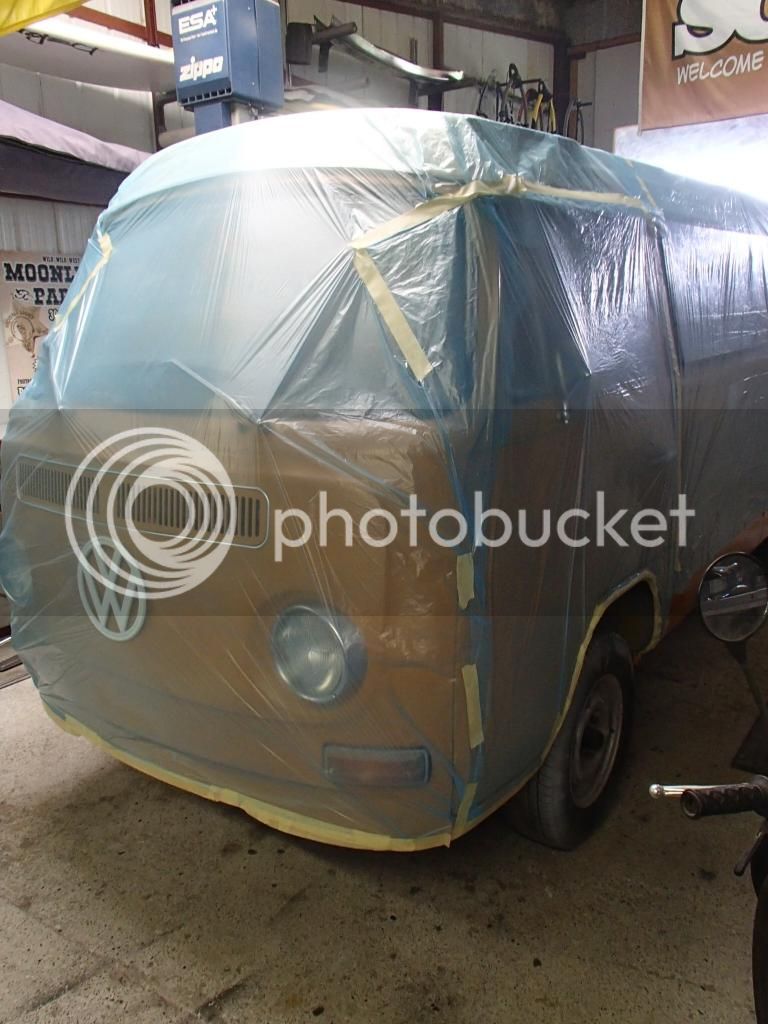
Next step was to cover the bus for the following work.
PA063695_zps7c3e0a4a.jpg


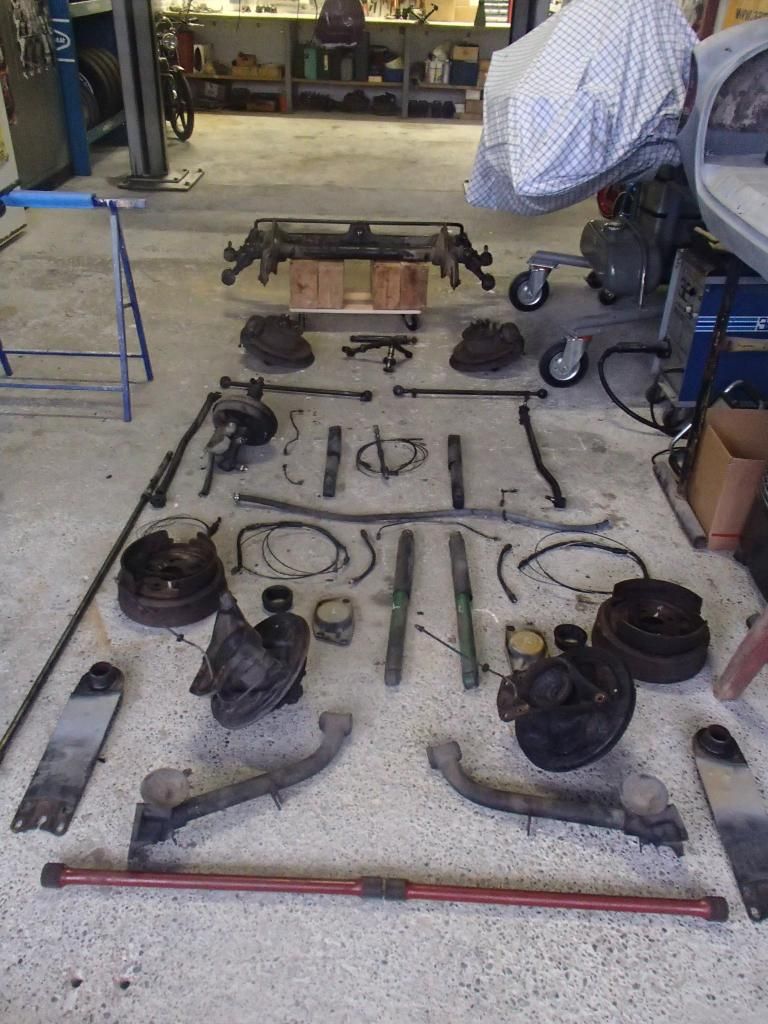
Then I've spent some time to strip the underside of the bus. Everything has to go off...
PB253881_zps079bdd02.jpg


PB253879_zps2b37a81f.jpg


All parts on the ground and ready to clean, sandblast, zincing, powder coating and much more...
PB253877_zps6856d813.jpg


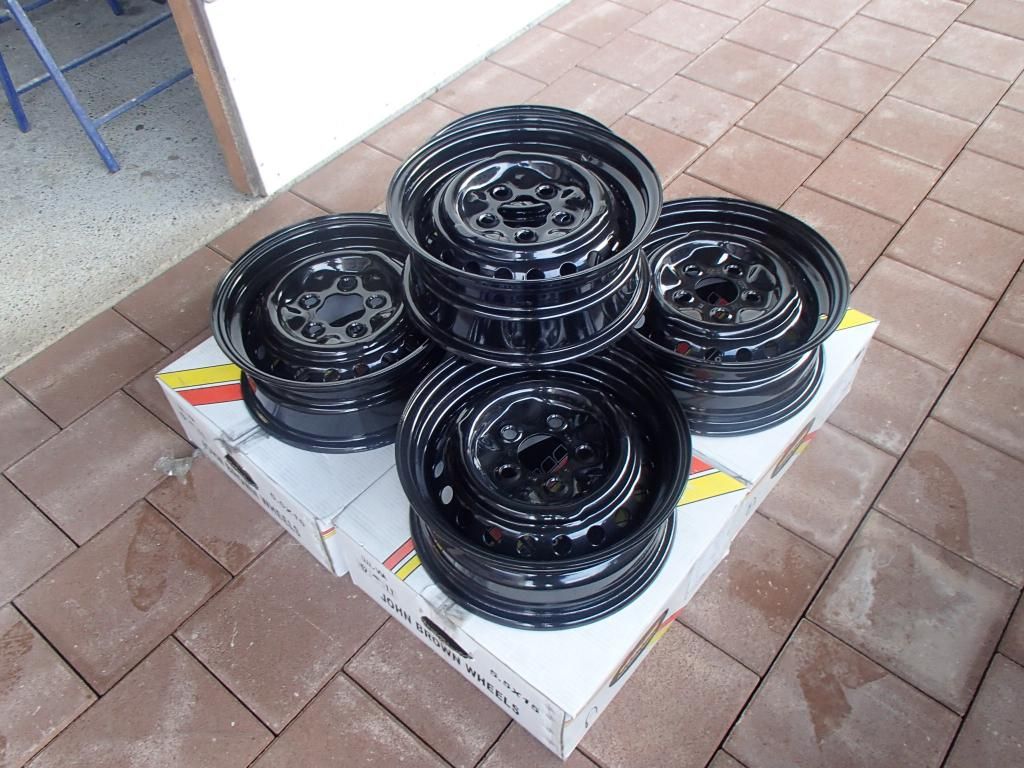
The original 14" steeles I've sandblasted and powder coated in black. For the moment I will store them in my garage. Perhaps the day will come, I will need them! :D ;)
PC153905_zps5858bb64.jpg


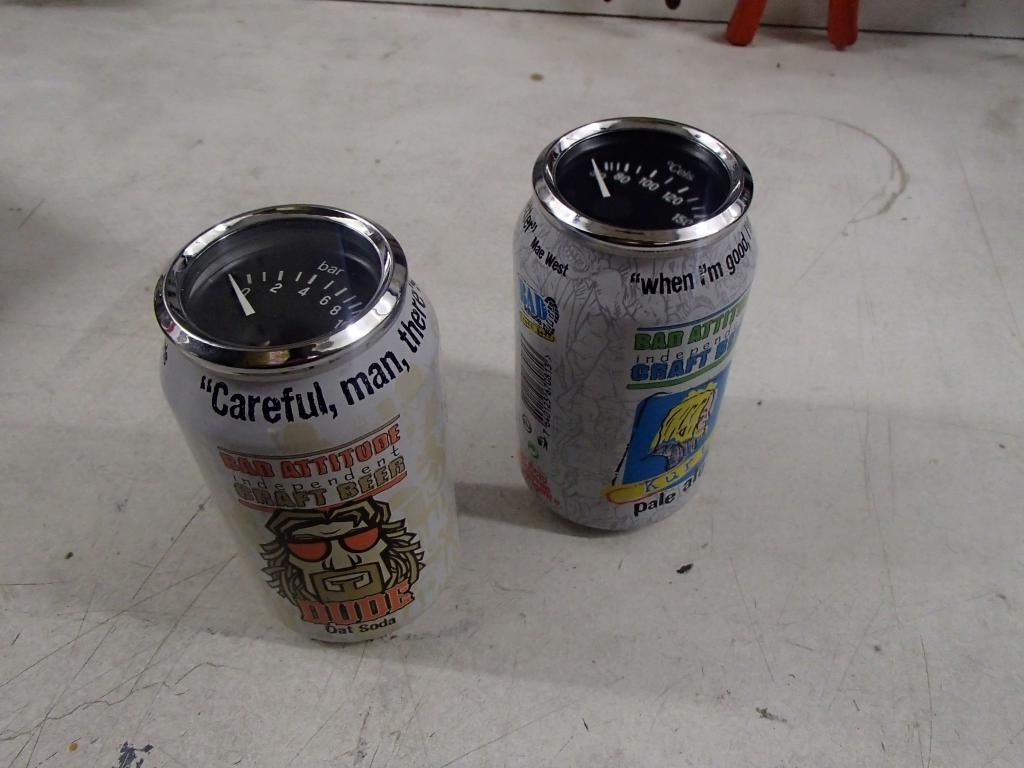
From Olaf I got some VDO-gauges for oil pressure and temperature. My idea is to install them in cans under or on the the top of the dashboard. We will see...
PC163910_zps4576435b.jpg


Wish you all the best for 2015!
Best regards
Reto
 
Thanks guys! :D More pics will follow tonight or tomorrow morning. For the moment I'm in the garage! ;)
Cheers
Reto
 
mike202 said:
After welding, I've grinded the whole engine bay. What a **** job!

that made me chuckle!

Great van and good work. Love the idea for the gauges :)

Me too! :lol:
Thank you, hope it will work as I had in my mind!
See you
Reto
 
Some more work is done...
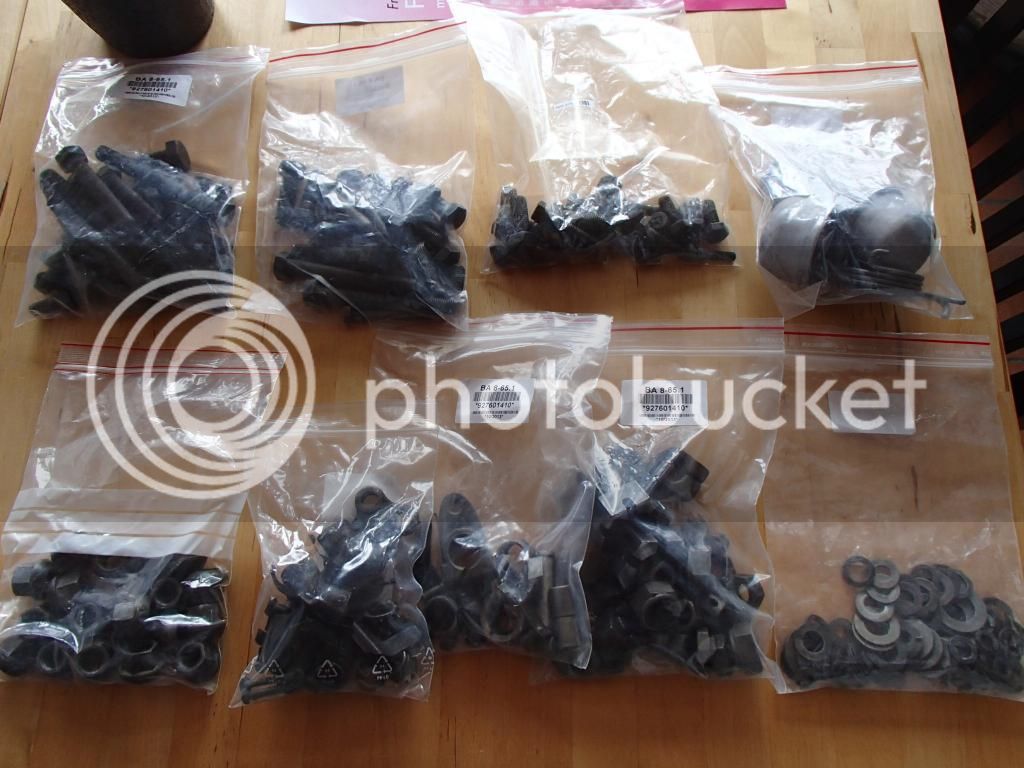
I thought alot about how I could clean all screws, bolts, etc. from the underside of the bus. If you want to clean every single bolt separately, this will be an never ending story! So I took the easy way! :lol:

First step was to clean all stuff in the washing machine. If you have no machine, you could put the bolts, etc. in petrol for one or two nights.
PC293686_zps3924664b.jpg


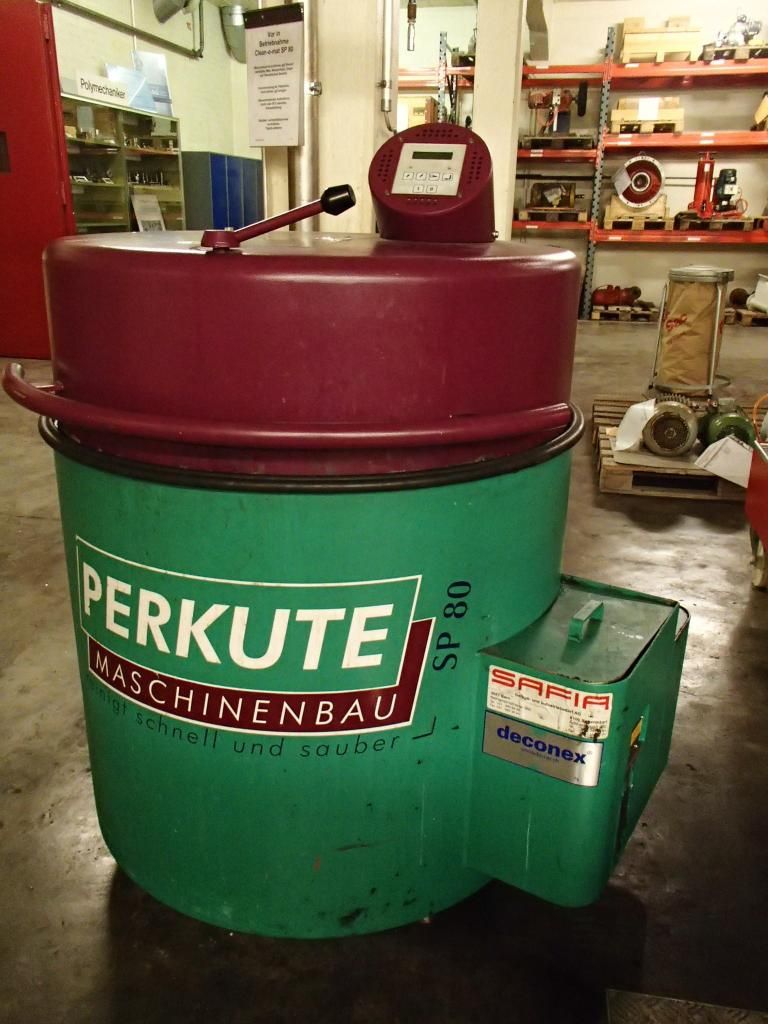
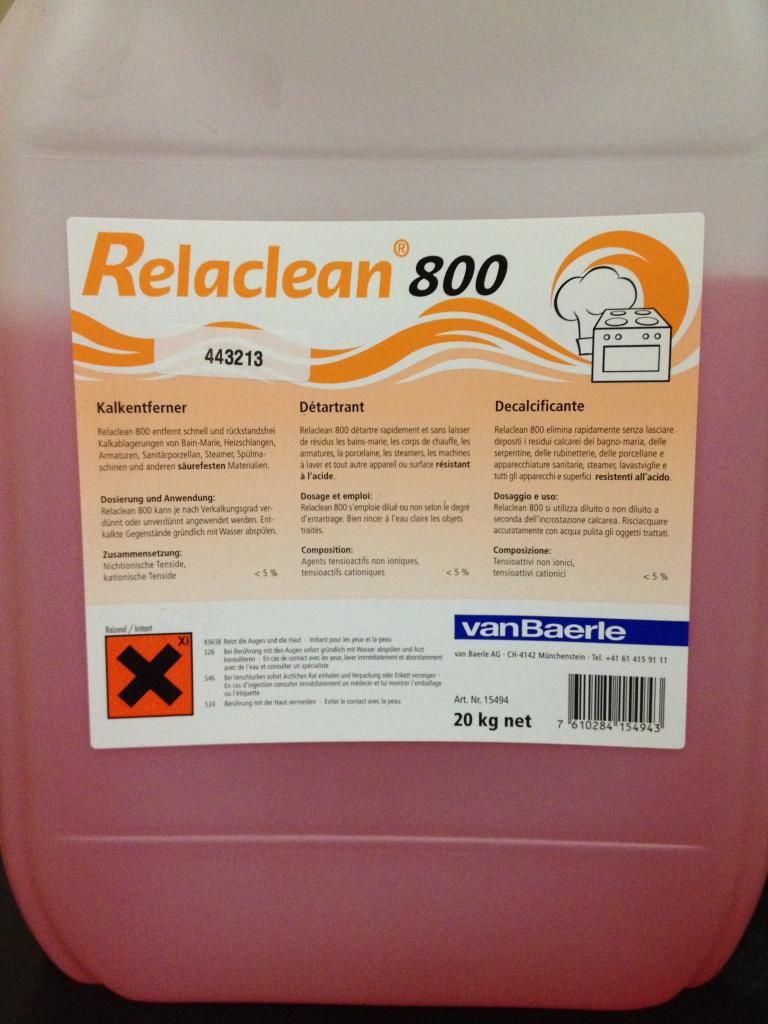
Then I put all parts for two or three nights in descaler.
Bild027_zps313b15ee.jpg


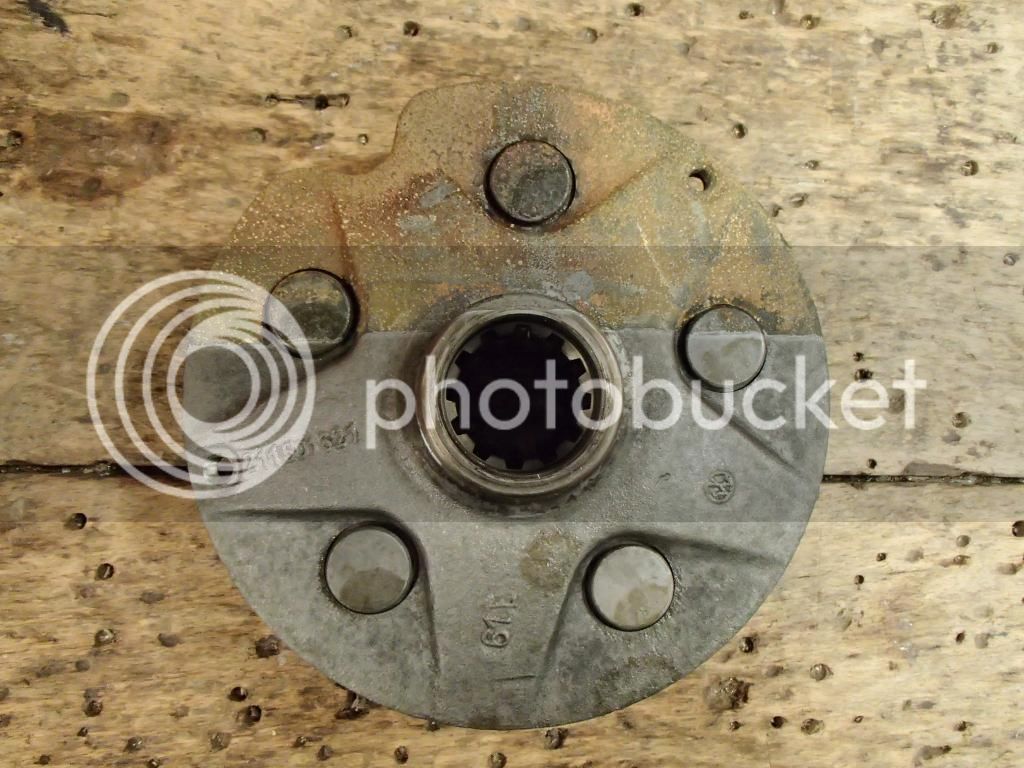
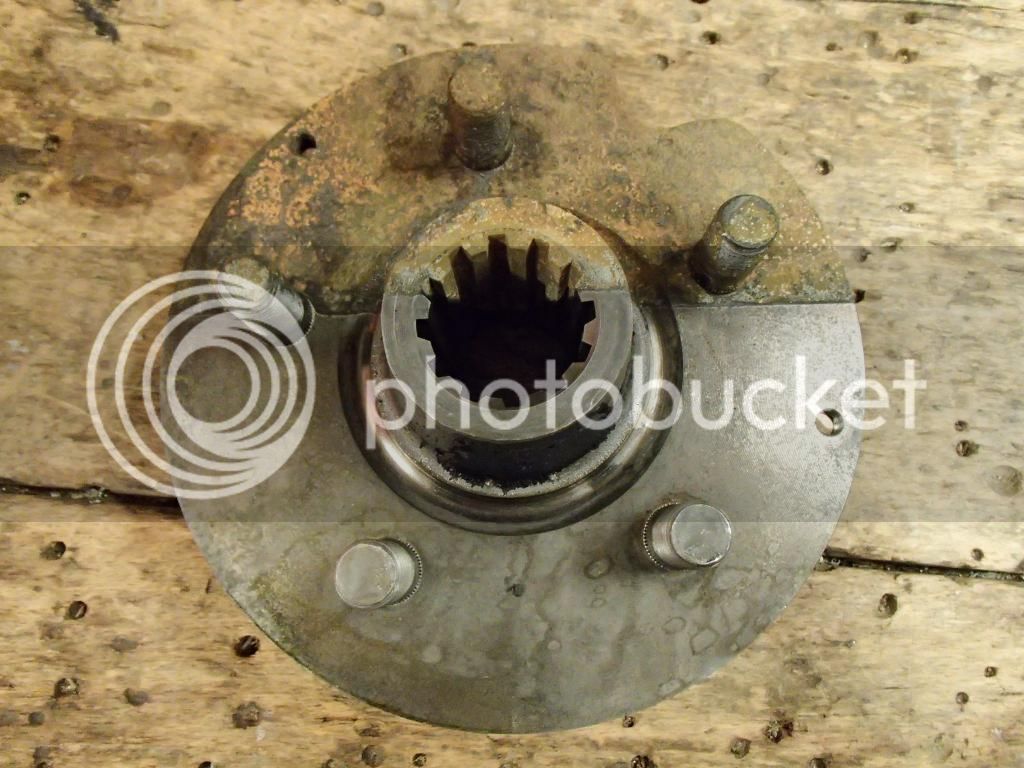
And after a good wash the screws, etc. looks like new! Here you can see what's happen with this stuff...
PC293692_zps59f4490f.jpg


PC293695_zpsd542096d.jpg


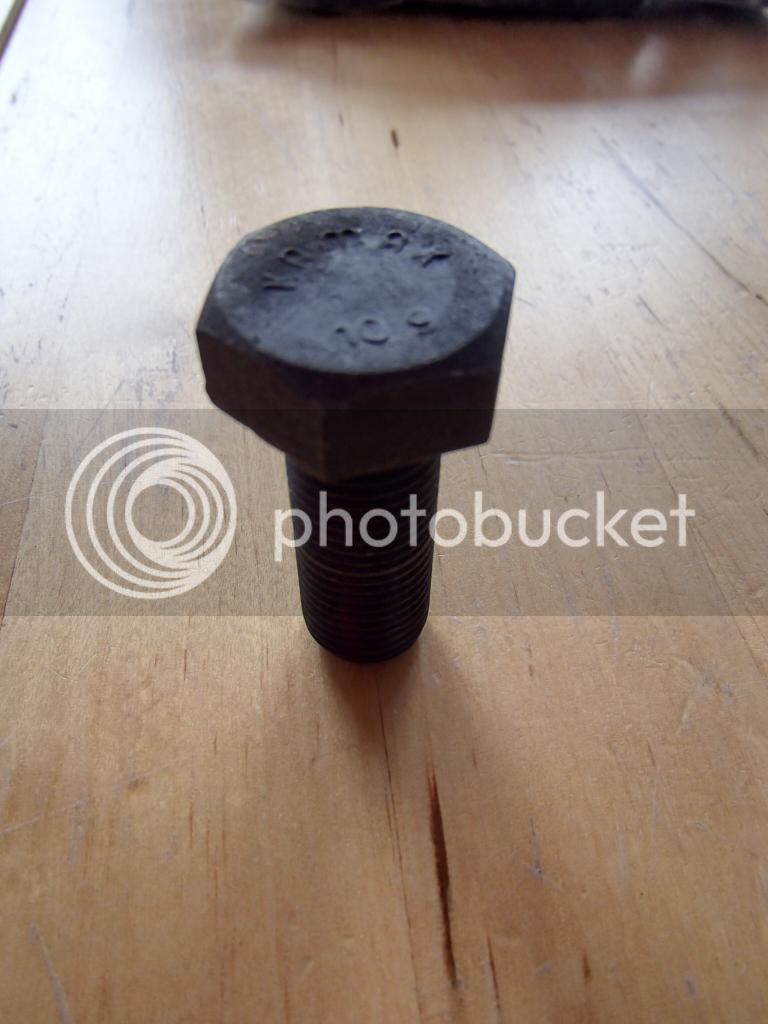
Screws and other parts...
PC303700_zpsc70d4d8c.jpg


PC303704_zps4f462489.jpg


Ready for some fresh zincing!
PC303697_zps69ef9ddd.jpg


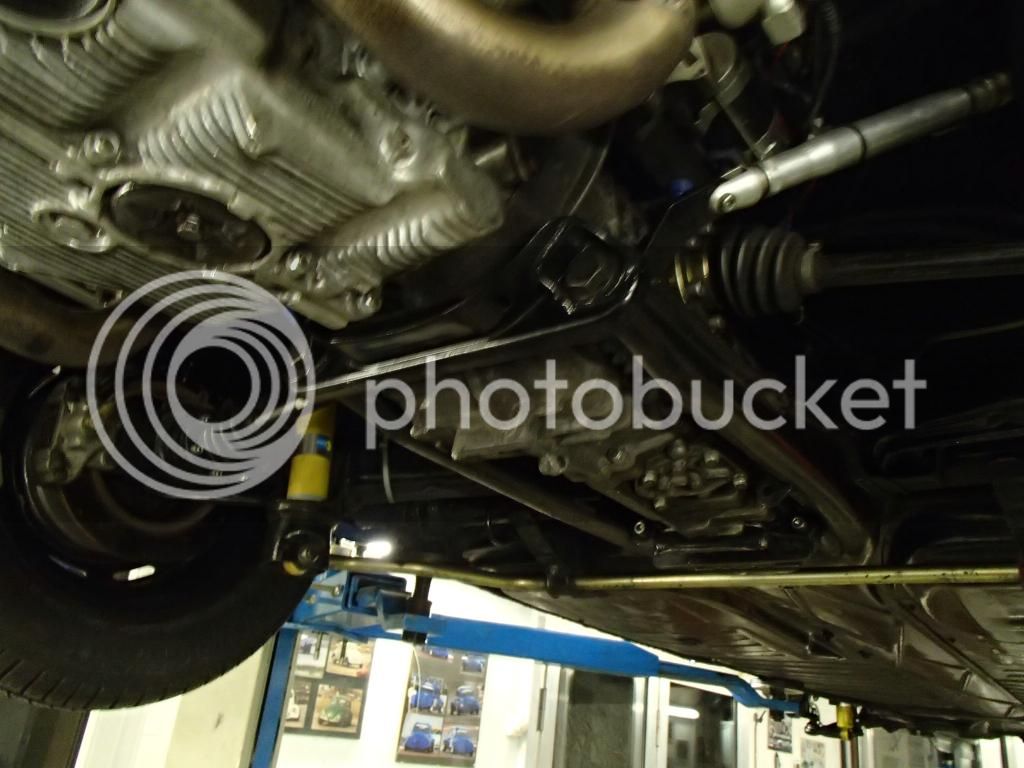
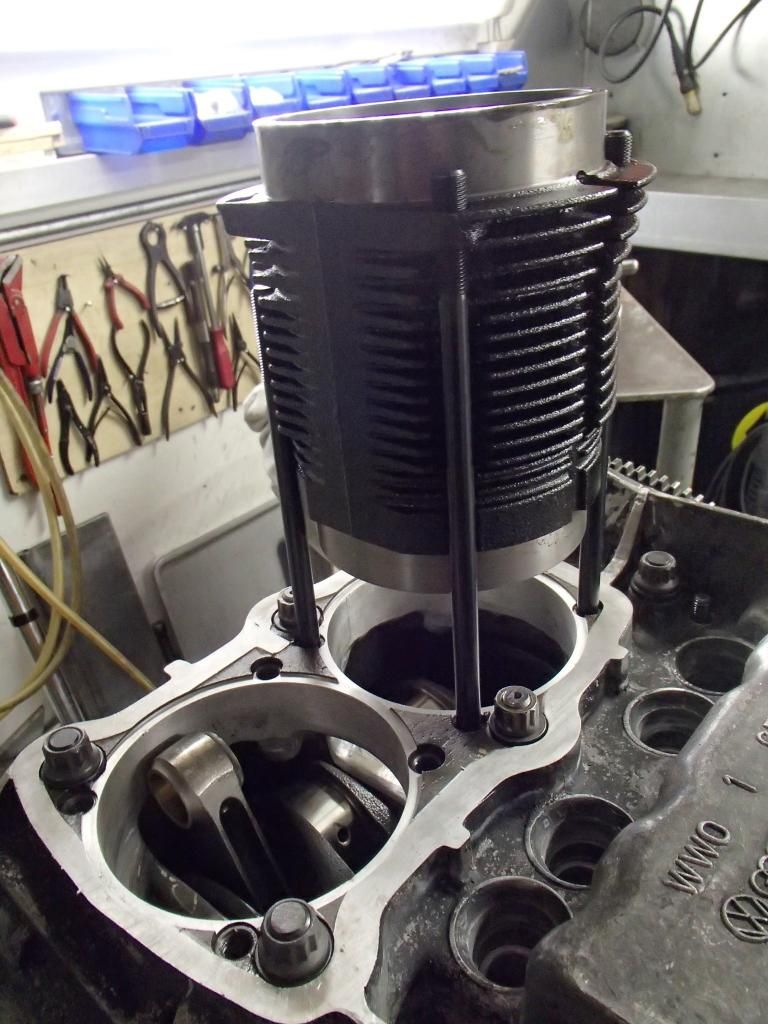
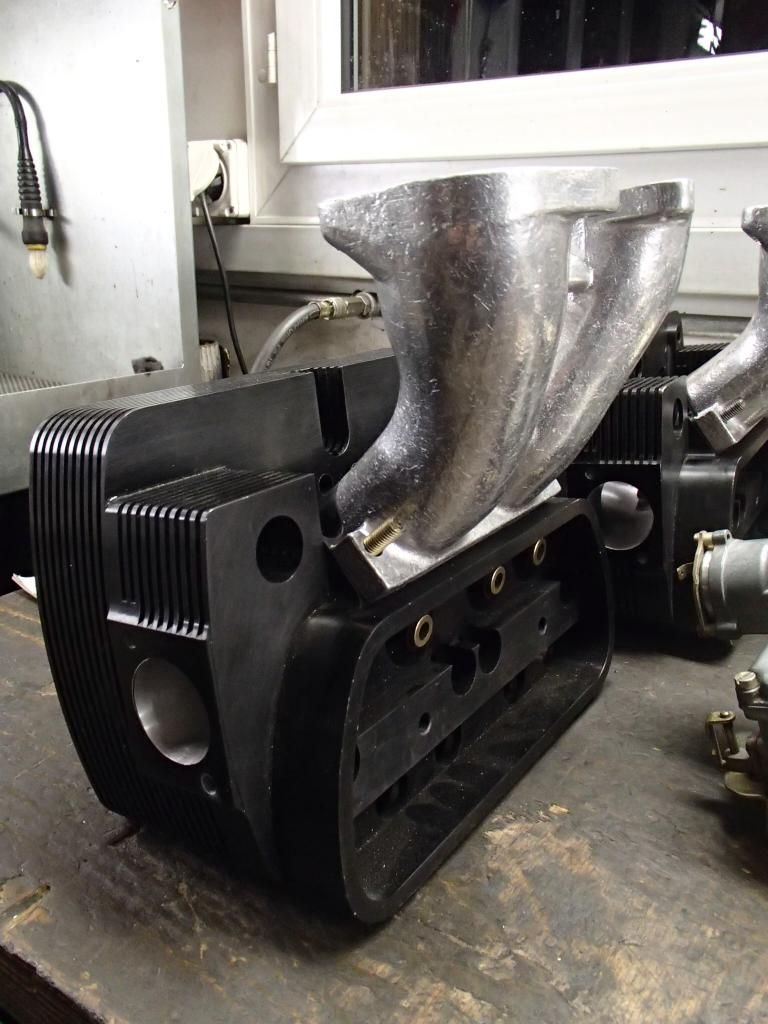
I made a visit at my buddy Walter. As always he's working on some interesting engines.

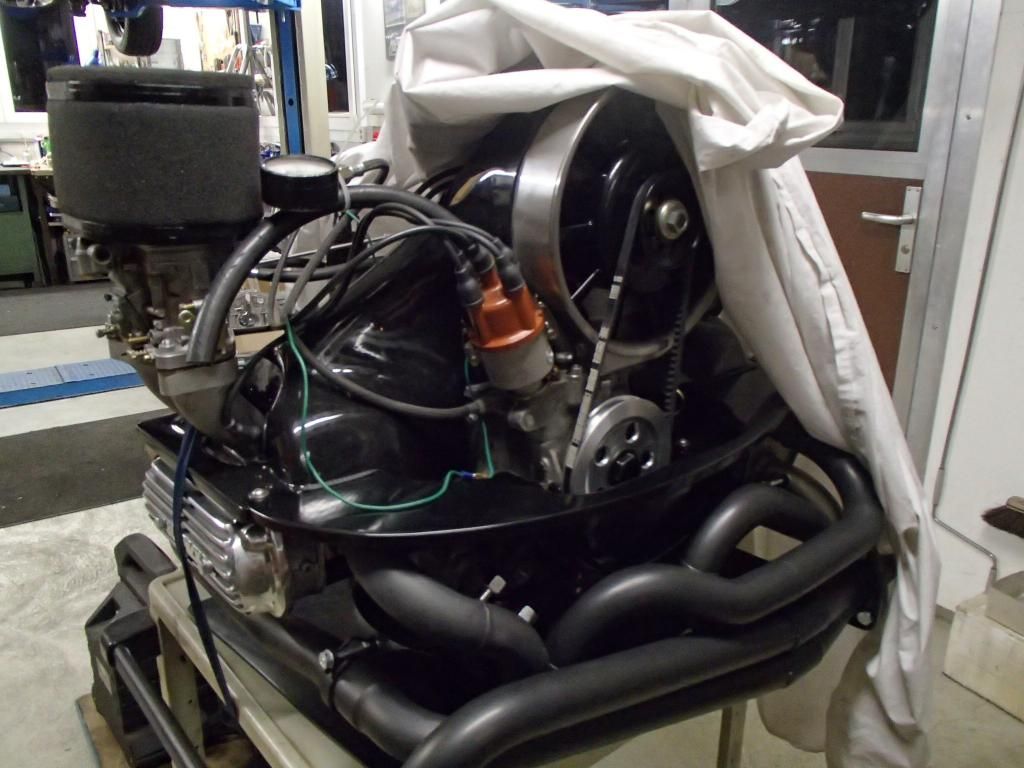
His new engine for next season. Will bring around 180-190hp on the dyno! :p
P1073723_zpseeac131d.jpg


His race-bug...
P1073719_zps7db37b58.jpg


P1073720_zps6d98d108.jpg


And an other really cool engine build with lot of horsepower!
f5a8f46e-4e0b-4748-a38c-2b26255c9ac3_zps455a112f.jpg


a8c6d900-2d5a-40f6-855a-36952d07c0e4_zps1506e2b0.jpg


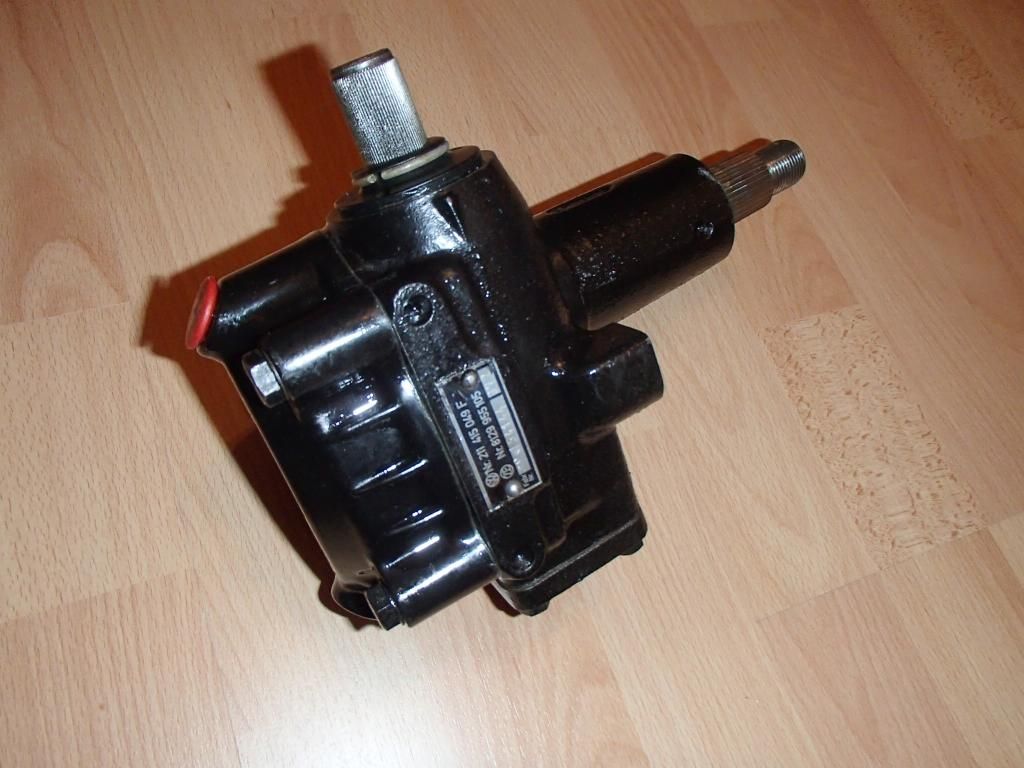
He has rebuild my steering box for me. Thanks Walter!
P1073729_zpsef755888.jpg


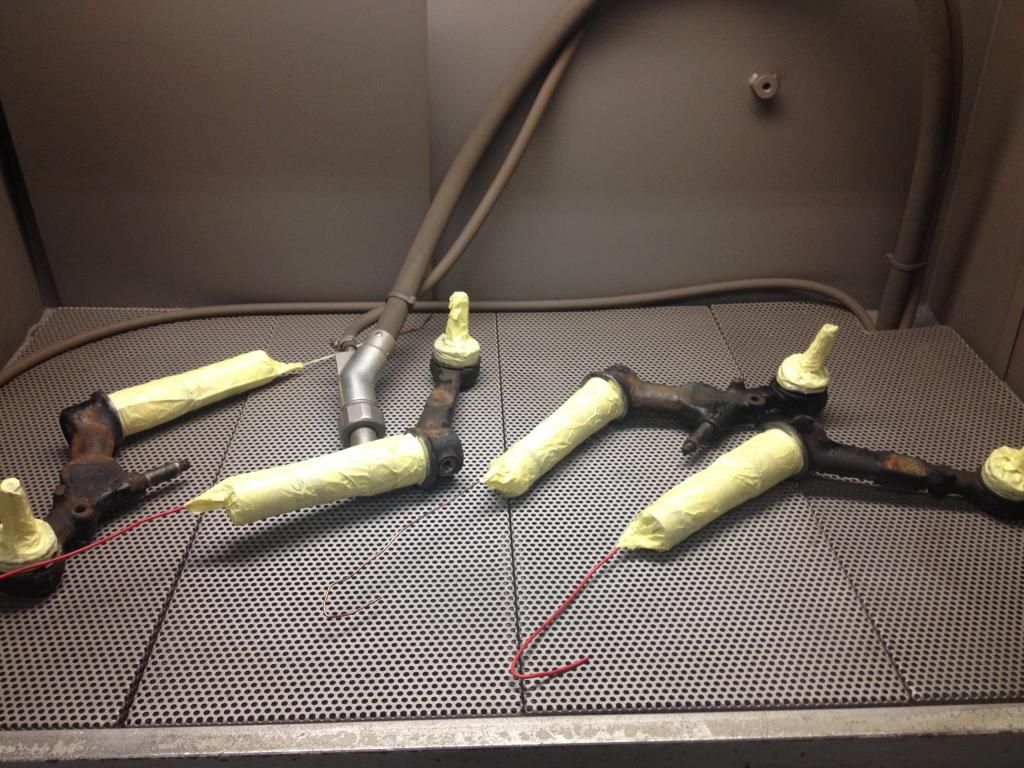
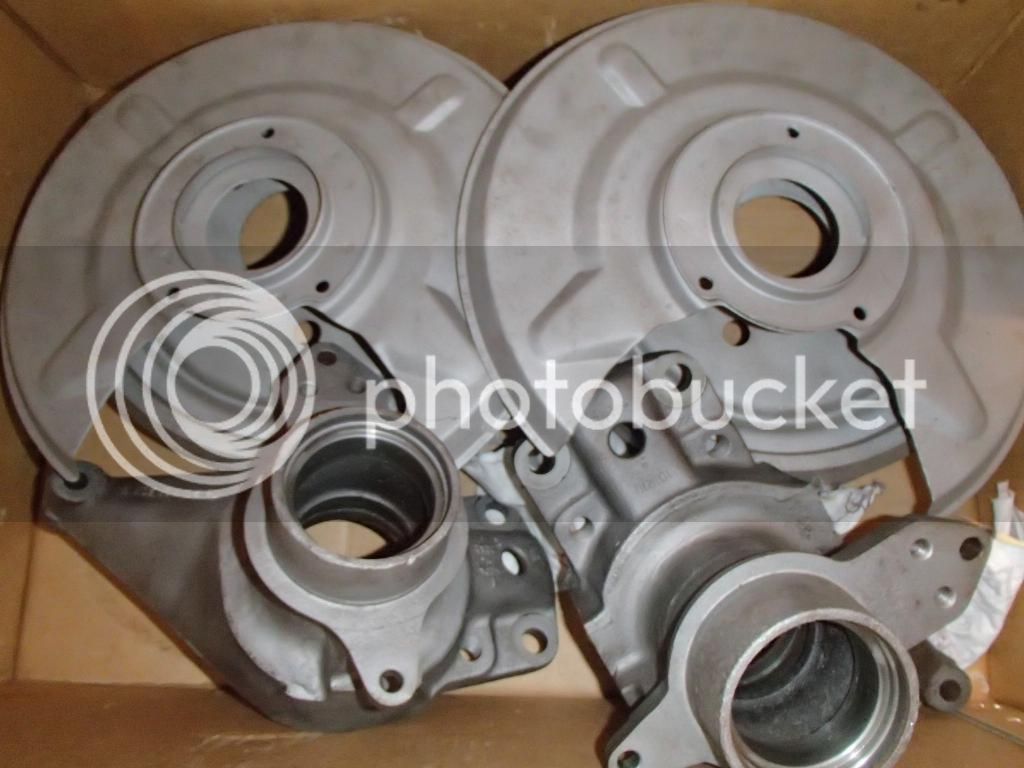
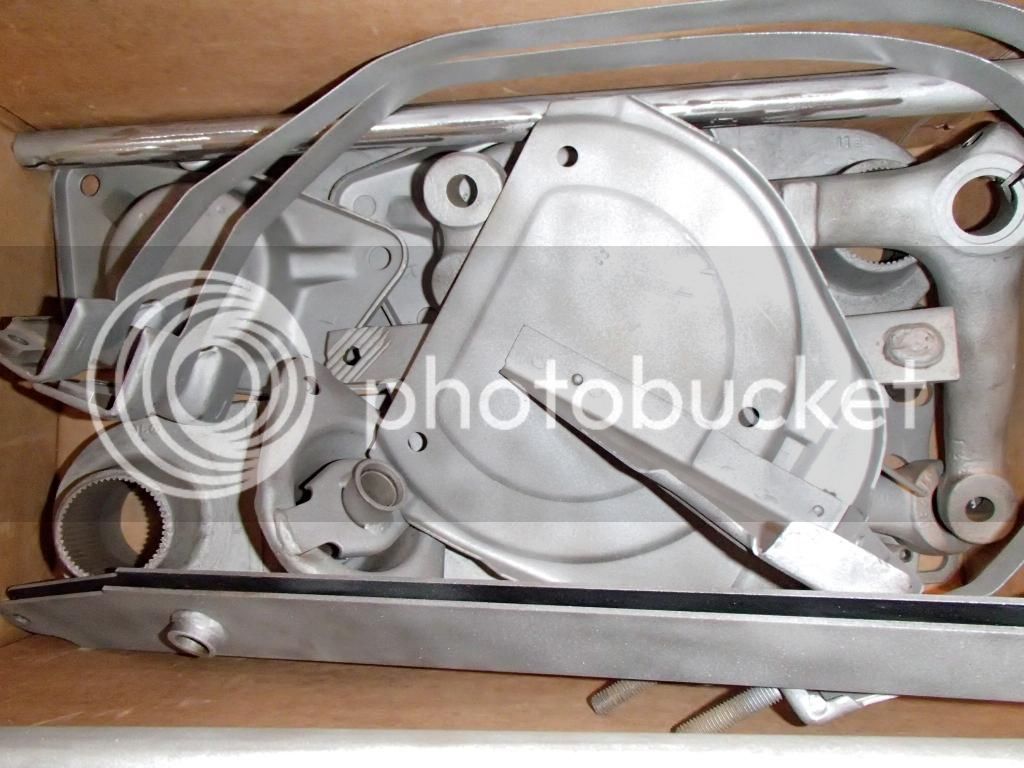
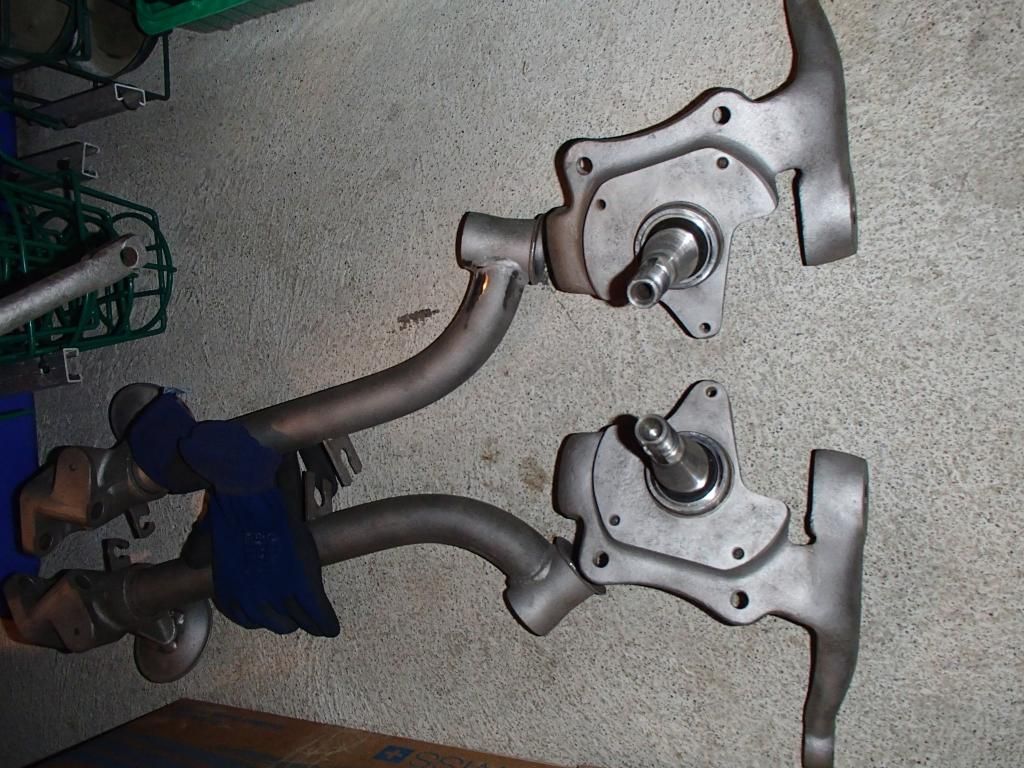
I spend two days of my holiday for sandblasting my suspension parts. Happy that I could do this work at my factory!
Bild004_zpsac516074.jpg


P1073682_zpsd54213f7.jpg


P1073691_zps6e9d8745.jpg


P1073693_zps9ce41190.jpg


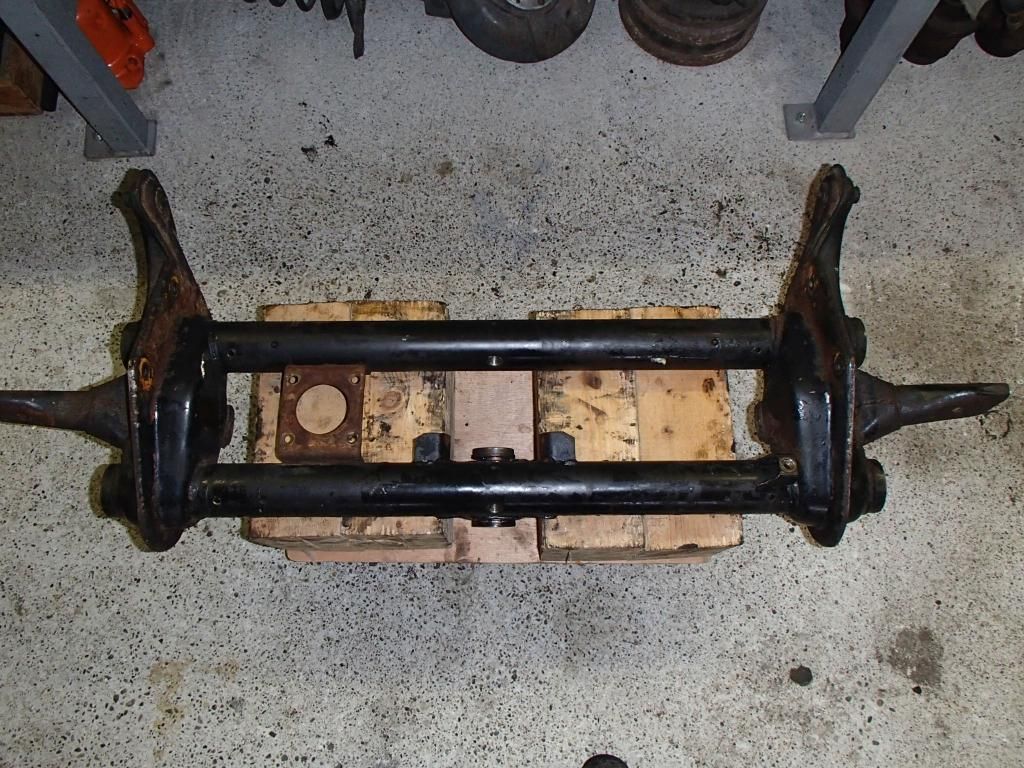
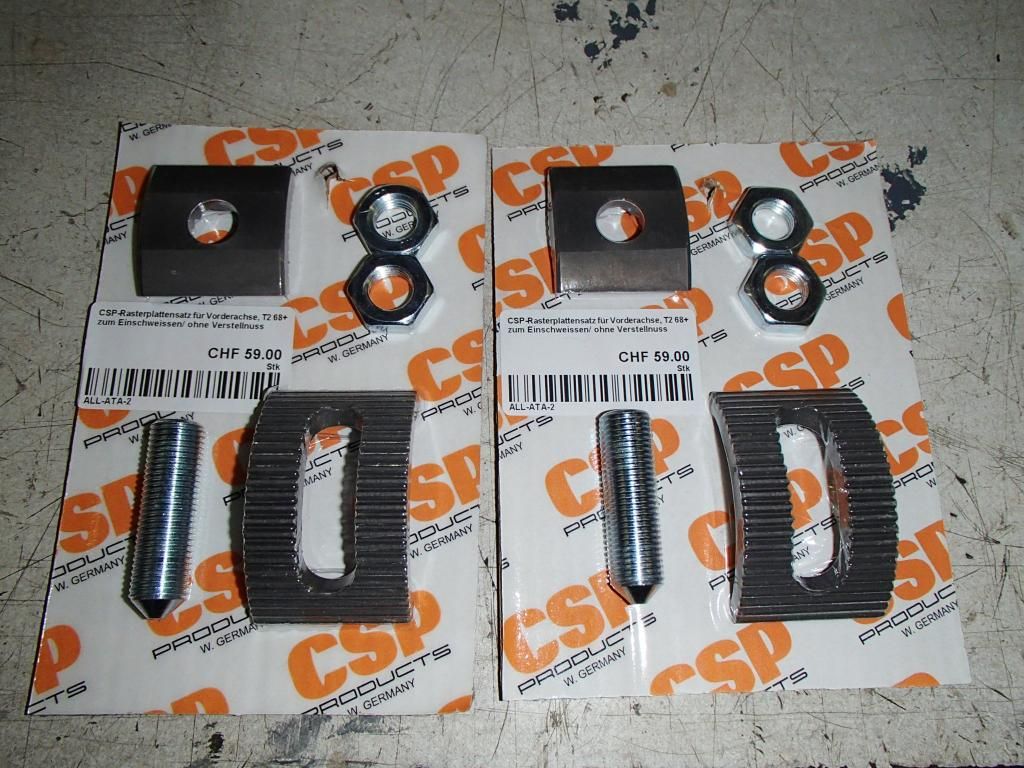
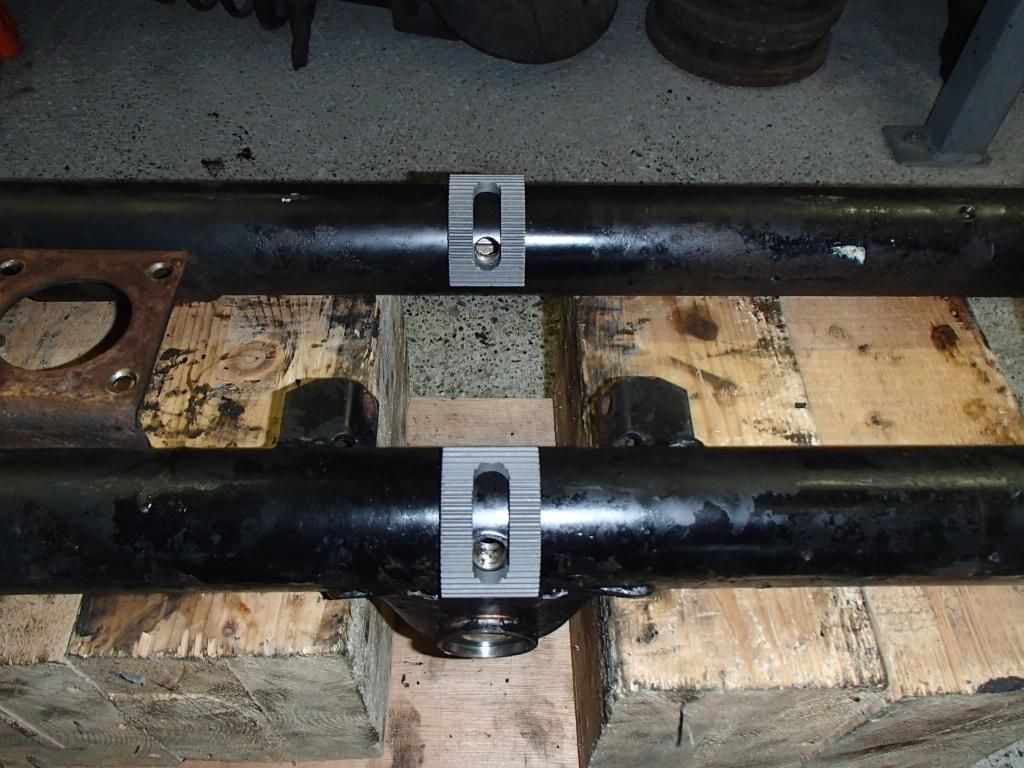
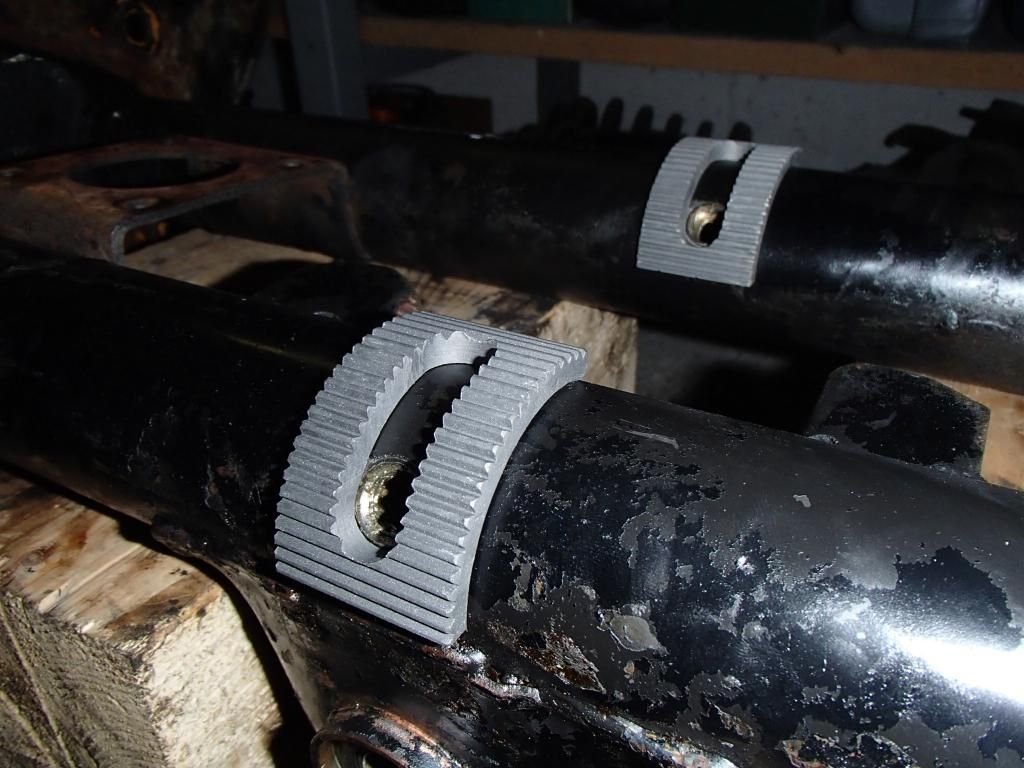
And my original beam is nearly ready to get some adjusters from csp.
P1073697_zpsf33eba52.jpg


P1073699_zps32c89703.jpg


P1073700_zps1144b4b8.jpg


P1073703_zpscf9def49.jpg


Have you all a nice evening!
Reto
 

Latest posts

Top