Aircooler
Well-known member
Hi guys!
In the last few days I made some good progress on the bus. So here we go...
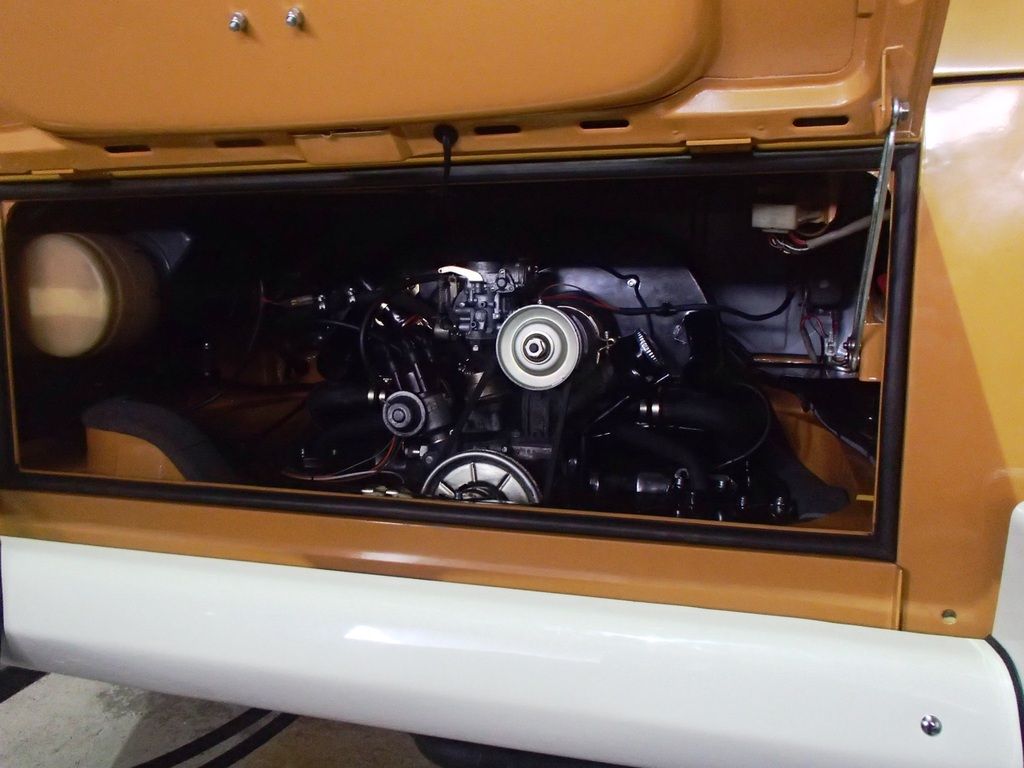
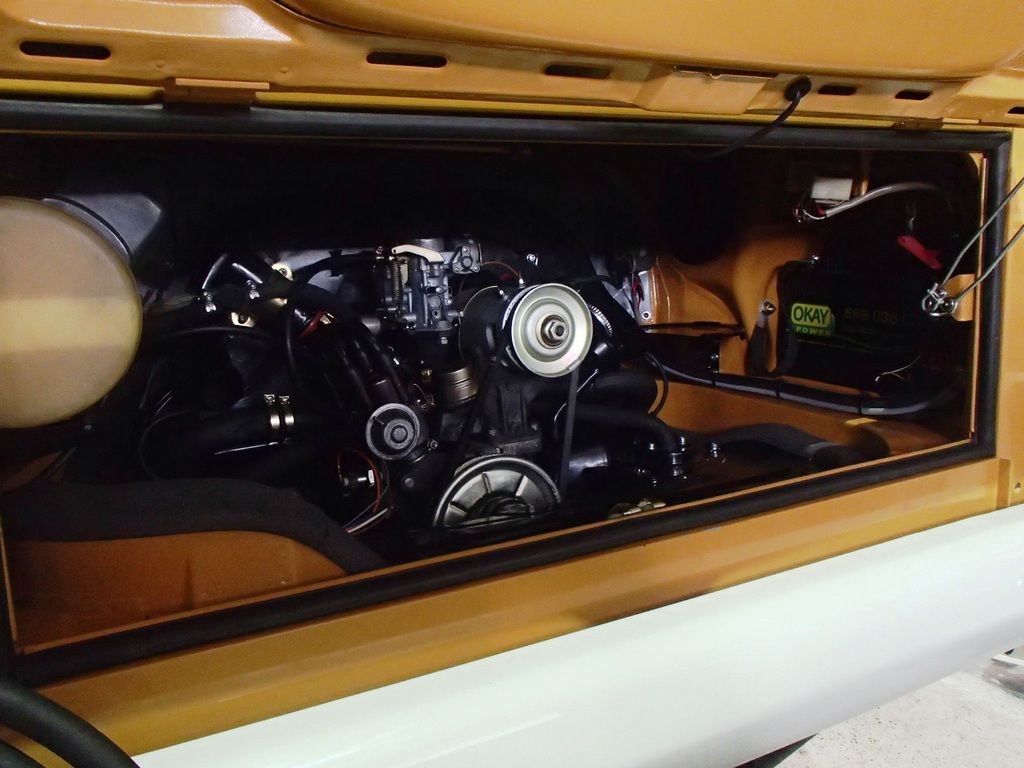
The gearbox and driveshafts are back in.
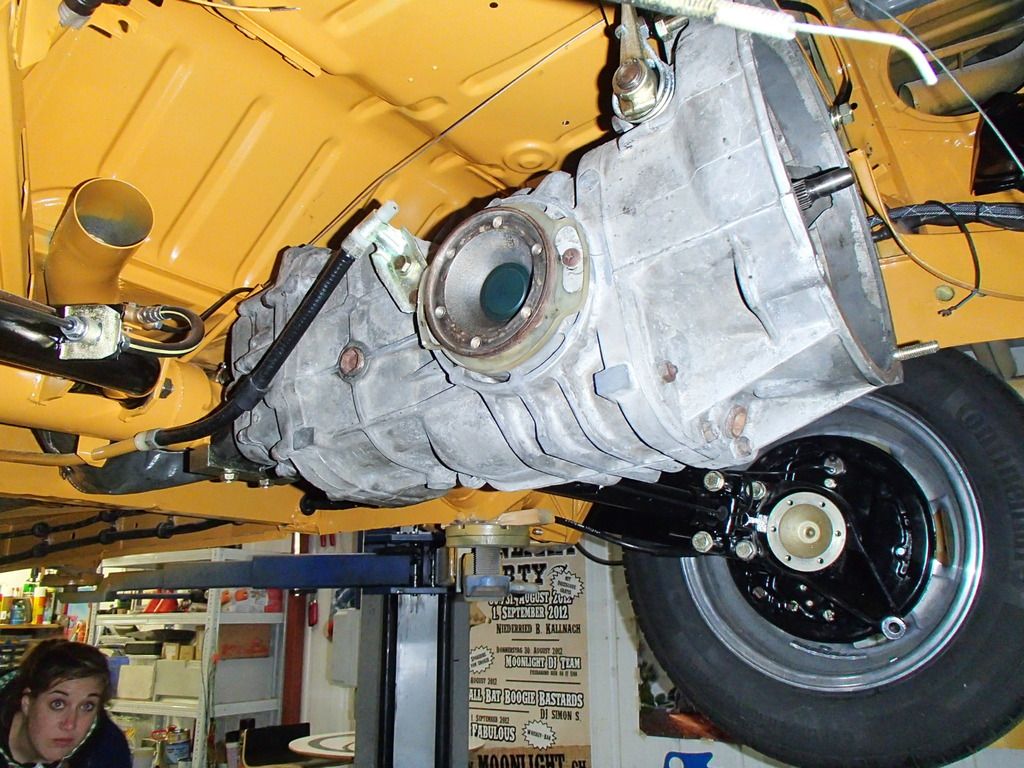
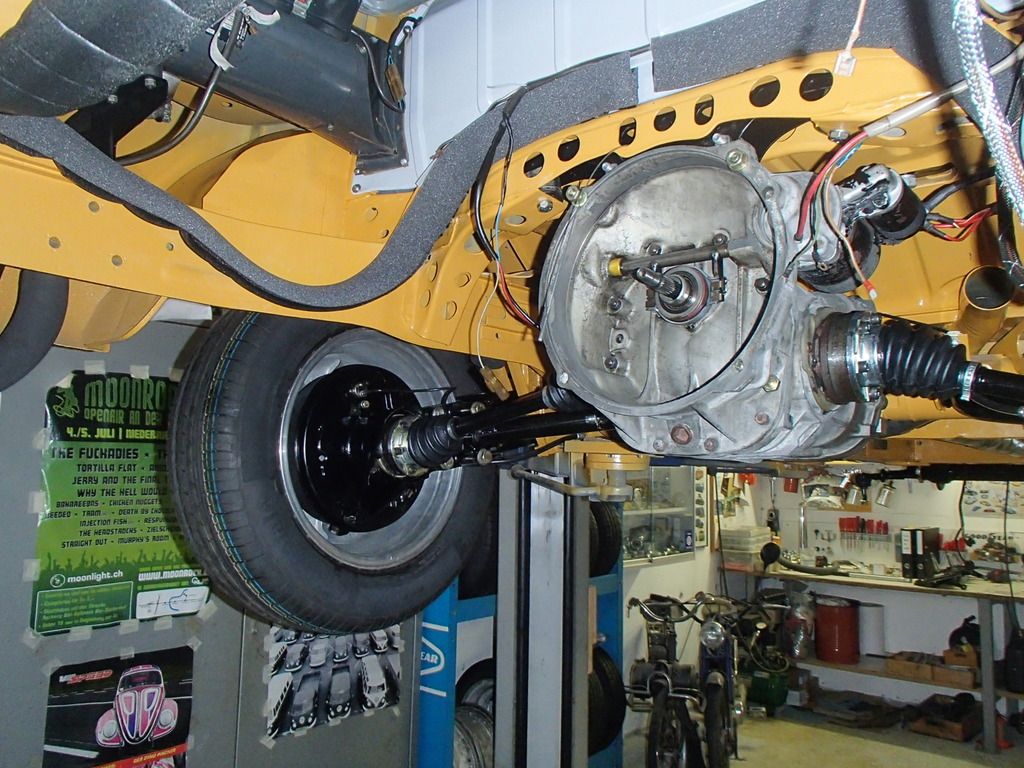
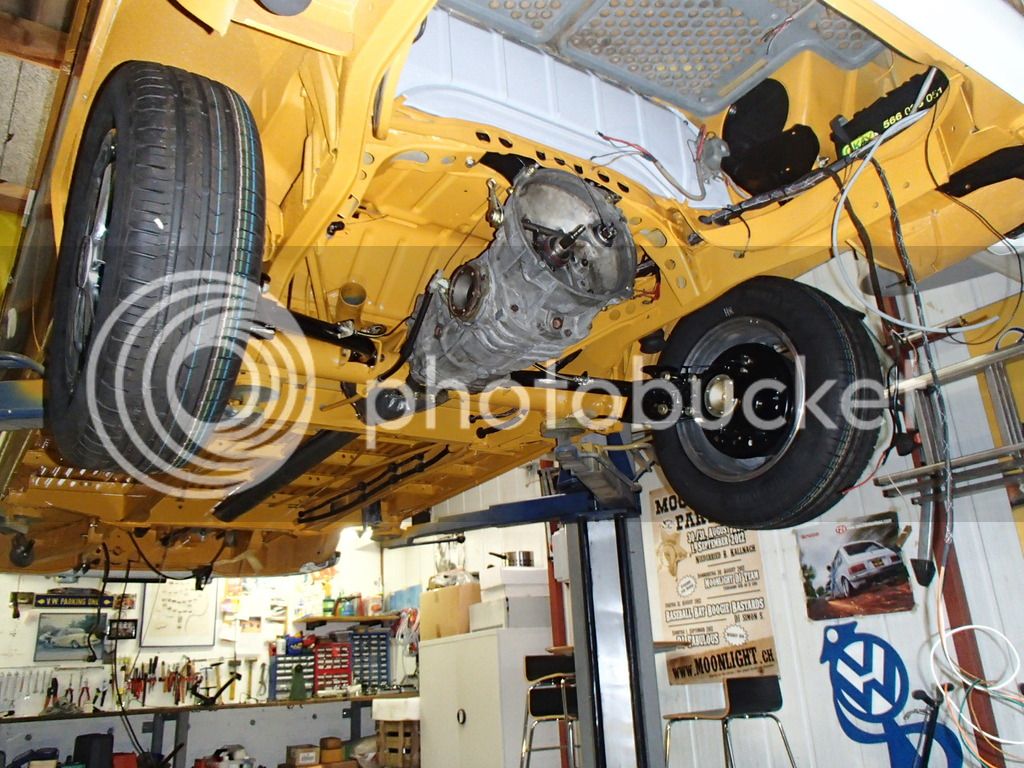
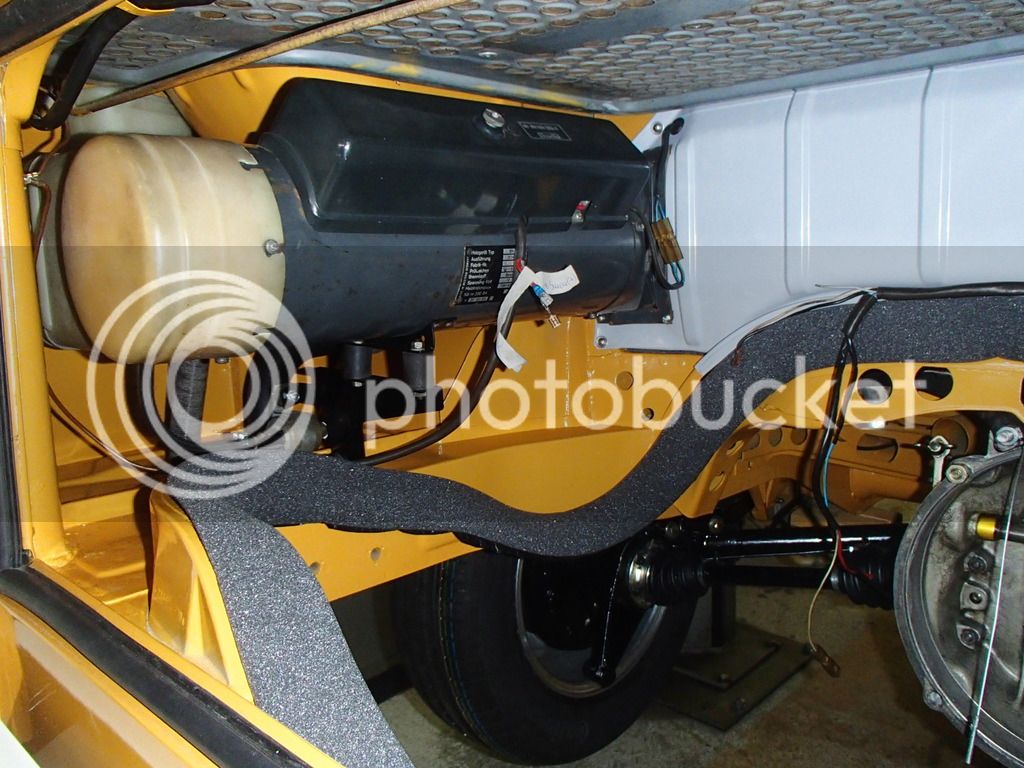
Then I've mounted the Eberspächer heater. I did a mistake with the cable for the control flap. I put the cabel in the tube for the vacuumline for the brake booster. This will be redone one more time...
To the front of the bus. Front beam is also back in. With the help from my dad this was an easy job.
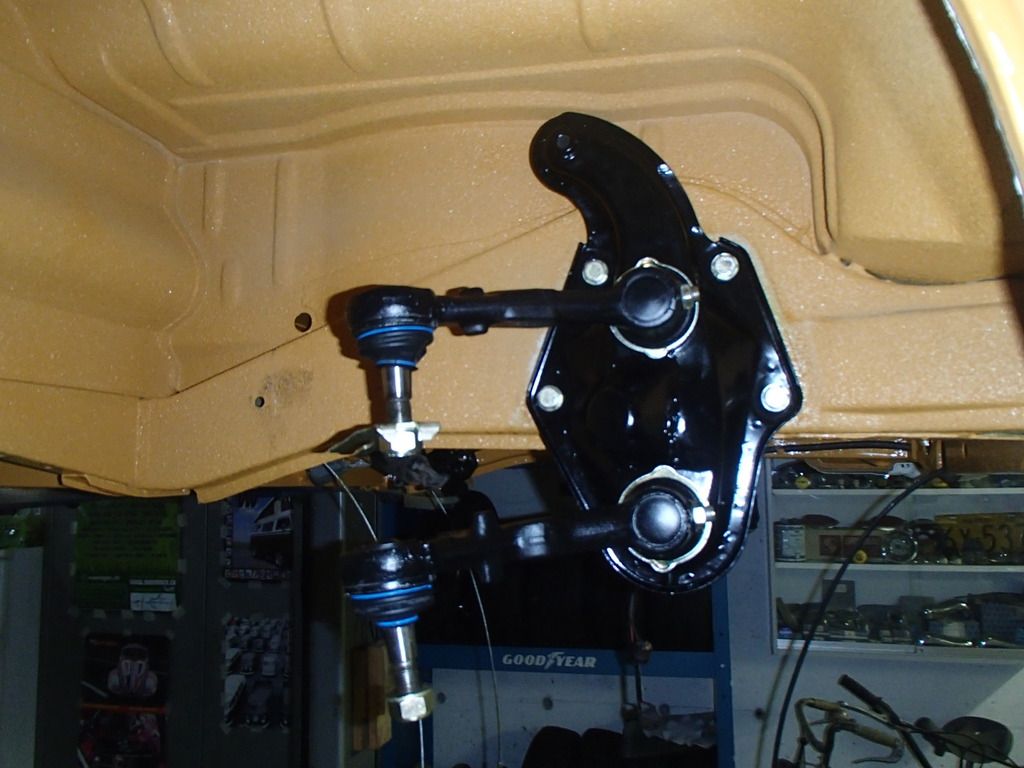
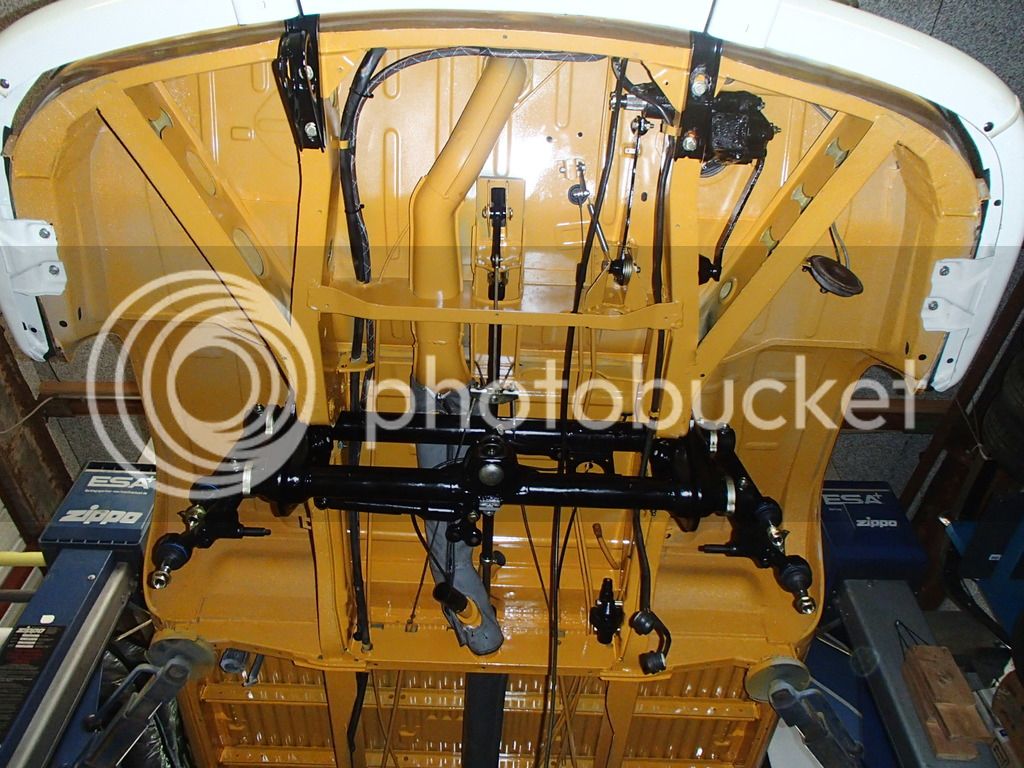
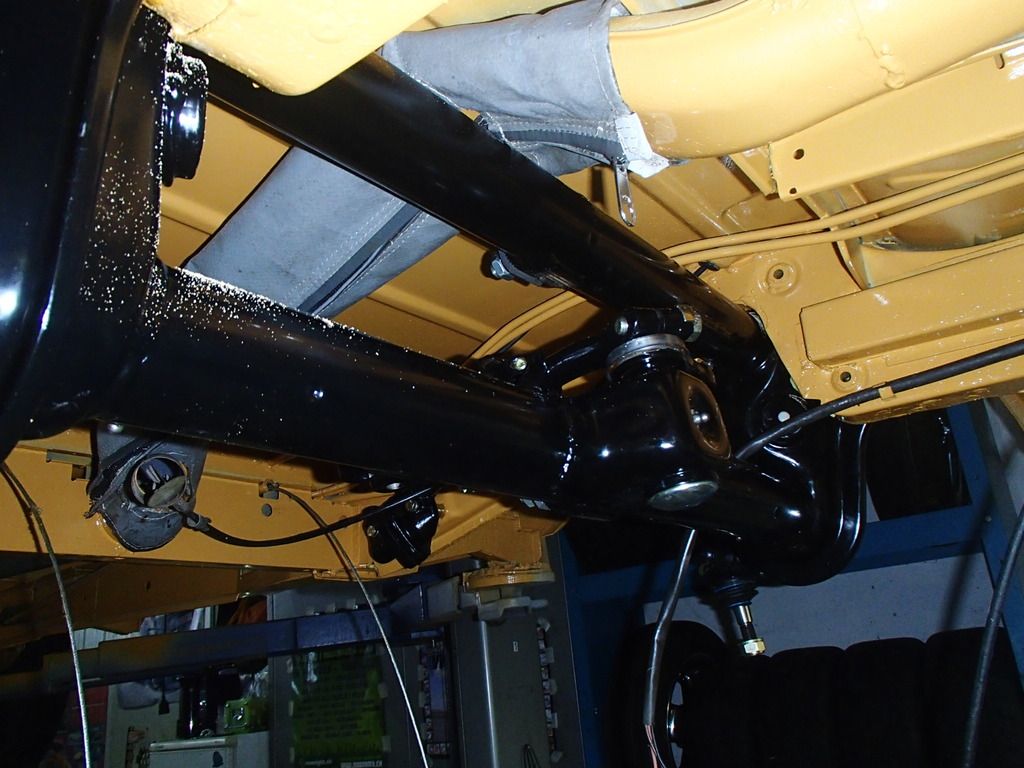
The clamps for the stabilizer which I bought, aren't galvanized. So I couldn't mount them!
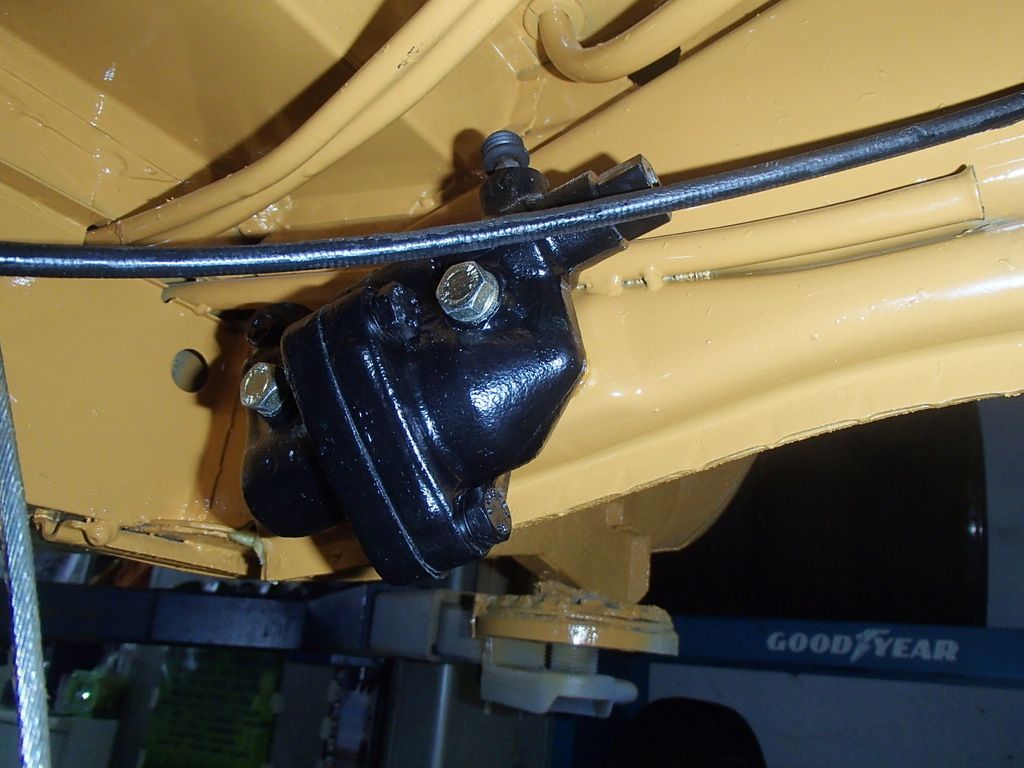
The Braking force regulator is also in place.
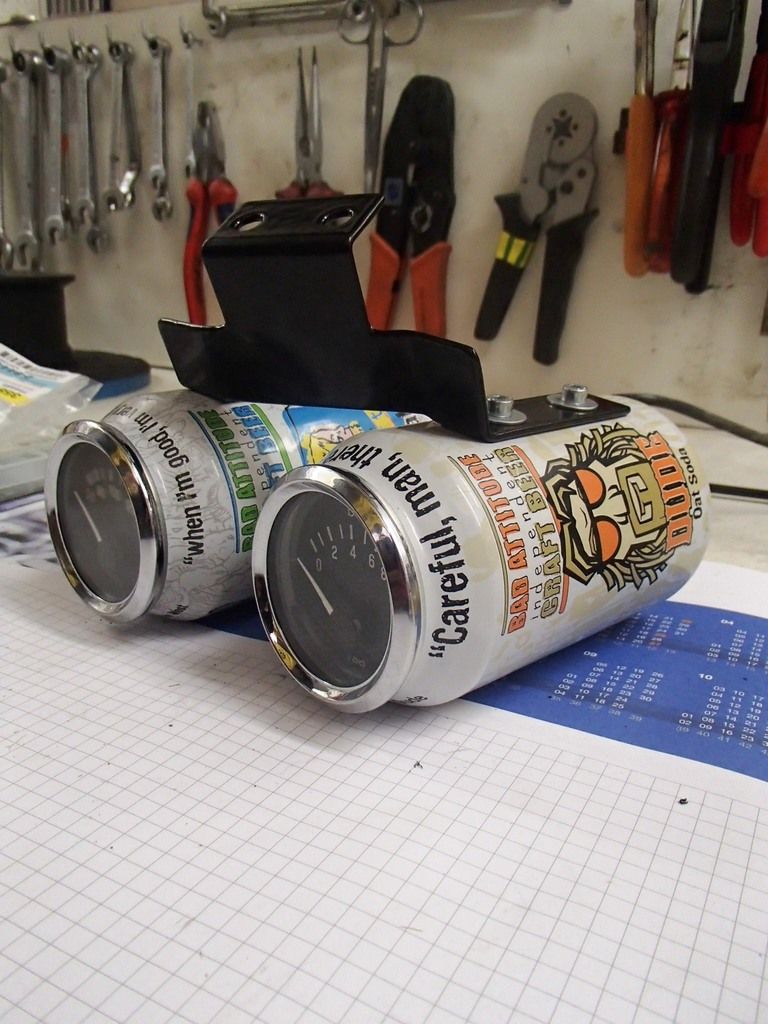
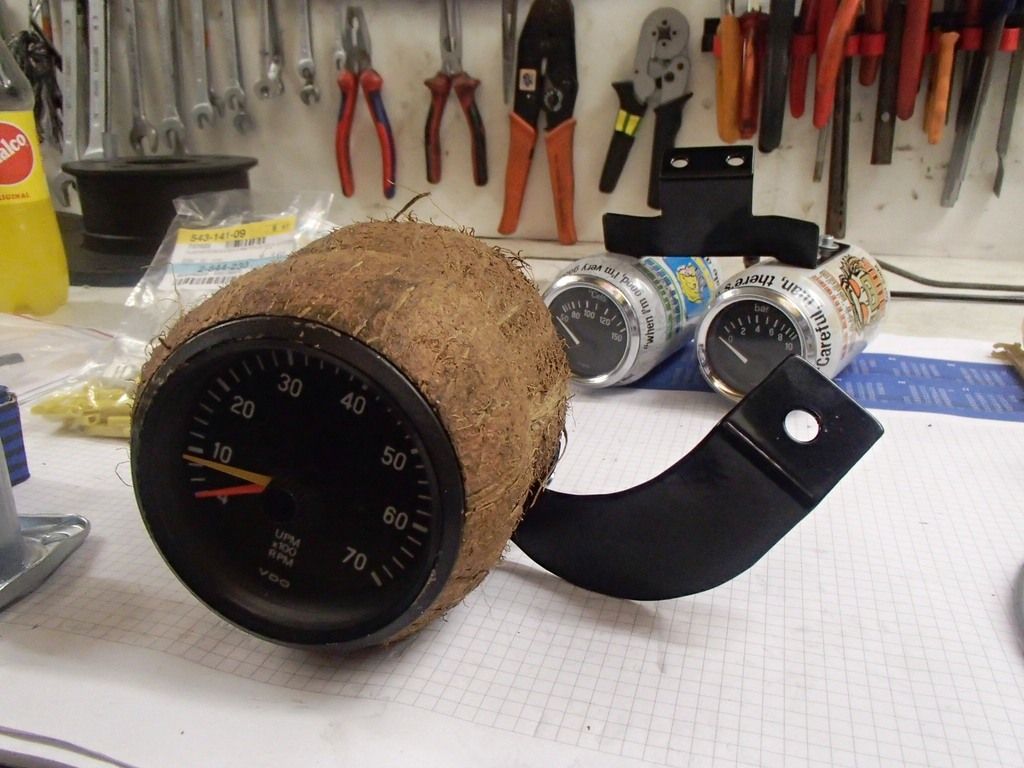
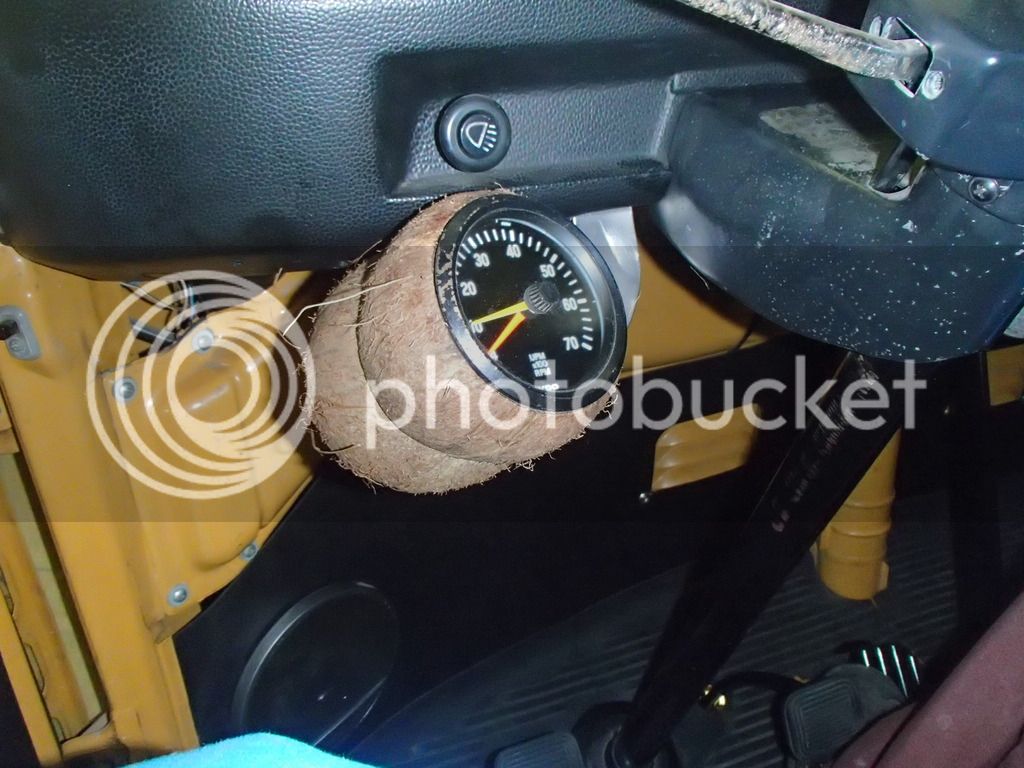
To the interior. I made some special holders for the gauges of rpm-, oil-pressure and oil-temperature.
My special coconut rpm gauge! :lol:
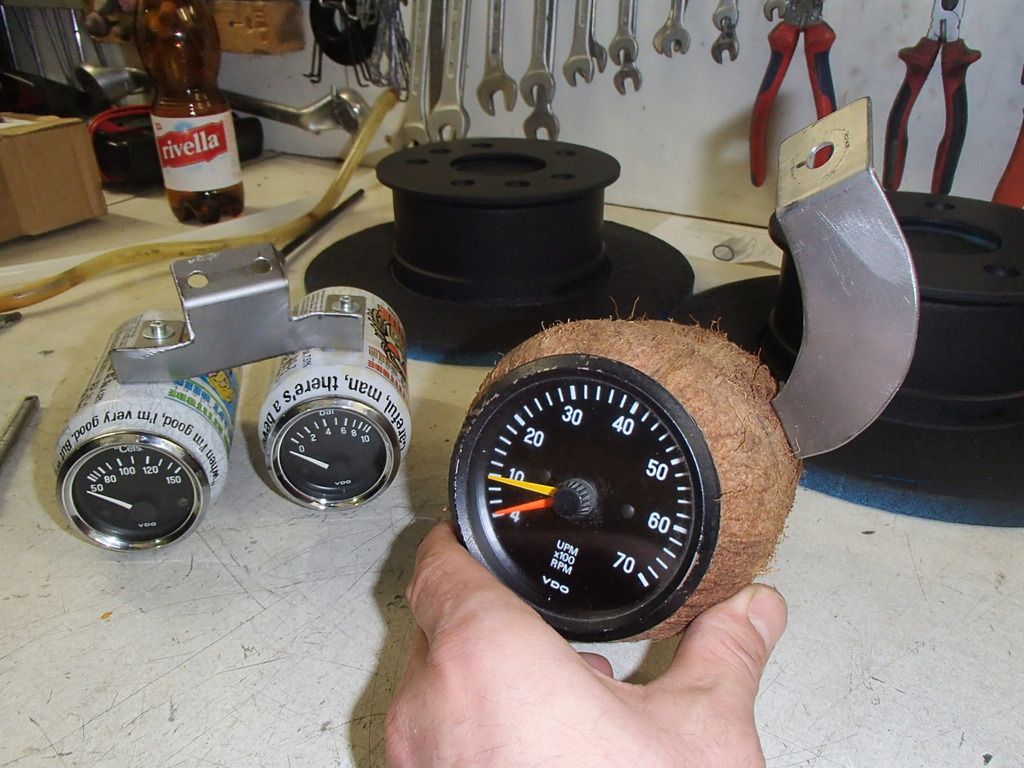
And the holder for oil pressure and oil temperature.
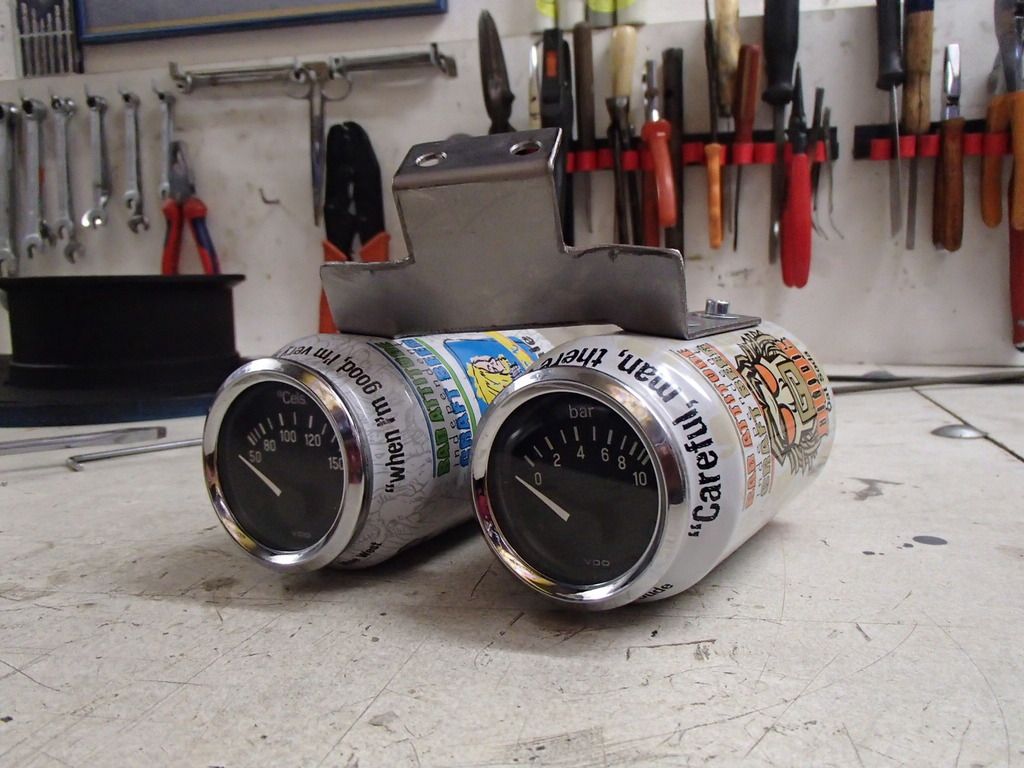
In position...
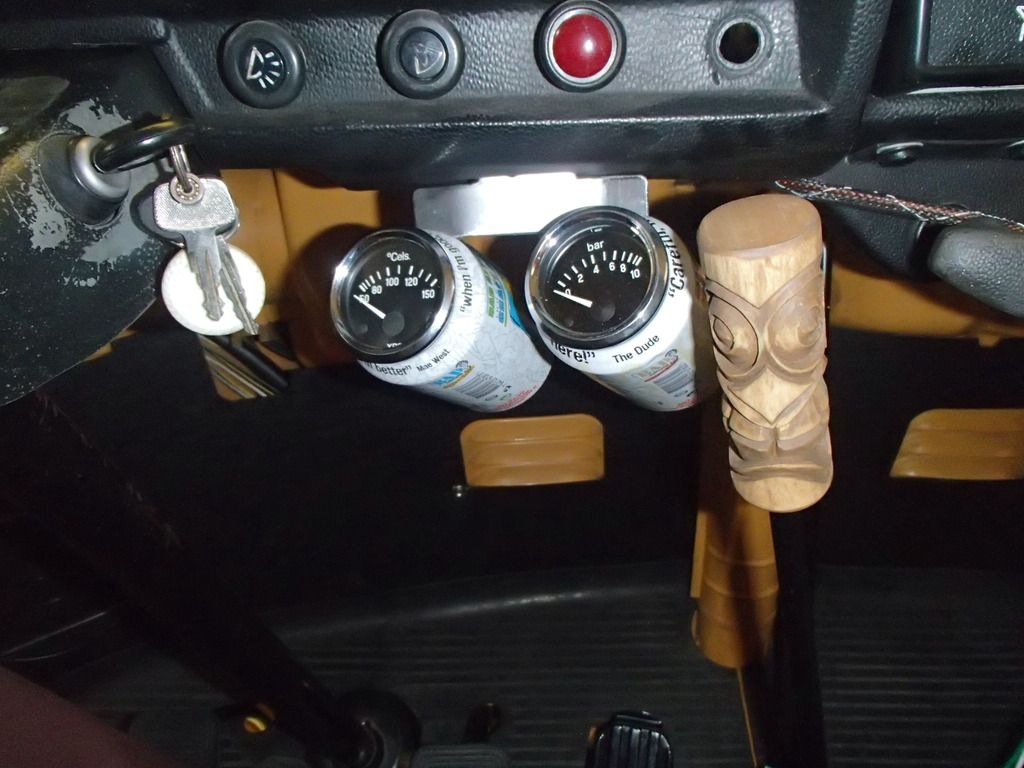
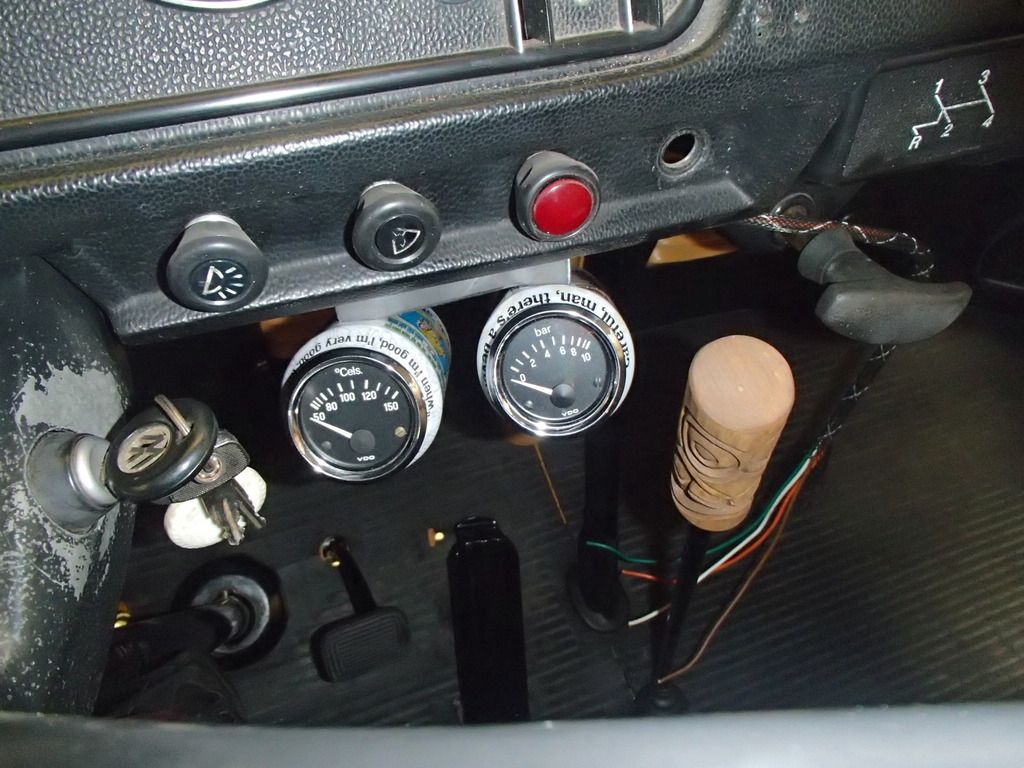
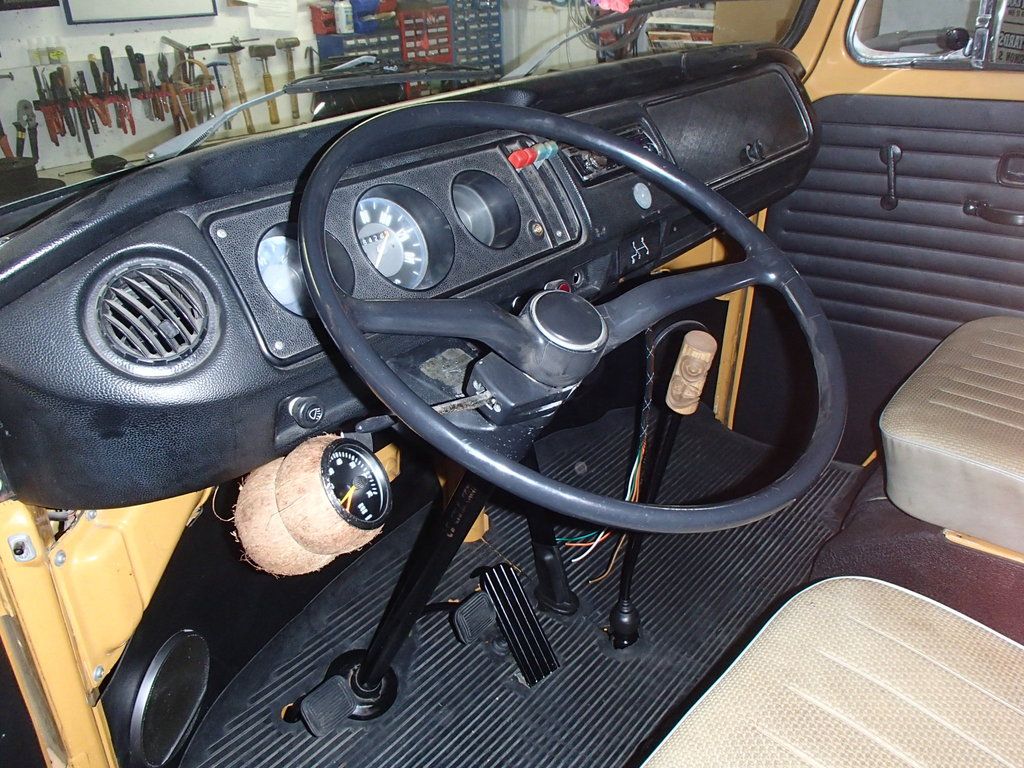
Now sandblasting and powder coating and they're done!
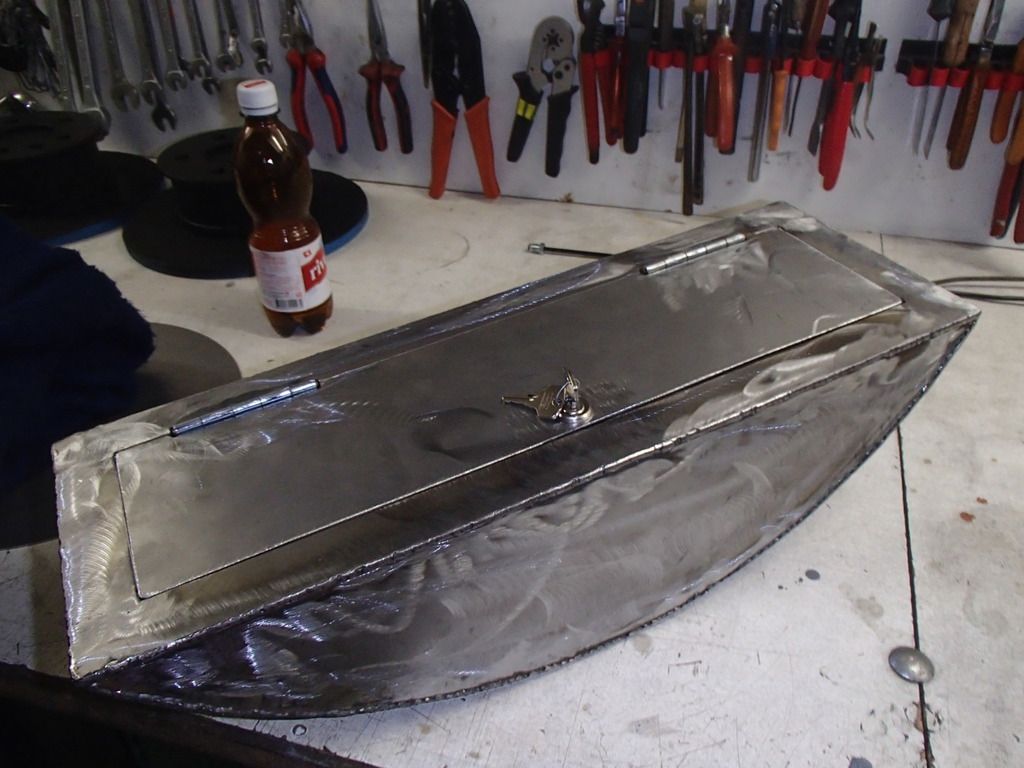
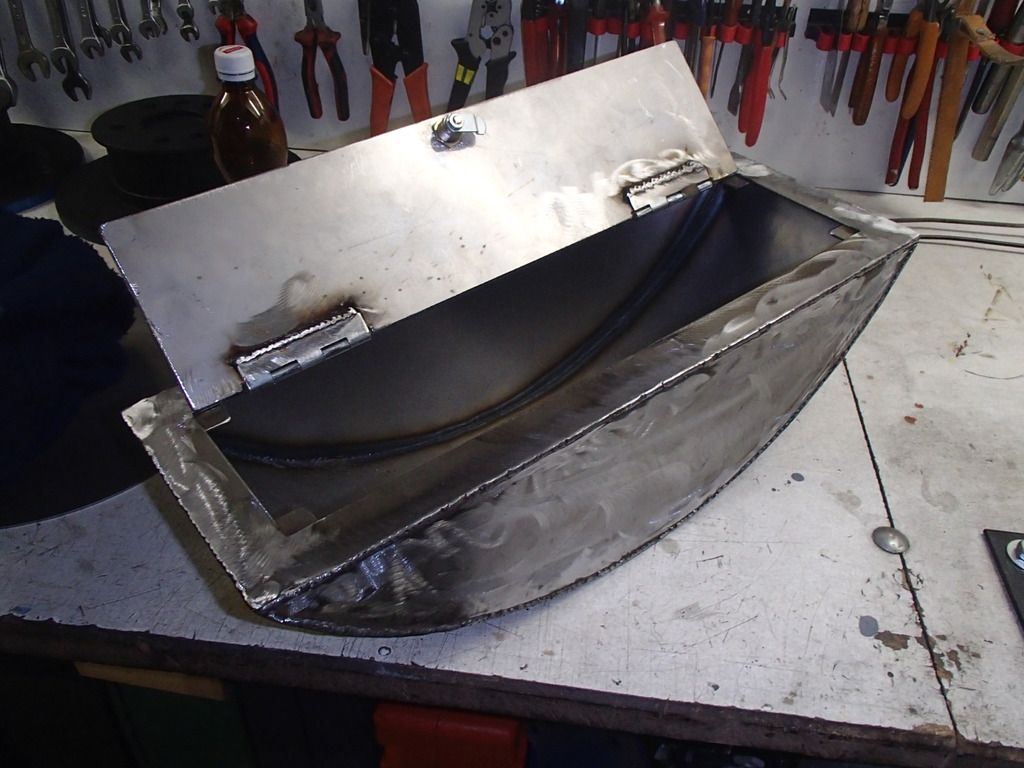
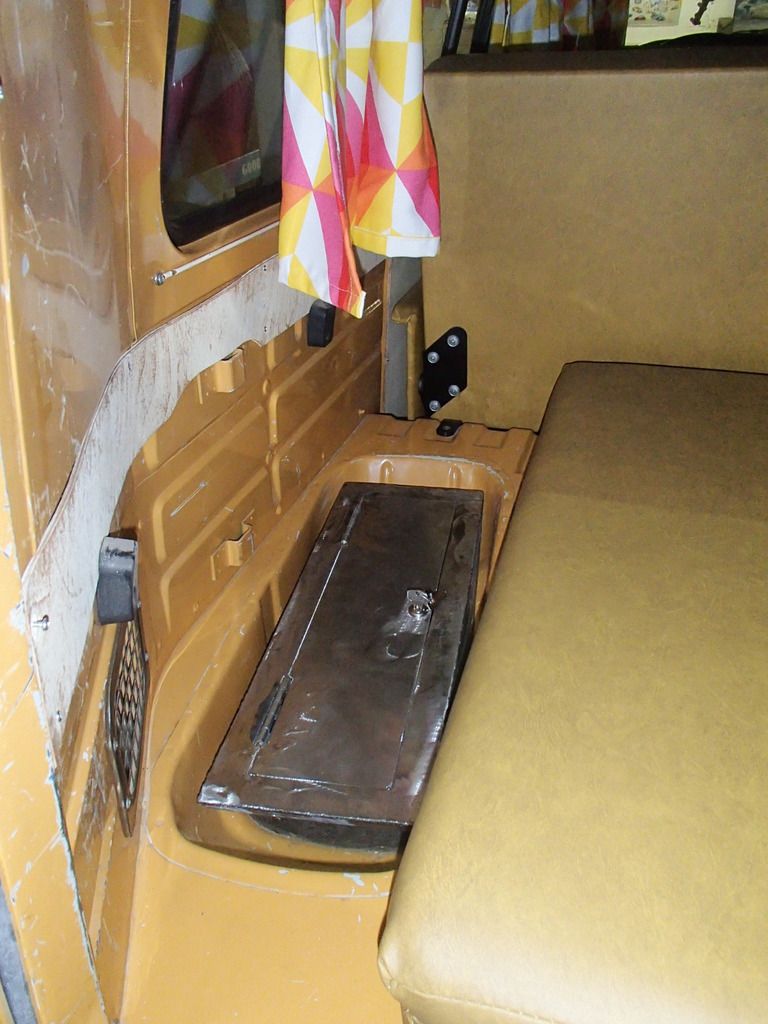
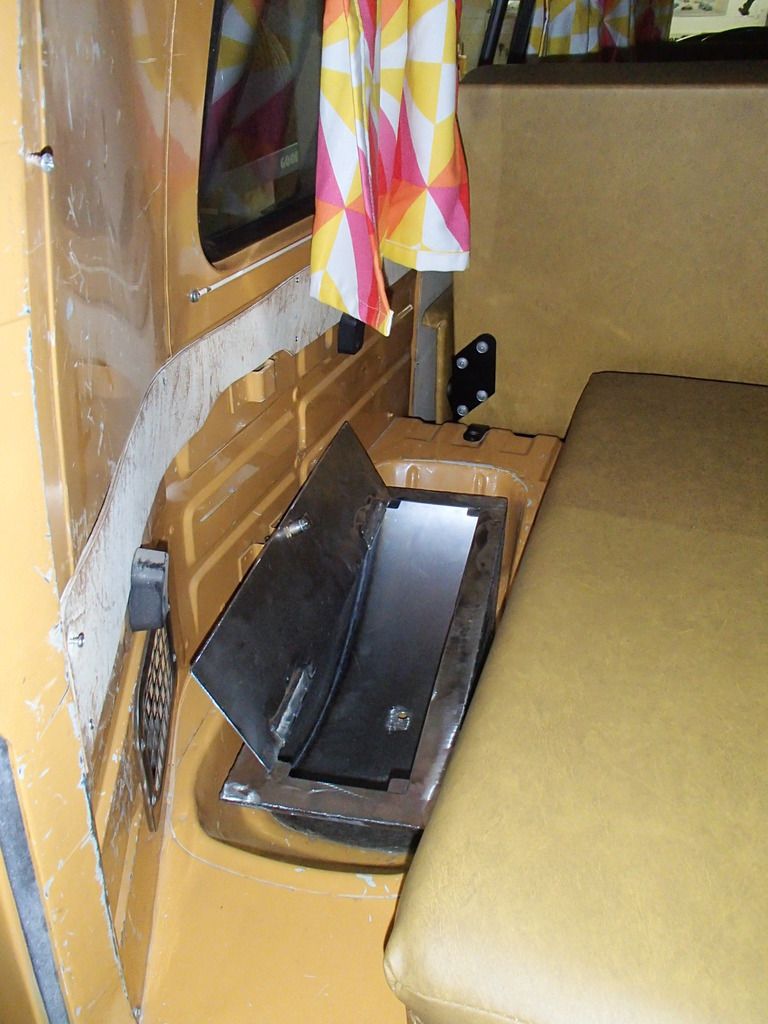
In the back of the bus there is the place for the spare wheel on the left side. But I don't want the spare wheel on this place. So what should I do with this free space? I will made a small mattress like some of you already did. I thought alot about the space in the spare wheel well. One night I had an idea. I will make a treasure for money, credit card and more. Here we go...
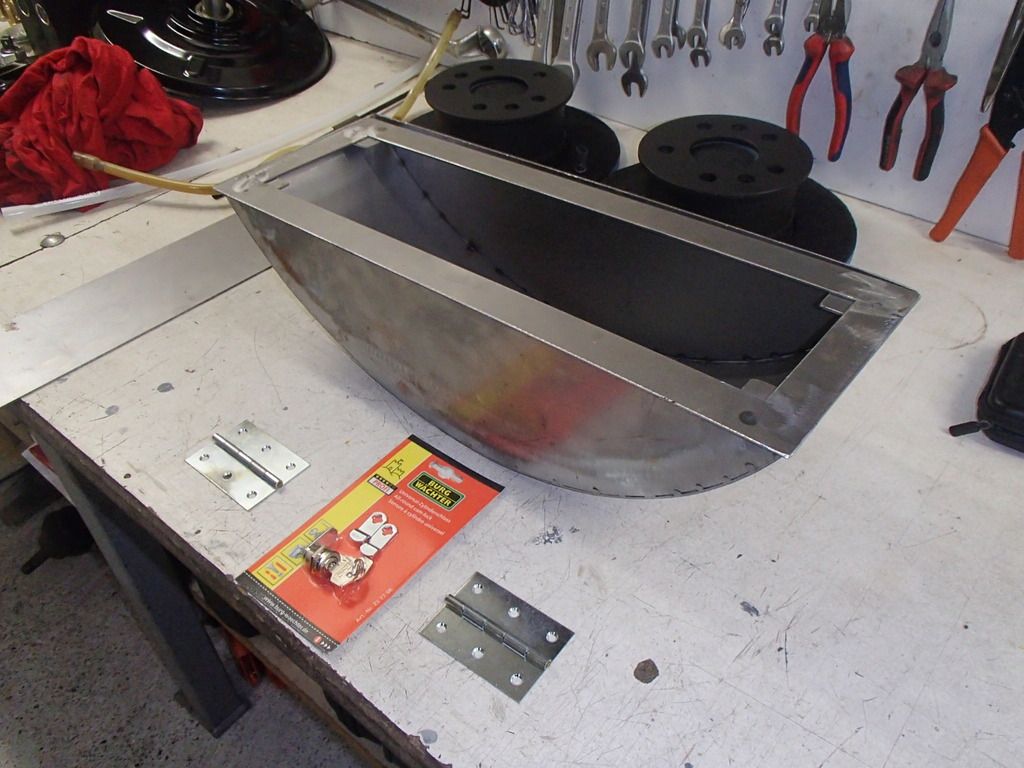
And after some welding it's done.
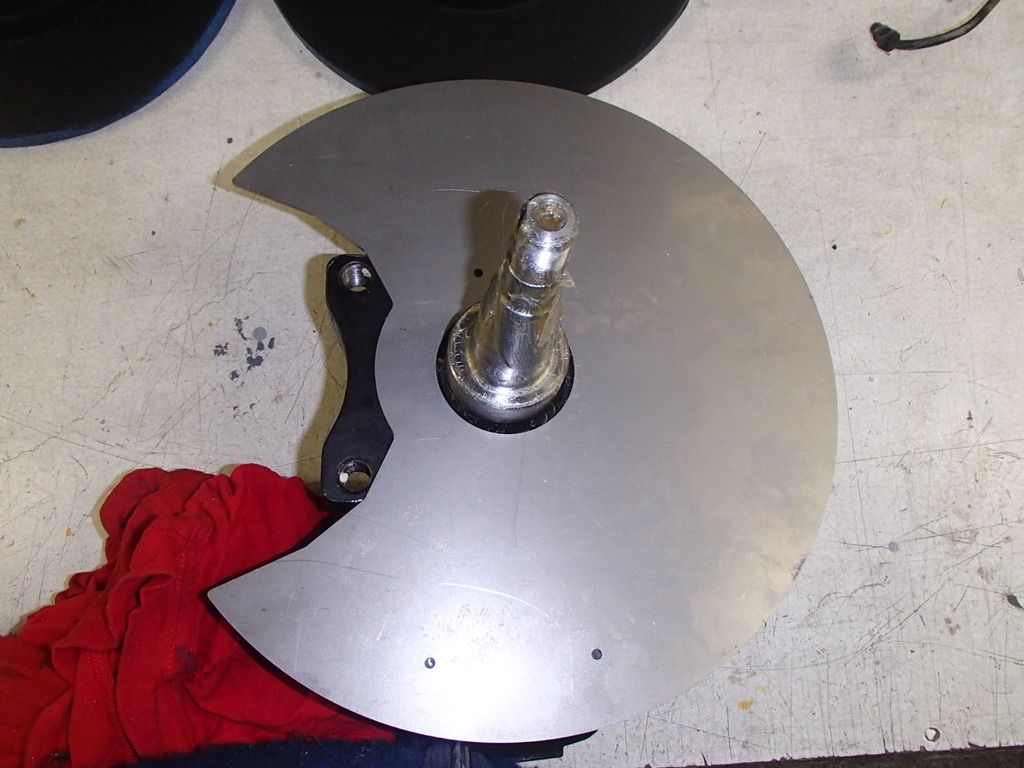
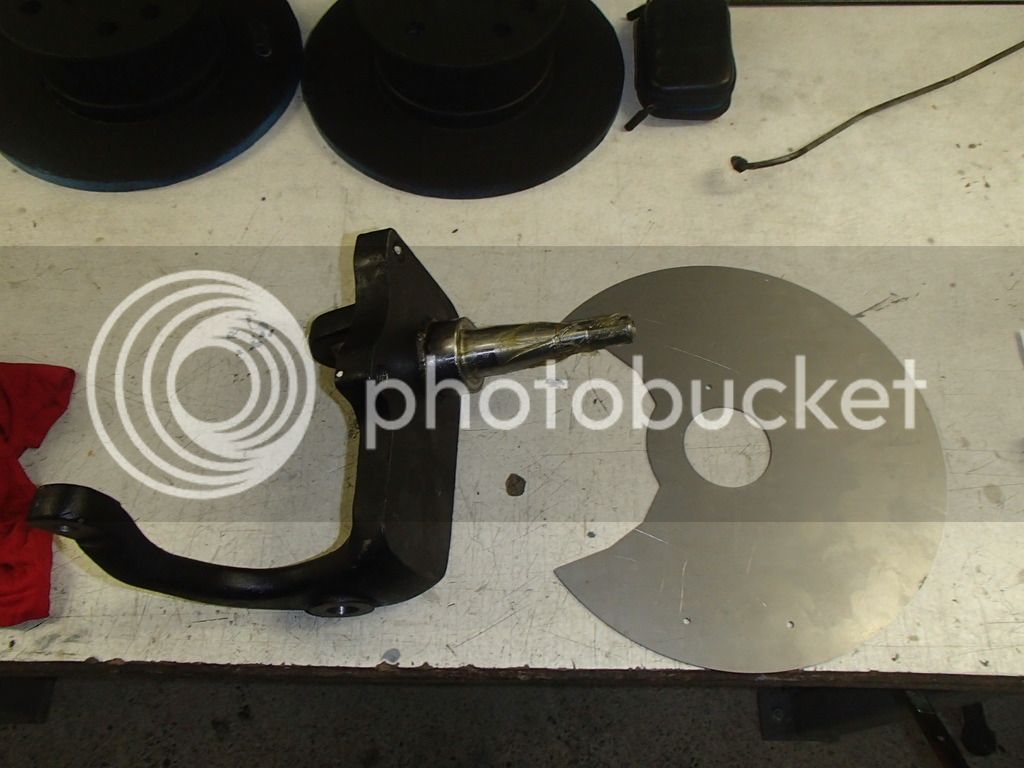
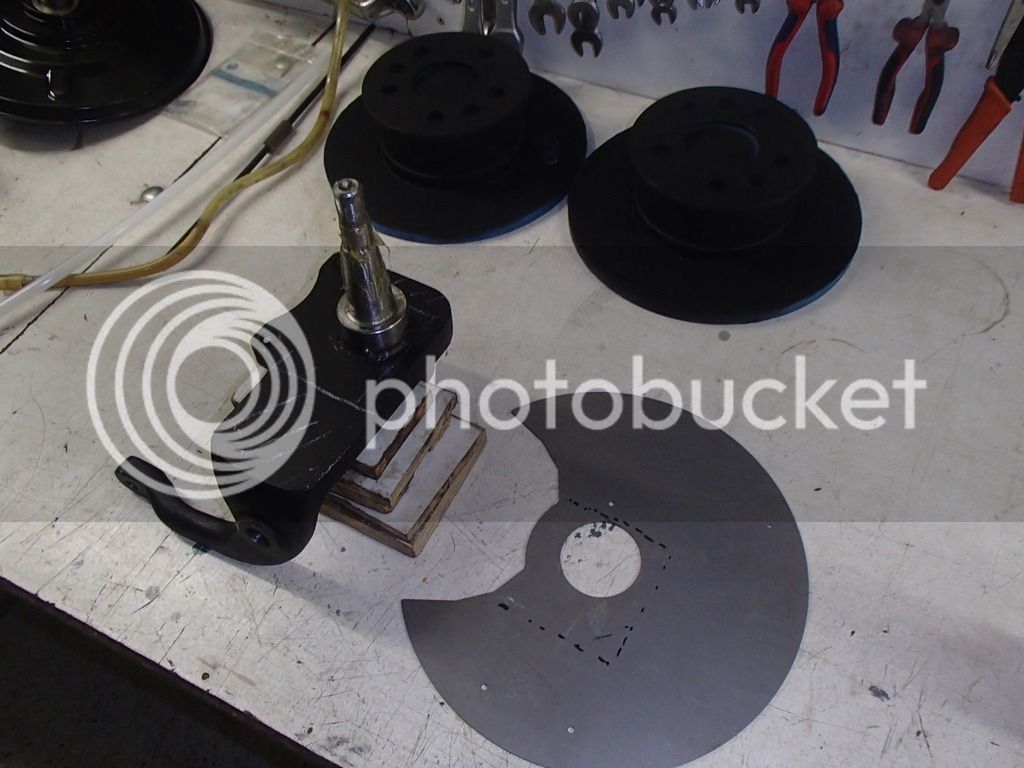
One more thing to do is the installation of the vintage autohaus dropped spindles. I have to say that they're really well made! Top work! But one thing could be better. There aren't any brake dust shields for them. So we laser cutted some brake dust shields out of 2mm steel for the vintage autohaus dropped spindles. For the clearance between brake disc and shield we have to slightly modified the spindles. Will be done in the next few weeks.
Wish you all a happy new year!
Best regards
Reto
In the last few days I made some good progress on the bus. So here we go...
The gearbox and driveshafts are back in.


Then I've mounted the Eberspächer heater. I did a mistake with the cable for the control flap. I put the cabel in the tube for the vacuumline for the brake booster.

To the front of the bus. Front beam is also back in. With the help from my dad this was an easy job.


The clamps for the stabilizer which I bought, aren't galvanized. So I couldn't mount them!
The Braking force regulator is also in place.

To the interior. I made some special holders for the gauges of rpm-, oil-pressure and oil-temperature.
My special coconut rpm gauge! :lol:


And the holder for oil pressure and oil temperature.

In position...


Now sandblasting and powder coating and they're done!
In the back of the bus there is the place for the spare wheel on the left side. But I don't want the spare wheel on this place. So what should I do with this free space? I will made a small mattress like some of you already did. I thought alot about the space in the spare wheel well. One night I had an idea. I will make a treasure for money, credit card and more. Here we go...

And after some welding it's done.


One more thing to do is the installation of the vintage autohaus dropped spindles. I have to say that they're really well made! Top work! But one thing could be better.


Wish you all a happy new year!
Best regards
Reto


