You are using an out of date browser. It may not display this or other websites correctly.
You should upgrade or use an alternative browser.
You should upgrade or use an alternative browser.
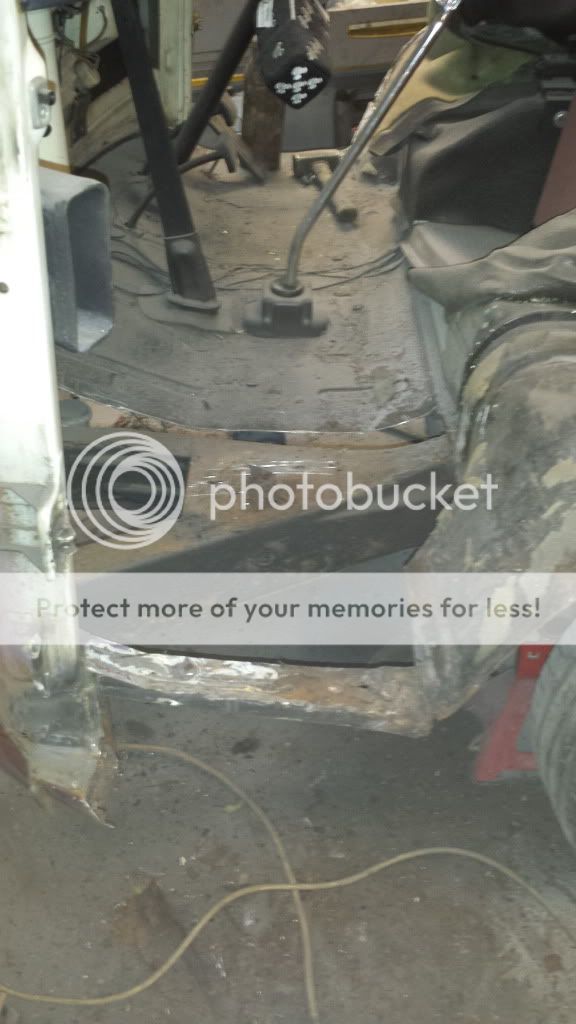
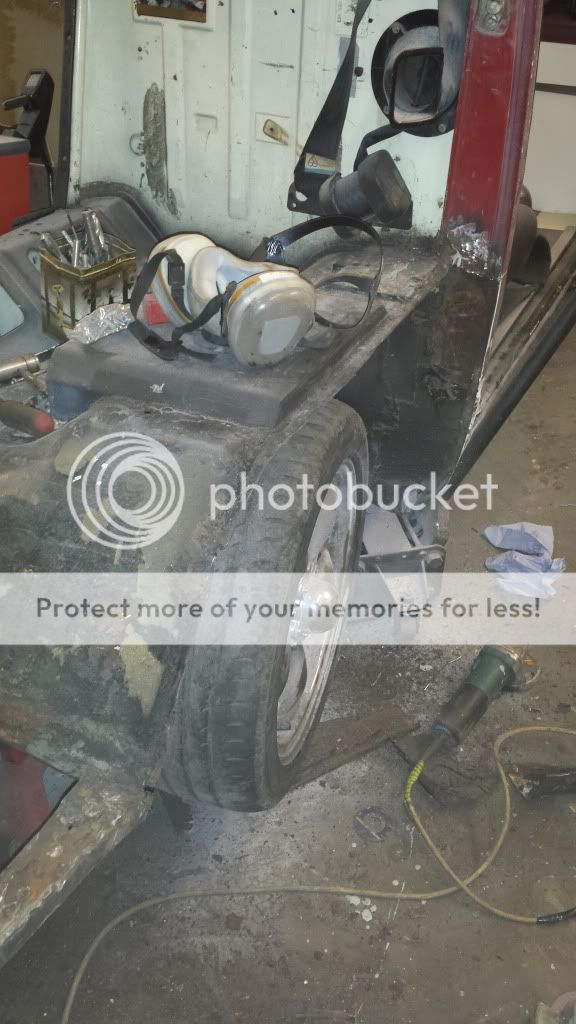
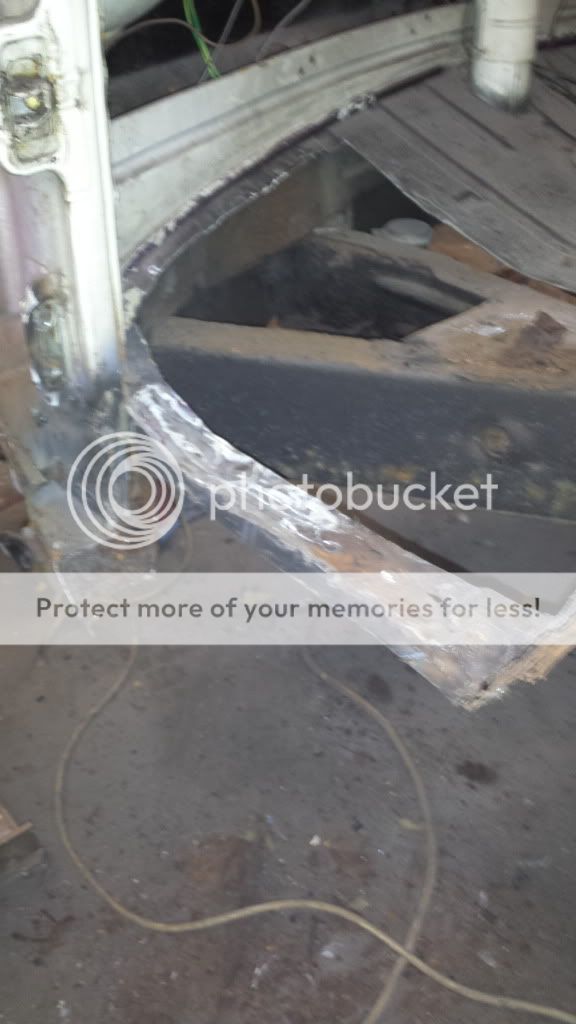
A bit of surgery today
- Thread starter Mark6455
- Start date

Help Support Early Bay Forum:
This site may earn a commission from merchant affiliate
links, including eBay, Amazon, and others.
68_early_bay
Well-known member
Wow looks like you've been having fun choping out, nice work mark, keep it up 8)
89Rallye
Well-known member
It's about time... You, carrying out non lowering related work :confused0068:
Can't wait to see it finished, no more gaffa tape!
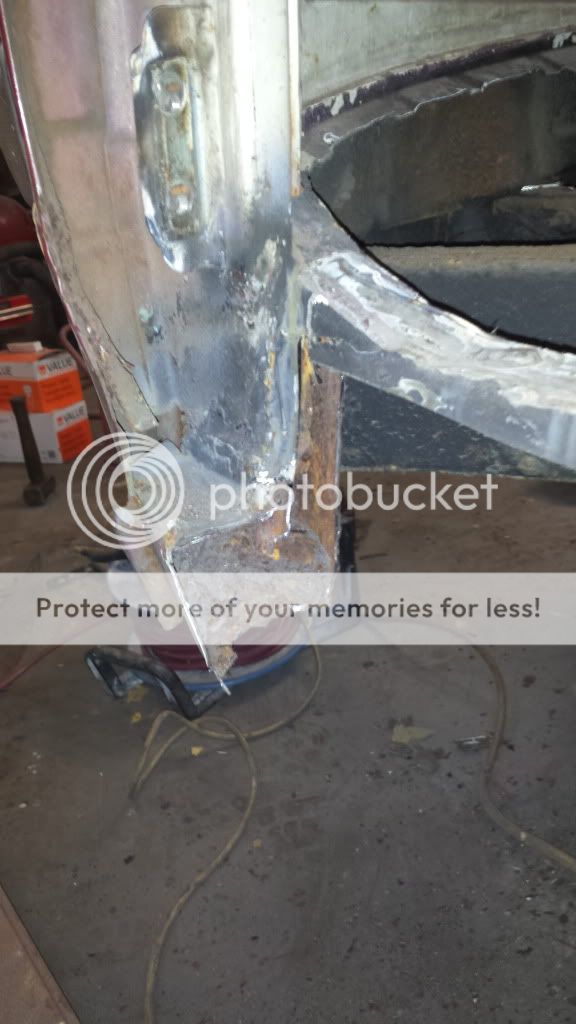
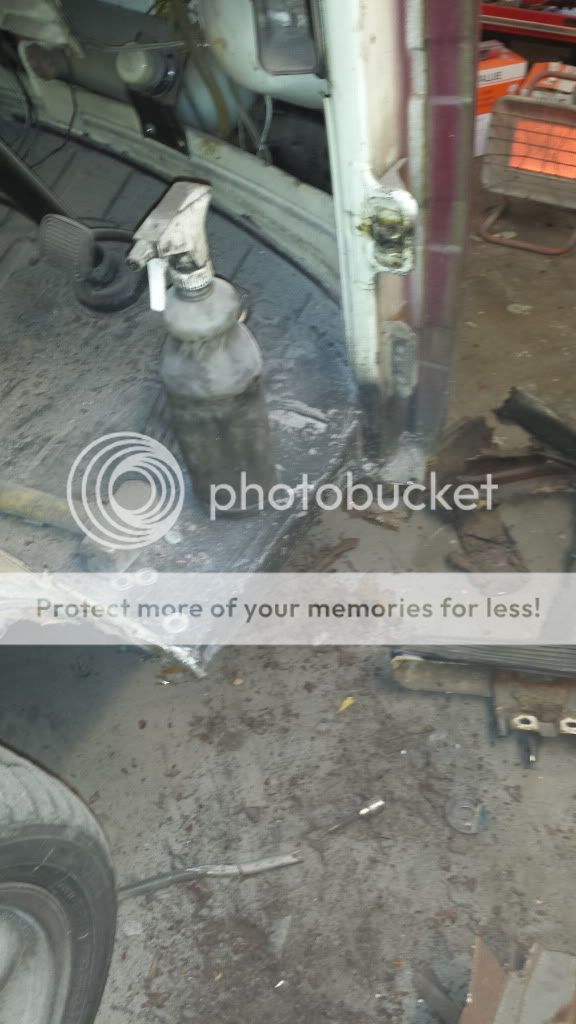
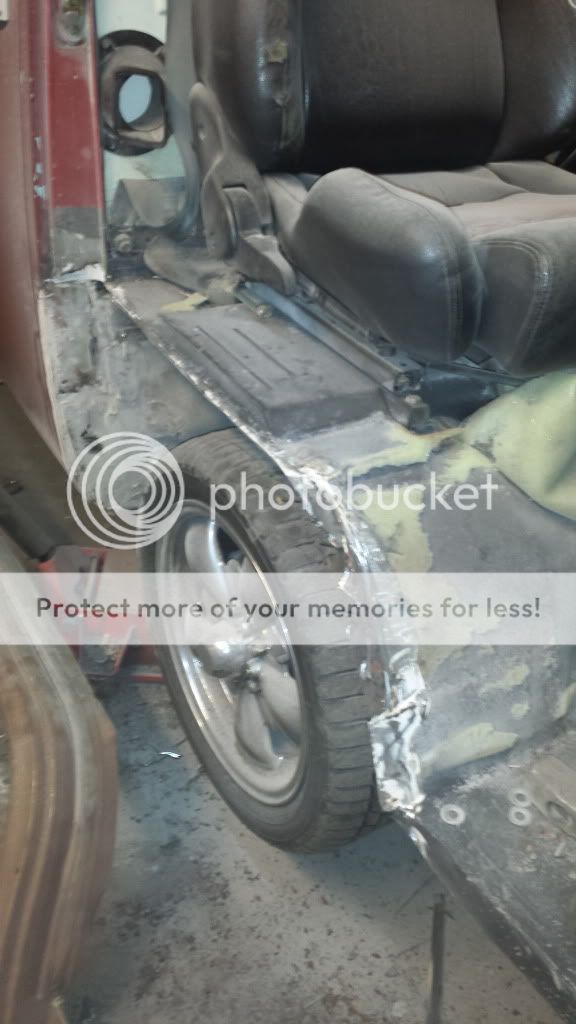
Well the arches are on and there nice and solid and I must admit now it was my mate doing the work I just made tea and cried every time something new appeared.
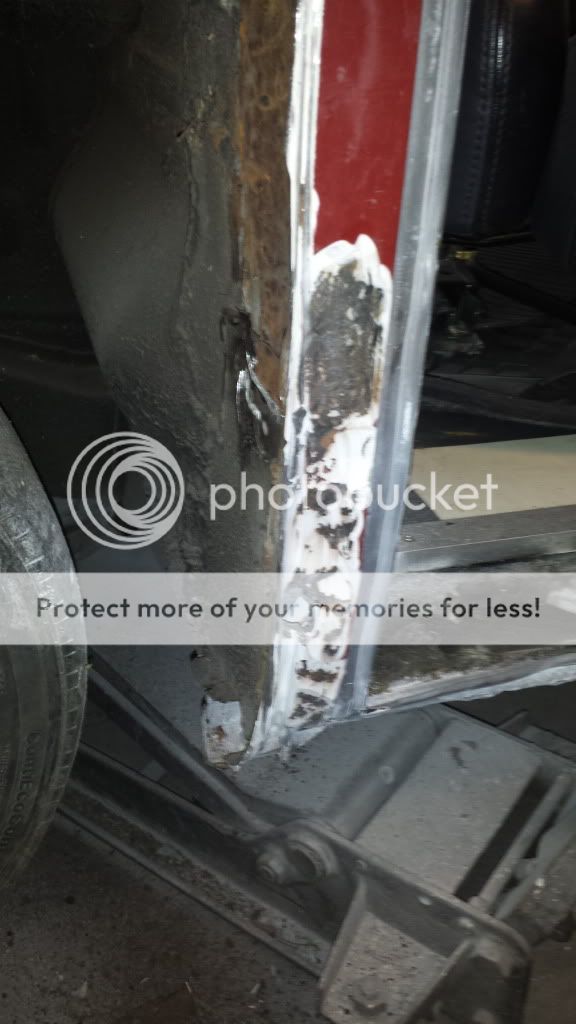
I just need some advice on how to sort this issue

As you can see he's had to weld inside the panel line as the arch cut had been cut funny so how can this be resolved without filling it in and lose the line
Here's a couple more pics must say I'm liking the proper crossover arches it makes the wheels look more tucked


Mark
I just need some advice on how to sort this issue

As you can see he's had to weld inside the panel line as the arch cut had been cut funny so how can this be resolved without filling it in and lose the line
Here's a couple more pics must say I'm liking the proper crossover arches it makes the wheels look more tucked


Mark
dlscott1974
Well-known member
looking good fella 
89Rallye
Well-known member
Only thing you can do now is try and grind the welds back and seam it, you can get proper stuff for this as most modern vans etc are done this way.
You shouldn't have to loose the line though, knowing what you've paid I don't know what you agreed with them but I think they should of tidied things up a little more.
I'd be more concerned with trying to rectify the other side and keeping those lines looking good because there looks like there was a lot of filler used previously.

- Joined
- Nov 28, 2012
- Messages
- 926
- Reaction score
- 51
- Location
- Herne Bay, Kent
- Year of Your Van(s)
- 1970
- Van Type
- Devon
One of my arches is very similar to the issue you are having I believe. Considering the outer b-post skin is, I would think, more for cosmetics than for strength/structure to keep the line I welded a plate to the inside of the arch on the rear of the tub (where the bump is) and also a strip down along the inside of the arch to make an L shape. This gave it so much more strength and also enable us to weld the b post skin down the opposite side through the centre panel so it is fixed along the top, along the left side and on the bottom. I managed to get a couple of welds in deeper than what you have and finally just grind the top down a few millimetre's just enough for the depth of the lines to remain consistent.
The line on the left along the centre panel/skin is spot on, so it will only be the right side along the arch that will need a bit of filler.
Also, you will see the plating under the wheel arch obviously, but considering your's is so low I doubt you'd actually be able to get your head under to look??
I've stone chipped and painted my underside now and whilst I know it's there it doesn't look too out of place fortunately.
Thanks for the advice dudes.
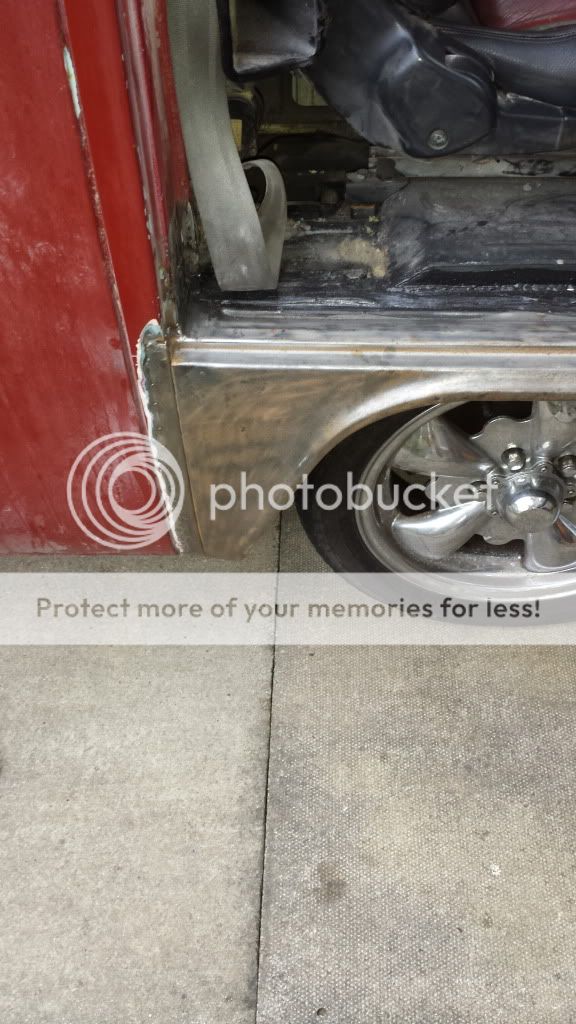
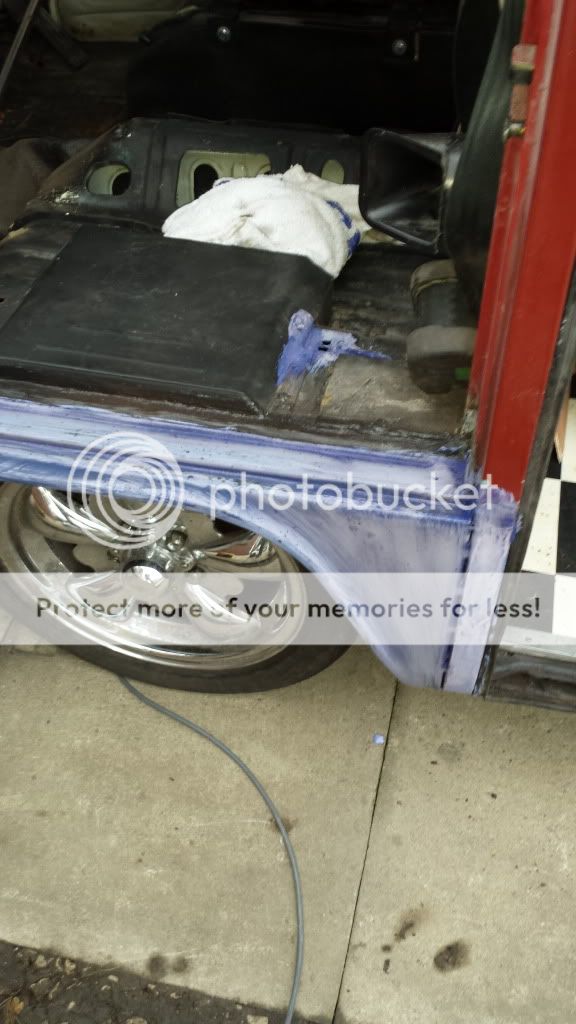
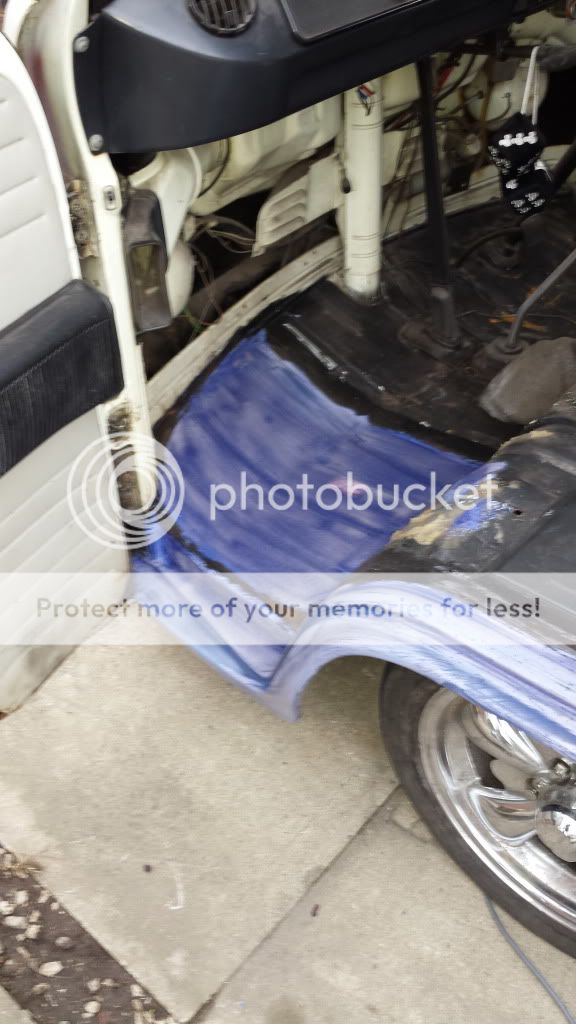
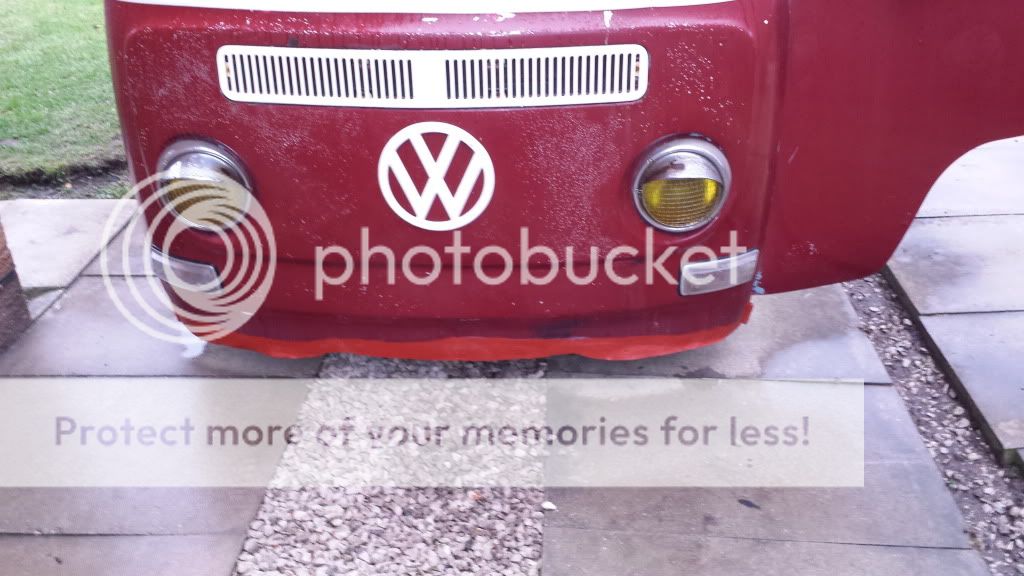
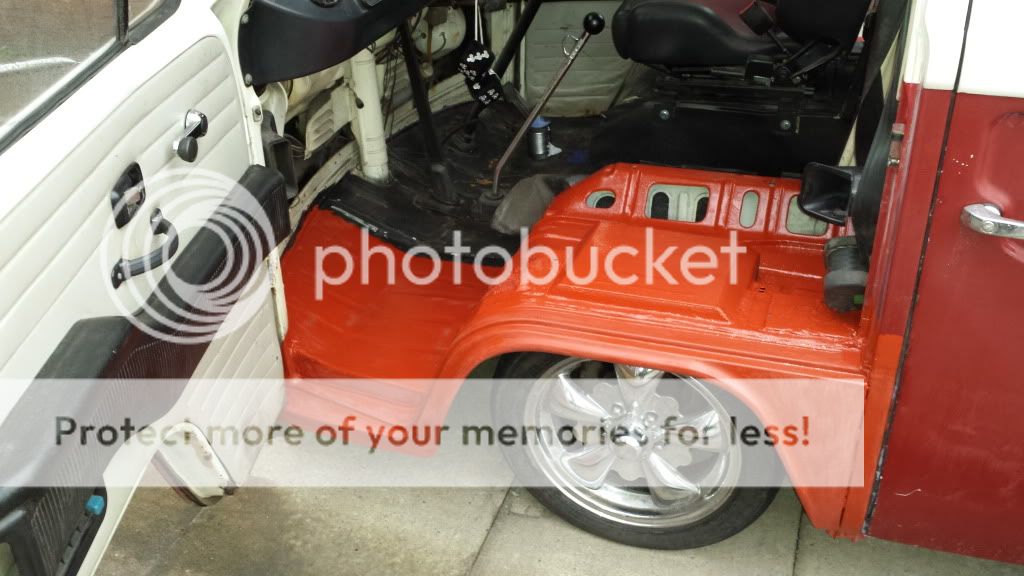
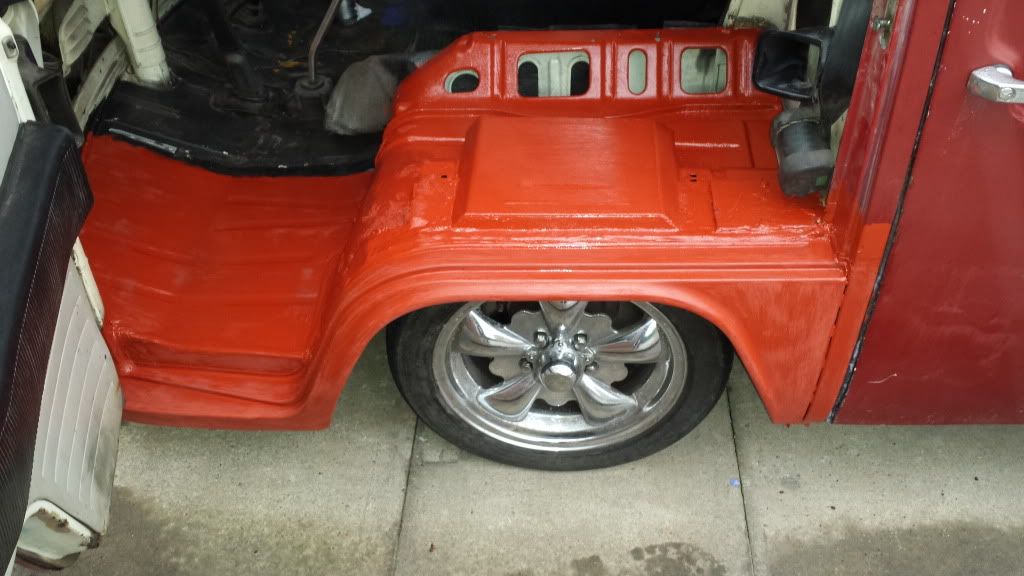
I got her home today and decided that as I have'nt got a nice cosy garage I'd best get rid of the surface rust on the arches and also treat the lower front panel as it was a bit crispy :lol:
I bare metalled the arches then applied vatcan and red oxide and then it started to piss down
Some pics



 91.photobucket.com/user/mark6455/media/20131206_150719_zps7909ce4f.jpg.html]
 [/URL]


Just need to get some seam sealer on a few bits tomorrow if it stops raining and that will do until after Xmas when it goes to another mate for a bit of paint oh yeah and rear valance,windscreen lower repair etc
Mark
I got her home today and decided that as I have'nt got a nice cosy garage I'd best get rid of the surface rust on the arches and also treat the lower front panel as it was a bit crispy :lol:
I bare metalled the arches then applied vatcan and red oxide and then it started to piss down
Some pics


 91.photobucket.com/user/mark6455/media/20131206_150719_zps7909ce4f.jpg.html]


Just need to get some seam sealer on a few bits tomorrow if it stops raining and that will do until after Xmas when it goes to another mate for a bit of paint oh yeah and rear valance,windscreen lower repair etc
Mark


