Another '71 Dormobile resto... as and when i can afford to!

Early Bay Forum

Help Support Early Bay Forum:

This site may earn a commission from merchant affiliate links, including eBay, Amazon, and others.

Wishart

Well-known member
Joined
Sep 25, 2007
Messages
232
Reaction score
0
Location
Northampton
Ive been posting up the resto thread on a couple of forums, but ive saved the most comprehensive one for you guys!


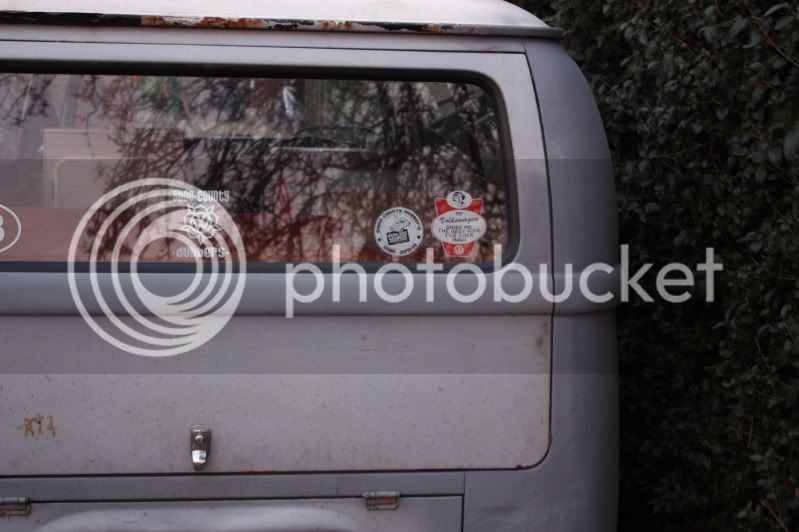
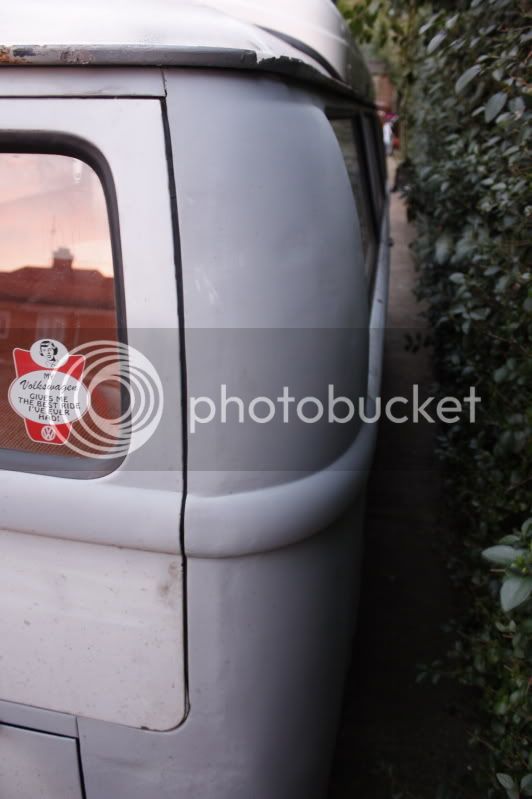
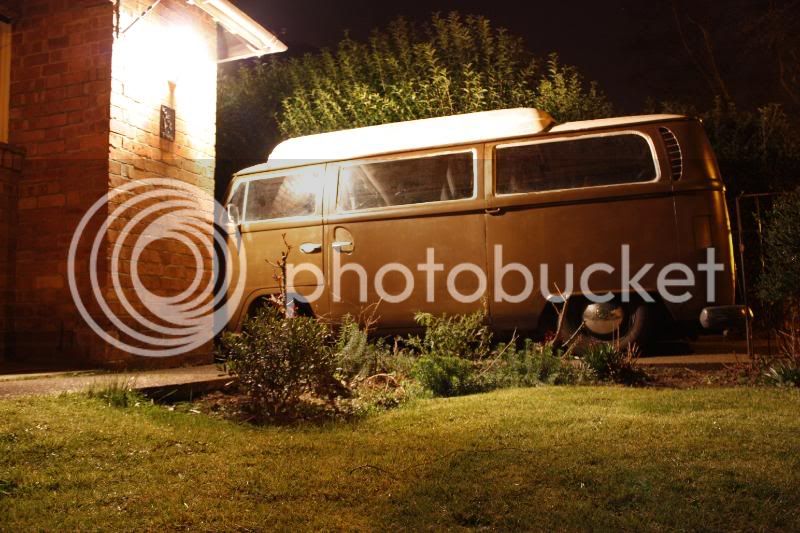
Ive owned 'Lowrie' since August '08, I bought him for £4000 off VZi and made it a surprise for the girlfriend and the kids. I said i was off up to Derby to help a mate move some stuff, which bought me a few hours. This mate took me up to Derby, we had a look around the bus, all seemed good so bought it there and then. Came home with it and parked it up on the drive. Literally seconds later, she drives round the corner :D :D :D Tears followed..... happy tears thank god!!!

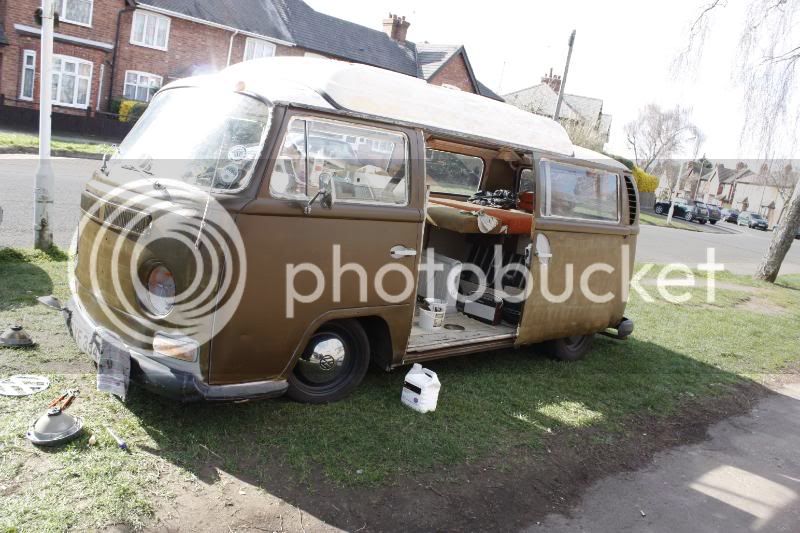
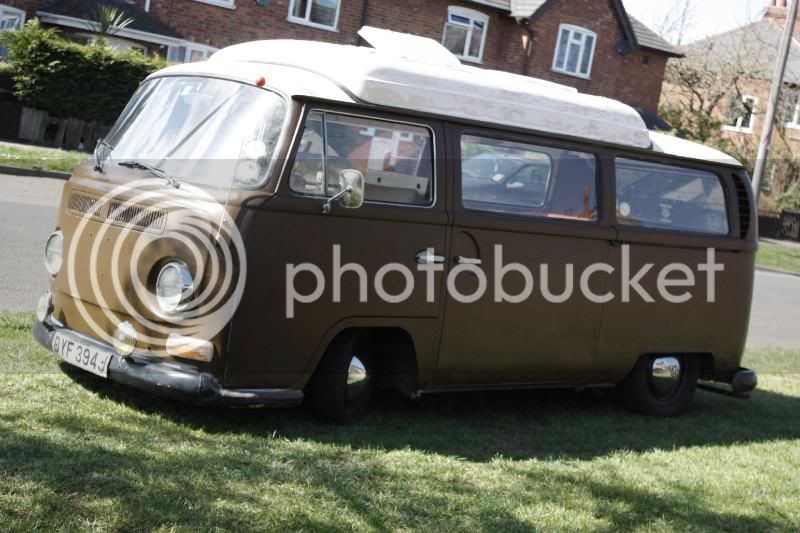
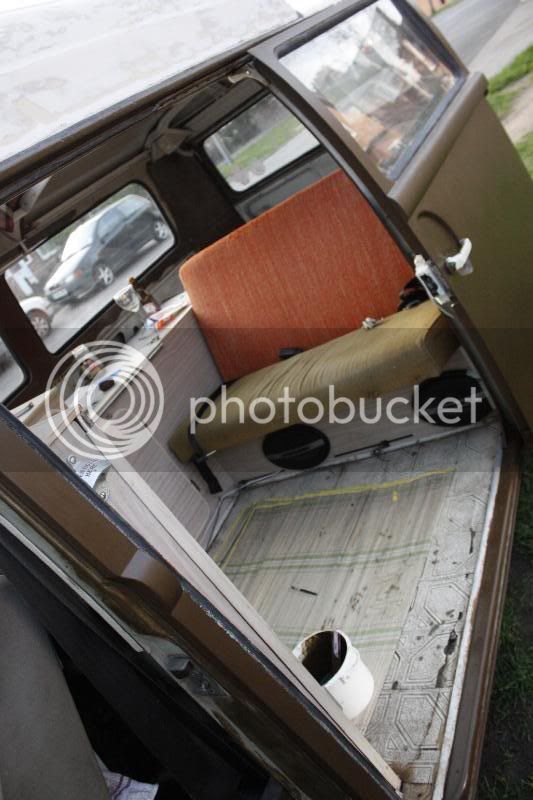
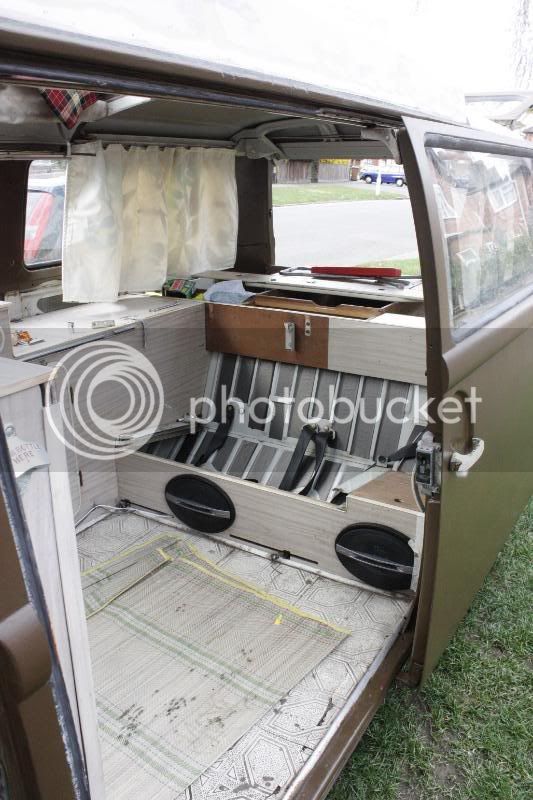
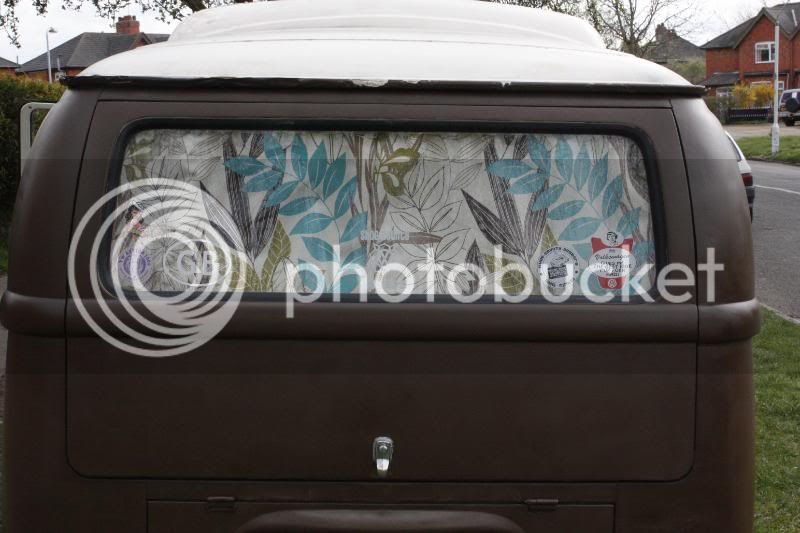
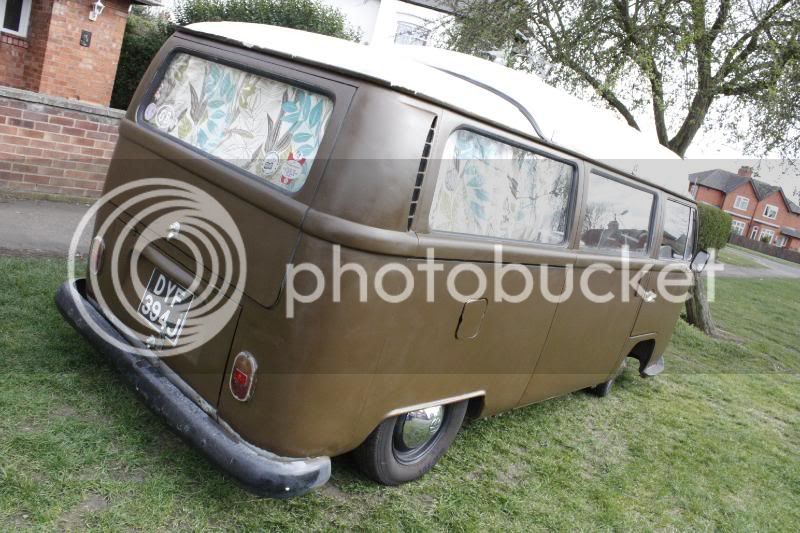
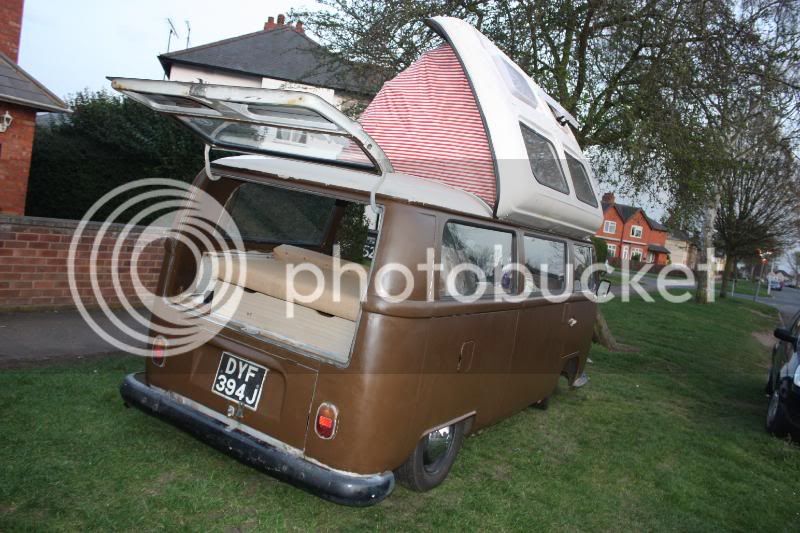
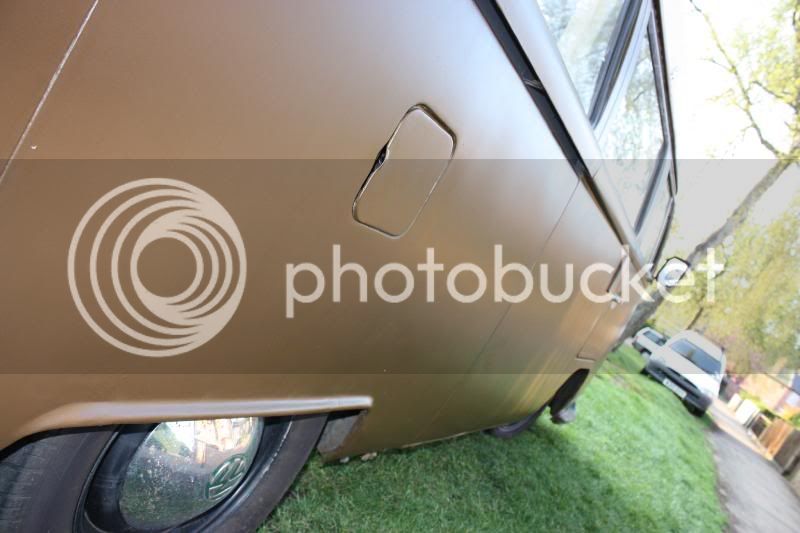
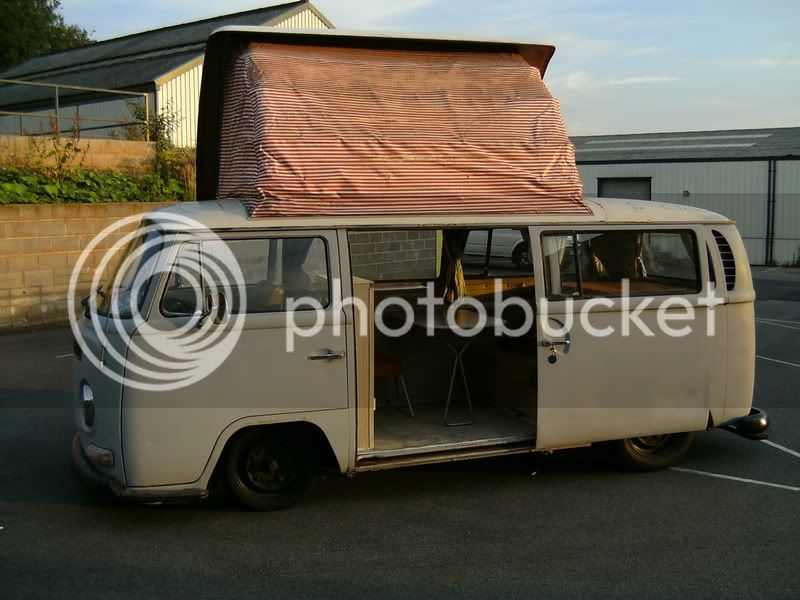
How he looked in the For Sale ad:
PICT1045.jpg

lqyf9qsztwa7cpo2klbp.jpg

0kh99u2pgs6u9l5m8lf3.jpg

bico932jlas3d2tdwgww.jpg


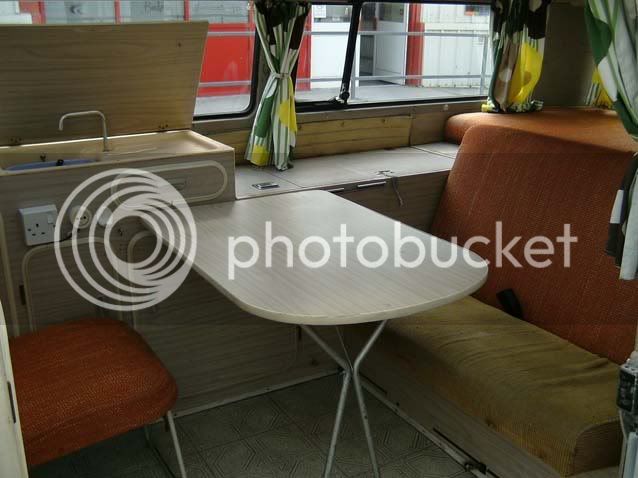
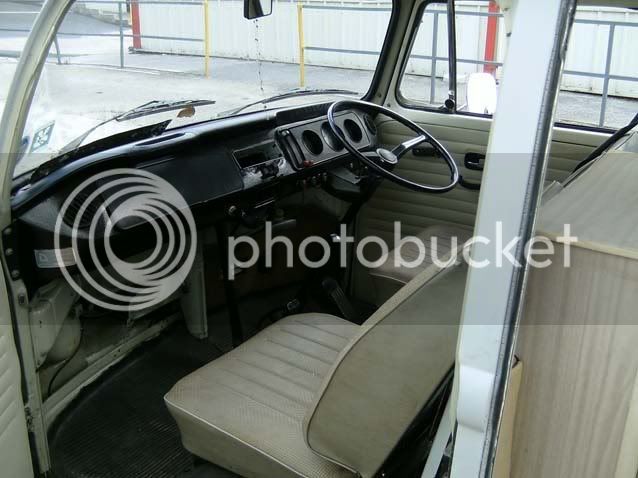
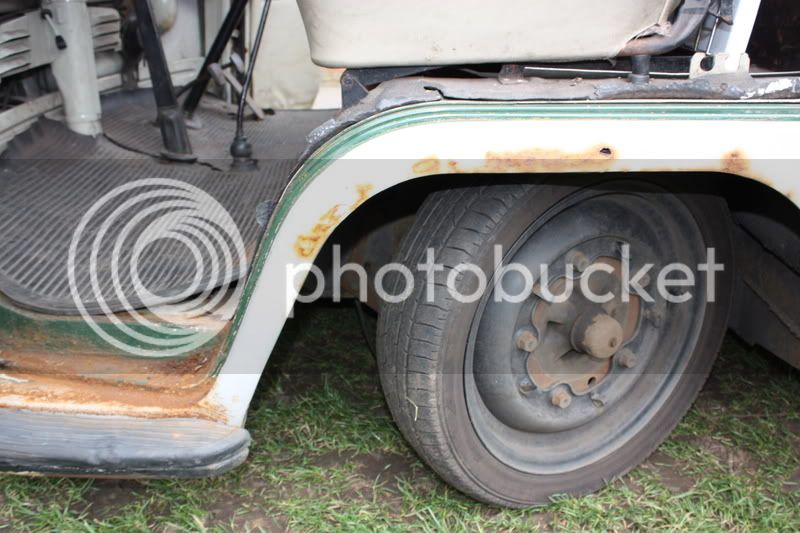
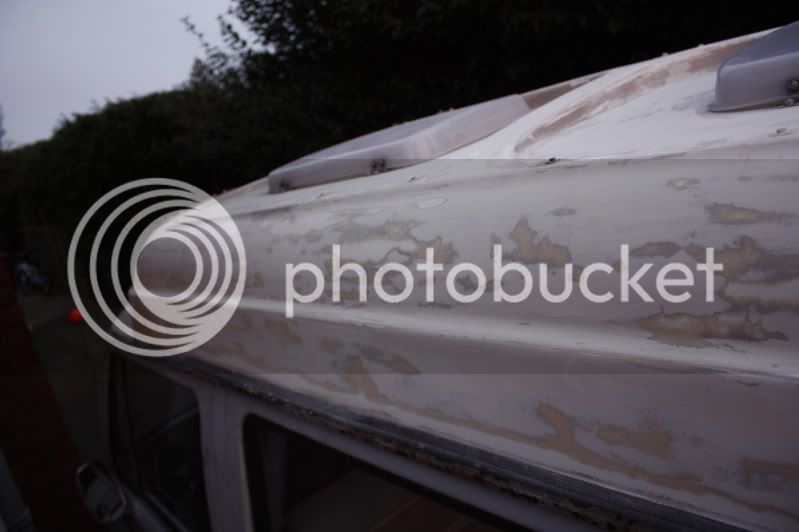
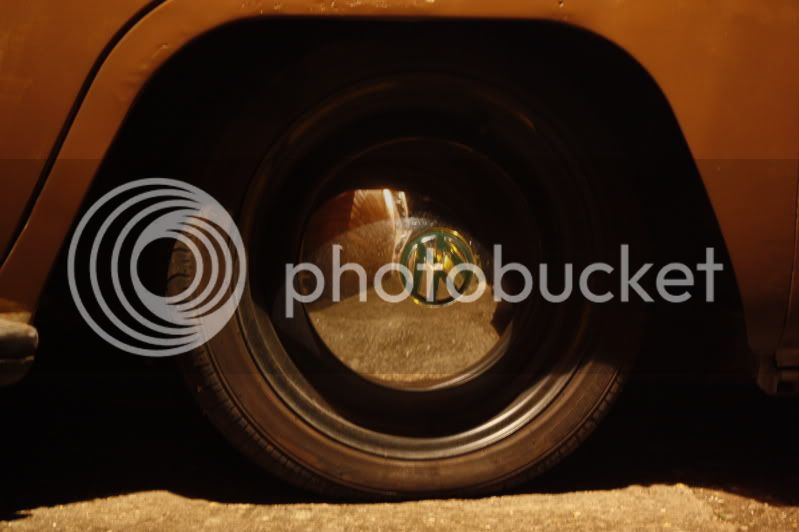
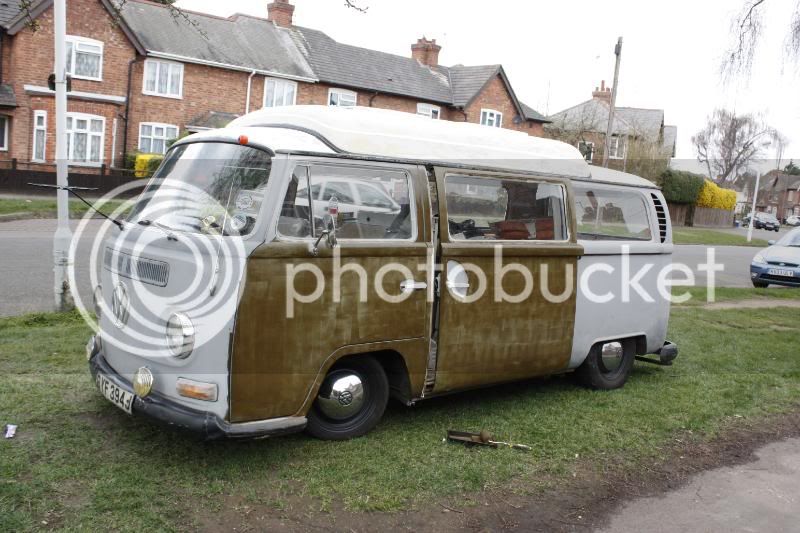
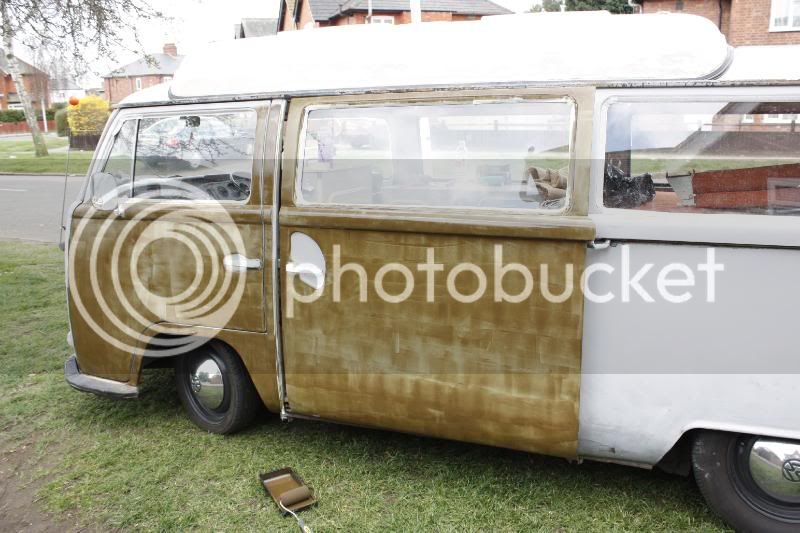
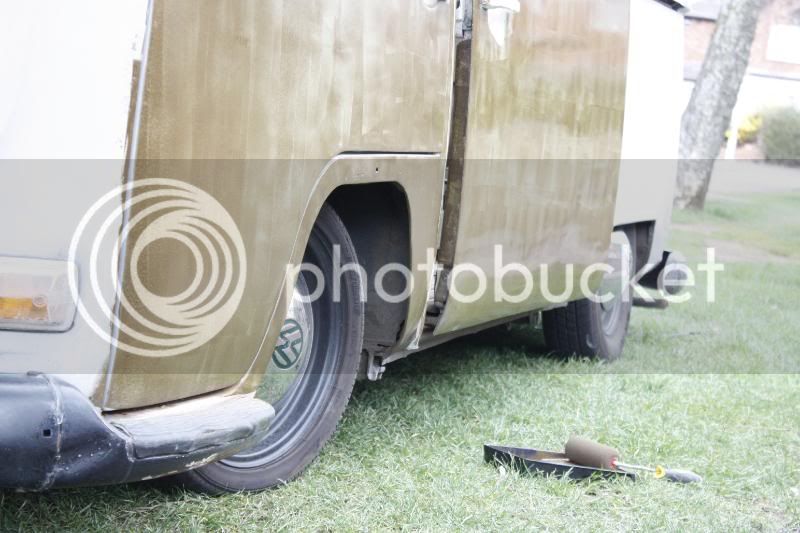
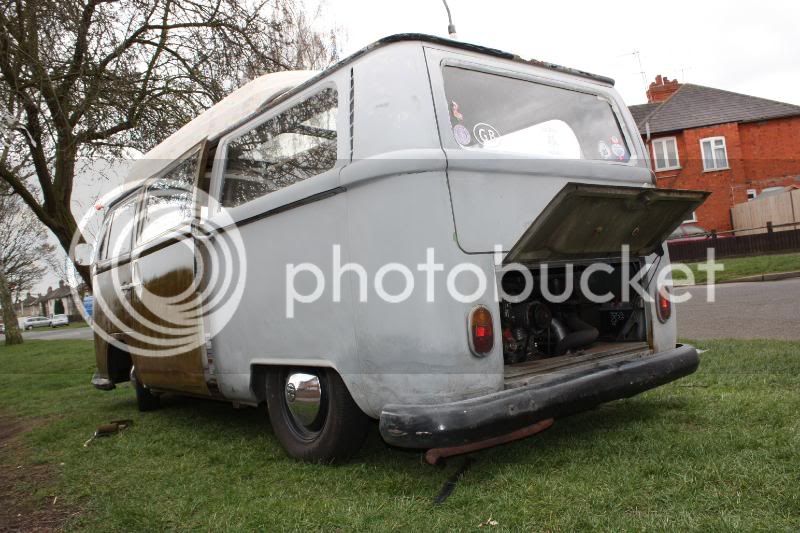
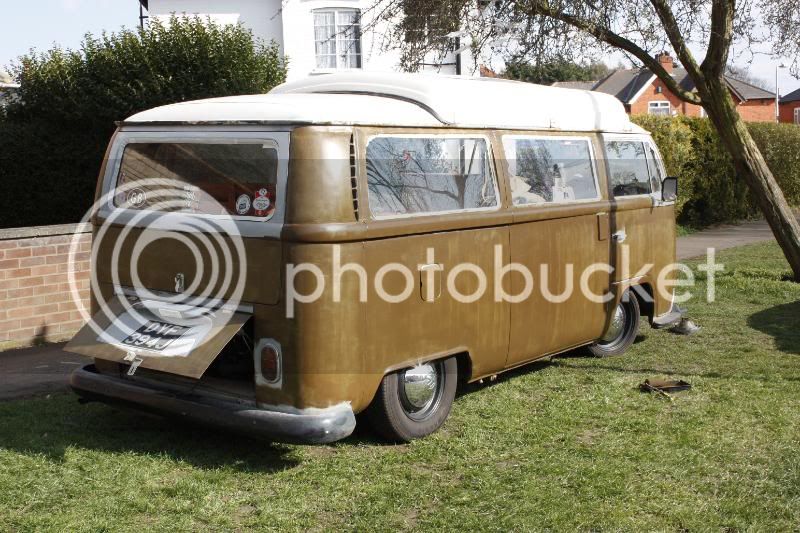
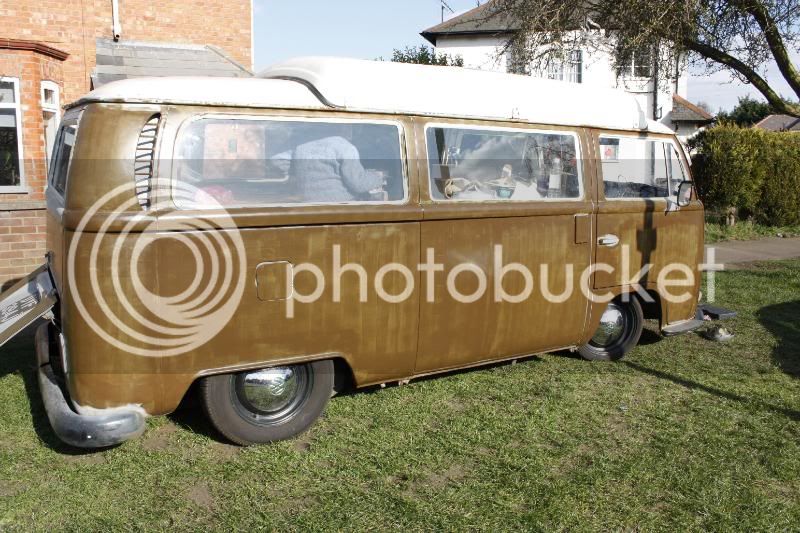
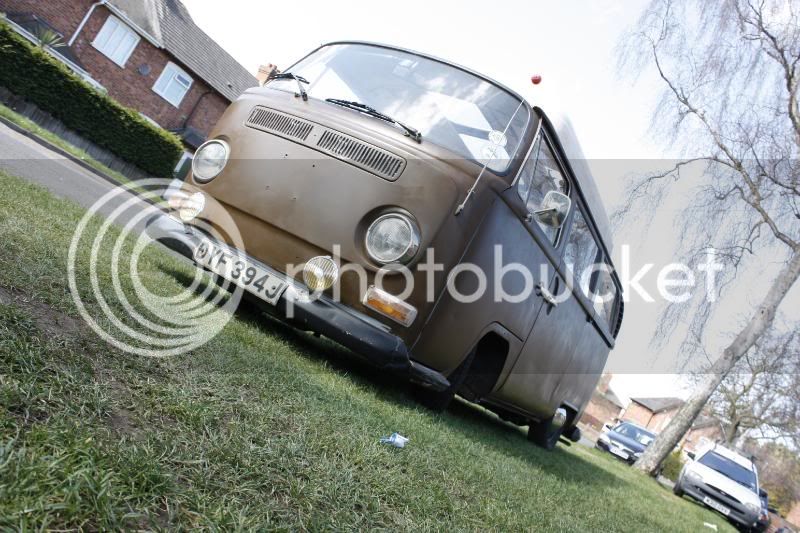
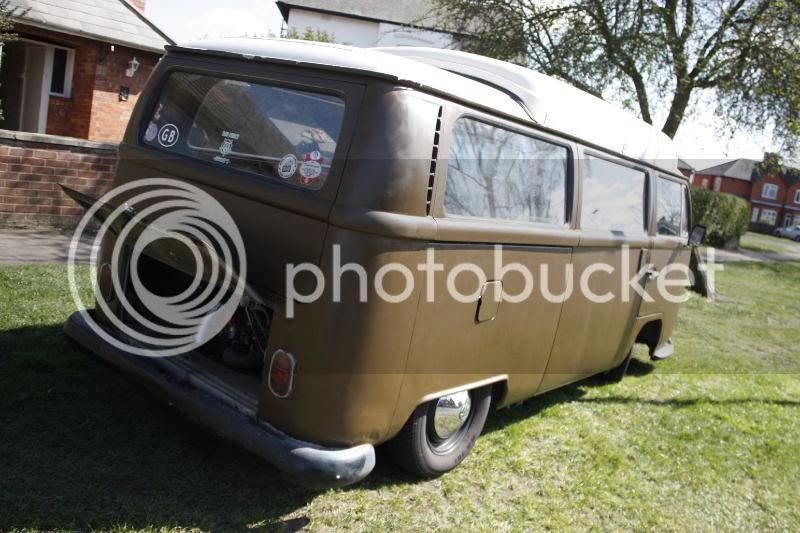
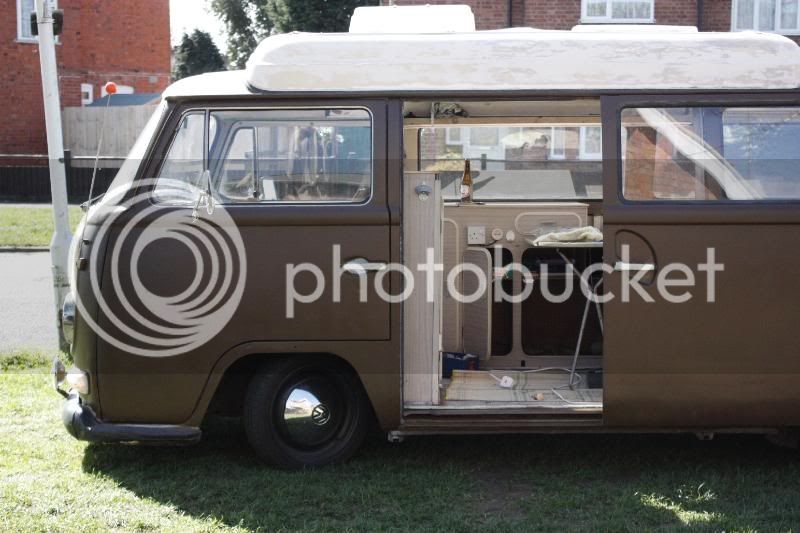
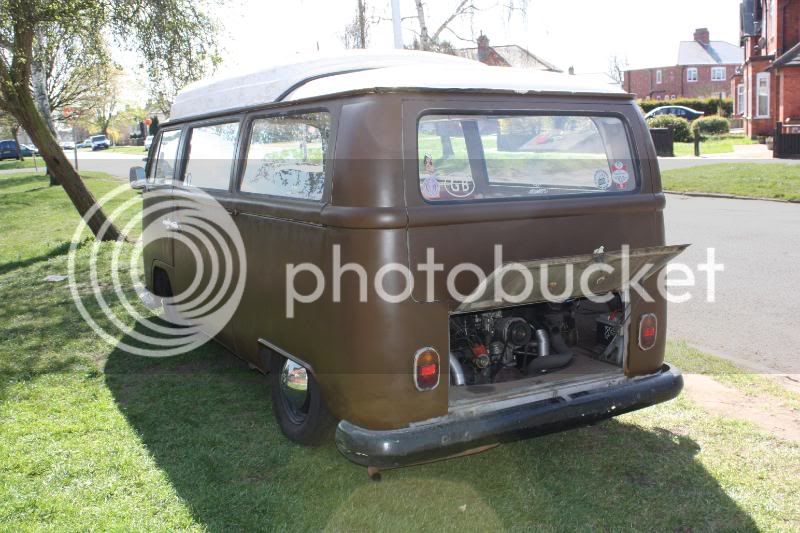
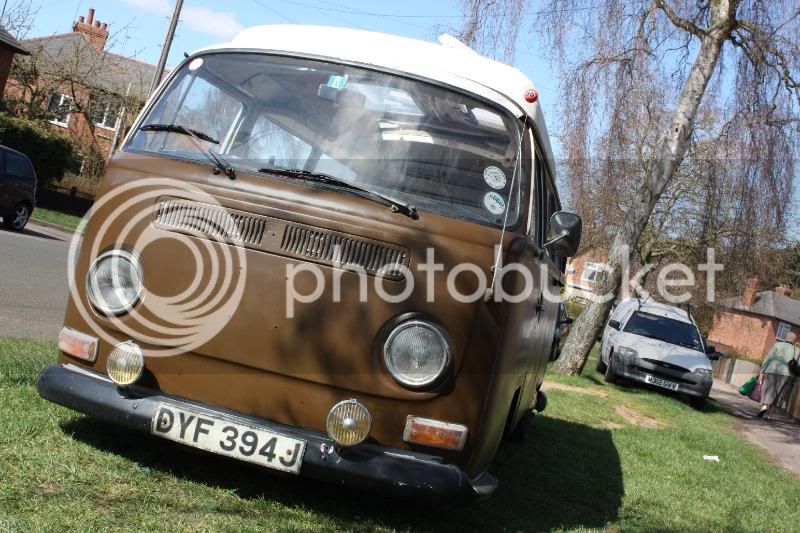
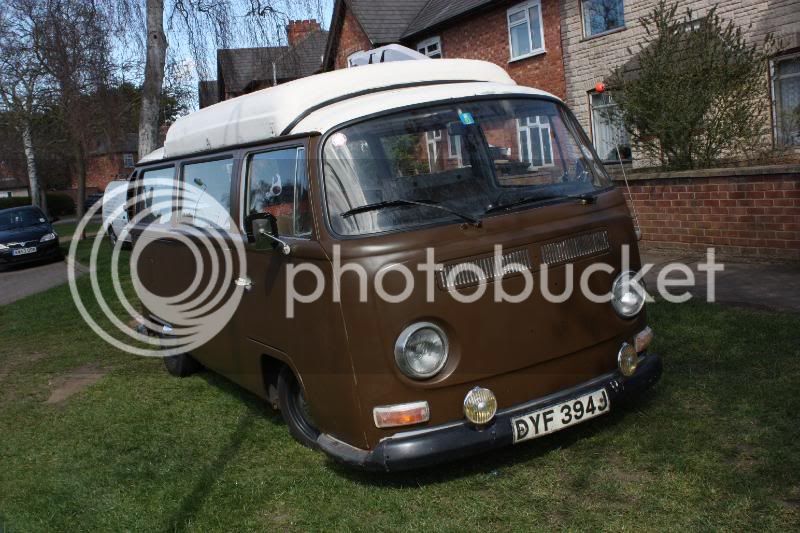
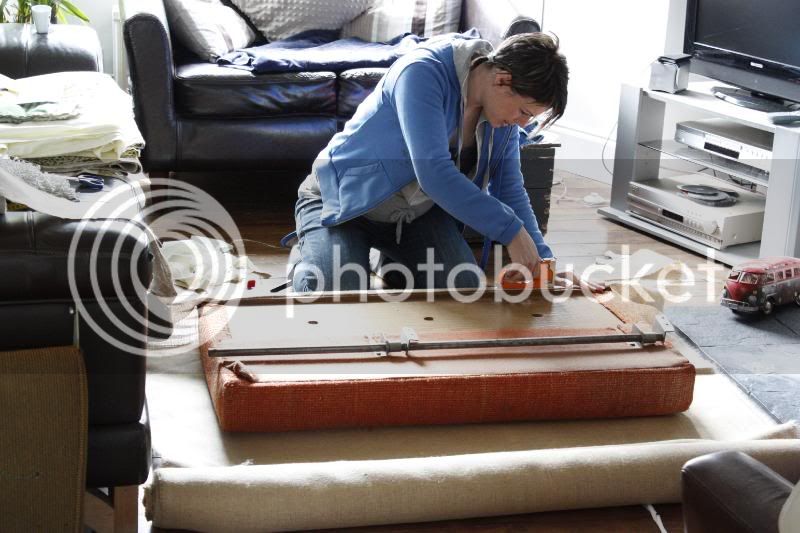
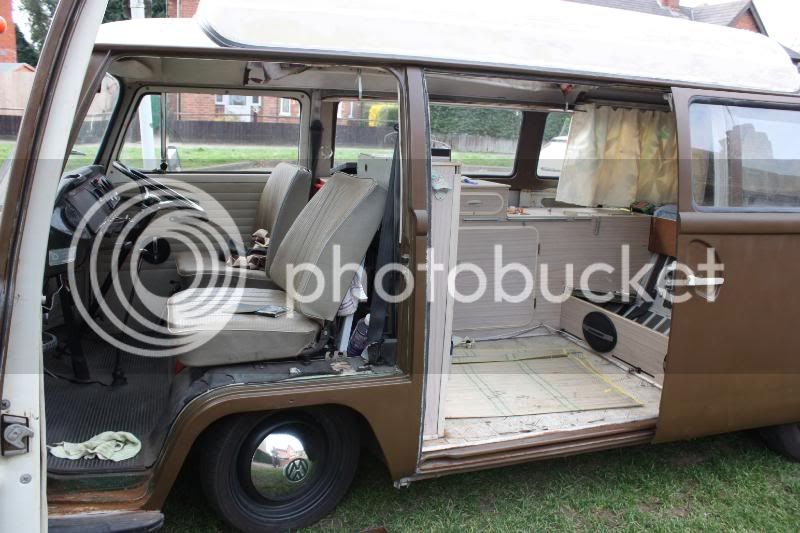
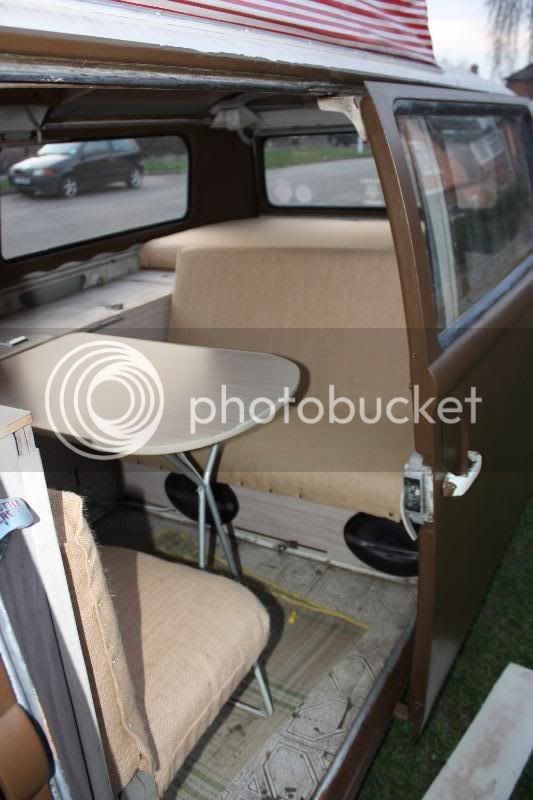
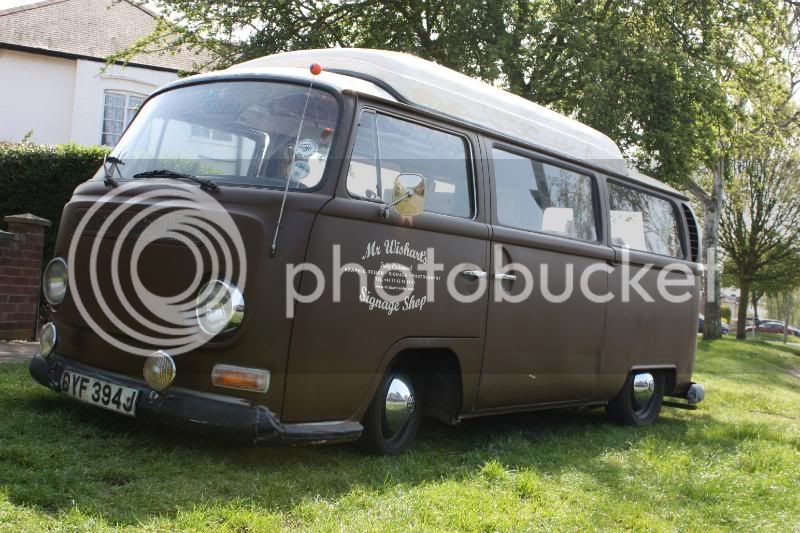
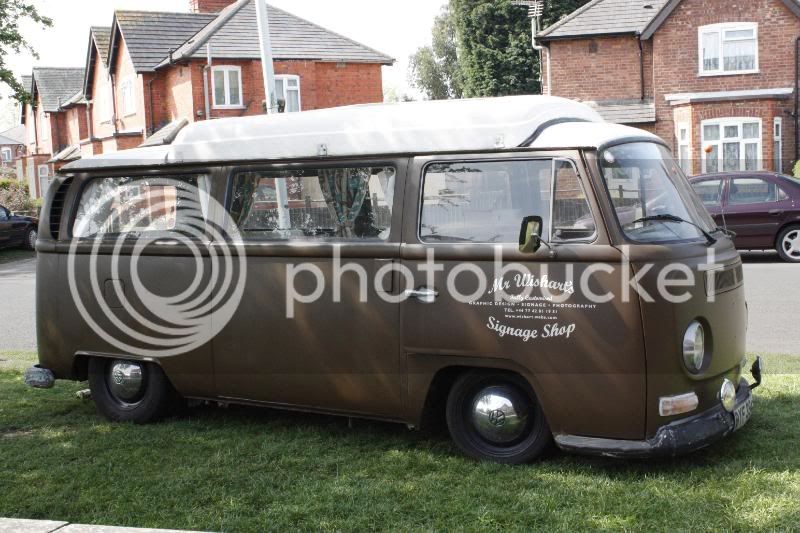
He has a 3 year old Mexican 1600 Unit in the back which purrs really nicely. Stock exhaust system which is staying put! The suspension is stock..... :lol: ....... it has a 4.5" narrowed Splitty beam up front with adjusters and CB dropped Spindles, the back has been dropped 3 splines and the chassis has been notched to suit. We have lovely stock wheels which will be staying on there as I love them to bits - cant decide on hubcaps on or off though. I might paint them....


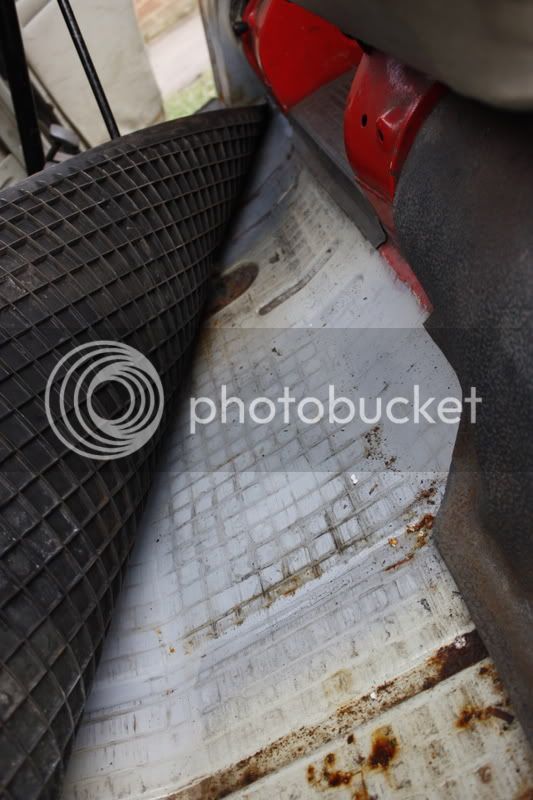
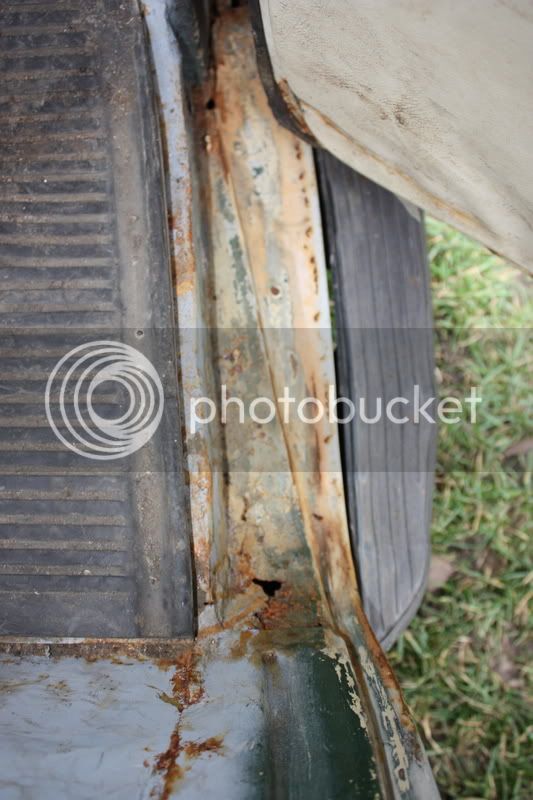
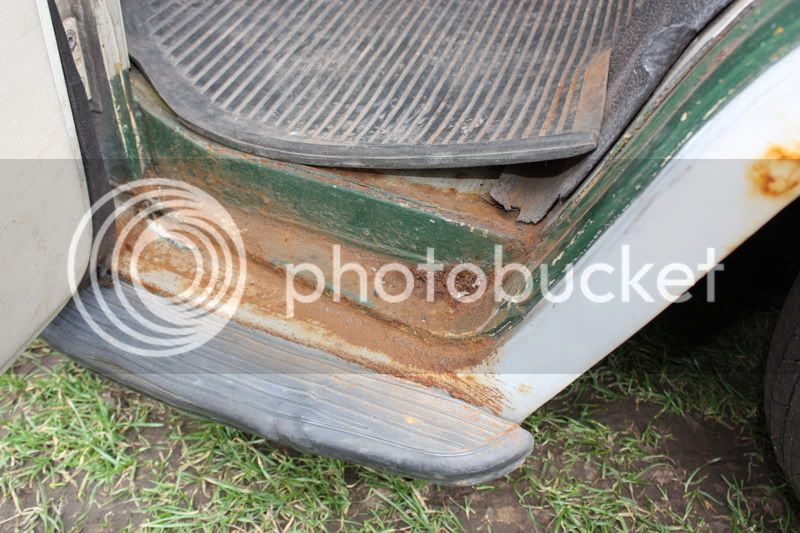
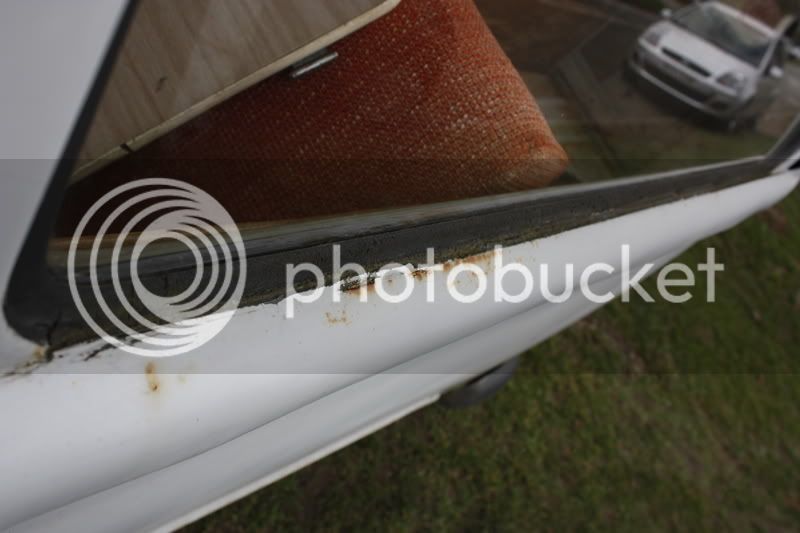
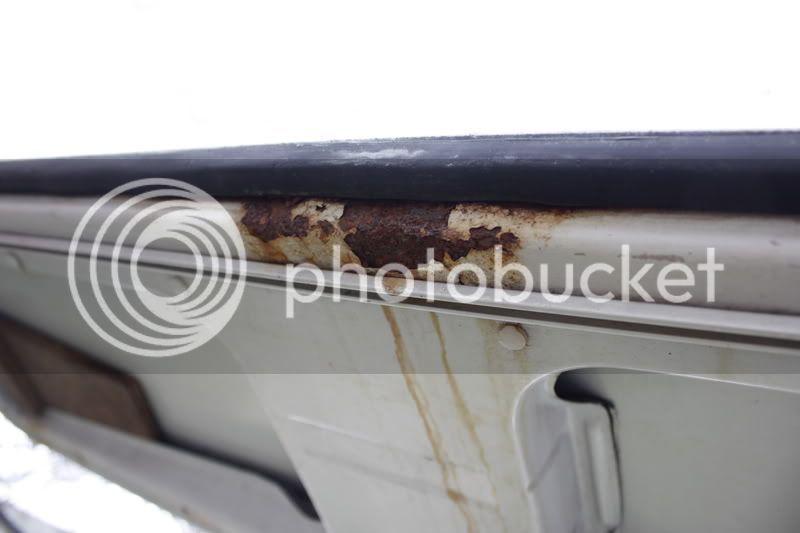
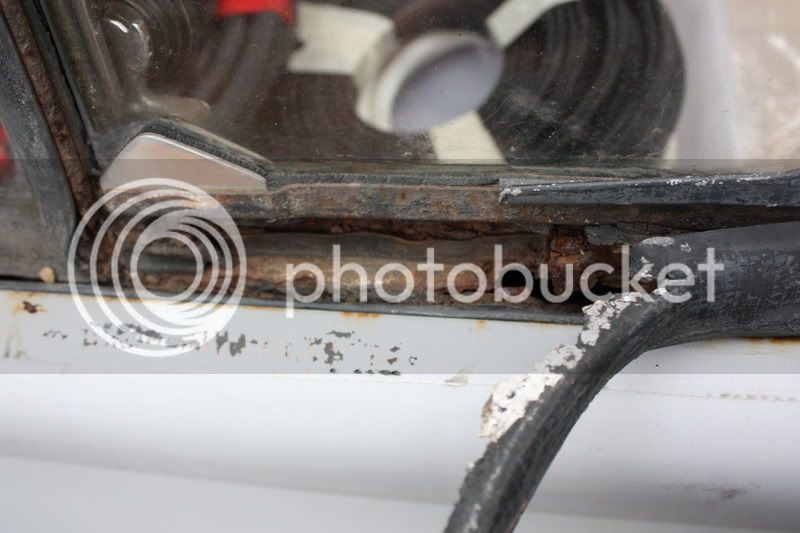
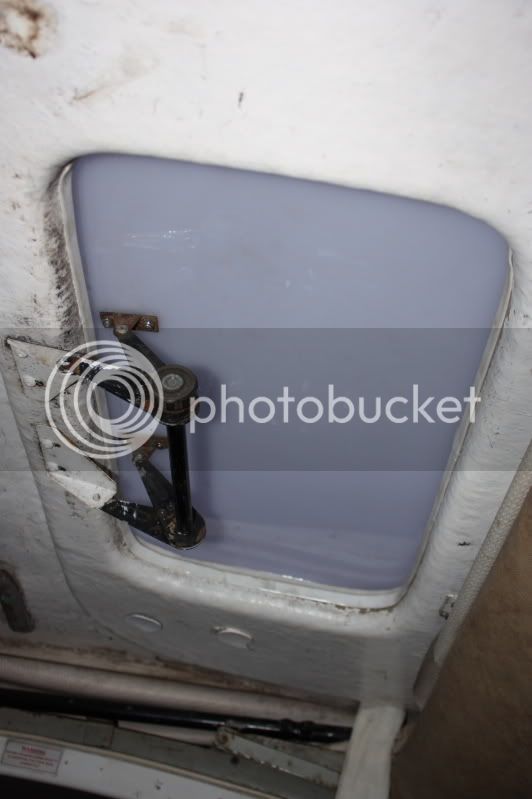
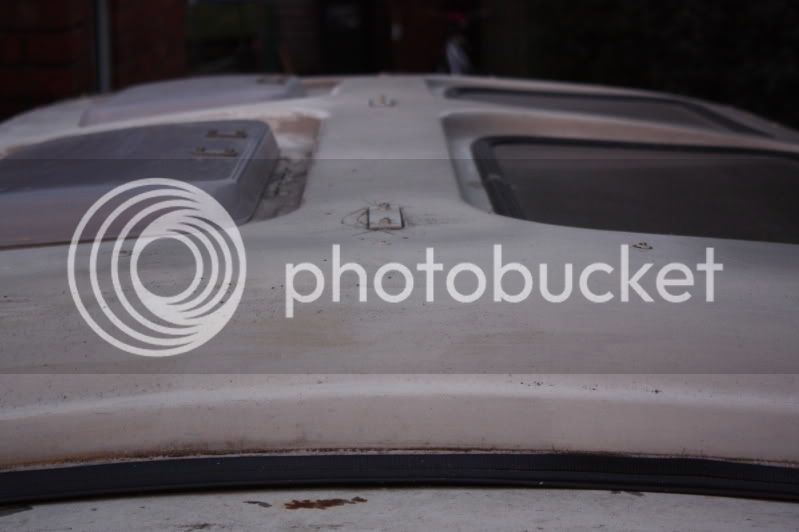
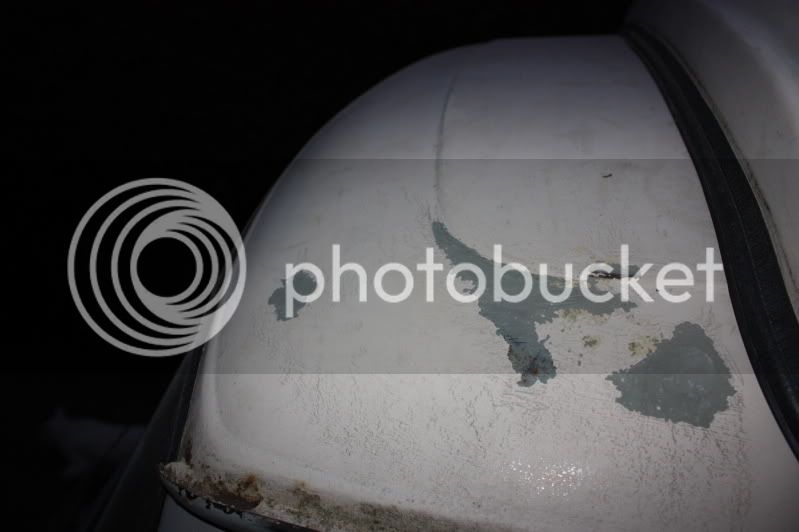
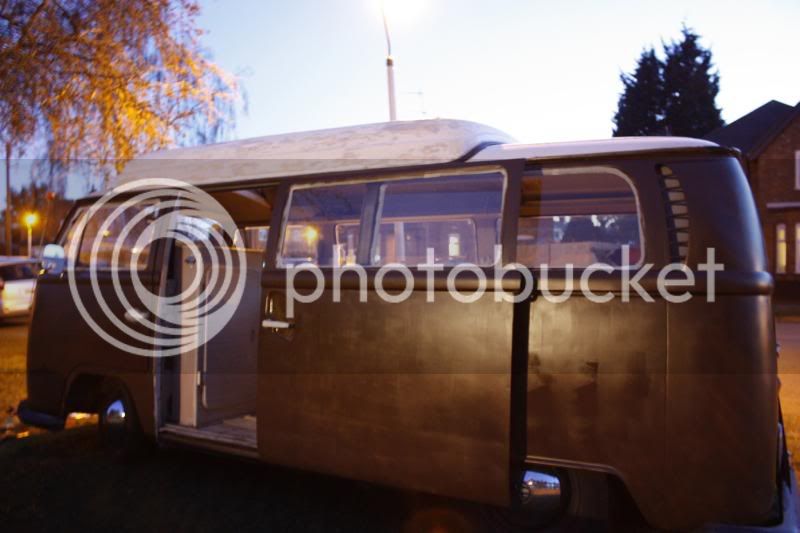
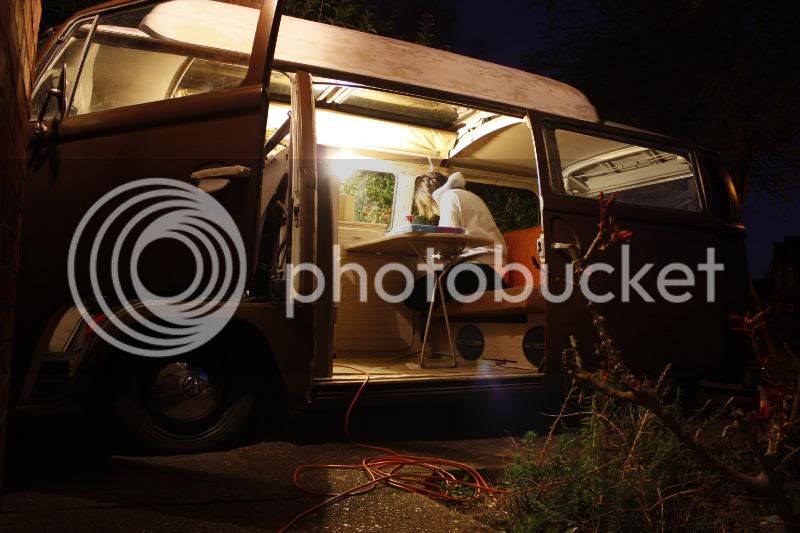
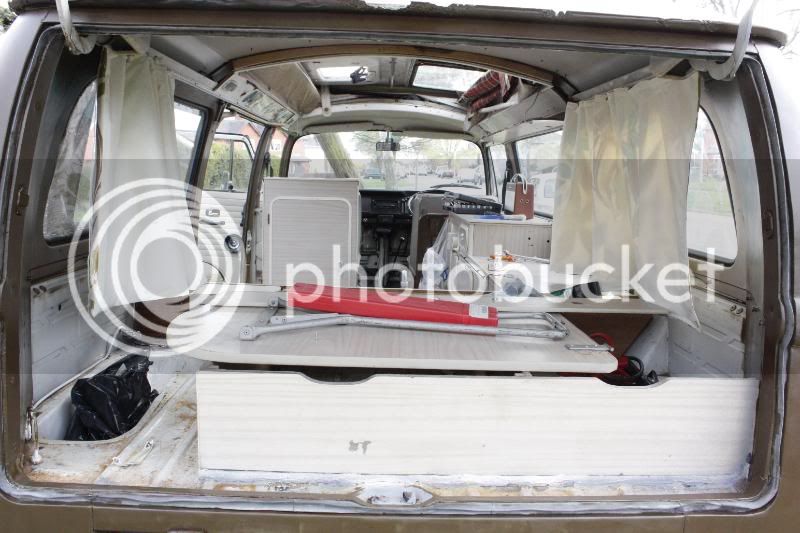
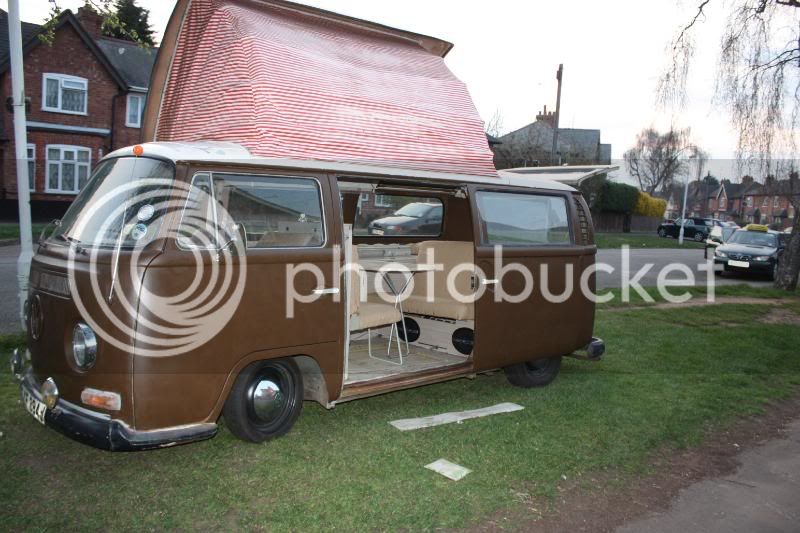
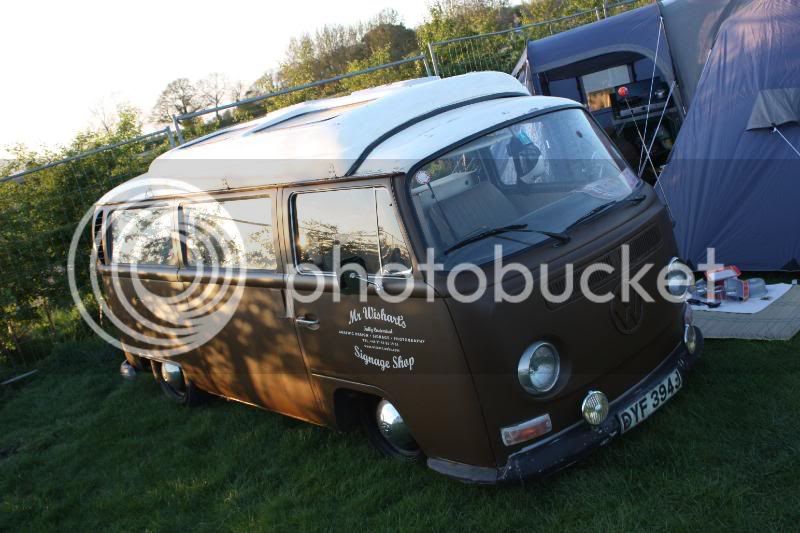
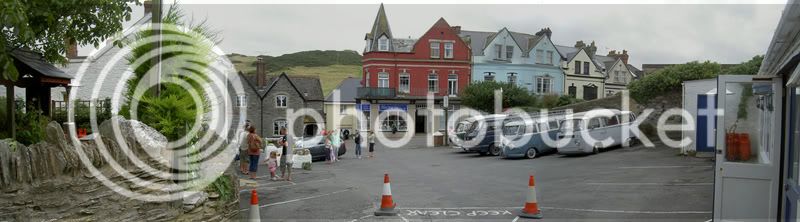
Lowrie was called into action just a week after purchase, for a two week trip to Devon! Took us there and back with out fault....well, apart from the fact that it rained for 99% of the time we were there and the leaks that were coming in were like someone slipping a hose pipe in the window :shock: :( Still, we did it and he has proved to be a reliable little runner ever since!
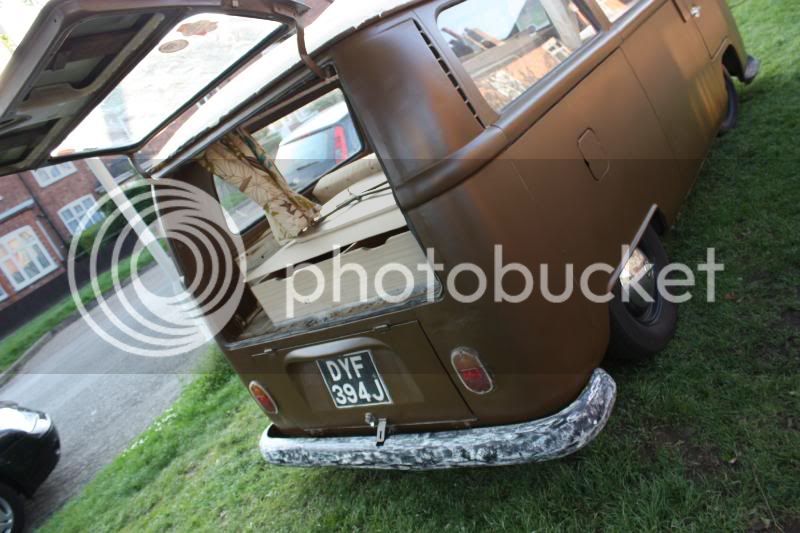
Devon, Aug '08
SCDDEvonMorthoe.jpg


PICT0573.jpg
 
So, the low-down... He's a 1971 Dormobile Conversion, first registered on 6th August 1970, mostly original interior which is good, obviously not so original from the outside! According to the log book there have been 7 previous owners, and I've just written to the DVLA to request the details of them. Going on an idea off VZi, I plan to write to each of them in the hope that they still live at the address and request any information, stories, pictures they might have. Its a long-shot but worth a try. Ive got a folder full of MOT certificates and receipts dating back to 1985, but before that is a mystery! It seems that he spent most of the last 10-15 years in or around Guildford/Farnborough - anyone remember it?

He is my daily driver, averaging about 100miles each week so it gets a lot of use! The MOT was up in October and needed a fair bit of bits seeing to. I had some other bits done too while it was in and the list of jobs that came back read:

Replace Cab floor on drivers side including triangular bracing beneath, on chassis
Repairs to front inner arch leading up to drivers seat
Repairs to Cab floor on passenger side
Replace passenger B pillar
Replace cargo door sill
Repairs to inner sill and belly pan under cargo door sill
Replace passenger side battery tray including substantial repairs to rear corner
Tack drivers side battery tray back into position
Temporary repair to belly pan on passenger side
Temporary reapair to inner front valance where chassis meets
Replace engine lid mounting panel
Repairs to short sill
Temporary repair under drivers side cab step
Temporary weld bumper to cab steps


:eek:

Unfortunately, the list of things still to be done doesnt read much better!

Both cab steps
Both splash pans behind front inner arches
Passenger side inner and outer sills
Passenger side belly pan needs patching
Driver side rear corner (possibly complete section)
Both ssplash pans rear inner arches
Lower front front panel
Front inner valance
Gutter repair/replacement
Rear hatch aperture
Replace all window rubbers including pop-top
Door seals
 
Lowrie is currently in the best hands having all the window rubbers seen too, including the pop top. I also wanted the rear hatch seal replacing as this was one of the worst leak points. Ive gone for German quality seals for all of this ;) I took some pictures of the mended cab floor, and some of the bad bits before I sent the bus in for the latest work...


The cab floor....
_MG_4561.jpg

_MG_4562.jpg


Cab steps - still to be done....
IMG_4554.jpg

IMG_4555.jpg


Passenger side arch - still to be done...
IMG_4556.jpg


Pop-top skylights and glass...
IMG_4570.jpg

IMG_4571.jpg

IMG_4572.jpg


The new bits for pop-top...
IMG_4574.jpg


Some interior shots of it stripped out a bit...
IMG_4573.jpg

_MG_4564.jpg


Old window rubbers and bad bits...
_MG_4563.jpg

_MG_4566.jpg

_MG_4549.jpg

IMG_4551.jpg


At some point in the future we will have that list of stuff complete and we can look towards, and save towards a nice paint job 8) Im a sucker for VW colours so although it may not be correct for the year, it will be a VW colour!

The interior is probably the next realistic part of the project. We have plans to spruce it up a bit with our own fabric seat covers, keeping whats original underneath it. I have spent the last two weeks scouring every headliner thread i could find, with the intention of doing my own plywood headliner.... mentioned it to the Girlfriend last night only for her to poo poo it straight away! :roll: Still, the interior is her baby, and she will do a good job im sure of it! All of that will have to wait till we come back from Belgium 8)
 
ooooh and some nice shiny bits arrived yesterday....

Basic Sony stereo and 6x9's - still waiting on the 4" fronts speakers to arrive....
IMG_4586.jpg


And some old Raydot Fog Lamps - working too!
IMG_4588.jpg
 
Welcome and a nice looking Dormy with a wonderful stance.......... :mrgreen:

Looking forward to watching the updates unfold on this van ;)
 
Little update:

Made the trip to Belgium with only one tiny problem - a hundred yards down the road form leaving the house it started raining... Molly shouts from the back seat "Its Dripping!" ::) But, not to worry - one of the seals round the glass in the poptop hadnt quite met in the middle and there was a half millimeter gap where the water dripped in. A good finger of Vaseline from a mate on the tunnel (that sounds really dodgy!) and we are sorted ;D

Many many thanks to my friend Neil for the Stereo install - and sorting out an issue with the wipers ;) Ive got the fog lamps on but not wired in yet.

So, a couple of pics of the some of the work on done recently...

Window seals in (didnt get pics of all of them):
IMG_5095.jpg


IMG_5096.jpg


IMG_5097.jpg


IMG_5094.jpg


He also had to do some pretty major fabrication round the rear quarter as it fell to bits when pulling out the seal round the rear hatch!:
_MG_5091.jpg


_MG_5092.jpg
 
Ive been doing a lot of thinking and debating about what i should do about the grey primer thats on the body at the moment. We're all agreed that it needs to come off cos its doing it no good, but do I strip it off and go back to original paint - or - sand it down and coat with a temporary paint job till the final body prepping can be done....

Well, we're gonna rub it back a fair bit and coat it with a satin finish of some sort for now. Ive got three colours in mind and each time i decide on one, i change my mind ::) its not easy, even though its only temporary!

So i thought id try to make a start on the roof while i deliberated. The fibreglass pop-top had been painted with a brush and is flakey and horrid! Spent the afternoon with a scraper on one side, gettin the loose shit off before attacking with the sander ;D Its lovely and smoooooooth now!
_MG_5086.jpg


IMG_5103.jpg


_MG_5089.jpg


IMG_5102.jpg


Also found some flakes coming off the front half of the metal roof - might as well have a go at this now im up there! Roof will be painted in white, probably satin too.
 
satins cool :D, im spraying my bus hopefully this week or next in a satin finish, the pics will be on my thread but not too sure how it will turn out til i do it
 
Thirteenwindows said:
How did u remove the stick shift/manual tube that is in the middle of the
beam????.
By the way.Ur bus looks great.

Cheers :D

Not sure i understand what you mean about removing the stickshift? I didnt think i had moved it :lol:
 
Today, I bought temporary paint job paint :mrgreen: I think (hope) its gonna be niiiiiiice ;) Also made some fruitful enquires about whitewalls (cheers ant!)

The interior side of the project has started to move along too. Just a tidy up, clean and retrim but will make a world of difference :D


But next on the list of proper stuff to be done:

• Dropped Spindles need stripping down and assessing as some not-so-good noise are being heard!
 
I bought it from http://www.rustoleumdirect.co.uk" onclick="window.open(this.href);return false; - good price, good service and next day delivery :D


Here is a sneeky peek at the job so far - only two coats on and its still a bit uneven (rollers arent as good as i thought!)

_MG_5142.jpg


Will do one more coat before rubbing it back a little then applying one or two more
 
Well we kind of did it.... we made it to Big Bang with the bus now looking COMPLETELY different :D

The Kit:
Rustoleum Paint - one 2.5ltr tin
one pack of 4 inch gloss foam-rollers
white spirit
mixing kettle
and a bucket load of hope LOL


First Coat
(I must admit this worried me after the first few rolls!!!)

_MG_5113.jpg

_MG_5114.jpg

_MG_5117.jpg

IMG_5115.jpg


Second Coat
(Same Day)

_MG_5118.jpg

_MG_5120.jpg

_MG_5121.jpg

_MG_5125.jpg

_MG_5130.jpg

_MG_5138.jpg


Stripping a little of the interior out
_MG_5146.jpg


Third Coat Looking a little better

_MG_5156.jpg

_MG_5166.jpg

_MG_5175.jpg

_MG_5181.jpg

_MG_5177.jpg


Interior out for Boogie to work her magic:
_MG_5149.jpg

_MG_5184.jpg

_MG_5191.jpg
 

Forth Coat
Getting there...

IMG_5162.jpg

IMG_5159.jpg

IMG_5153.jpg

IMG_5200.jpg


More good progress on the inerior too... (curtains are much more of a pain than i thought they would be!)
_MG_5204.jpg

_MG_5207.jpg

_MG_5206.jpg

_MG_5208.jpg

_MG_5210.jpg

_MG_5211.jpg

IMG_5213.jpg

IMG_5219.jpg

IMG_5220.jpg

IMG_5214.jpg

IMG_5215.jpg

_MG_5228.jpg

IMG_5224.jpg

_MG_5412.jpg

_MG_5413.jpg

_MG_5411.jpg
 
Fifth Coat!!! Not perfect but it'll do it for now ;D

IMG_5407.jpg

IMG_5408.jpg

IMG_5406.jpg


Late night fitting of door cards!
_MG_5421.jpg


Some finishing touches ;)
IMG_5418.jpg

_MG_5416.jpg

_MG_5417.jpg


And we make it to Big Bang!!!!! ;D ;D ;D Not totally finished but near enough. Will tackle the roof and bumpers over the next couple of weekends, same with the headliner and fitting the last of the carpet in etc. Dead chuffed with it ;D ;D ;D

IMG_5471.jpg
 

Latest posts

Top