

vwwinston72
Well-known member
- Joined
- Sep 1, 2011
- Messages
- 216
- Reaction score
- 0
Love a green earlybay 8)
midlandpaintwerks said:Hi Andy, great build , did you use the horse shoe plates ? The Continental Ecocontact Premium 2 on the front 185/55/15 86h xl are a great find , I will be fitting these to my own bus as I have never felt safe with the 165/50/15 although I have never had a problem , apart from the harsh ride.
Stuart
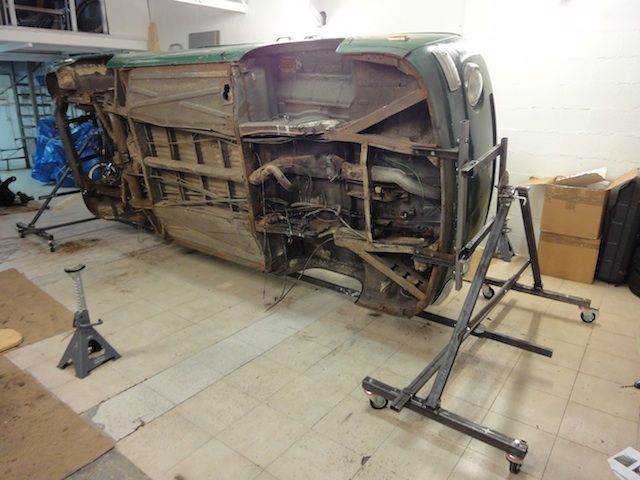
") As seen as Bluey is going to be the family ride, I decided to see what else was available that would give a more comfortable ride and also look good on a lowered/narrowed bus. These 185/55/15 XL's are just the job, and although it wasn't a major factor in my decision , its a bonus they meet the factory front axle load specs too (Front axle load weight is 1010kg, so 505kg per tyre equates to a 85 load rating and these are 86. I did my maths just for the hell of it )
As seen as Bluey is going to be the family ride, I decided to see what else was available that would give a more comfortable ride and also look good on a lowered/narrowed bus. These 185/55/15 XL's are just the job, and although it wasn't a major factor in my decision , its a bonus they meet the factory front axle load specs too (Front axle load weight is 1010kg, so 505kg per tyre equates to a 85 load rating and these are 86. I did my maths just for the hell of it )

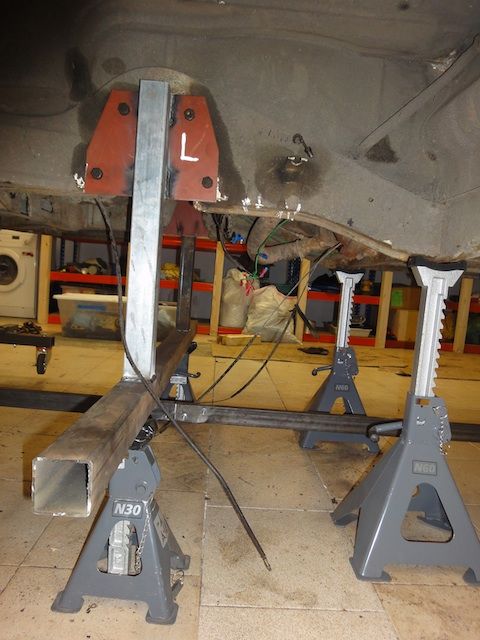
yachty said:One other thing, flipping the A arms means they bottom out on the top of their mounting brackets before they hit the chassis rails so a bit of radius-ing is required which then means the brake pipe mounts have to be moved a little. Have a look at Gadgets Citrus Valley build thread for pics
I think I'll be giving that idea a miss 
yachty said:Hi Mycha
Yup, I saw that bit about the washers but it seems a bit too easy if you know what I mean
i'm thinking of a special plate between the four bolts, thick on the upperside thin on they underside? Greetings
 nice to read someone else has the same problems ,in a good way 8) ...Dave


