"Bluey" the Green 1971 Westy - eh?

Early Bay Forum

Help Support Early Bay Forum:

This site may earn a commission from merchant affiliate links, including eBay, Amazon, and others.
While I was there, I offered up the horseshoe plates just for a looksee.....

AdjustableSpringplateandHorseshoes.jpg


Definite notching required with those and the adjustables. I'll be leaving them for the time being then and seeing how I get on with just the springplates first ;)
 
yachty said:
creationblue said:
I guess it's not -2degC in your garage :lol:

I tell you what Just, we had a strong northerly wind today which was a bit chilly..........I even had to put a jumper on :eek:

:lol:

Sorry no sympathy from me :lol:

Liking the spring plates, must get me some of them

Have u tried Nitromores (spell?) on the paint? It softens the layers so you can scrape it off leaving the much harder original paint
 
Yeah, thats what I did, Just.

Started off with oven cleaner (crap) and then paint stripper a little at a time.

Unfortunately, someone had really gone to town with sanding the original white. Those two bare patches on the LHS had some horrible black stuff over them under the green paint and there was no white under it at all :roll:

Its OK though. This is going to be the family bus so ratty isn't really on the agenda. I've got my crewie for that ;) :lol:
 
To be honest, I wouldn't bother with the hassle of trying to keep the original paint.
I tried to keep the paint on the roof of mine and in the end gave up as it had been sanded back to the metal in places.
 
Started to get the beam together this week. Using the old servo and old nuts and bolts to check fit and alignment. Once the ride height and stance is sorted, it will all be coming apart again while I work on the body.

Beaminprogress.jpg


And in.....

BeamIn.jpg


A mm perfect fit 8) ....

Perfectfit.jpg


Off to my mates Hydraulic shop today to go press the linkpin bushes into the spindles.
 
So, got the linkpin bushes pressed in at my mates hydraulic shop using his 50 tonne press. Turns out he's got various lathes and milling machines as well, Result.

He may be seeing me more often than he bargained for ;) :D

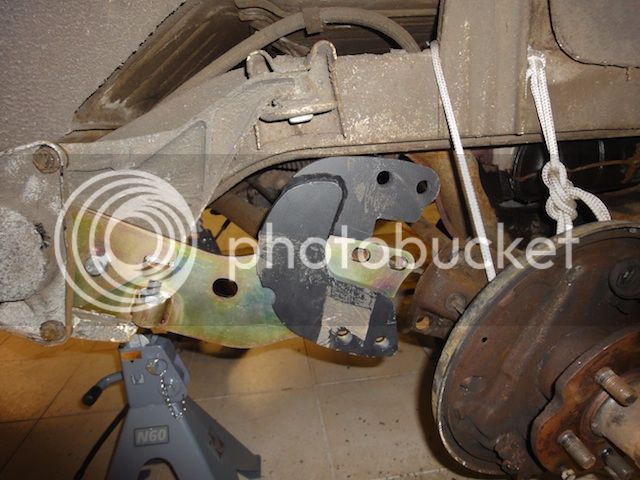
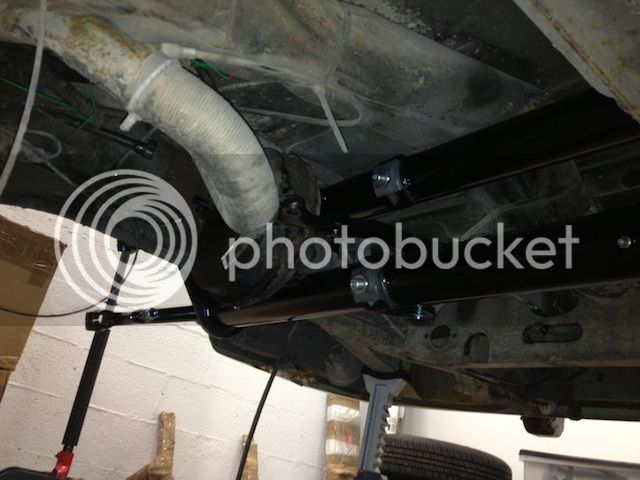
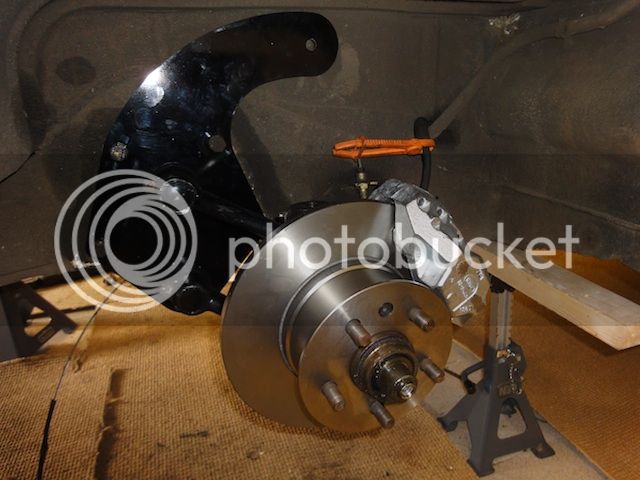
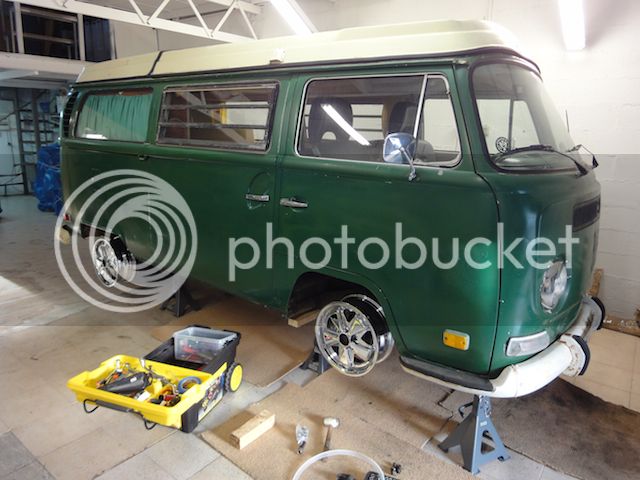
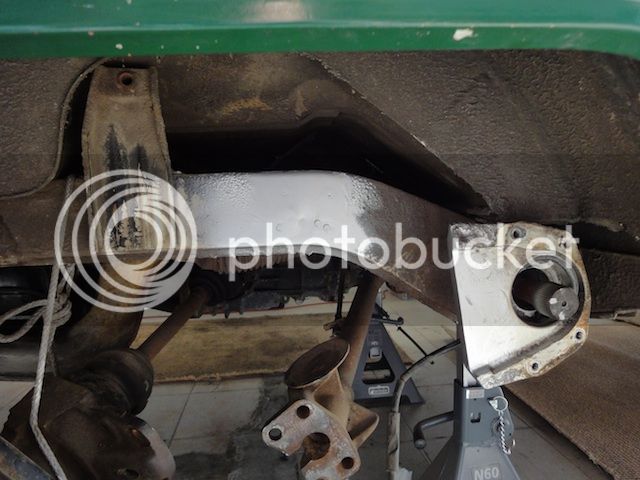
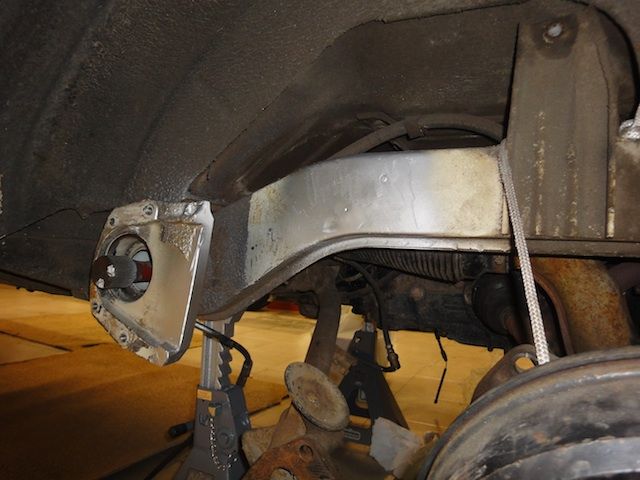
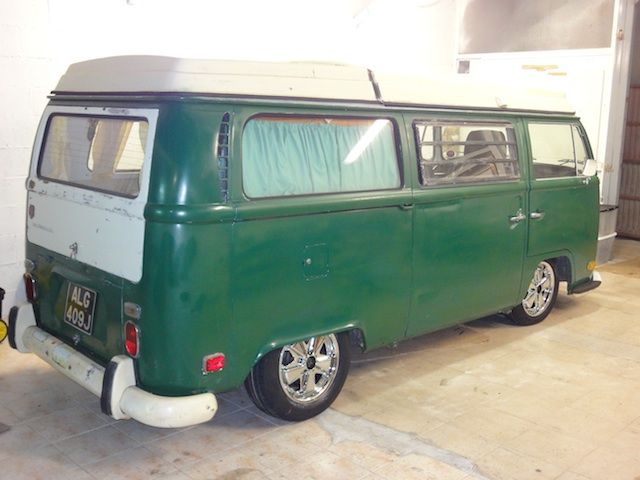
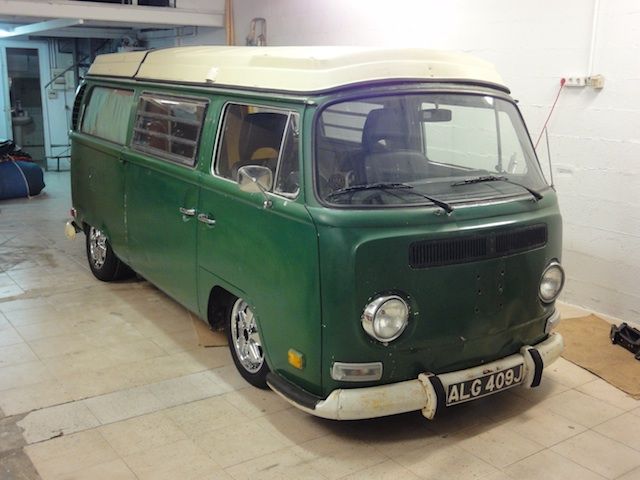
Got some time today to install the spindles, build up the brakes and check the fitment of various bits and bobs.........

NewBrakes1.jpg


NewBeam3.jpg


Beam2.jpg


Good news is everything more or less fits. Main jobs being to extend the brake pushrod 2 cm, fab and install brackets for steering damper and steering stops and a bit of minor clearancing here and there. The original brake backing plates need modifying to fit the new spindles and calipers but I've decided to buy new backing plates and save the original ones incase I need them again in the future. Luckily, all the new backing plates you can buy are Brazilian and should therefore be a perfect fit!

The biggest problem I found today is that the standard inner wheel bearing hub seal does not fit the brazilian spindles. They have the spacer built in to the spindle and it is only 45mm diameter instead of the usual 50mm. I couldn't find anything online today. Can anyone out there point me in the right direction or tell me what seal fits? It needs to be 65mm OD and 45mm ID.

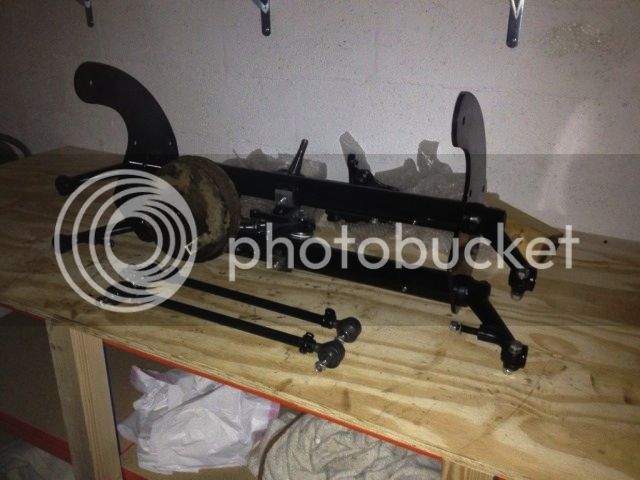
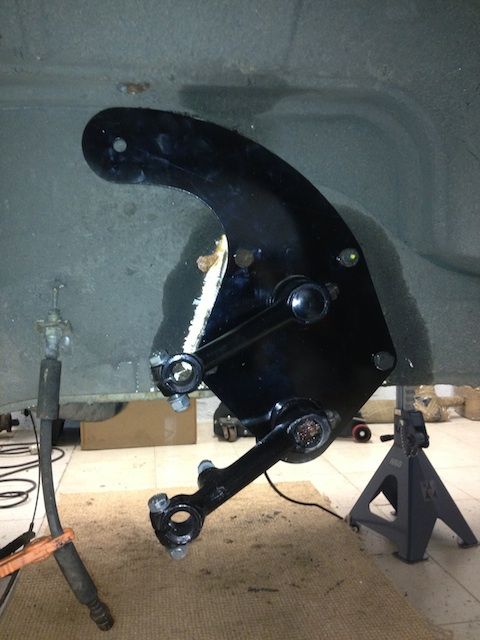
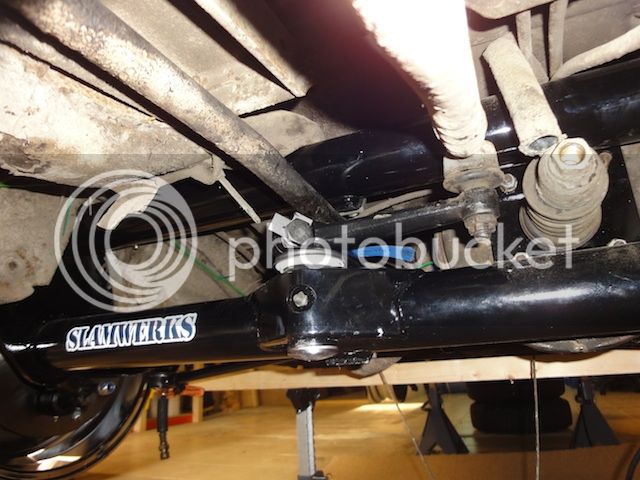
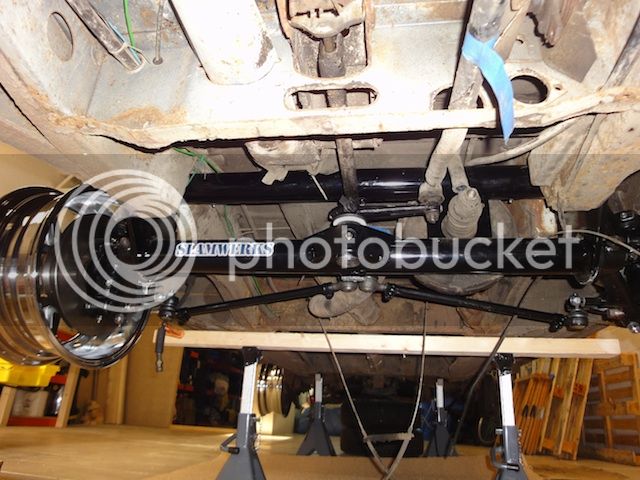
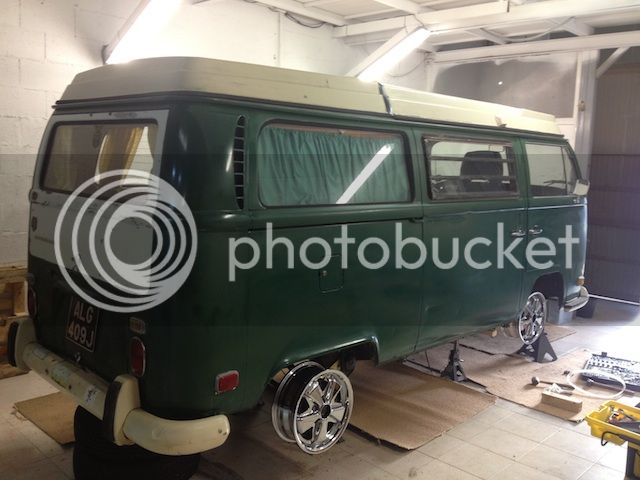
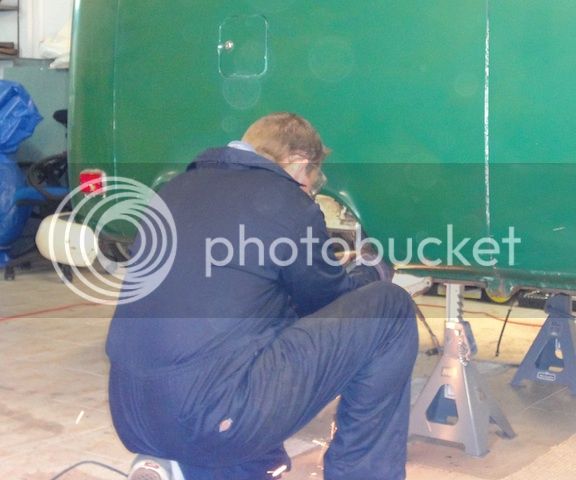
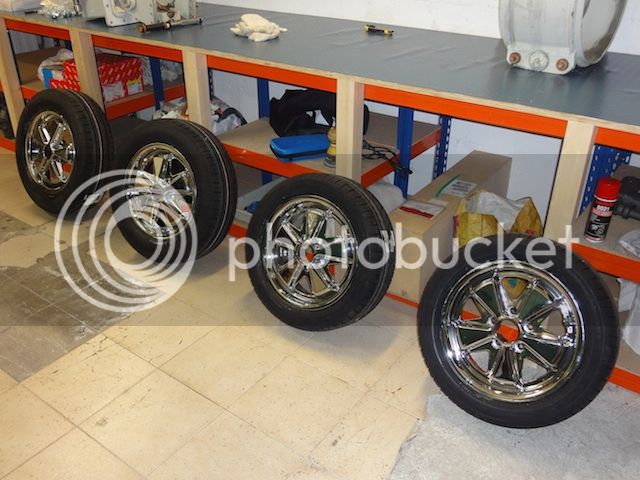
After an afternoon on my back, it was time to break out the shiny bits and see how we were looking.....

WheelTrial1.jpg


WheelTrial2.jpg


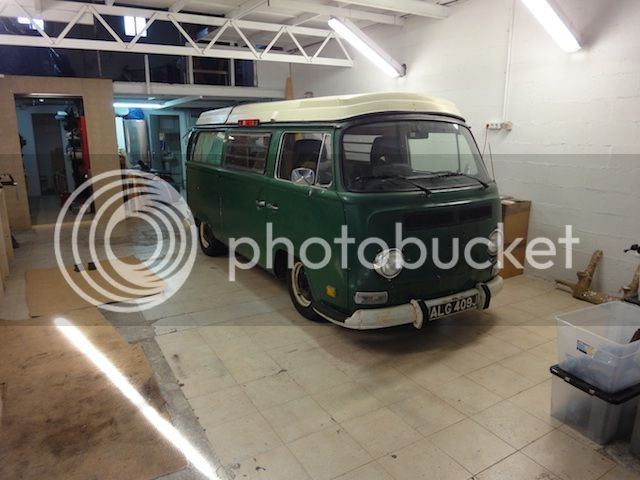
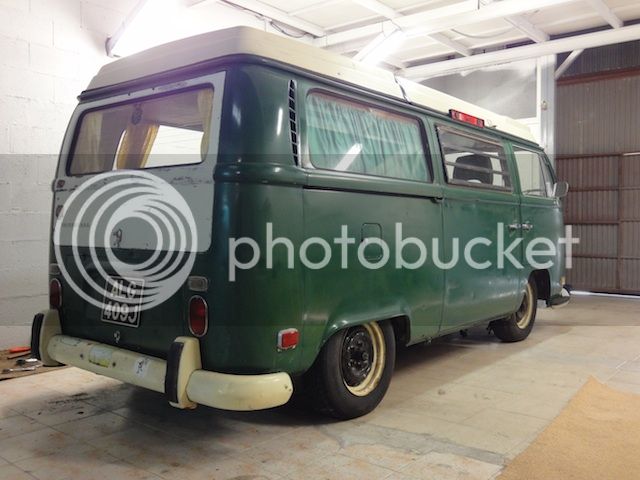
Hopefully, tyres tomorrow if I can find what I want on the island. If not, it will have to be mail order and bit of a delay :)
 
So, went to the tyre place and sure enough, had to order and wait.
That'll be Spain for ya :roll:

Being the impatient type I decided to drop it down on the OG wheels and tyres. Turns out the diameter of a rear 195/75/14 is more or less the same as a 195/65/15 so was able to mess about with the spring plates and arrive at this.......the bouncy bus :D

Bouncybus10_zps7188f063.jpg


Bouncybus11_zps2ee00be1.jpg
 
Ignore the front end and this is the clearance I was left with at the backend...

Clearance1_zps0b59b0e7.jpg


That wasn't going to work so.......

Grinding1_zpsdf73734e.jpg


Yup, the overalls don't flatter me :D

But they did stop me bursting into flames :D , And this is what we ended up with.........

Grinding2_zps3d70b981.jpg


Grinding3_zpsc0ddf480.jpg
 
That was today.............and then about 5 minutes after I'd finished the LHS, at 5pm the phone rang to say my tyres had arrived so I whizzed around to get them fitted........

Wheels1_zps0dade6d7.jpg


Got back to the workshop at 6pm and was under orders to be home by 8pm :roll: ................obviously, I didn't make it on time :D and I'm currently in the bad books but who cares..............

Slammed1_zps510c8011.jpg


Slammed2_zps112185e8.jpg
 
Thats the A arms about 5mm below the chassis rail, and upfront the tyres are about 2mm shy of the tubs and the tie rods are disconnected.

It needs 75mm (3") semi-circle notches at the front for the tie rods, and tubbing for tyre clearance. I've been on the phone to Slamwerks today for a pair of their tubs ;)

Out back, the jury is undecided but I'm thinking to cut and raise the existing chassis member and add gussets fore and aft, a la Slamwerks/Dubscum style 8) . The big decision is how far to go with the notches and what to do about the inner support......cut it out completely or try and reposition it to join the modified chassis rail :D
 
Top