

dubscum
Well-known member
Looking really good mate
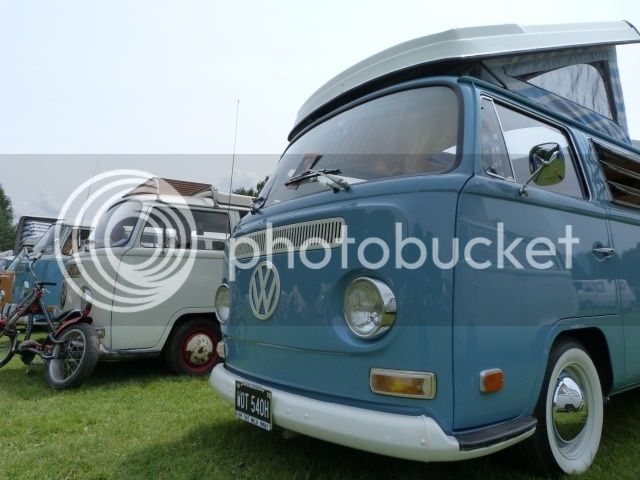
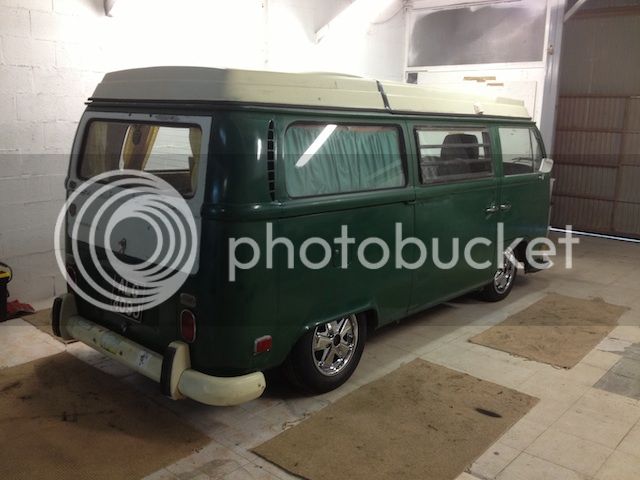
Grazy said:Loving this mate , Big fan of Green westys , shame you are going to change that !
Jealous of the garage you jammy git")
Keep up the good work ,
 arty0006:


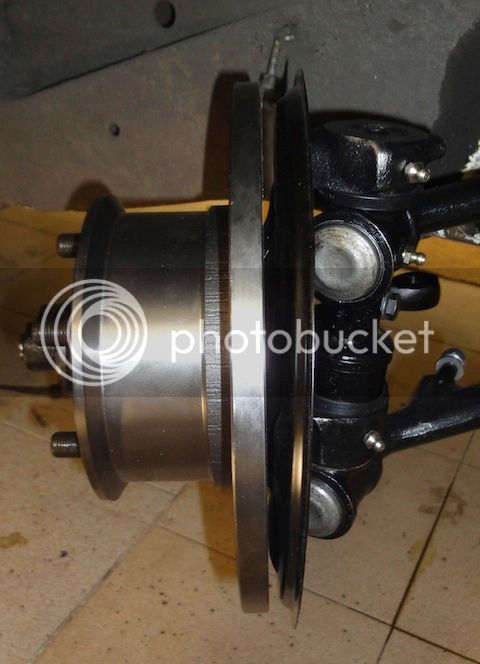
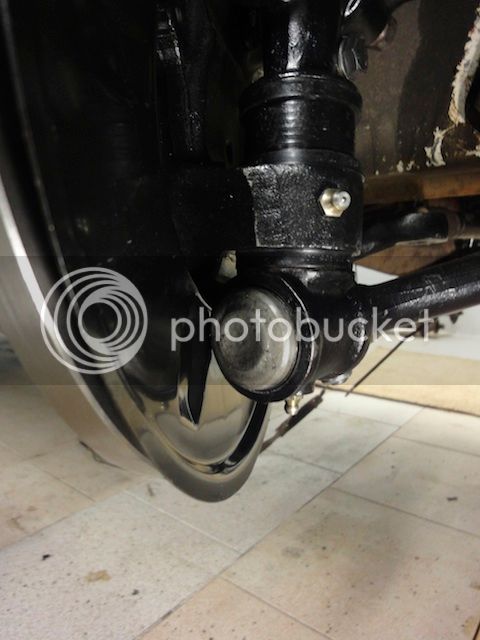
 , I just removed the spare shims from behind the link pin heads and a quick knock with the hammer to the plate and a bit of dremmel action on the edges of the lower kingpin and all is good. Cheers Gadget
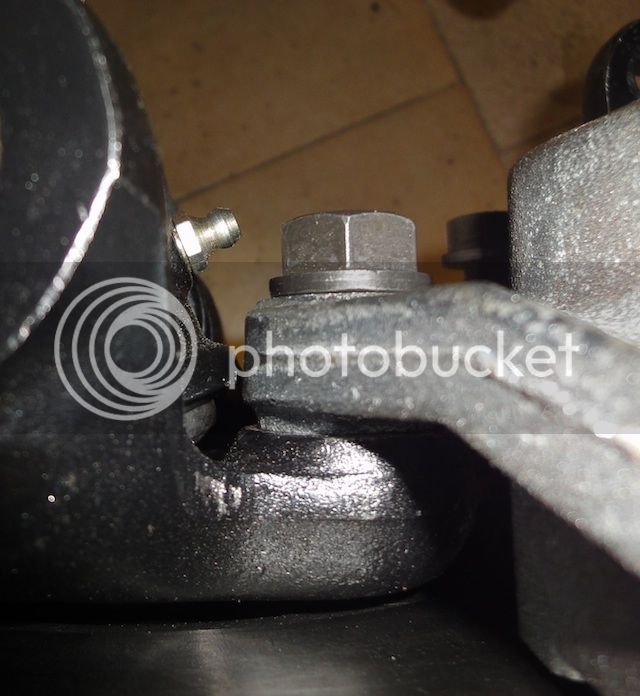
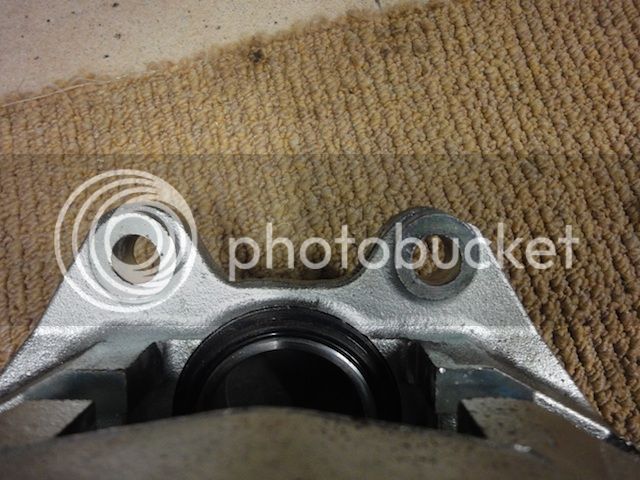
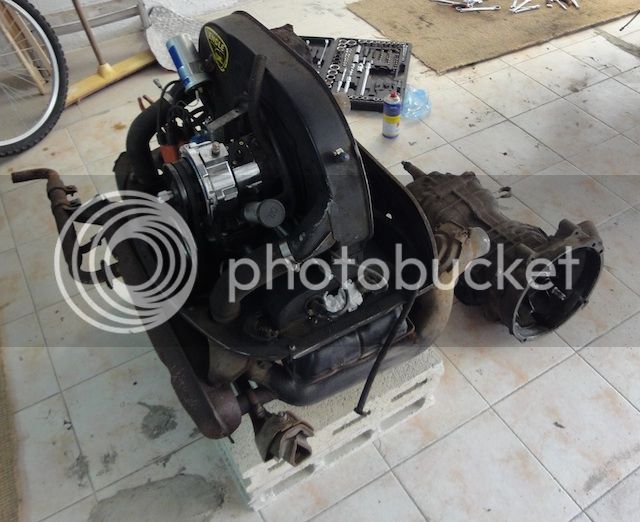
 And if anyone needs T25 rear drums, hit me up; I have good stock PMSL.
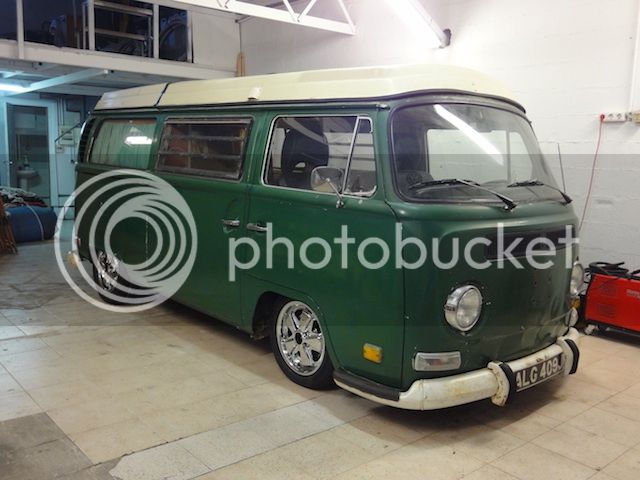


mychatype3 said:Good idee to flip the A-arms, love the stance with the spacers
Greetings Mycha
yachty said:Jealousie seal replacement video thread on the samba.
http://www.thesamba.com/vw/forum/viewtopic.php?
Just for my future reference
creationblue said:yachty said:Jealousie seal replacement video thread on the samba.
http://www.thesamba.com/vw/forum/viewtopic.php?
Just for my future reference
Linky no worky................ try this http://www.thesamba.com/vw/forum/viewtopic.php?t=479591" onclick="window.open(this.href);return false;


