You are using an out of date browser. It may not display this or other websites correctly.
You should upgrade or use an alternative browser.
You should upgrade or use an alternative browser.
"BUSTER BO JANGLES", '67 CREW CAB
- Thread starter BO JANGLES
- Start date


Help Support Early Bay Forum:
This site may earn a commission from merchant affiliate
links, including eBay, Amazon, and others.
BO JANGLES
Well-known member
- Joined
- May 12, 2008
- Messages
- 271
- Reaction score
- 1
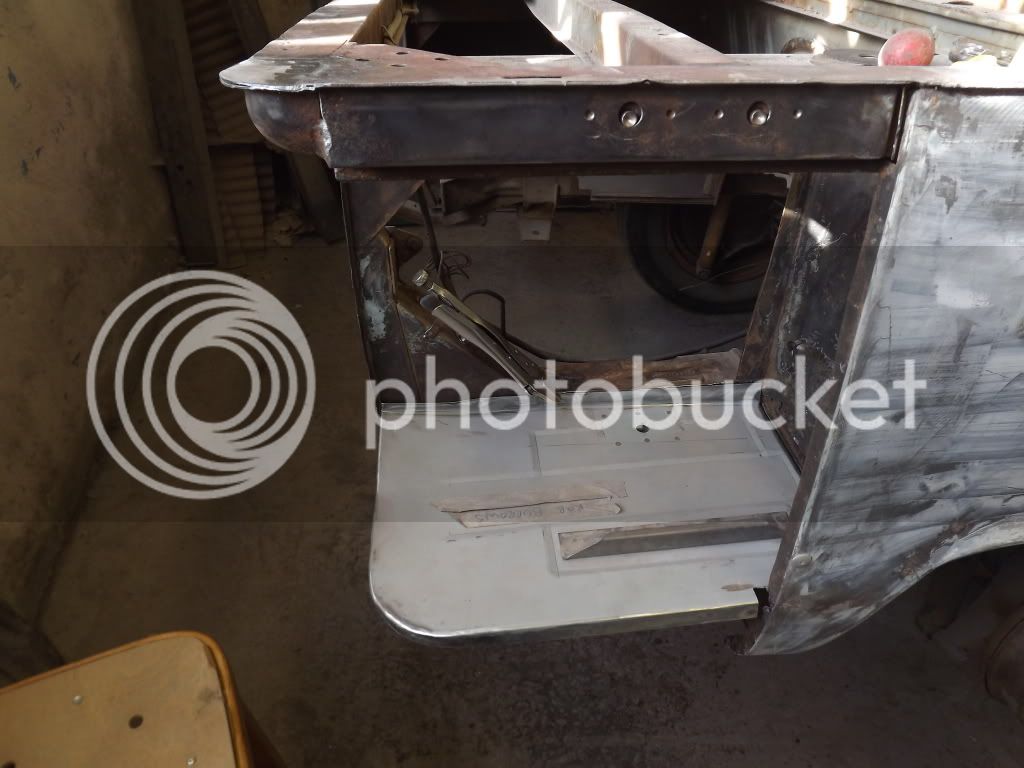
Really pleased with the progress, the sills have gone in a treat with the panel gaps & folded outward seam lining up perfectly
& also fitted a new panel under the O/S front wheel arch
& also fitted a new panel under the O/S front wheel arch
young_dubya
Well-known member
:mrgreen:
young_dubya
Well-known member
Did you buy a long split sill panel and mod it for the rear section with the flange or did you by it pre flanged?
BO JANGLES
Well-known member
- Joined
- May 12, 2008
- Messages
- 271
- Reaction score
- 1
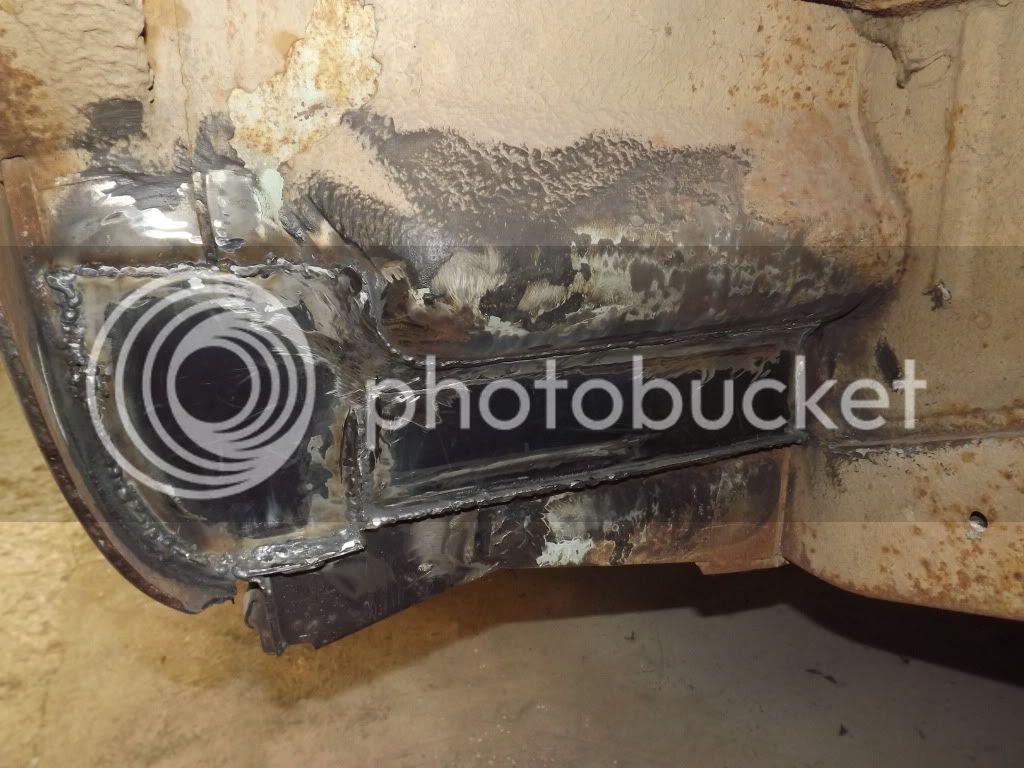
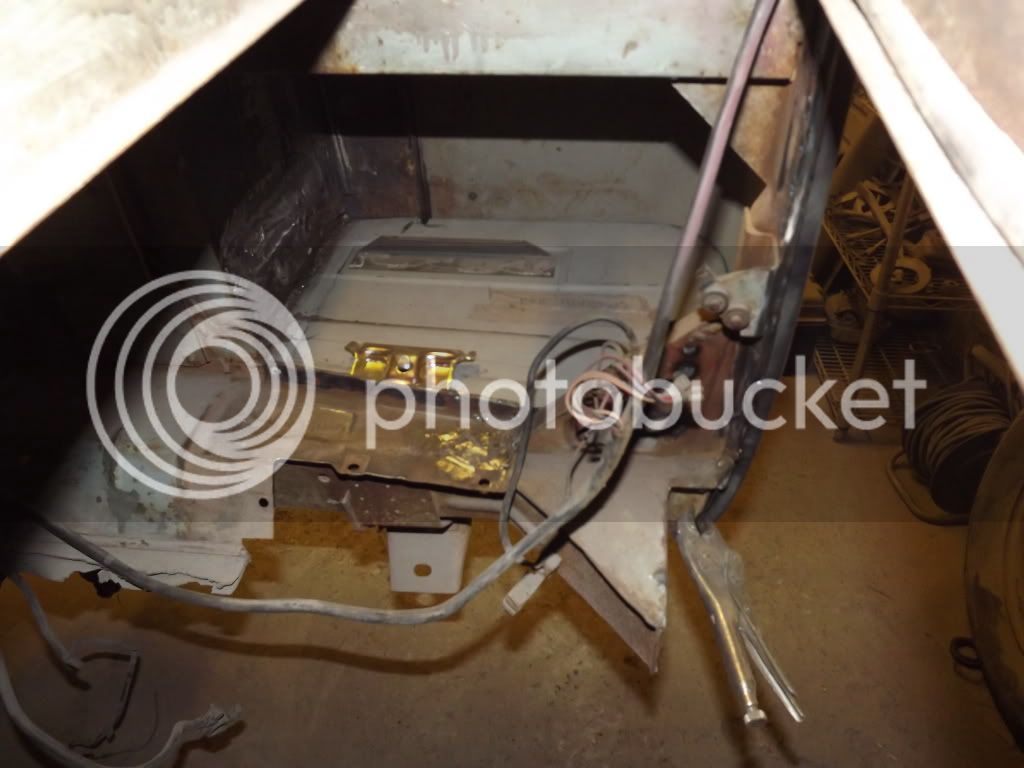
Back at it again today, started getting the new battery tray fitted, then spot welded the NOS rear corner, really pleased, this week Buster started to look like its going forward, so I'm well pleased 8)
young_dubya
Well-known member
lookin good dude! 


$7.75
Window Crank Cover, for Beetle, Bus & Ghia 68-79, Black, Ea, Compatible with Dune Buggy
Appletree Automotive


$38.58
Window Sash, 1 Piece Windows,for Beetle 58-64 & 68-77, Pair, Compatible with Dune Buggy
Texas Air Cooled LLC

$9.37
Empi 4429 Ivory Sun Visor Clips For Vw Bug 1965-1967/ Vw Bus 1968-1979, Pair
MOORE PARTS SOURCE

$9.94
$10.95
Empi 00-4428-B VW Bug, Beetle, Sun Visor Clips, Type 1, 68-79, Black, Pair
MOORE PARTS SOURCE

$25.06
Airfix Quickbuild Volkswagen Camper Van Red Brick Building Plastic Model Kit J6017, Multicolour
Amazon Global Store UK


$124.09
Revell 07009 Volkswagen T1 Samba Bus Model Kit, 1:16 Scale 27.2 cm, Multi-Color, 223
Japan 88 store

Looking good, can't wait for mine to get to this point
I've been in touch with Karl at Autocraft, and he says that the sill section they sell for the Split crewcab, also fits a Bay, I'll be ordering a pair on Monday for mine, so will let you knowyoung_dubya said:Did you buy a long split sill panel and mod it for the rear section with the flange or did you by it pre flanged?
young_dubya
Well-known member
**** hot!! I was gunna ring him monday as theres a few bits i want from there anyway. Ill get um ordered monday! Cheers man.
Cheers man.BO JANGLES
Well-known member
- Joined
- May 12, 2008
- Messages
- 271
- Reaction score
- 1
Mine are standard bay sills from Schofields, I then cut & modded it, still got the other side to do,& looking forward to you boys posted some updates too !young_dubya said:Did you buy a long split sill panel and mod it for the rear section with the flange or did you by it pre flanged?
BO JANGLES
Well-known member
- Joined
- May 12, 2008
- Messages
- 271
- Reaction score
- 1
I've got a replacement floor from schofields (the same as camper). I'm going to first finish a few bits then do the sills on the other side, before having the exposed lower & raised cargo floor metal work blasted, then etch primed & probably painted before welding the floor panels in.moler said:Sorry if you've covered this already, but what are you doing about the inner cargo floor?
What are your plans for the door edge? do Schofields make this piece? a crewcabs door edge is a bit different to a camperBO JANGLES said:I've got a replacement floor from schofields (the same as camper). I'm going to first finish a few bits then do the sills on the other side, before having the exposed lower & raised cargo floor metal work blasted, then etch primed & probably painted before welding the floor panels in.moler said:Sorry if you've covered this already, but what are you doing about the inner cargo floor?
BO JANGLES
Well-known member
- Joined
- May 12, 2008
- Messages
- 271
- Reaction score
- 1
Do you mean the sill under the rear door or the bottom of the door ?moler said:What are your plans for the door edge? do Schofields make this piece? a crewcabs door edge is a bit different to a camperBO JANGLES said:I've got a replacement floor from schofields (the same as camper). I'm going to first finish a few bits then do the sills on the other side, before having the exposed lower & raised cargo floor metal work blasted, then etch primed & probably painted before welding the floor panels in.moler said:Sorry if you've covered this already, but what are you doing about the inner cargo floor?
BO JANGLES
Well-known member
- Joined
- May 12, 2008
- Messages
- 271
- Reaction score
- 1
Hmm not sure will have to have a look, do you know what you're doing ?Well, Custom and Commercial show floors that go right to the edge, and apparently they are genuine, but pictures are of one floor, and it's reversed for the opposite side if you follow me. I've spoken to them and they are going to take new pictures and post them up on their site, if they look close I'm going for those (although I'm only using the front 15inches!!!) if not I'll get the ones off VWH and make an edge from scratch.
BO JANGLES
Well-known member
- Joined
- May 12, 2008
- Messages
- 271
- Reaction score
- 1
8) Can you let me know what you find & thanks for the info.
BO JANGLES said:8) Can you let me know what you find & thanks for the info.
Will do
scott wilson
Well-known member
nice work.....i follow this thread with intrest/admiration...i shipped this bus for me and the reasons i sold are well documented.I`m so pleased that she`s ended up with " the right man" you are doing her proud.
As a side order ....does anyone in the world know of a rhd 68 crewcab? i`ve only ever seen one...this one...keep up the quality work and when you see buzz next say scott says " wasssssupppp" oh and tell johnny danger he`s a queen
As a side order ....does anyone in the world know of a rhd 68 crewcab? i`ve only ever seen one...this one...keep up the quality work and when you see buzz next say scott says " wasssssupppp" oh and tell johnny danger he`s a queen
BO JANGLES
Well-known member
- Joined
- May 12, 2008
- Messages
- 271
- Reaction score
- 1
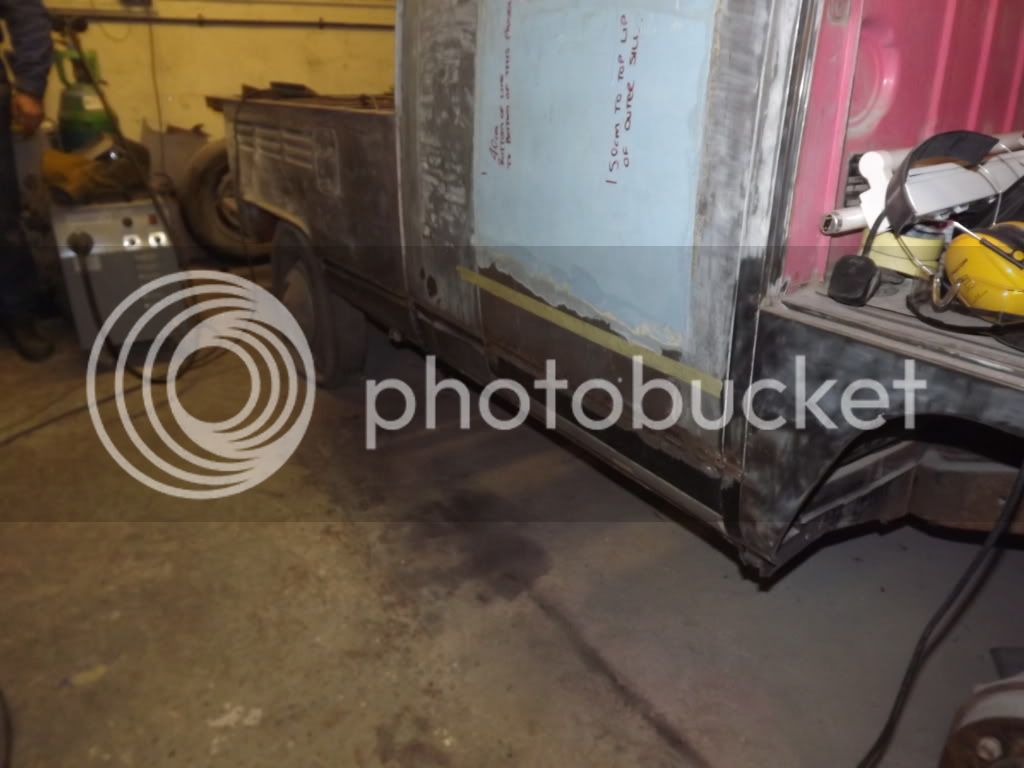
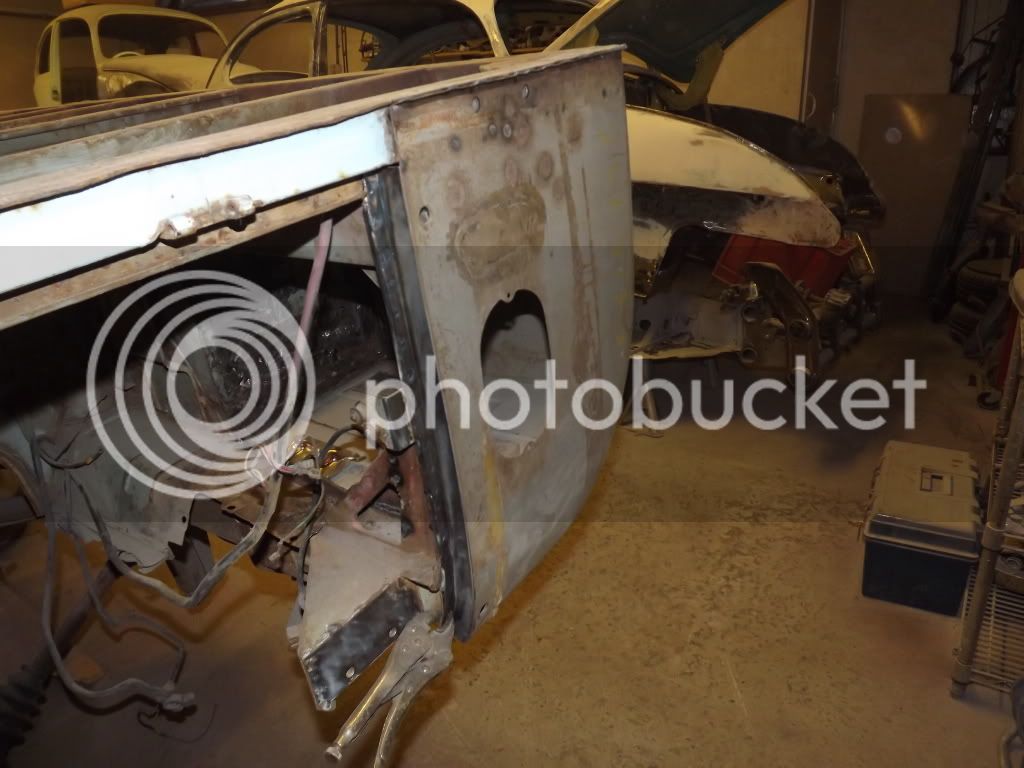
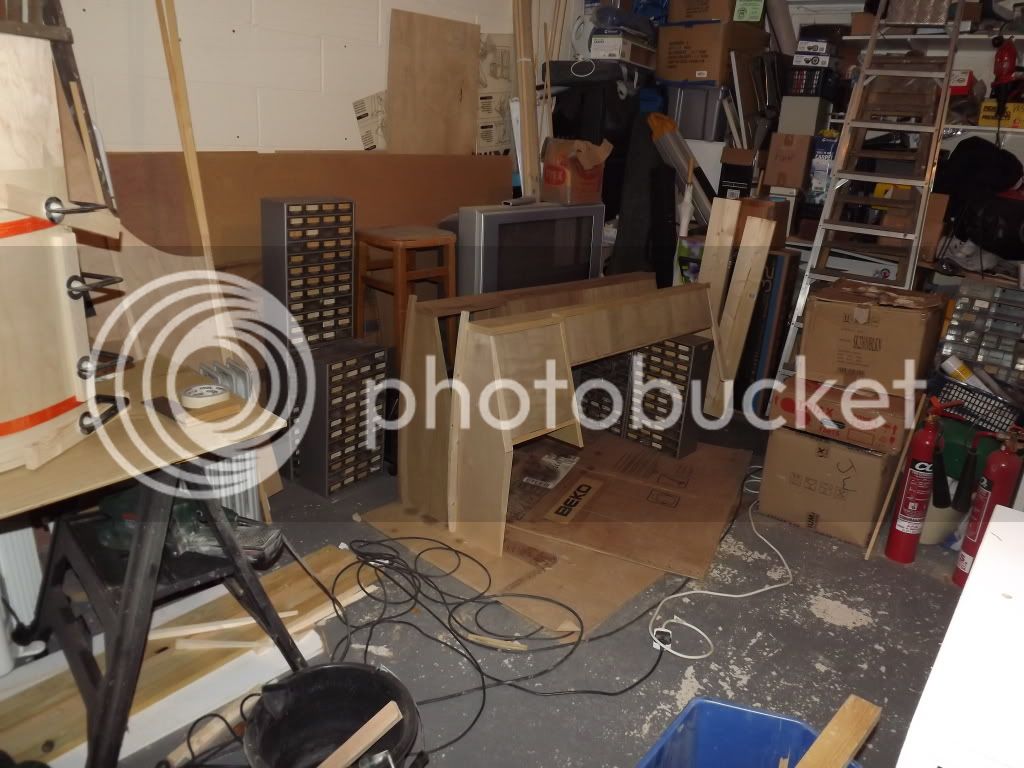
A bit of an update, a new customers job came into the workshop, so I decided I needed more space, so after finishing the offside sills, I fully bare metalled him on that side & the front panel then sprayed with primer, ready to transport a few miles up the road to my second workshop, which Buster now shares with some good company ...............
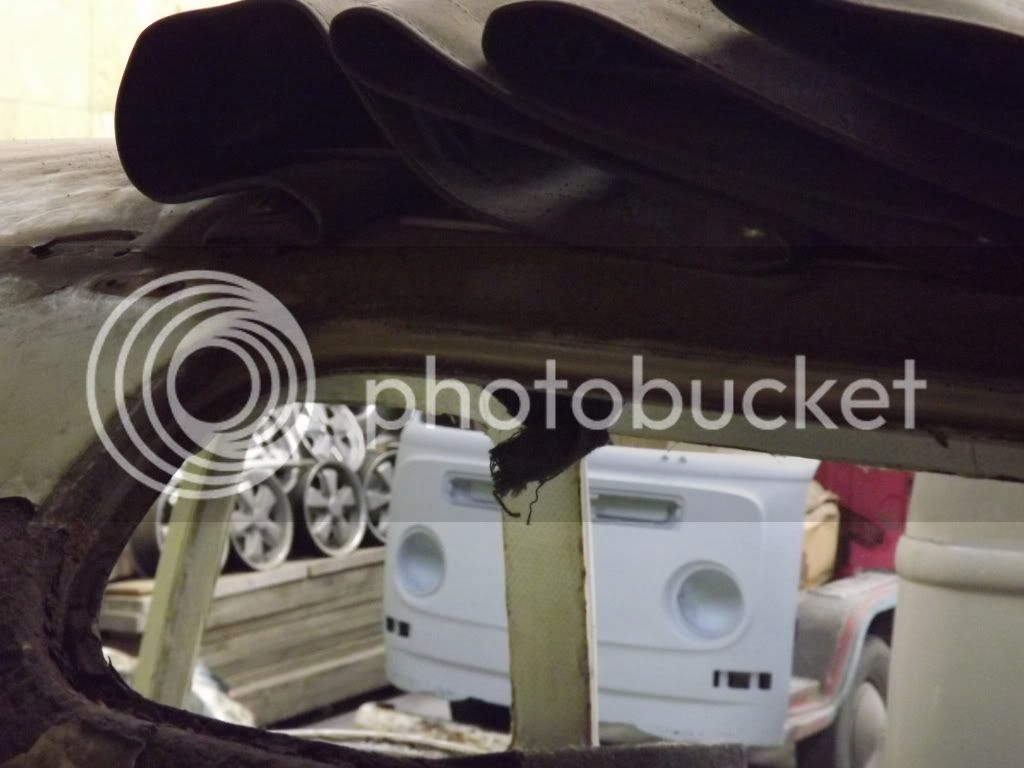
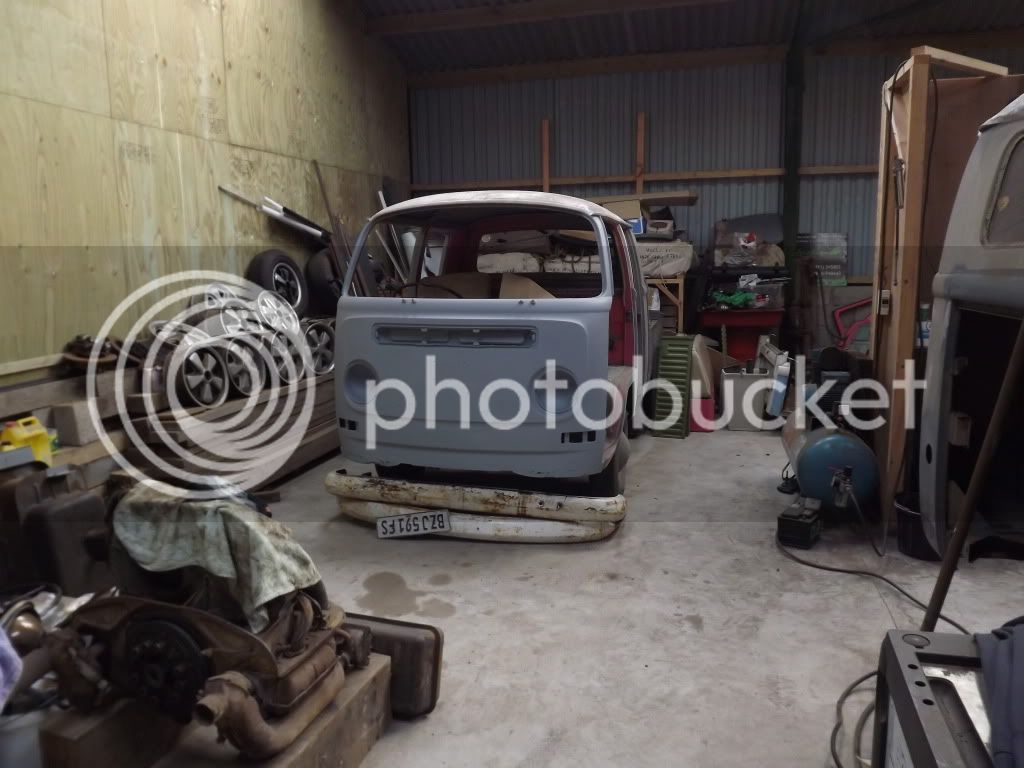
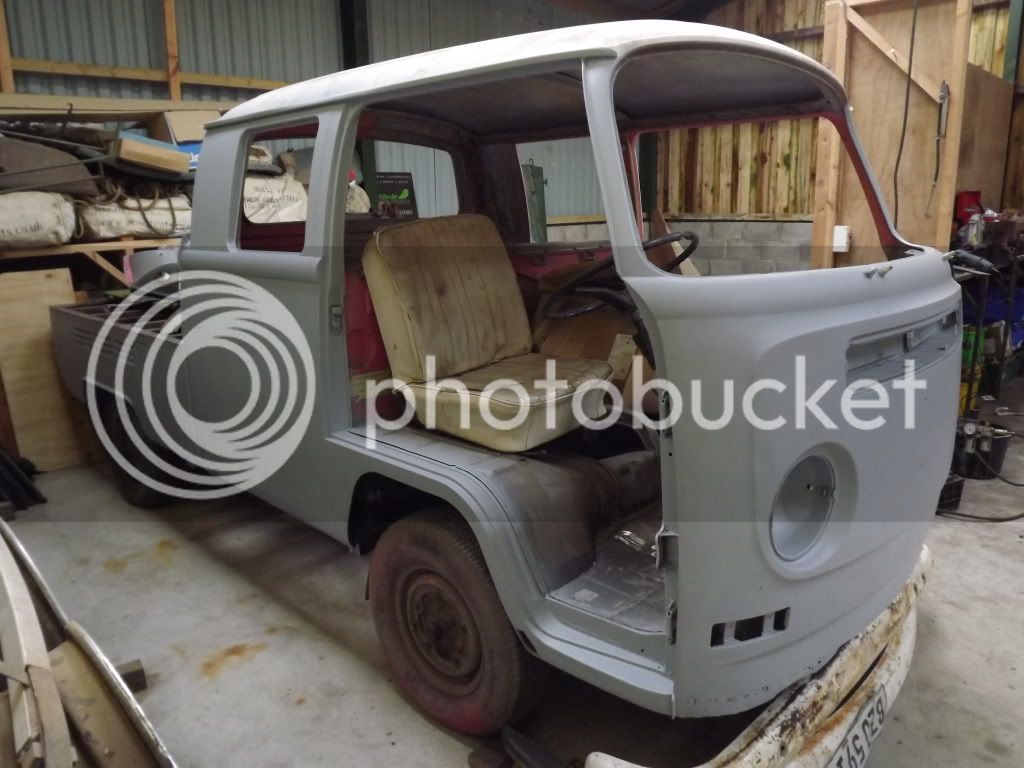
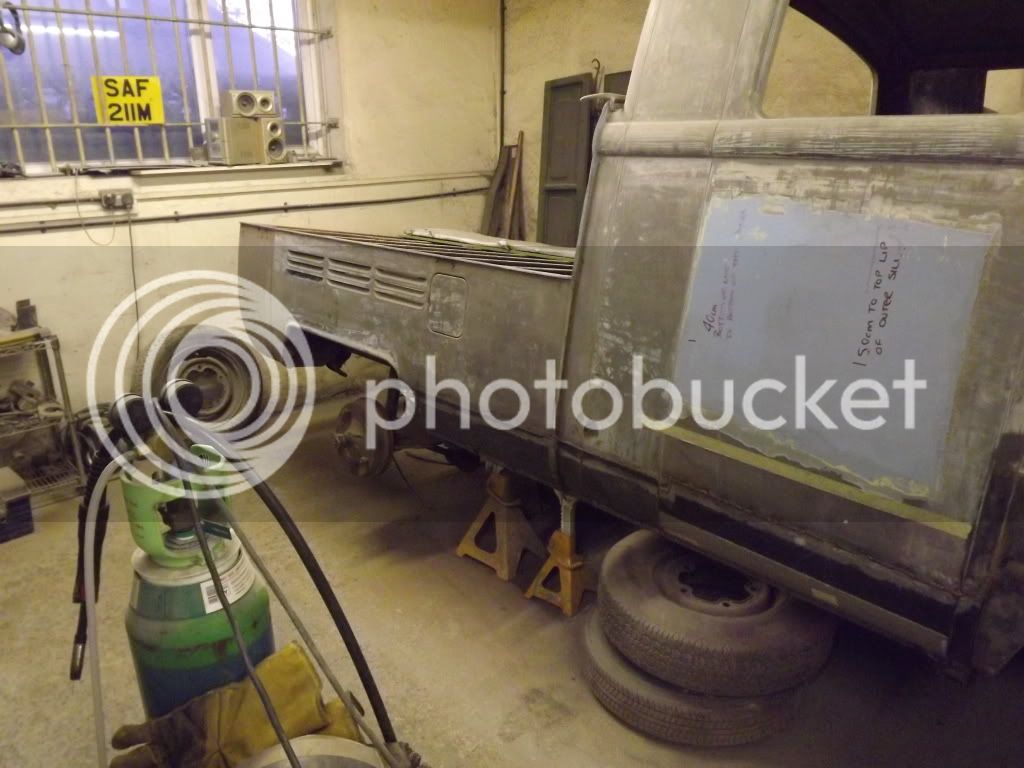
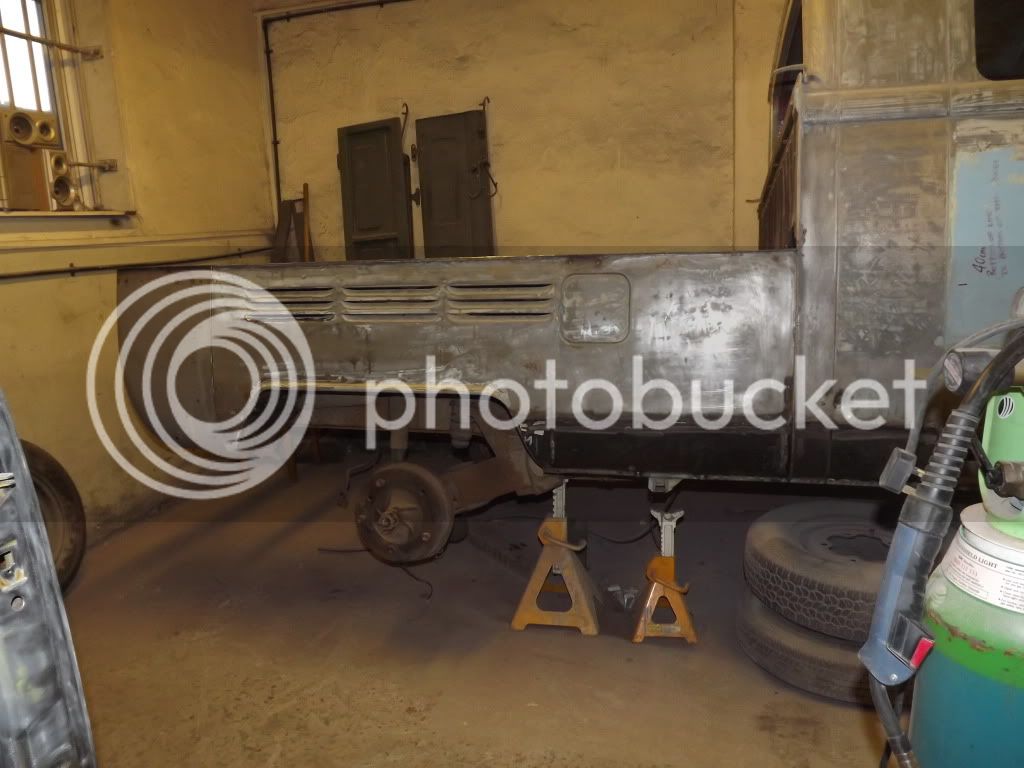
& this is the area that is where I'll be making my Bus interiors instead of in my garage at home
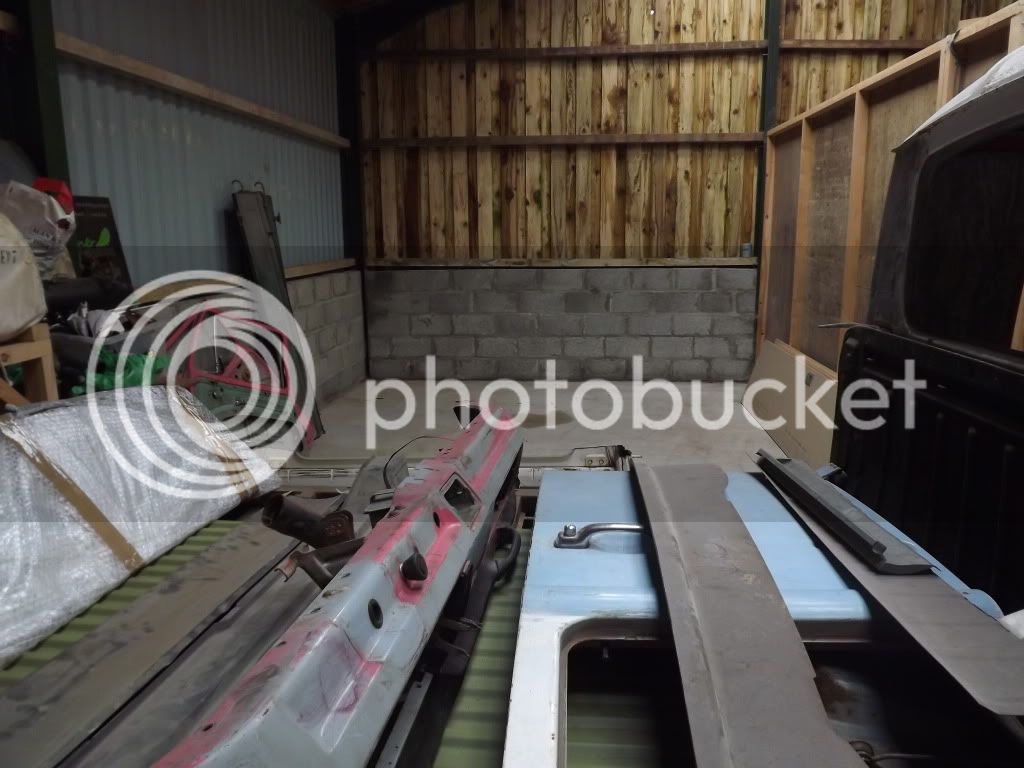
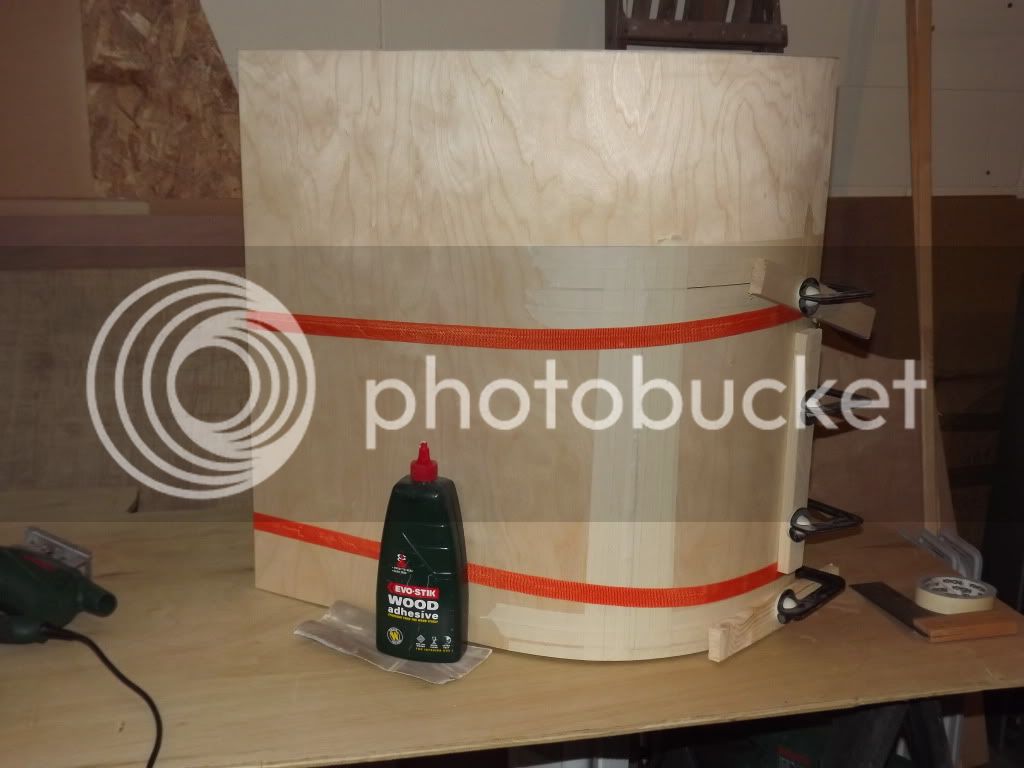
here are some mock ups
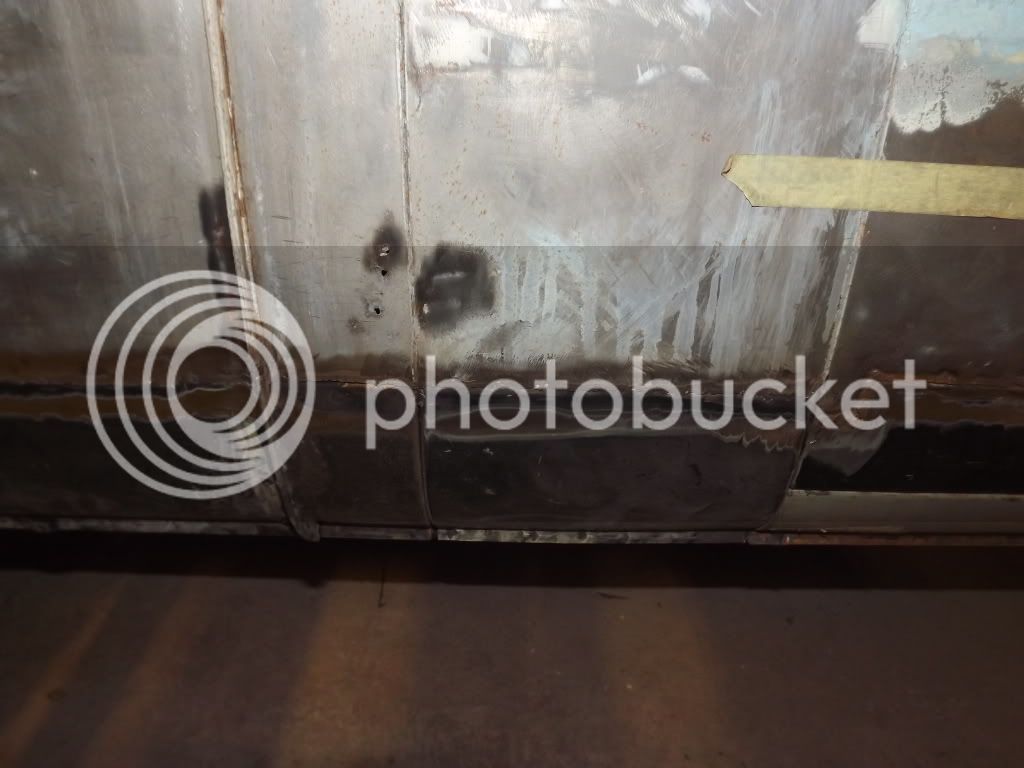
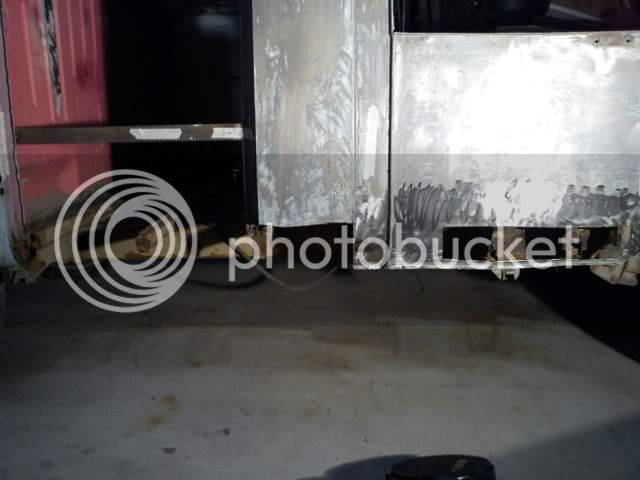
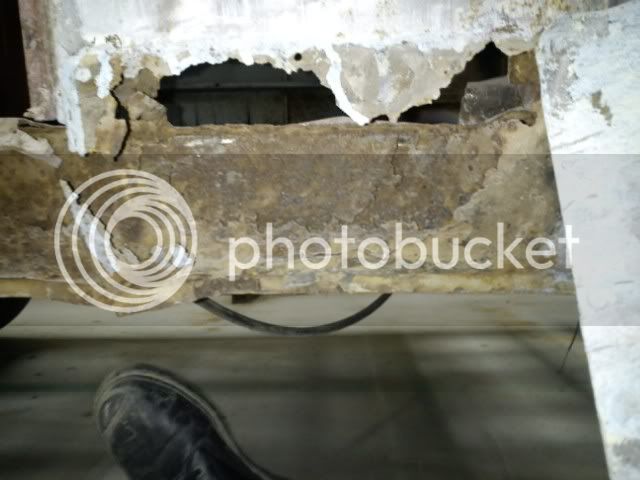
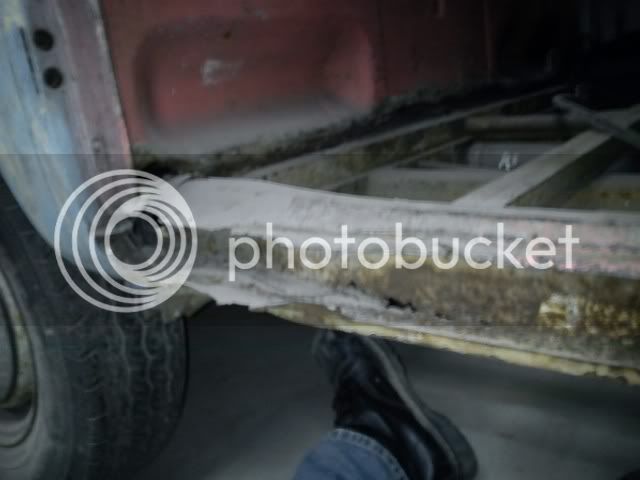
& then yesterday started cut away the near side sills (crappy phone pics again)
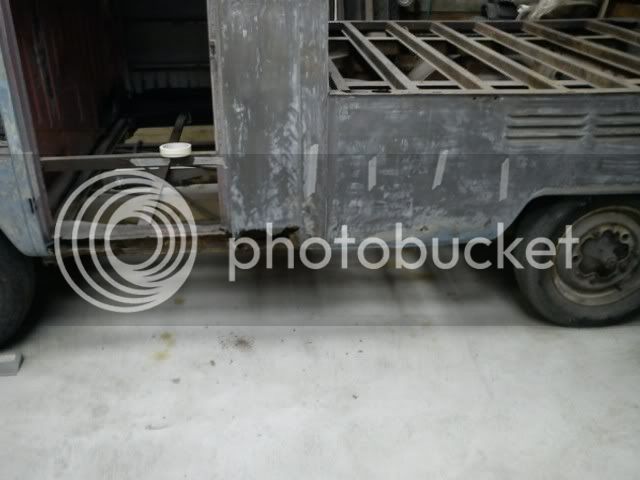
& found alot of the outer sill salvageable, particularly the area where the sill folds on the outer seam

& this is the area that is where I'll be making my Bus interiors instead of in my garage at home
here are some mock ups
& then yesterday started cut away the near side sills (crappy phone pics again)
& found alot of the outer sill salvageable, particularly the area where the sill folds on the outer seam
Similar threads
- Replies
- 1
- Views
- 394
Vehicle For Sale
Early Bay Deluxe 1971
- Replies
- 5
- Views
- 2K
- Replies
- 20
- Views
- 2K
- Replies
- 3
- Views
- 1K