

young_dubya
Well-known member
Good going dude! :mrgreen: Whats the quality of schofields floors like?? Will be needing some for mine. If i ever get round to it 
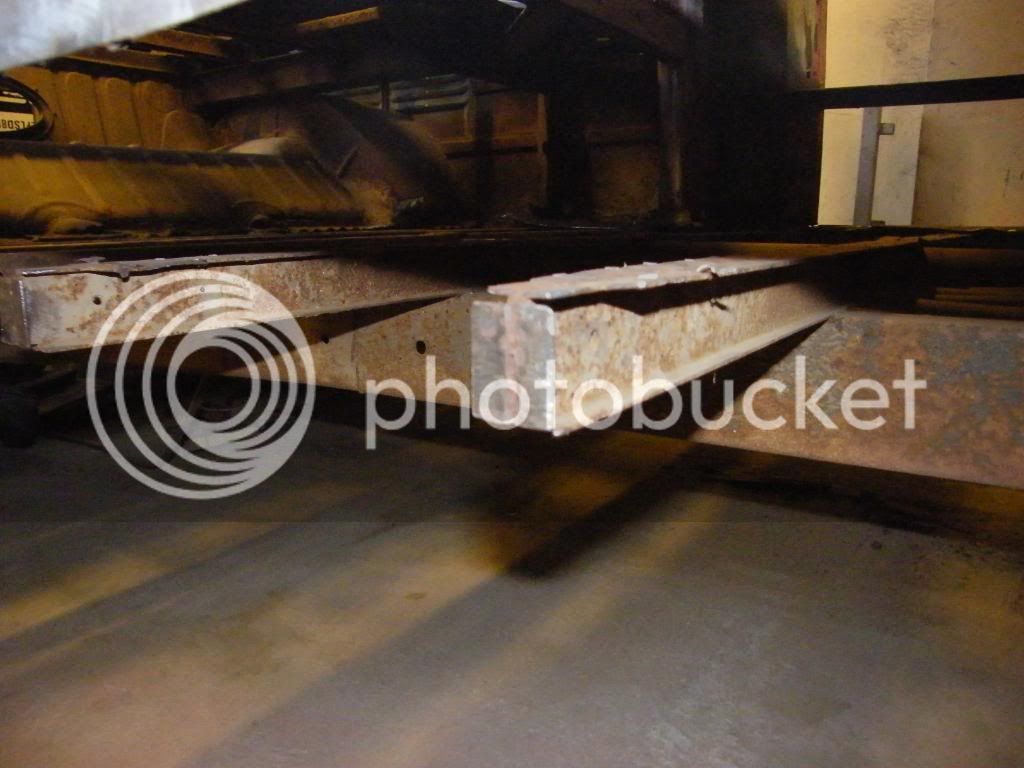
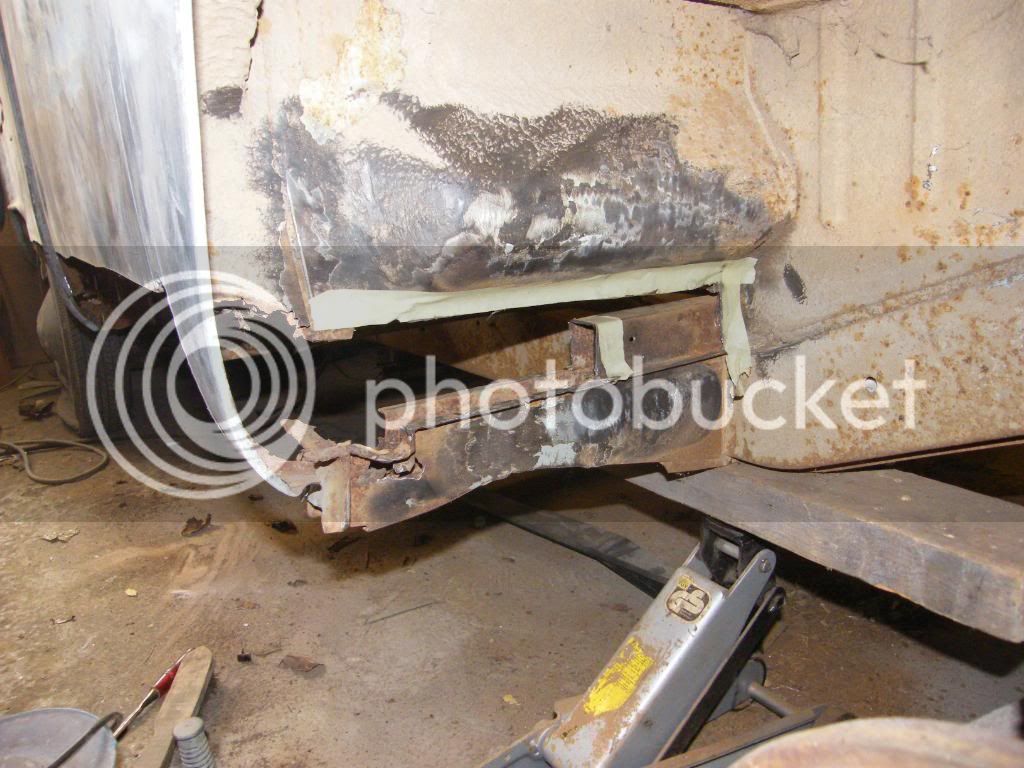
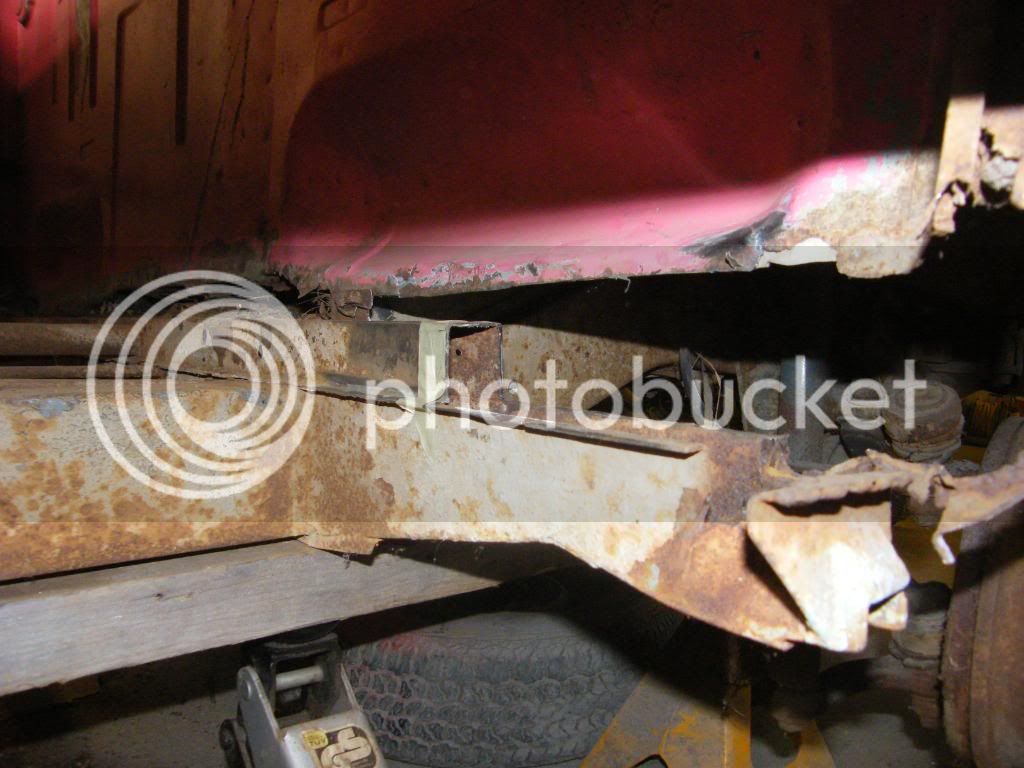
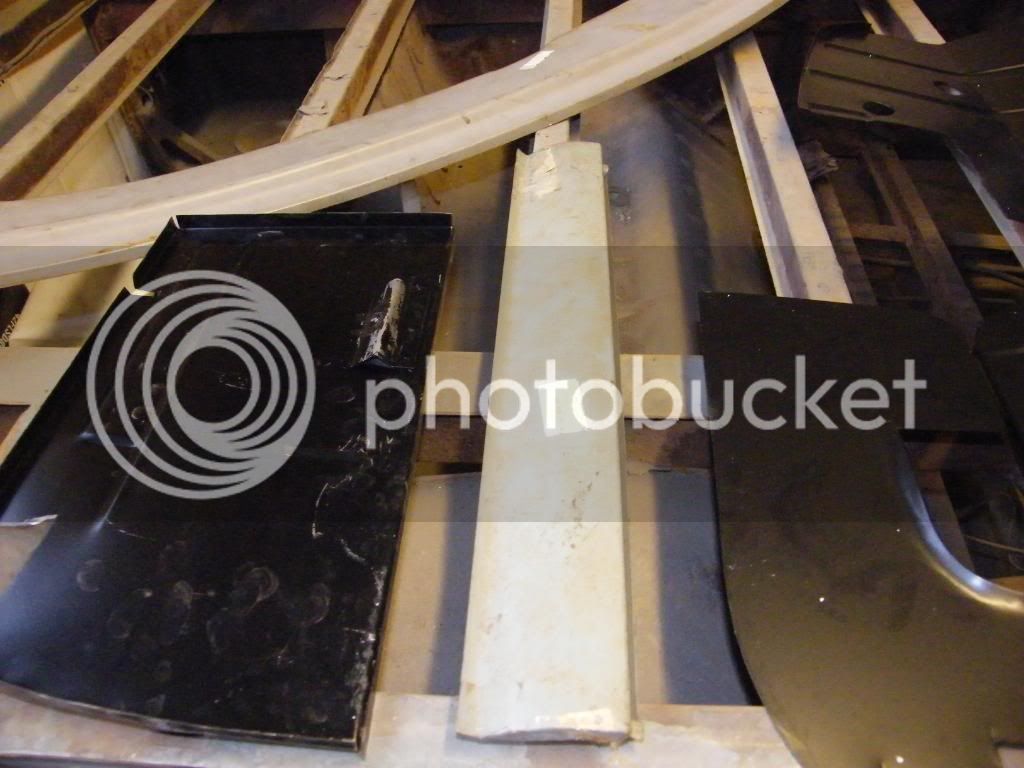
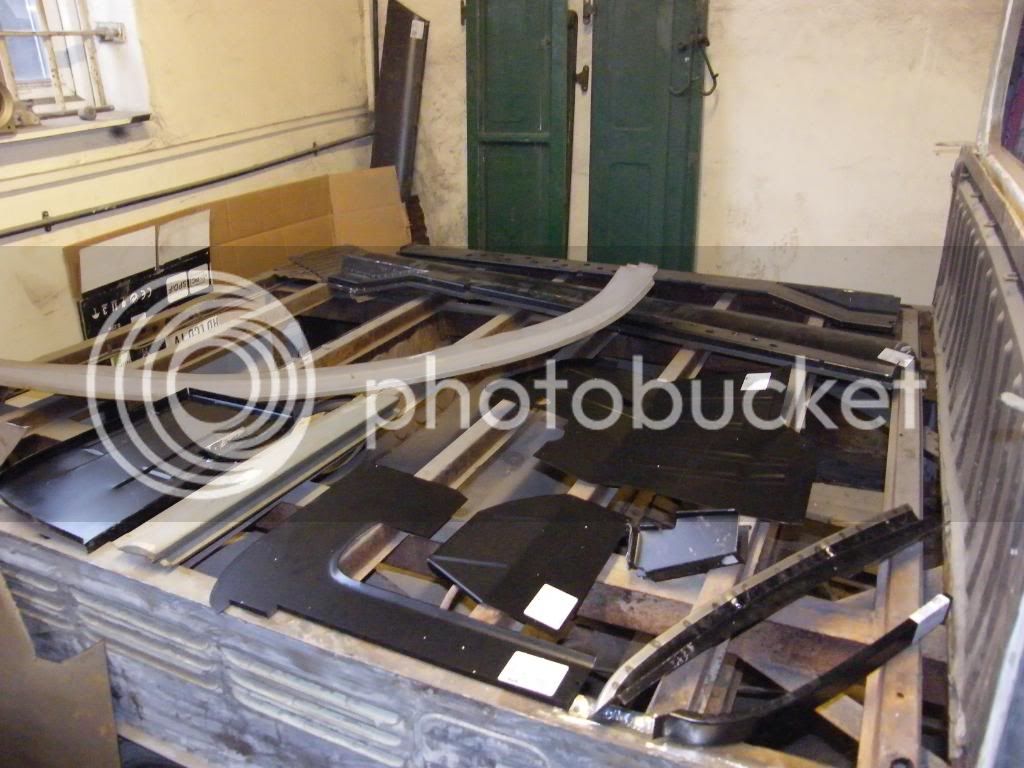
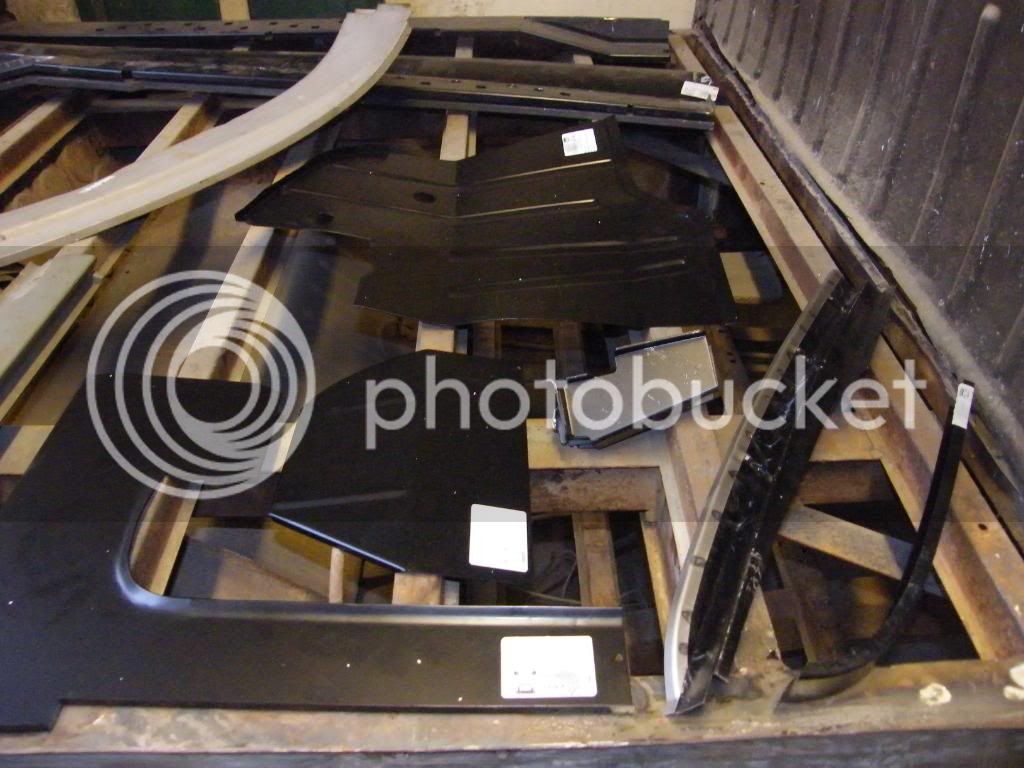
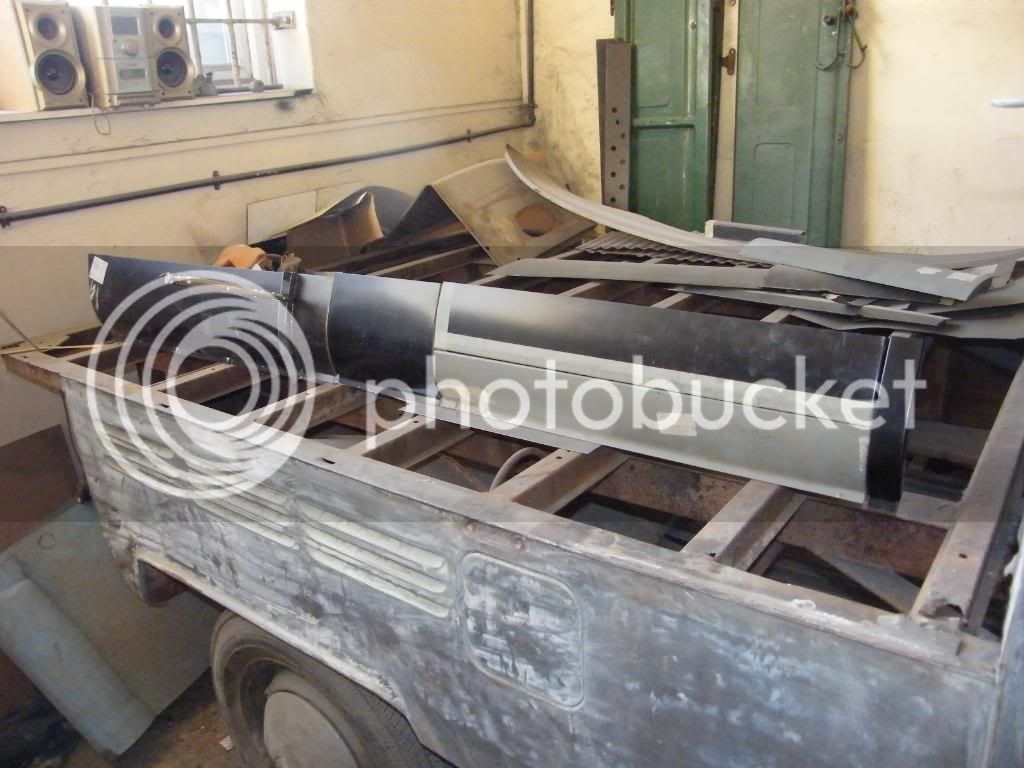
The floors seem pretty good, although I haven't fitted them yet, hows yours coming along ?young_dubya said:Good going dude! :mrgreen: Whats the quality of schofields floors like?? Will be needing some for mine. If i ever get round to it


BO JANGLES said:OPINIONS PLEASE BOYS & GIRLS
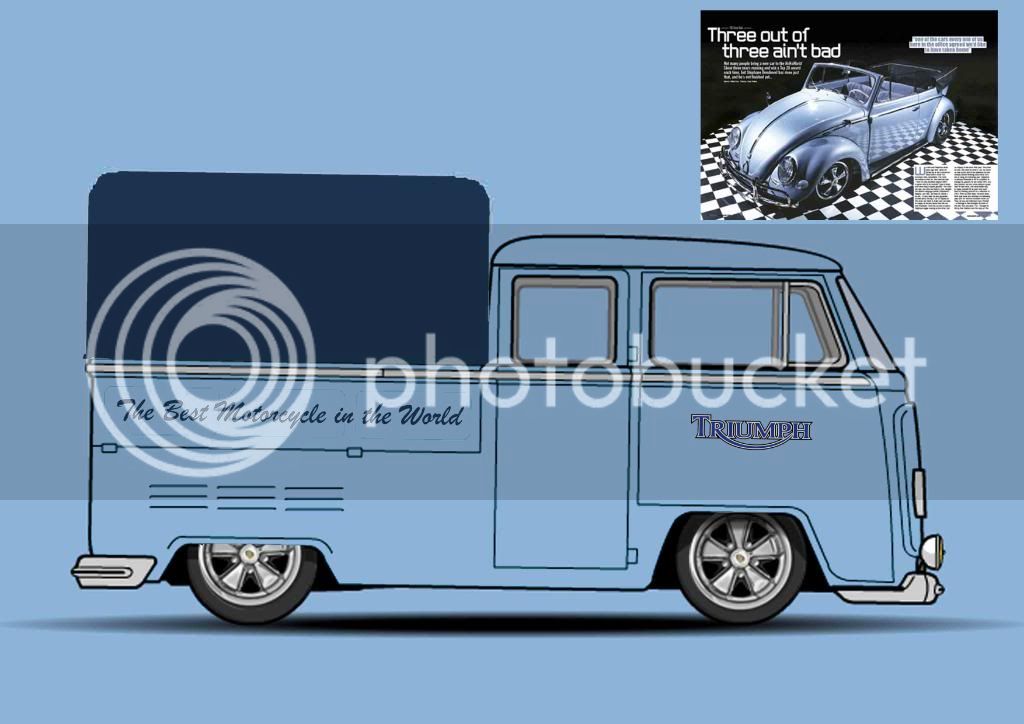
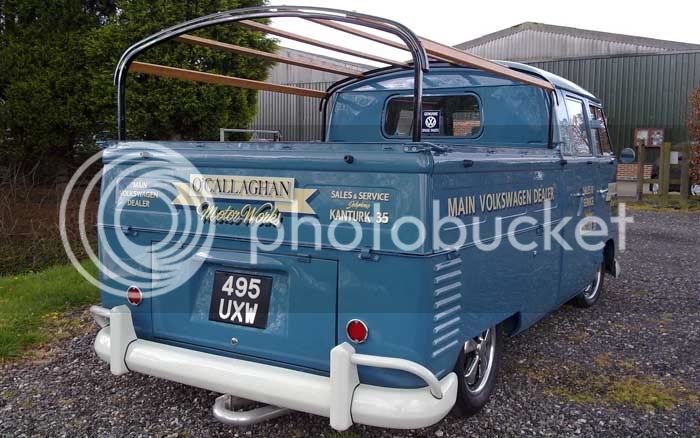
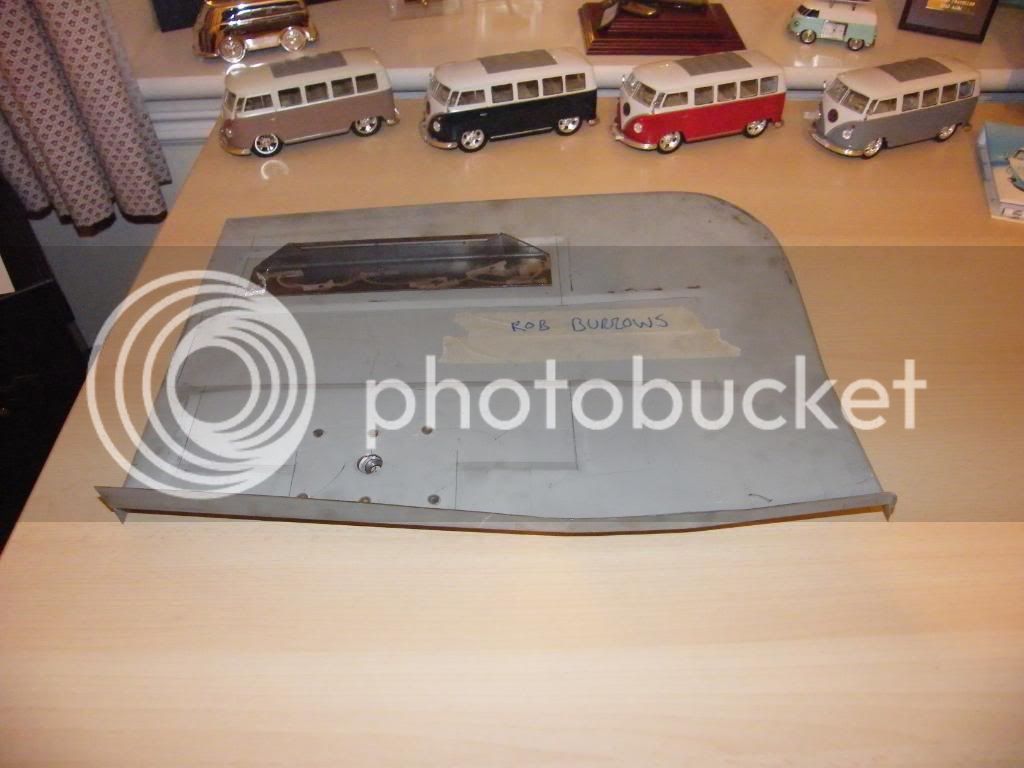
I'VE GOT A FEW IDEAS FOR BUSTER, BUT WOULD LIKE YOUR OPINIONS, I'M TRYING TO FINALISE THE DIRECTION THAT I'M HEADING IN . I LOVE THE STANDARD NEPTUNE BLUE DROPPED ON BRM'S & BLACK CANVAS, BUT LIKE TO DO MY OWN THING AS WITH MR. BO, SO I THOUGHT MAYBE ONE OF THE THREE BELOW, POSSIBLY WITH OR WITHOUT PERIOD SIGN WRITING & NOT SURE WHAT LOGO ON FINAL FINISH ?
ANTHRACITE GREY WITH DEEP RED CANVAS LIKE DARRELL BAKER '58 RAG TOP BUG
WHAT DO YOU THINK ?


Enter your email address to join:


