

aogrady
Well-known member
pecton said:Hey u made me laugh with that Mr Miyagi response to Alistair
wax on............wax off.............. :wink:
pecton said:Hey u made me laugh with that Mr Miyagi response to Alistair


aogrady said:Hi!
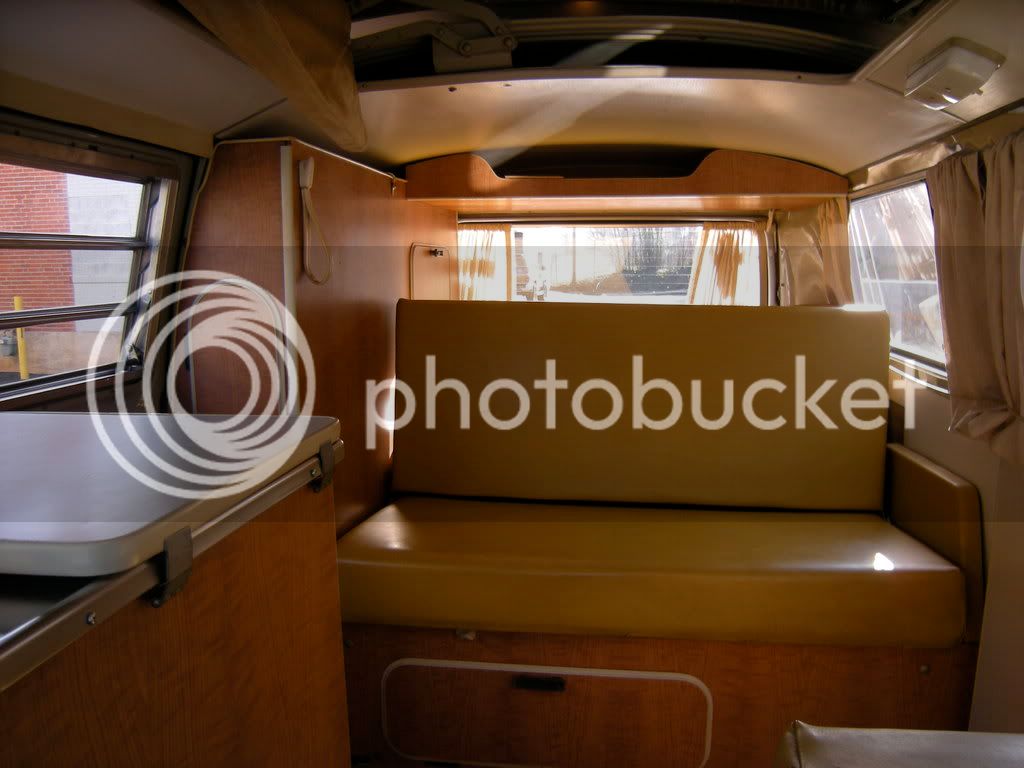
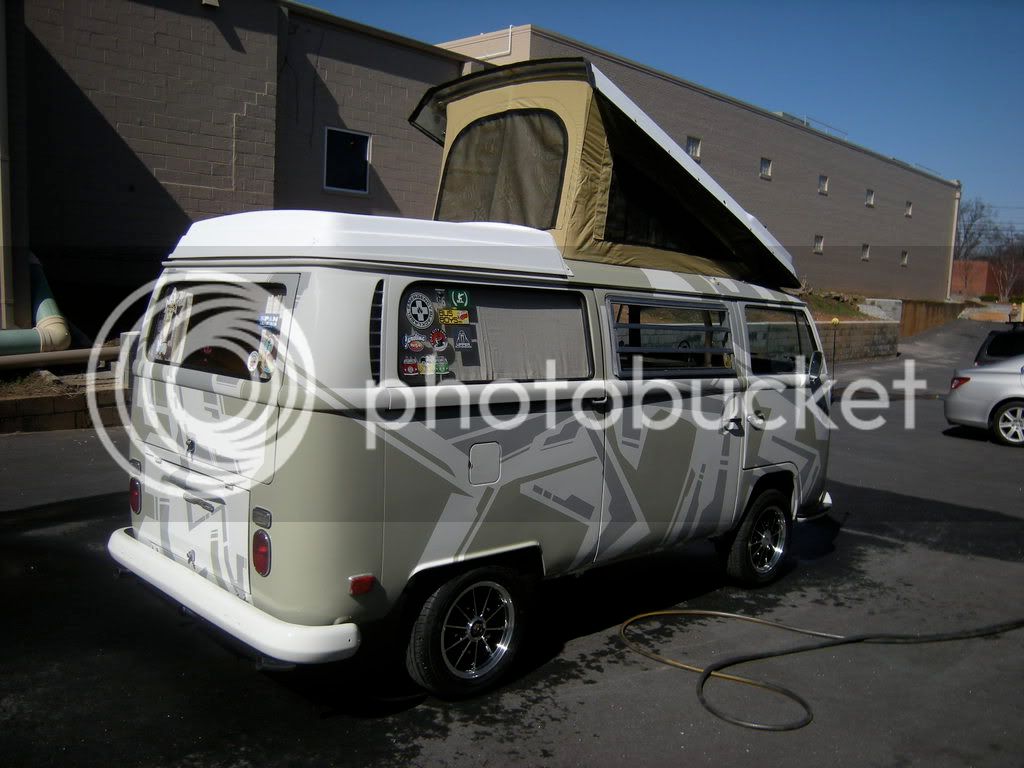
Oh that looks real good - i'm loving your van the more i see it! Will try acetone to clean up my mustard vinyl too, got your trim you sent me, but having a mare trying to get it fitted, needs warming up to be more pliable, another day, another job......
Any plans for lowering, or are you gonna roll as it is?
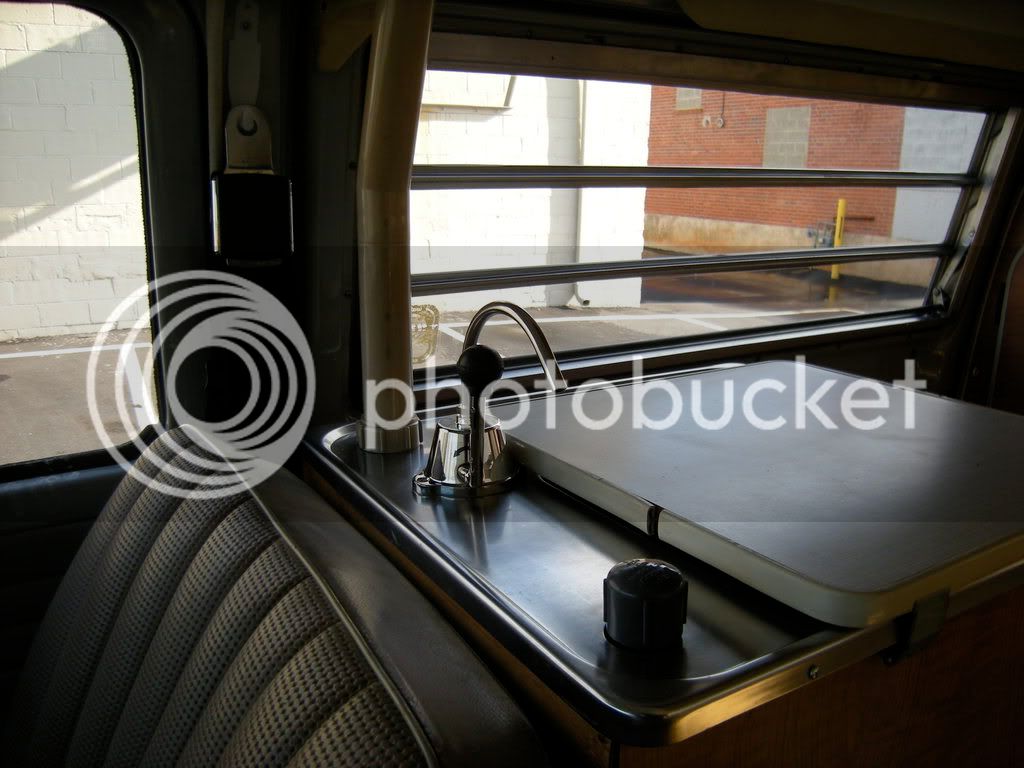
Your tap isn't the same as mine - is it a later tap? Certainly a lot shiner than mine! What do you mean tire ring?
Alistair
easy said:Really nice work chap, now ghet that thing on the floor as it deserves it :wink:


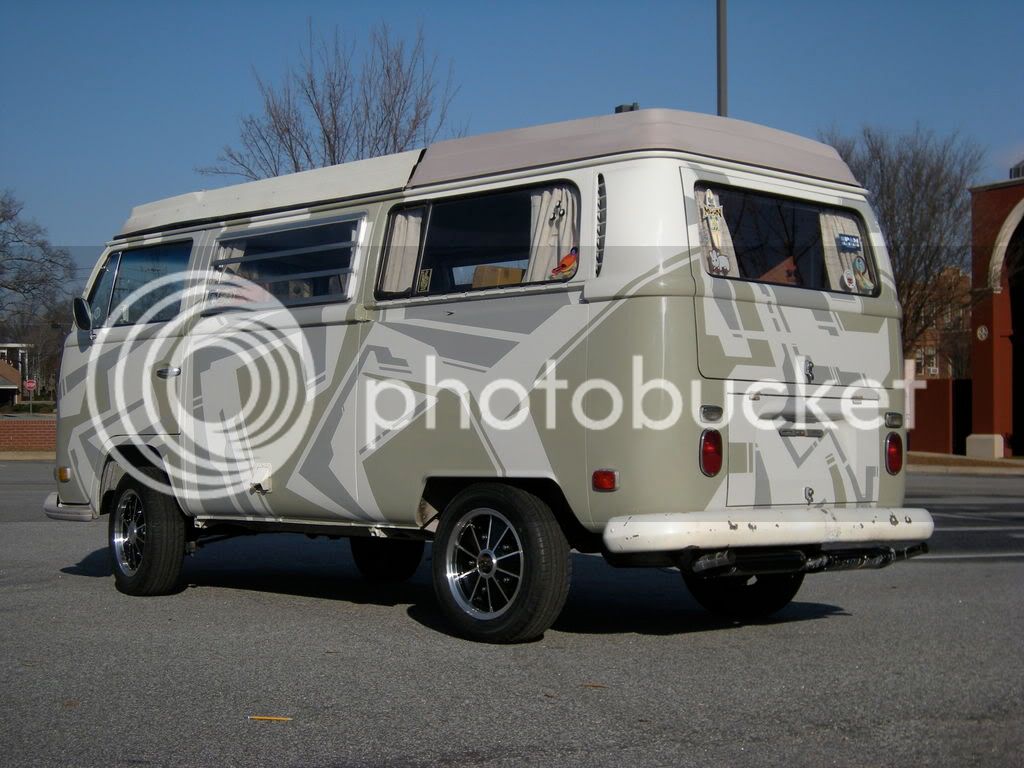
CHR said:i realy like to see how your bus look like when slamed...

Alistair, what's up man!
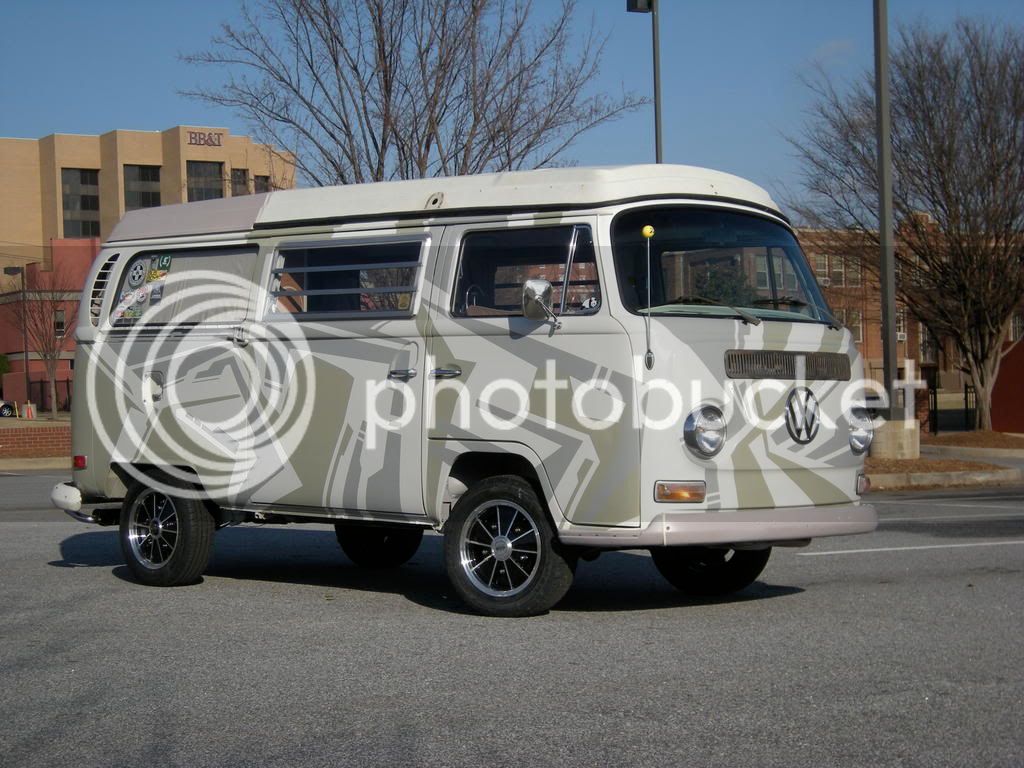
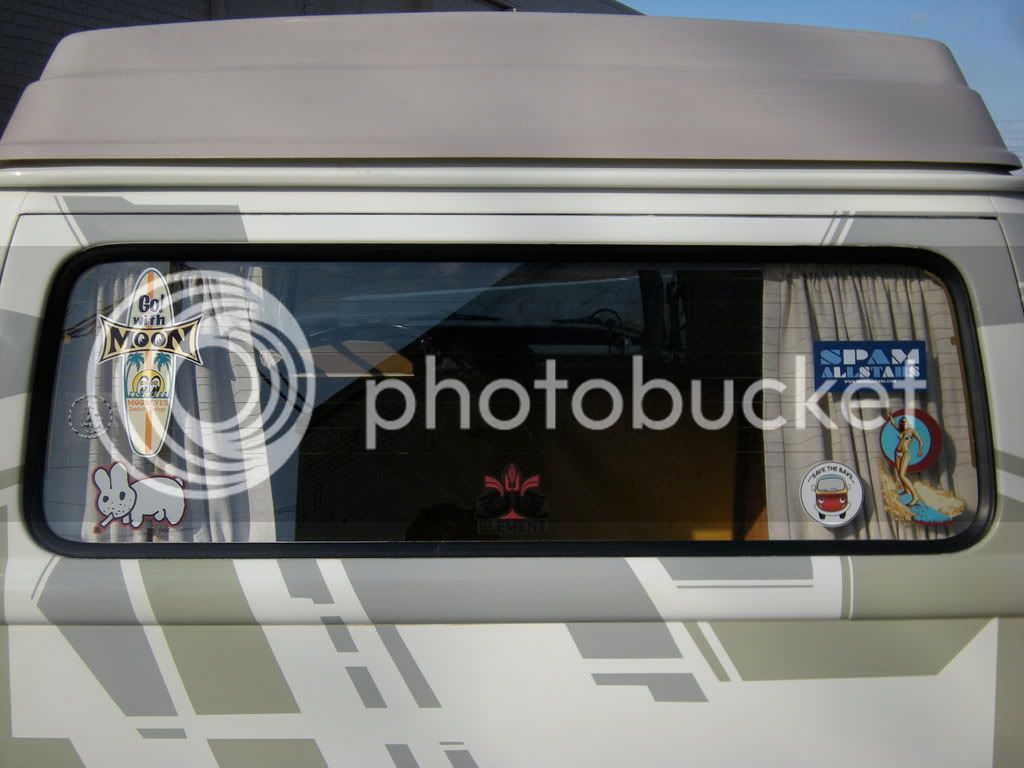
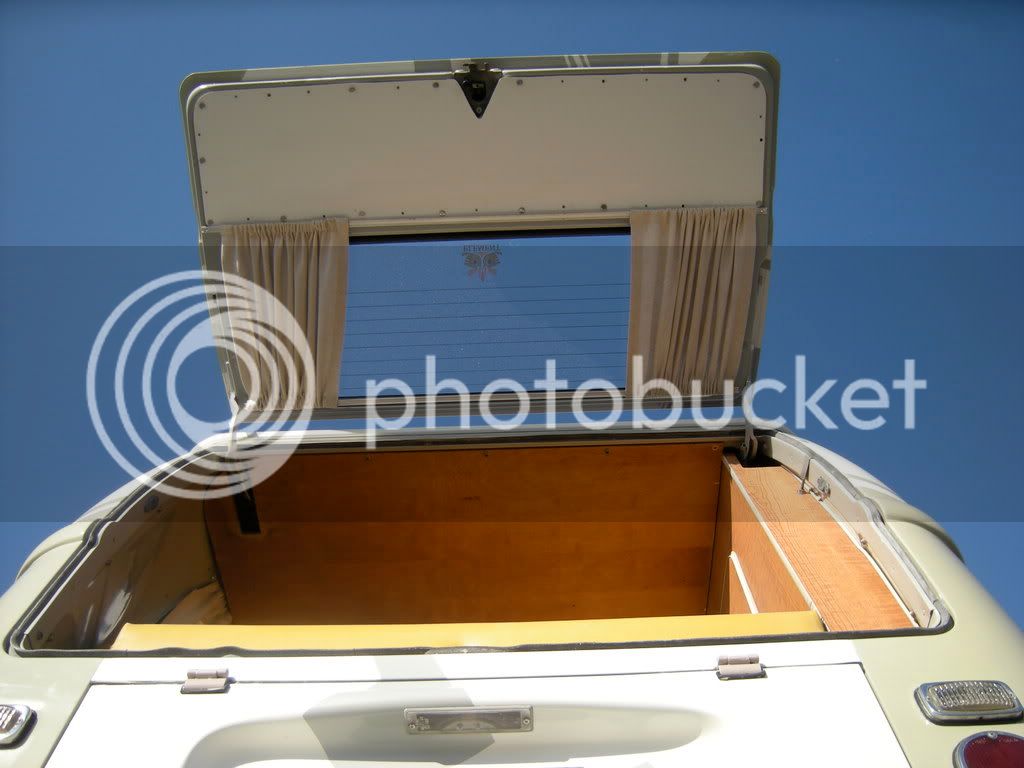
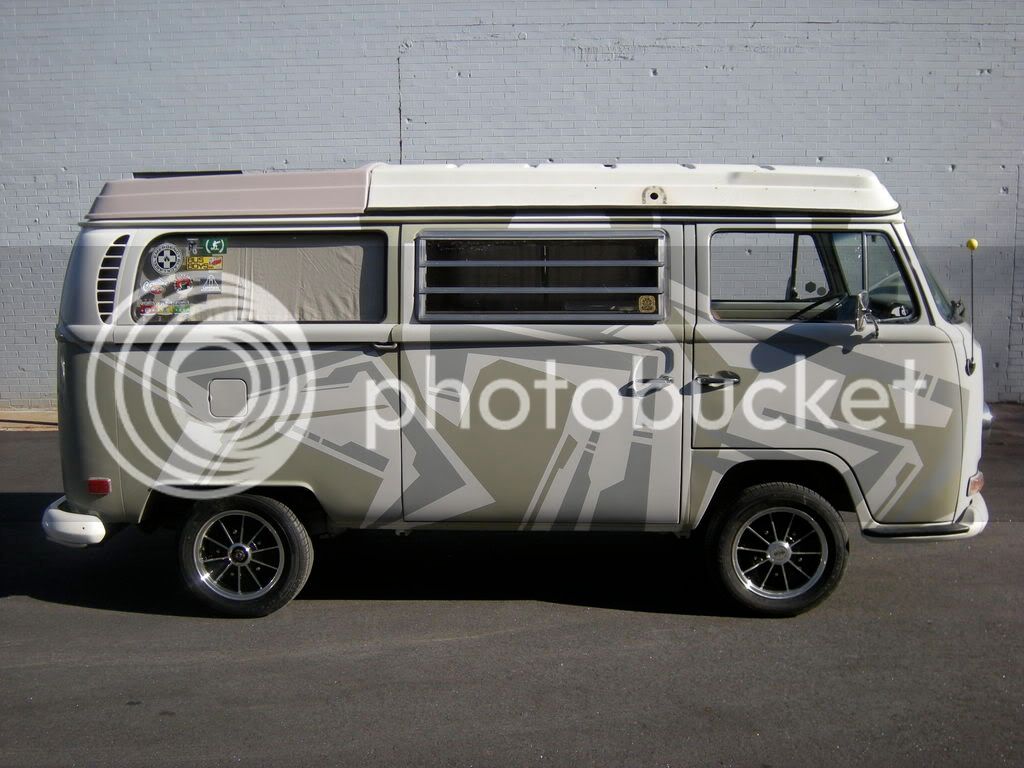
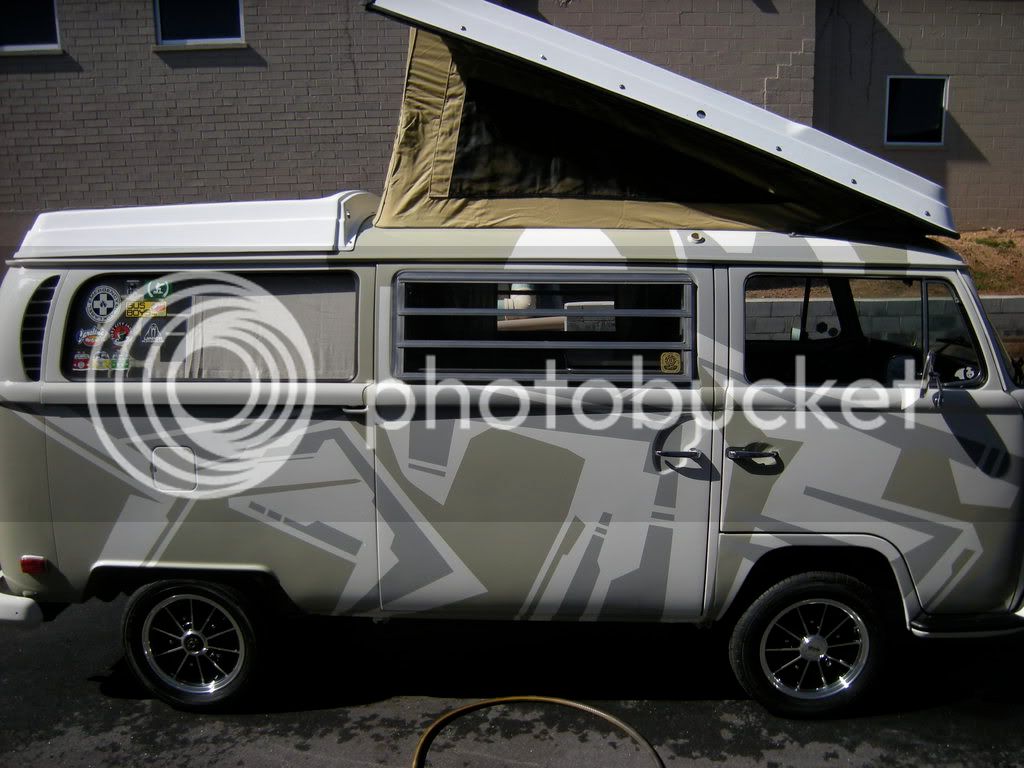
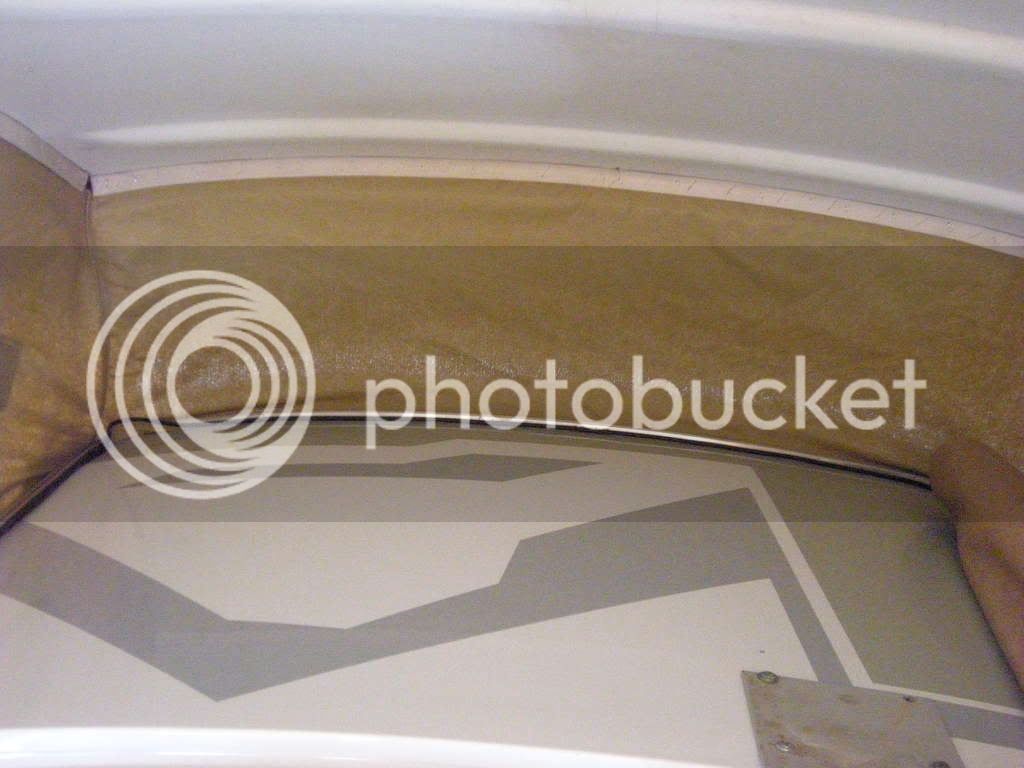
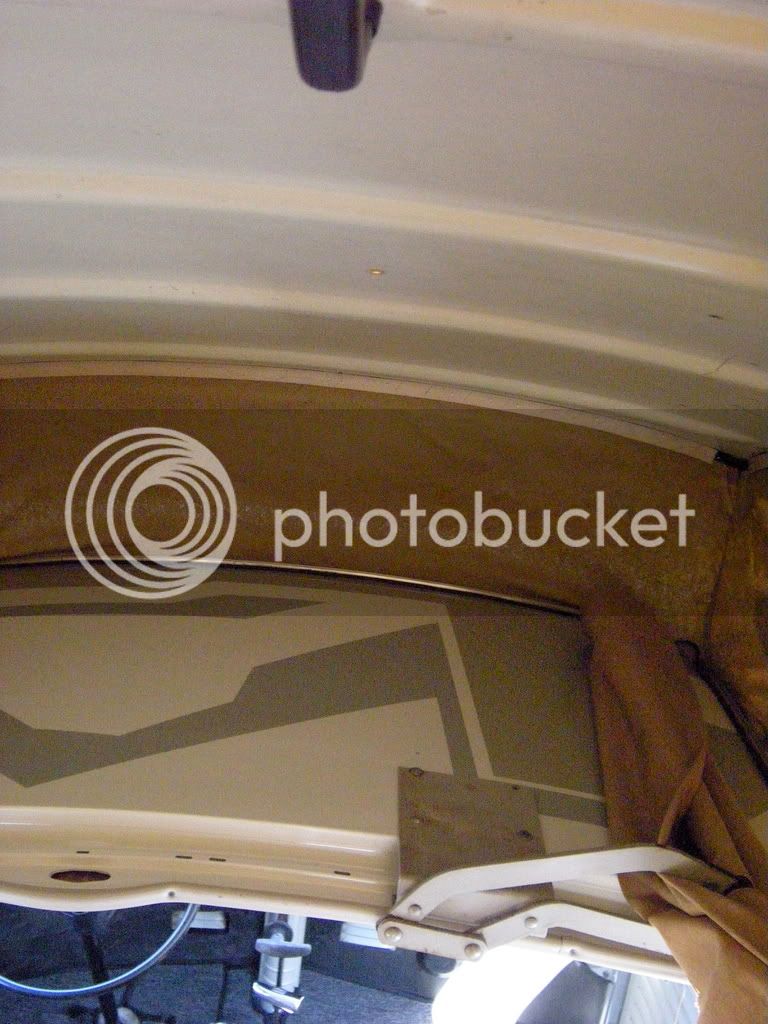
I also had a real pain with the trim, until I got some leftover little westy trim screws (the real small ones) and a drill on the lip of the sunroof opening. There is a tiny lip about 1/8" and if you are careful you can use a small drill bit to make a small hole to screw the trim in place. then pierce the trim with the screw and attach it, work in 1/4 sections, that should do it. I remember my hands were numb when I was finished for sure! You can see the trim screws in my photos.
I'm doing some research on lowering it but the funds are thin. I'm getting married in August so I'm trying to barter for needed parts and save cash for our honeymoon on the west coast!
It's actually a new tap, I think it's what the design turned into, they still make it! It has the same two screw bolt up! Any boat or camping store should be able to order it if you need one. It works real good.
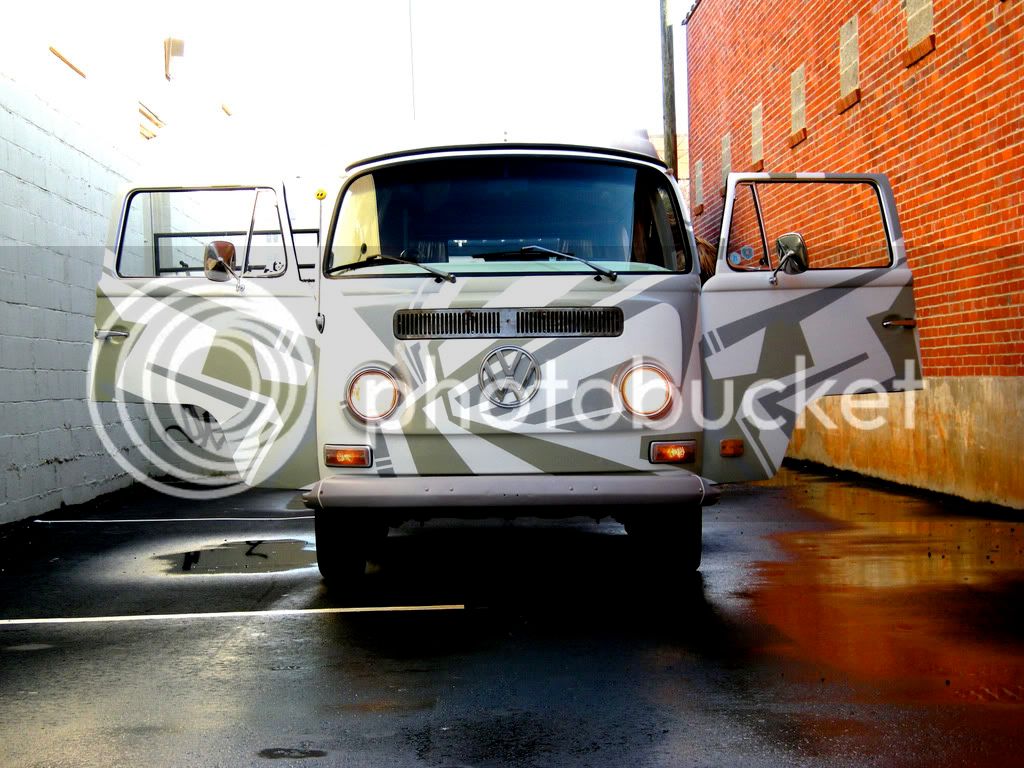
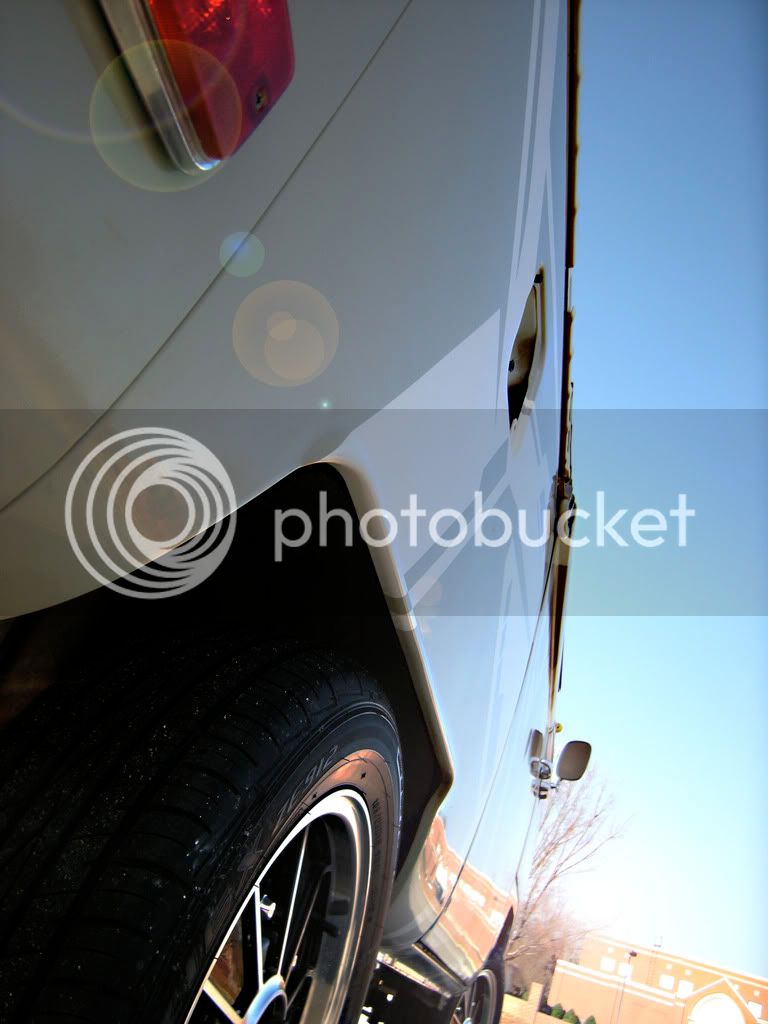
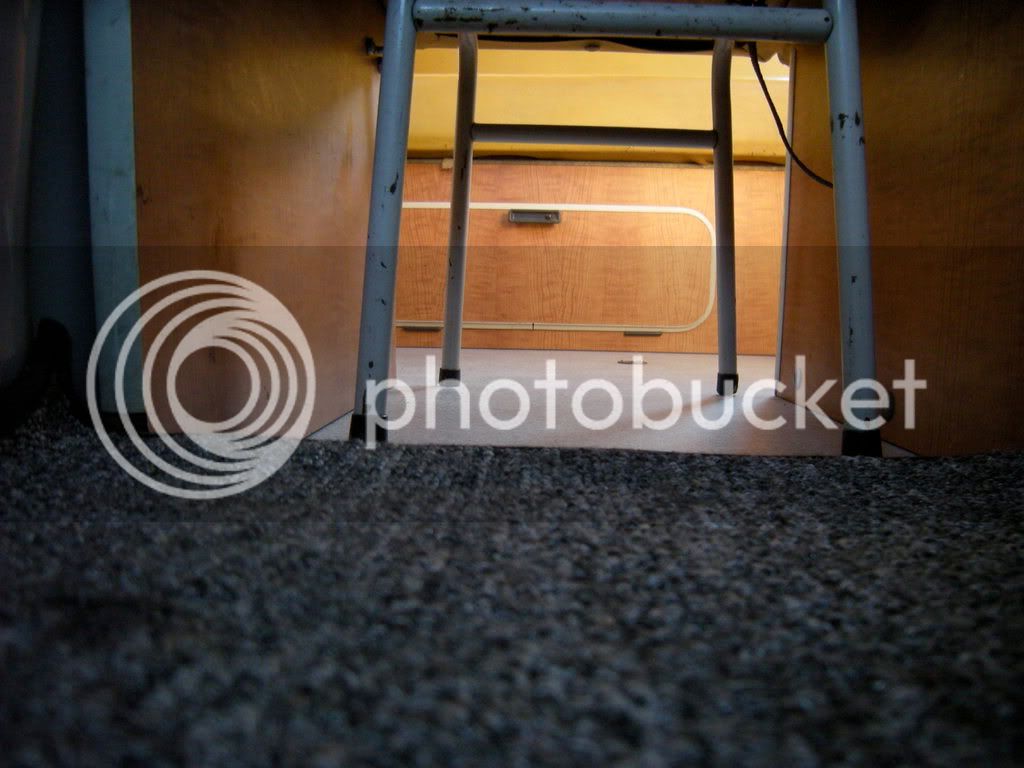
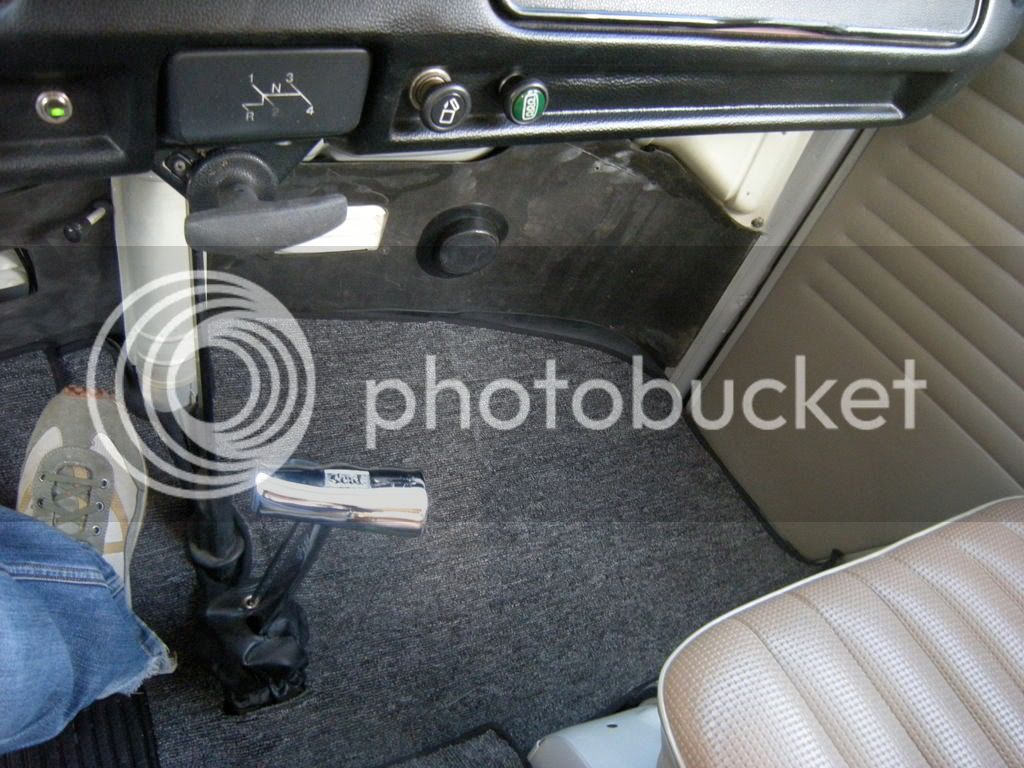
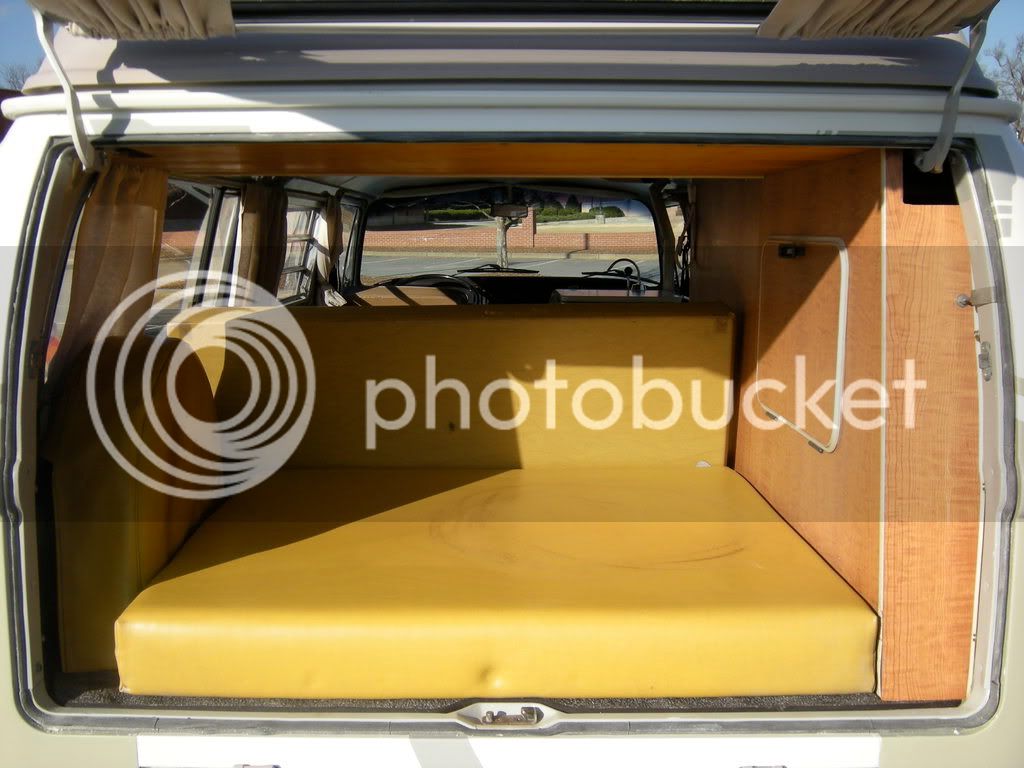
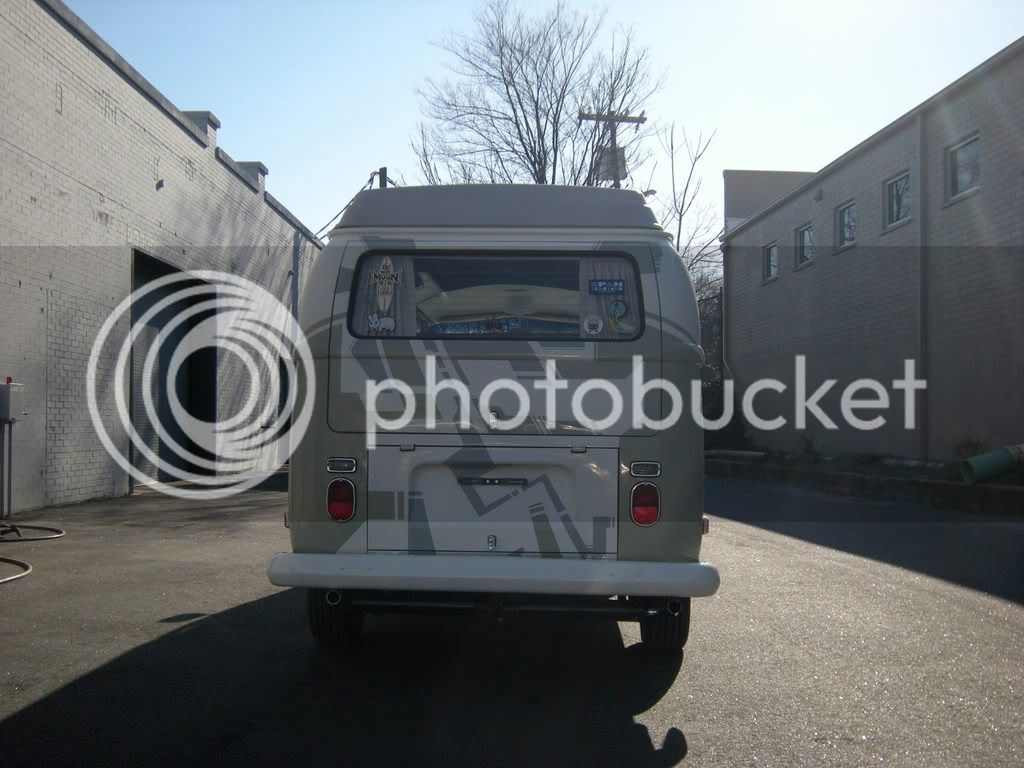
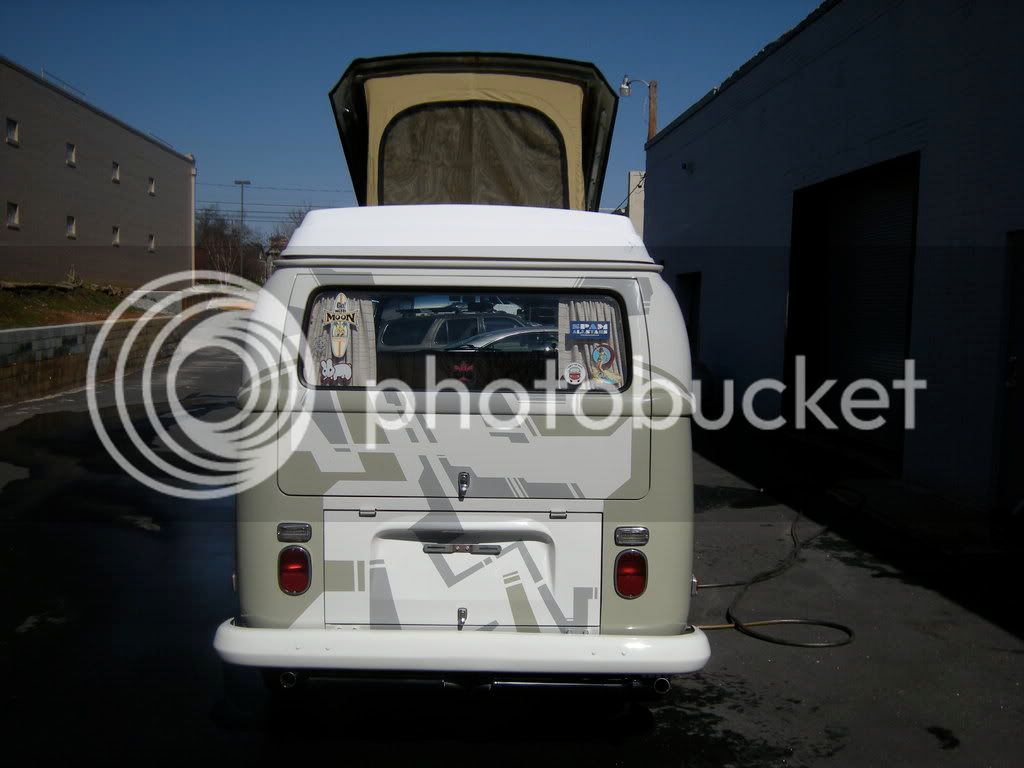
The acetone, be careful, it's strong! work in small sections because could melt the plastic! Wipe on with a rag don't go pouring it on the plastic, it could melt it! It does have instant results! You can see the ring in the last photo in the back of the bus, It's too stained or something to clean?
Cheers!
MW
 Not too sure if you can link and pin it, as the holes on the beams and chassis changed for the 70 models, can only use a splitty beam on a earlier bay like a 67-68 poss 69. Think 70 model year models (like mine - poss yours) can only use a ball joint beam because of the fixing holes?
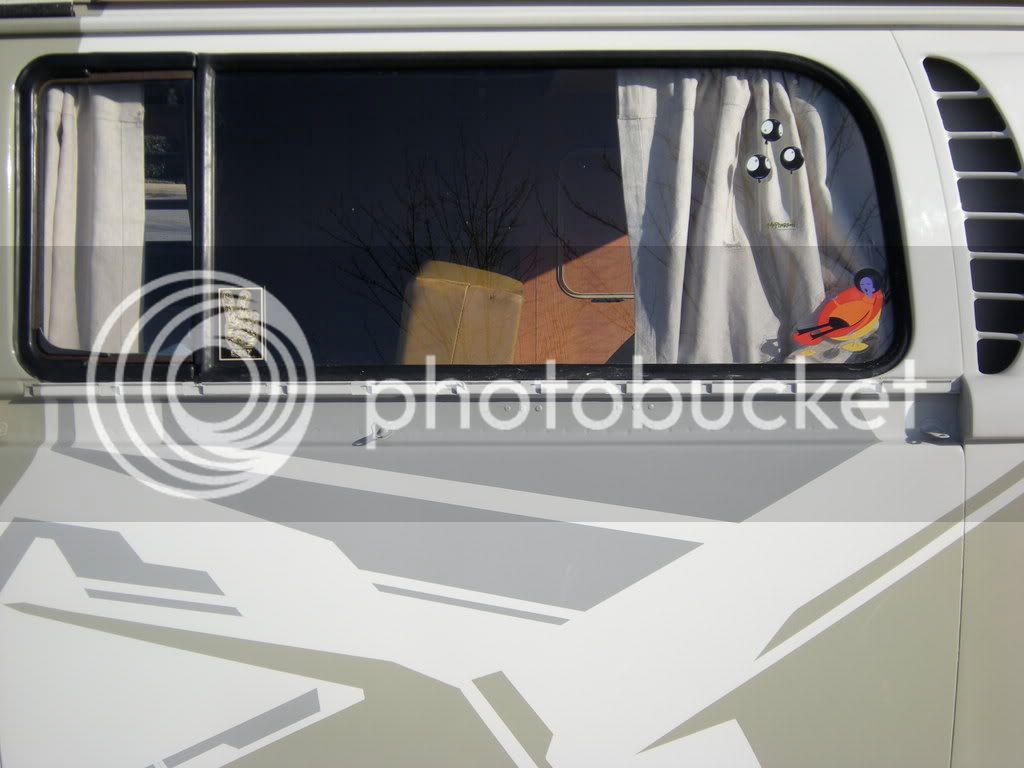
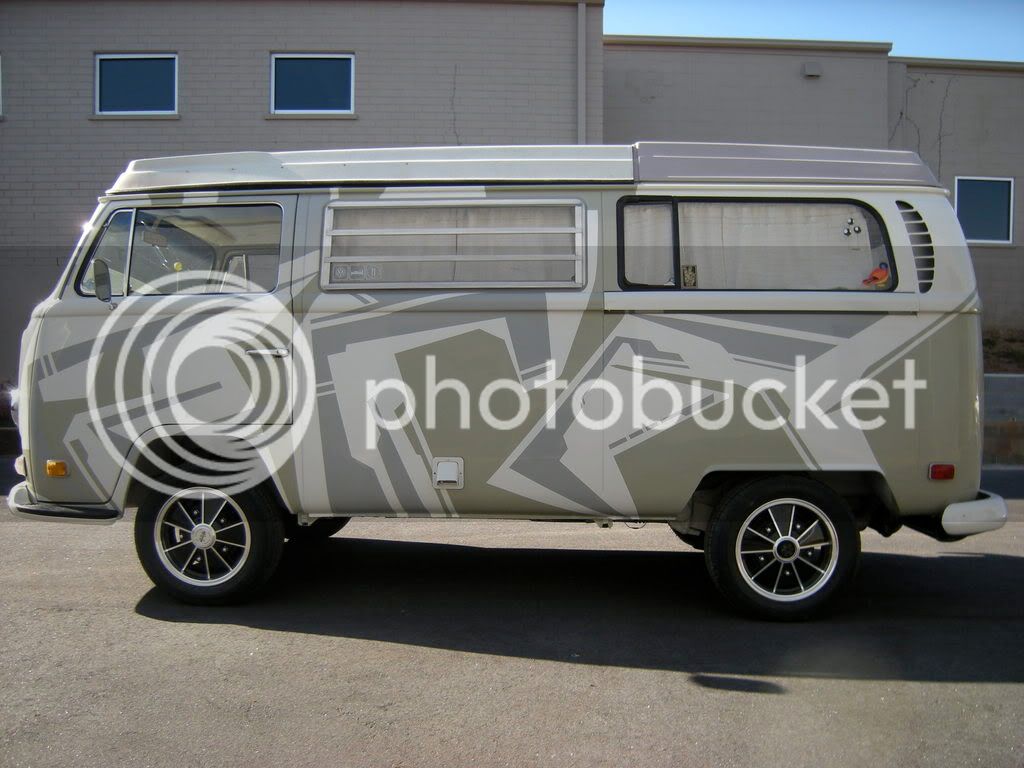
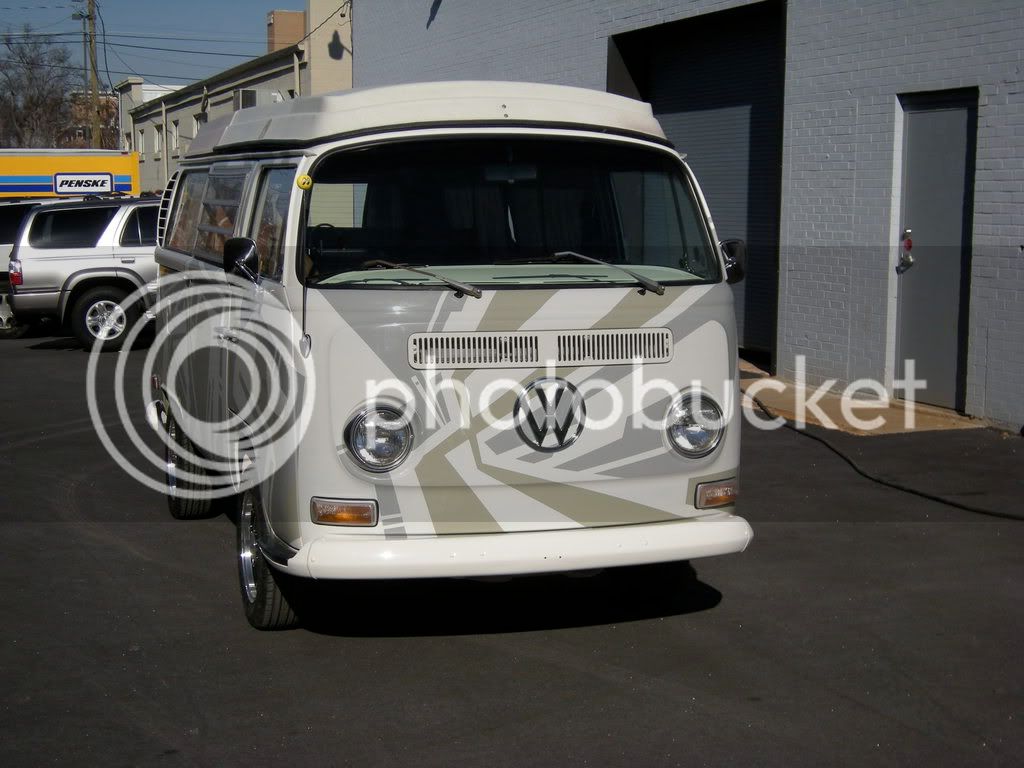
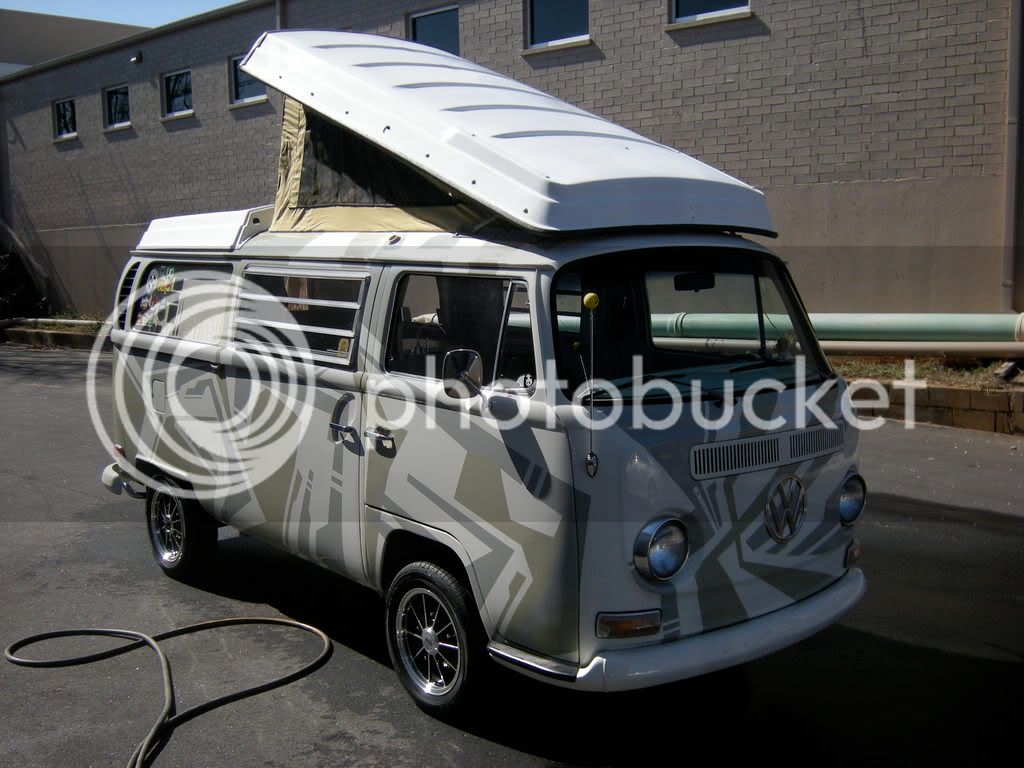
 pinheaduk said:love the design on the vehicle, would love to do something similar with mine.
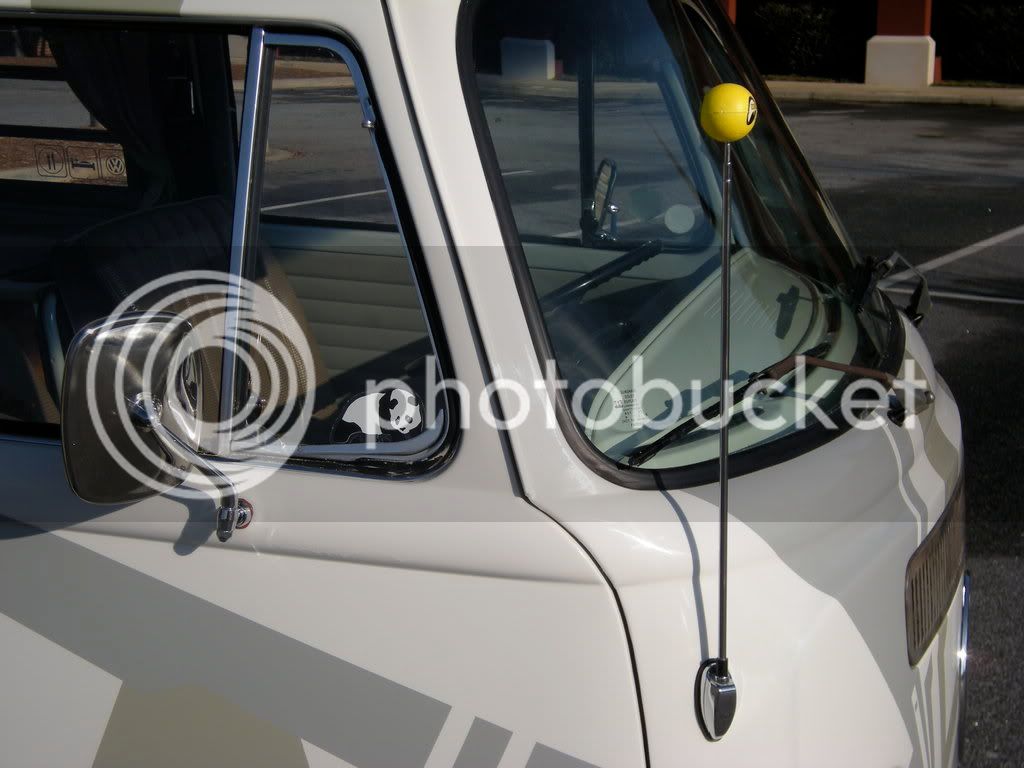
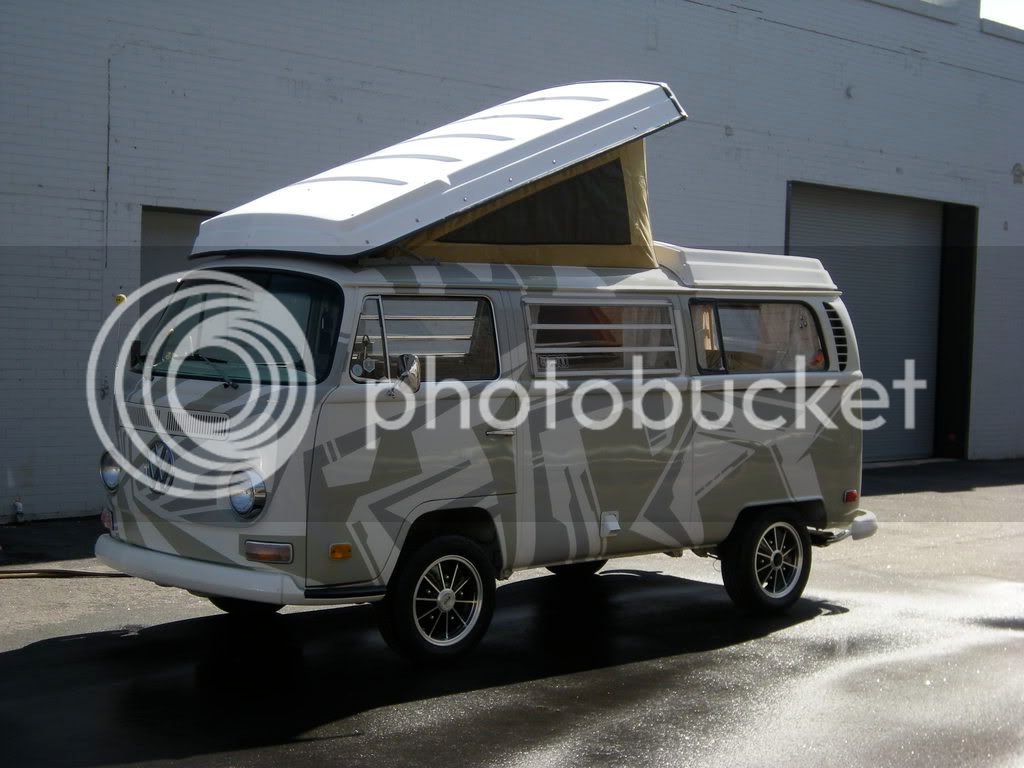
is it painted on or vinyl?
:| . One step at a time and act fast on the warmer days!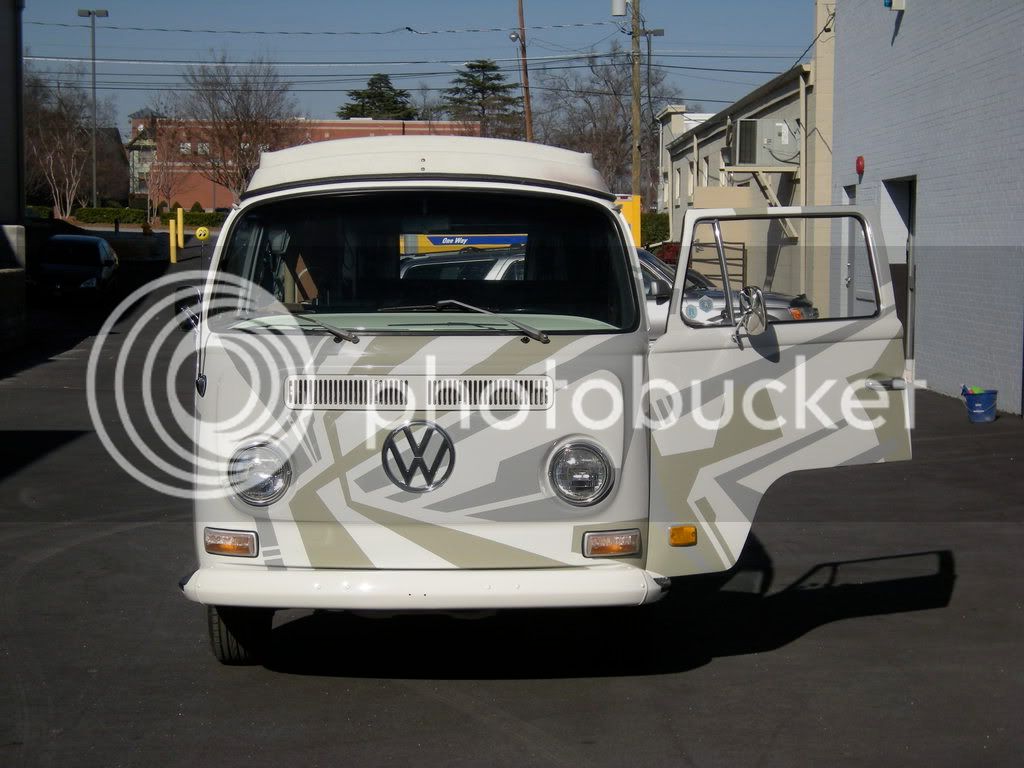


Enter your email address to join:


