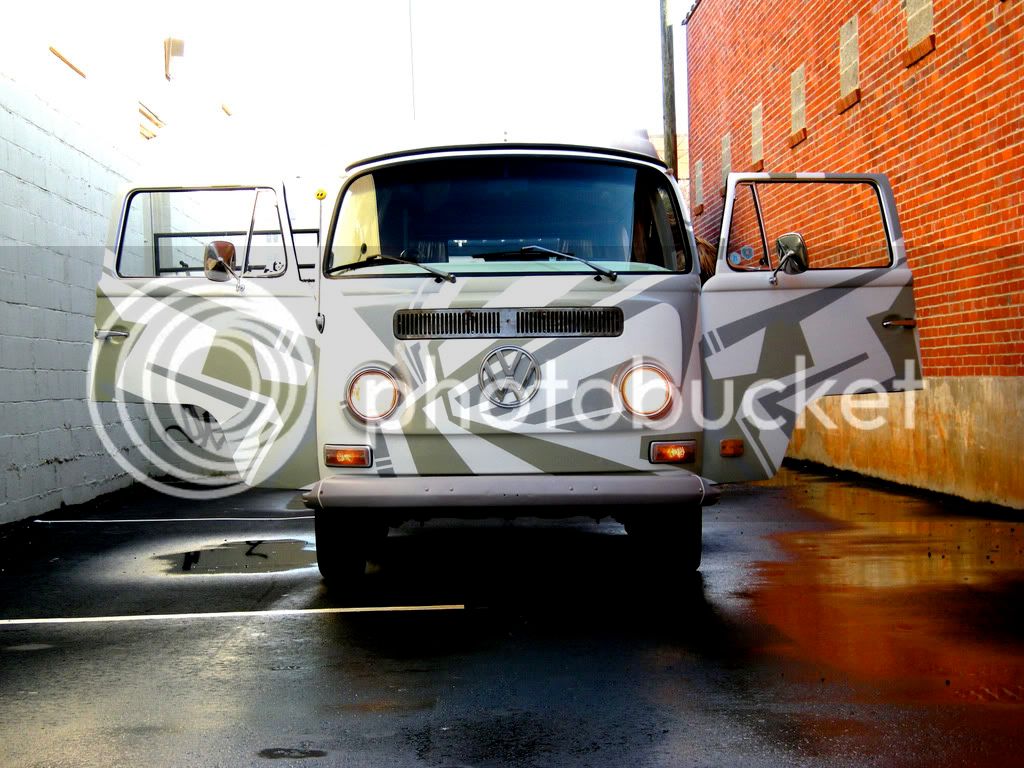
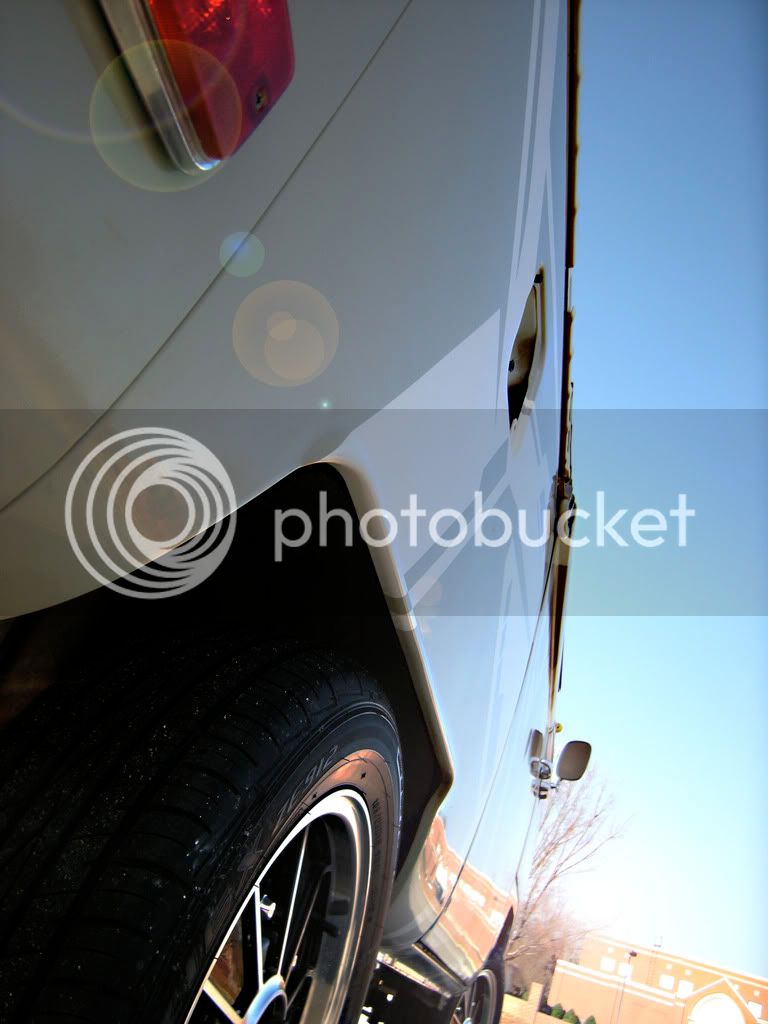
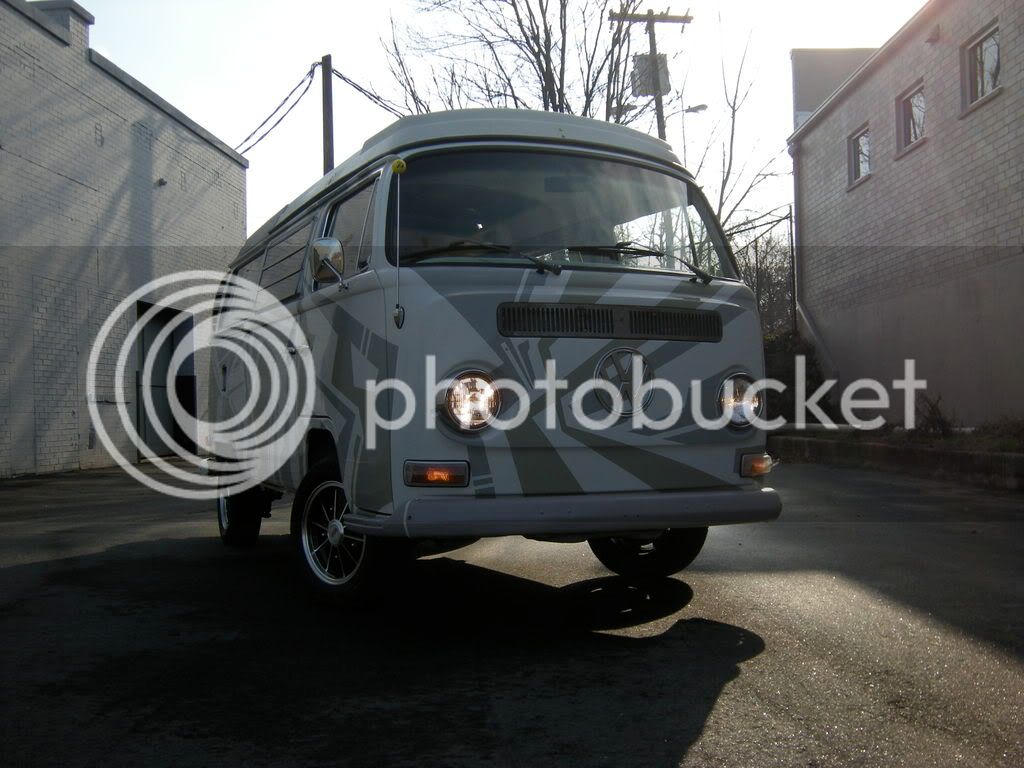
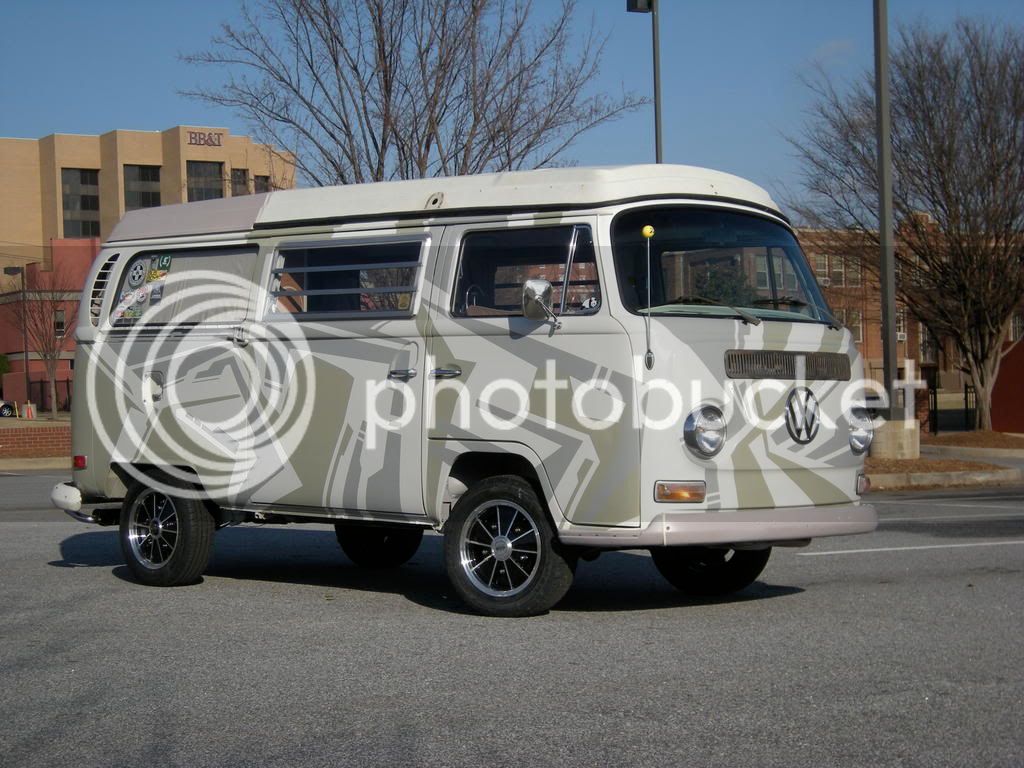
Cker5's '70 Bay Westy

Early Bay Forum

Help Support Early Bay Forum:

This site may earn a commission from merchant affiliate links, including eBay, Amazon, and others.
Greetings all! It's been a while and I feel I've made enough progress to warrant a mass photo drop!

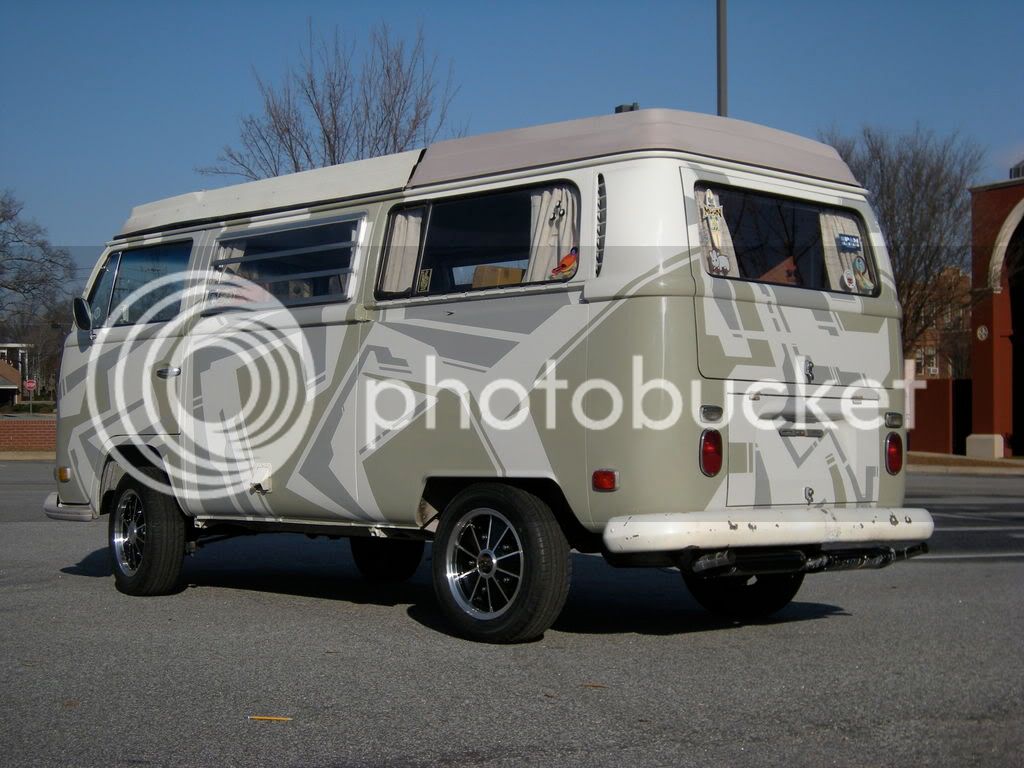
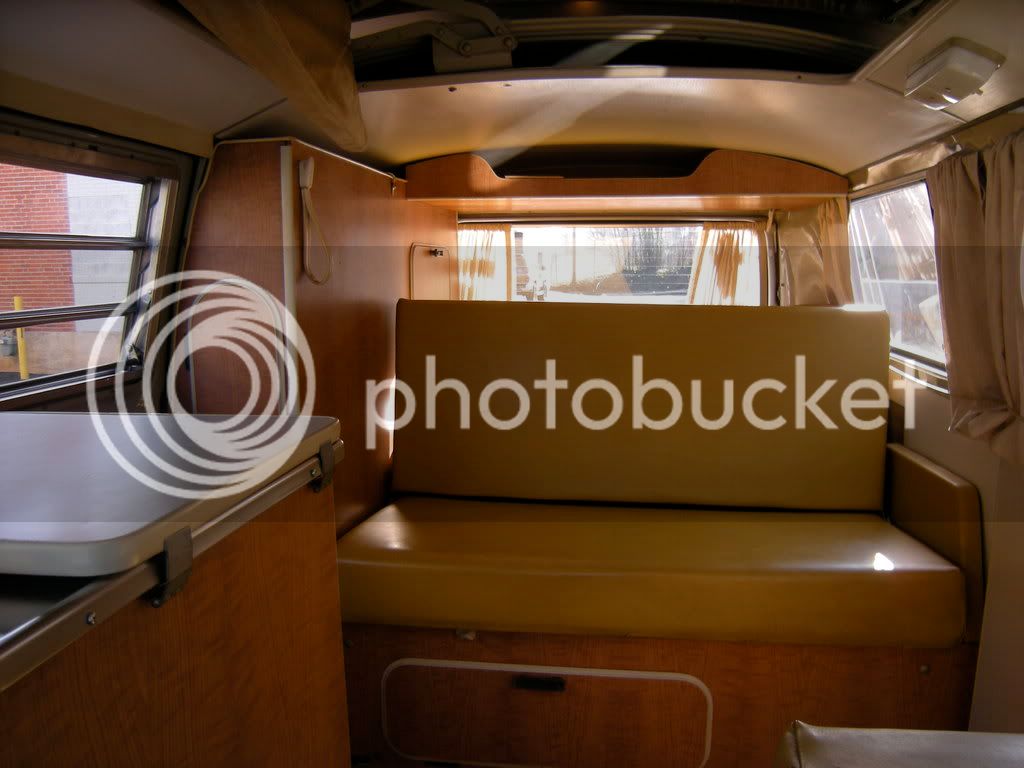
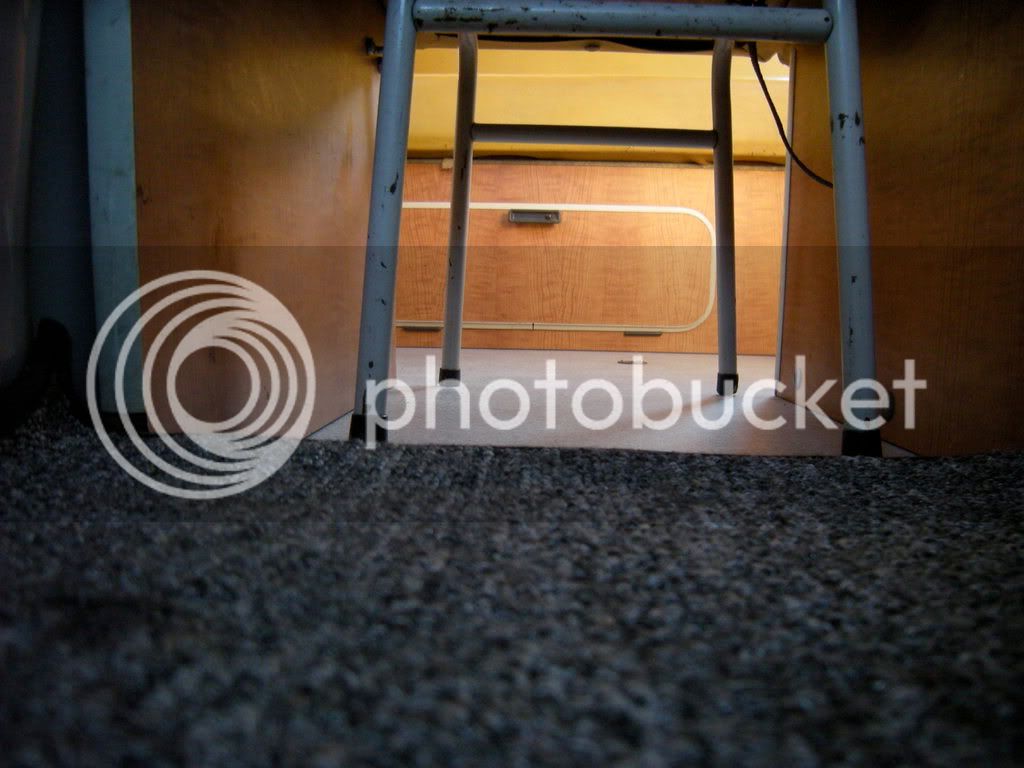
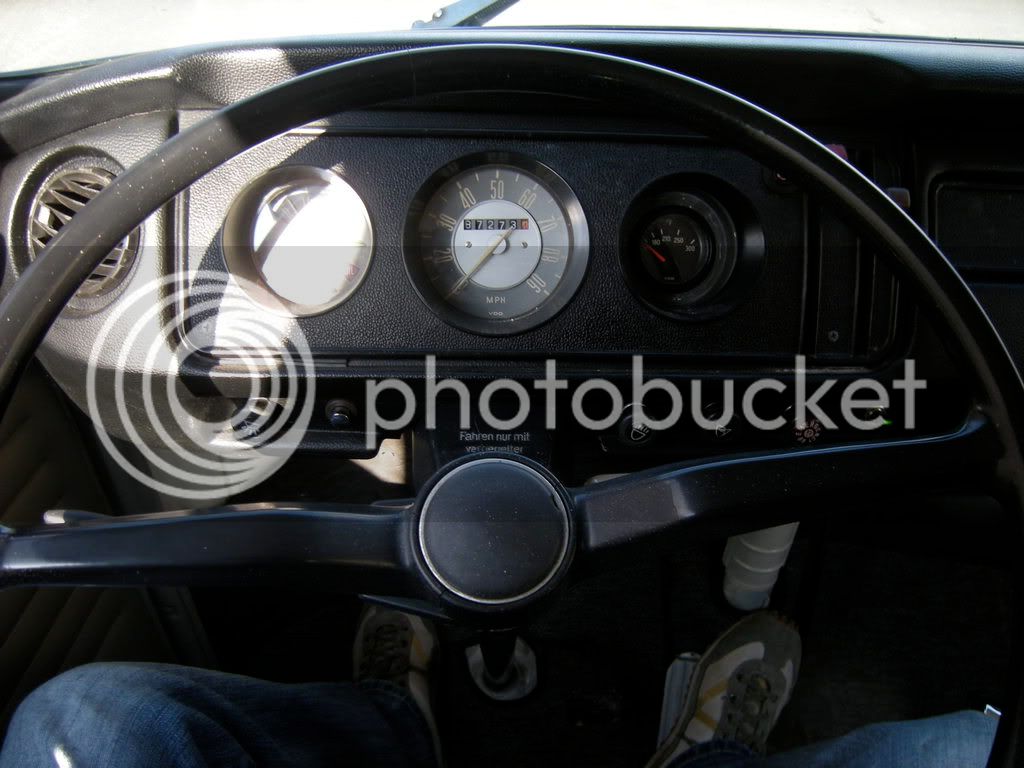
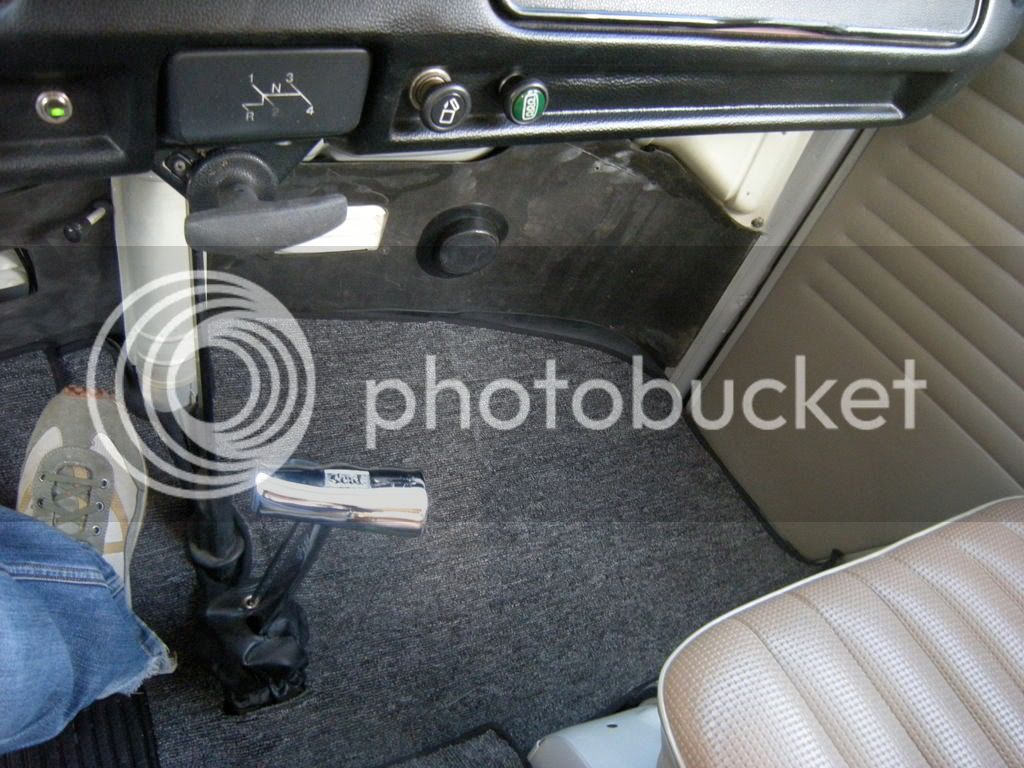
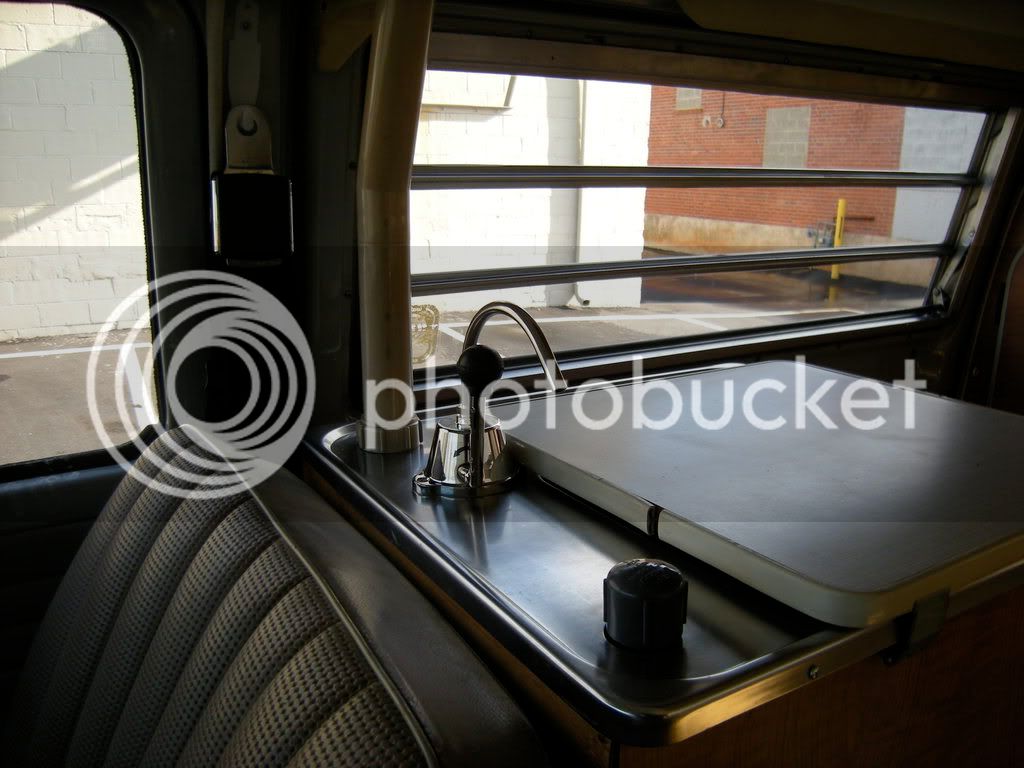
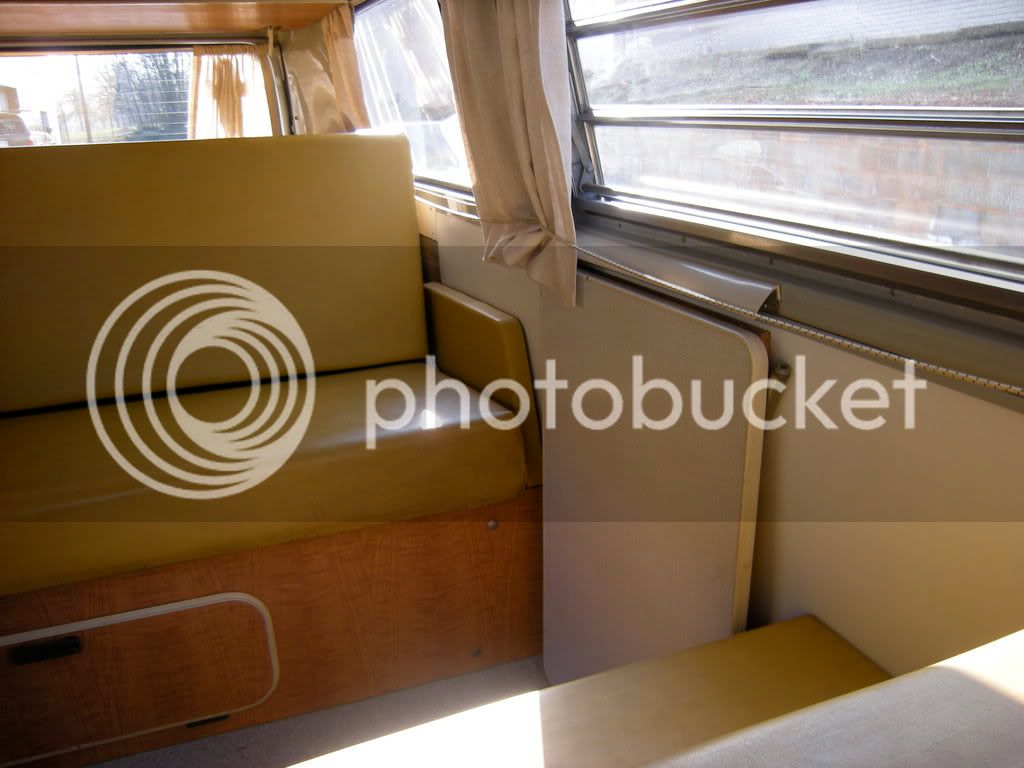
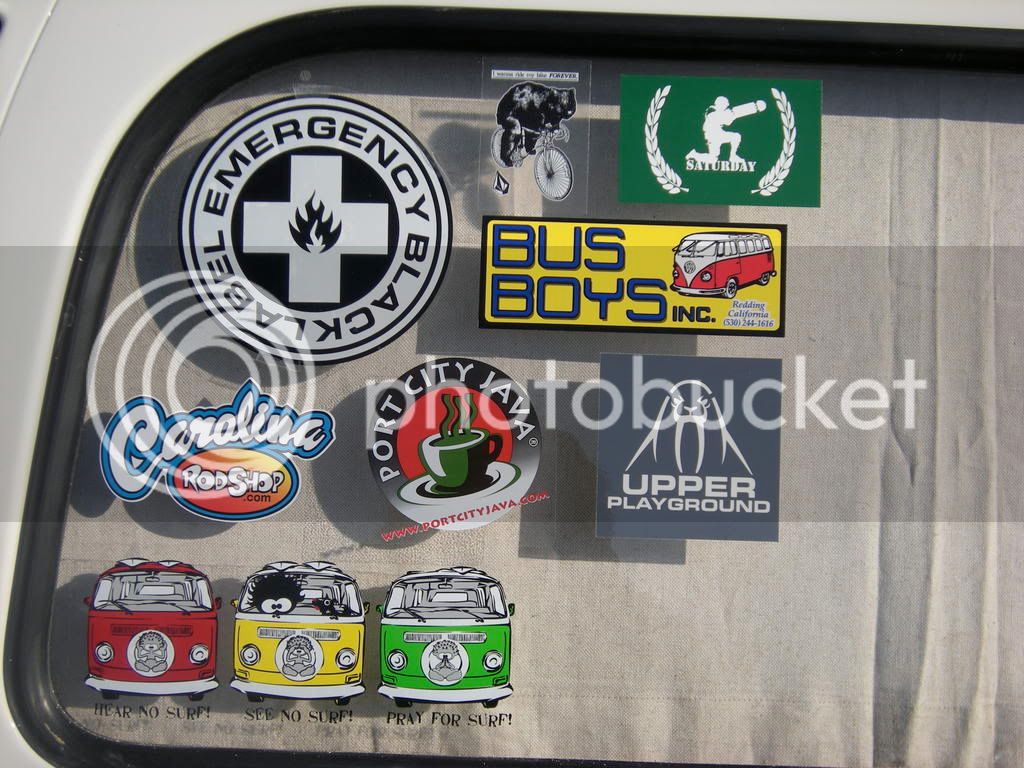
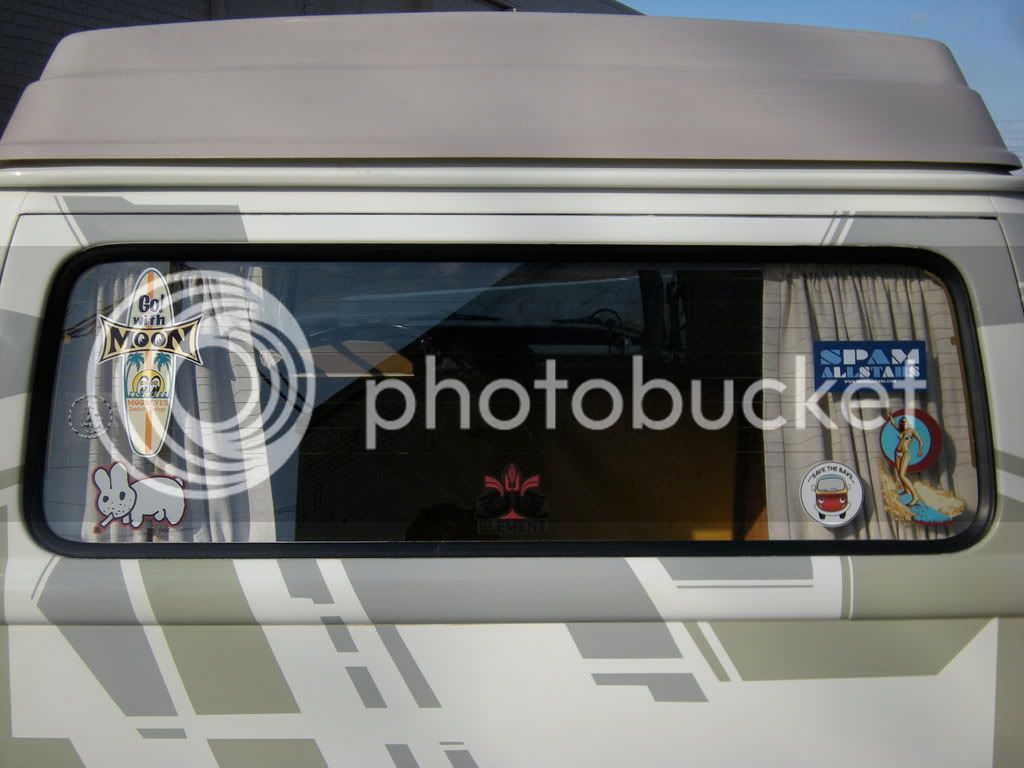
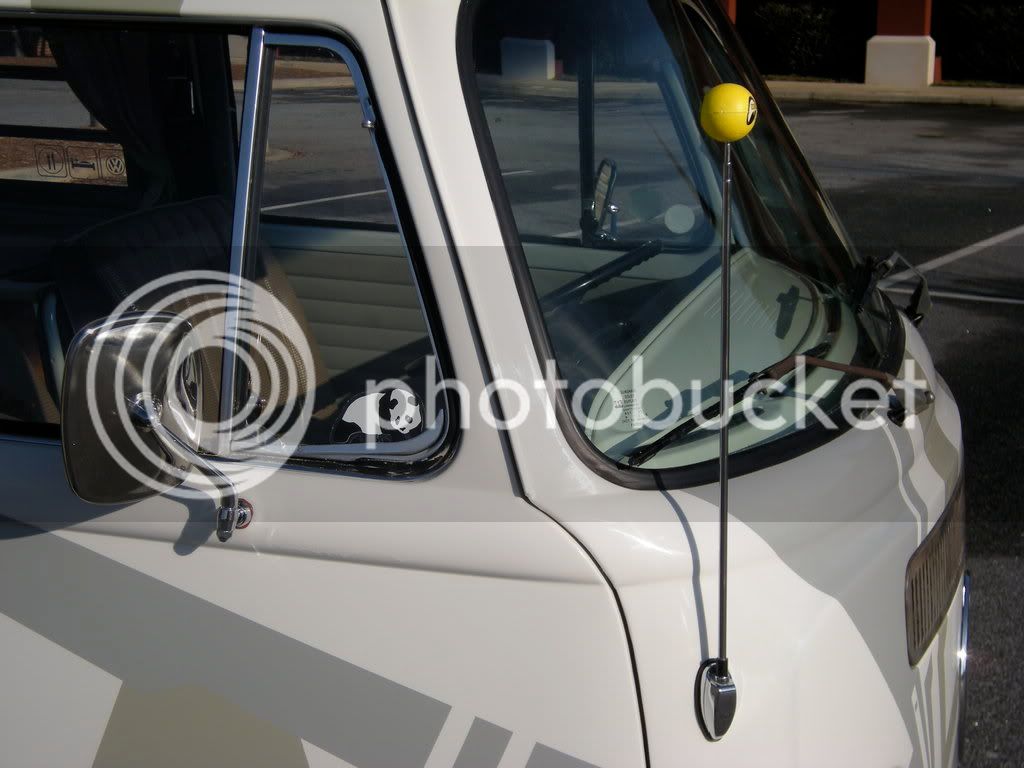
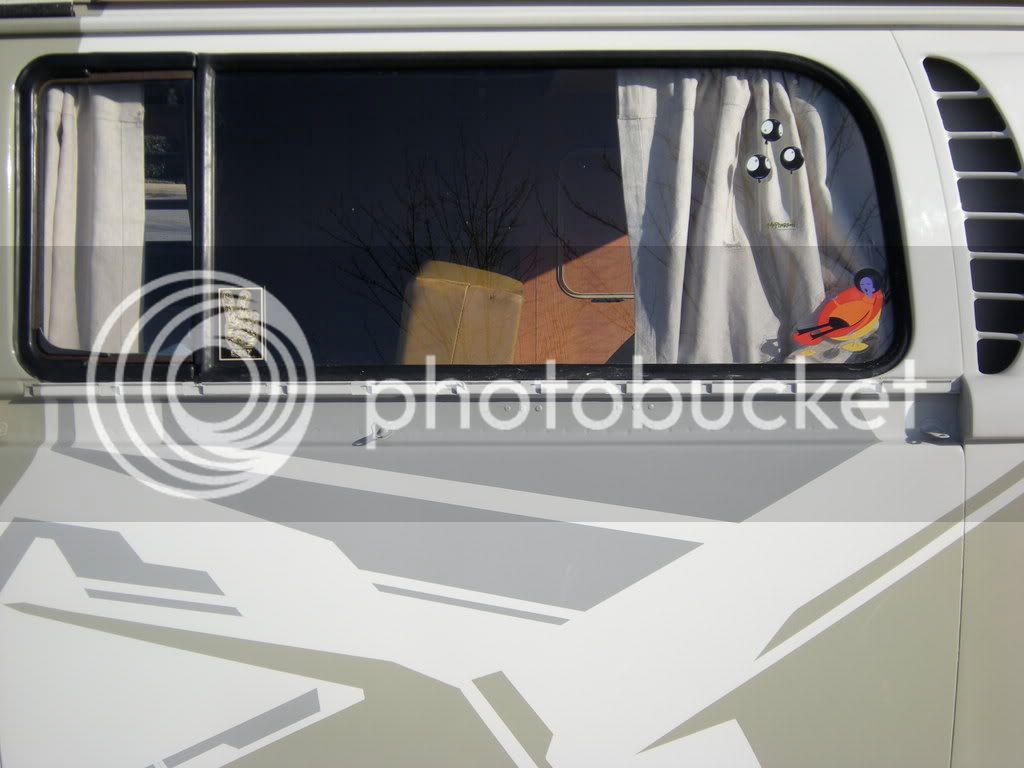
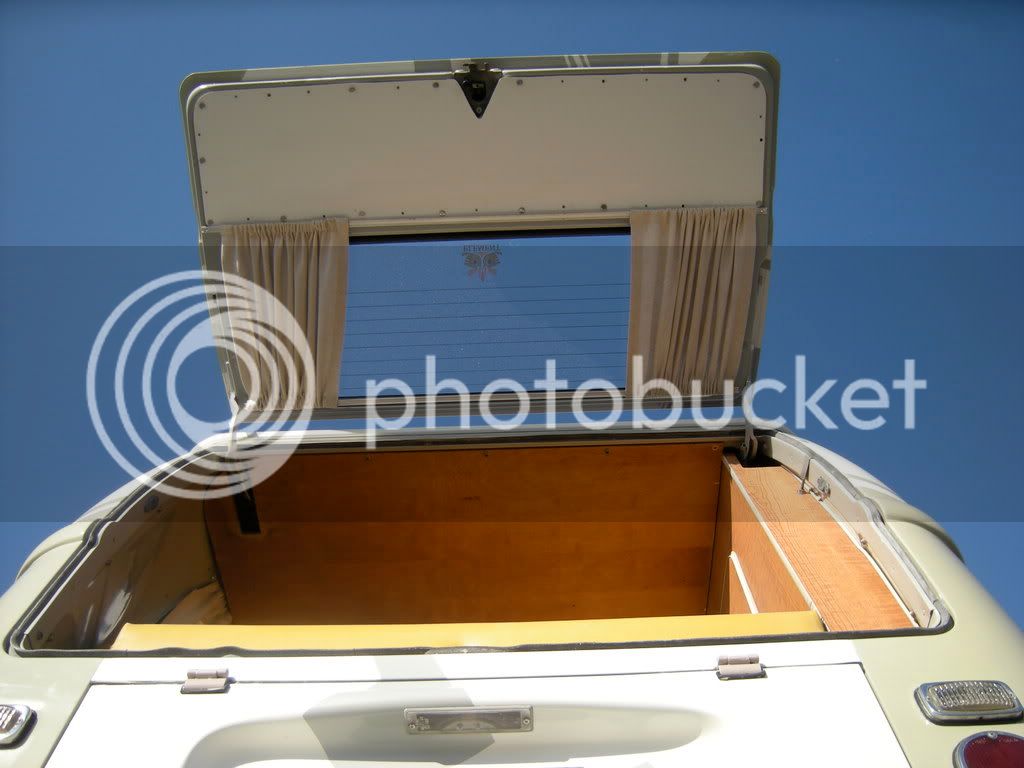
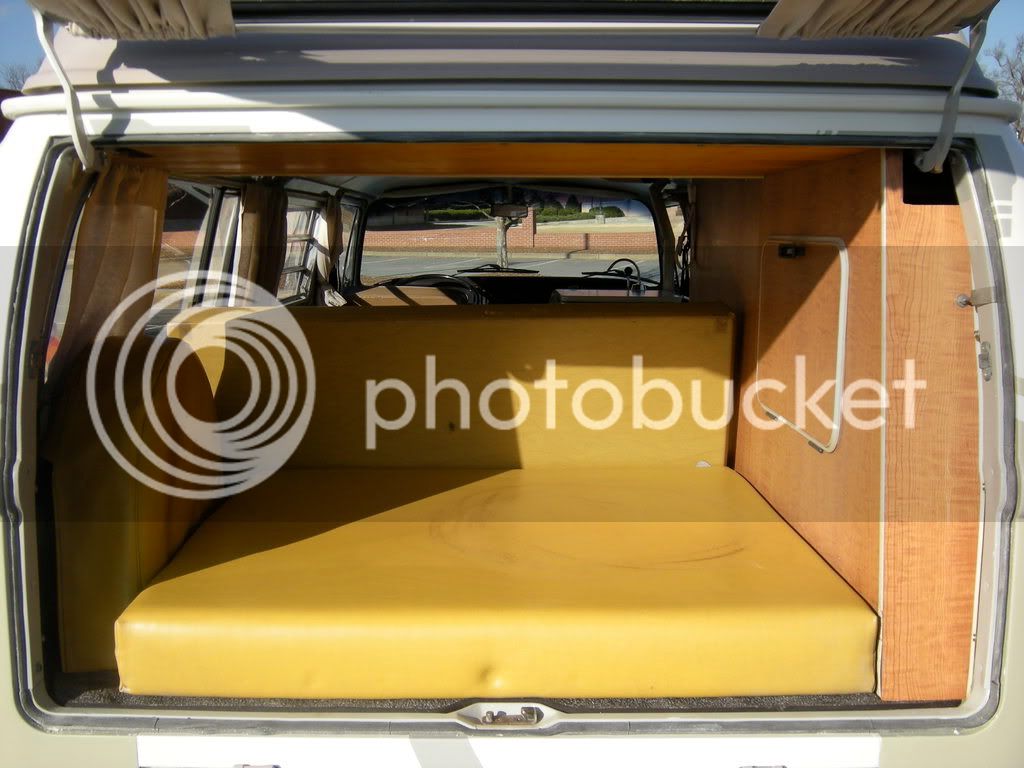
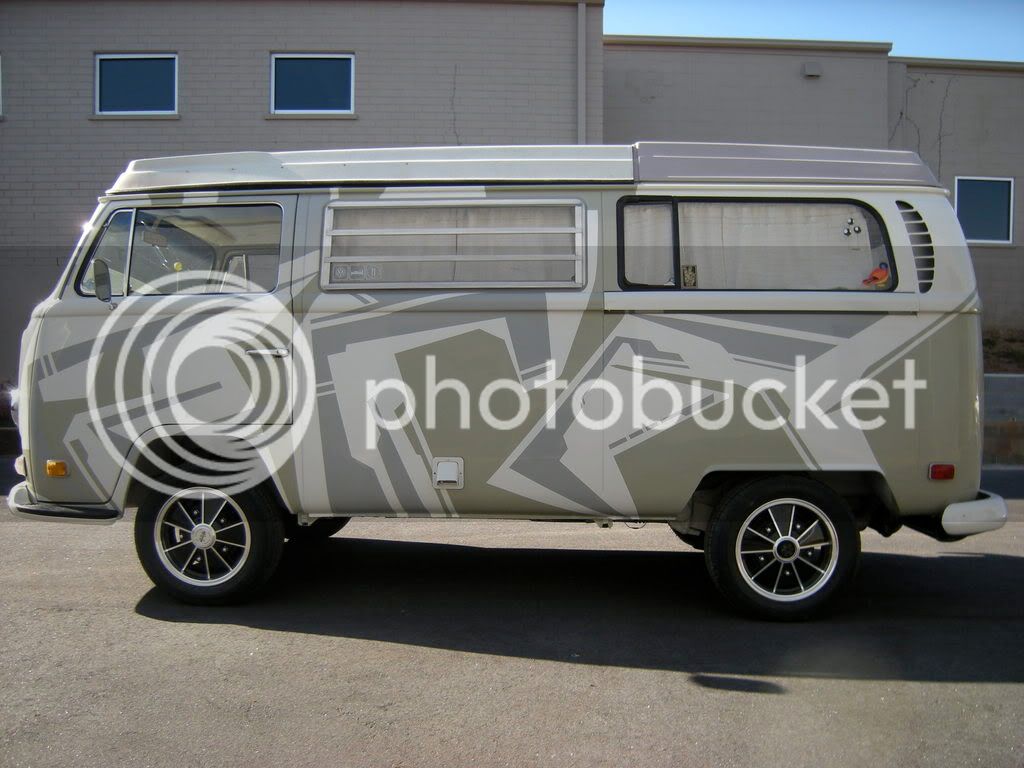
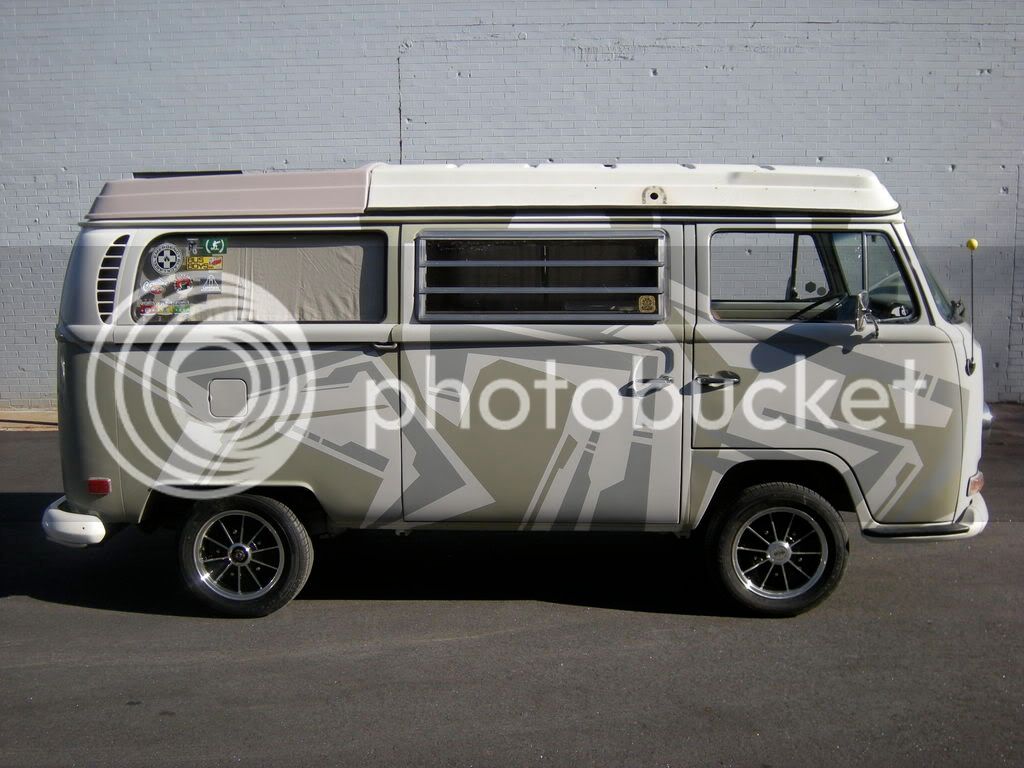
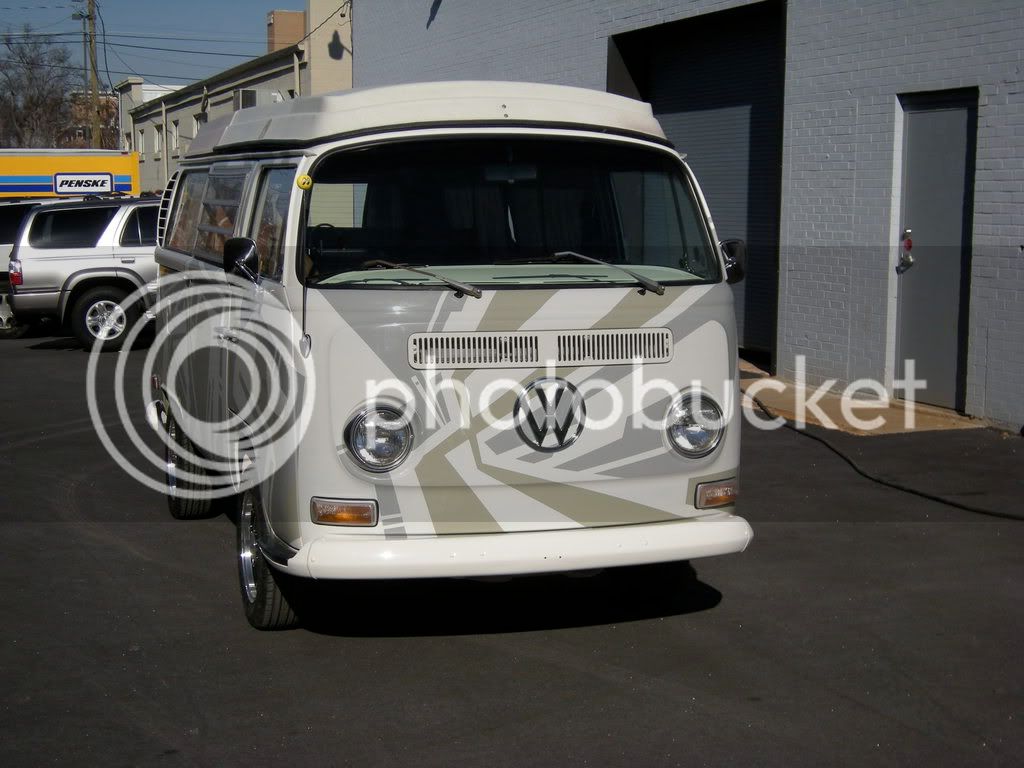
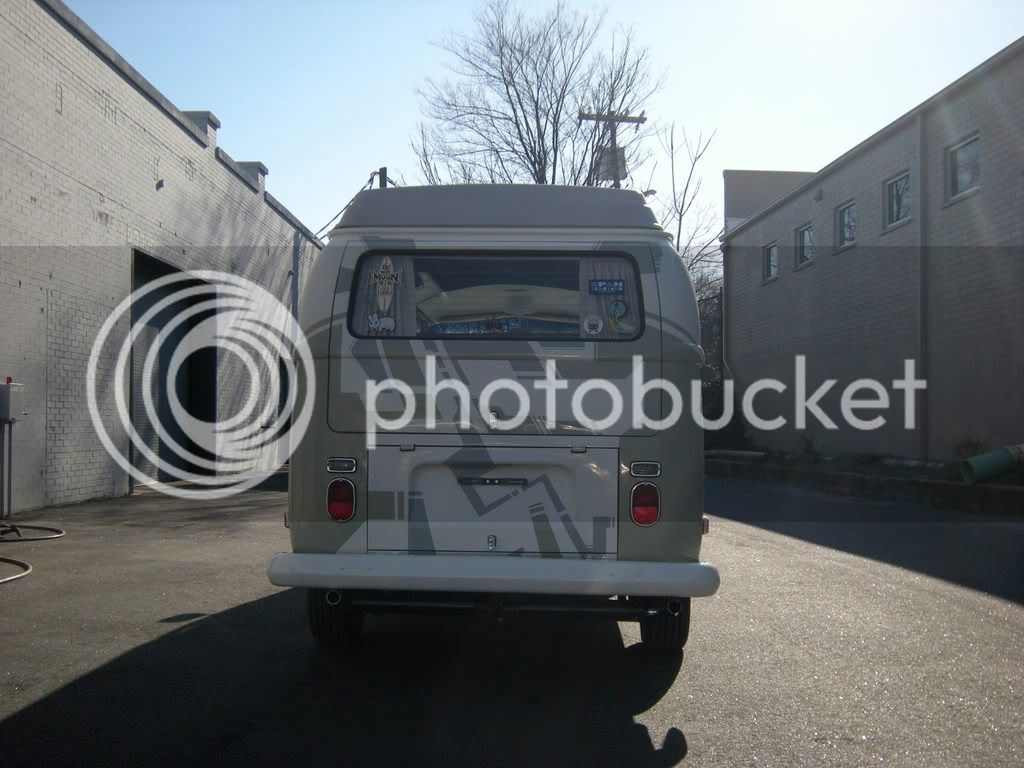
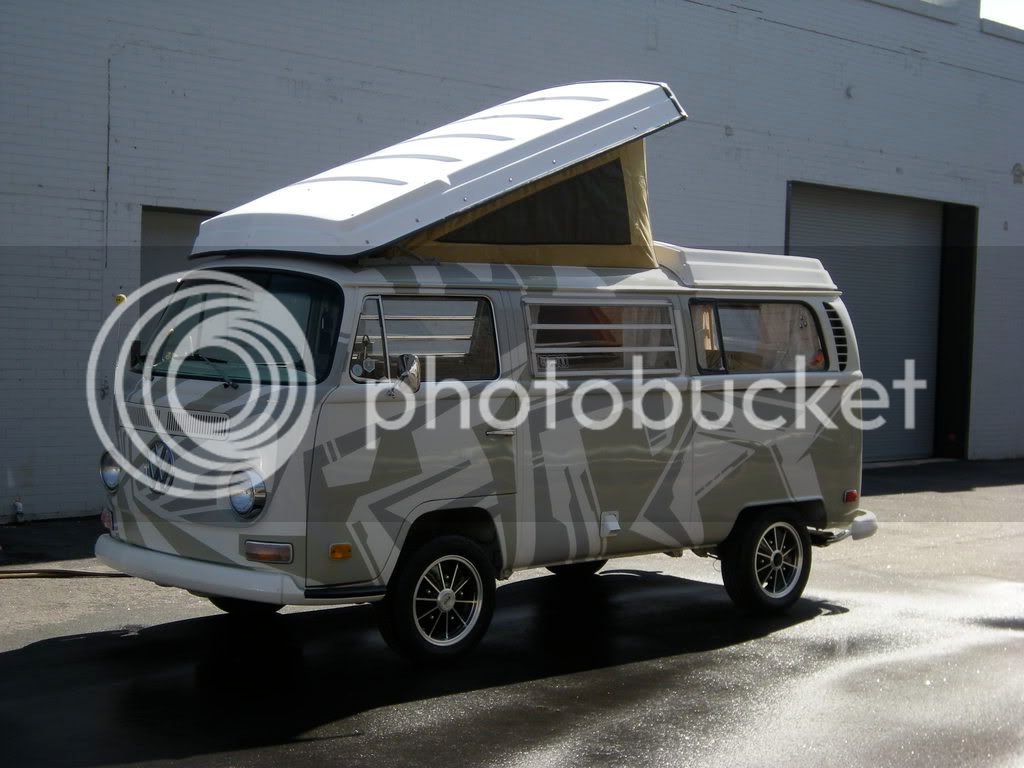
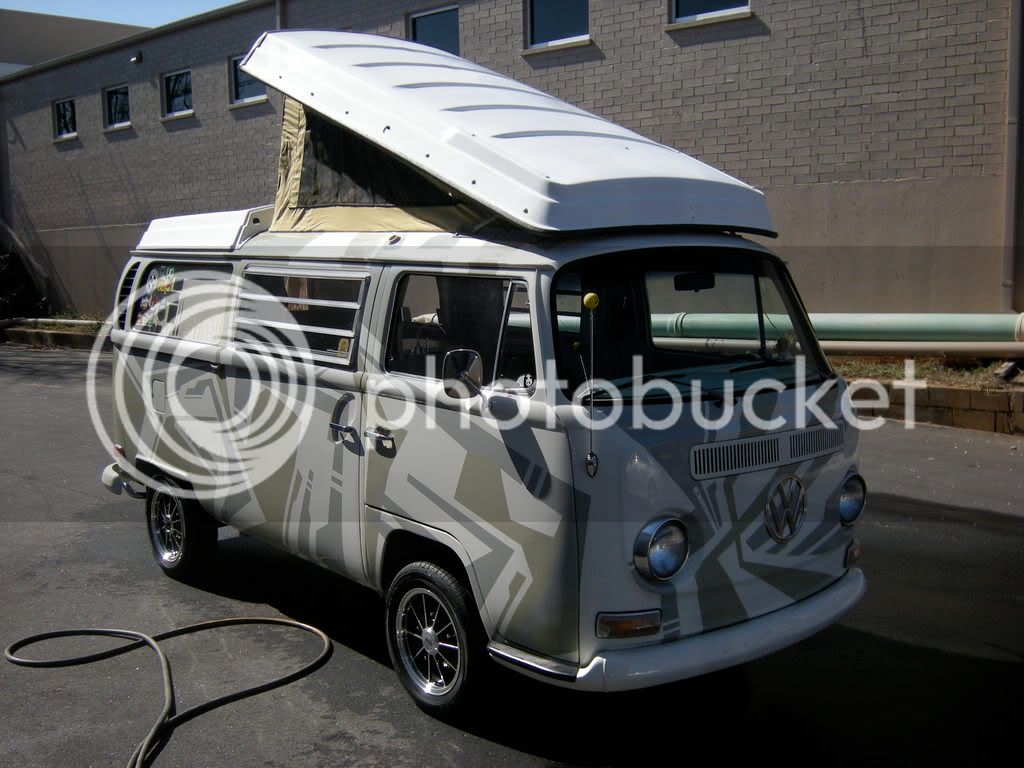
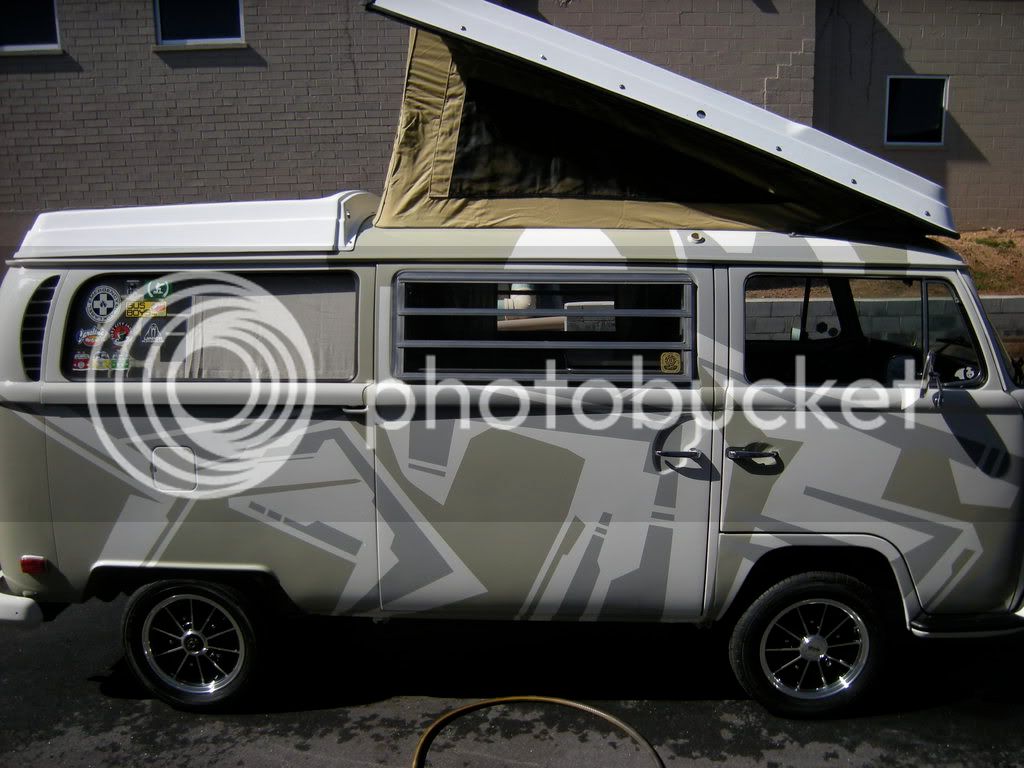
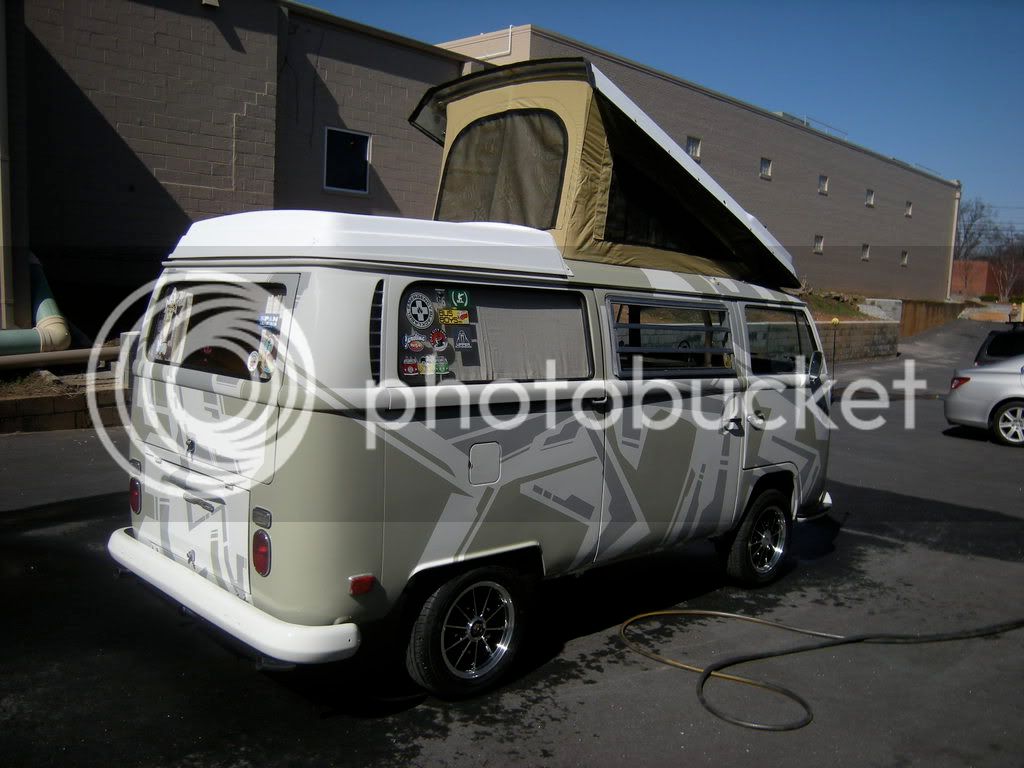
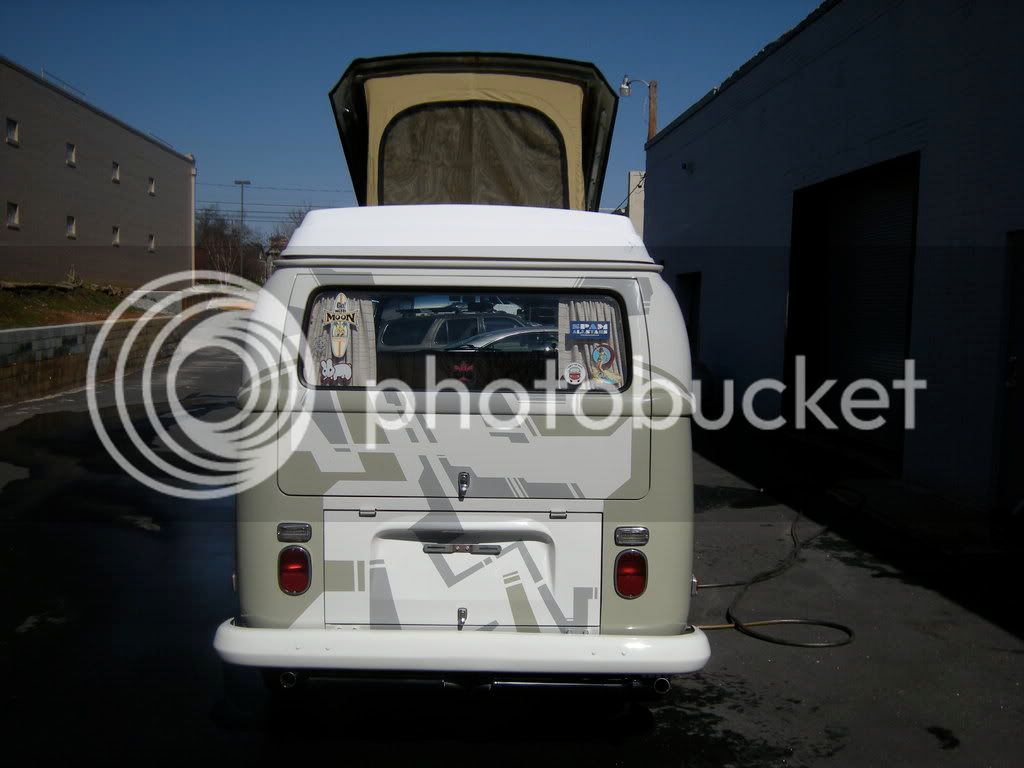
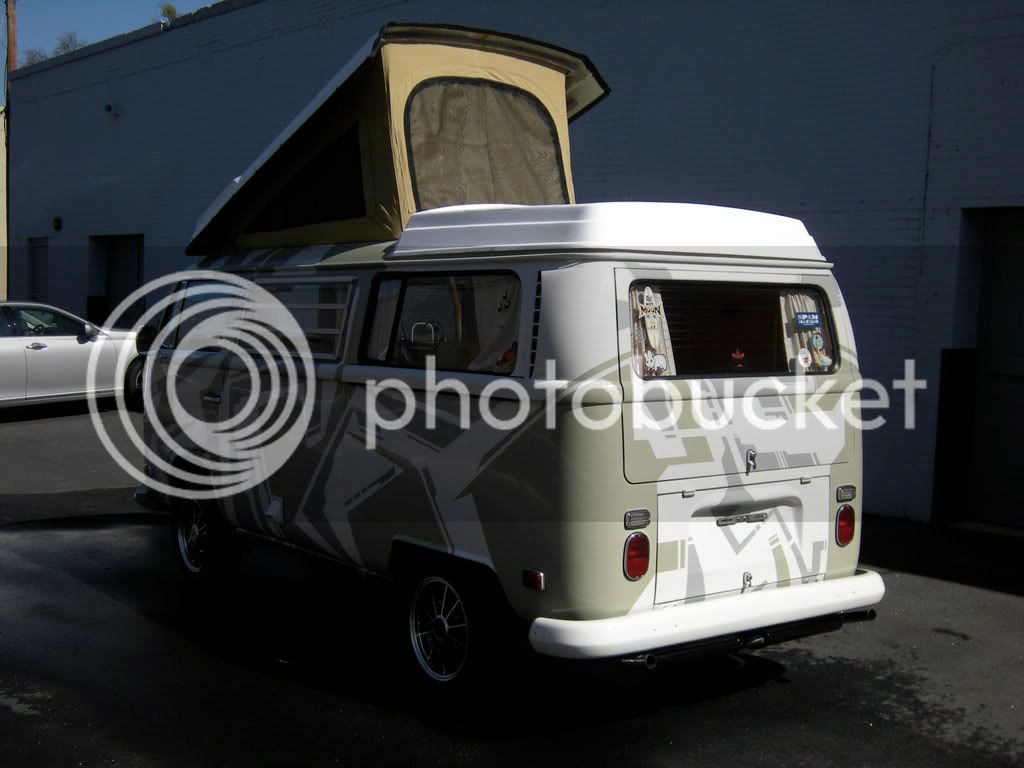
I've spent some quality time refitting the sink plumbing along with a new faucet (first time I ever seen water flow through my westy). I made my own curtains, time consuming work for sure! Fitted the stock seatbelts. Rebuilt the heat tubes Scored some nice OG sunvisors, Westy handles, ashtray, hydro bottle jack and various other bits from a salvage bus. Installed some westy trim bits. Also, I discovered that acetone does a great job dry cleaning the vinyl upholstery, I can't seem to lift that damn tire ring in the back though (working in very small sections). I've been wetsanding and buffing the clear coat to nice results. And finaly ...some stickers...enjoy!

sorry, I know there are a lot :oops:


DSCN2197_II.jpg


DSCN2209_II.jpg


DSCN2191-1.jpg


DSCN2198.jpg


DSCN2202.jpg


DSCN2185-1.jpg


DSCN2187-1.jpg


DSCN2186-1.jpg


DSCN2188.jpg


DSCN2189-1.jpg


DSCN2190.jpg


DSCN2201-1.jpg


DSCN2194-1.jpg


DSCN2199-1.jpg


DSCN2213-1.jpg


DSCN2206.jpg


DSCN2204.jpg
 
Hi!

Oh that looks real good - i'm loving your van the more i see it! Will try acetone to clean up my mustard vinyl too, got your trim you sent me, but having a mare trying to get it fitted, needs warming up to be more pliable, another day, another job......

Any plans for lowering, or are you gonna roll as it is?

Your tap isn't the same as mine - is it a later tap? Certainly a lot shiner than mine! What do you mean tire ring?

Alistair
 
aogrady said:
Hi!

Oh that looks real good - i'm loving your van the more i see it! Will try acetone to clean up my mustard vinyl too, got your trim you sent me, but having a mare trying to get it fitted, needs warming up to be more pliable, another day, another job......

Any plans for lowering, or are you gonna roll as it is?

Your tap isn't the same as mine - is it a later tap? Certainly a lot shiner than mine! What do you mean tire ring?

Alistair


Alistair, what's up man!

I also had a real pain with the trim, until I got some leftover little westy trim screws (the real small ones) and a drill on the lip of the sunroof opening. There is a tiny lip about 1/8" and if you are careful you can use a small drill bit to make a small hole to screw the trim in place. then pierce the trim with the screw and attach it, work in 1/4 sections, that should do it. I remember my hands were numb when I was finished for sure! You can see the trim screws in my photos.

I'm doing some research on lowering it but the funds are thin. I'm getting married in August so I'm trying to barter for needed parts and save cash for our honeymoon on the west coast!

It's actually a new tap, I think it's what the design turned into, they still make it! It has the same two screw bolt up! Any boat or camping store should be able to order it if you need one. It works real good.

The acetone, be careful, it's strong! work in small sections because could melt the plastic! Wipe on with a rag don't go pouring it on the plastic, it could melt it! It does have instant results! You can see the ring in the last photo in the back of the bus, It's too stained or something to clean?

Cheers!
MW

 
Really nice work chap, now ghet that thing on the floor as it deserves it :wink:
 
easy said:
Really nice work chap, now ghet that thing on the floor as it deserves it :wink:

my words... 8)
i realy like to see how your bus look like when slamed...aren't there some photoshop-craks out there...??? :lol:
will post some pic's of your bay on my blog soon.
 
Alistair, what's up man!

I also had a real pain with the trim, until I got some leftover little westy trim screws (the real small ones) and a drill on the lip of the sunroof opening. There is a tiny lip about 1/8" and if you are careful you can use a small drill bit to make a small hole to screw the trim in place. then pierce the trim with the screw and attach it, work in 1/4 sections, that should do it. I remember my hands were numb when I was finished for sure! You can see the trim screws in my photos.

I'm doing some research on lowering it but the funds are thin. I'm getting married in August so I'm trying to barter for needed parts and save cash for our honeymoon on the west coast!

It's actually a new tap, I think it's what the design turned into, they still make it! It has the same two screw bolt up! Any boat or camping store should be able to order it if you need one. It works real good.

The acetone, be careful, it's strong! work in small sections because could melt the plastic! Wipe on with a rag don't go pouring it on the plastic, it could melt it! It does have instant results! You can see the ring in the last photo in the back of the bus, It's too stained or something to clean?

Cheers!
MW

Hi fella!

Yeah, my fingers were killing me! I did notice the screws in the photo, i still have some of the small screws left over, so will give that a go. Good call.

Congrats on the wedding - you using the bus to take the bride to church? :wink: As regard bartering, got any bits for sale i may want to buy? :?:

New tap? May look out for one, need to clean and freshen up my tank, never had water in since i bought it.

Cleaning the vinyl sound better than buying new stuff, though i have a small tear in my bottom cushion on the bed, and the trim on the buddy seat is torn too.....trying to keep my eyes peeled for any old ones for sale......

So whats the next plan for the bus then?

Cheers!

Alistair
 
Thanks you guys for the support! It could be a few inches towards the ground, I've been looking into maybe a Link Pin suspension up front but I think I have to do some machining in the rear to bring the wheel offset in a bit? Anyone have any experience in this matter?

here's a rendering of what I'd like aswell

DSCN2198_II.jpg


Next bits to be added are some NOS shocks and hopefully some attention to the bumpers, front grill, gas door, and rear trim pieces under the rear windows in Alpine white. Also have the issue with the fiberglass roof as it's bowed from hauling a kayak on top! Thinking about just replacing it.
 
Hi!

Looks cool lower....... :D Not too sure if you can link and pin it, as the holes on the beams and chassis changed for the 70 models, can only use a splitty beam on a earlier bay like a 67-68 poss 69. Think 70 model year models (like mine - poss yours) can only use a ball joint beam because of the fixing holes?
Though the more i think about it, I'm not too sure.... :?: Someone will come along in a min and correct me I'm sure.....

When i save my money, (never at this rate) i think dropped spindles and maybe a Red 9 kit will be done to mine. Quite dear, but very good ride compared to dropping with adjusters/or cutting turning apparently....
Maybe some notched adjustable springplates on the rear, keeping the camber correct etc.

Cheers!

Alistair
 
pinheaduk said:
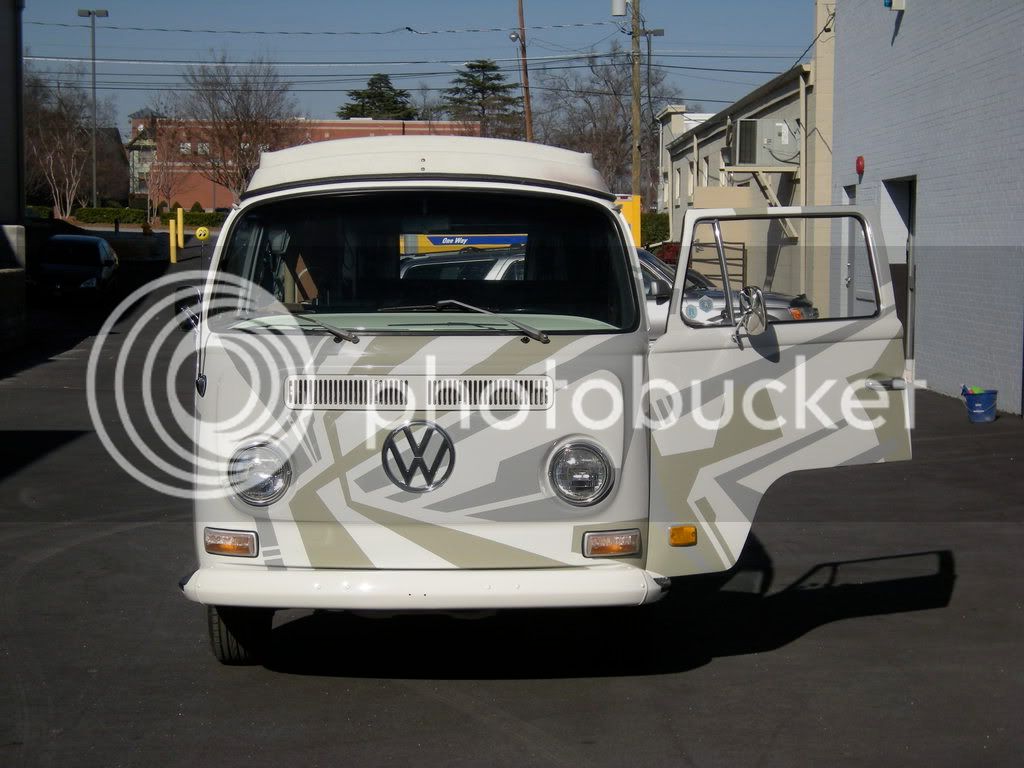
love the design on the vehicle, would love to do something similar with mine.

is it painted on or vinyl?


Thanks!

No, It's a two stage base coat/clear coat. The base coat is alpine white with the olive and grey added as I went. Then the clear was applied 8)

I'm sure there are vinyl ways of doing this as well though.

Cheers!
 
I feel like I'm shooting the same shots but a small update is in order. I painted the bumpers, gas door, electric outlet, front grill and trim pieces under the rear side windows during the last few warm days we've had here in the south. I had to get the paint color matched at the paint shop.

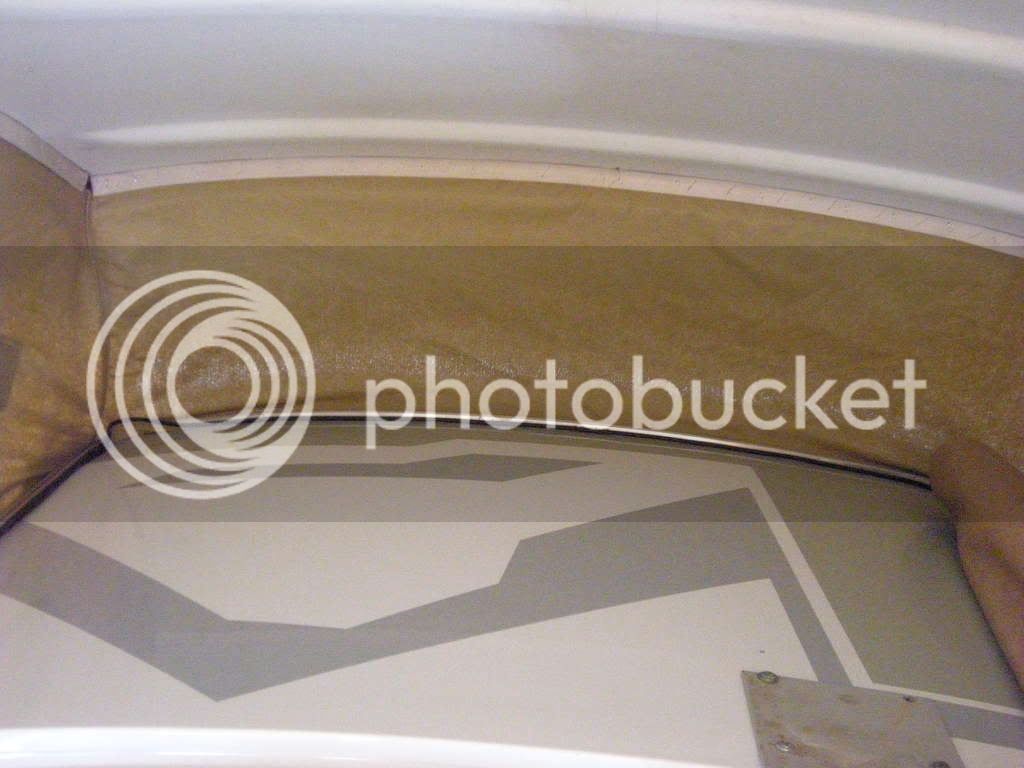
Maybe now I can focus on the fiberglass top and fitment. It's really bugging me now! The thing is warped from carrying around a kayak on top for 20 years so I have to sure it up somehow if I can't locate a decent replacement.

I'm not trying to brag as I know it's not warm everywhere at the moment :eek: :| . One step at a time and act fast on the warmer days!

Peace!

DSCN2214.jpg


DSCN2216.jpg


DSCN2218.jpg


DSCN2219.jpg


DSCN2217.jpg
 
Thanks for the positive comments guys!

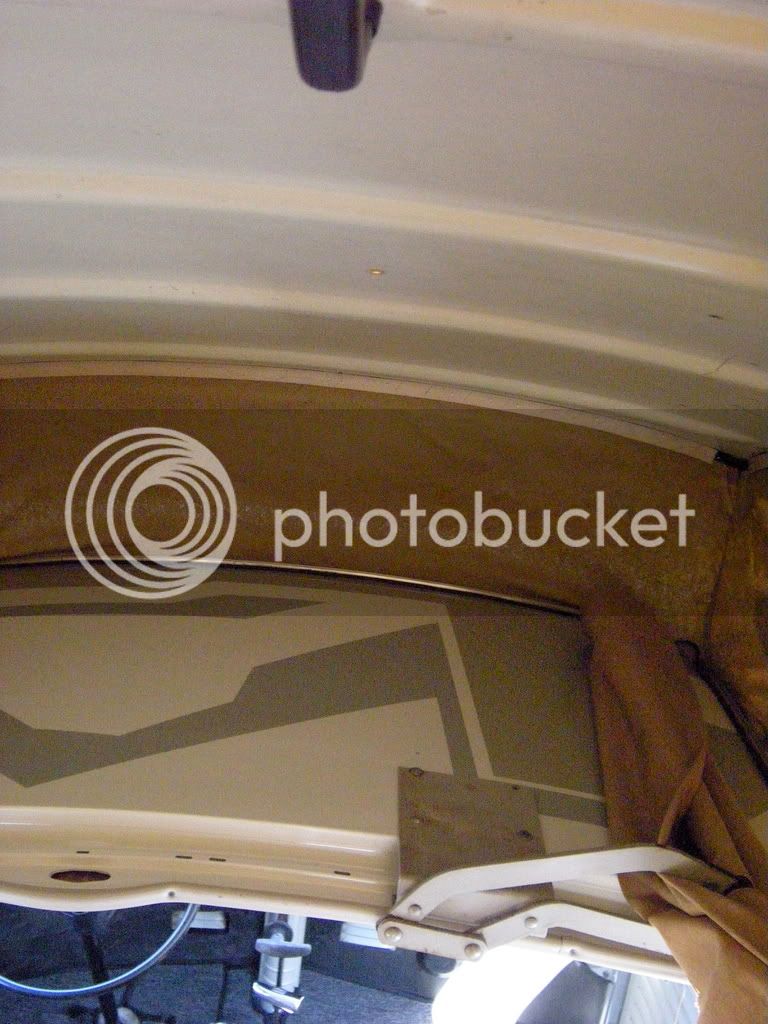
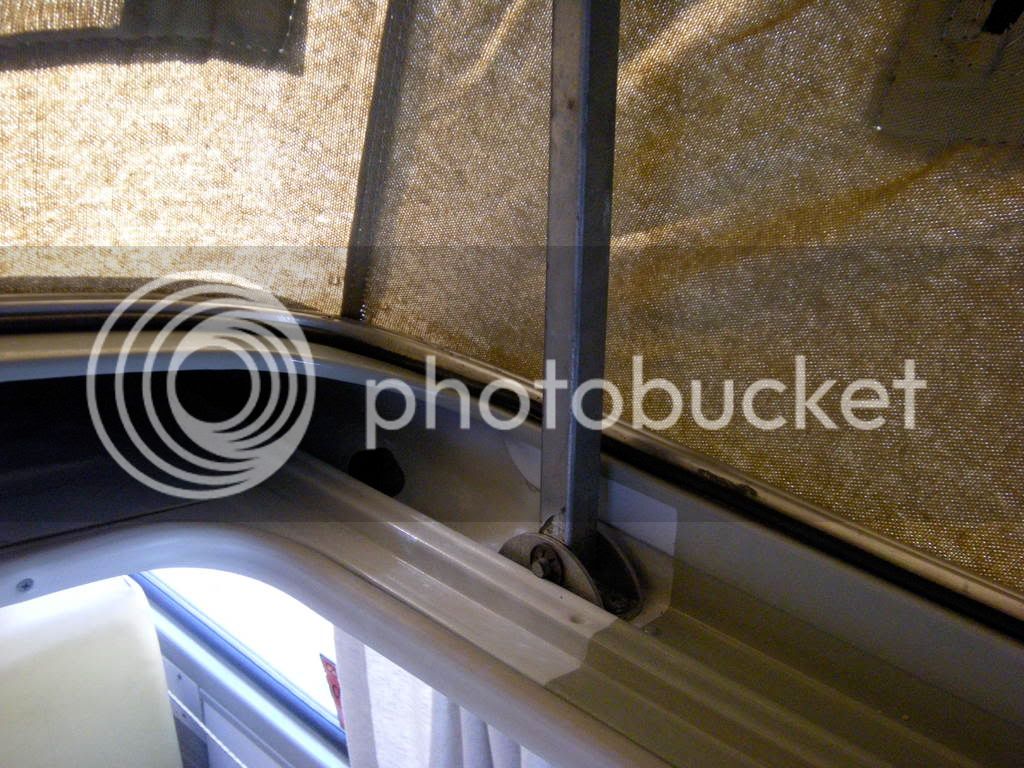
I've been at it again! I am starting to regain the feeling in my fingers from fooking with all the tiny screws for the canvas but I was able to get it fitted in under 8 hours last night (turned the lights out at 5am). Man I highly suggest an air staple gun for the top part with the wood, that part was a breeze. THE DAMN SCREWS...MY HANDS :wink: !

I was relaxing in the top cot shortly after the fitment and I fell through the canvas cot :shock: ! So I guess I'll be looking for a new one. Does anyone know where to find the new construction canvas cot fabric?

Also I painted the roof, installed some beams to sure the warped roof and then fitted the top rear seal. The beam idea helped but i'm still a little off so I think I'll just install a Yakama roof rack to bring it in that extra space. Any other suggestions welcome the Yakama setups arn't cheep.

Peace!
Cker5

DSCN2239.jpg


DSCN2240.jpg


DSCN2241.jpg


DSCN2242.jpg


DSCN2243.jpg


DSCN2244.jpg


DSCN2245.jpg


DSCN2247.jpg


DSCN2248.jpg
 
Greetings, it's bee a while,

We're getting married this Saturday (the 18th).

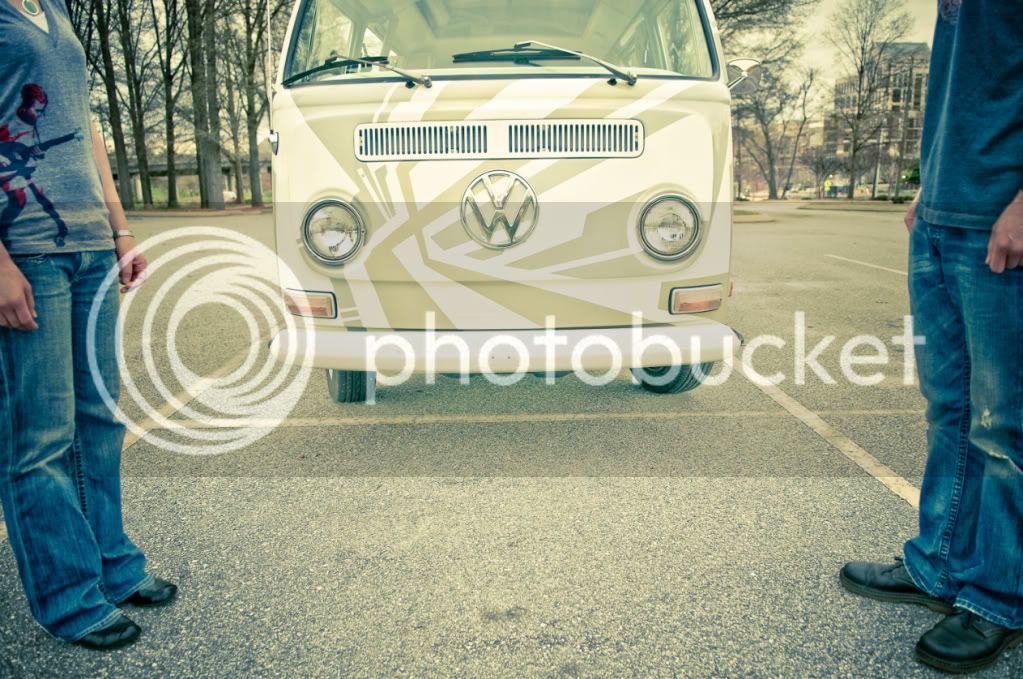
I wanted to share some of the engagement shots we received from the photographer, I think he did a great job with the photography, check it out,,,....

MattMegan_shots1.jpg


Mattmegan_Shots_5.jpg


Mattmegan_Shots_6.jpg


Mattmegan_Shots_IIII.jpg


Mattmegan_shots_III.jpg


mattmegan_shotsII.jpg


Mattmegan_Shots_7.jpg


Cheers!
Matt and Megan!
 
Hi Matt!

Congrats m8! Loving the pictures, very nicely done indeed! Nice shots.
Your story of the top cot made me chuckle, my girlfriends fell through mine a few weeks back, seems that the 40 year old canvas aint as good after all these years? Dunno about a replacement, maybe a sailmakers or other boat type place could make one up? If i find somewhere i will let you know.

Cheers!

Alistair
 

Latest posts

Top