Cunning Bus Project

Early Bay Forum

Help Support Early Bay Forum:

This site may earn a commission from merchant affiliate links, including eBay, Amazon, and others.
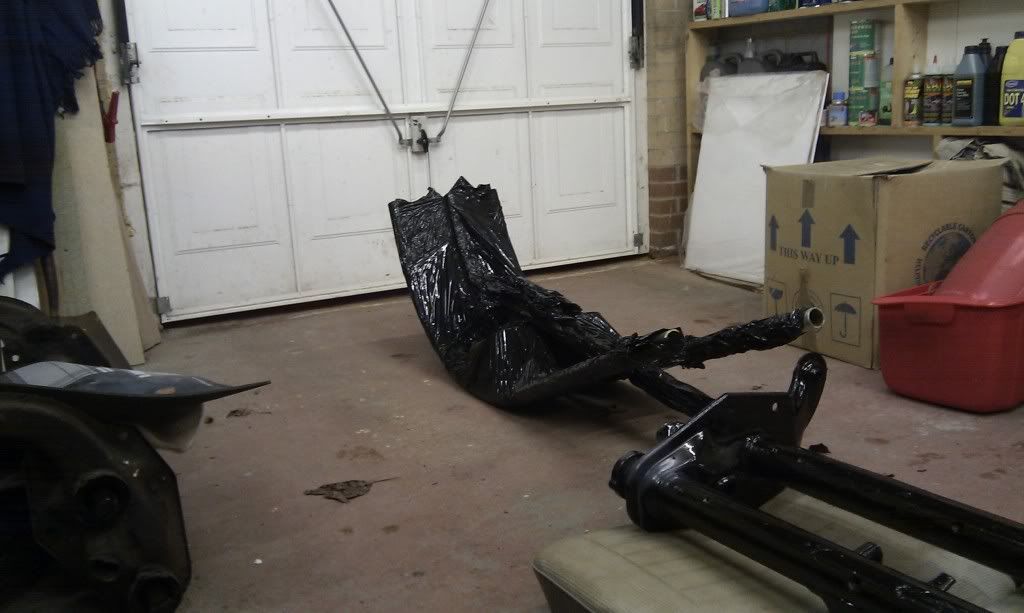
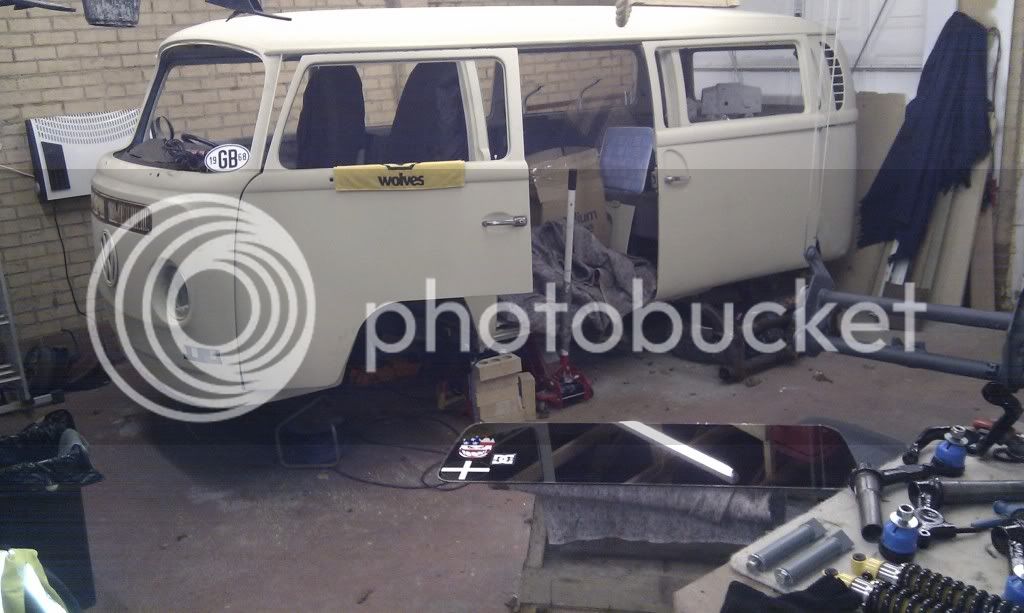
I've been busy with another project - coverting an outhouse into an office - so haven't really done much to the bus.

However, a big thanks to Jason from Dubs and Classics who came over last night to assess the next bit of welding that needs to be done.

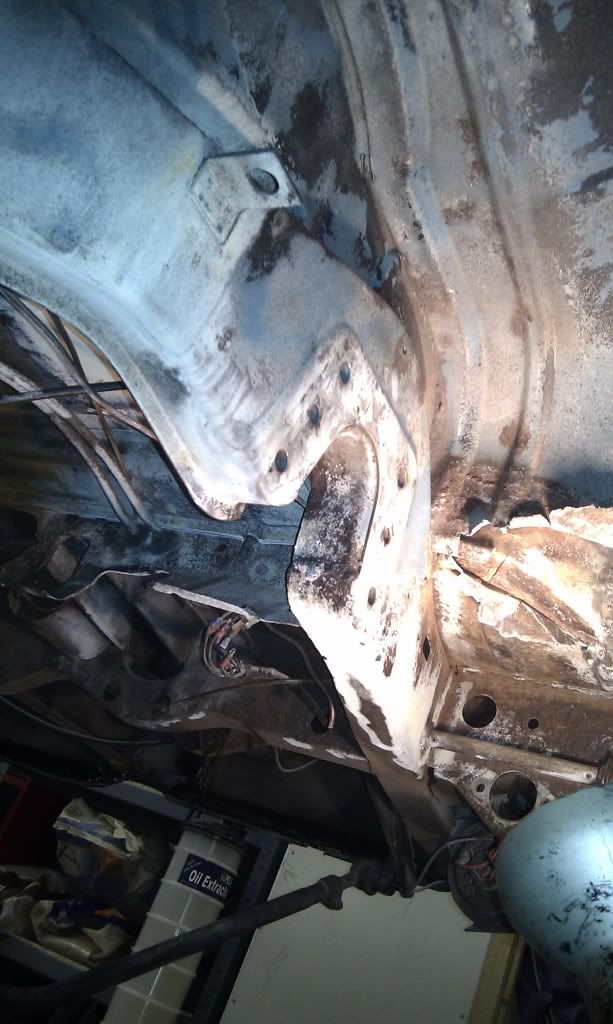
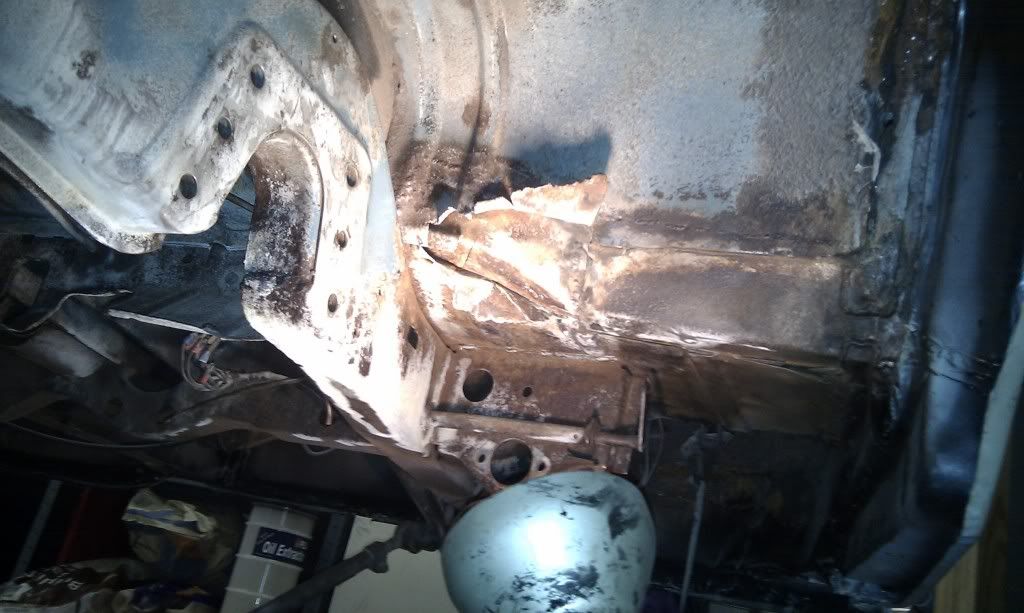
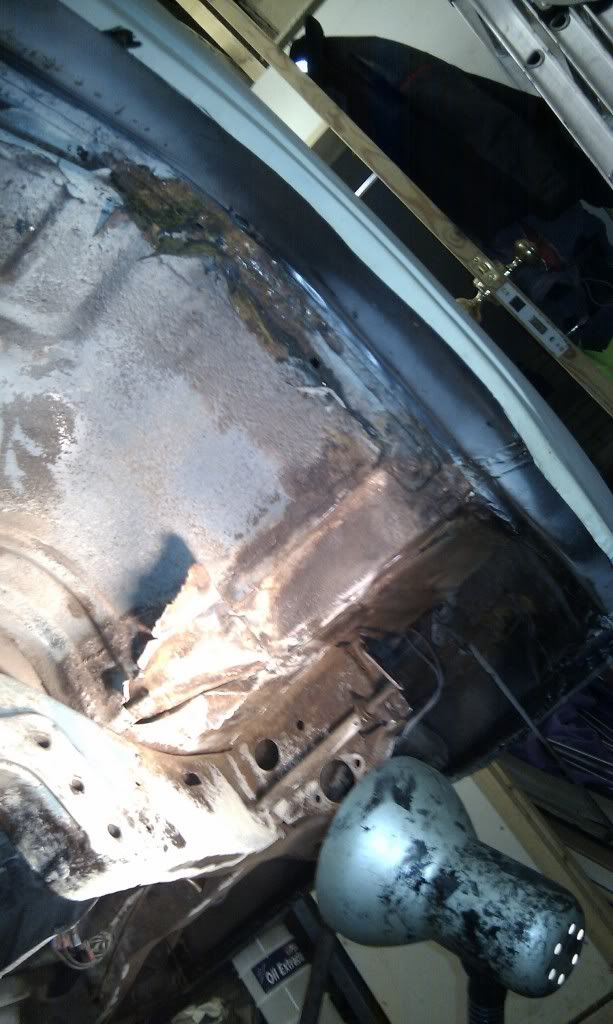
The welding was is in two parts really:

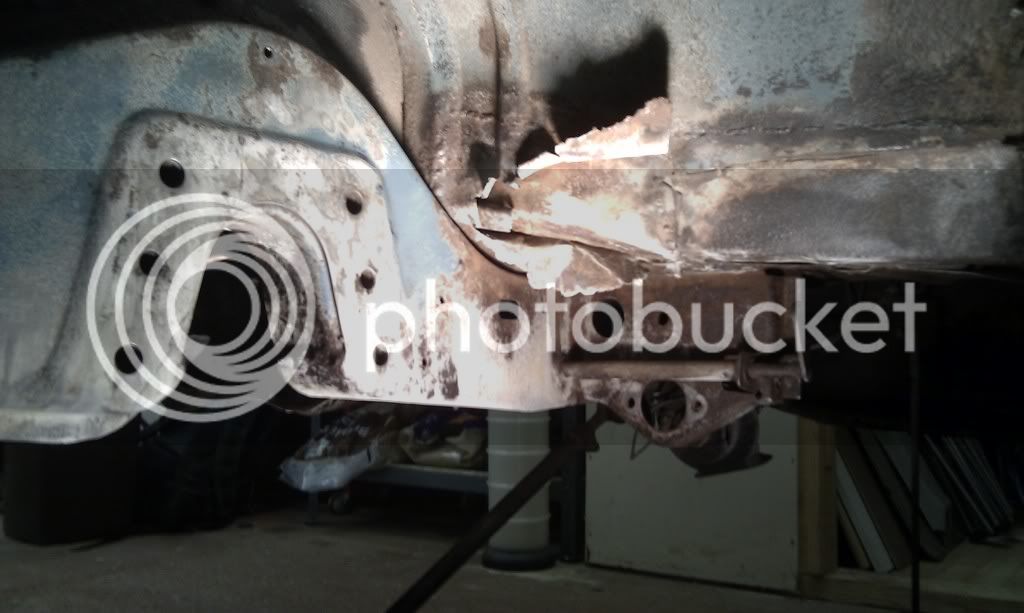
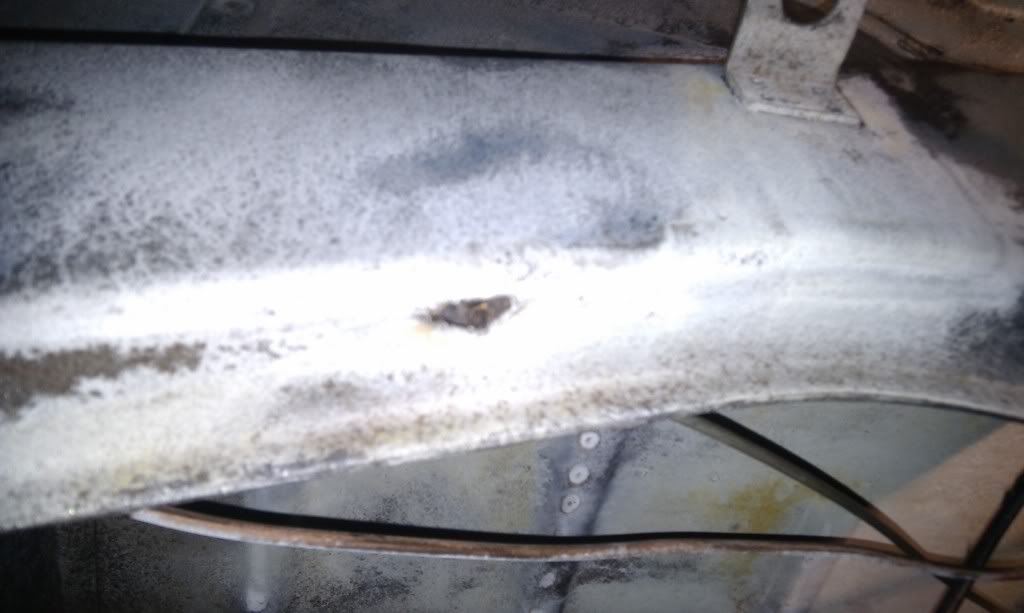
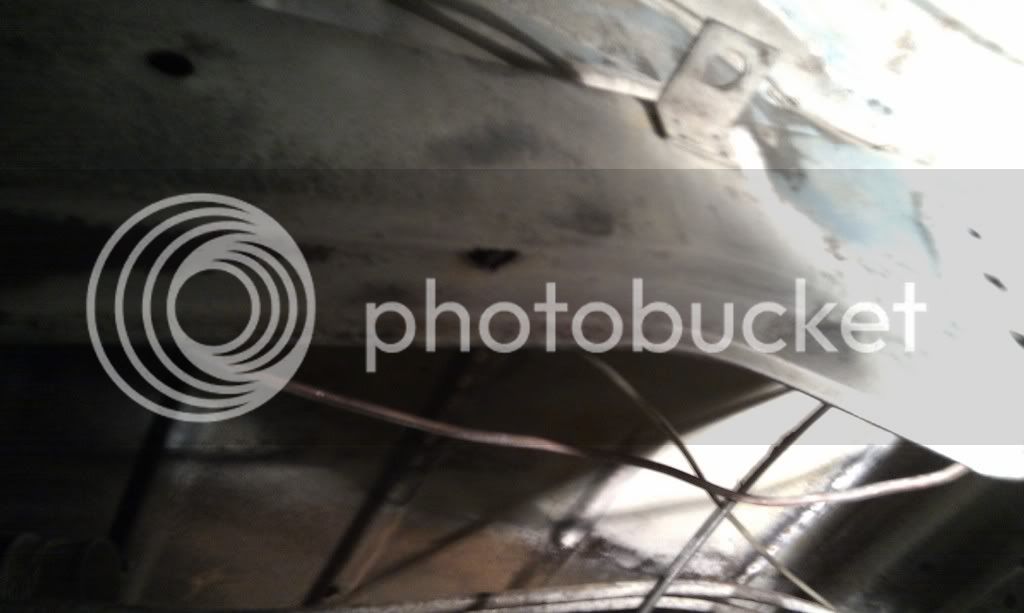
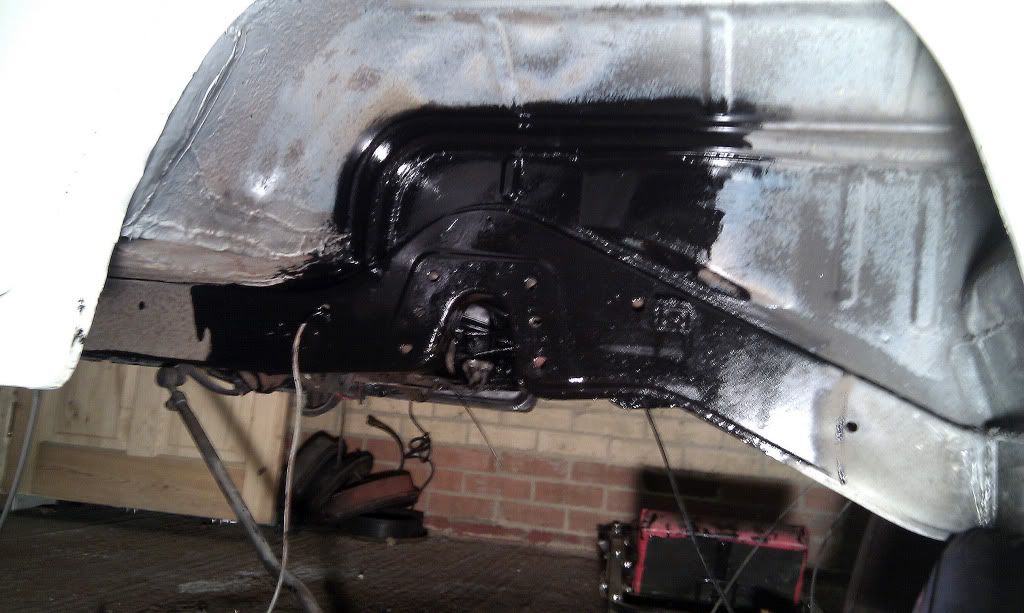
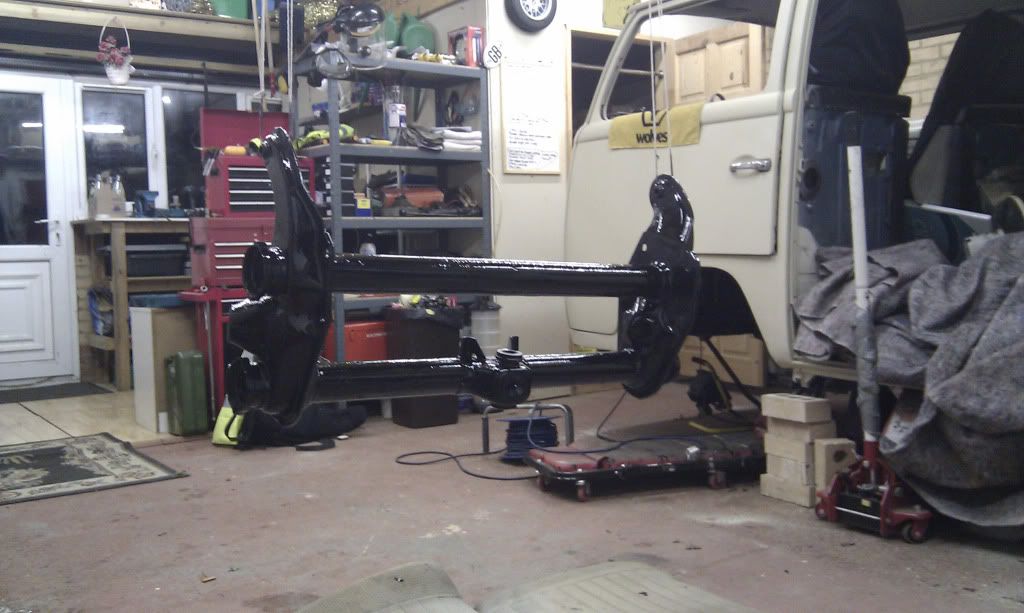
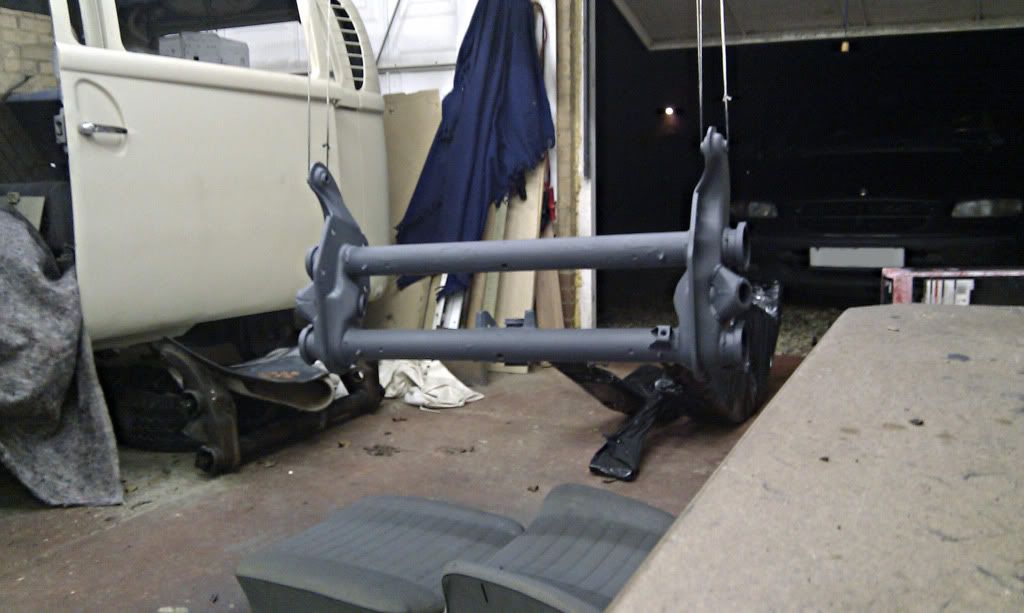
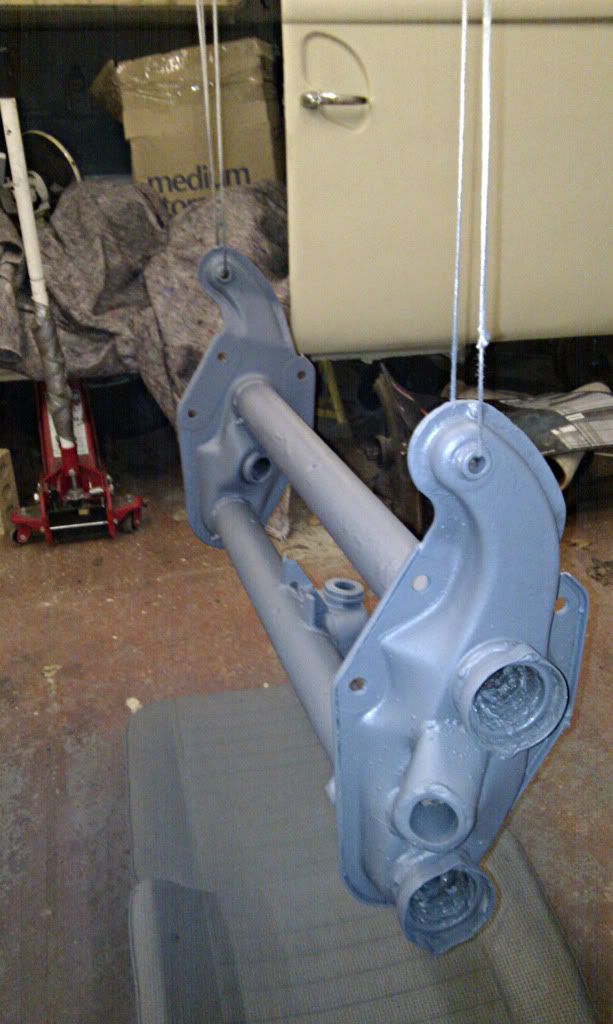
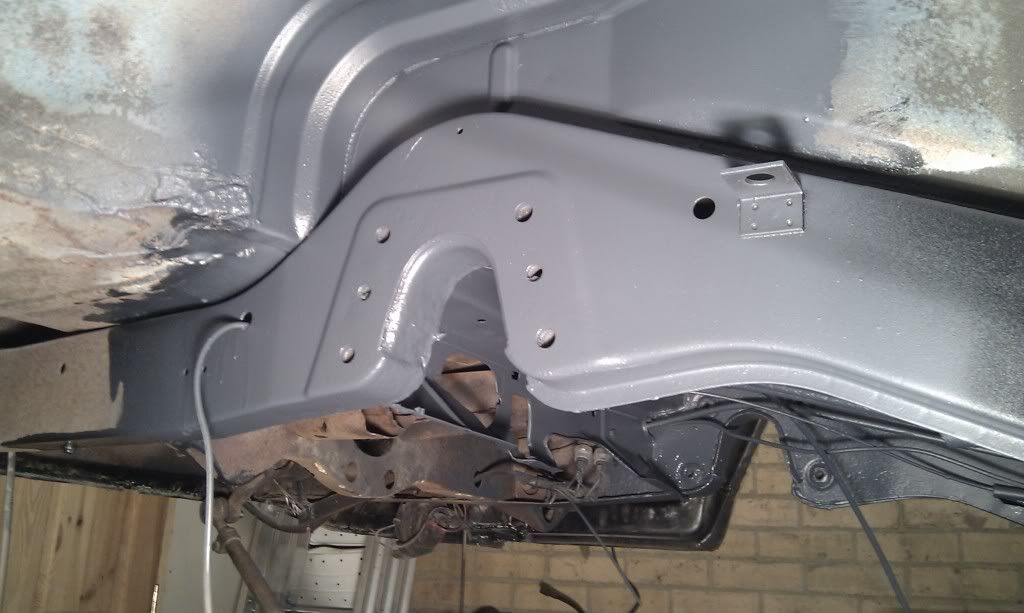
1) Some small pin-holes that were preventing me from putting the beam back on
2) OSF wheel-arch, front clip / chin, lower windscreen surround, OSF tub and OSF cab floor.[/list]

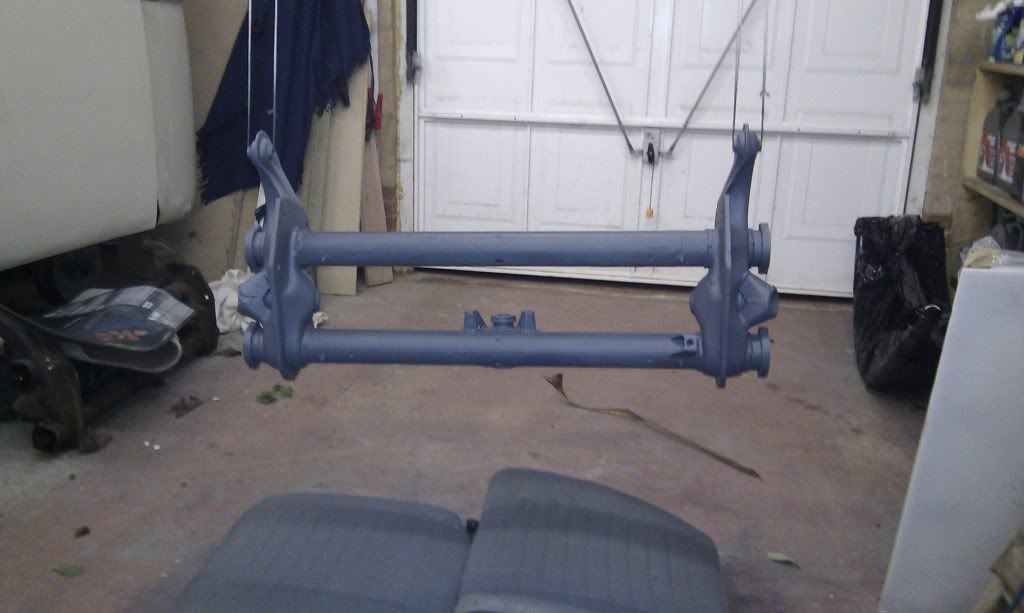
So I needed the small pin holes done before putting the beam back on which would then allow me to have a rolling chassis to get the bus to a workshop to do the second part of welding.

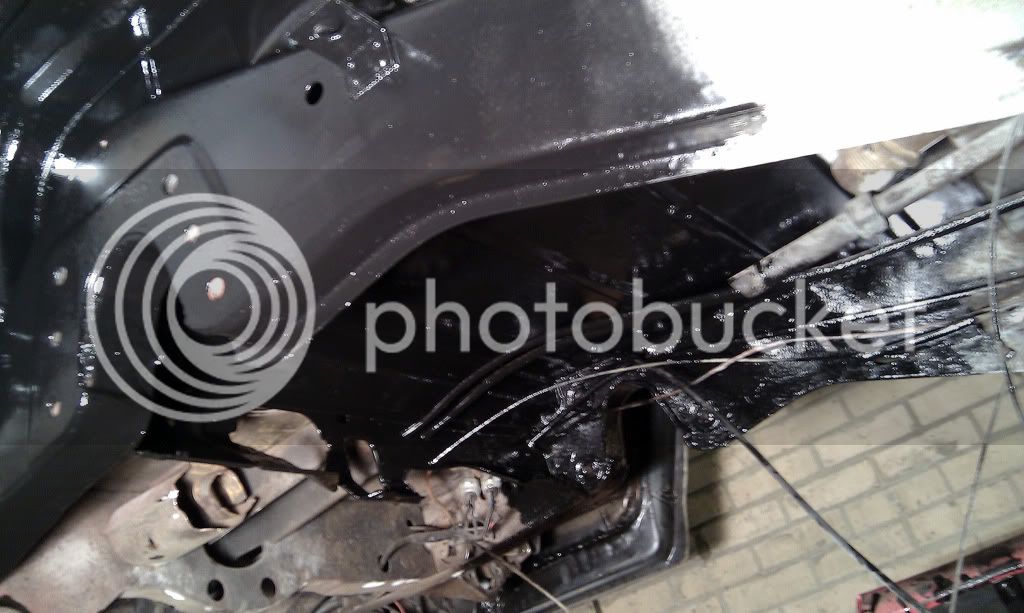
Surprisingly, Jason had his welder with him and was willing to patch up the tiny holes there and then!! Which is a massive help as now I can get on with the beam re-build.

So very grateful to Jason for coming over late last night after a long day at his workshop. Unfortunatly Jason - you will be seeing the bus for the rest of the welding in your workshop :p :p :p :p I'll get it booked in with you soon. ;) ;)

29758_105877416127421_105873916127771_46987_6505329_n.jpg


http://dubsandclassics.com/" onclick="window.open(this.href);return false;
 
Its people like Jason that help take the sting out of the project.

Good result and looking forward to the next installment ;)
 
cunning plan said:
So very grateful to Jason for coming over late last night after a long day at his workshop. Unfortunatly Jason - you will be seeing the bus for the rest of the welding in your workshop :p :p :p :p I'll get it booked in with you soon. ;) ;)

29758_105877416127421_105873916127771_46987_6505329_n.jpg


http://dubsandclassics.com/" onclick="window.open(this.href);return false;

My pleasure Craig, always happy to help a fellow dubber where I can :)
 
Bought an import beam from California from FBI VW (helpful guys) :cool:

IMAG0640.jpg


Some surface scabs, but will be shot-blasted then painted. I just haven't had a moment to work on the bus :(:
 
Started cleaning up / wire-wheeling and modifying the replacement beam ready to be painted and install the Red9 coil-over kit.

IMAG0691.jpg


The old beam :?
IMAG0692.jpg


The torsion-arms ready to be reconditioned or replaced to get ones with new ball-joints etc.
IMAG0693.jpg


Free-ing up and cleaning the greese-nipples.
IMAG0694.jpg


IMAG0695.jpg


IMAG0696.jpg


Off come the bump-stops.
IMAG0697.jpg
 
IMAG0703.jpg


Sent the old trailing arms and spindles off to Transporterhaus to exchange for a nice shiney new set of dropped-spindles. Not sure when they will arrive though. Excited for dropped-spindles - proper suspension!

I met up with Andewilson at the weekend who kindly dropped off his chassis rollers for me to borrow on the way to Nelly's to get his bus painted. THANK YOU ANDE!! :mrgreen:

ChassisRollers.jpg


So, that has encouraged me to get shifting!!

EDIT: I forgot to upload these pictures of initially cleaning up the chassis:

FrontChassisRepairs1.jpg


FrontChassisRepairs2.jpg


FrontChassisRepairs3.jpg


FrontChassisRepairs5.jpg


FrontChassisRepairs6.jpg


FrontChassisRepairs7.jpg


IMAG0710.jpg


After plenty of wire-wheeling, two coats of P15 are now on the chassis section that I won't be able to get to once the beam is back on - and I need the beam on to use the rollers. I am going to put some stone chip and ankor wax ontop of that, then the beam!! It will probably be 5cm thicker because of all the paint, so the beam won't fit :lol: :shock: :?

IMAG0709.jpg


The beam is also getting x2 coats of P15, stone chip and ankor wax.
 
Just been looking at your build, the work looks great.
Love your dash so much, looks superb!
 
dubs and classics said:
Looking good Craig 8)

That lot should certainly keep the rust at bay for a good few years to come! ;)

Cheers Jason, once I have the new spindles, I will know where I am with money and I can finally book it in at your shop for the rest of the welding. :mrgreen:

krusty said:
Just been looking at your build, the work looks great.
Love your dash so much, looks superb!

Cheers Krusty. That is a nice addition that I insisted on doing, I am going to flush-mount gauges to it, then work out some kind of deflector to stop the gauge lights reflecting on the windscreen. I also have a white monster tach that will sit on top of the dash. The only thing I will miss from the traditional gauges is the typography of the numbers, very german and of the 'era', but I never really liked the plastic used for the 'pod'. :|
 
You are etching the bare metal before putting on the POR15 or was there some surface rust??

If not, there will be a chance that it will start to peel off :(
 
Hmmm. This is the process I have been using: I'm wire-wheeling, bathing in 'Metal Ready', then x2 coats of P15, then stone chip, then ankor wax.

Frosts said:
Metal Ready is the ultimate in the relentless fight against rust. It not only dissolves away the rust it also etch primes the clean surface and leaves a Zinc Phosphate coating to prevent further rusting.
This amazing liquid is non-toxic, non-flammable and non-corrosive. It insures perfect paint adhesion and gives better welding conductivity.

8229.jpg


It should be solid! :lol: 8)
 
That's OK then - Metal ready is basically an etching solution that eats into the metal so that the POR15 has something to grab onto!

Phew :shock: You had me worried for a moment ;)
 
Did a bit more tonight -

IMAG0711.jpg


x2 coats on P15 on the beam and hung it up ready for spraying with stone-chip.

(and no the bus isn't held up with bricks :roll: :lol: :shock: - that's just extra to the x6 axle stands and x2 trolley jacks :p )
 
cunning plan said:
Haha! And me!

Nice to know you have my back though good buddy :mrgreen: :party0047:

Your welcome dude and the beam looks too good to fit underneath now :mrgreen:
 
I couldn't get much done tonight as I am still waiting on parts to arrive.

Gave the beam x3 coats of stone-chip. I kind of like the industrial grey finish to it. I was going to also put a few coats on the beam chassis section, but as it was so weirdly warm but the metal on the bus was cold, condensation was dripping from the bus :shock: Weird!! Although, it was nice to work in the garage without 50 layers on!

IMAG0717.jpg


IMAG0718.jpg


I have filled a bucket full of vinegar to clean old bolts and washers. Looked at a couple of bolts that i had left in there for a while and I was pretty amazed how clean they come up :mrgreen:

IMAG0719.jpg


The new torsion arm seals arrived quickly from Camper and Commercial though (free delivery for over £25 btw) 8)

IMAG0720.jpg
 
Beam chassis section now has x3 coats of stone-chip on top of the P15.

IMAG0721.jpg


IMAG0722.jpg


IMAG0724.jpg


The beam is now all ready to install the new needle bearings in and the T-Haus dropped spindles when they arrive. :mrgreen:

IMAG0726.jpg


A shot of the dash, to try and keep my motivation up :?

dash-.jpg
 
cant wait to see your dash all finished, its looking great.
This project is giving me lots of inspiration.
 
Cheers guys.

Wish it was a shiney as your SiKa Krusty :)

___

Some real parts have arrived :mrgreen:

IMAG0727.jpg


Thanks Transporterhaus! Excited to get it all together - it looks great 8)

So, this suspension will be a combination of two lowering kits. Specification should be something like this:

T-Haus Dropped Spindles -3.5"
Stock beam
Stock leaves
(R9) Spax adjustable Coil-overs
(R9) Bump-stops

Interesting to see how it handles! :shock: :lol:

I have to wait for the needle bearings to arrive first though before I can start installing it all.

When I finished un-packing everything and realised I had to wait for parts, I decided to clean up the rear hatch window (as you would), so I can start playing with some stickers :mrgreen:

IMAG0730.jpg


Current progress 'over-view' picture..

IMAG0732.jpg


I think I will start restoring the doors whilst I am waiting too. Do all the locks, mechanisms and perhaps rubber.
 

Latest posts

Top