First attempt at Crossover Resto

Early Bay Forum

Help Support Early Bay Forum:

This site may earn a commission from merchant affiliate links, including eBay, Amazon, and others.
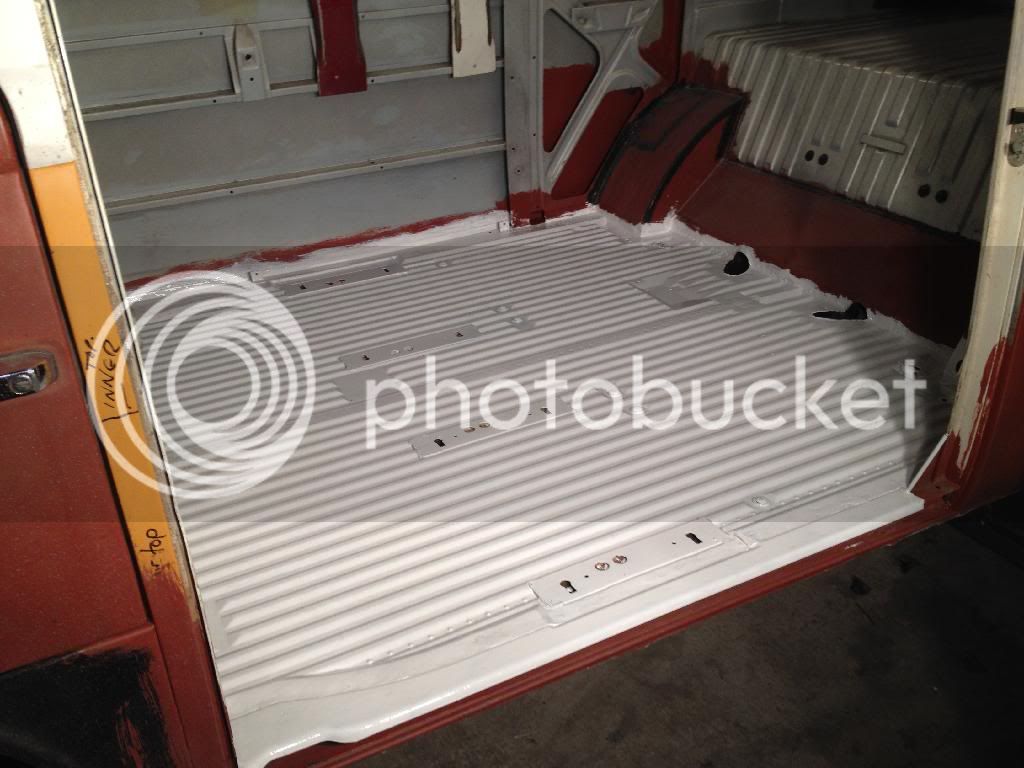
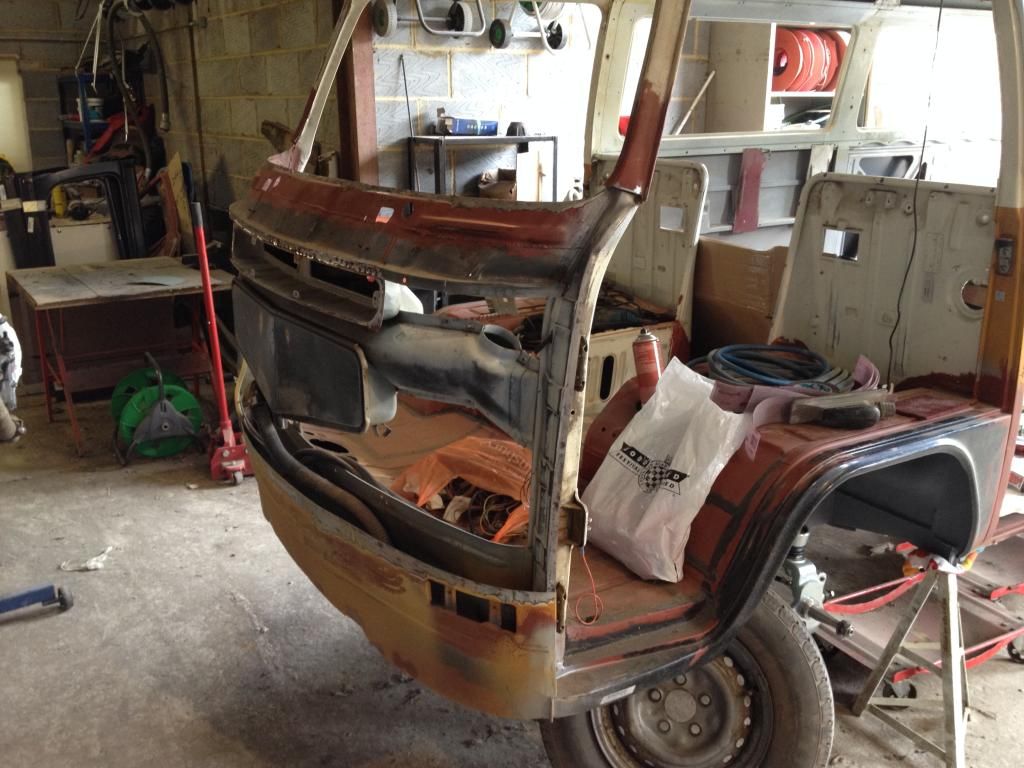
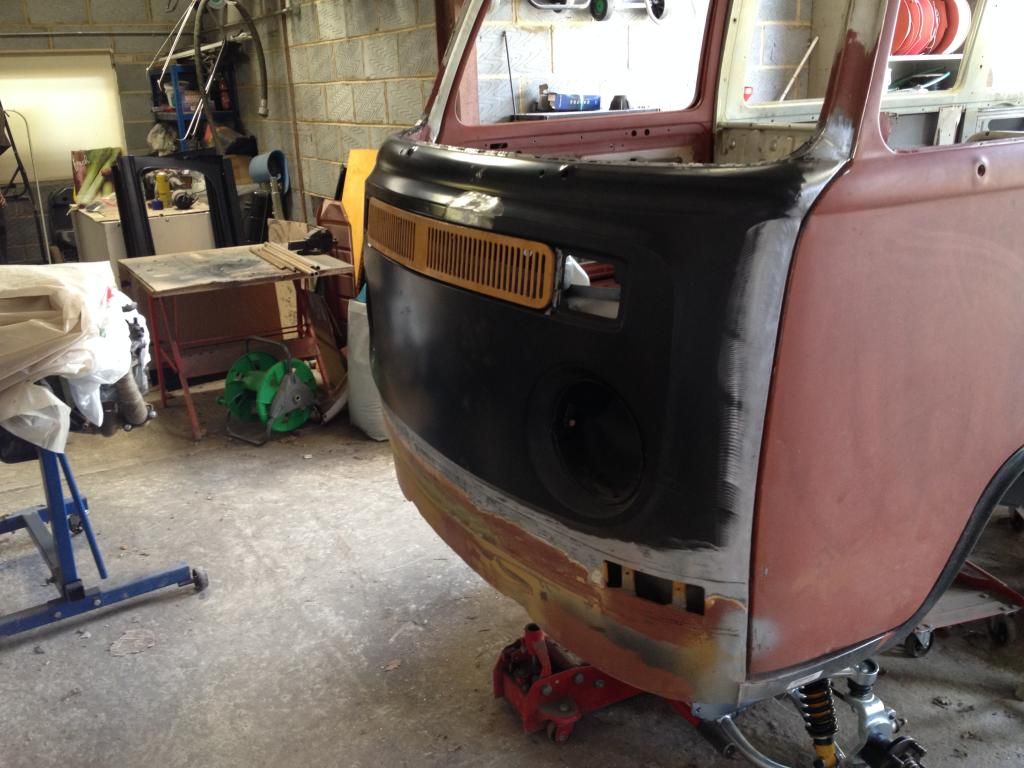
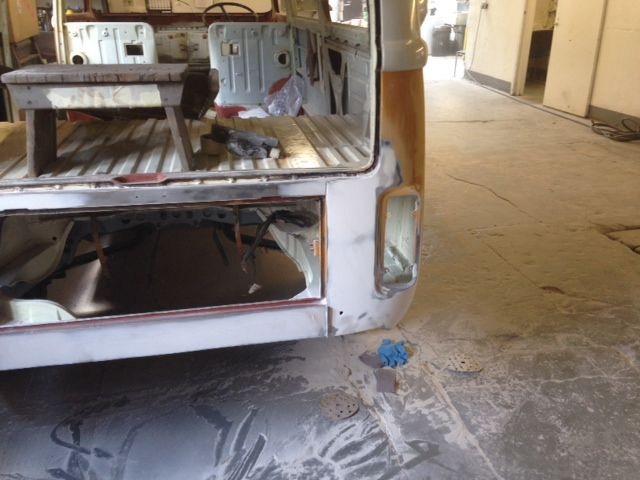
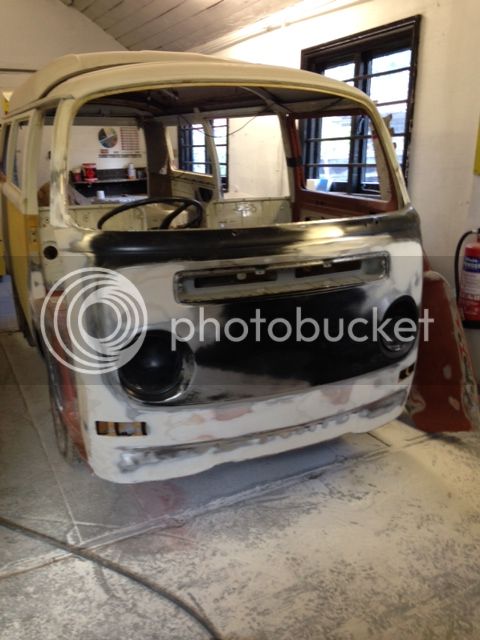
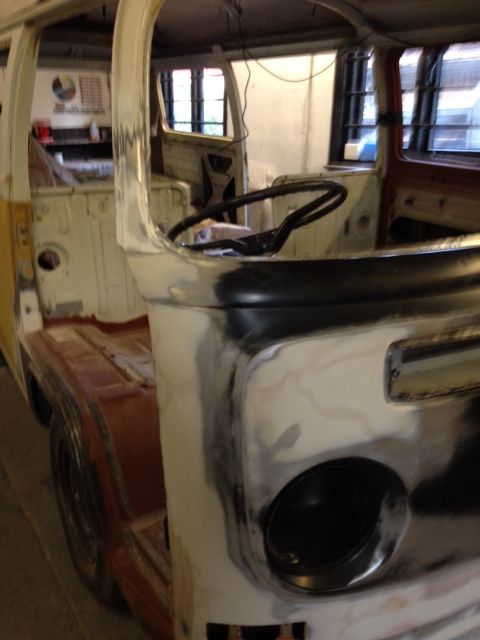
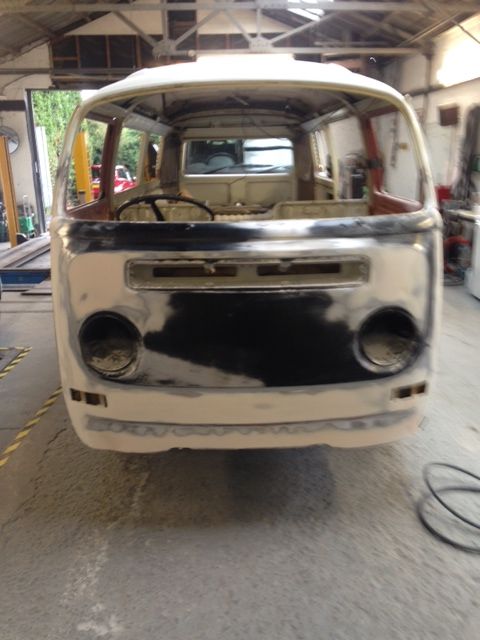
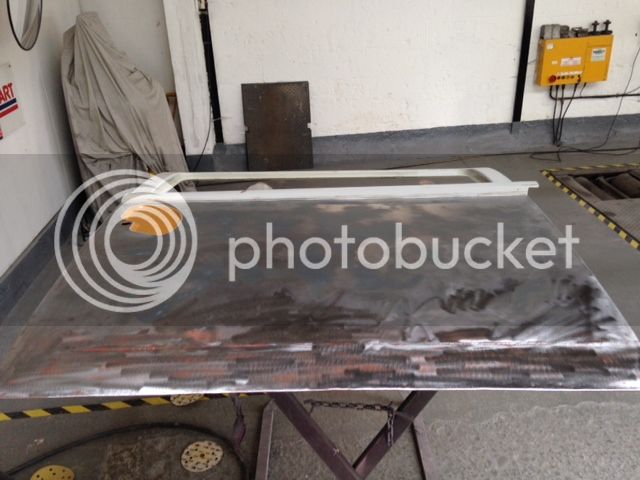
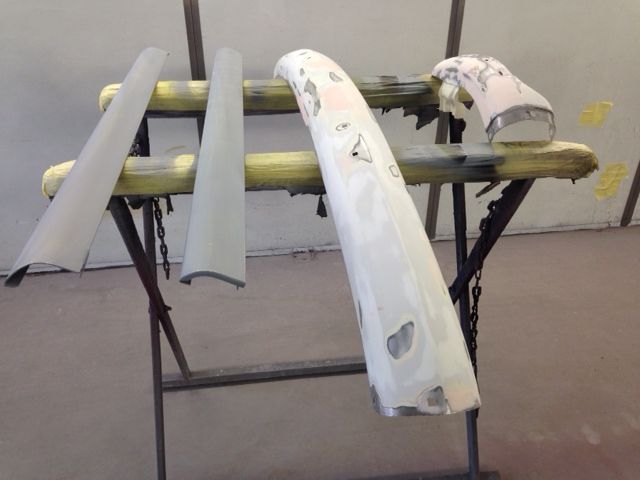
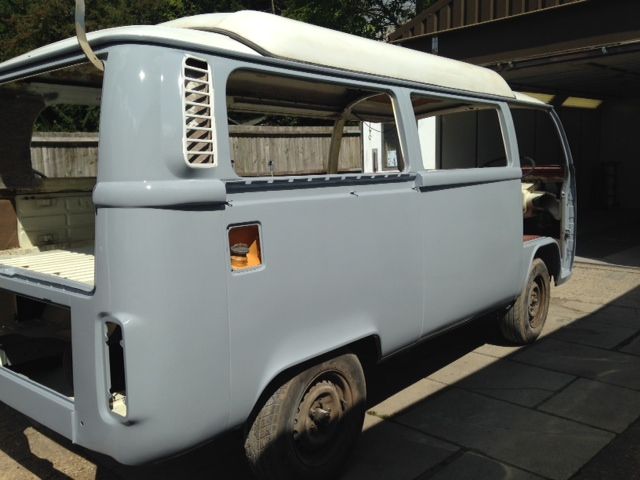
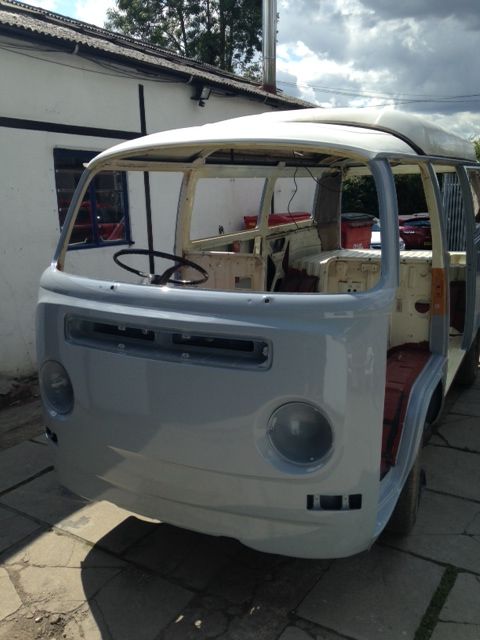
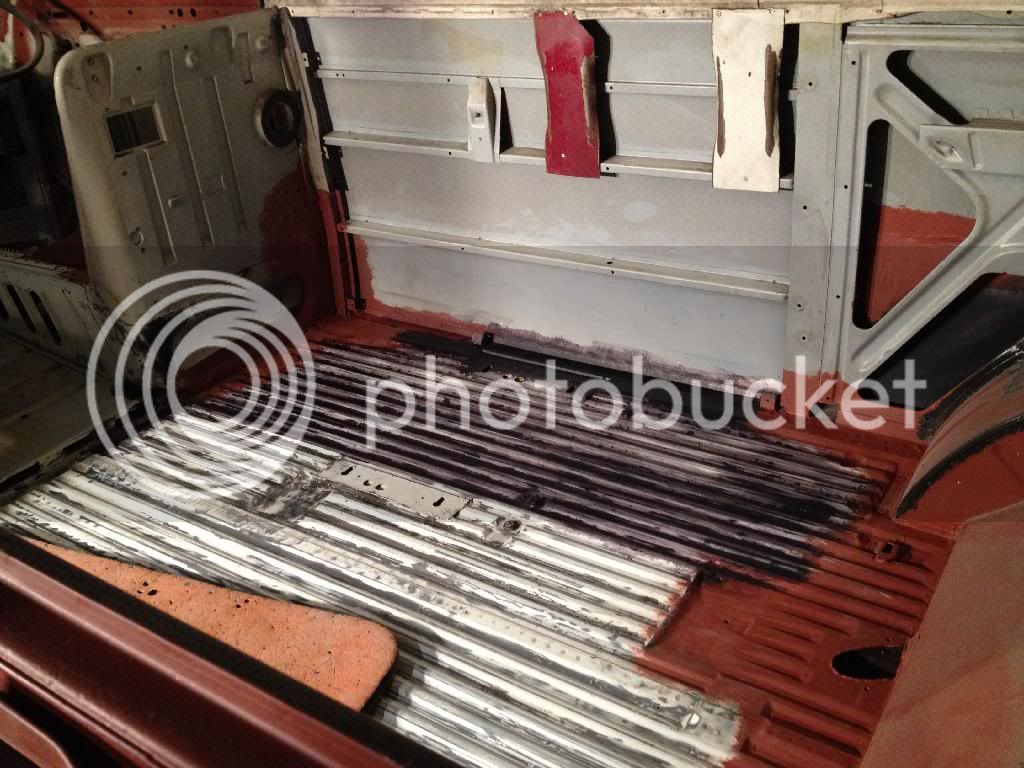
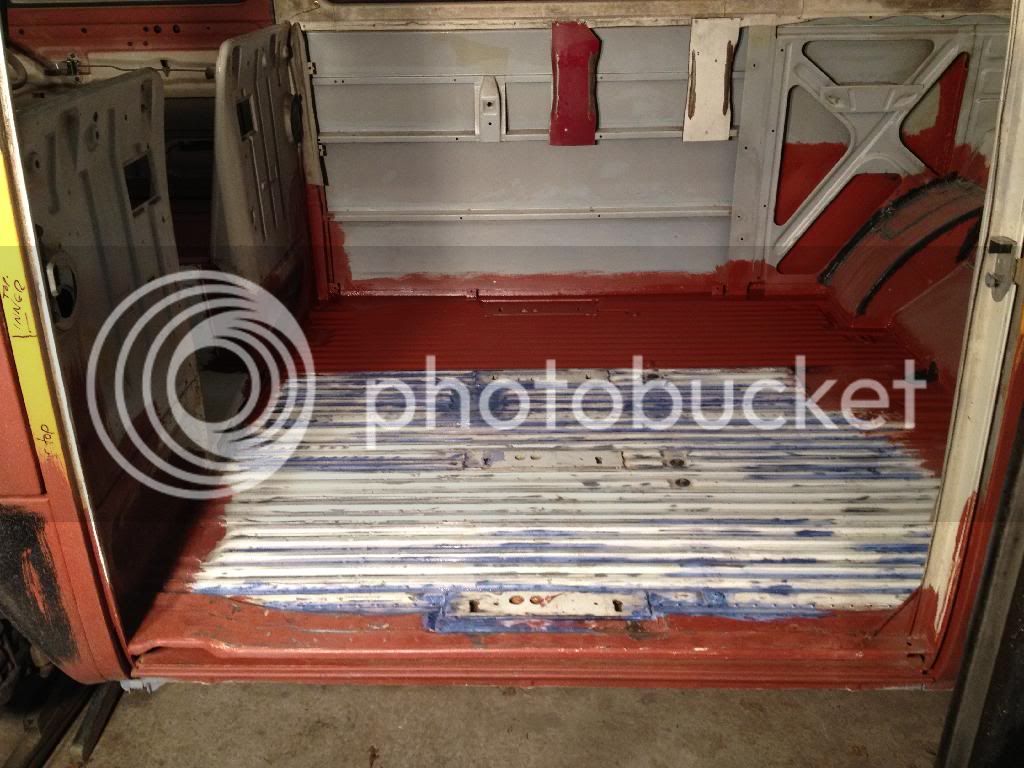
Some more progress this weekend, Rubbed down the scabby bits of the cargo floor, treated pitted bits with converter and then a lick of zinc primer. more or less half done, will do the rest next week.
4AF24ED1-A40D-4F1A-8831-30F0CA683284_zpslqcz3jqq.jpg

E65976AE-B735-4178-979C-8AC3F8D27370_zpseb3nruqt.jpg

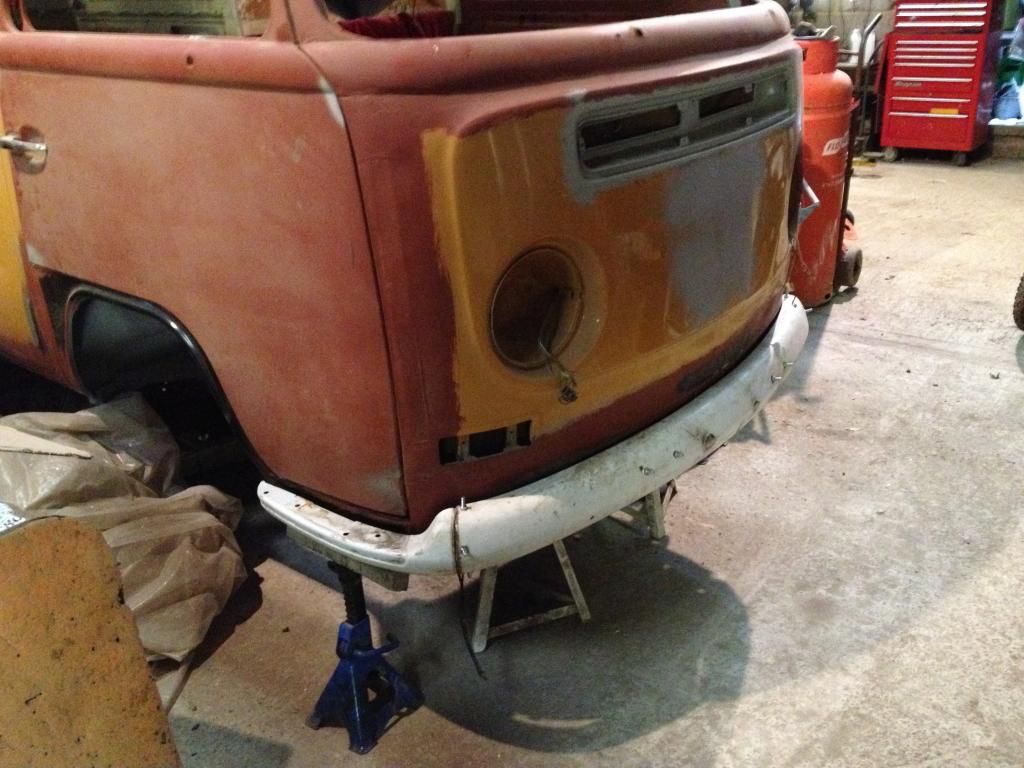
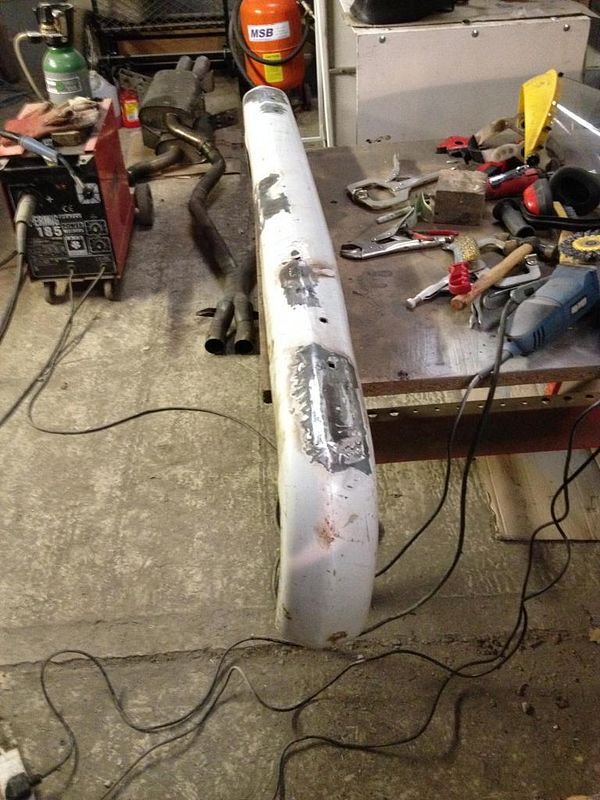
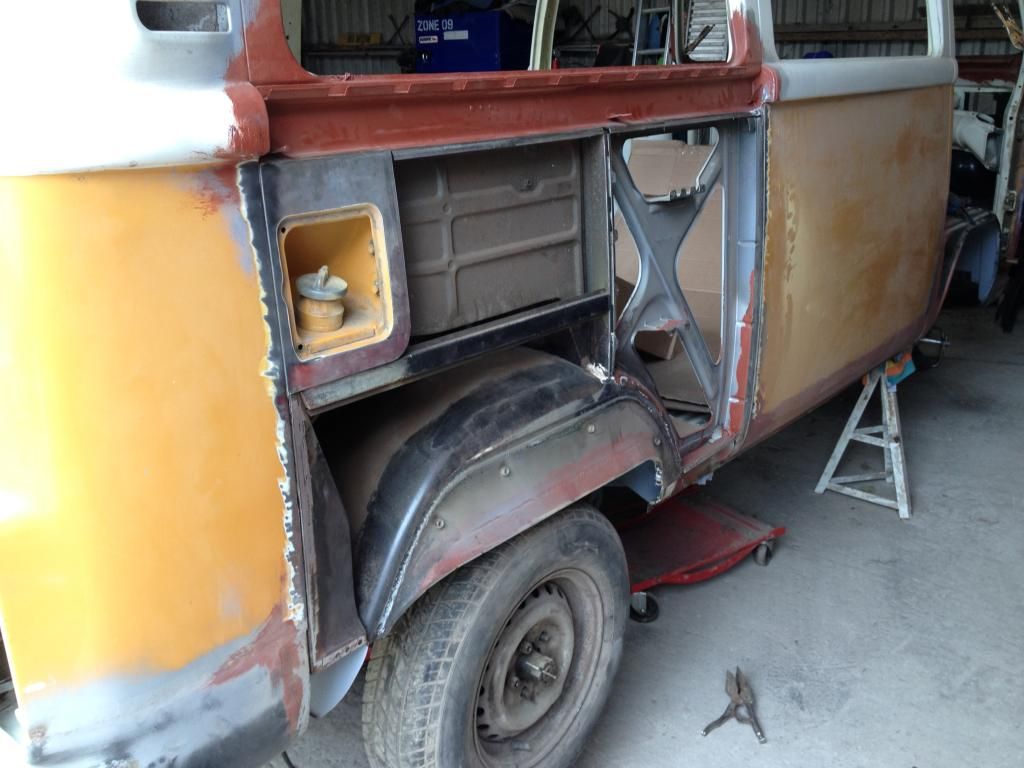
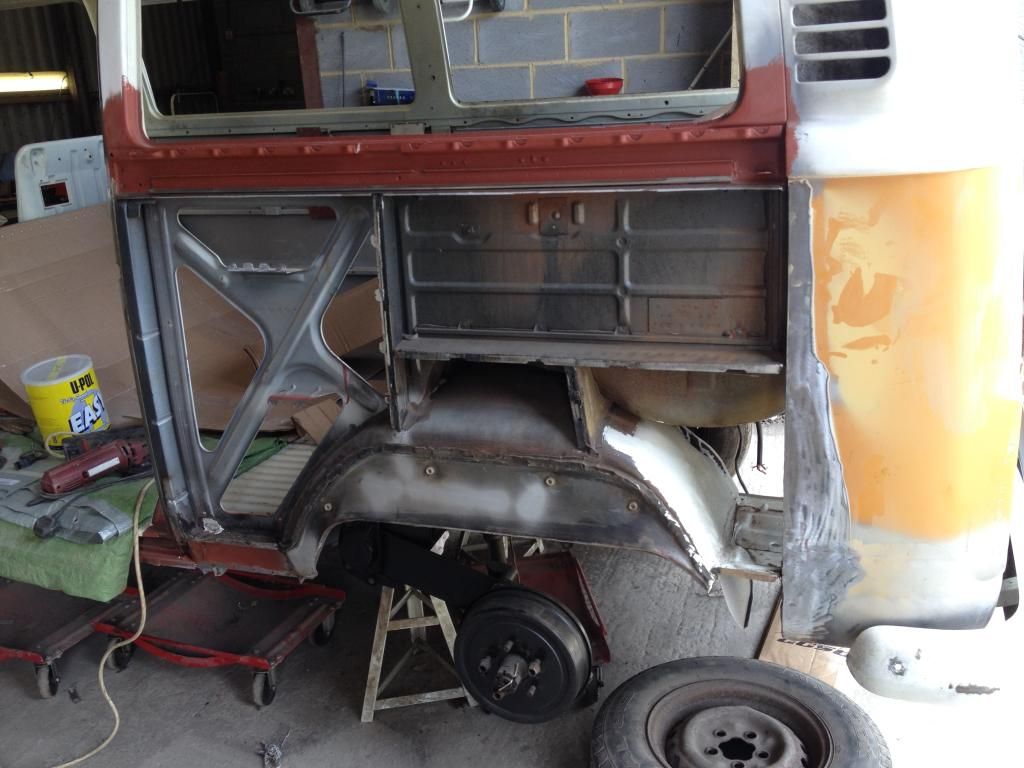
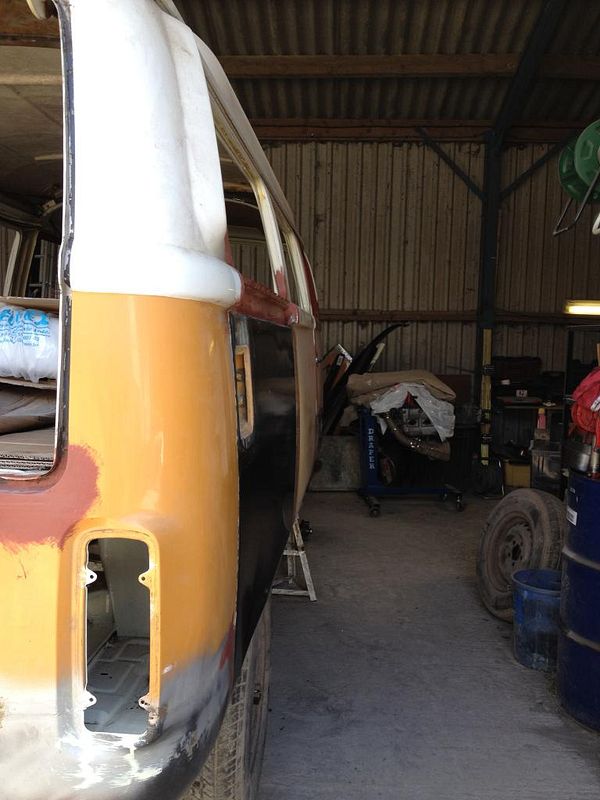
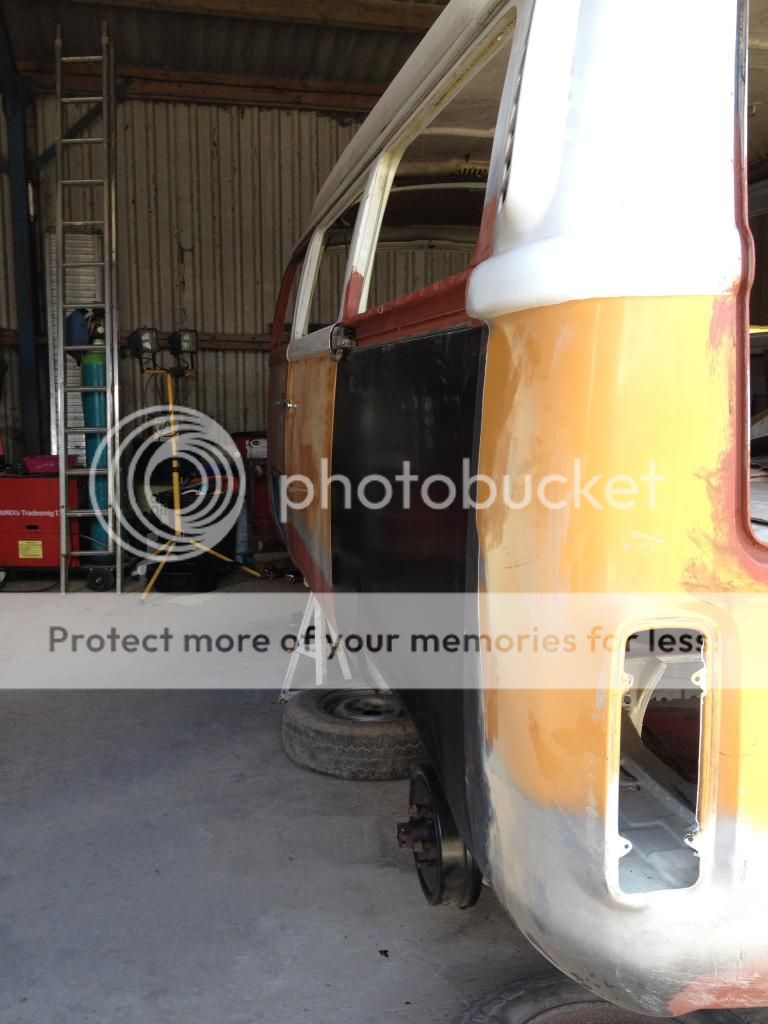
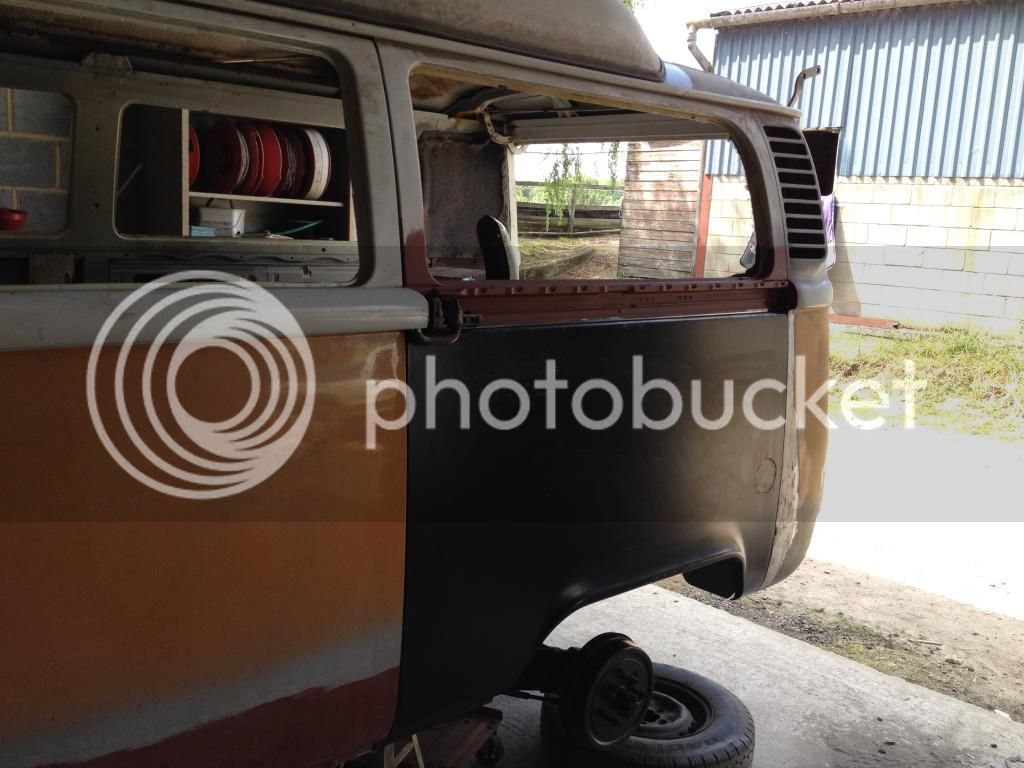
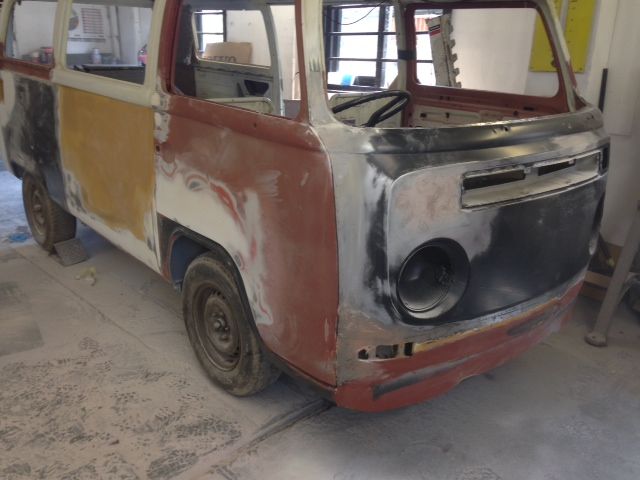
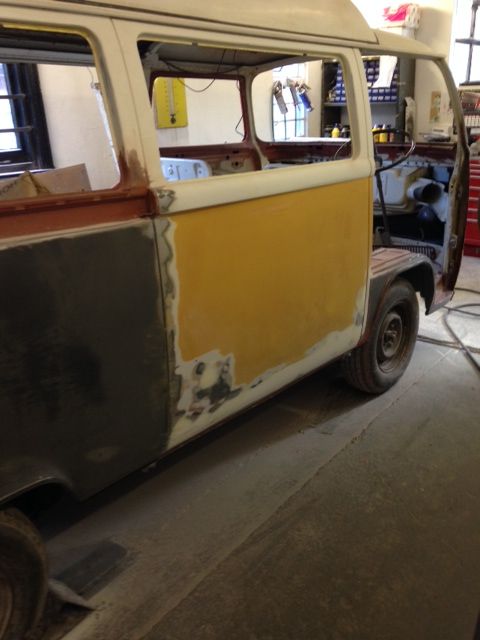
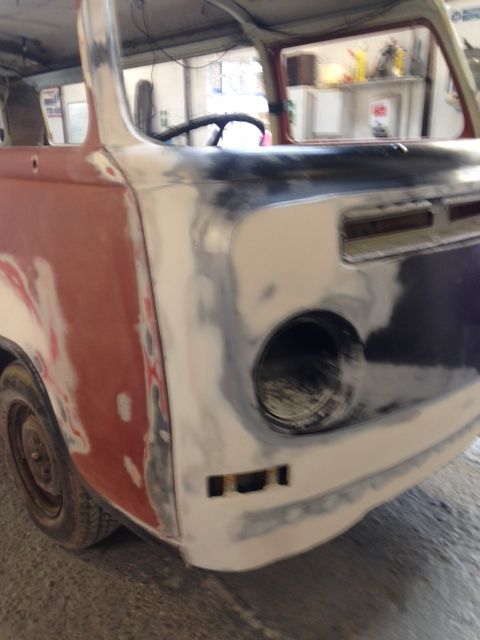
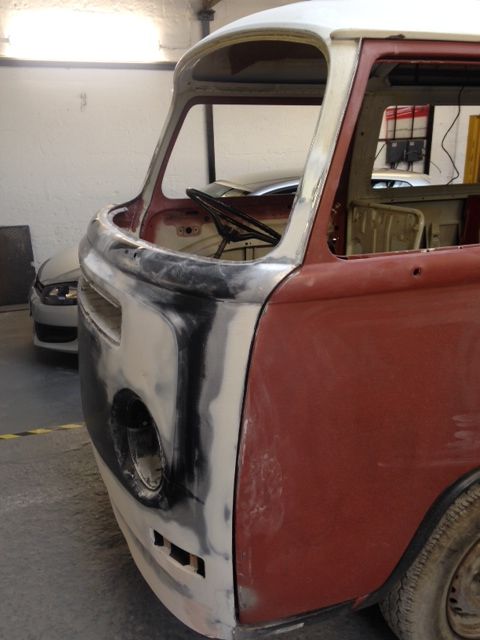
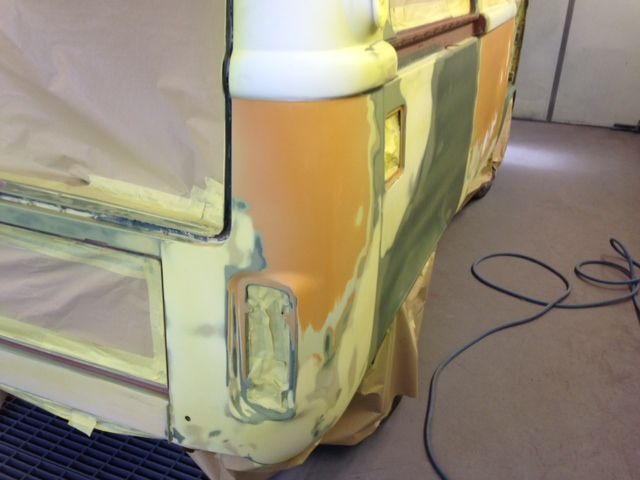
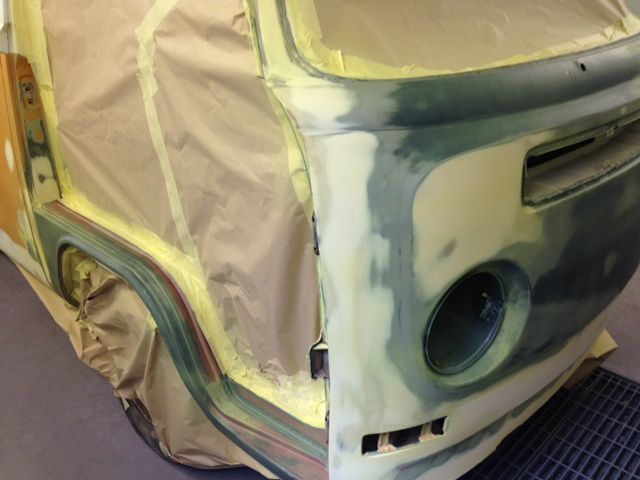
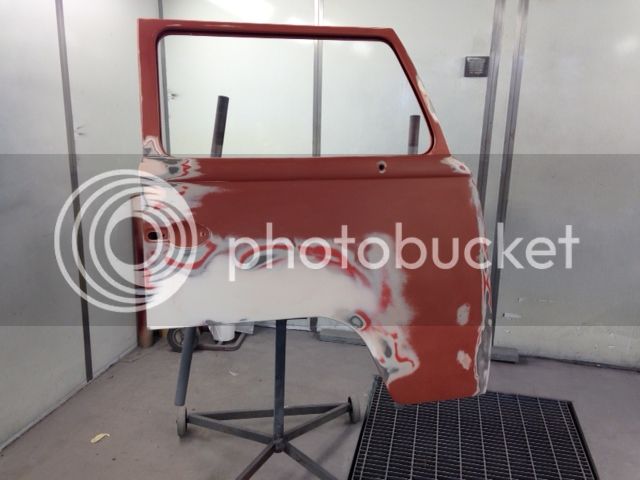
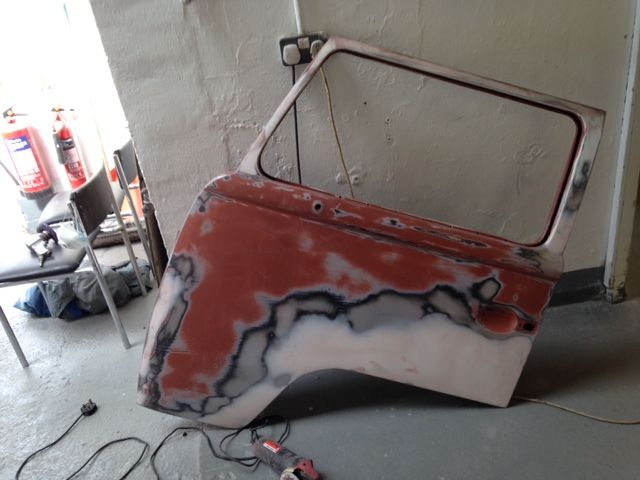
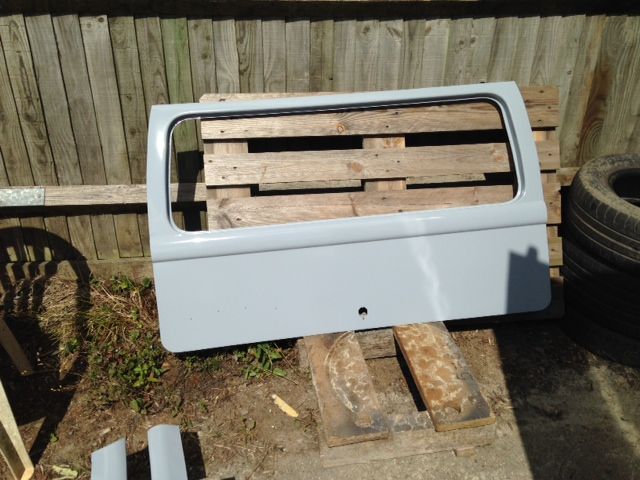
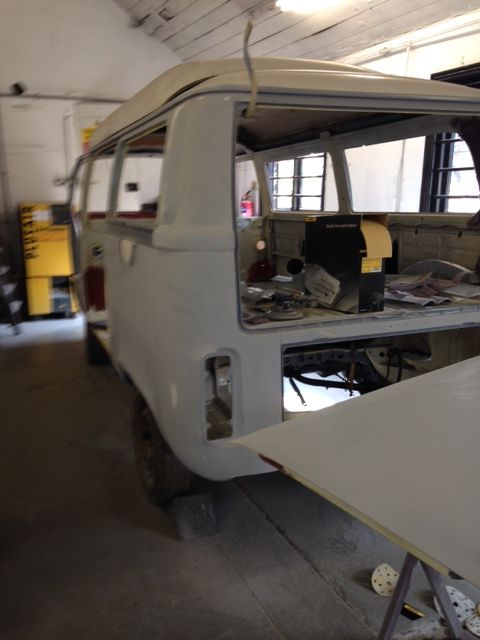
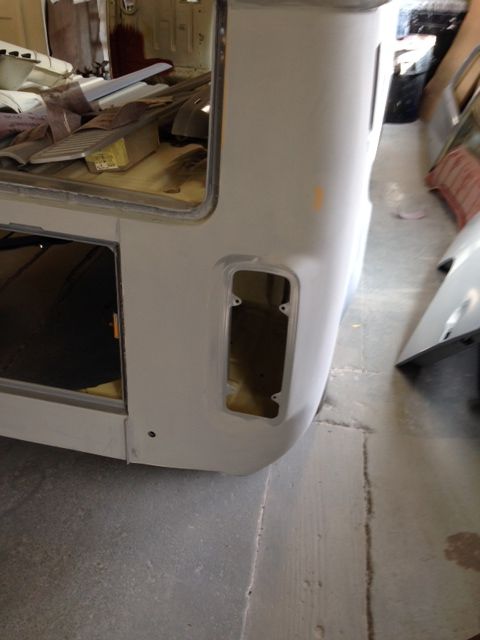
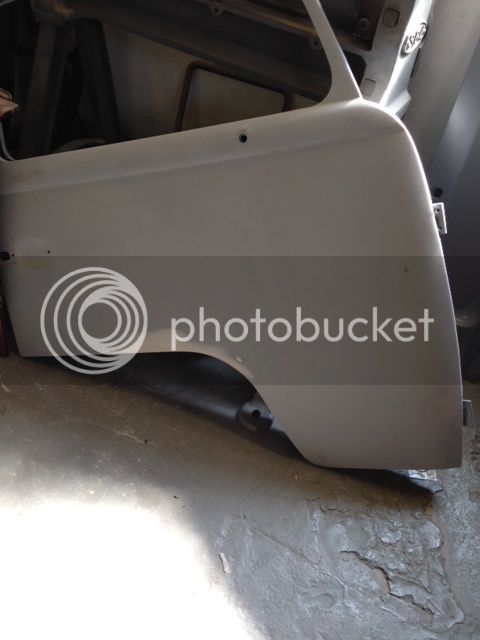
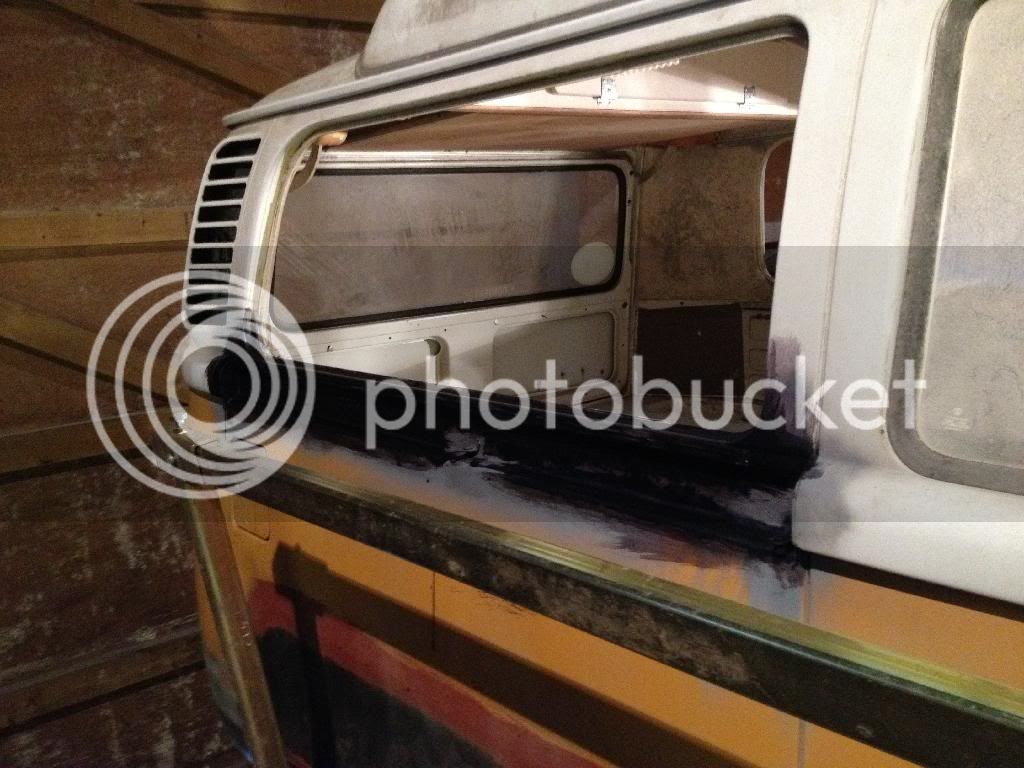
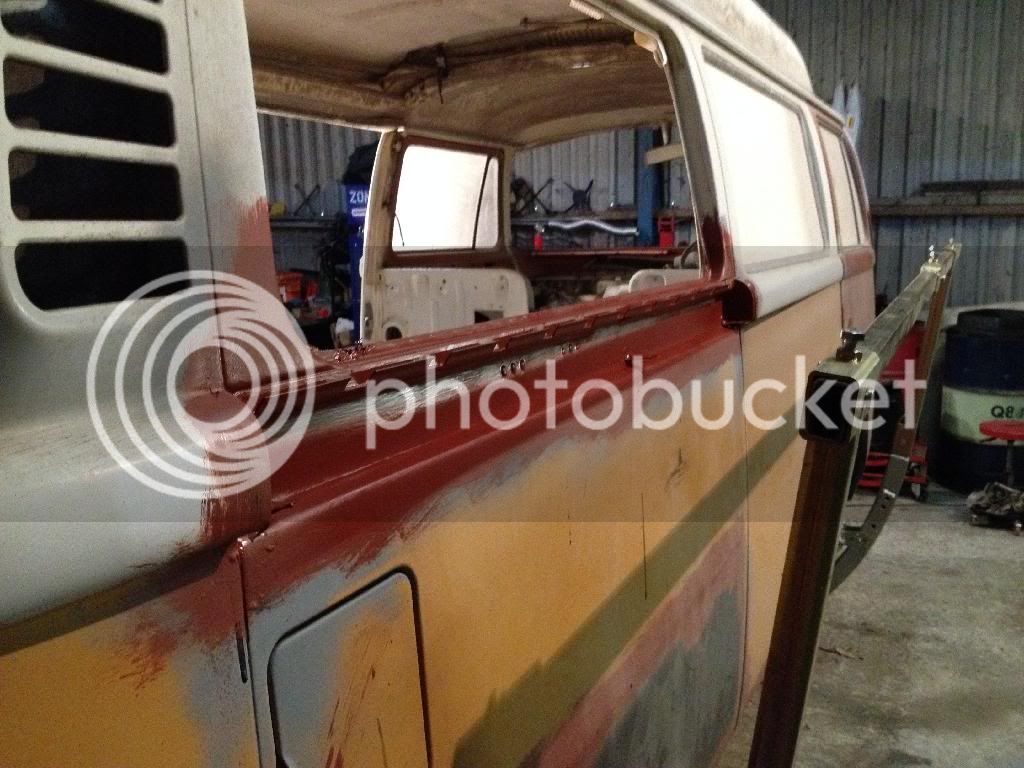
Had to do the same to the offside rear panel, I replaced the section that grabs the cover a while ago but it wasn't looking too good, so a clean up and paint again.
49E025FD-85EE-49F2-80B1-BE91086AB178_zpsxwqvxrls.jpg

EF88A9FA-13D6-421A-8FE4-2760E0C1445E_zpsdqkglf8b.jpg

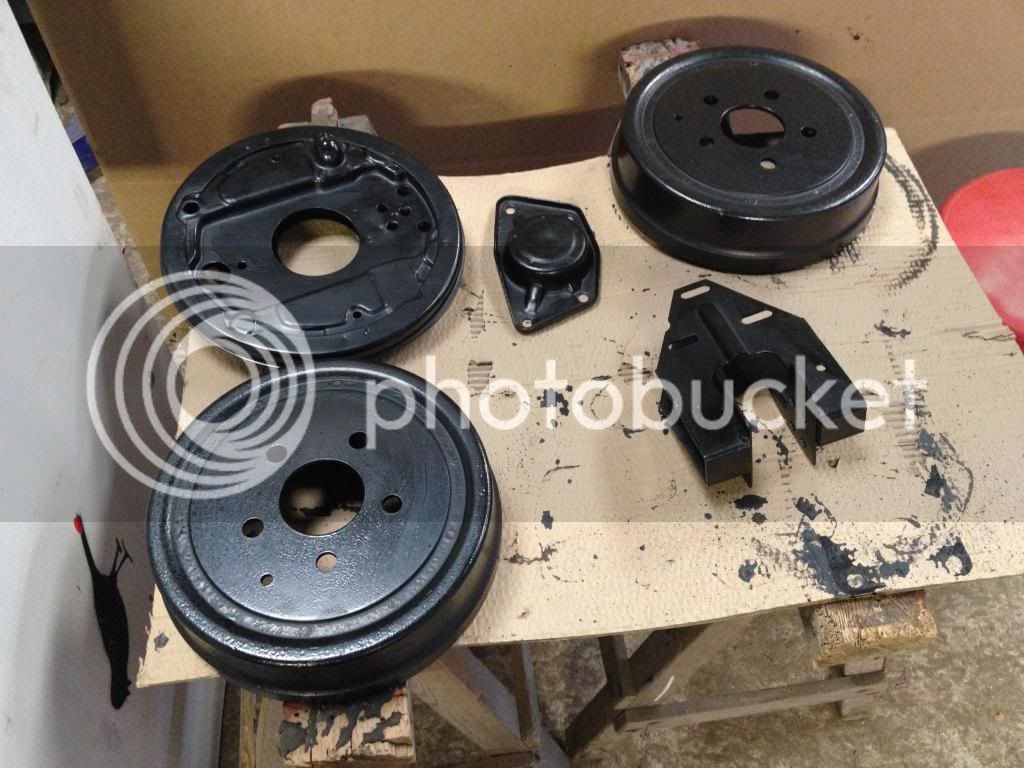
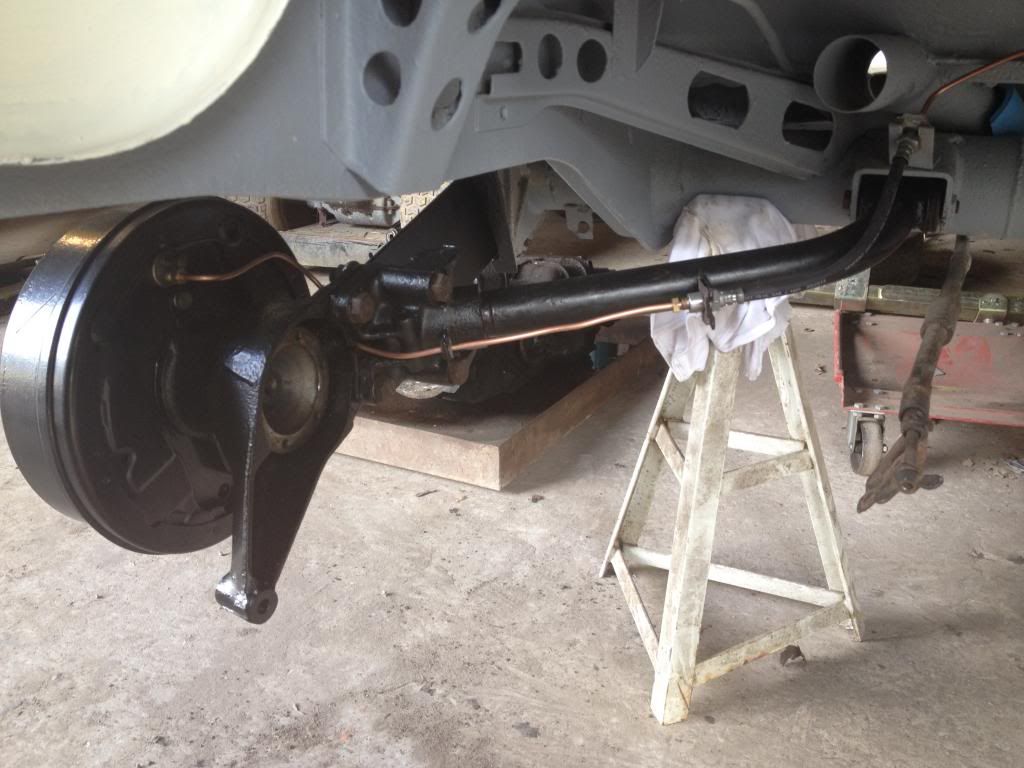
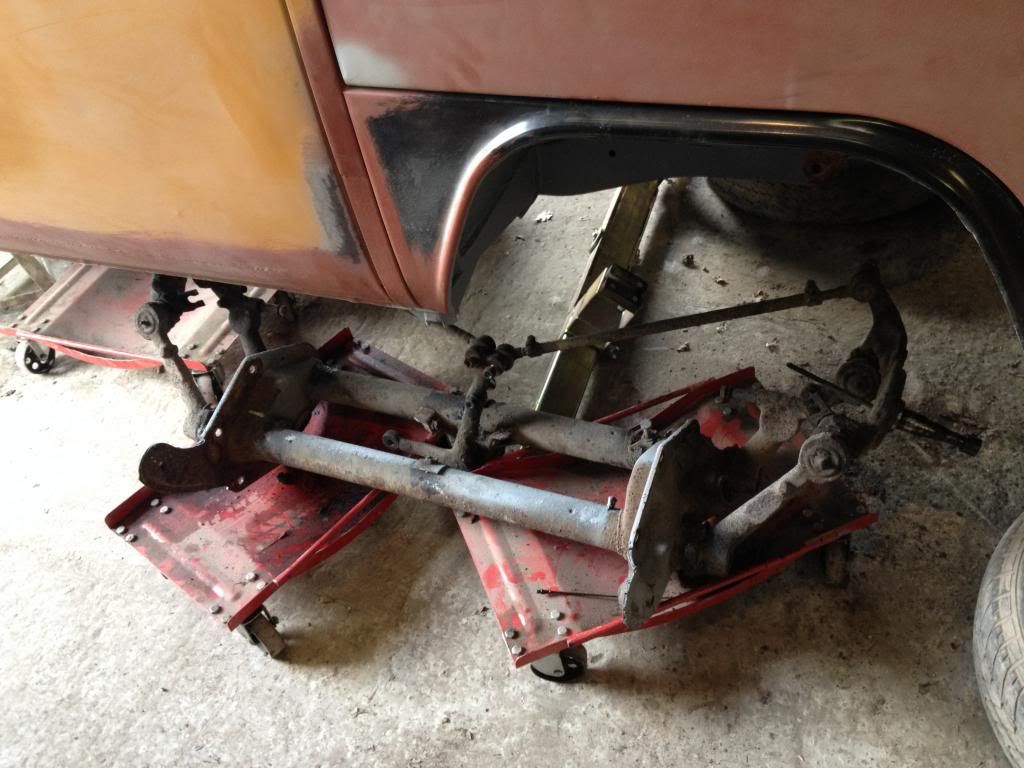
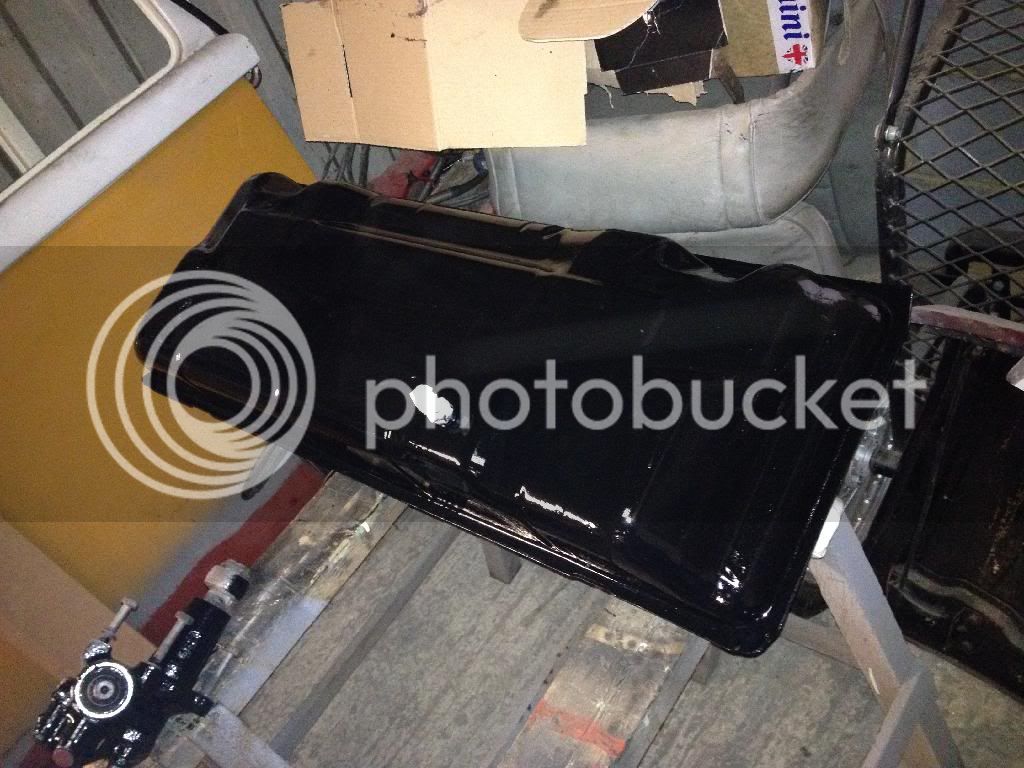
Painted the fuel tank and steering box
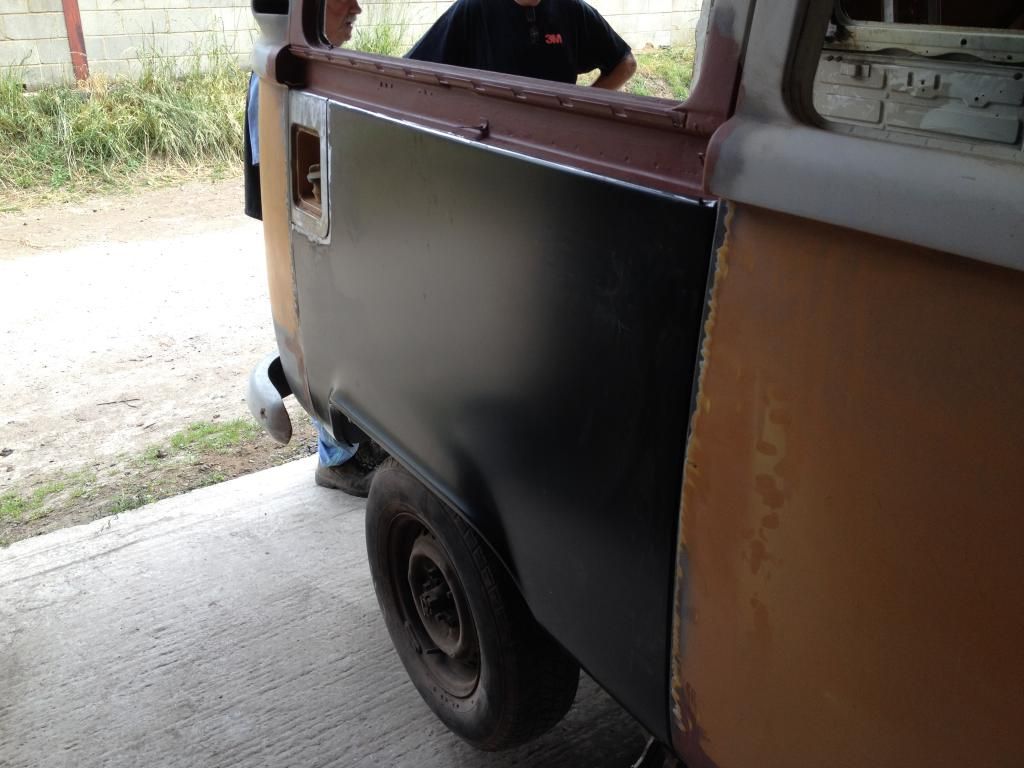
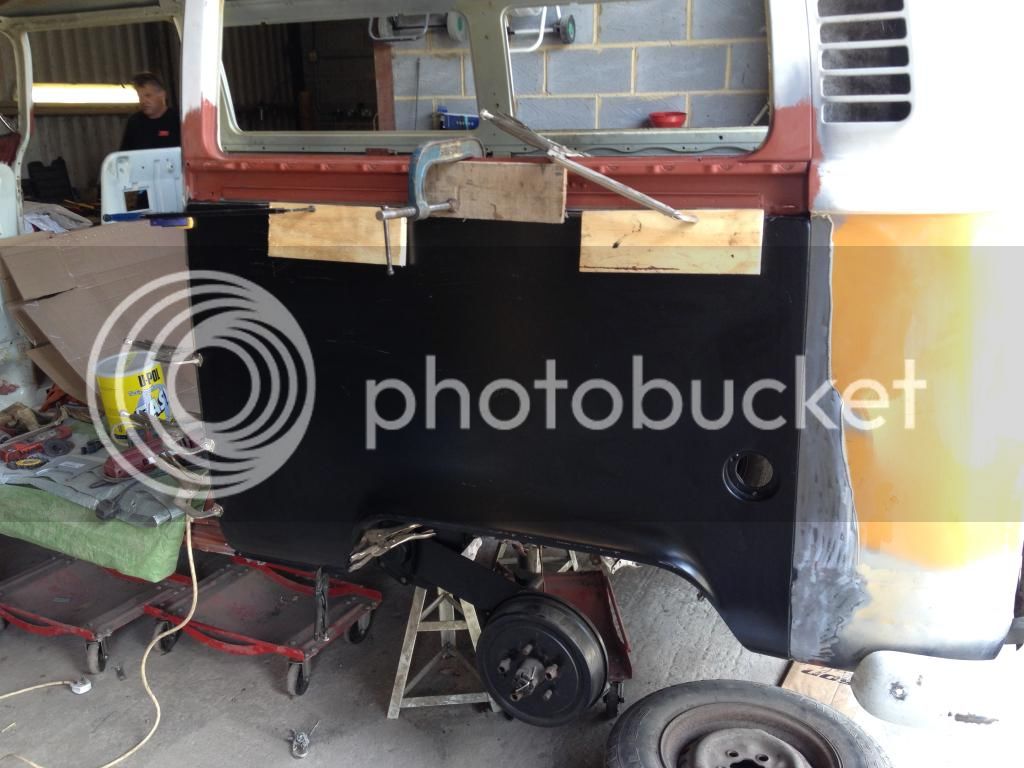
682C2F2E-3E78-44D1-88C0-03B3A9AFAD0F_zpswvdyipbd.jpg
 
Didn't get to spend too long on the old girl last week but did finish painting the pedal cover and gave the loading floor a lick of white paint, really pleased how it came up.
No time this week due to fencing (garden, not swords) so hope to get back to it next week.
72FAAD5E-CCD2-4FD1-9E21-9D8E5F5EB2E1_zpsamxkywuj.jpg

1AE58AFE-6DA7-4A5D-B4EF-2D916A8B7938_zpsstpcgqxl.jpg
 
Long overdue an update again. Since my camera packed up I keep forgetting to take pictures! So lots of things done with no pics, oops. Anyway, the goal is to get to paint this summer and re-assemble as quickly as I can, its been off the road for far too long now.
I stripped the rear suspension, blasted, painted, new bearings and all new brake pipes front to back. Refitted the brake master, pedals and the cleaned and painted gear shift rod.
Picture073_zps06ff92e8.jpg

Picture077_zpsf781caff.jpg

Picture076_zps124570b4.jpg

I've fitted all new brake cylinders on the rear, cleaned up everything you don't see, but at least I know its good now.
Whipped the rotten front beam off in anticipation of my new Red9 double whishbone setup :D
Picture078_zps63c29d25.jpg

I've stripped the beam down and junked the beam itself, it was rotten.
Cleaned up the gearbox ready for refitting
Picture079_zps84bb7e9d.jpg

Test fitting the bumpers now, the front one fits fine, just need to put some rivnuts under the steps to bolt the wraparound pieces to.
Picture080_zpsdf0cb34d.jpg

However, the rear bumper need a few repairs, after doing this I realised its not too clever, a bit twisted and bent from being knocked in the past. Not decided what to do on this now, will see what the paint guy thinks.
Picture082_zpsb7616fdc.jpg


I've also cleaned, blasted and painted most of the engine tinware, steering column and support and a few other bits but no photo's. Will have to remember to take some next time.
 
Hopefully the pace is picking up now. The guy that is going to paint the bus didn't like my front end and rear arch repairs and encouraged me to buy replacement panels. Basically the less filler the better as far as he's concerned.
Anyway, this turned up the other day :D
0BF01845-1B39-49FA-84EF-A3C84F9307A9_zps03mqzdpo.jpg

What a lovely bit of kit. So well made and it bolted up in no time at all for a trial fit.
D651329C-2189-4738-B0CD-C11BAB75B9EC_zps4yocajpa.jpg

Underneath
D516DD46-4813-4594-947A-A61C6F053D3B_zps8uuhyict.jpg


So, the last 2 days the paint guy, Dave has been with me to get the new panels on. Blimey he's quick, more done in 2 days than I get done in weeks!
Side panels and front panels off
672A2314-6E3B-4ADD-96FE-2E57F932CD73_zpsizqpnshr.jpg

3D33447F-7C89-4C14-8B77-0EC82DF2AFF3_zpsb3amdddk.jpg

F9090564-7ECB-4223-886D-45888221D0C0_zps8tnbbjuq.jpg


Then the new ones are glued on! using some expensive 3M panel bonding stuff that is used by the likes of Aston and McLaren nowadays. Dave tells me this stuff is stronger than weld as it has more surface cover.
F2514F6E-29F3-4B8A-980D-F826497BB26F_zps4wdr0xt2.jpg

31DAB108-26C2-4D3B-BB26-E05F17969196_zpssg5pinhz.jpg

The odd little round hole for something (they are Brazillian panels) is being filled with a little disc.
Next up the front panel then I start to fill and smooth.
 
Todays update, Got the front panel mostly on, just a bit more welding to the cold air box and the little filler panels on the newer indicators to go. Stuck the doors back on and the slider to check the gaps, all looks good with only a little fettling to be done.
AA534CBC-F0E2-46BC-A9F4-17CB23A05C36_zpsbv0dyczu.jpg

6028A6AB-5B68-4FAA-A4B1-59CC02F473FC_zpsmezsuvdk.jpg

229EA86B-1952-4271-899B-1CD50887F20A_zpslahaabmh.jpg

734D5114-8C08-4A0F-B9CC-1343784882CD_zps0mvs6xyd.jpg

20556A52-1271-44B4-883D-32518E411D2D_zpsceehae3b.jpg

5EC57488-EA64-4A3C-8D14-301E5DB0815C_zpsdpwmfbks.jpg

More next week.
 
Off she goes to the paint shop now. Dunno how long for but I'm promised photo's of progress which I will post up.
D6F76802-1EFA-45D8-B213-FE83F036AAB1_zpsu7racc3q.jpg


As the bus has gone I got down to repairing the broken spring on the drivers seat. I'd already welded the frame that had snapped at the top, I bought the longest spring I could via Ebay, its not quite perfect but its as close as I'm going to get, hard work to bend the spring around but I'm really chuffed with the result!
Seat frame without the top broken spring
AD18B86B-E167-401E-BB99-710060815DDA_zpsulmfv2dj.jpg

Broken spring (top) and my newly bent creation
A55F971D-ADBB-4F43-AC09-7BDF6060043E_zpsfzfpwcj9.jpg

All done, fitted back to the frame
FB422B2B-5B8C-4AC3-9CA7-CA4549ED784E_zpskr9wmxd6.jpg

1E0398B6-0792-444A-B54A-171C96482278_zpsfmzvrtq2.jpg
 
More pics from the painters, high build primer going on:
15C8D80E-B235-48CB-BB56-188491F5F144_zps3rc9kit6.jpg

4AC2C09B-E466-4888-9761-C3A32B75EB59_zps8uihffq8.jpg

image-5_zpsbo66edkd.jpeg

image-7_zpsybkcspyv.jpeg

image-2_zpsl5yjzq3t.jpeg

image-3_zpsnsughvcz.jpeg

image-6_zpsys2ytjcc.jpeg

image_zpsiwzvgtne.jpeg

image-4_zpspuqshpxo.jpeg

image-1_zpszio6rmm0.jpeg

912CF970-3E26-441E-9630-2128FC8BD8DF_zpsngi4zx7x.jpg

DD965B86-6F4D-4671-96D5-E28F760880D2_zpssvc3wimf.jpg


To say i'm excited is a bit of an understatement!
I have been putting the engine back together and painting all sorts of pieces, need to take some pics.
 
I can barely contain myself looking at these pics so I can't imagine what its like for you! :)

I know how much work you've put into this mate, I'm so pleased for you. She's going to look amazing.
 
Mags said:
Hopefully the pace is picking up now. The guy that is going to paint the bus didn't like my front end and rear arch repairs and encouraged me to buy replacement panels. Basically the less filler the better as far as he's concerned.
Anyway, this turned up the other day :D
0BF01845-1B39-49FA-84EF-A3C84F9307A9_zps03mqzdpo.jpg

What a lovely bit of kit. So well made and it bolted up in no time at all for a trial fit.
D651329C-2189-4738-B0CD-C11BAB75B9EC_zps4yocajpa.jpg

Underneath
D516DD46-4813-4594-947A-A61C6F053D3B_zps8uuhyict.jpg


So, the last 2 days the paint guy, Dave has been with me to get the new panels on. Blimey he's quick, more done in 2 days than I get done in weeks!
Side panels and front panels off
672A2314-6E3B-4ADD-96FE-2E57F932CD73_zpsizqpnshr.jpg

3D33447F-7C89-4C14-8B77-0EC82DF2AFF3_zpsb3amdddk.jpg

F9090564-7ECB-4223-886D-45888221D0C0_zps8tnbbjuq.jpg


Then the new ones are glued on! using some expensive 3M panel bonding stuff that is used by the likes of Aston and McLaren nowadays. Dave tells me this stuff is stronger than weld as it has more surface cover.
F2514F6E-29F3-4B8A-980D-F826497BB26F_zps4wdr0xt2.jpg

31DAB108-26C2-4D3B-BB26-E05F17969196_zpssg5pinhz.jpg

The odd little round hole for something (they are Brazillian panels) is being filled with a little disc.
Next up the front panel then I start to fill and smooth.


Where did you buy the front beam ? and how much was it ? Looks awesome dude :)
 
Its made by Red9 design and is a smidgen over 2 grand. Quite a few have fitted these now and i believe the feedback is very good.
 
Few more teasers from the painter including a very shiny pop top!
image-12_zps8mvhayxi.jpeg

image-13_zpscmbcc3jw.jpeg

image-15_zpsckcvaolz.jpeg

image-14_zps9coey34r.jpeg

image_zpsacyktwsw.jpeg


I've finished with the engine in my garage, just dropped it down onto a trolley before I try to start it this weekend.
20140921_115606_zpselqpnl4b.jpg
 
Surely can't be long now...? Paint by the weekend and a week to reassemble? You could be away in it first week in October! :lol:
 
Haha, I wish.
Got the engine started yesterday, it started up and ran really nicely, I was surprised seeing as its been sitting for about 3 years.
The fuel pump had a little leak but otherwise all good.
 

Latest posts

Top