First Ever Restoration - 72 Crossover Dormobile

Early Bay Forum

Help Support Early Bay Forum:

This site may earn a commission from merchant affiliate links, including eBay, Amazon, and others.

Ebeneezer

Active member
Joined
Jun 19, 2007
Messages
43
Reaction score
0
Location
Nottingham
Quick background. Used to have a Beetle when I was in early twenties and fancied a Bay. Looked at a couple then saw one that looked ok in the pictures on Ebay. Didn't get time to go and look at it but in the early hours of one Sunday morning having drunk far too much red wine and cheered on by my brother-in-law found myself bidding a grand and winning it.

The description read :

All welding has been done (he forgot to say badly done by Blind Pugh!)

Lots of new panels (in most cases badly welded over the old ones!)

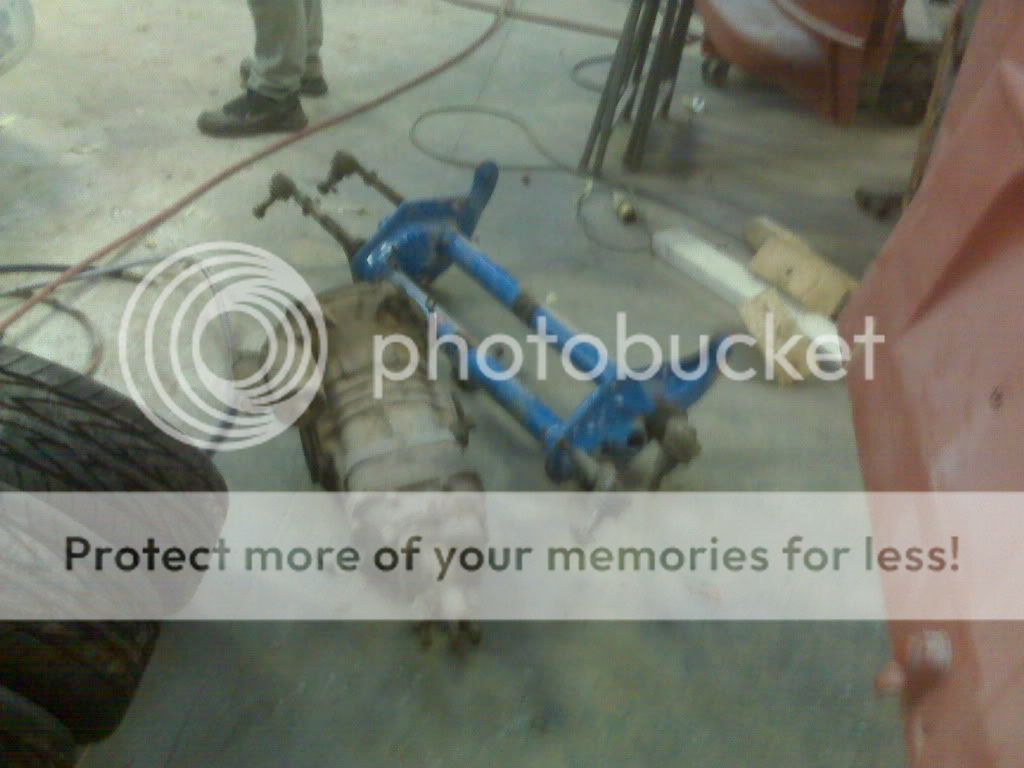
Complete engine (carefully stored in a least 12 separate boxes)

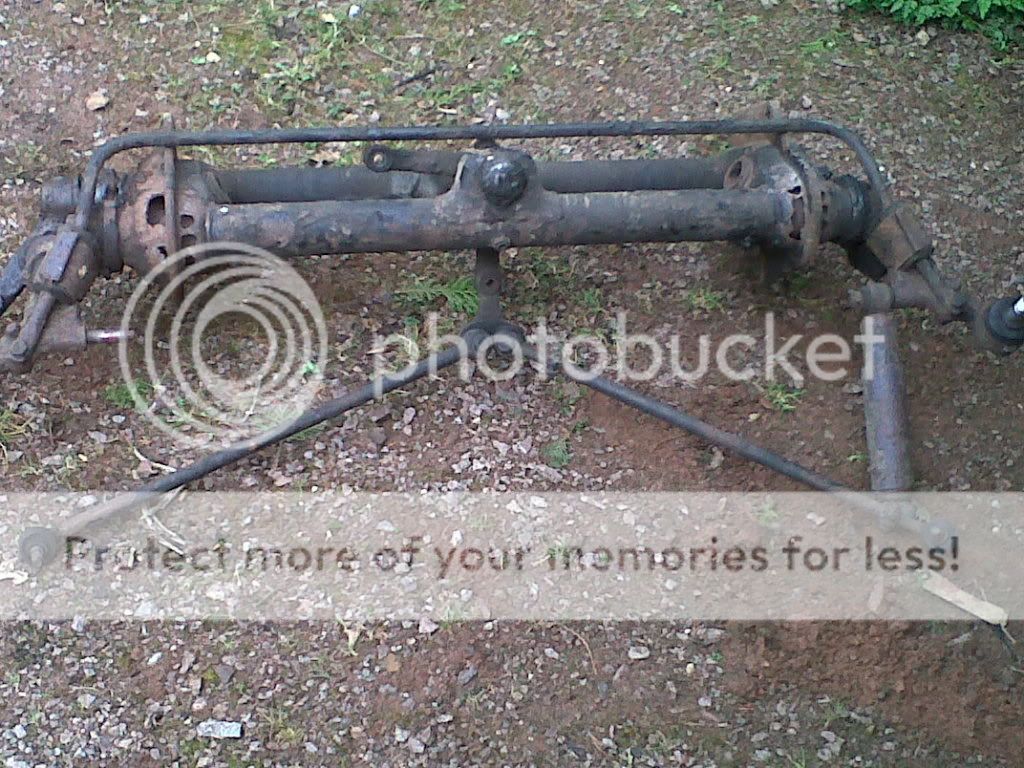
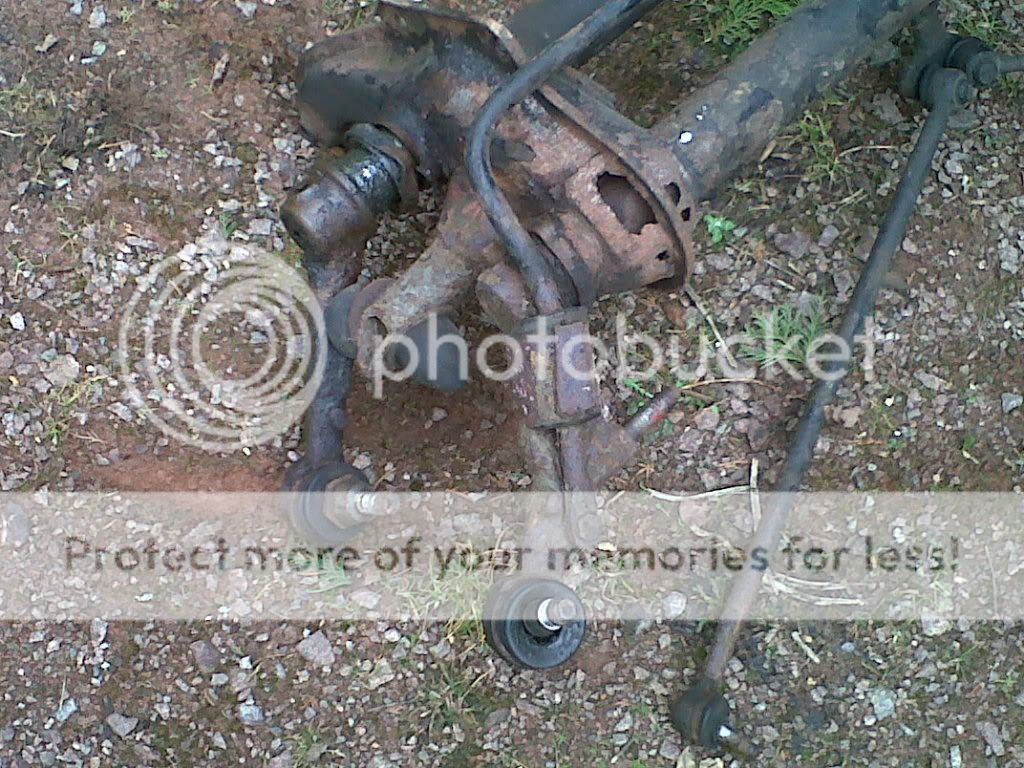
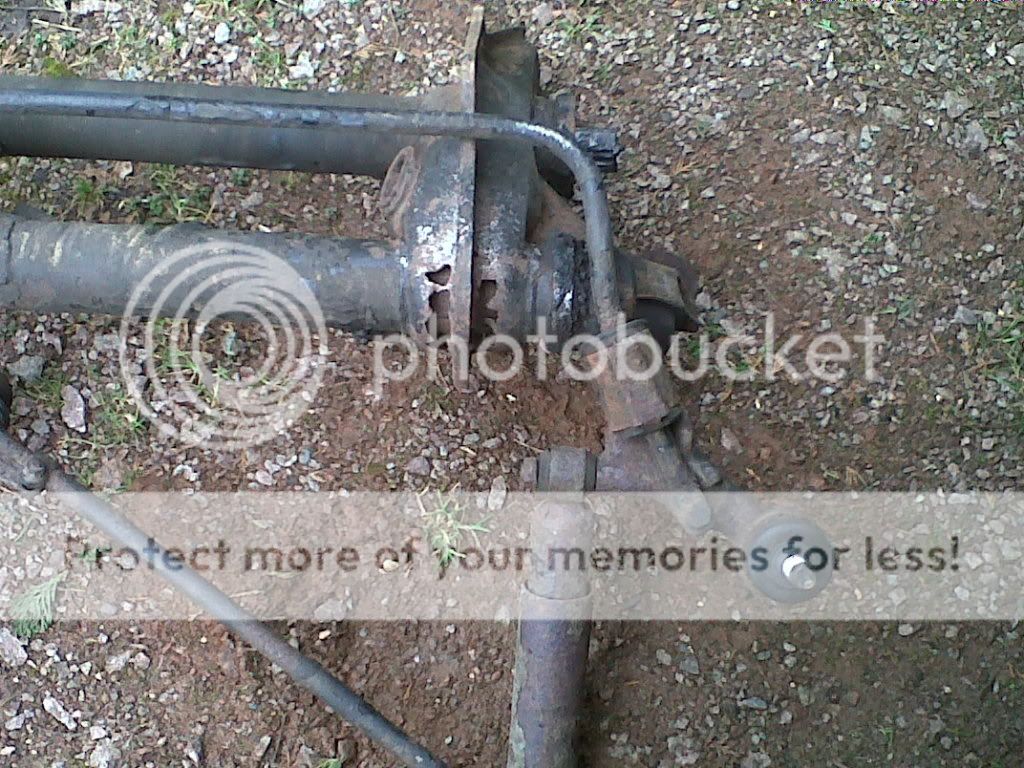
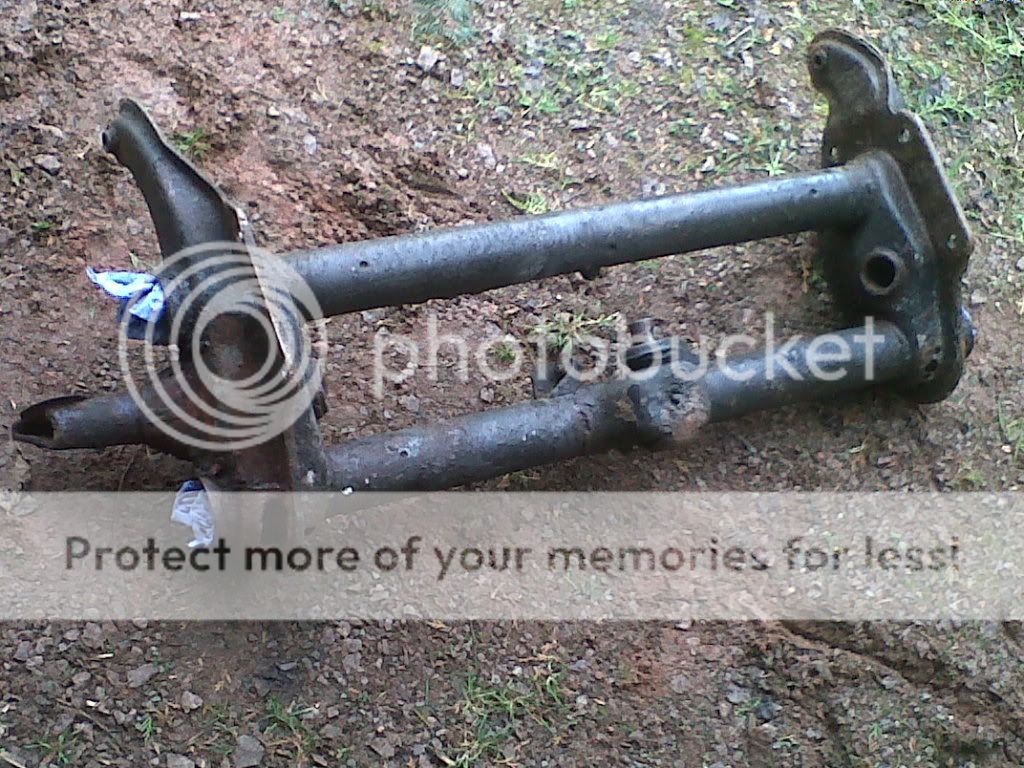
Sound chassis (at least what he could see of it, the bits under the belly pans are not so good!)

Easy project (if you have the McLaren workshops and team of mechanics at your disposal)

Unfortunately I have no pictures of vehicle in this sorry state as the camera died out of mechanical sympathy.

Took poor vehicle to various restorers who would "start on it as soon as this one's done, mate!"

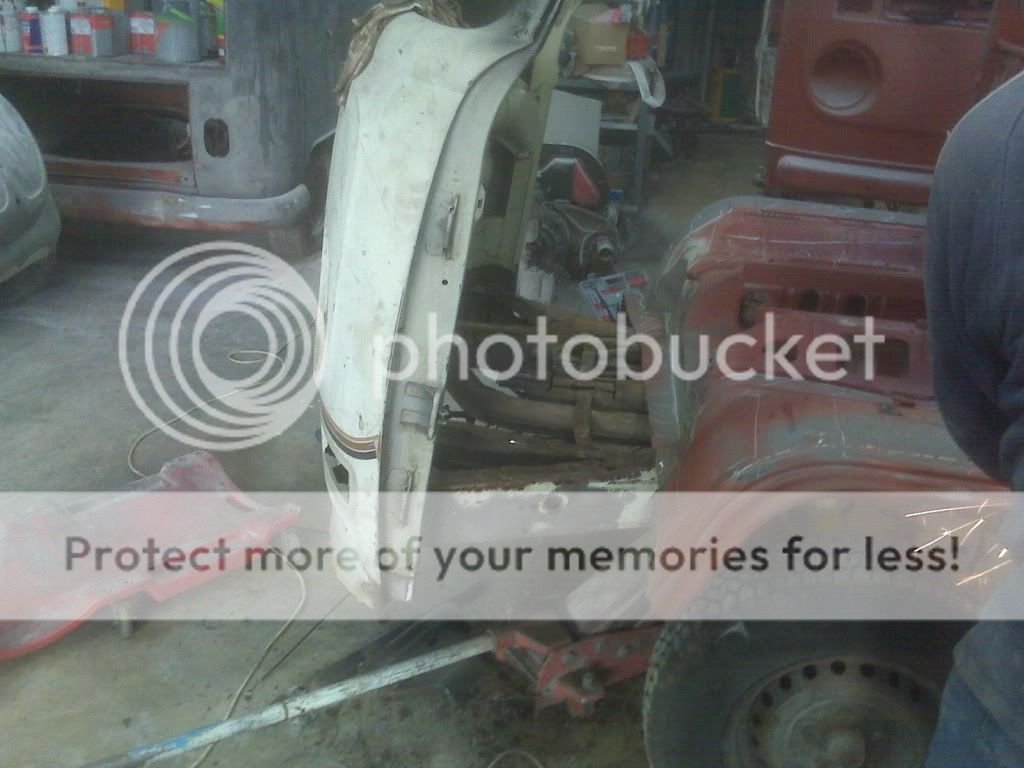
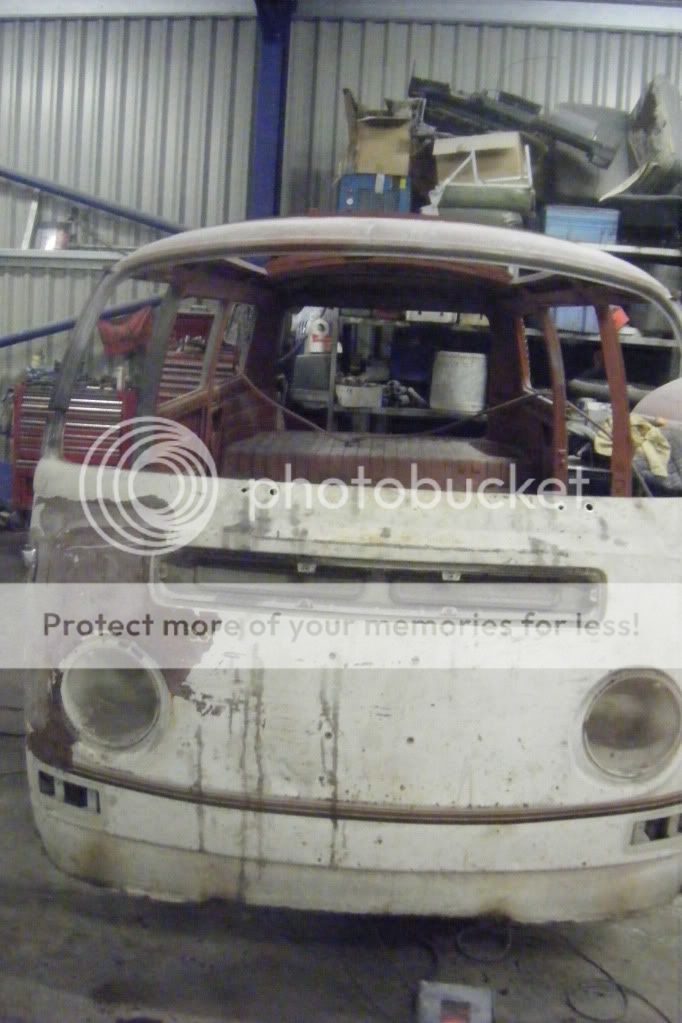
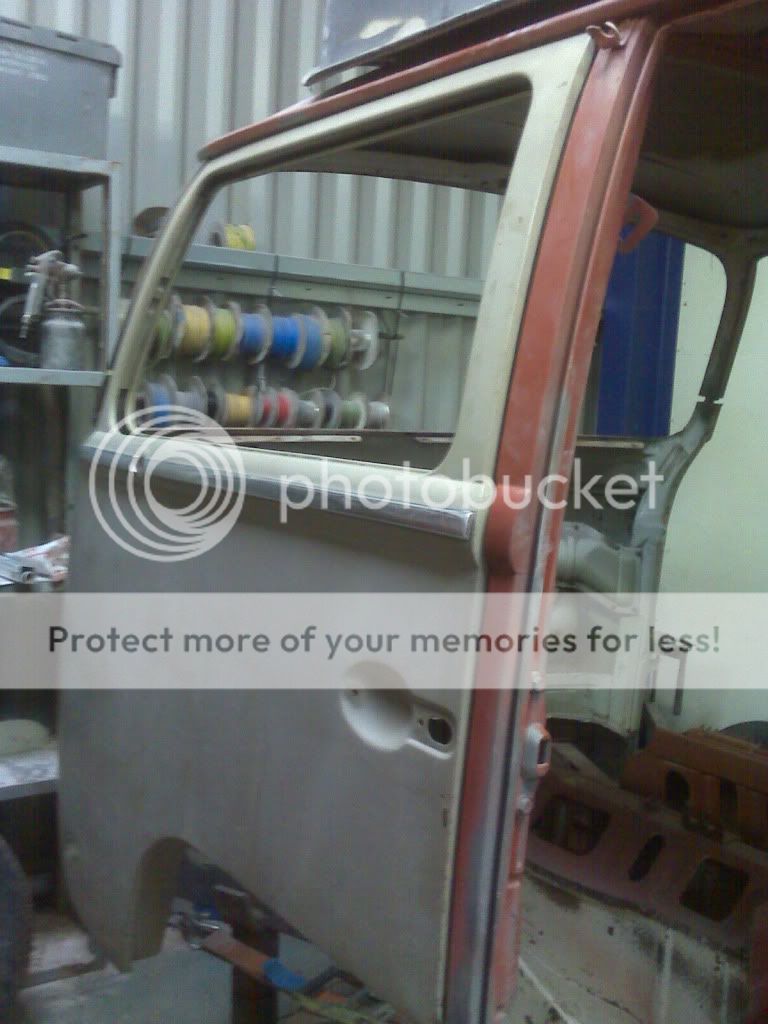
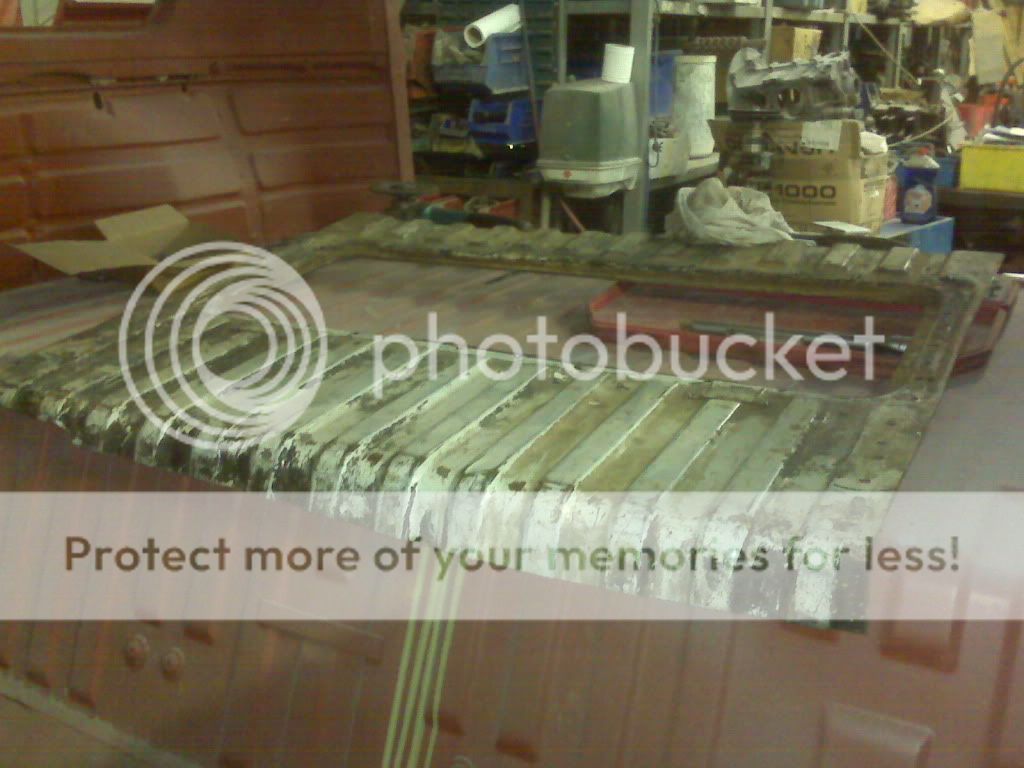
Two and a half years later and it's been sand-blasted, coated in primer and had a new front panel tacked into position.

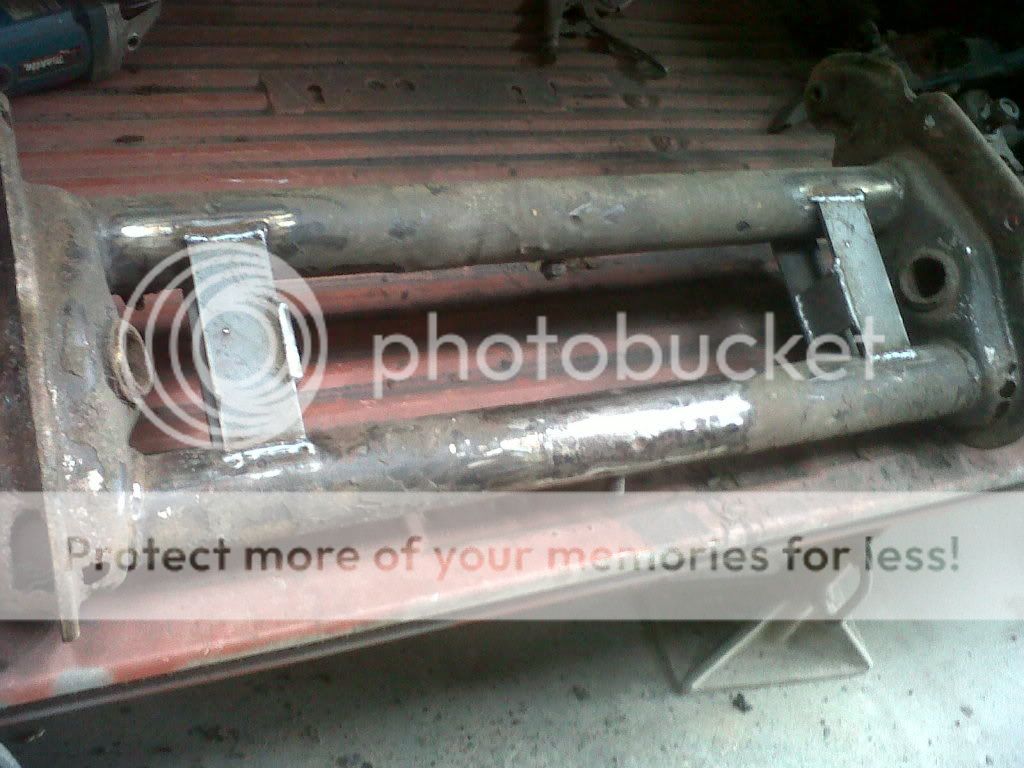
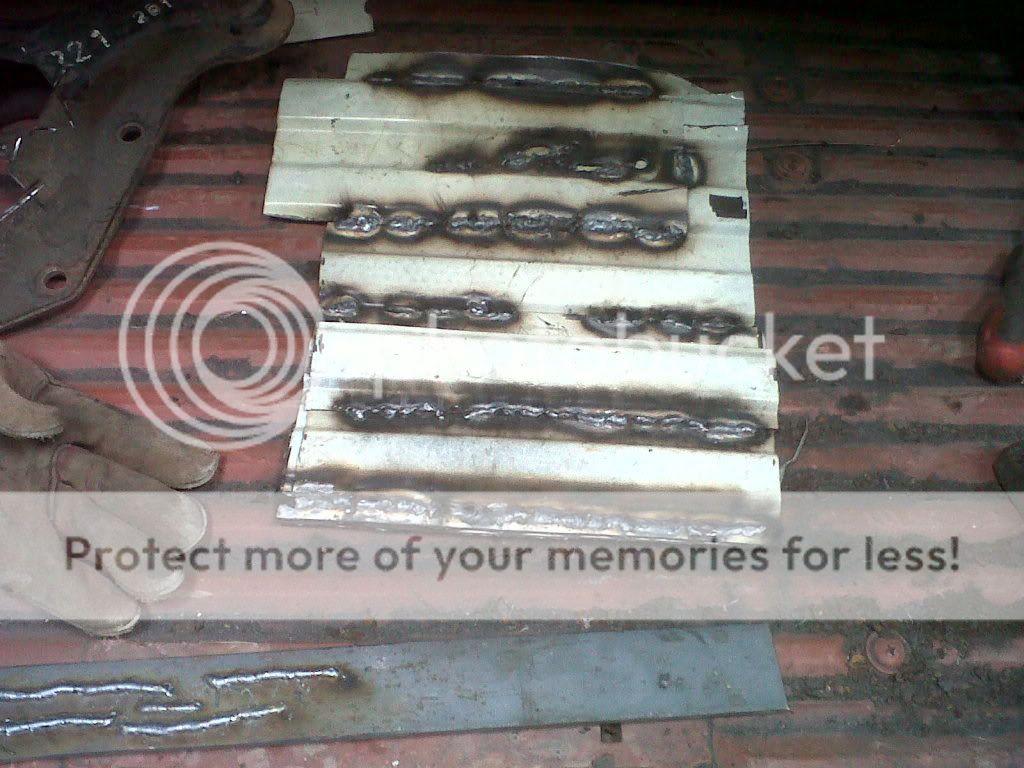
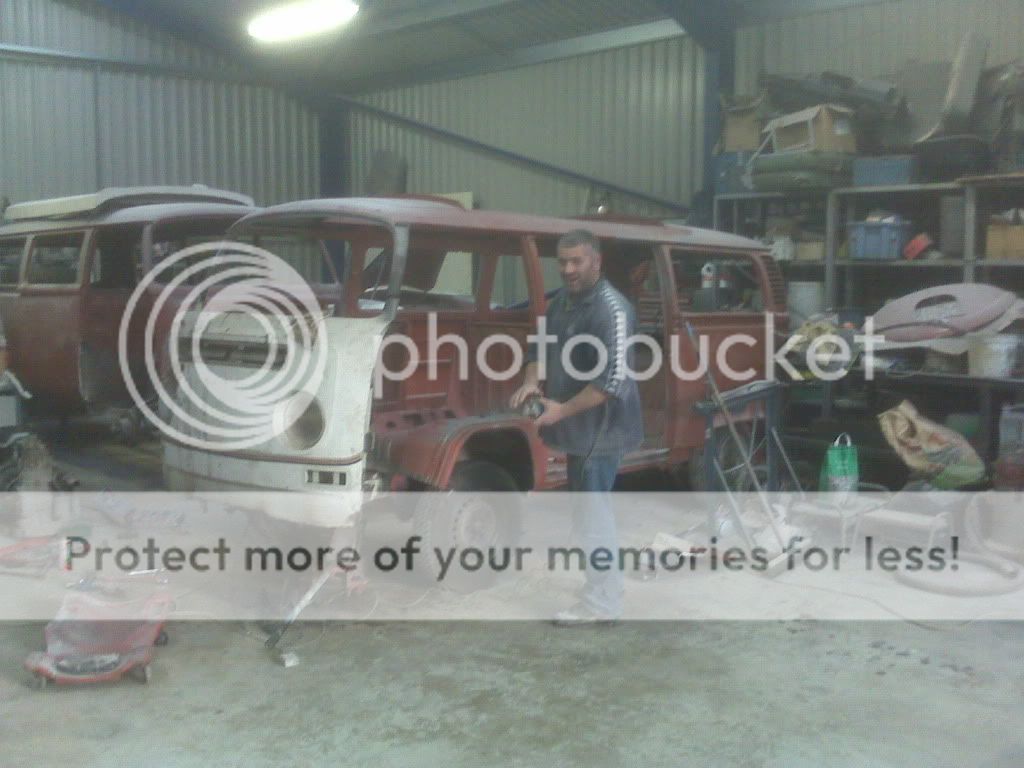
Thats when I agreed with the latest restorer that I will drive 90 minutes every sunday morning to spend all day working on the van in his workshop and under his guidance during which he will teach me to weld and do panelwork.

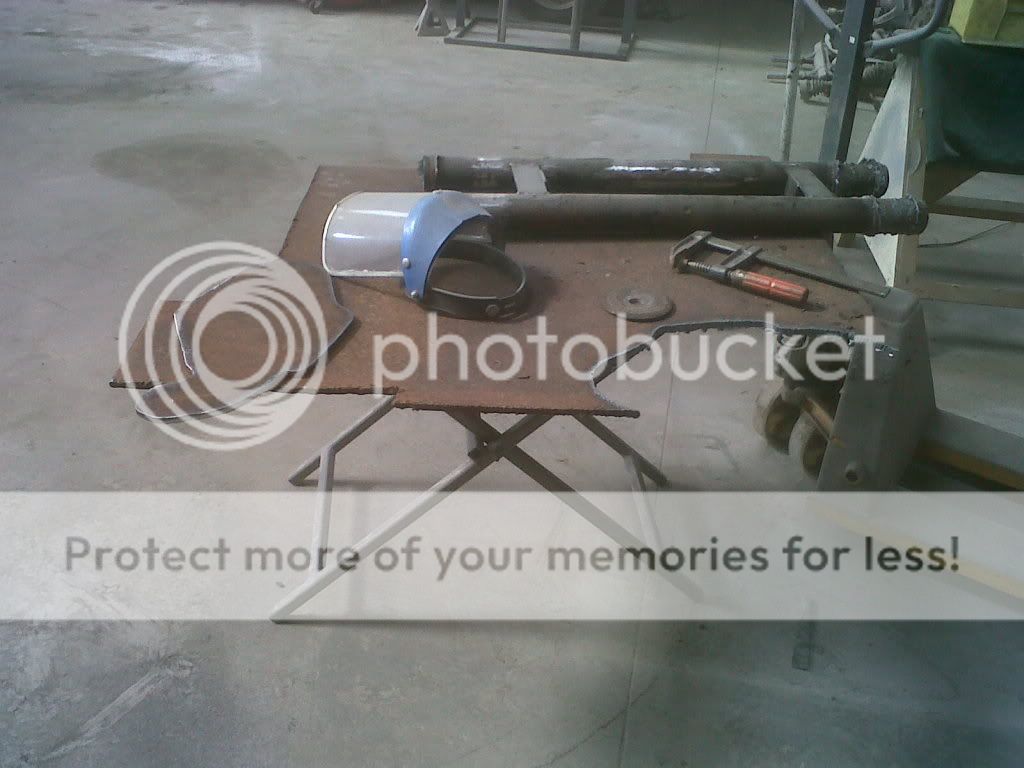
Here's where things started on 13 the 2009 :-

All.jpg

Side1.jpg


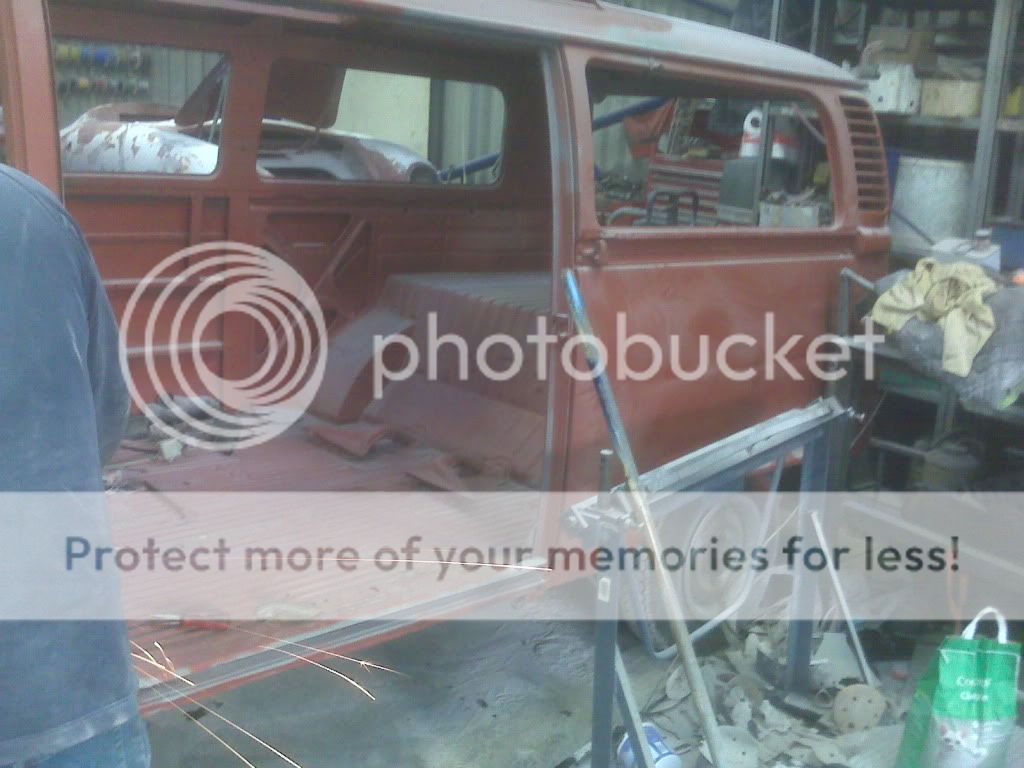
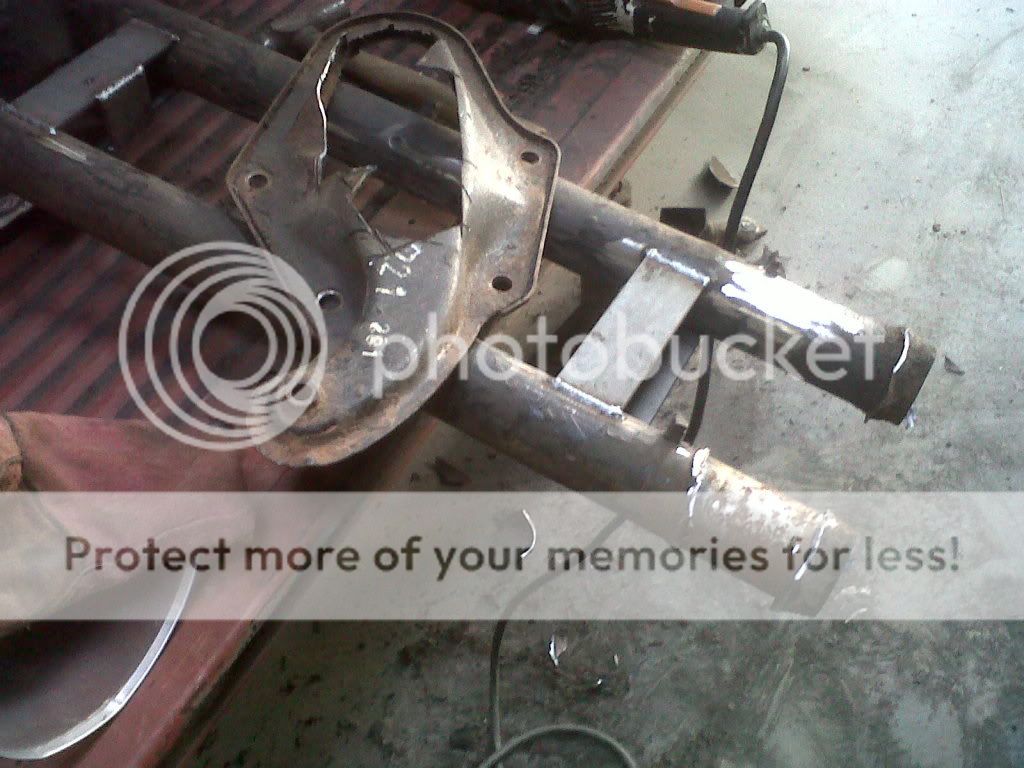
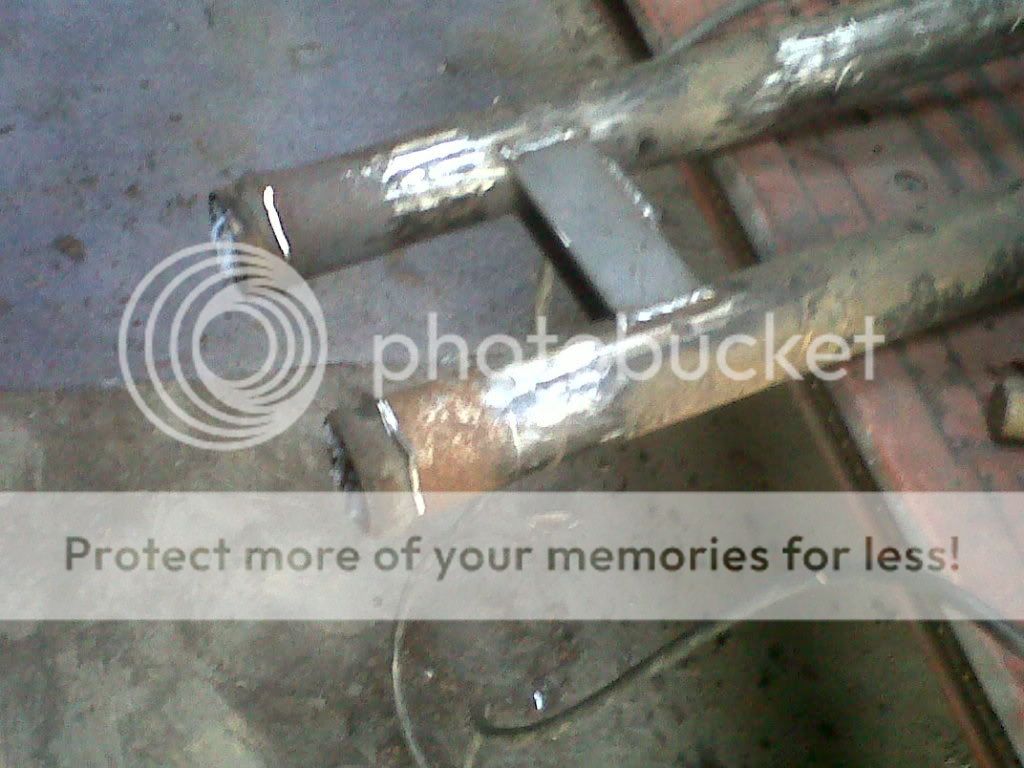
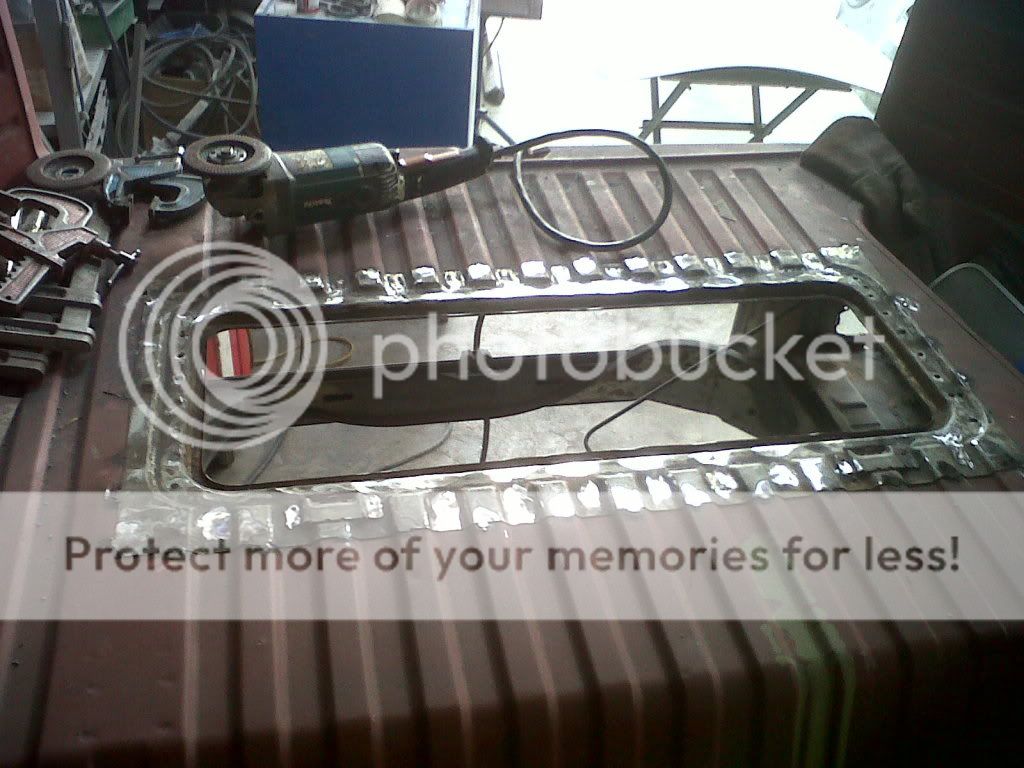
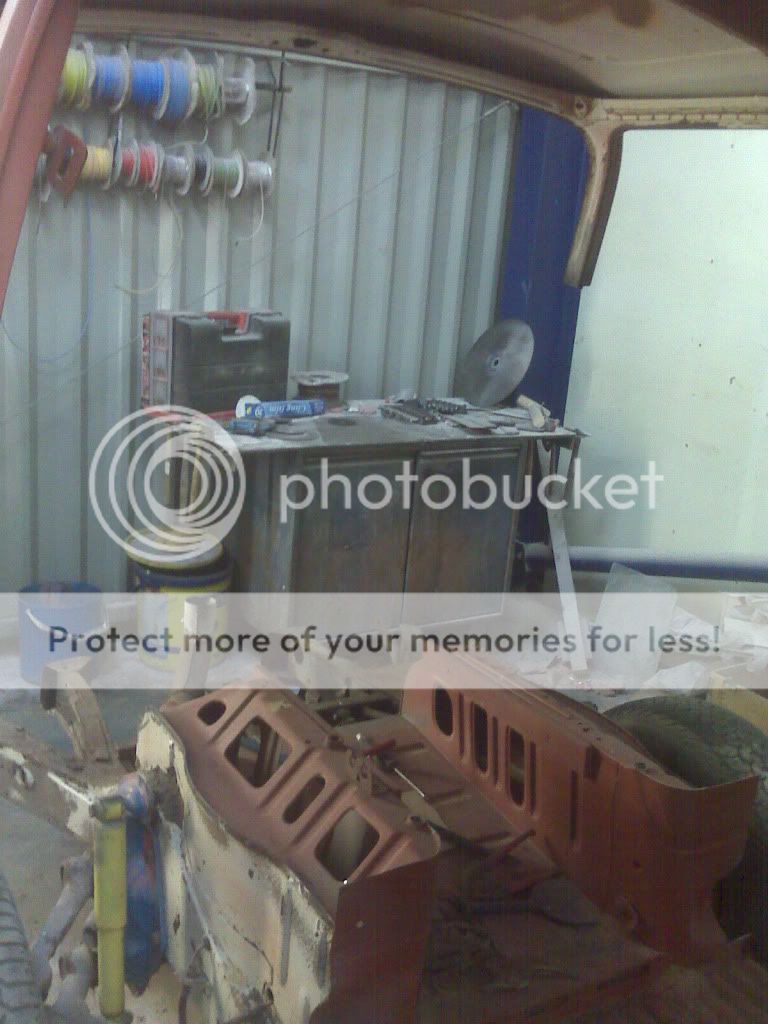
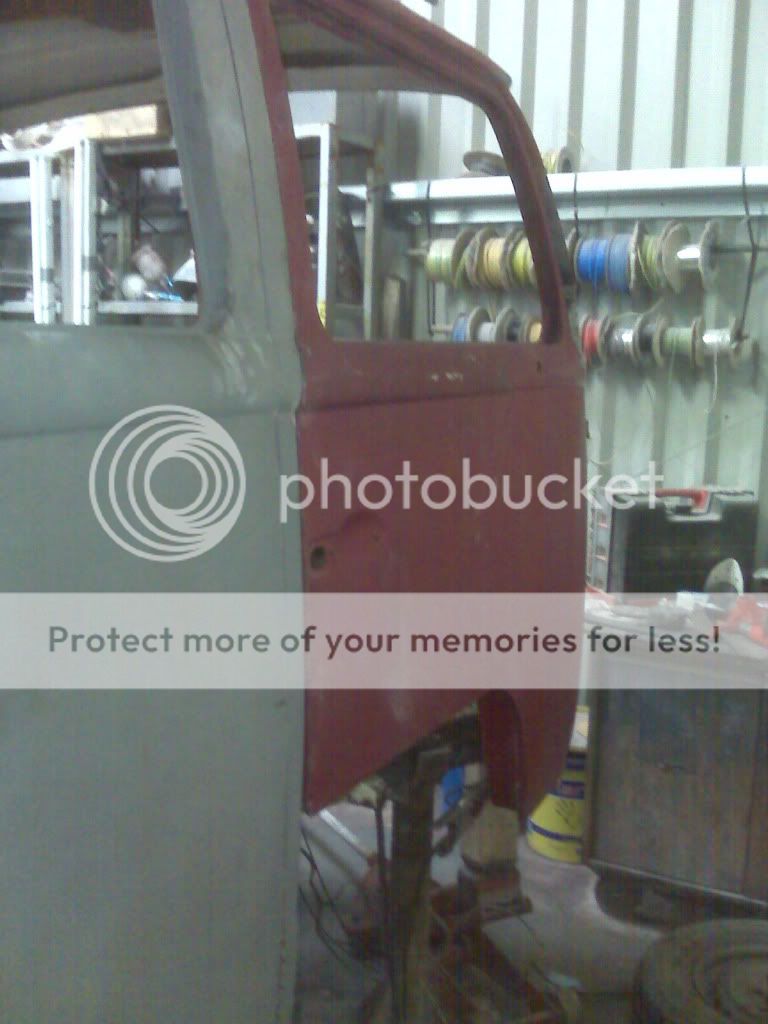
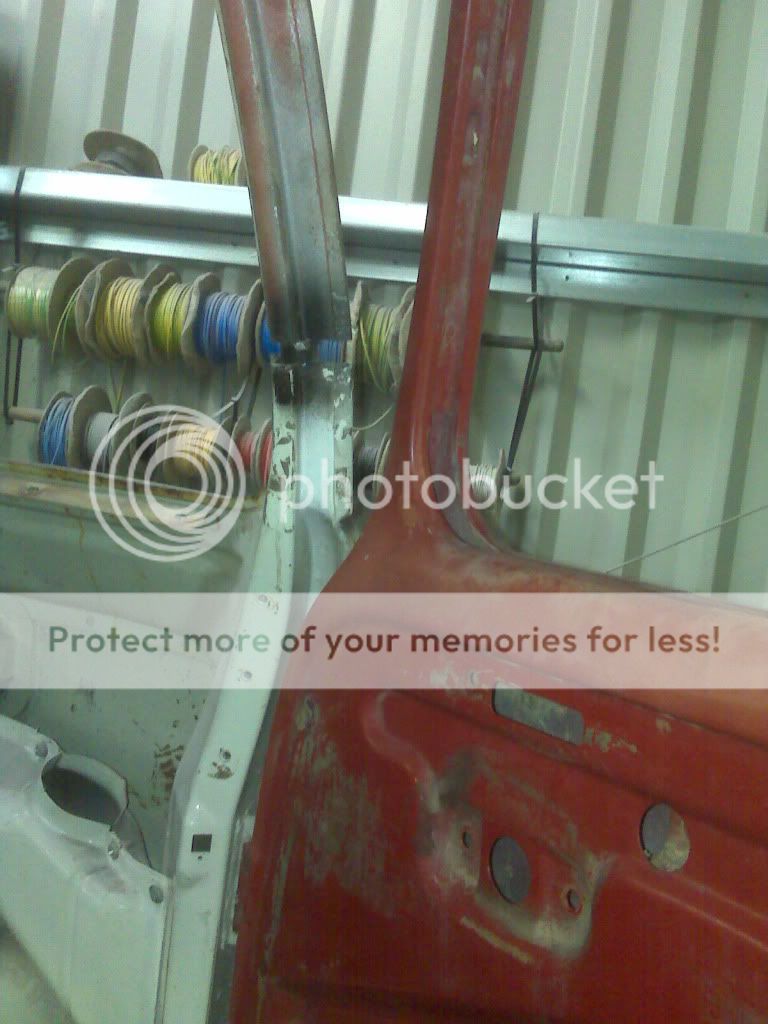
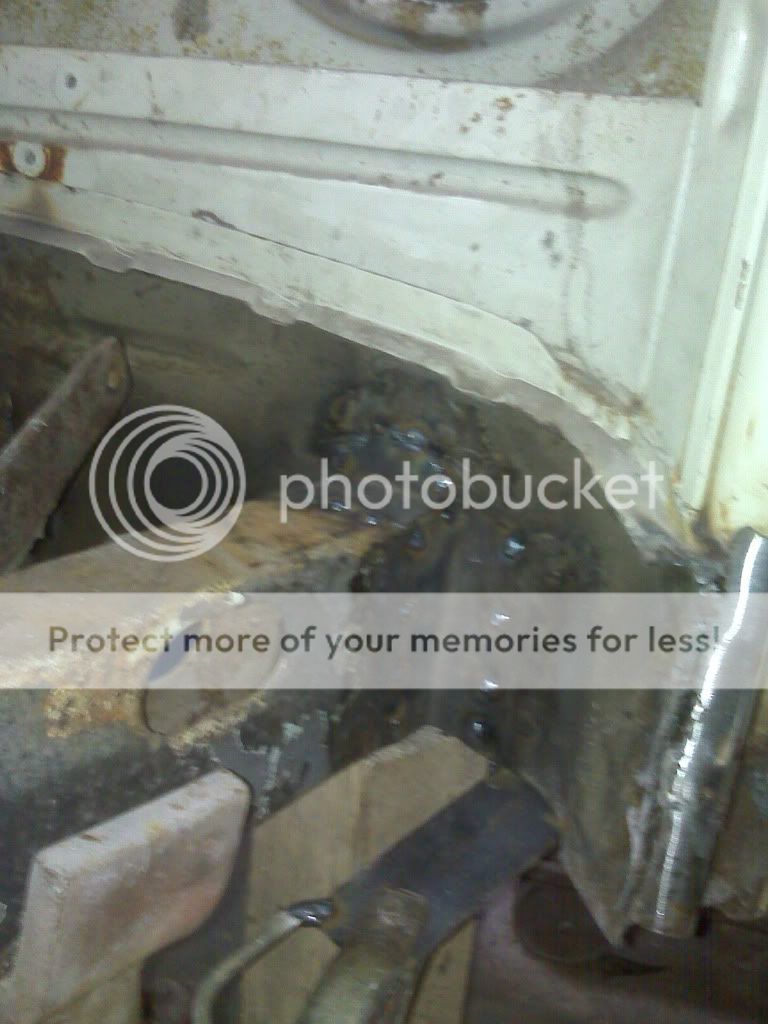
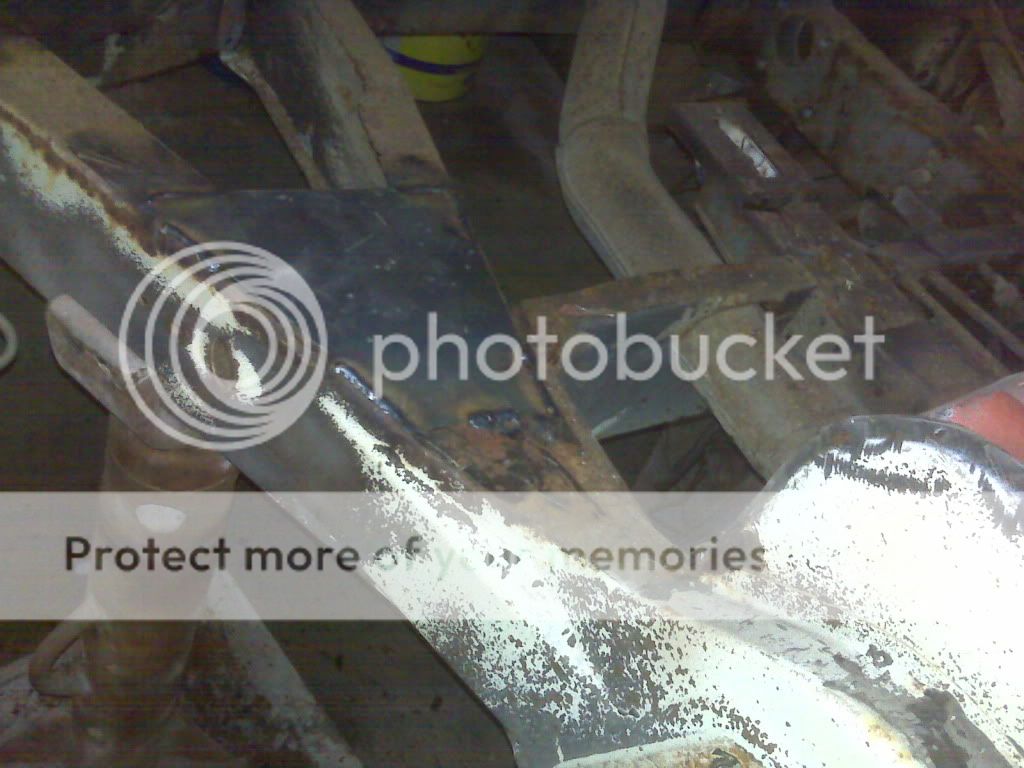
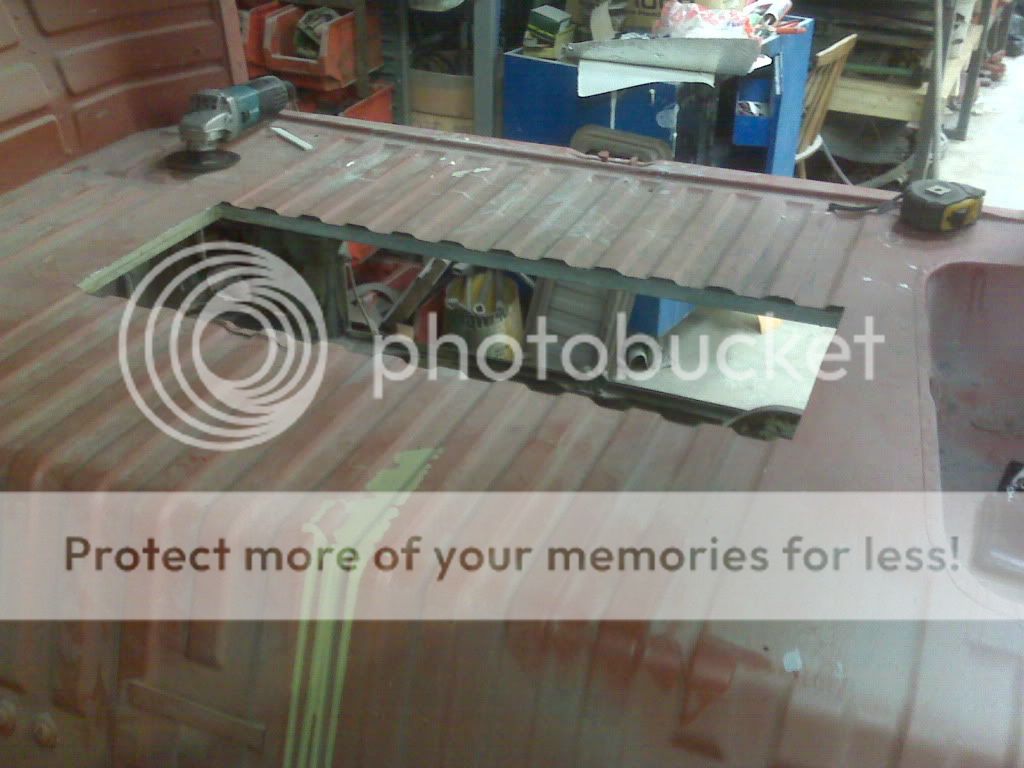
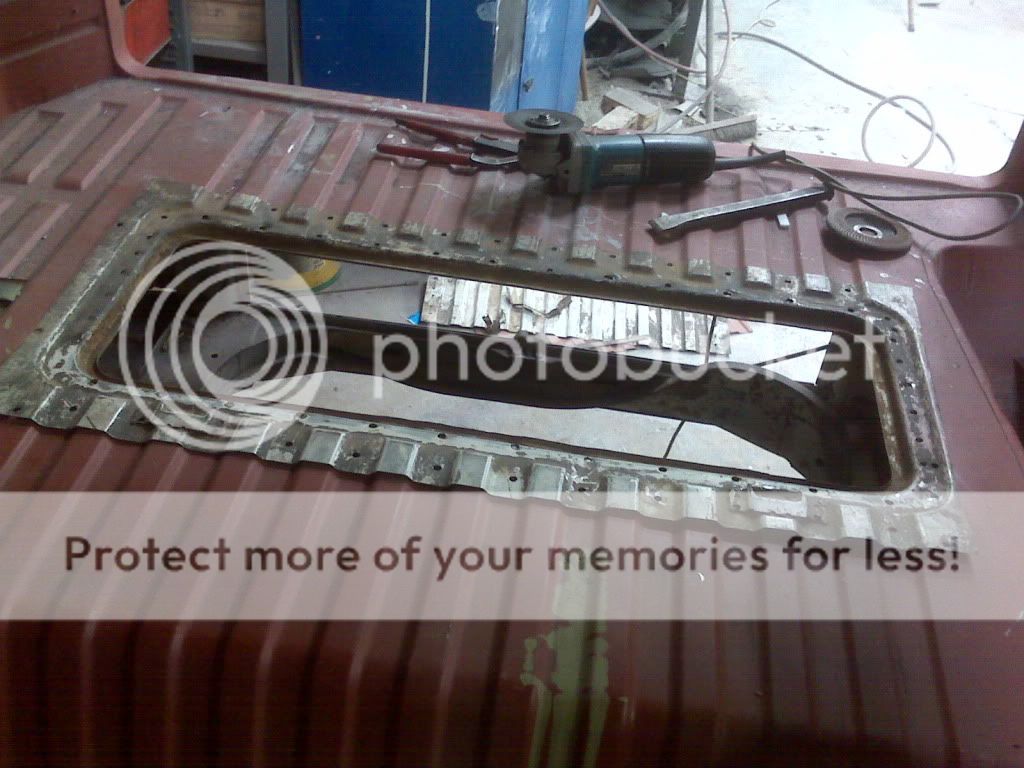
Oh, cab floor was rotten so my first job was to chop that out with a 9" cutter - bloody dangerous things.

Floor.jpg


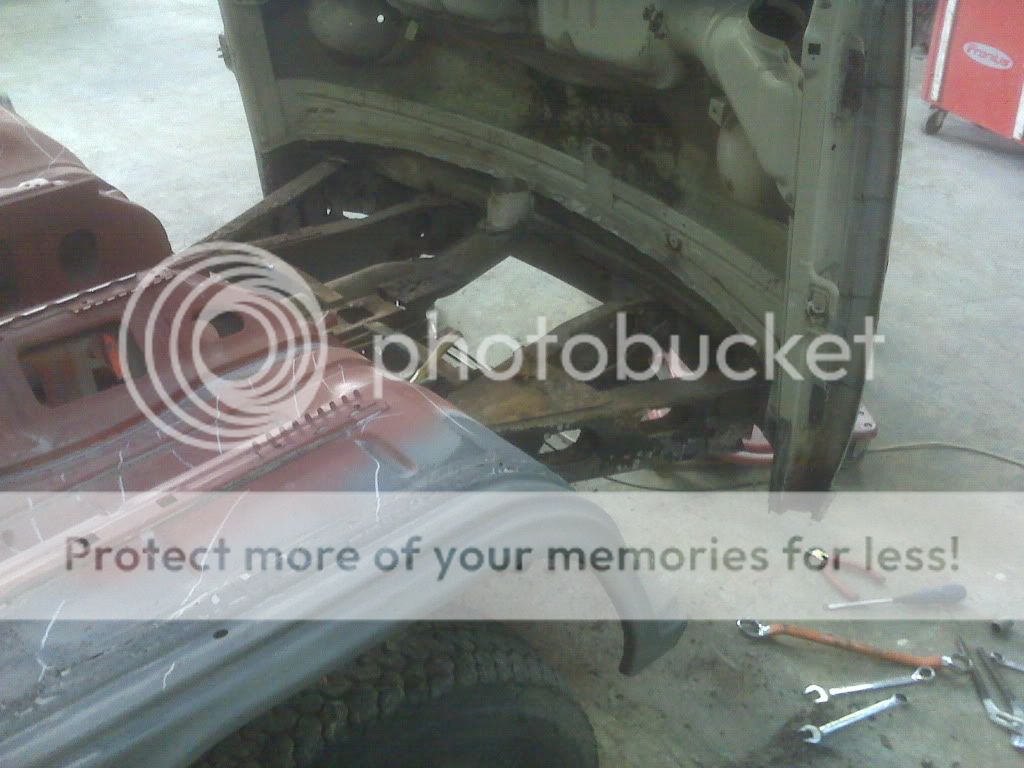
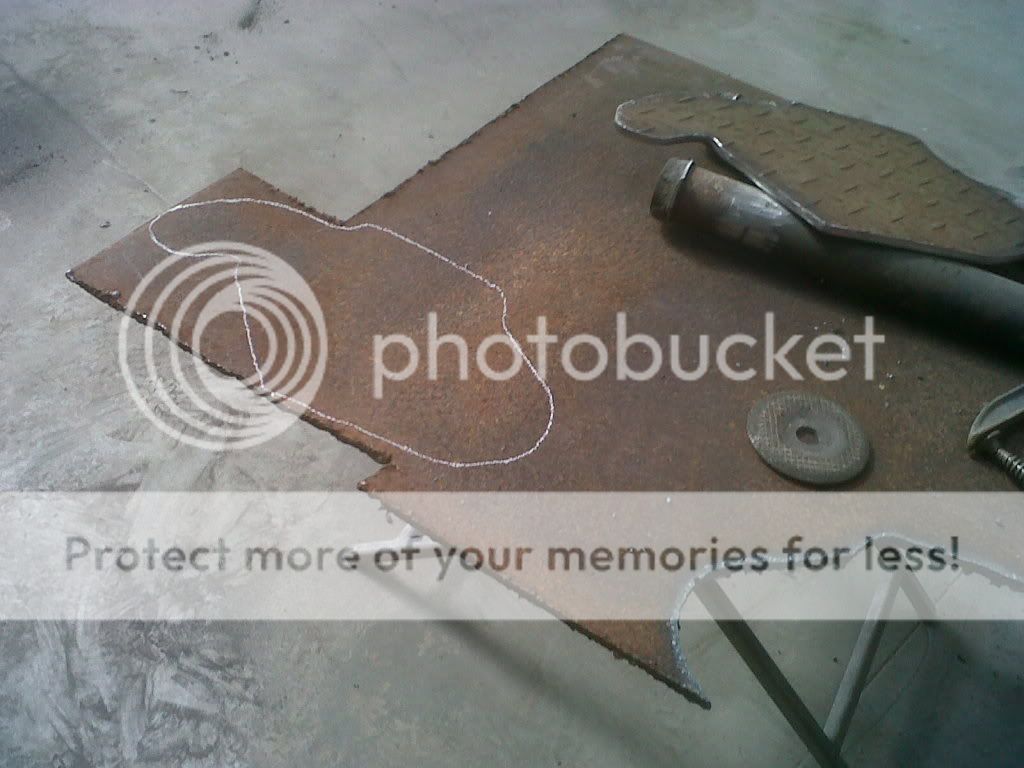
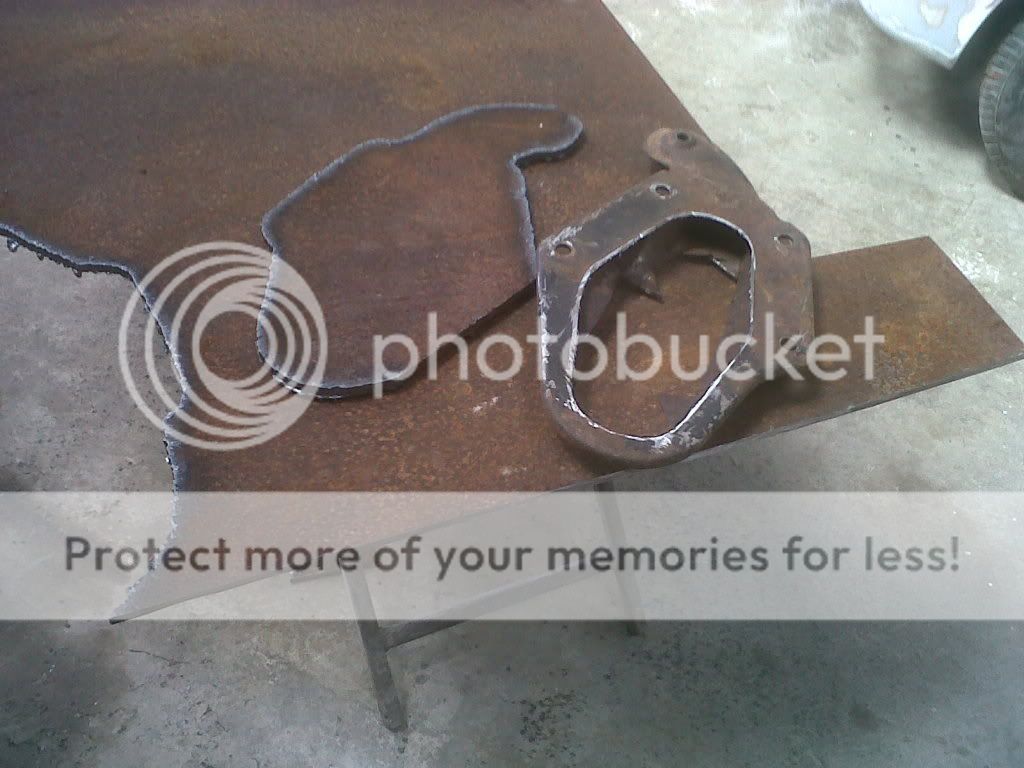
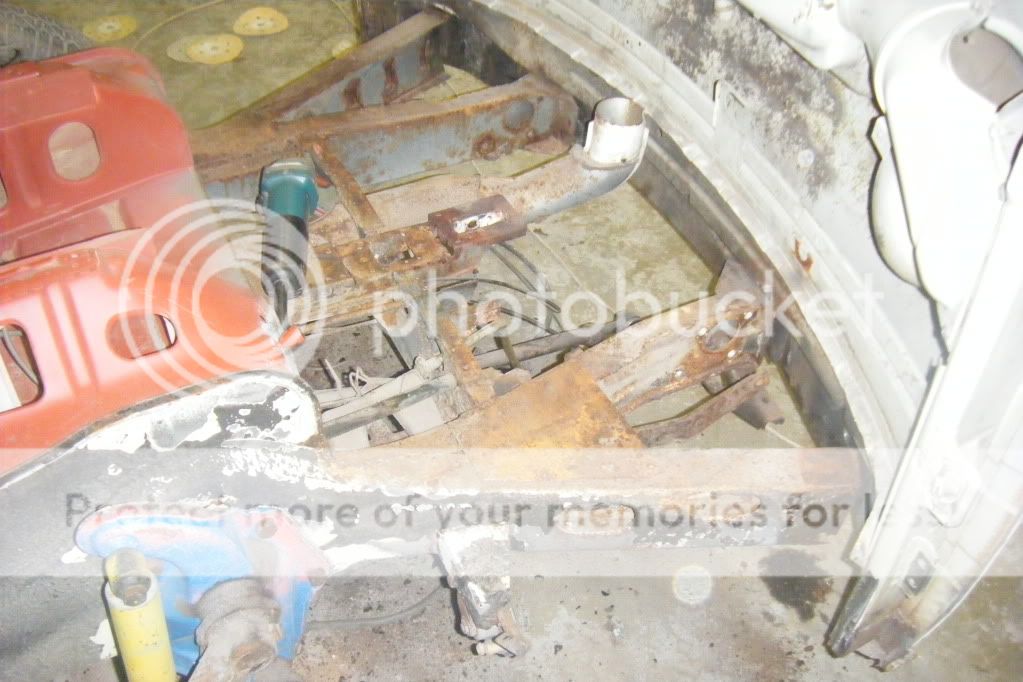
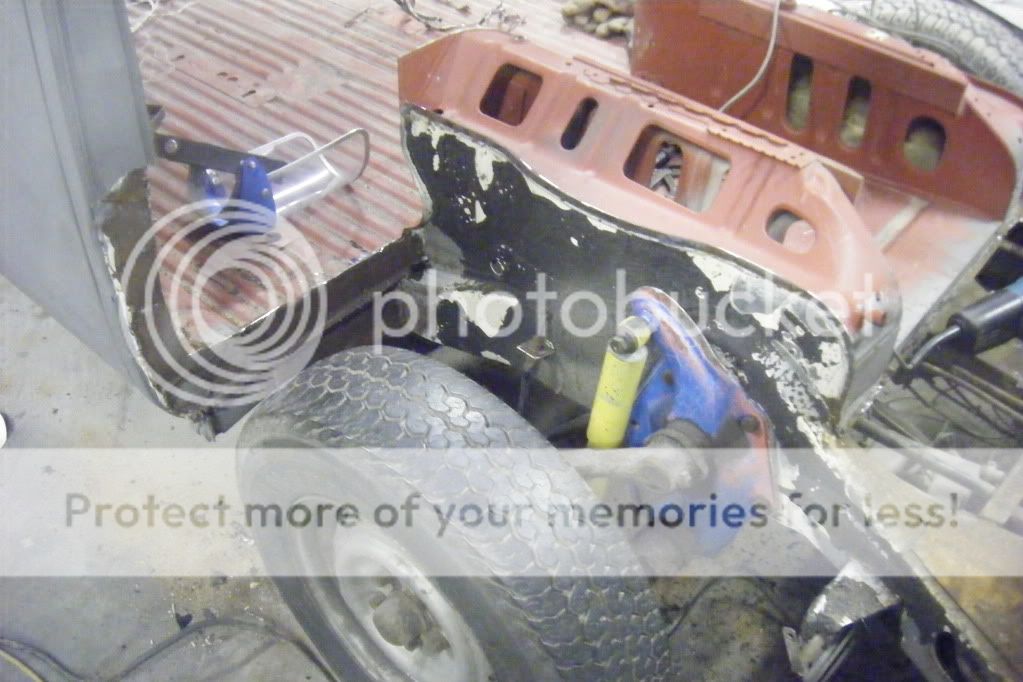
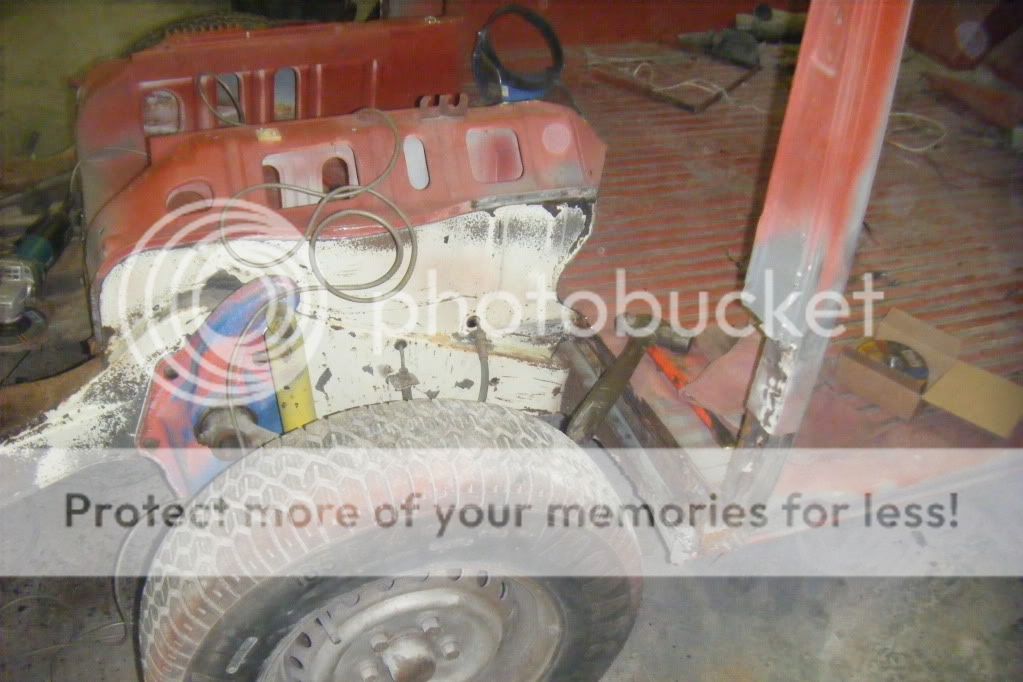
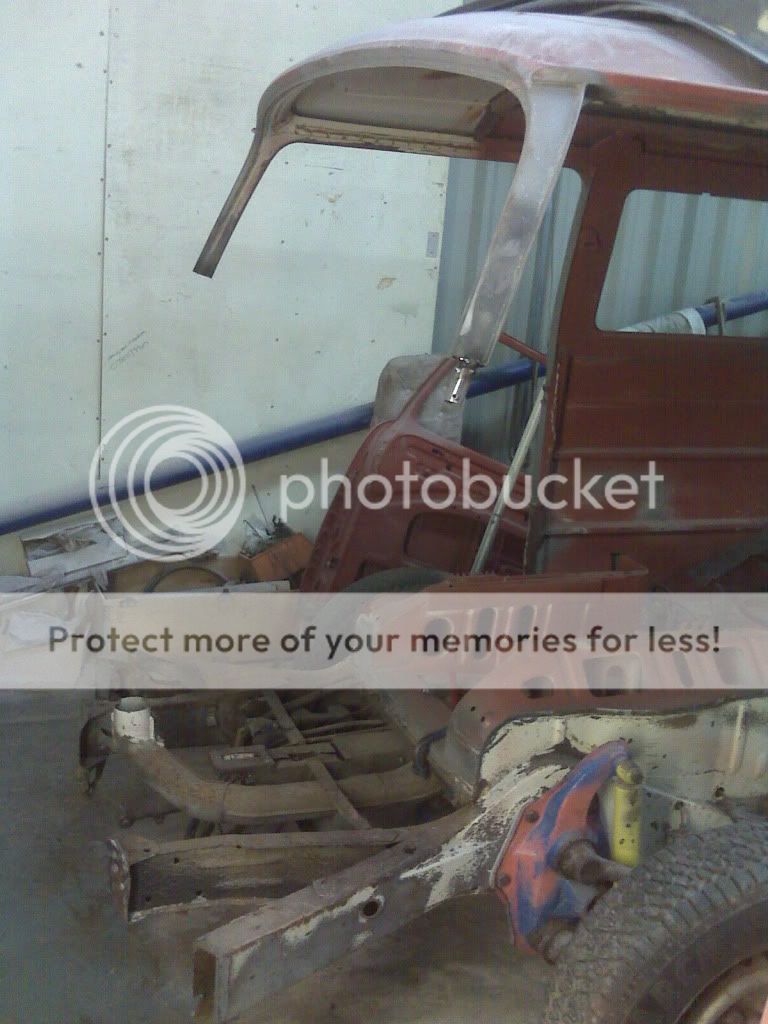
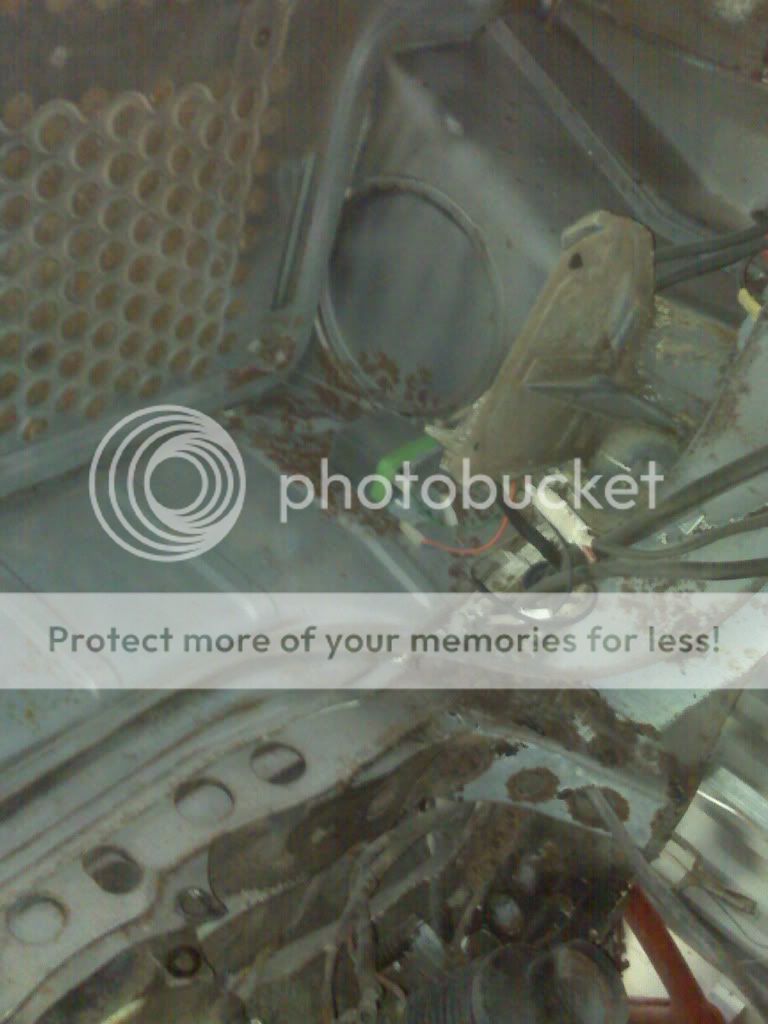
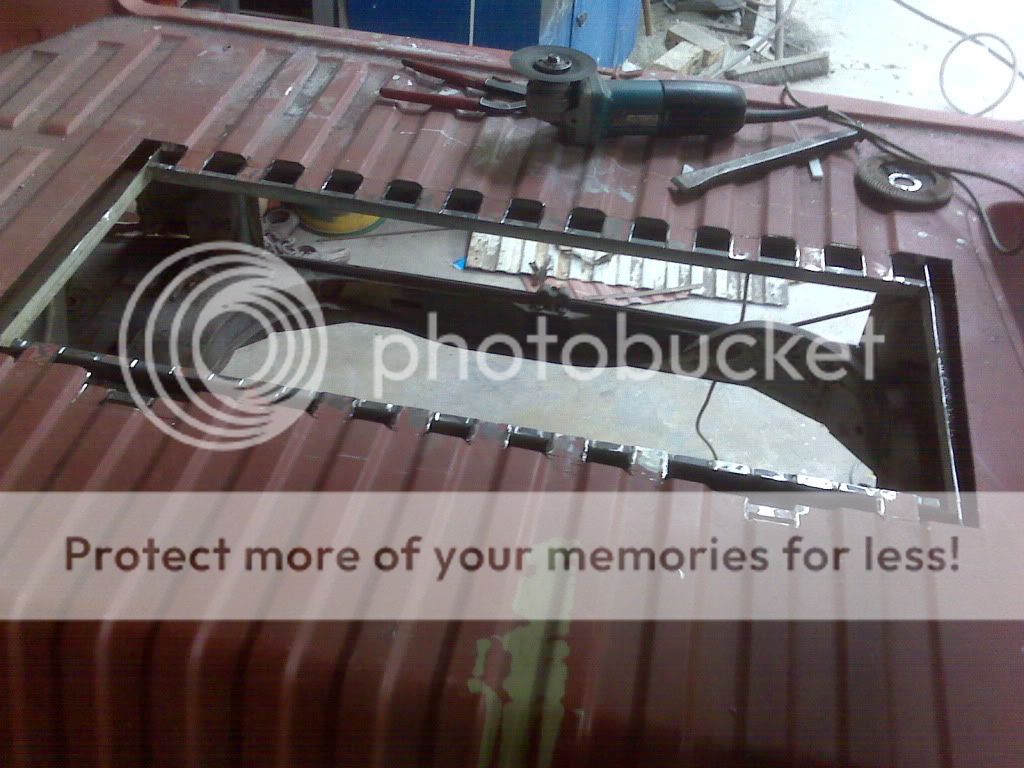
Oh, and the wheel arches that had been replaced were wrong and had to come out too!

PassDoor.jpg


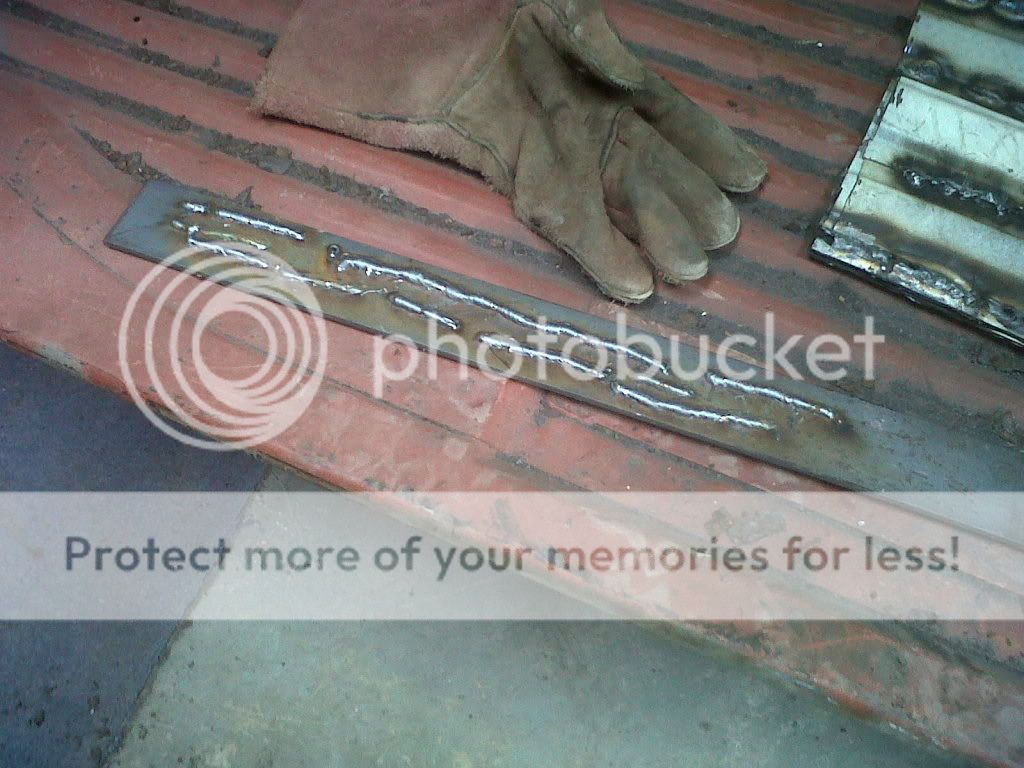
So while I had the grinder going I decided to take out the seat backs too.
 
20th December

DSCF5291.jpg


DSCF5288.jpg


DSCF5287.jpg


Once you start cutting, you just can't stop.

Here she is from the front.

DSCF5292.jpg


Time for a Xmas break.
 
Lots of snow so couldn't get across to Norfolk until 24th January.

Decided to try and sort out the front panel and get it in the right place. Took the whole thing of because I just couldn't get the shut gaps correct on the doors.

Great visibility from the passengers side :-

IMG00206.jpg


or from the side :-

IMG00207.jpg


Spent all day with clamps and hydraulic spreaders etc but couldn't get the doors to line up. Finally found that the doors had been re-skinned (very badly) and they were the problem.

Oh well - £390 for a new pair of rust free doors from FBI.
 
31st January

New doors fit perfectly:-

IMG00220.jpg


IMG00222.jpg


IMG00223.jpg


Made some brackets for the chassis ends and tack welded the front panel into place :-

IMG00224.jpg


Also made a plate to repair the chassis fork under the cab floor :-

IMG00225.jpg
 
Whilst I'm doing all the cutting I thought I would put in an inspection hatch for the engine so got hold of a late Bay hatch. An absolute pain in the ar*e to drill out all the old spot welds and separate the panel - 4 hours well spent.

IMG00234.jpg


and probably the only solid metal on the entire body :-

IMG00230.jpg


Once more to the cutter dear friends :-

IMG00250.jpg


Trimmed off all the corrugations and also extra for the hinges - took me an hour to figure out that one :-

IMG00251.jpg


Checked it fitted :-

IMG00253.jpg


Then clamped it ready for welding :-

IMG00255.jpg


and practised my first ever spot welds :-

IMG00257.jpg
 
14th March

Minor repair to beam :-

Beam2.jpg


Picked up some air bags off Ebay so going to give the old girl an air ride. Will be tubbing the arches but the beams too good to chop up so bought a rusty old thing. Going to put new end plates on it and narrow it but run them inside the old chassis rails so we can gain another 10 mm either side. I'll be junking the leaves and cobbling together some half length shafts on taper rollers to give an independent front suspension. This is apparently what they do with beach buggies so watch this space.

Also picked up some lovely Raydots and an alloy rear view mirror that poliched up a treat :-

RaydotsFront.jpg


Mirror1.jpg
 
Great job. I'm in exactly the same position-first ever resto on a 72 dormobile-so will follow this with interest.
 
Son's at Uni so I've claimed his bedroom as a clean room for engine assembly :-

IMG00015-20100319-2118.jpg


IMG00016-20100319-2119.jpg


Spec is :-

76mm stroker crank, end to end dynamic balance by Jim Calvert at Stateside
90.mm barrels and pistons to gibe 1955 cc
Scat con rods
Weber twin 40's
Full weight flywheel
CB 42 x 37 heads, single springs
1 : 1.25 ratio rockers
Full flow oil system with thermostatically controlled remote cooler.
Deep sump.
Engle 110 cam.
Full stainless merged header and back box.

Still got to clearance the cases!
 
Great thread and sounds like you are having fun ;)

Once it is all back together what are you doing with the interior and is the Dormy roof going back on??
 
Yep, keeping the roof but there's no interior so I'm going to make one myself.

Just got back from the workshop after spendin all day working on the beam. I'll post some pics tomorrow.
 
Suday 21st March

Beam was too good to cut up so sold it for £180 and bought this for £80 :-

IMG00019-20100320-0946.jpg


IMG00017-20100320-0945.jpg


IMG00018-20100320-0946.jpg


Stripped it to this :-

IMG00020-20100320-1045.jpg


Welded in a bit of a brace and removed the steering pin etc :-

IMG00022-20100321-1418.jpg


and started cutting and grinding :-

IMG00023-20100321-1628.jpg


IMG00025-20100321-1651.jpg


Can't believe that took me all day. I'm using the end plate for a template and hope to get a couple of new ones made up in the week so I can carry on next Sunday.
 
No messing about on this one fella lol, looks like you know what your doing so crack on and its another Dormobile saved from the pile :D
 
27th March

End plates for beam haven't appeared yet so I was a bit stuck. Bob (my restorer and instructor!) gave me my first welding lesson. Why does it look so easy when a pro does it?

1.jpg

Not bad for my first attempt so being the cocky sod I am I tried to seam weld the engine hatch in. Needless to say I burn't a hole through the bloody thing and learnt the hard way to turn down the ampage when moving down to thinner sheet. Lesson 1 learnt. Decided to use the pieces I'd cut out of the floor to practise on :-


2.jpg


Getting slightly better :-

3.jpg


So tacked the hatch down and ground off the spot welds :-

4.jpg


Think I'll leave the rest to the expert or practise at home in the week!
 
this build is cool as 8) . i like the way you have dated your posts, puts a nice time scale to it. i this rate you'll be camping in it at summer :D
 
18th April

Had a couple of weeks off because of Easter and family so got back onto it yesterday. Been let down on the end plates for the beam so decided to make some using one of the old ones as a template and a piece of 10mm steel checkerplate that was lying around.

IMG00049-20100418-1503.jpg


Scribed around the outline and then centre-punched before cutting it out with an oxy torch. Also torched off the other end plate and spent the rest of the day with a grinder tidying everything up.

IMG00047-20100418-1246.jpg

IMG00048-20100418-1451.jpg


Marked out all the positions for the holes including the beam tubes but raised tubes by 10mm for an even lower ride - every little helps!

Seven hours work but don't seem to have got very far - a very slow process!
 
Ebeneezer said:
Marked out all the positions for the holes including the beam tubes but raised tubes by 10mm for an even lower ride - every little helps!

Seven hours work but don't seem to have got very far - a very slow process!

I didn't think it was possible to raise the tubes - or are your clearancing the chassis where they mount too?
 

Latest posts

Top