uber cool
Well-known member
some good work there. Keep the photos coming it's inspiring for other in your situ just starting out for the first time on a bay camper, well done, reminds me I should go in the garage and do more on my :mrgreen:


Mickey Sam said:Nick, still fancy that 'race' ? Although I'm still not up to date yet with the pictures I still reckon you'll finish before me.
I'll post another update ASAP ( all this posting is using up valuable 'bus time' )
") how many updates to go before we're up to date? Looks like I'd be better off spending more time in the garage!
how many updates to go before we're up to date? Looks like I'd be better off spending more time in the garage!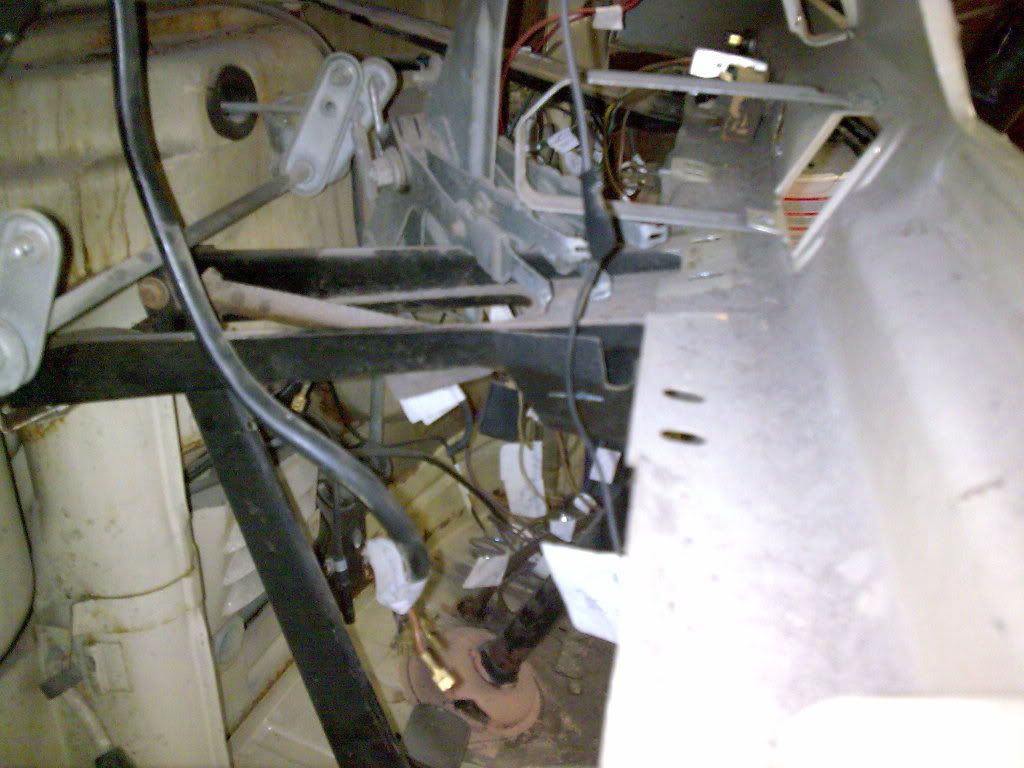


 Know what you mean about "AND IT STILL LOOKS WORSE THAN WHEN YOU BOUGHT IT !!!" but, it is loads better than when you started which is the main thing On the road for next spring? I'm down at Leatherhead once every 6-8 weeks (That's not far from Epsom is it?), I'll give you a shout when I'm heading that way and drop in to give some moral support :lol:
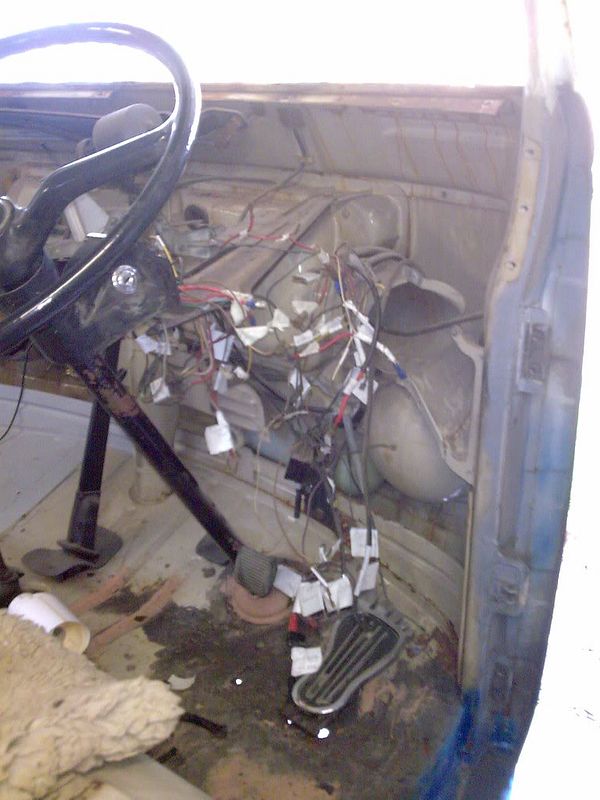
 Mickey Sam said:Cheers Andy, I know what you mean about the wiring, it's gonna be a nightmare, it's like a plate of Spaghetti.
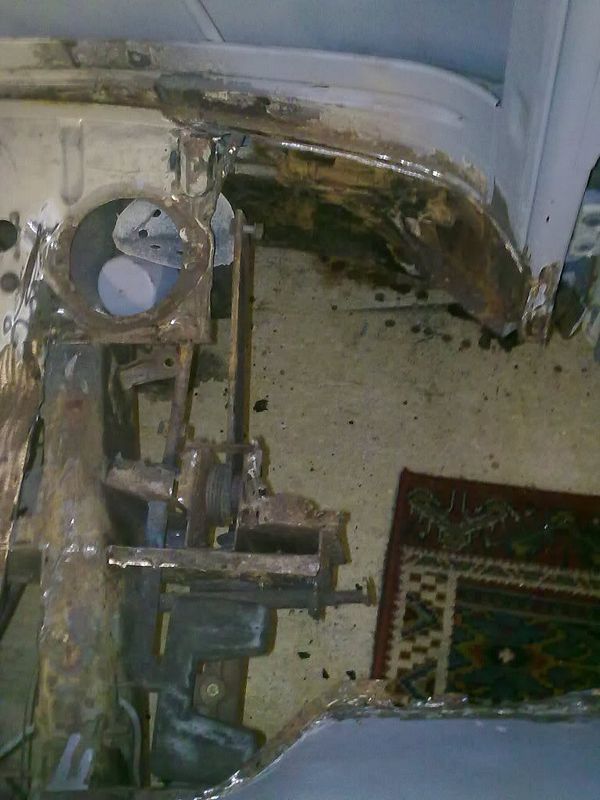
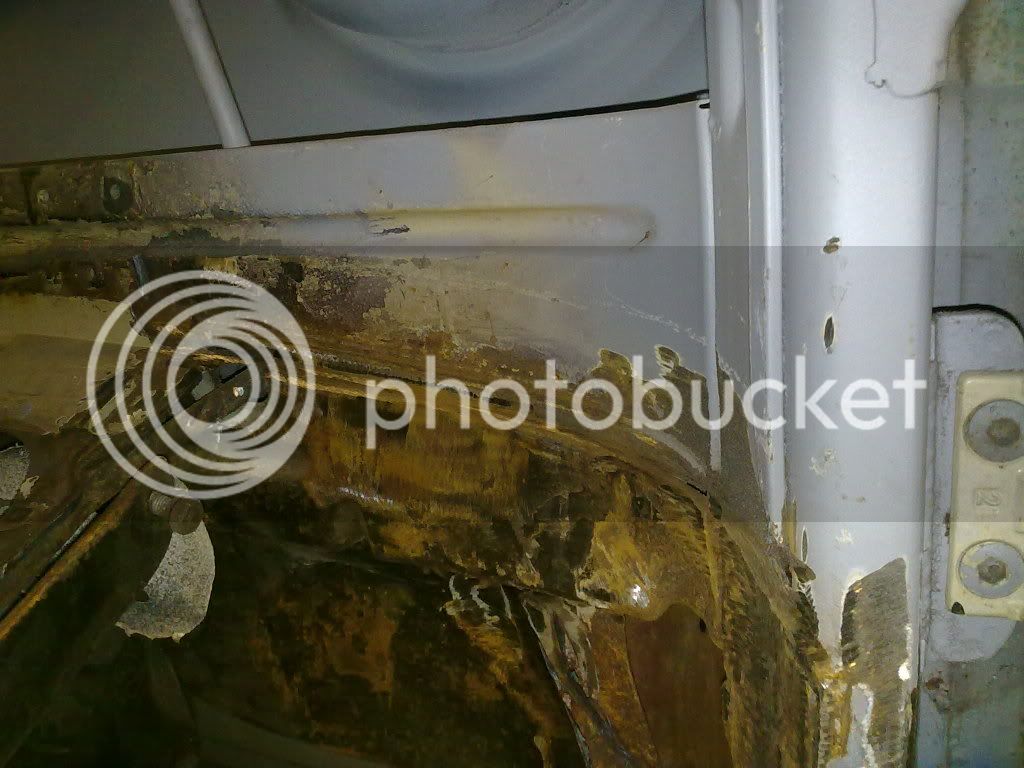
As things are progressing it looks like I might have to go for a new loom as I am finding a lot of cracks and bare copper in the existing wiring .
I don't fancy it burning out due to a dodgy wire !!
Nick, I'm 10 to 15 minutes from Leatherhead, only 5 minutes walk from Hook Road Arena where BB starts from.
There's always a beer or coffee on the go in Epsom mate, be good to meet up.
I never turn down a chance to bang on about about the bus.
My missus looks at me as if I'm talking Greek sometimes when I corner her and talk bus 'at' her ...
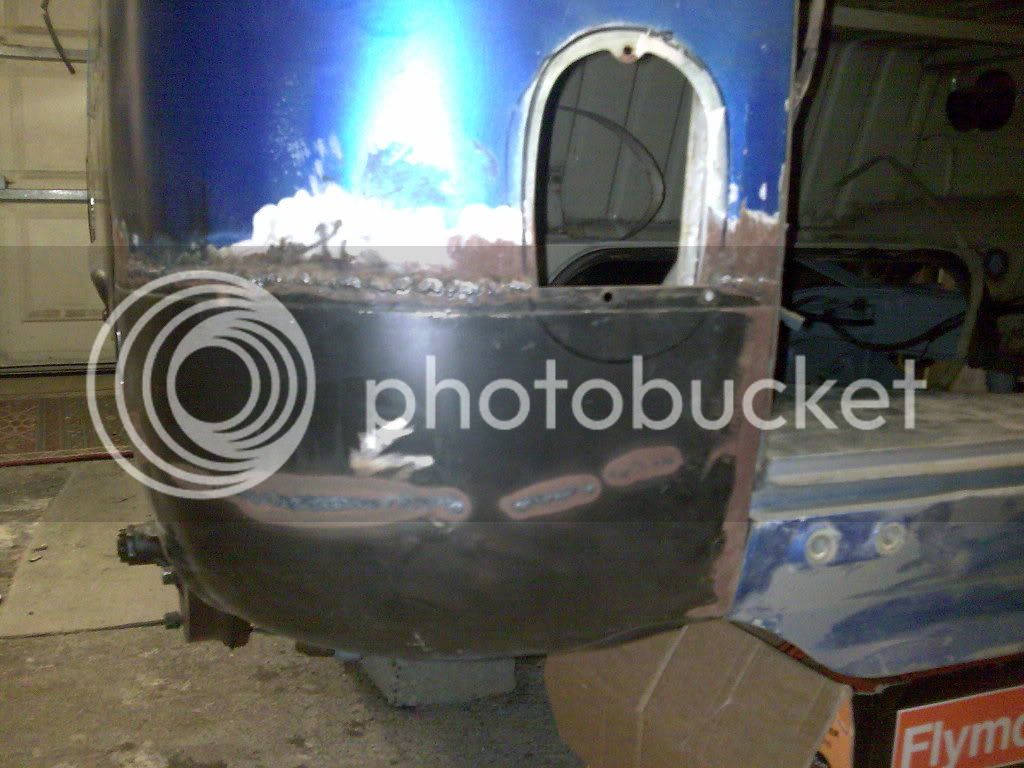
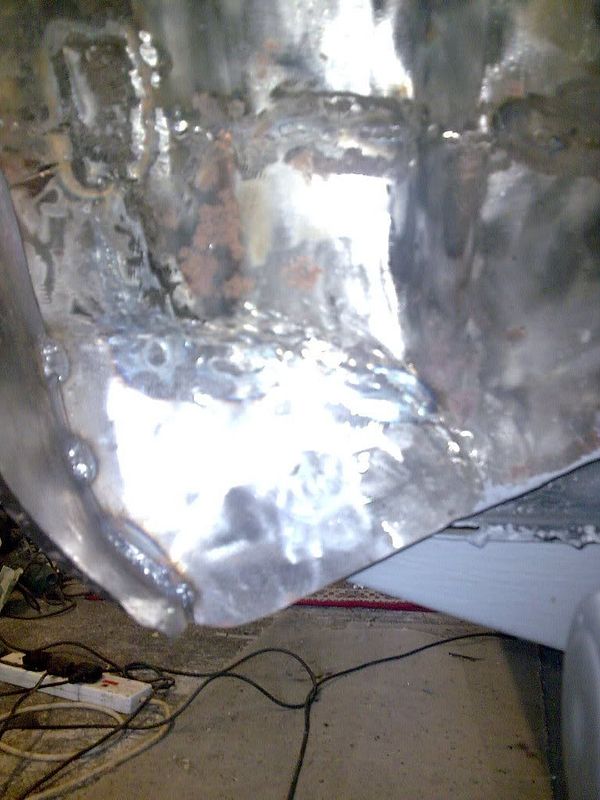
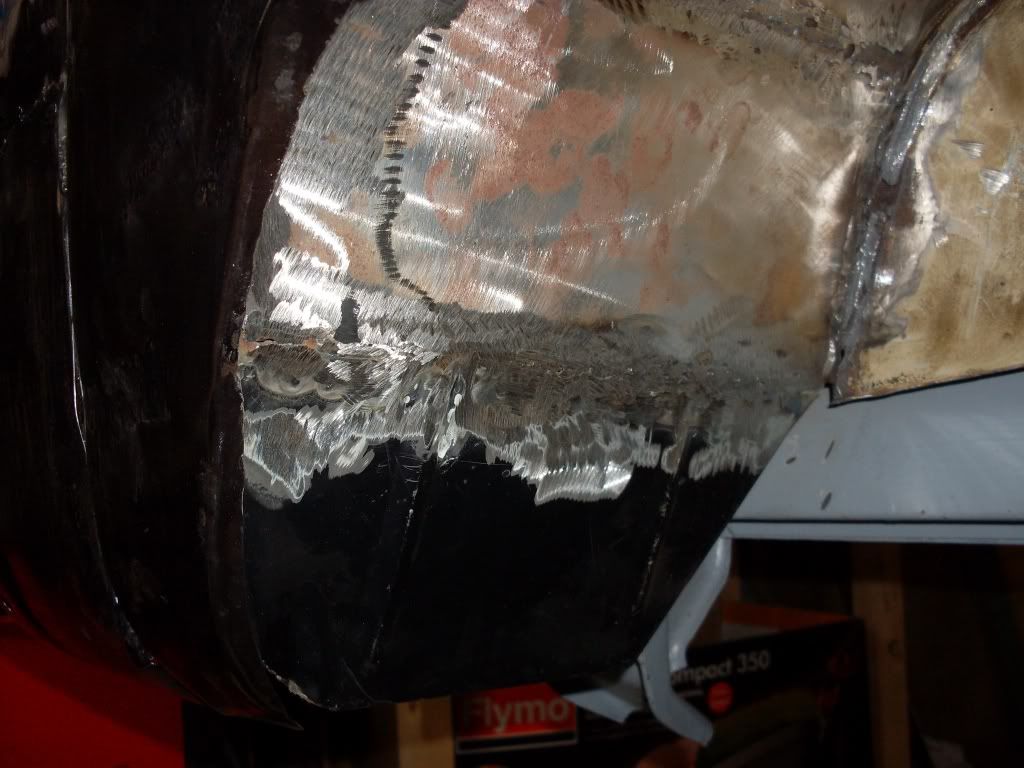
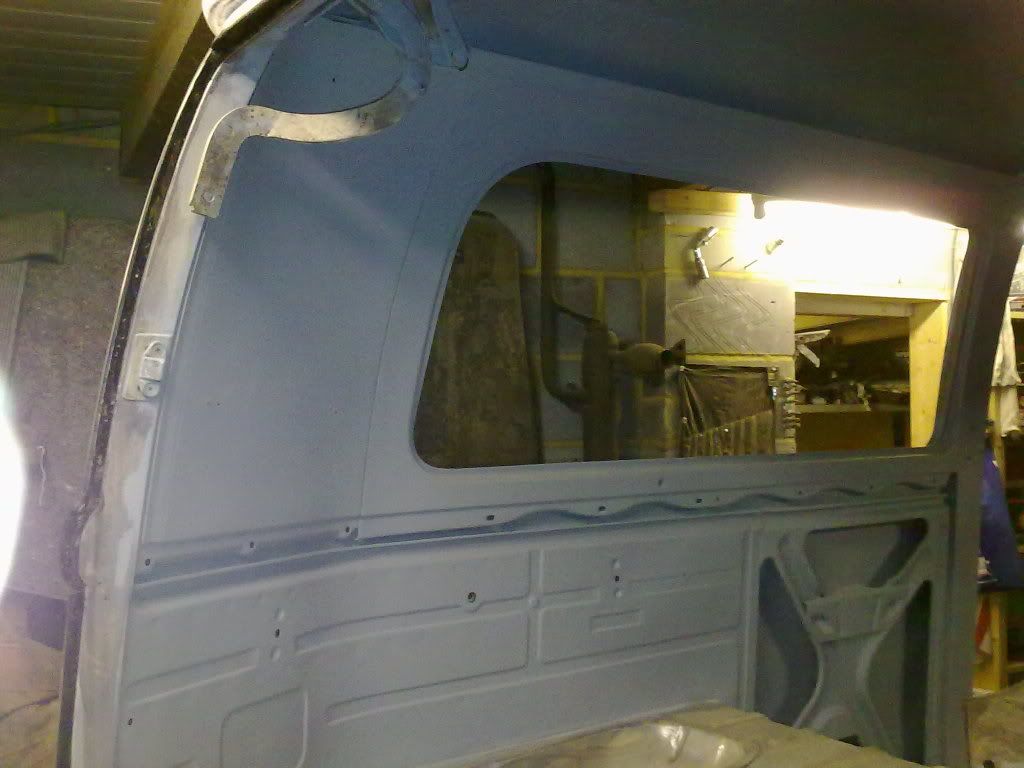
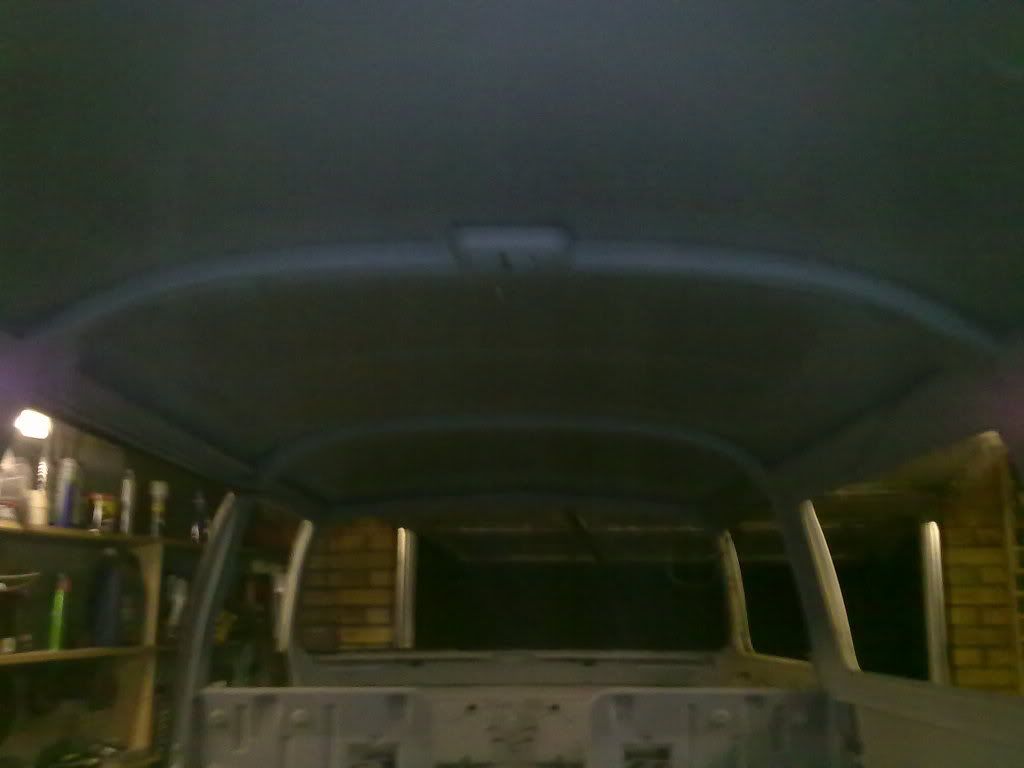
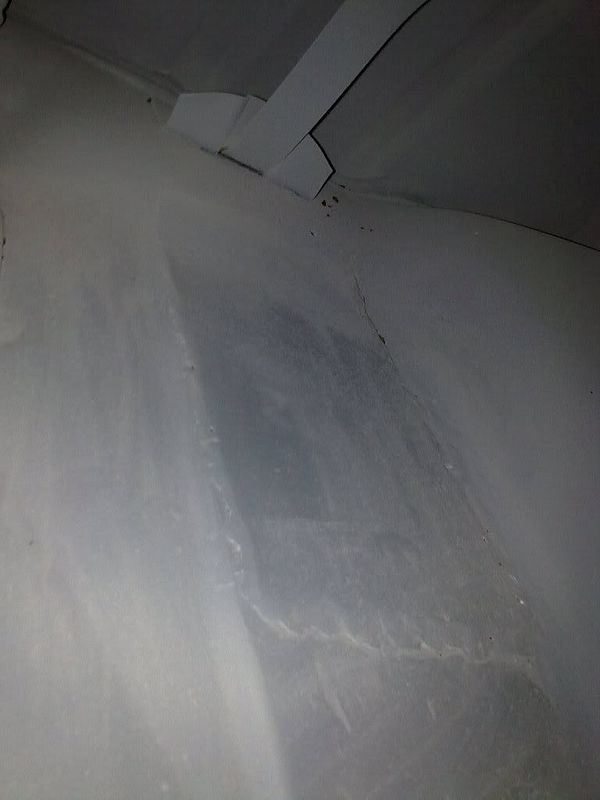
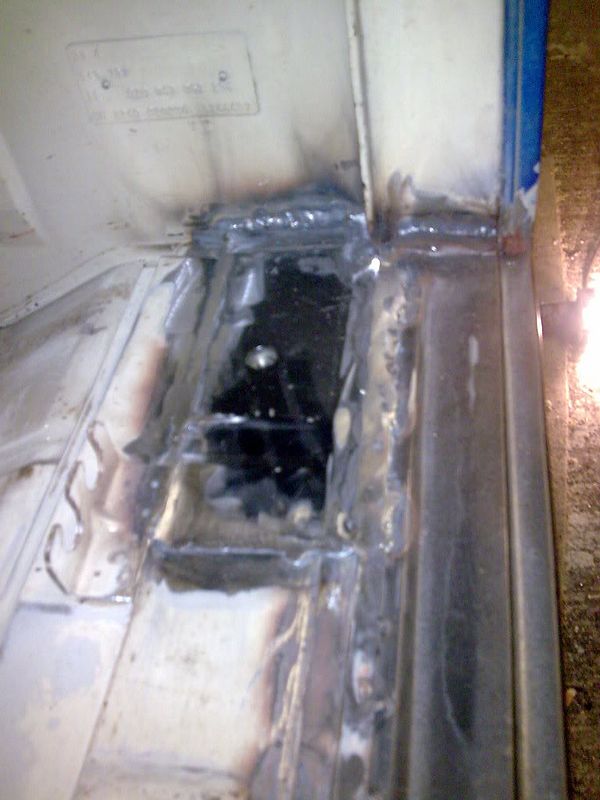
gninnam said:(...clean, rust treat and prime, clean , rust treat and prime,...) :lol:
Love your mantra.
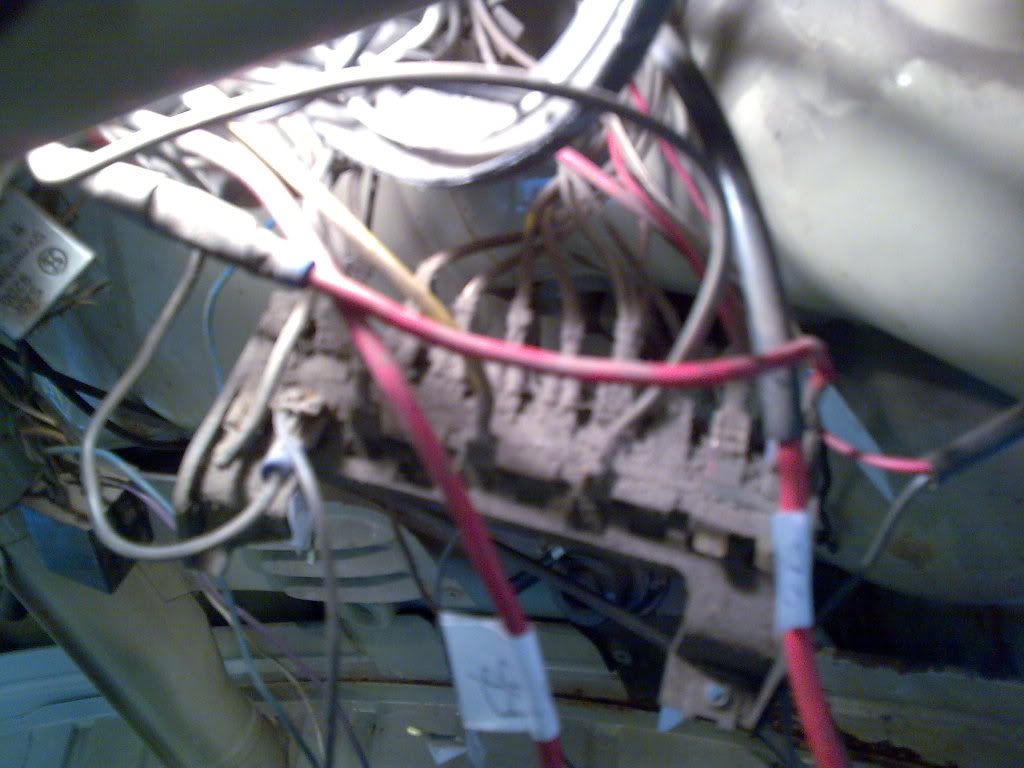
Hope you have better (as in clearer) shots of your wiring as they look a little blurry and hard to work out what-is-what :shock:
Plus you and Nick both mentioned about it looking "still looking worse than when you bought it"! I kow that feeling very well also
Coming along nicely though :mrgreen:
Nick-Rackham said:Andy, unless I've missed it have you updated yours lately? what's the current state?
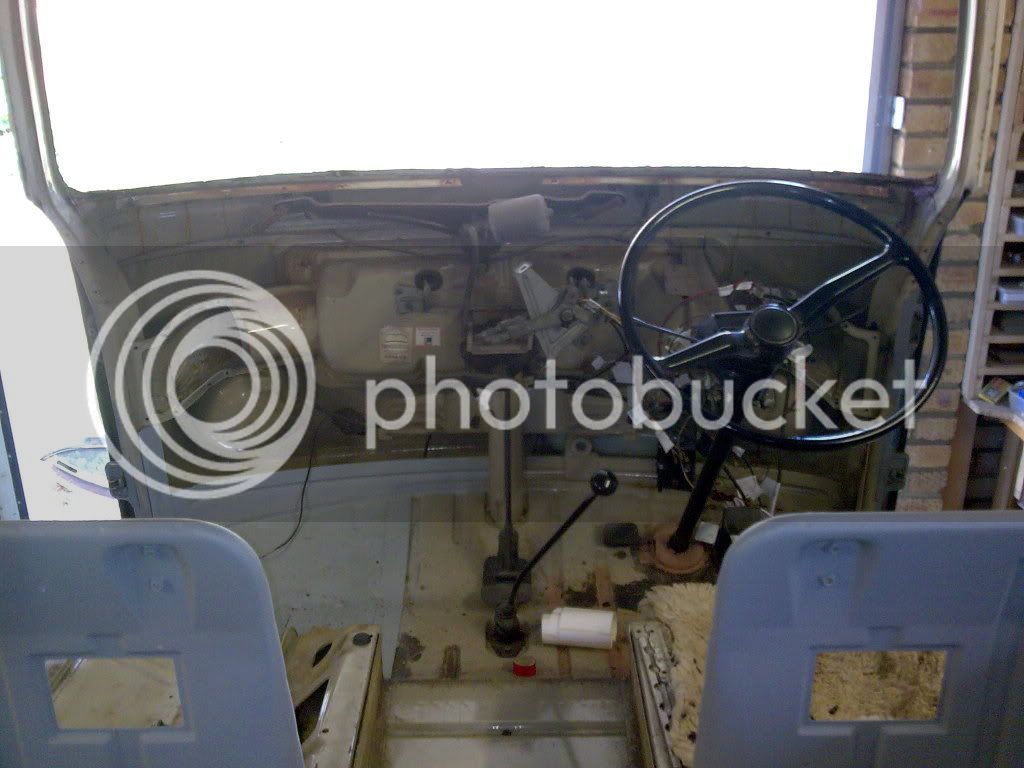
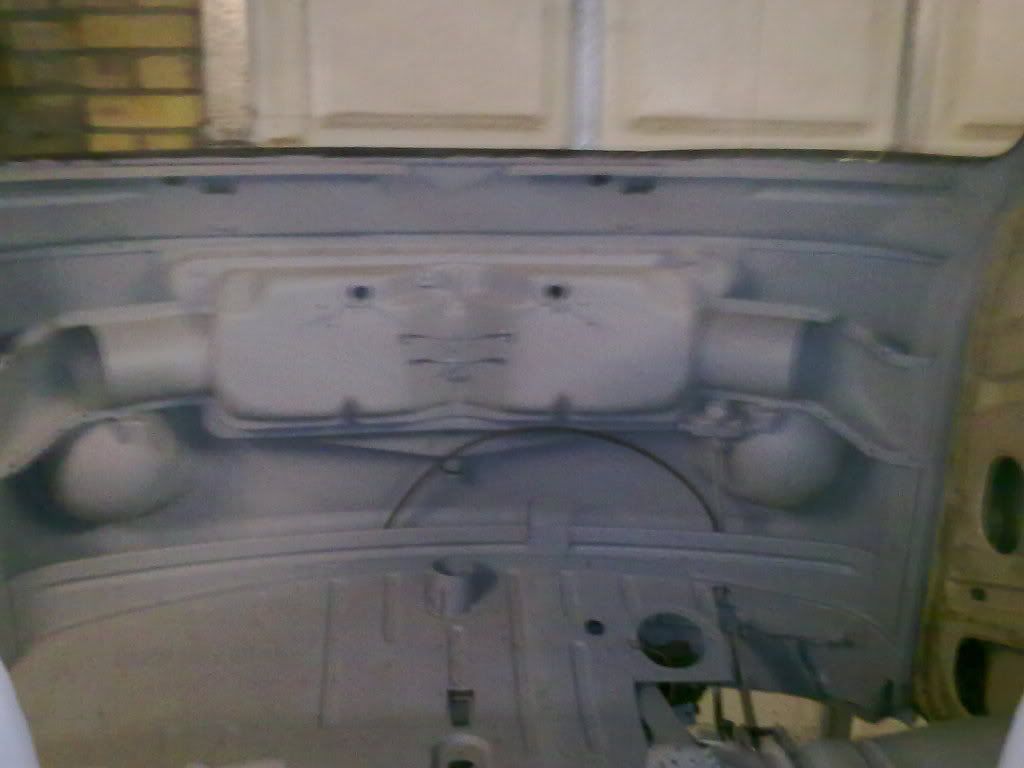
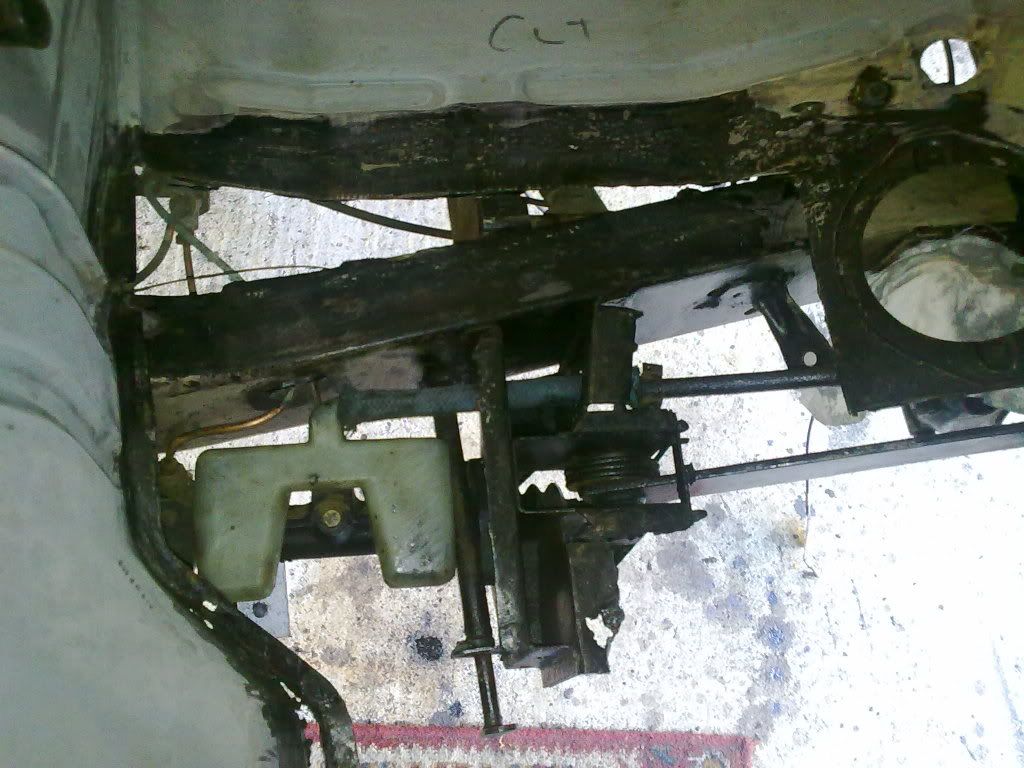
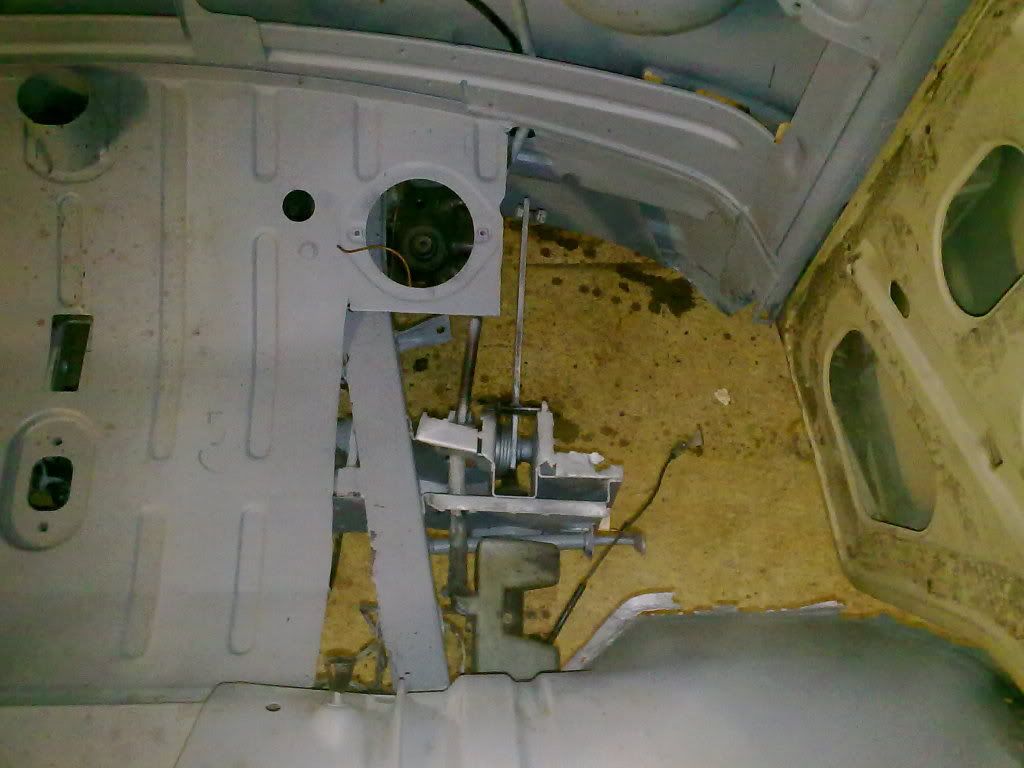
Mickey Sam said:Scary **** !! Note to self.."every one of these wires actually has to be re-attached to something at some stage"
Roll of stickers to the side, lots of wires labelled up, and me behind the camera with fingers crossed that when i come to reconnect them everything still works!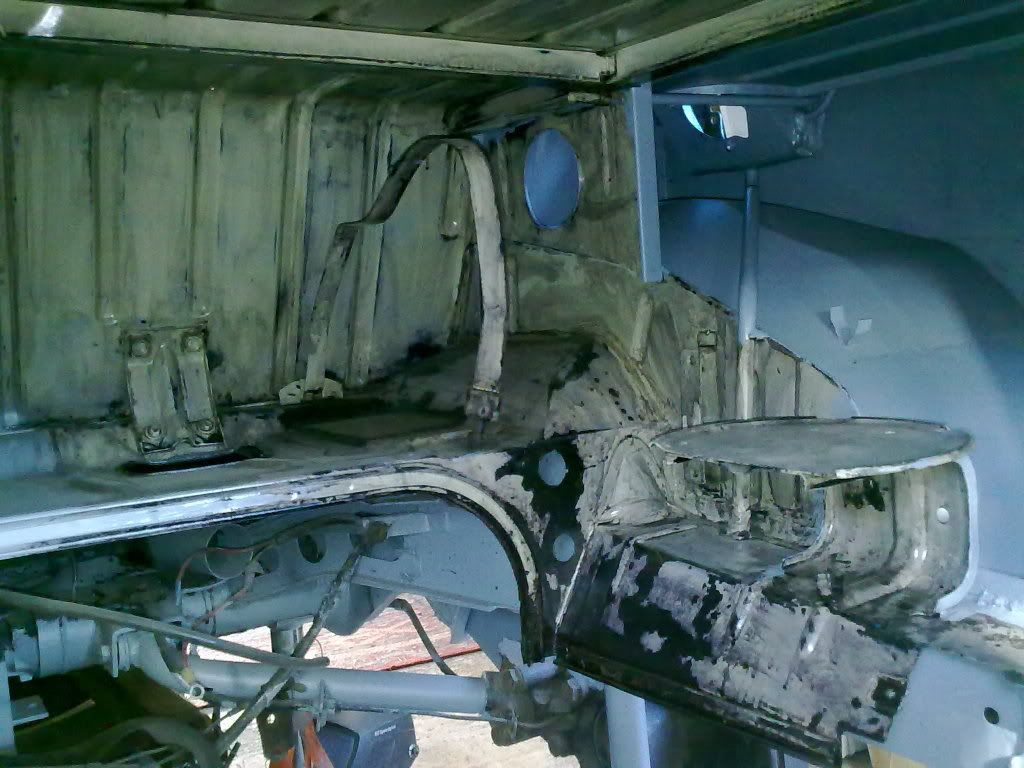
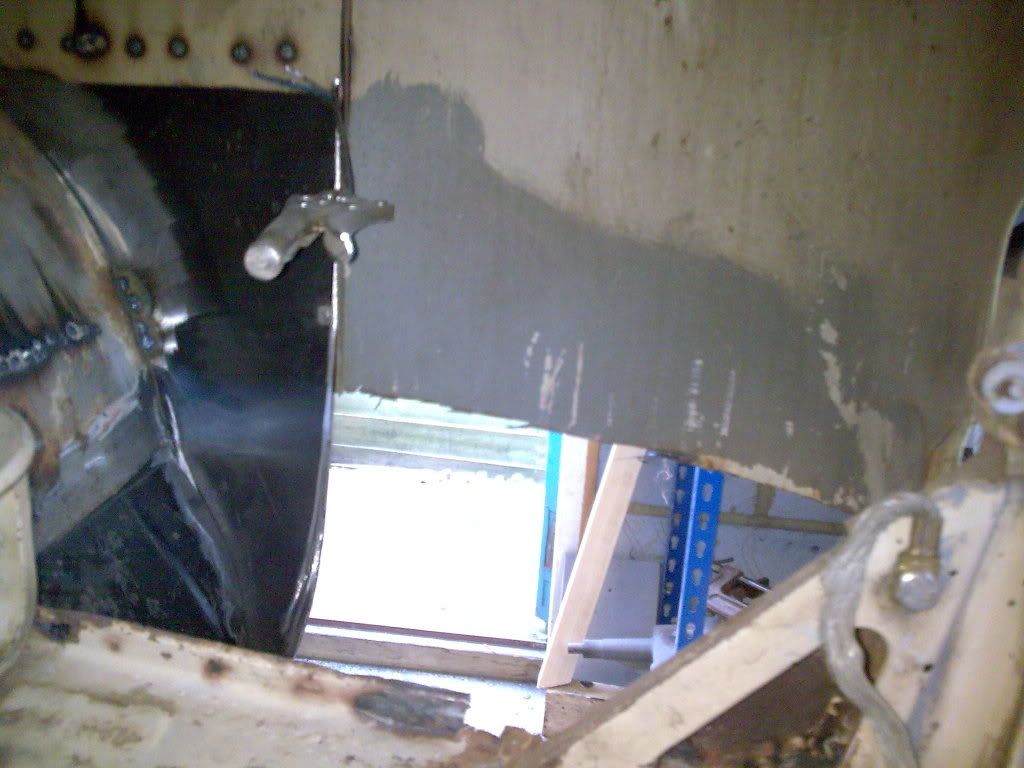

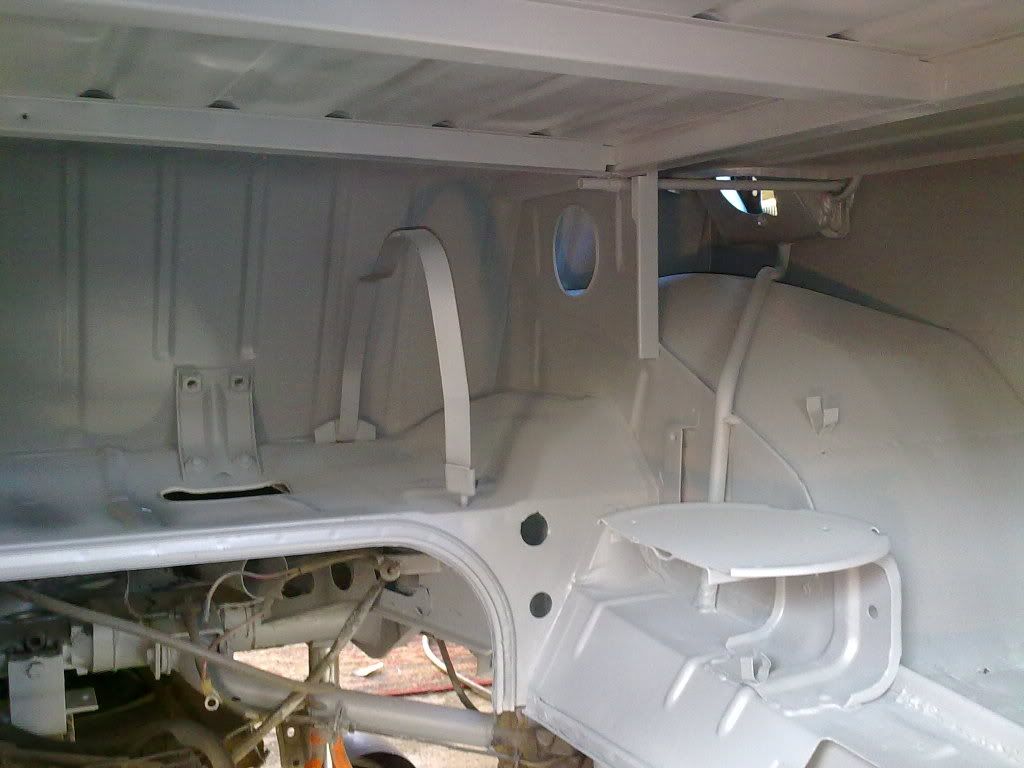
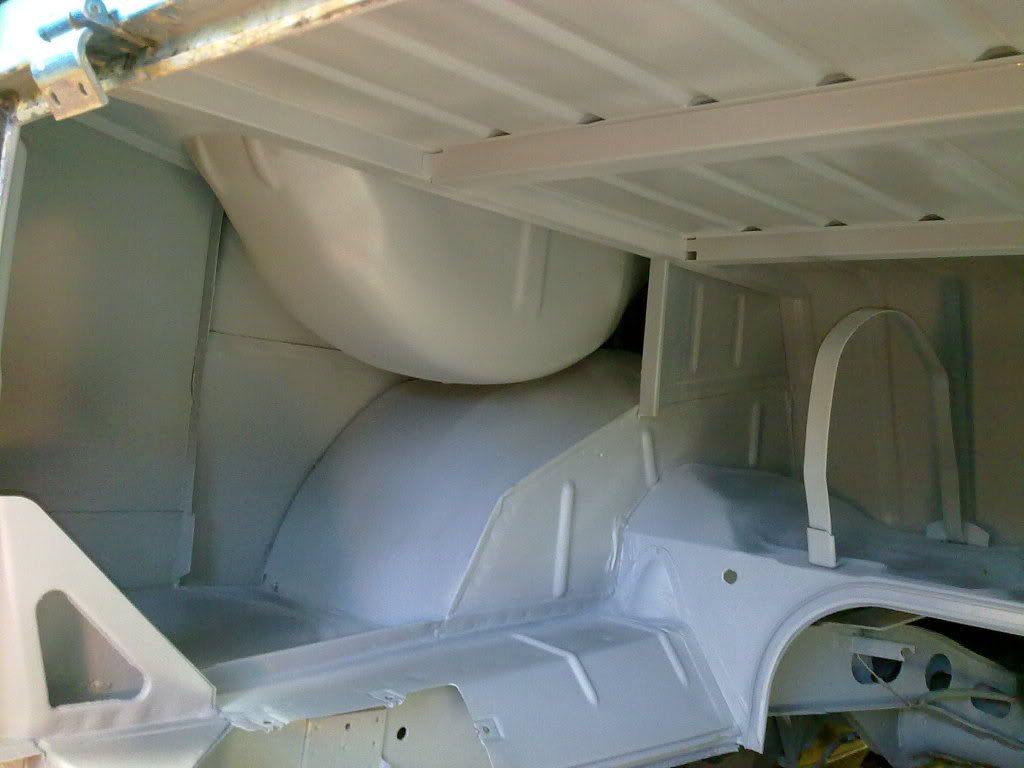

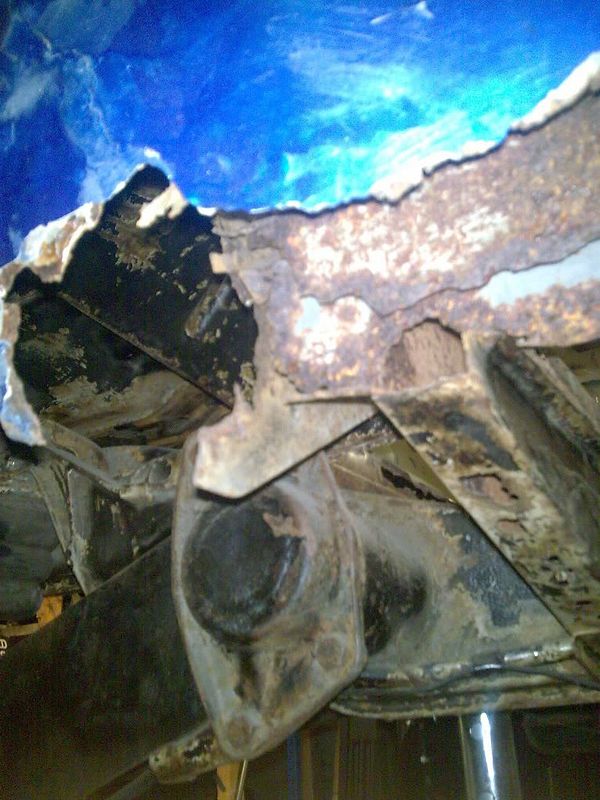
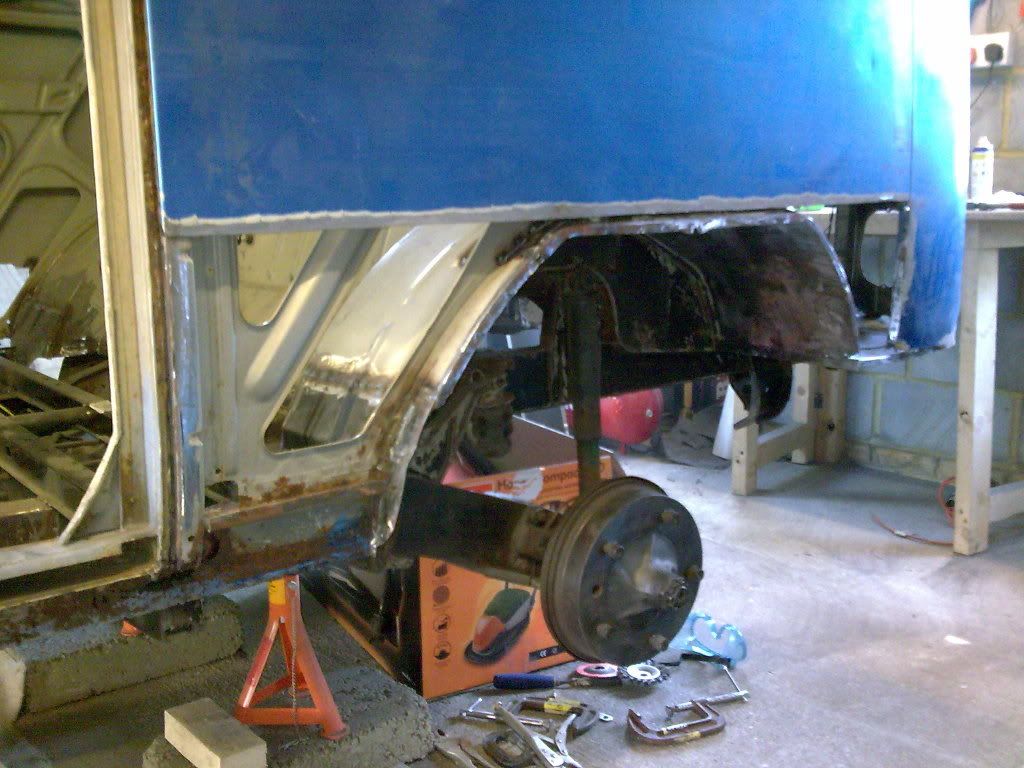
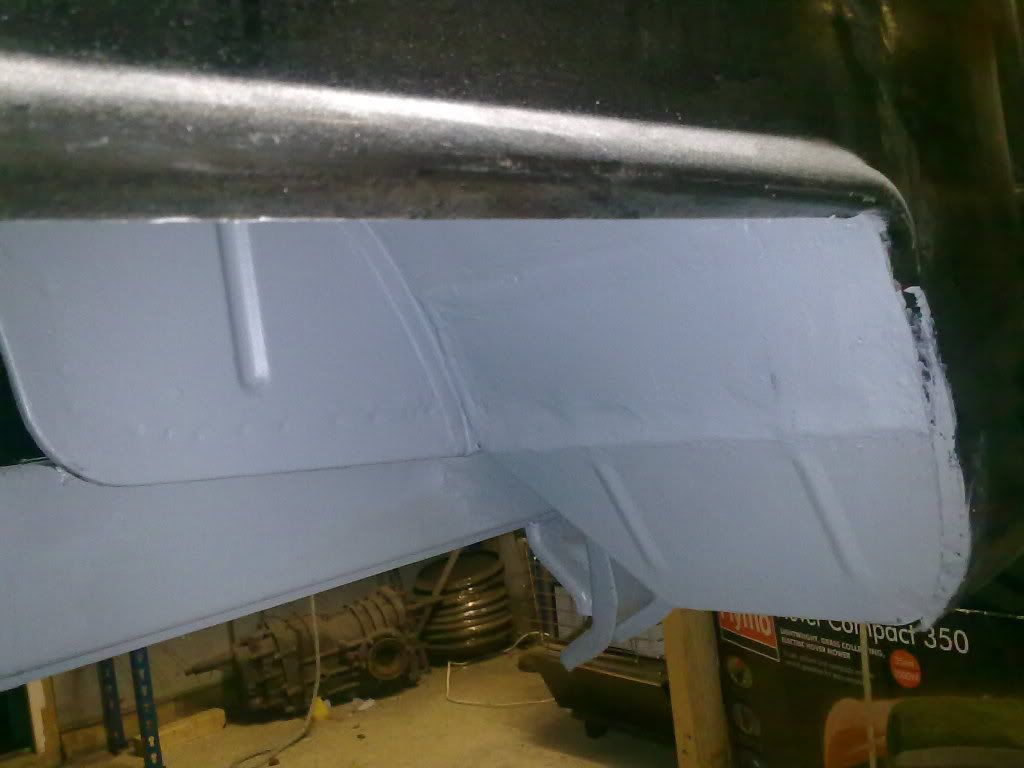
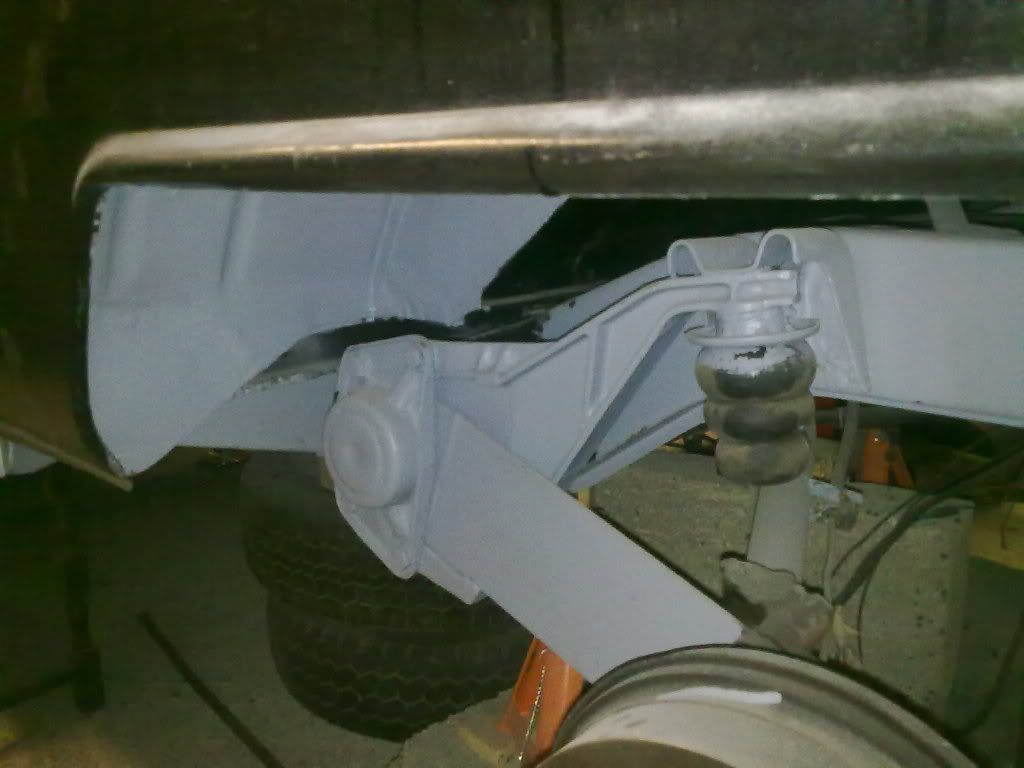
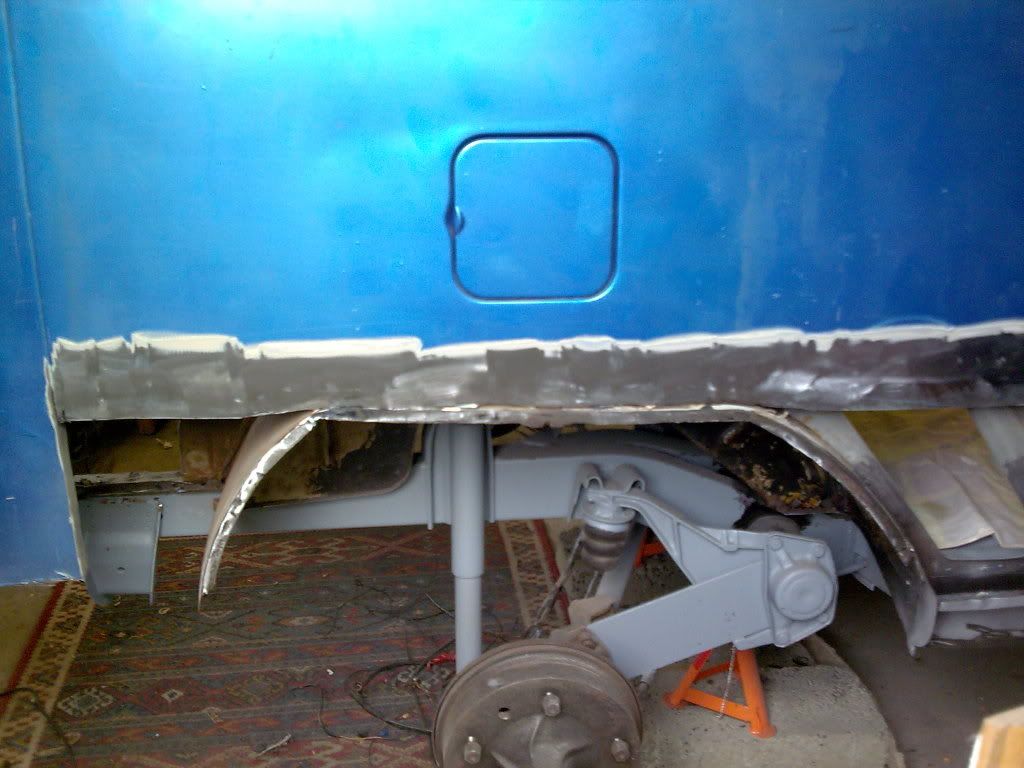
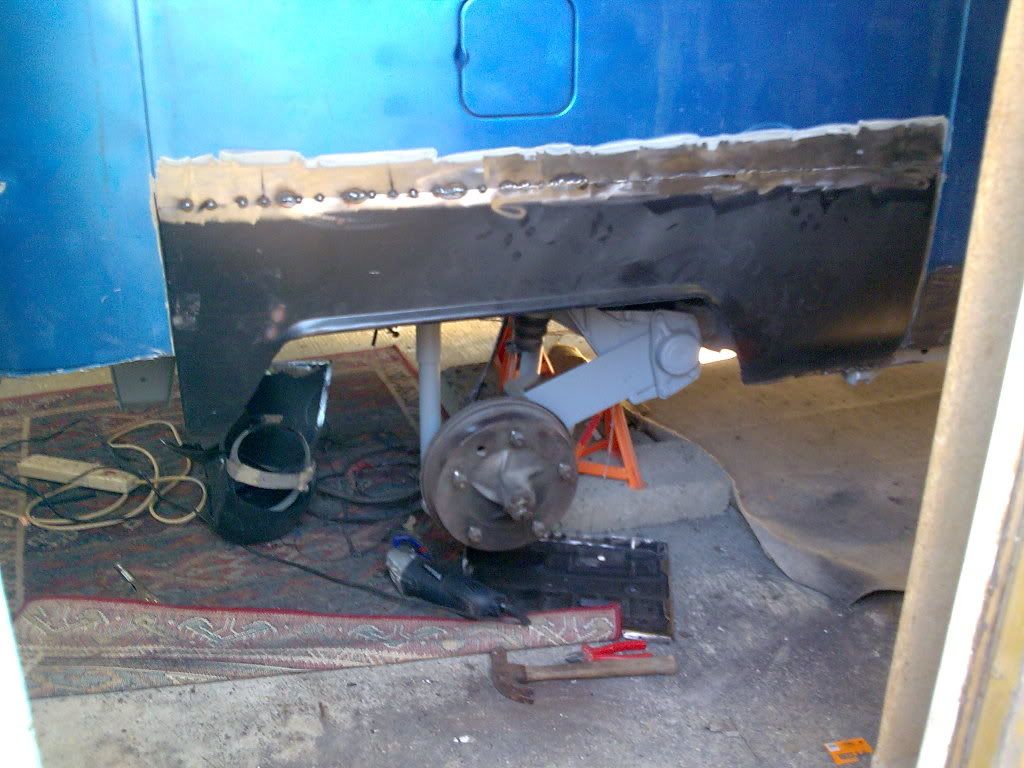
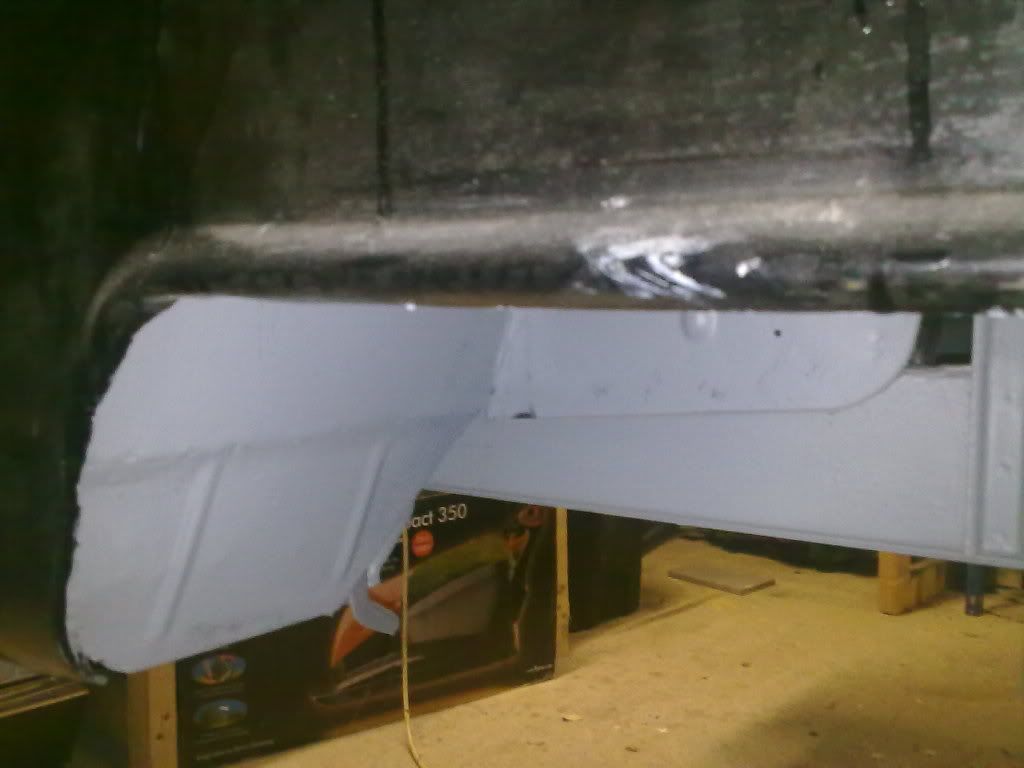
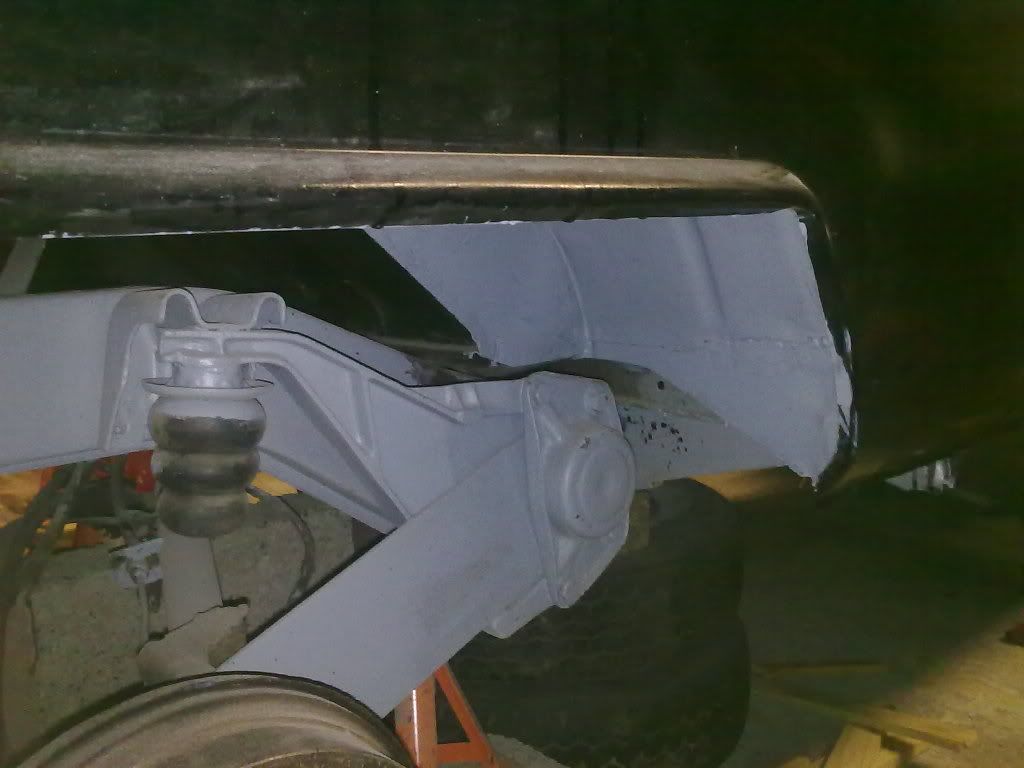
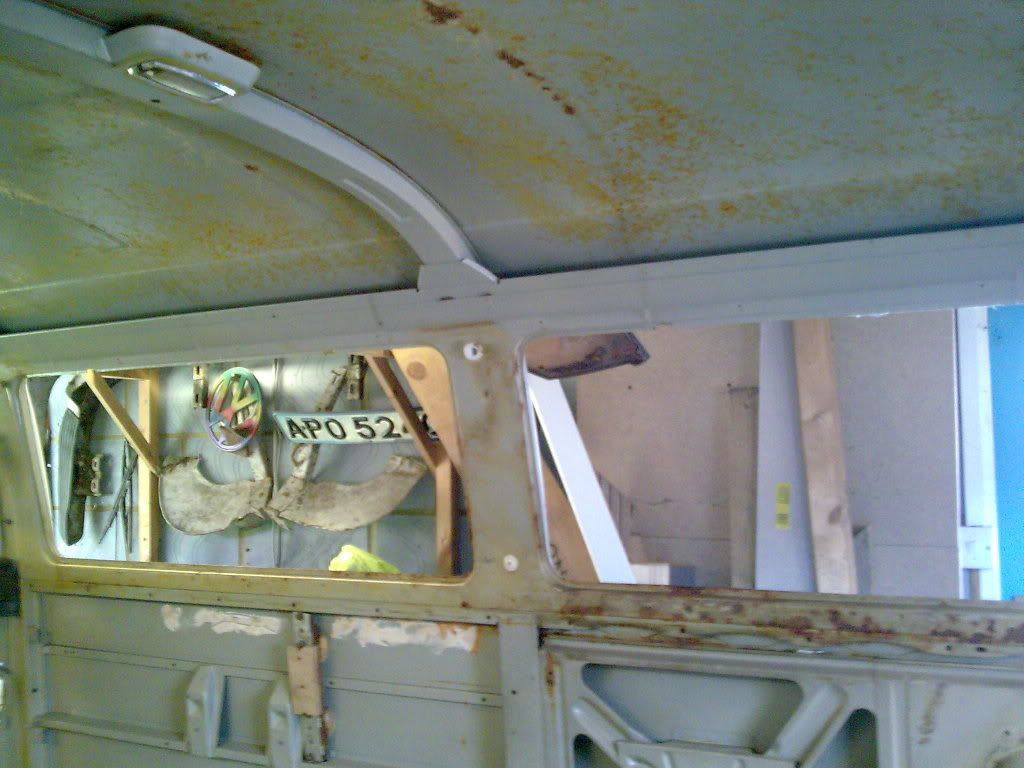
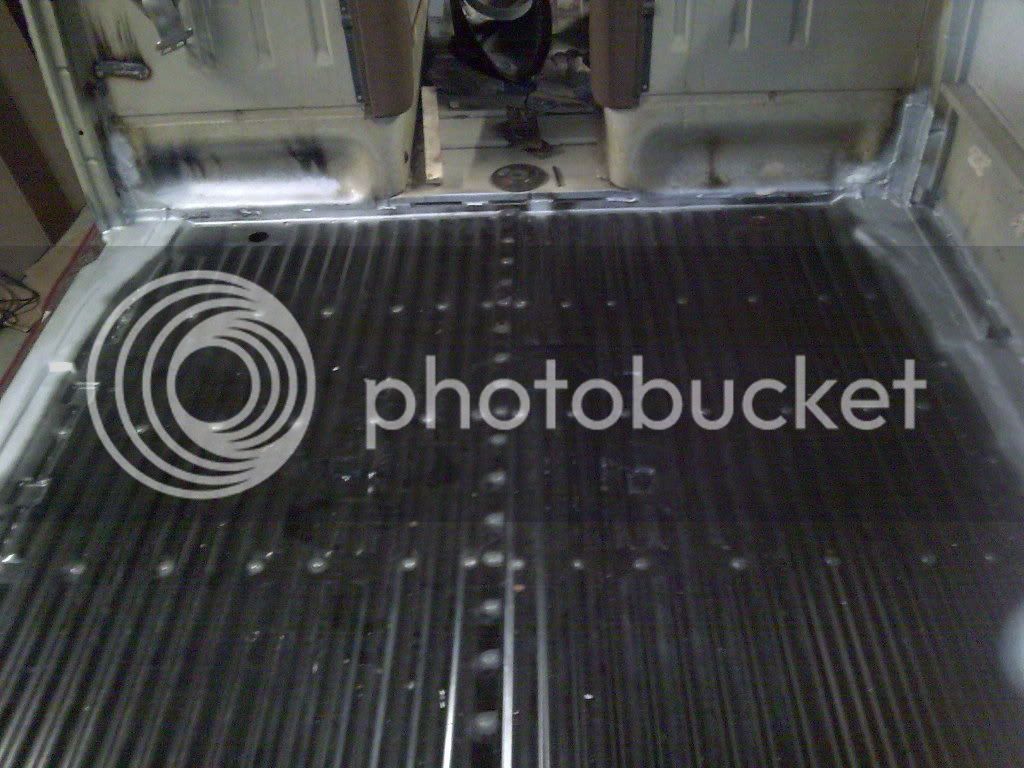
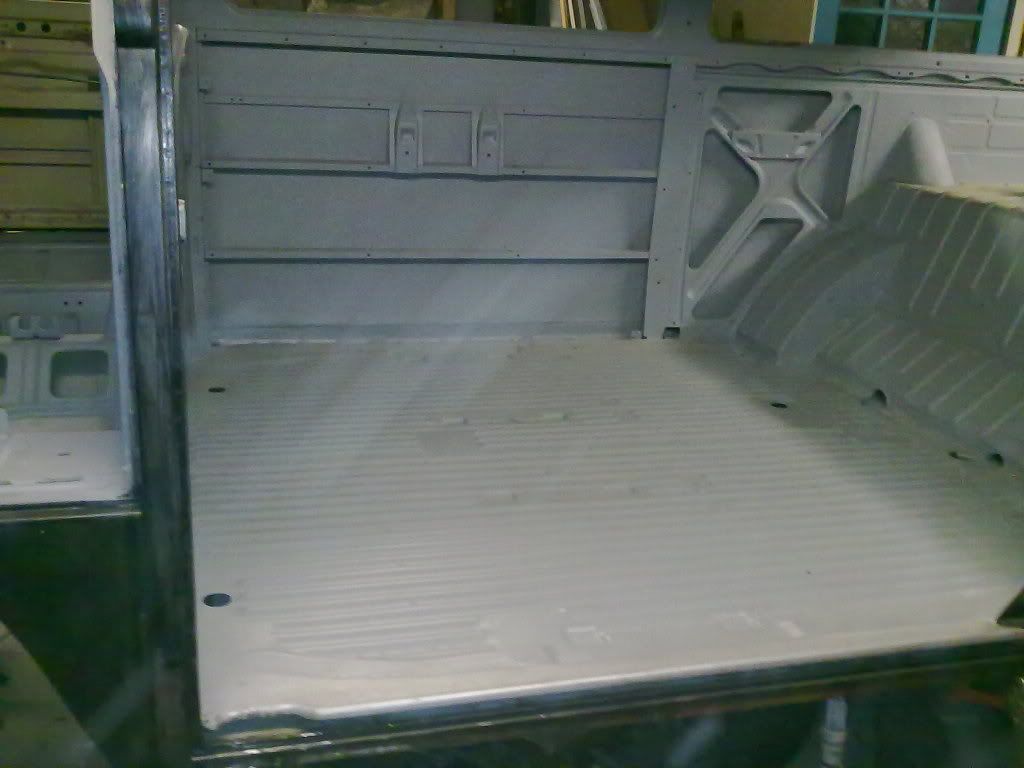
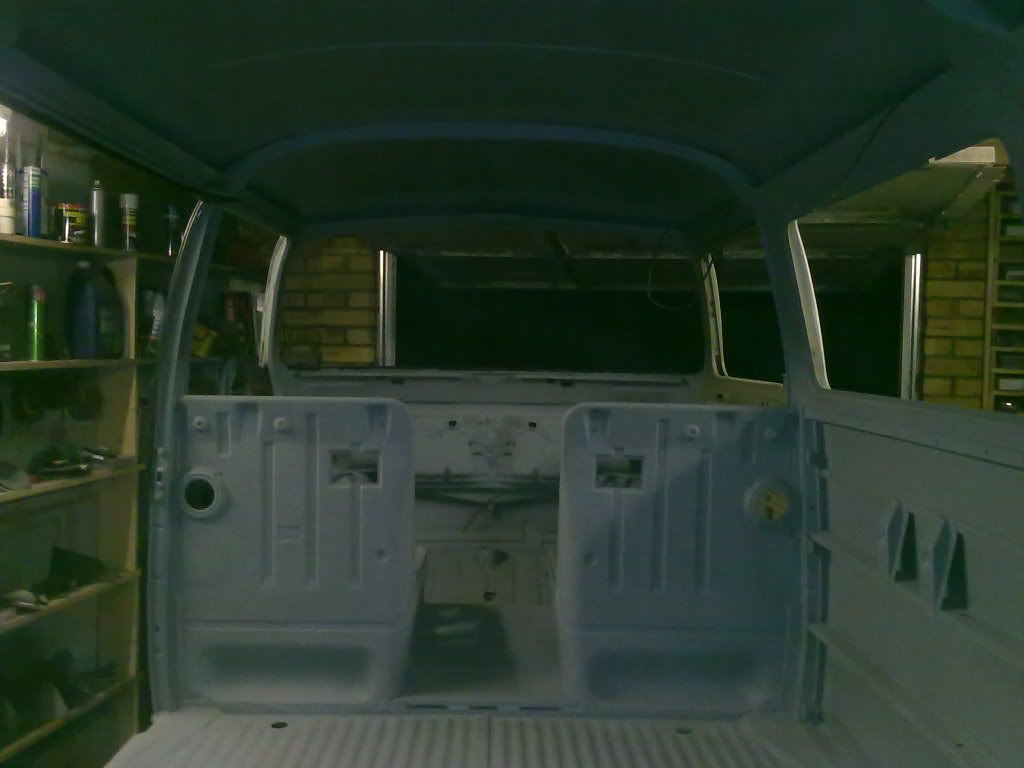
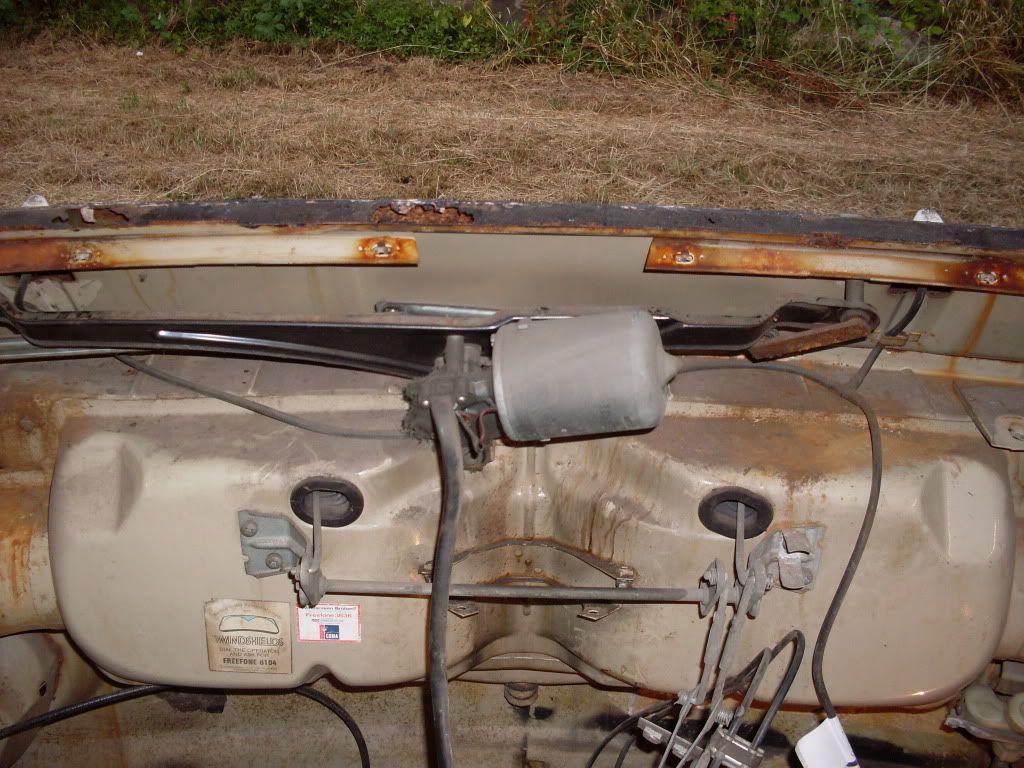
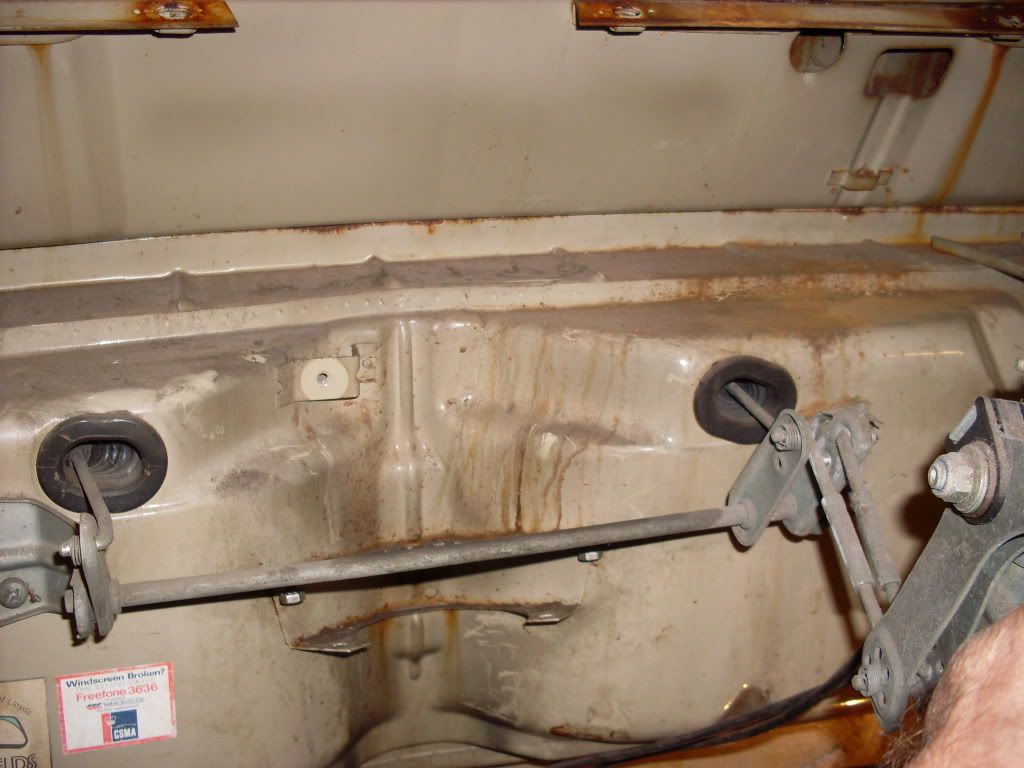
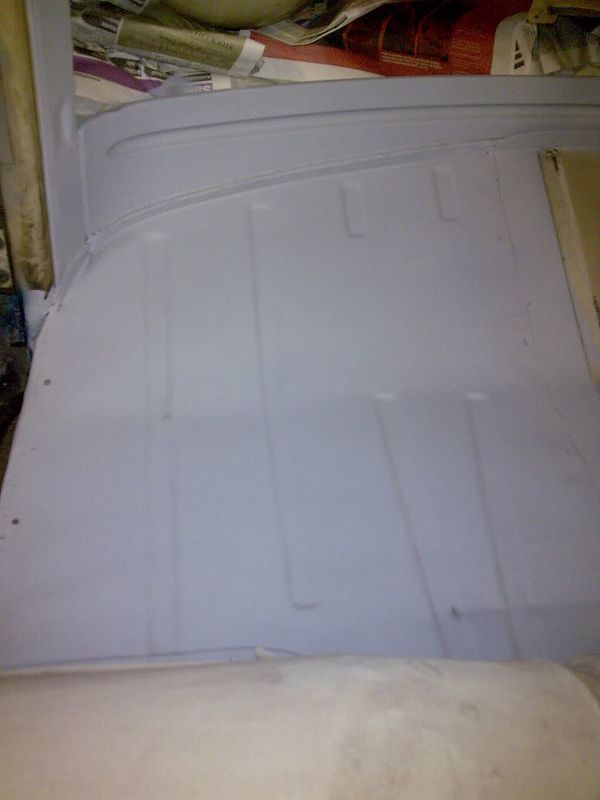
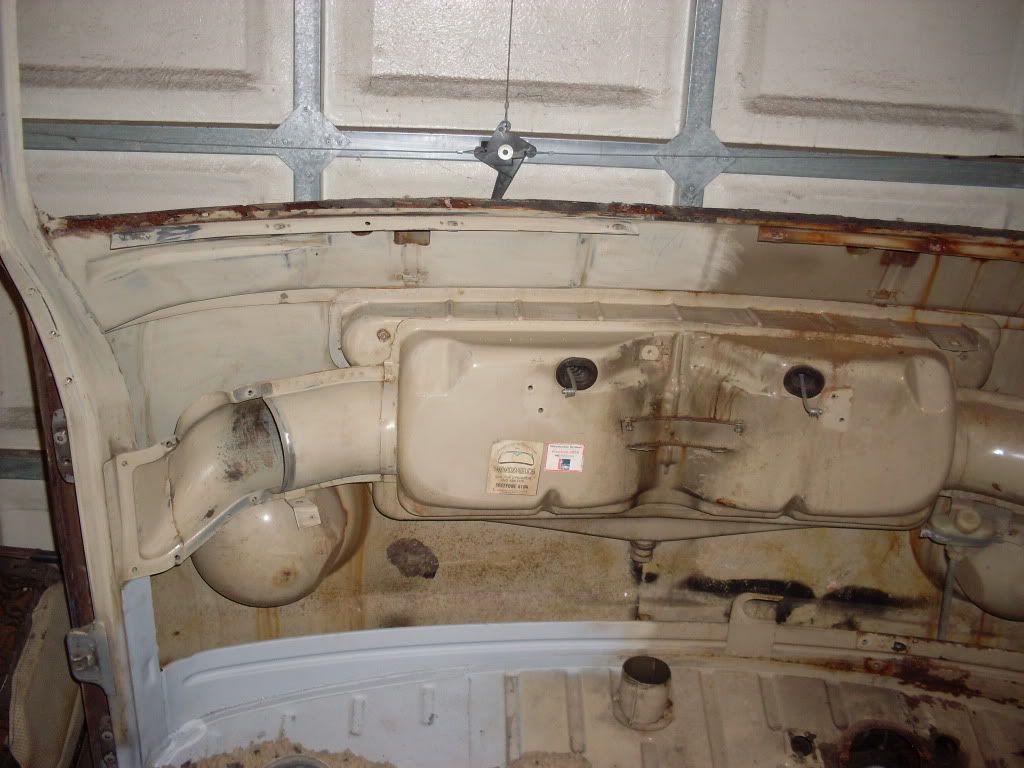
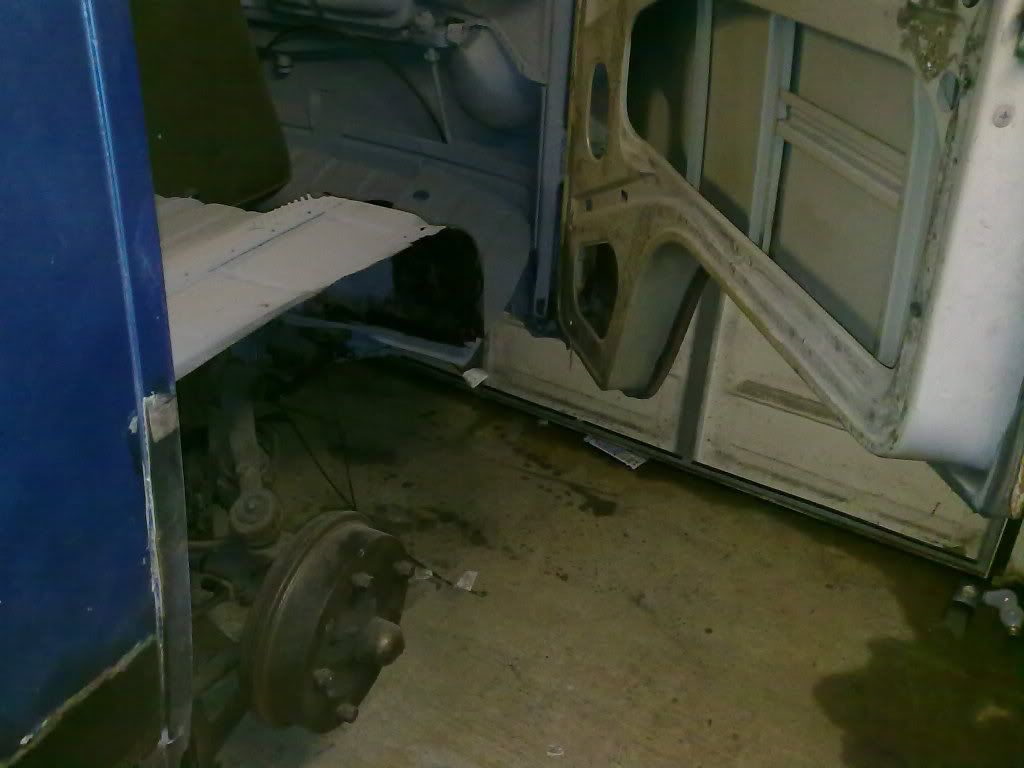
 Seriously though, looking good. I didn't relaise that the 68 didn't have a plate / firewall bit above the rear arches! in the 69 and on there's a plate that's flush with the fuel tank firewall going right across both arches. So I'm going to have problems getting into above the arch, just got access through the filler neck! unless I chop them out and go for the 68 look! Looking pretty handy with the spray gun. Much better once paint starts going on Keep it up bud
Just wish i had the time/skill to do it myself. Total respect for the diy restos on here :worship:Mickey Sam said:Kevin, you're so right about the 'fingers crossed ' bit on the wiring. Just checked out your thread, your tramping on a bit now mate ,
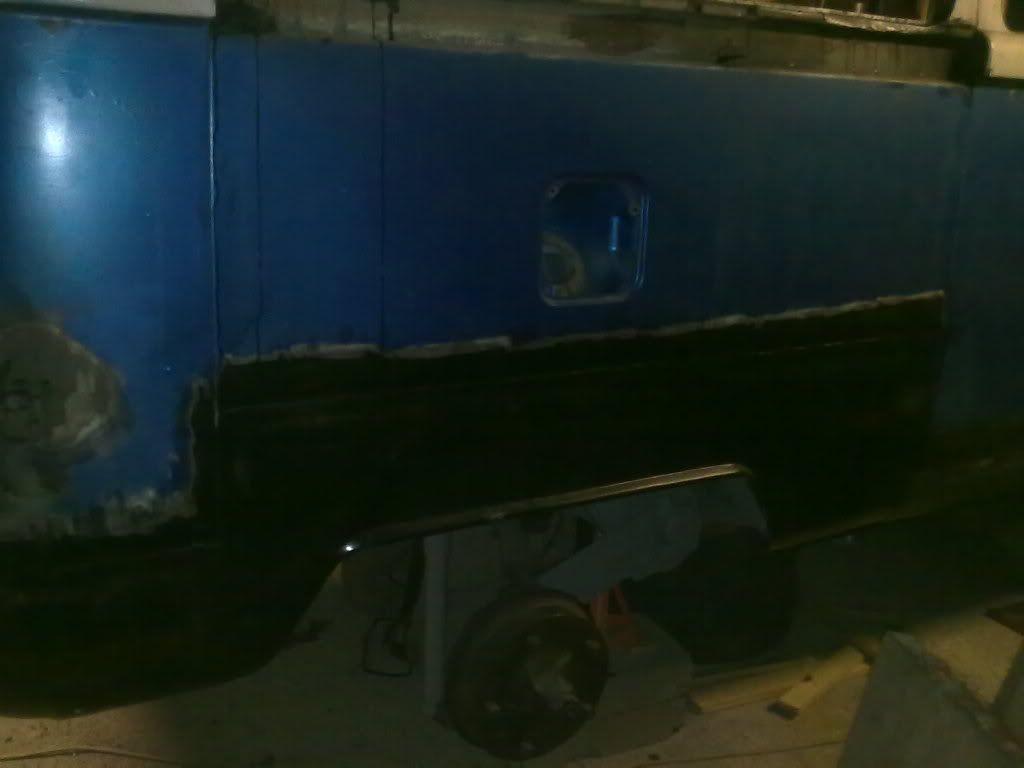
looking good!.
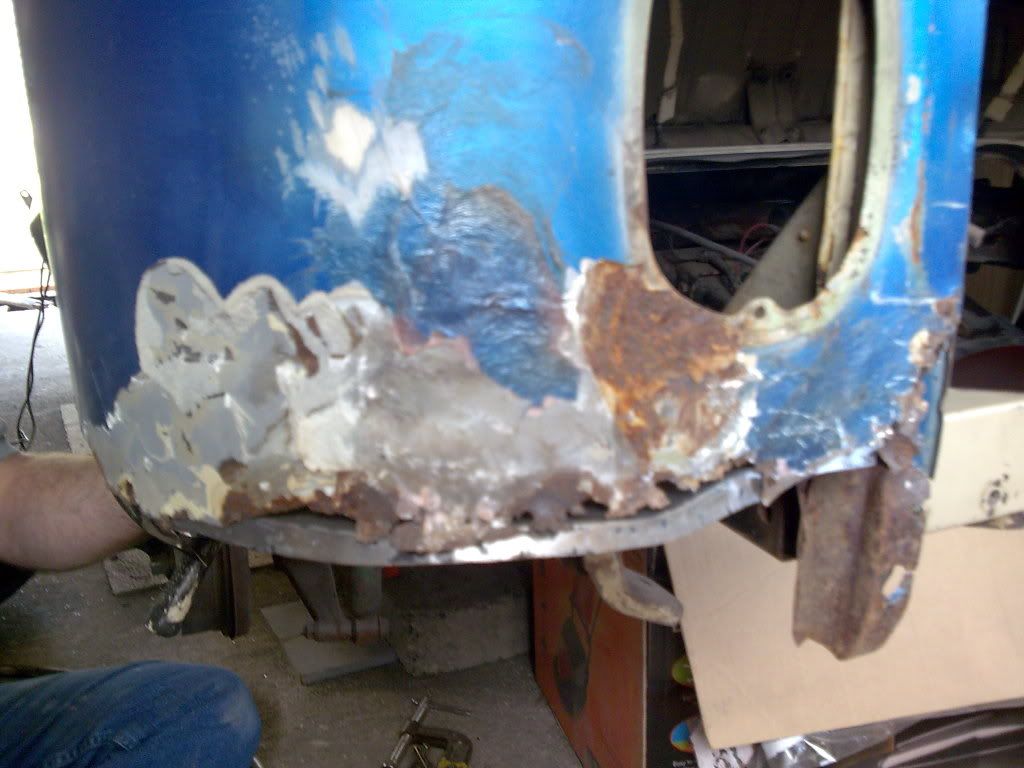
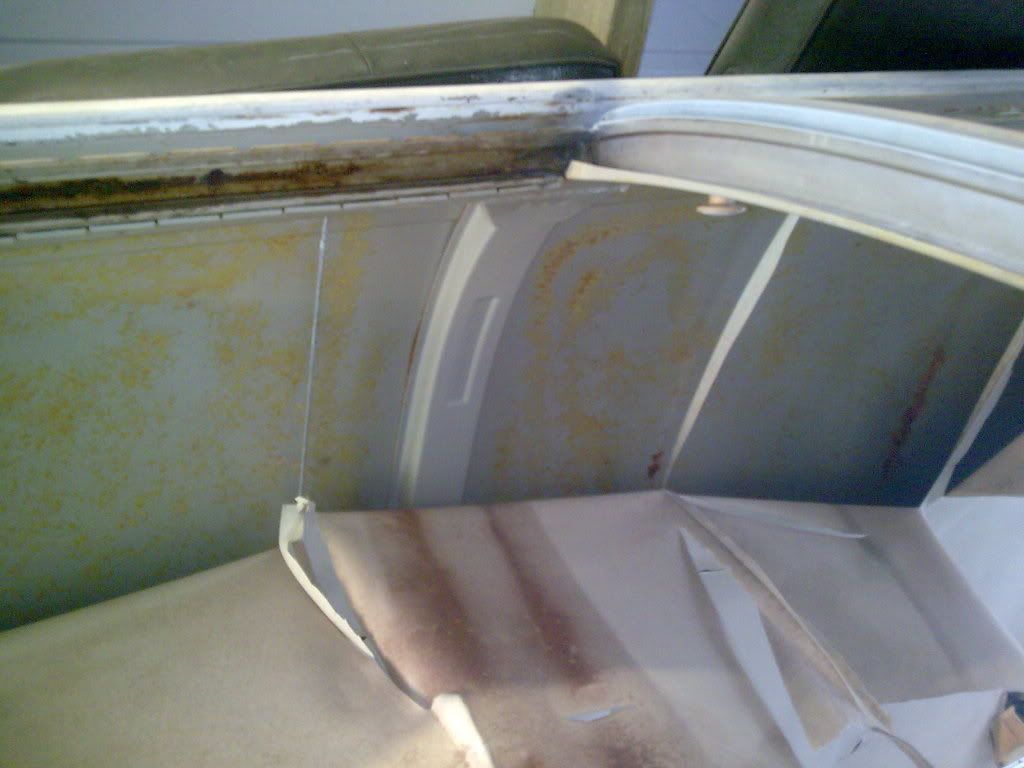
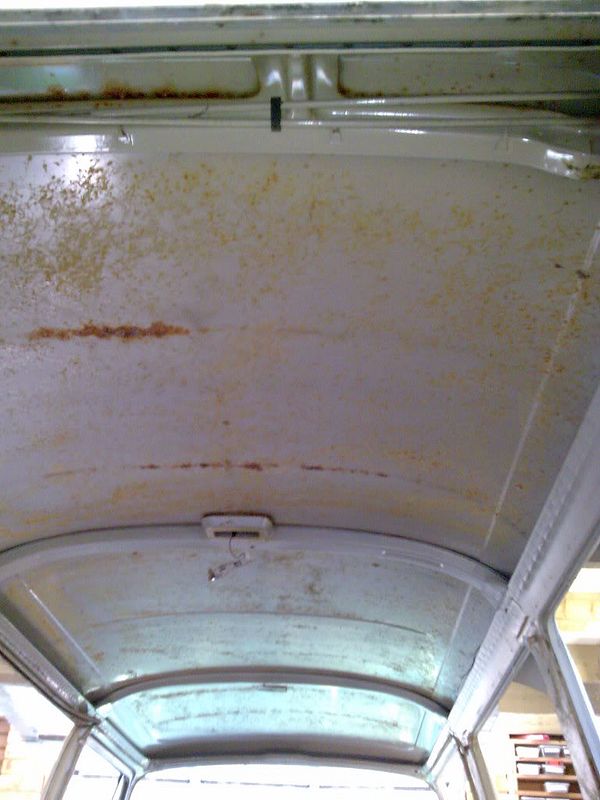
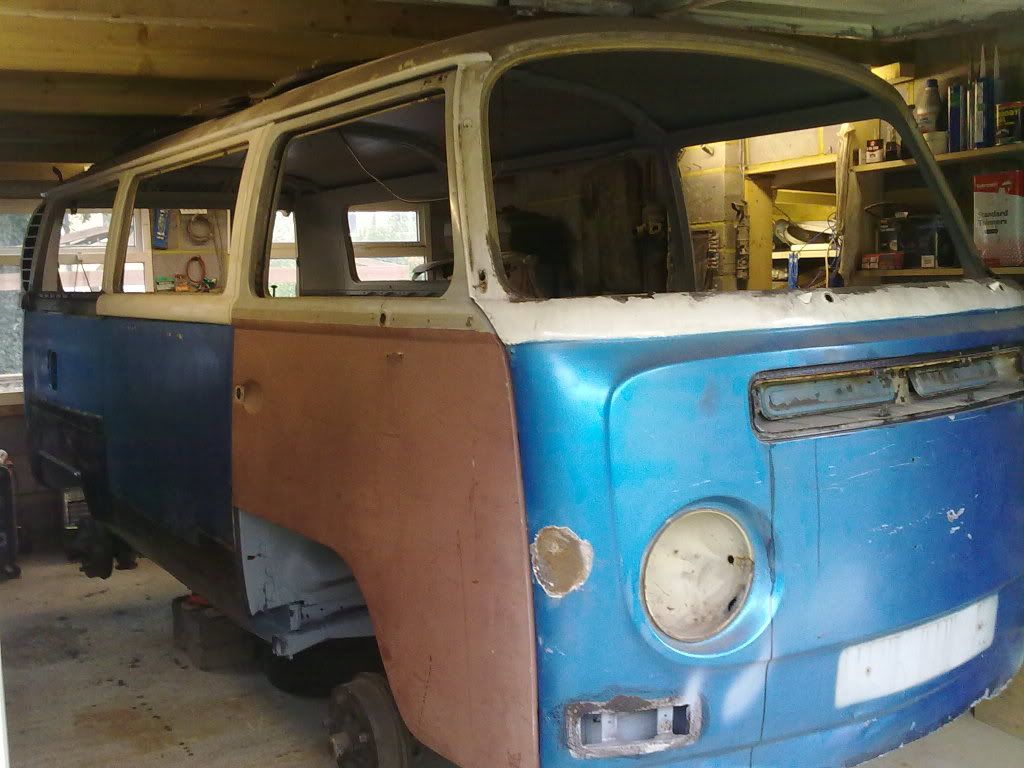
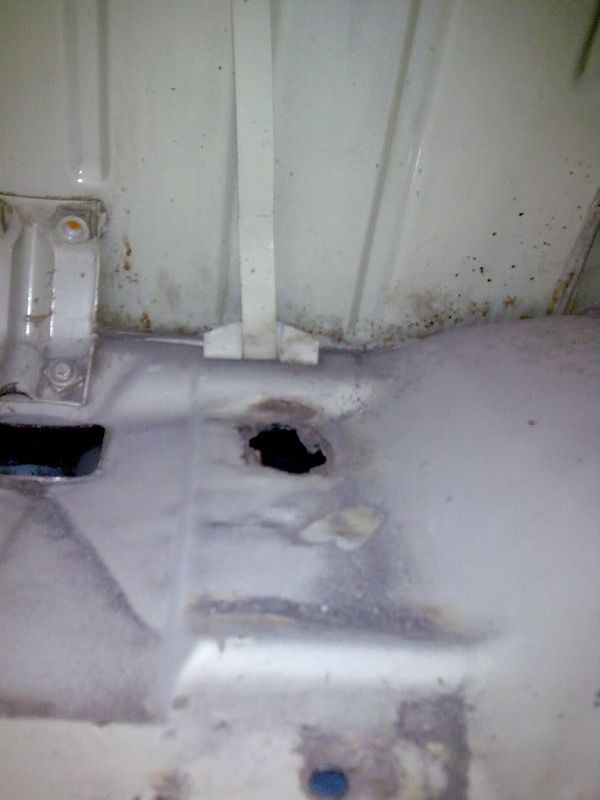
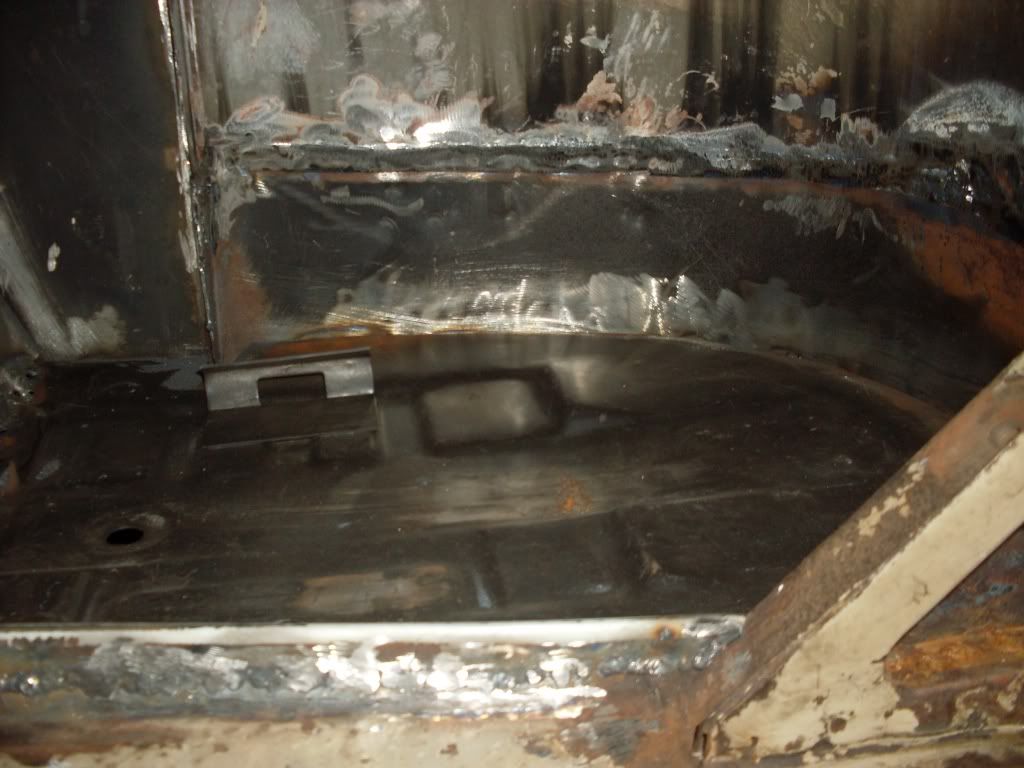
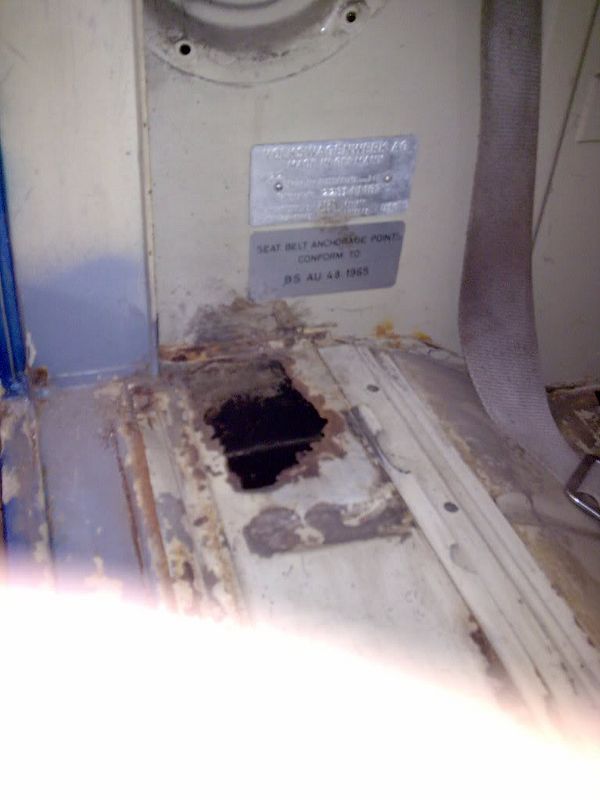
Can't believe how good it looked at the start but it's the same old story once you start having a poke around , good luck.
Mickey Sam said:Cheers Andy / Kevin.
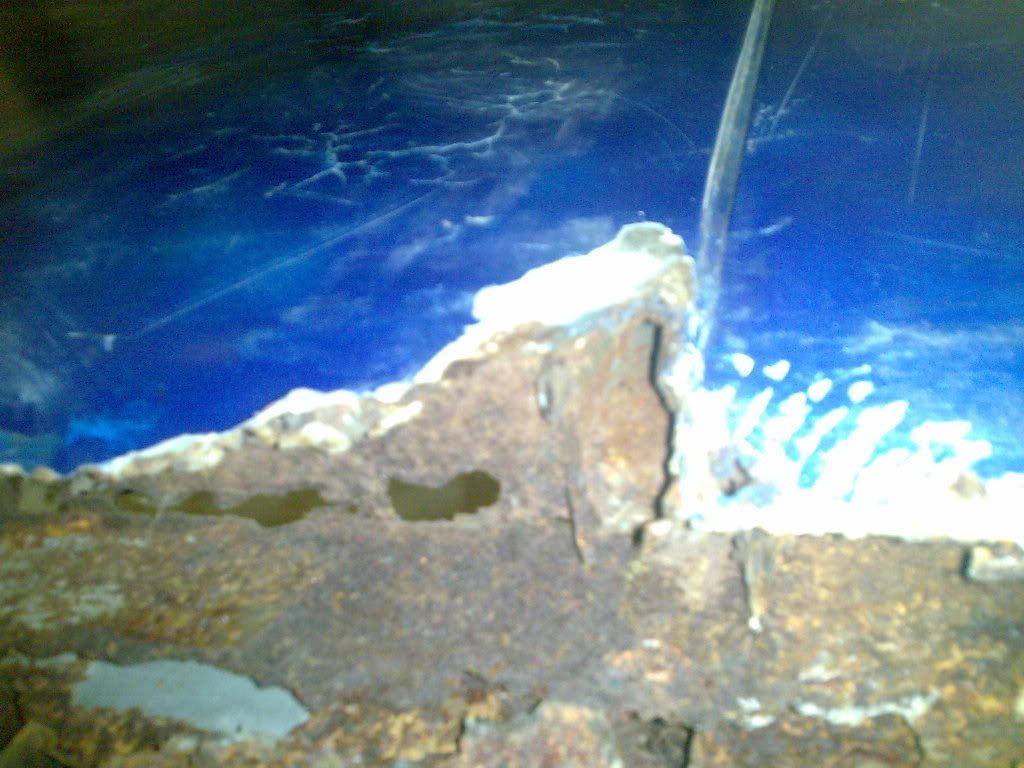
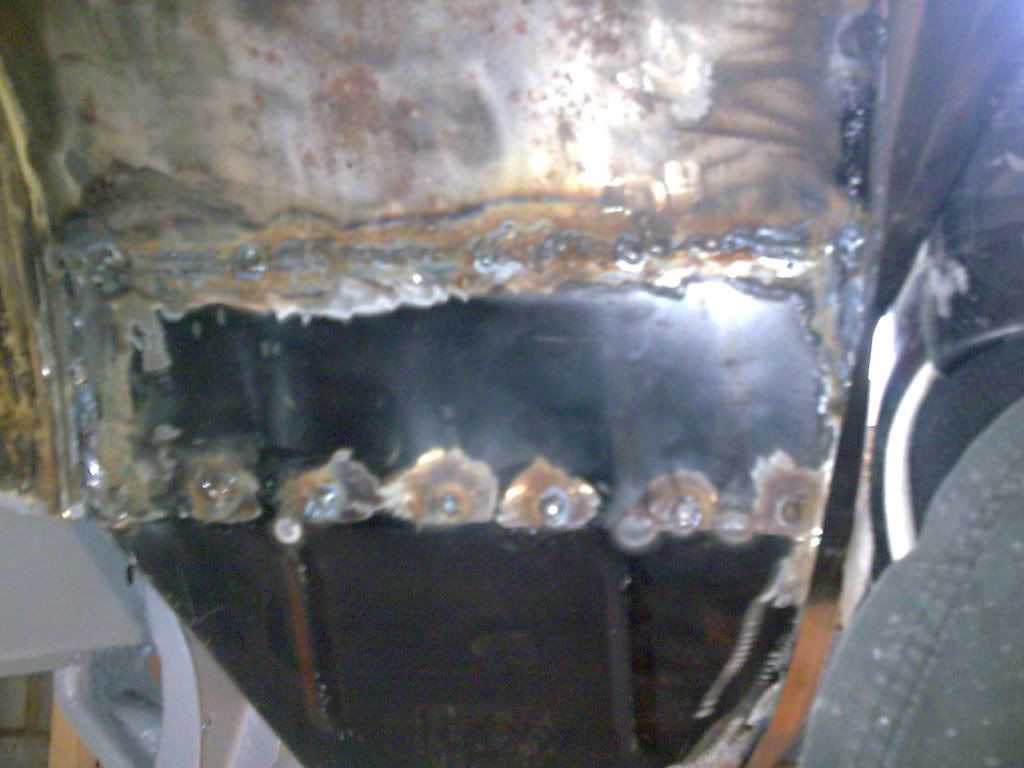
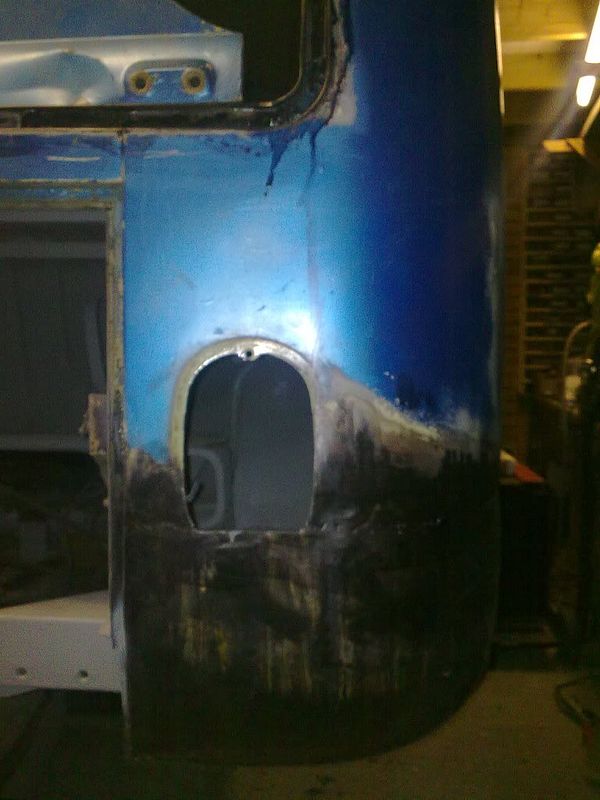
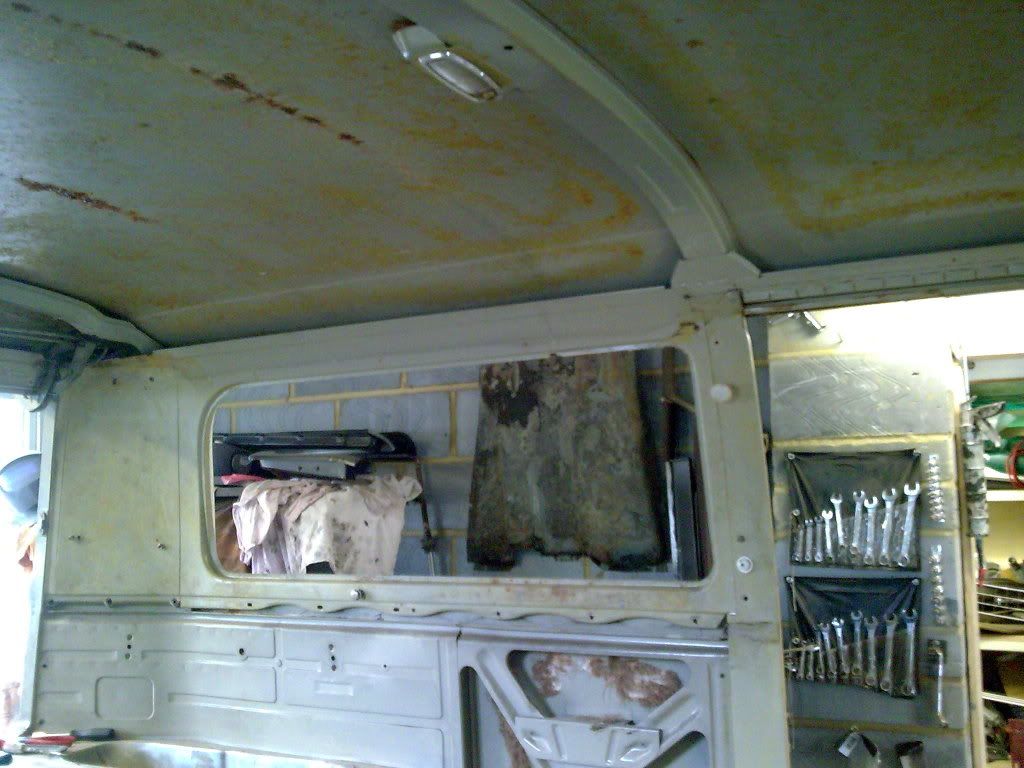
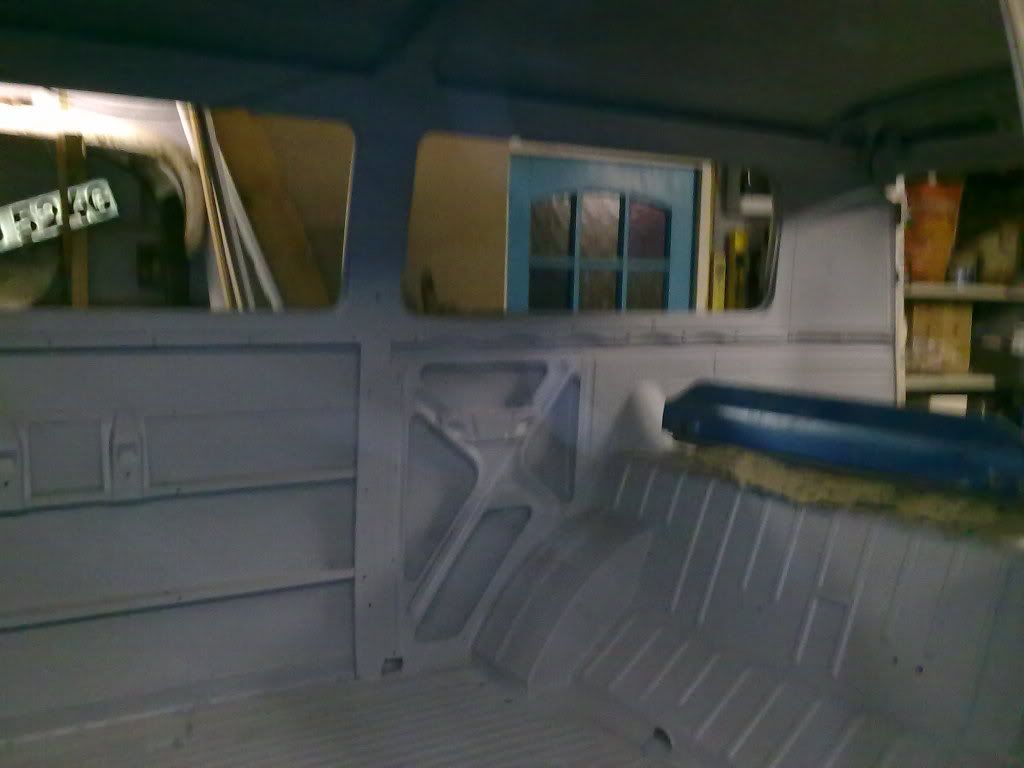
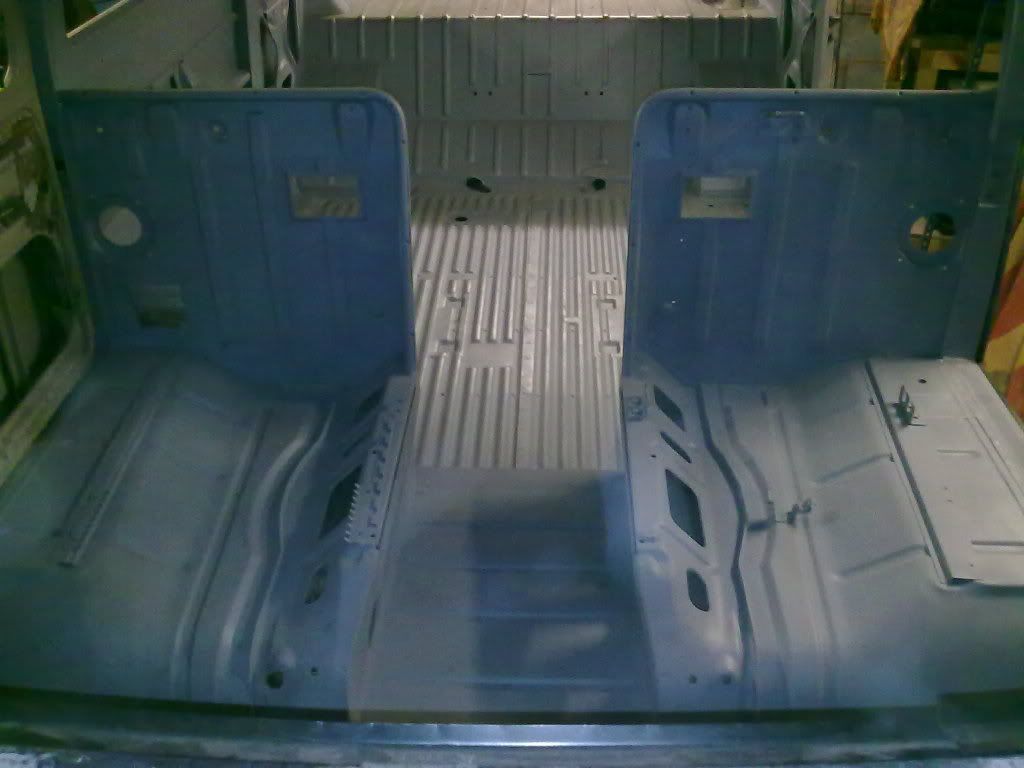
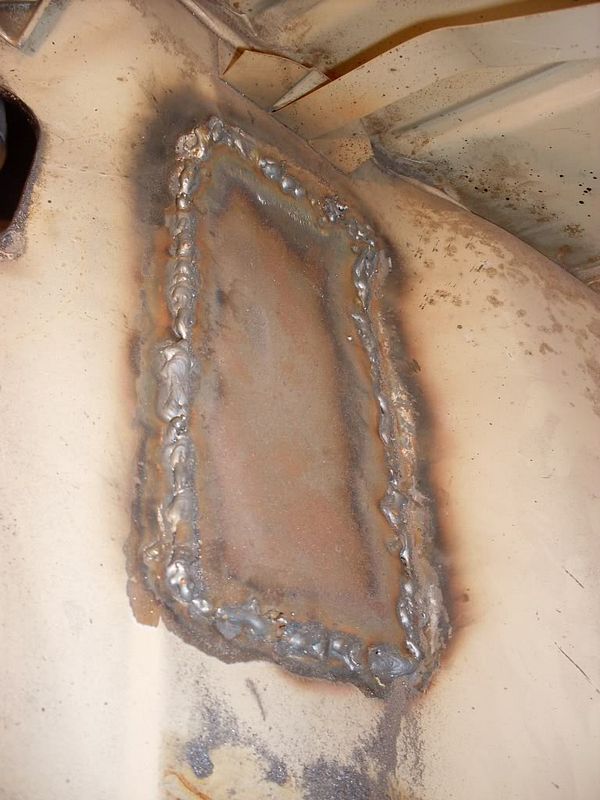
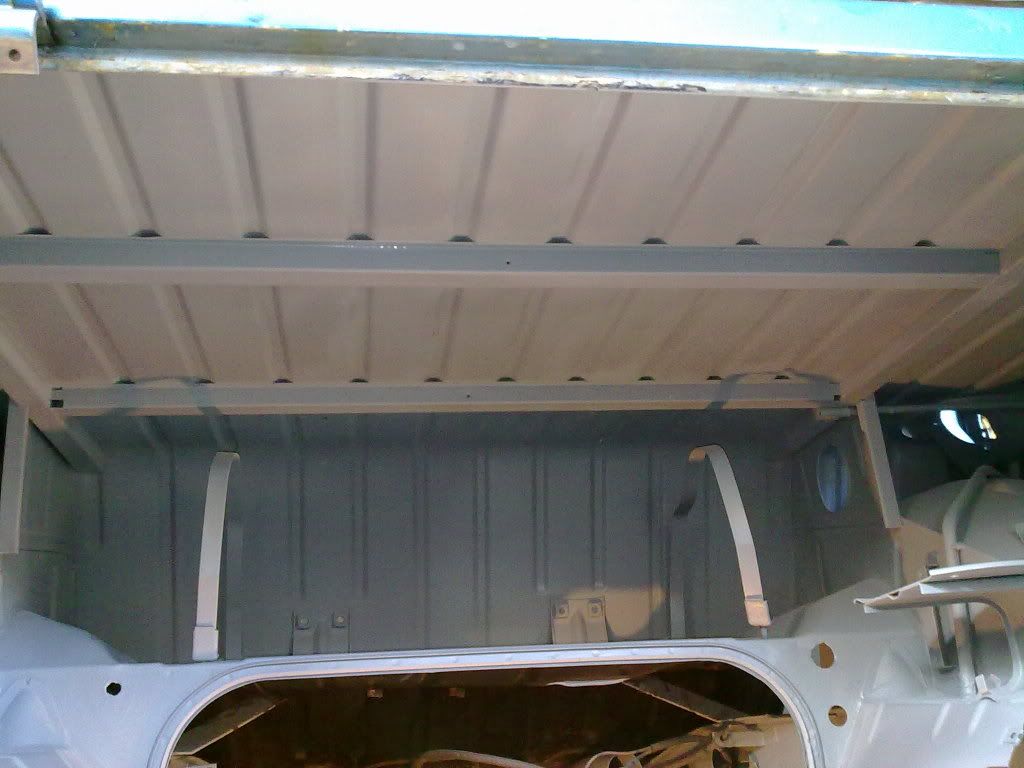
Nick, re the firewall over the arches, I see what you mean about getting access on the 69. With a bit of luck it'll be as clean behind the plates as it was behind the main firewall !