You are using an out of date browser. It may not display this or other websites correctly.
You should upgrade or use an alternative browser.
You should upgrade or use an alternative browser.
GLADYS: GOING "BACK TO BEIGE' 68 RESTO.
- Thread starter Mickey Sam
- Start date


Help Support Early Bay Forum:
This site may earn a commission from merchant affiliate
links, including eBay, Amazon, and others.
Mickey Sam
Well-known member
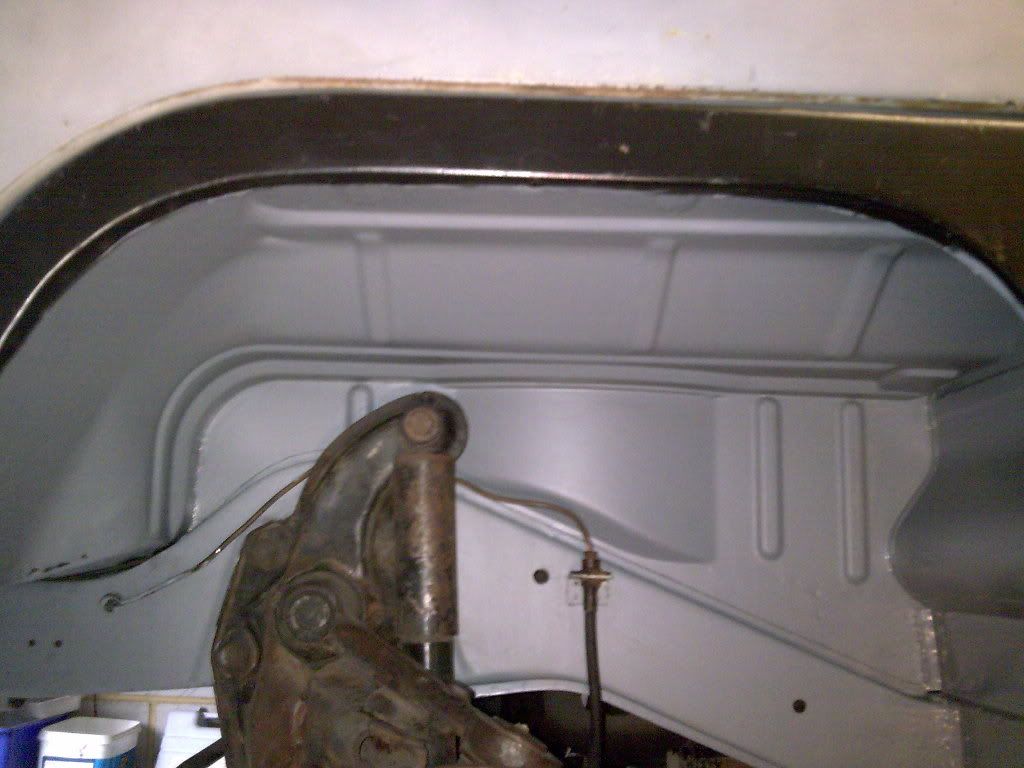
Time to deal with the front wheel arch and floor panel...
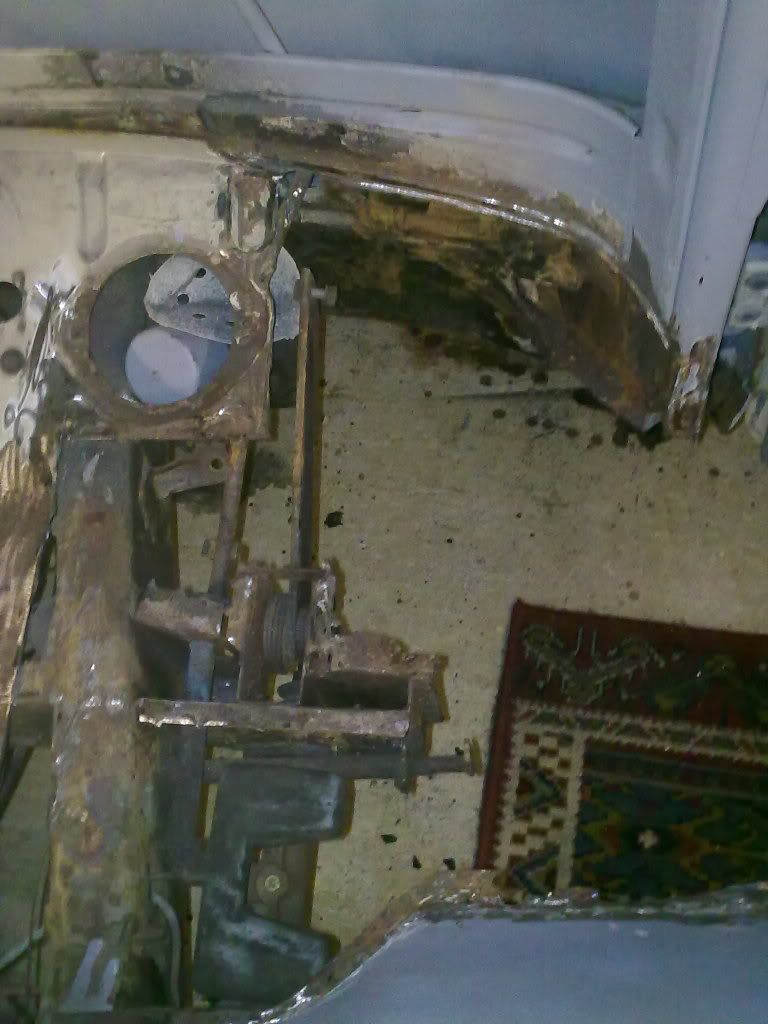
Ready for the front wheel arch .The floor panel is only stood in place at this time.
Ready for closing panel at rear of arch
Bit of protection for that new floor support !! ( seems like a lifetime ago that the floor, 6 new floor supports and
4 jacking points went in )
Closing panel offered up
Arch on.. ( those two little words will never justify the aggro getting the 'kin thing to line up !!)
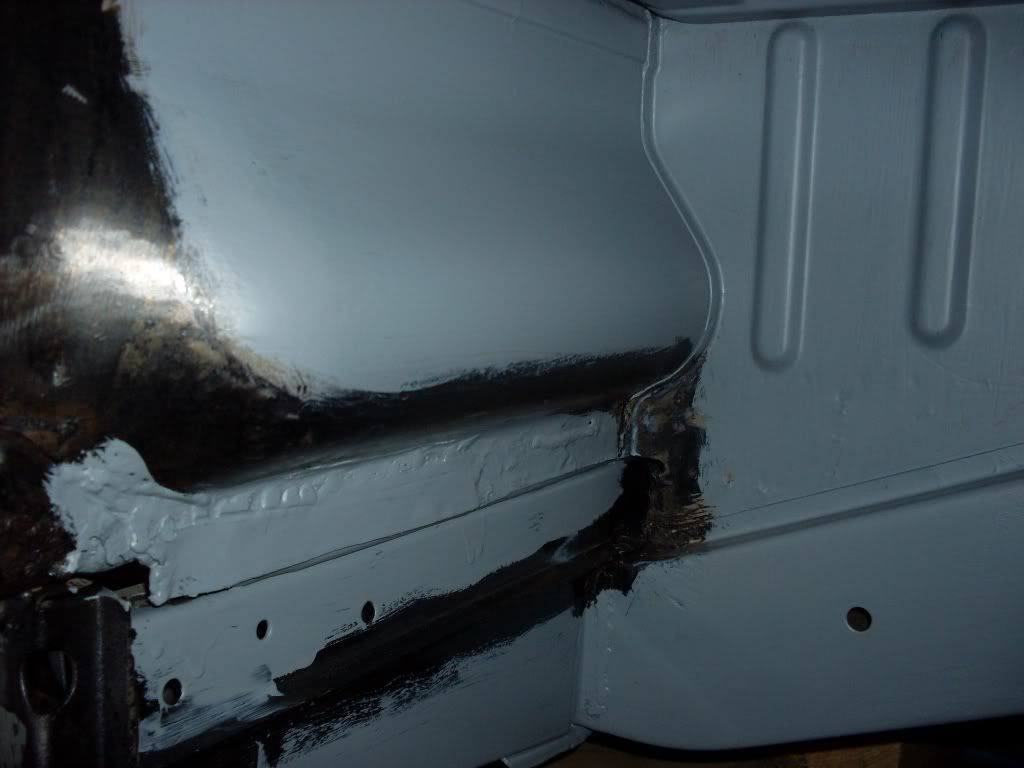
Little repair needed between arch and floor
And from inside
Ready for the floor panel
Welded in place

'Prettied' up and etch primed
The nearside arch has been on for yonks now and I don't seem to have many photo's.
Pretty much the same as the offside really so here's the couple I have...
Arch and closing panel in.
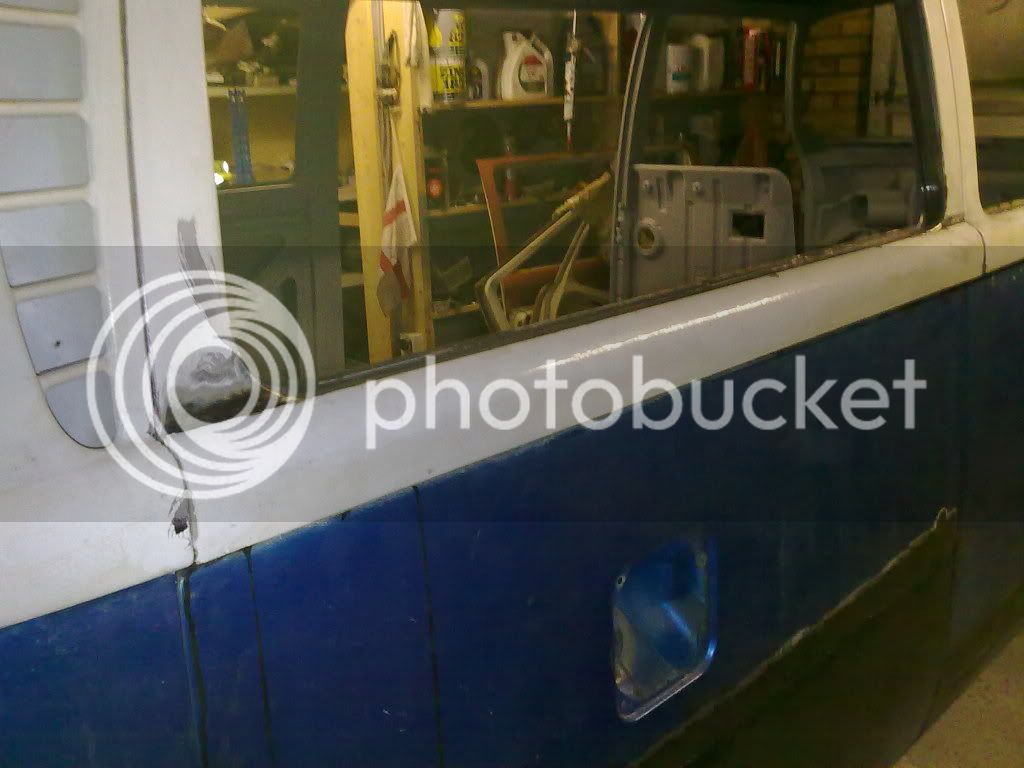
Another session of open wallet surgery won me the US door in primer.
It came with an opening quarter so I'm not complaining. Now got both doors from USA, both
with opening quarters... result !
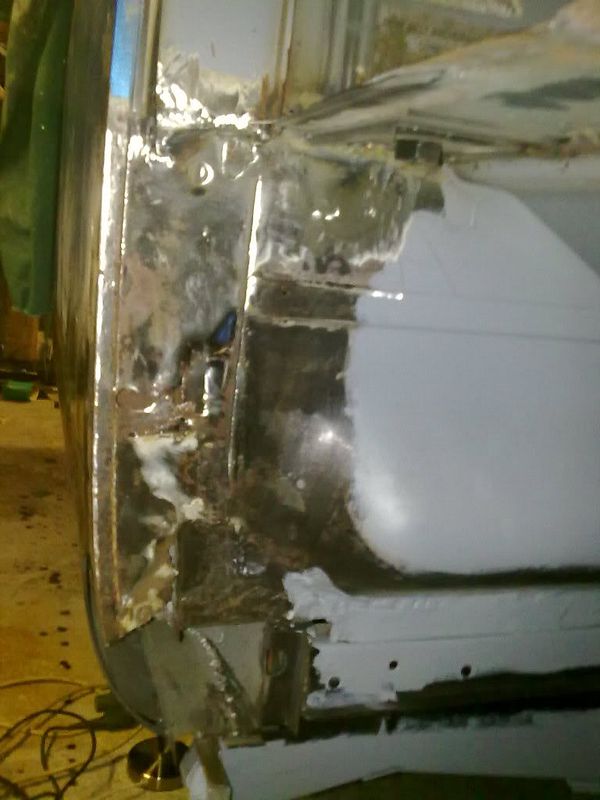
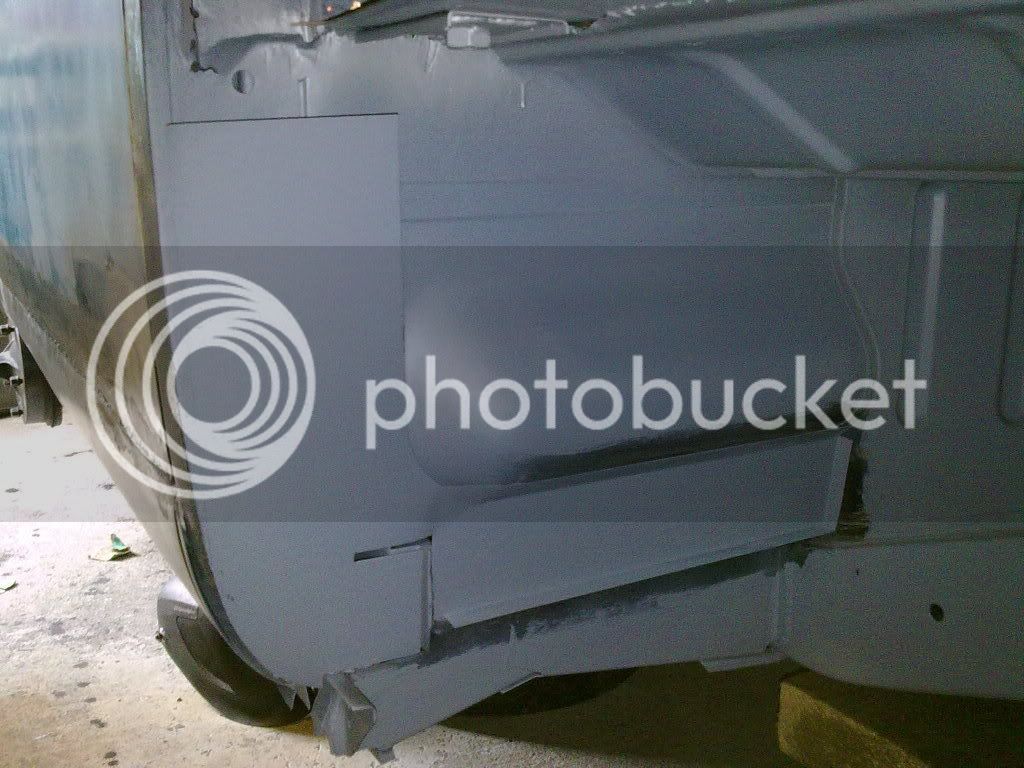
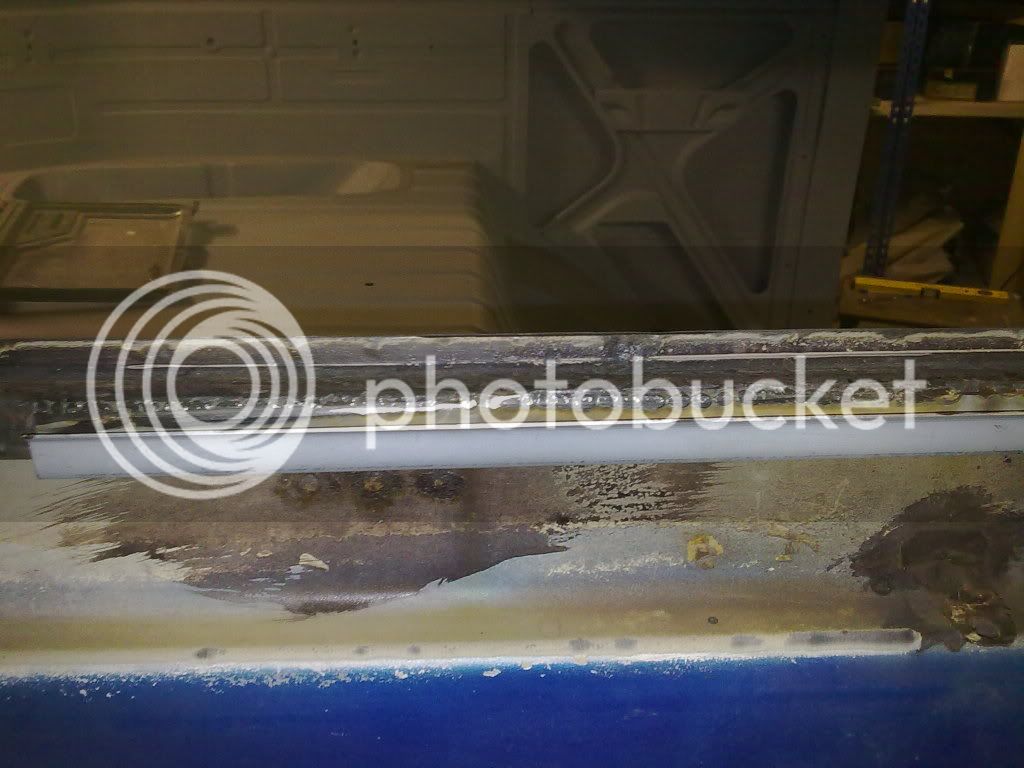
Primed, ready for paint, stonechip etc..
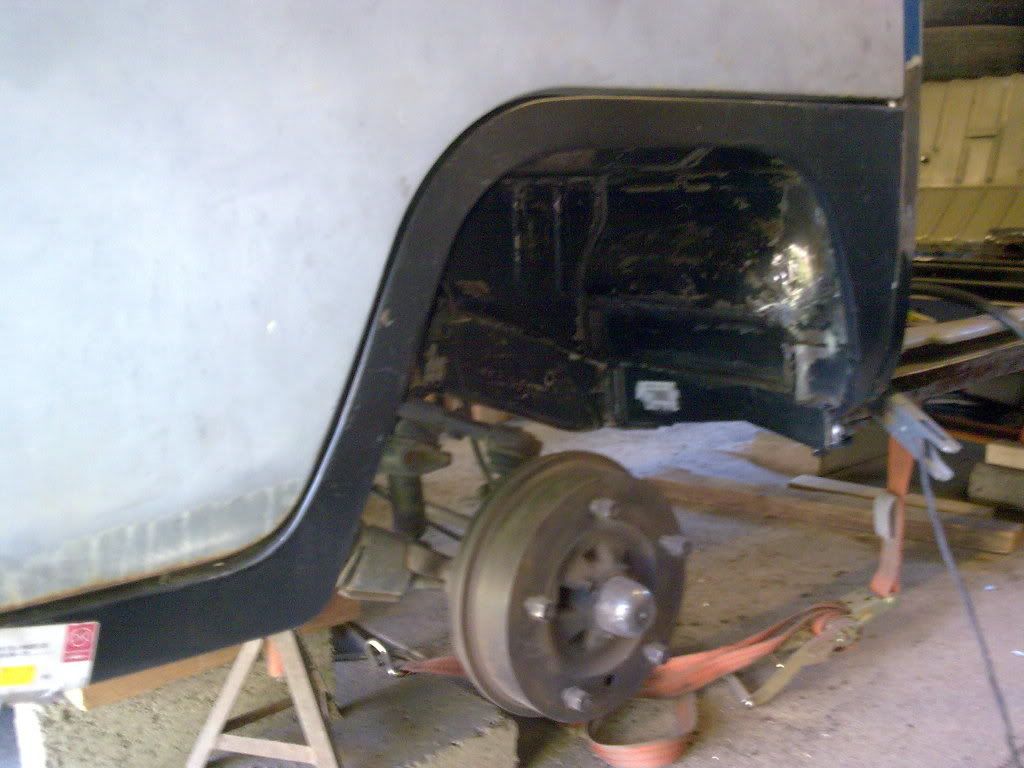
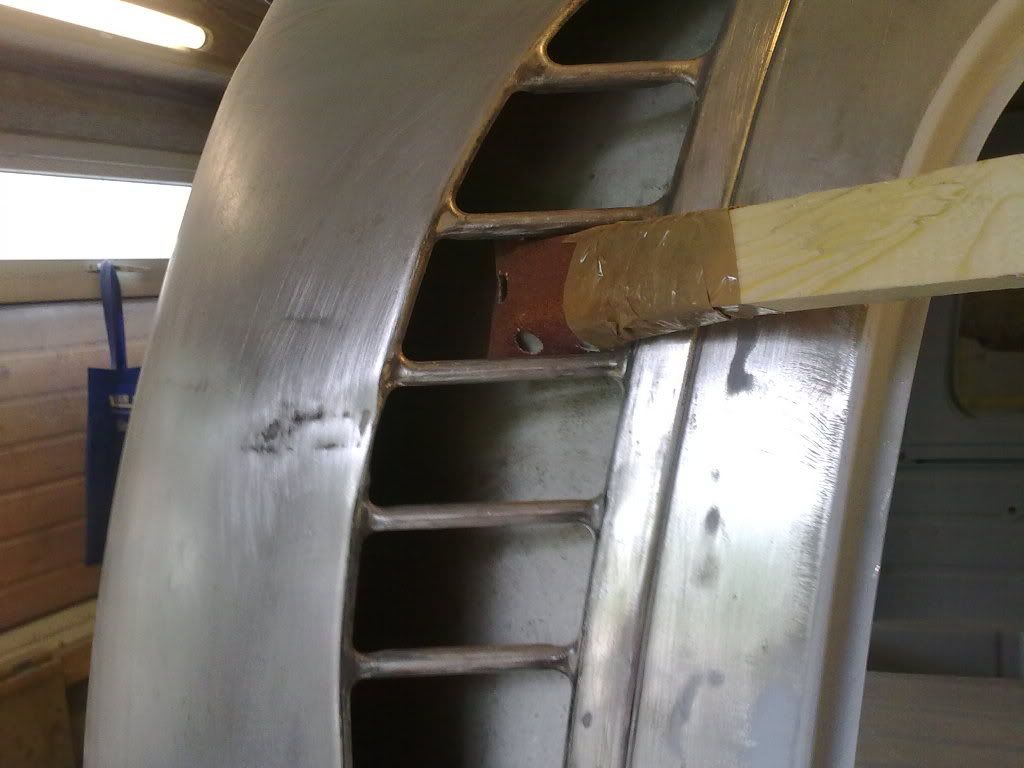
The only problem with the new wheel arches , ...OTHER THAN you needing a trolley jack,
bottle jack, **** loads of 2" x 2" timber struts and wedges, 2 ratchet straps,
an 8" bolt (temporary) a large hammer, and a lot of grunting,......... is that they don't
come with the 'sticky out' bit of metal where the arch meets the front panel......
So the appropriate thickness of metal was sourced ( when I say 'sourced' I mean I
cut the end off the spanner for my 9"" disc cutter, cut it into two pieces )
and positioned it to look a bit more like the original......
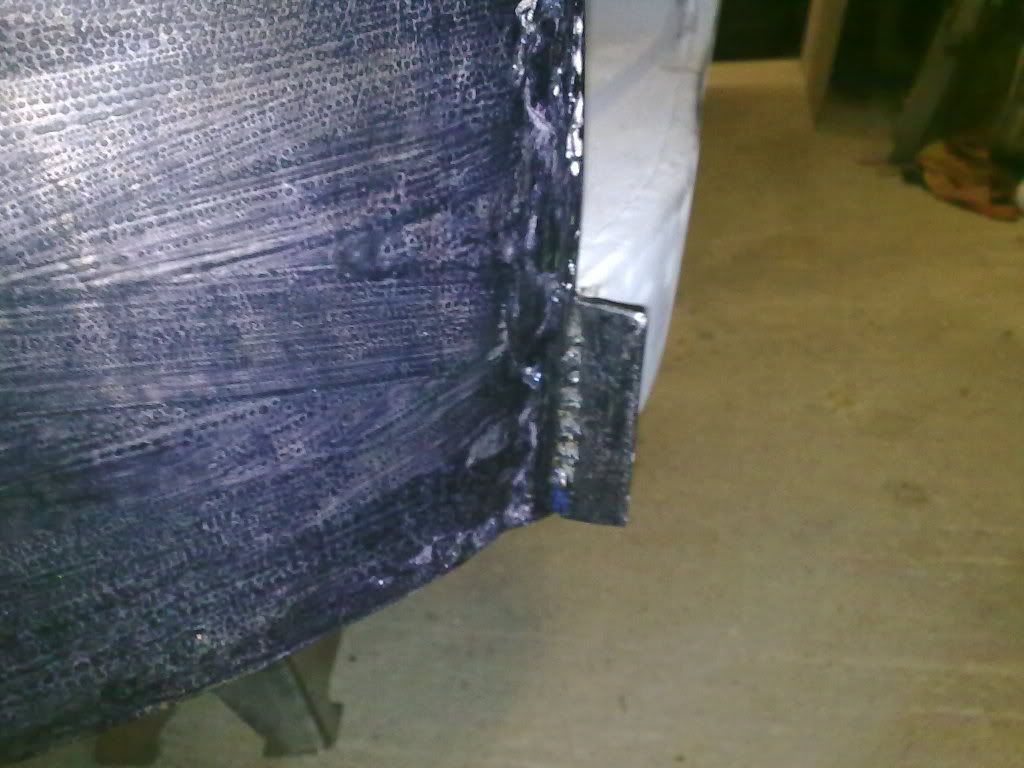
They both need a bit more grinding down and shaping but I'm not sure of the size and angle till I can look at an original one !
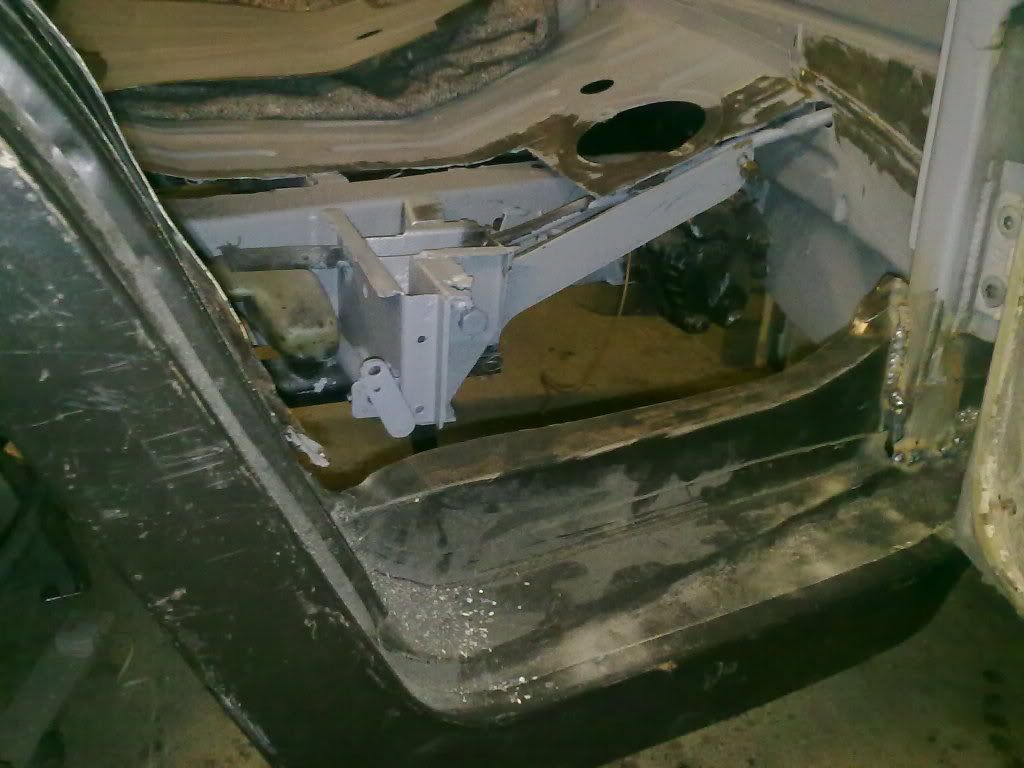
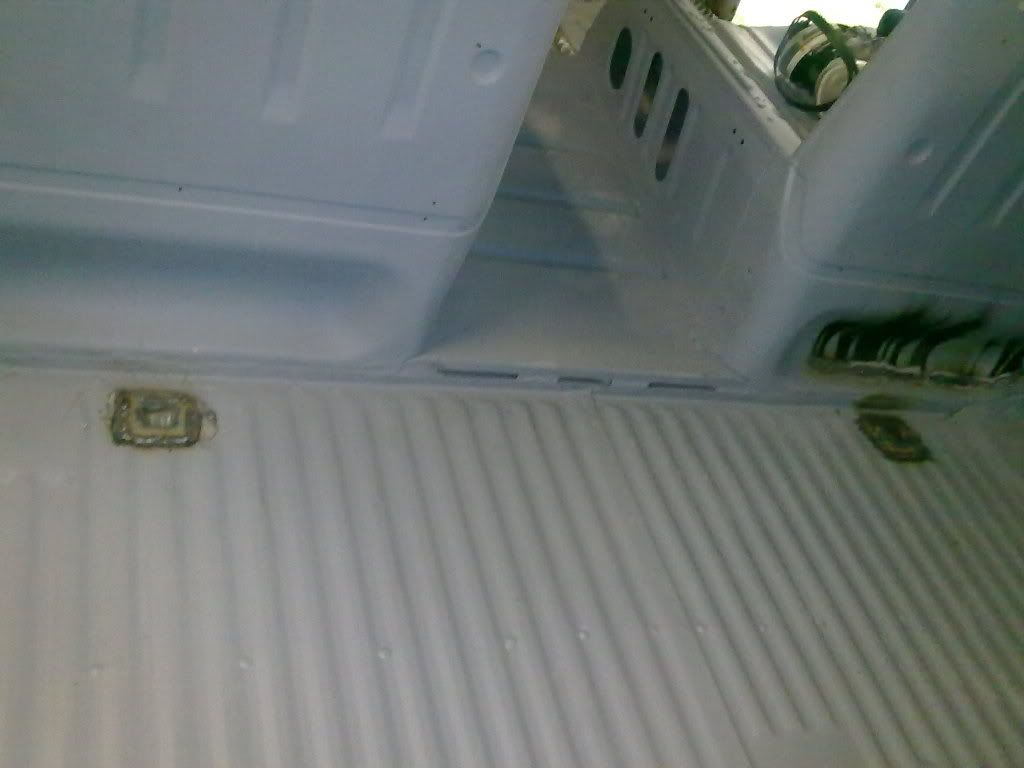
Oh.... finally remembered to plate the holes in the new floor !!
Still can't work out WTF they were for.
Be back soon with some more photo's, one more post and I should be up to date !!!!
Ready for the front wheel arch .The floor panel is only stood in place at this time.
Ready for closing panel at rear of arch
Bit of protection for that new floor support !! ( seems like a lifetime ago that the floor, 6 new floor supports and
4 jacking points went in )
Closing panel offered up
Arch on.. ( those two little words will never justify the aggro getting the 'kin thing to line up !!)
Little repair needed between arch and floor
And from inside
Ready for the floor panel
Welded in place
'Prettied' up and etch primed
The nearside arch has been on for yonks now and I don't seem to have many photo's.
Pretty much the same as the offside really so here's the couple I have...
Arch and closing panel in.
Another session of open wallet surgery won me the US door in primer.
It came with an opening quarter so I'm not complaining. Now got both doors from USA, both
with opening quarters... result !
Primed, ready for paint, stonechip etc..
The only problem with the new wheel arches , ...OTHER THAN you needing a trolley jack,
bottle jack, **** loads of 2" x 2" timber struts and wedges, 2 ratchet straps,
an 8" bolt (temporary) a large hammer, and a lot of grunting,......... is that they don't
come with the 'sticky out' bit of metal where the arch meets the front panel......
So the appropriate thickness of metal was sourced ( when I say 'sourced' I mean I
cut the end off the spanner for my 9"" disc cutter, cut it into two pieces )
and positioned it to look a bit more like the original......
They both need a bit more grinding down and shaping but I'm not sure of the size and angle till I can look at an original one !
Oh.... finally remembered to plate the holes in the new floor !!
Still can't work out WTF they were for.
Be back soon with some more photo's, one more post and I should be up to date !!!!
Mickey Sam
Well-known member
Here we go again !
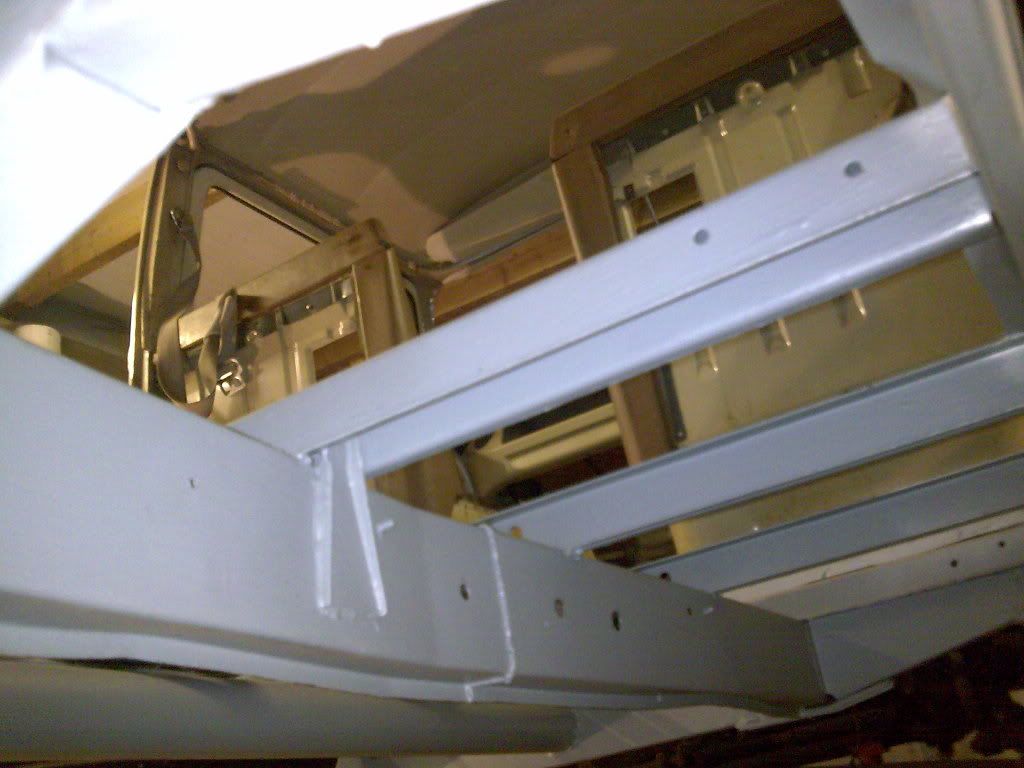
Couple of the new floor from underneath..
Before floor panels
Floor panels in..
This won't win a photo of the of the year award !
Then, after what seemed like a lifetime of rubbing down.. plenty of zinc primer !!
Left
Right
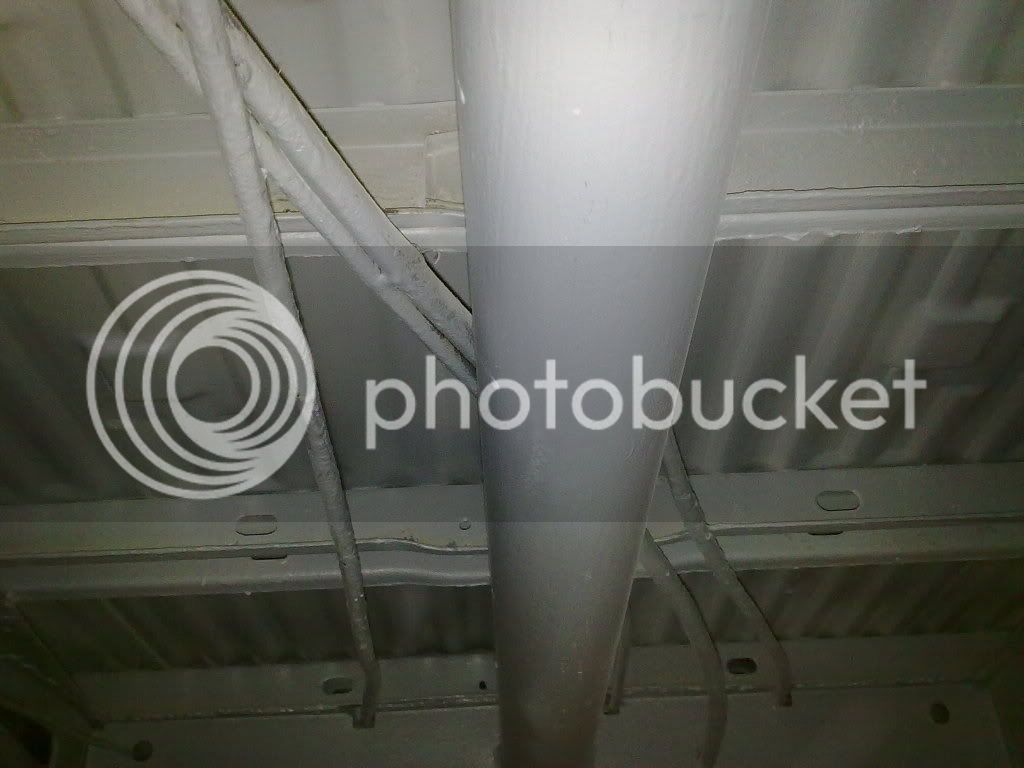
Middle , did I already mention the new heater tube ? Anyway.... new heater tube .
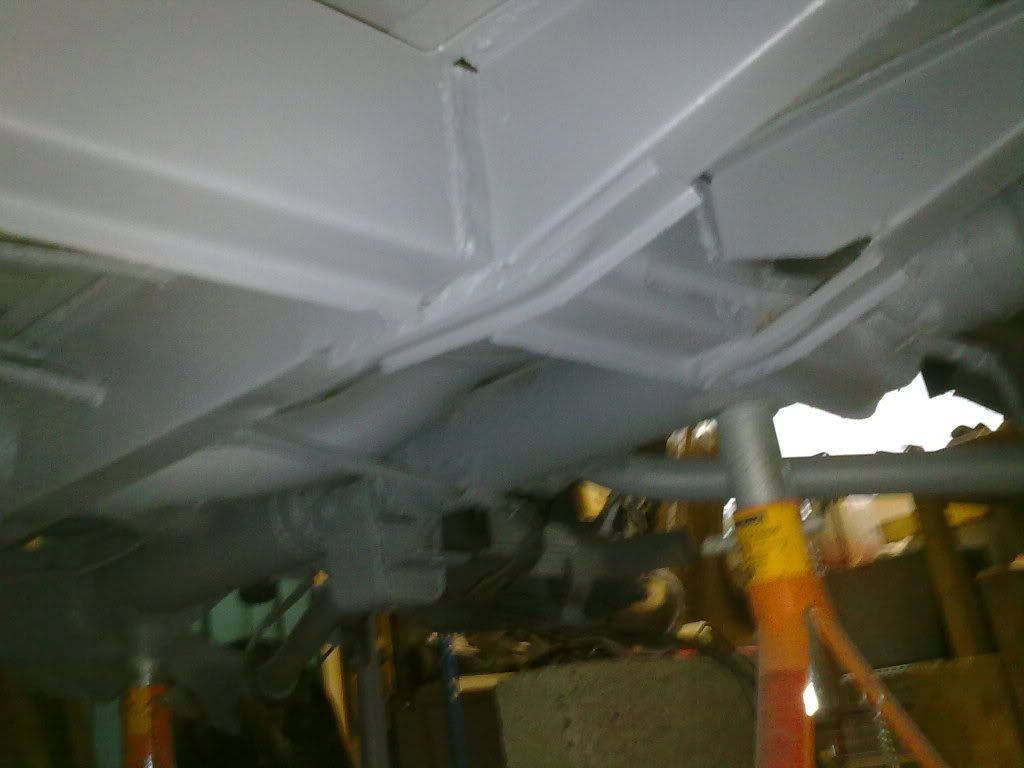
Rear end, can't remember if the axle stands are part of the chassis or not - it's been up on them for so long !
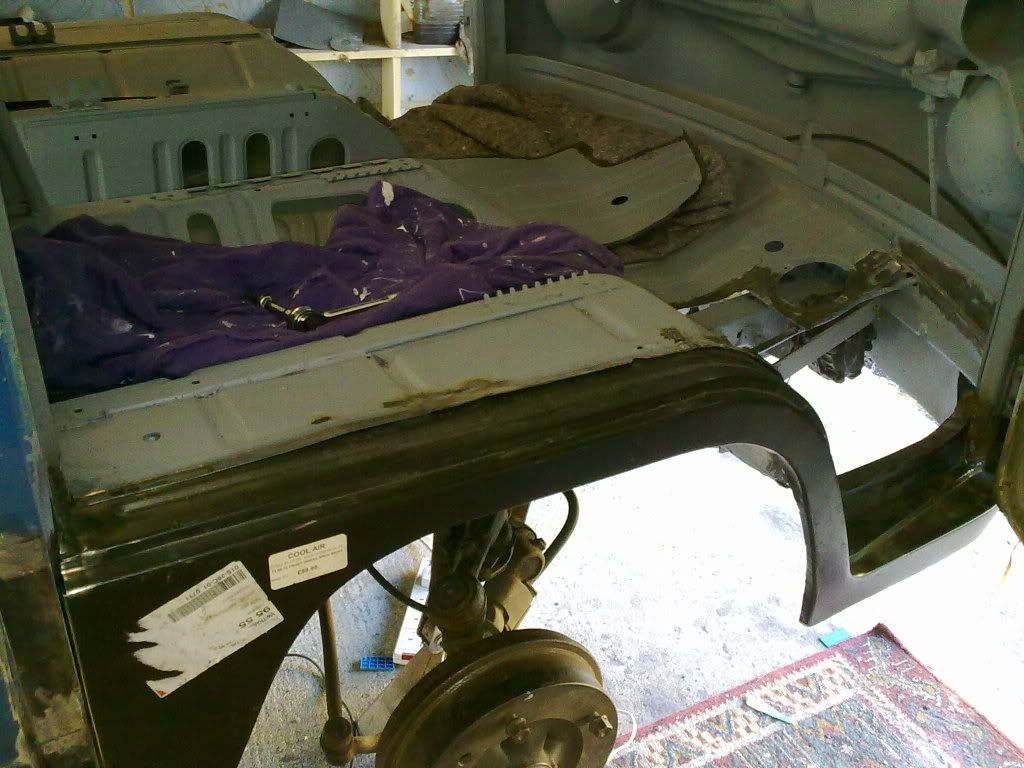
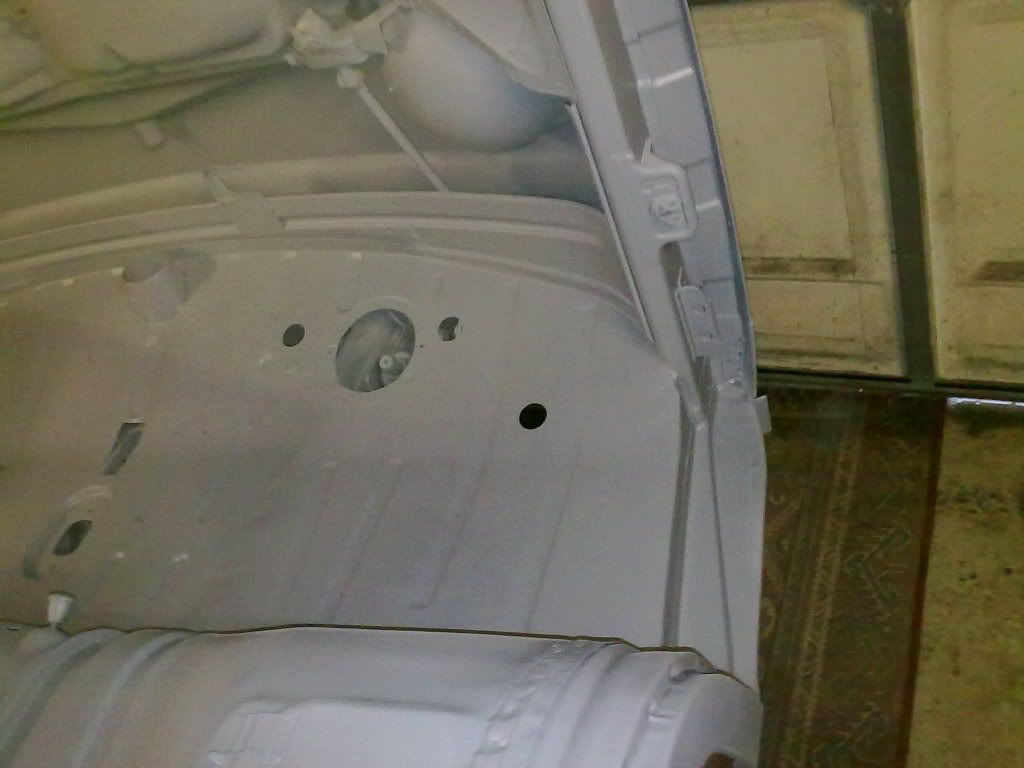
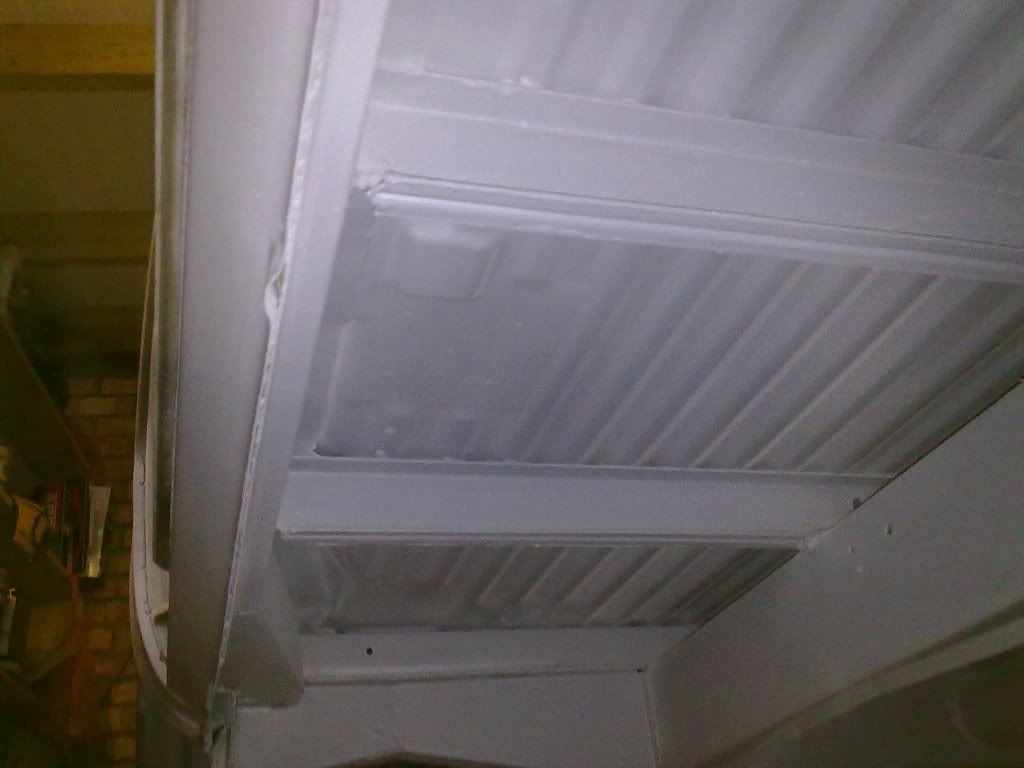
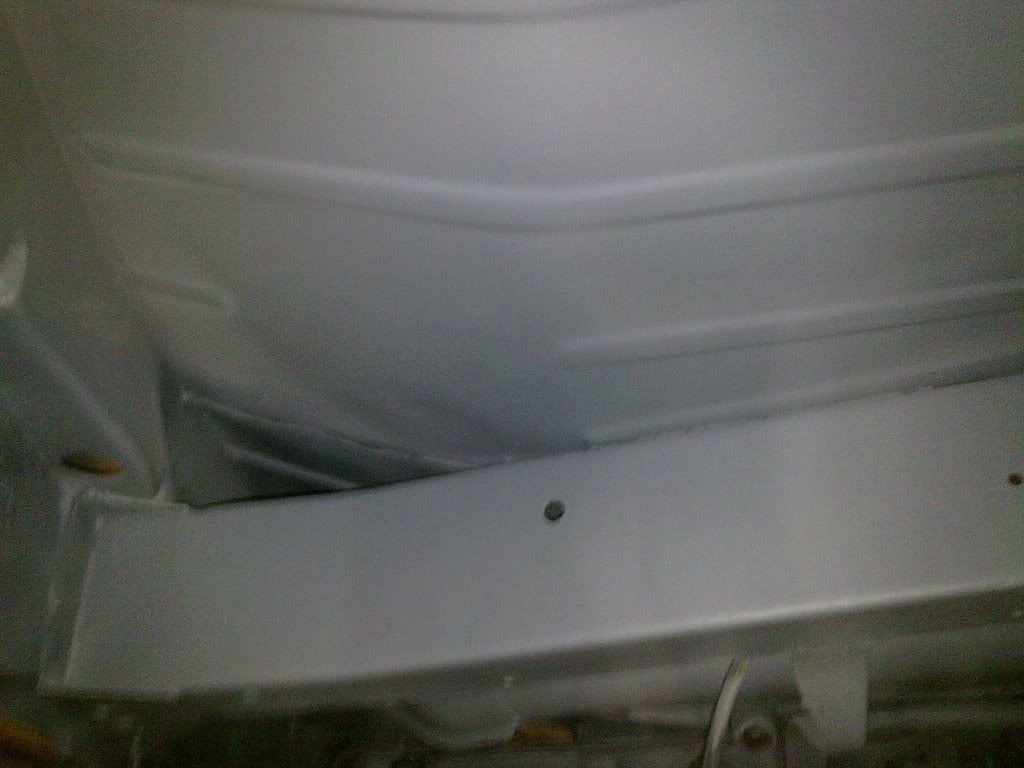
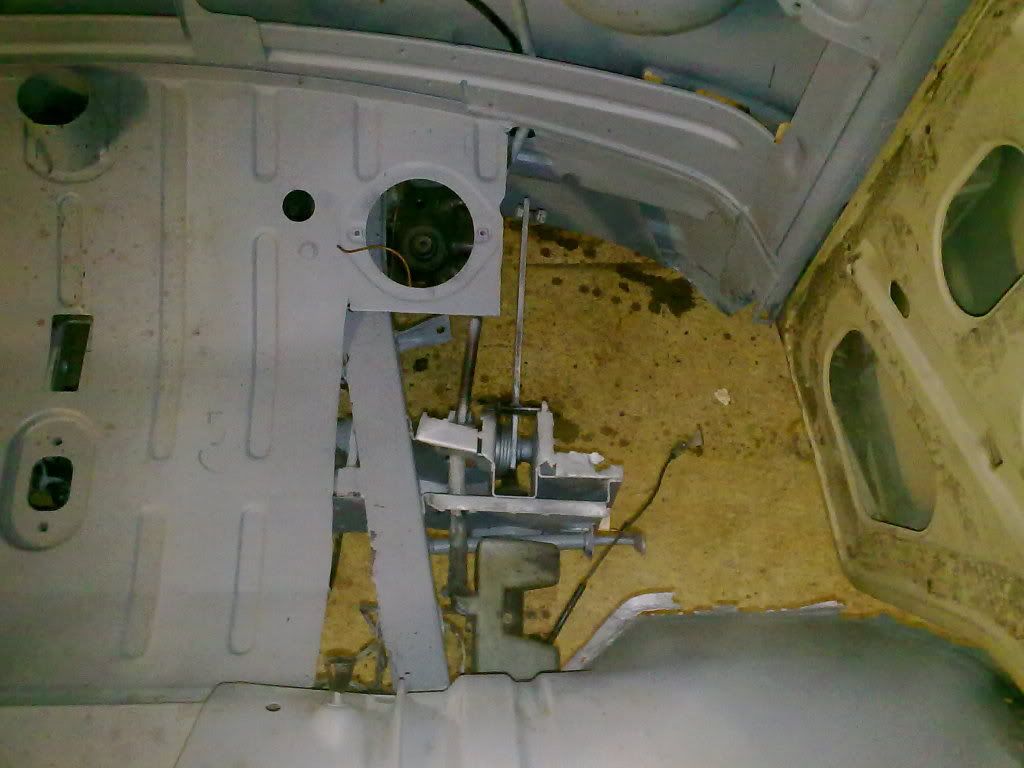
Under the front floor panels.
Right
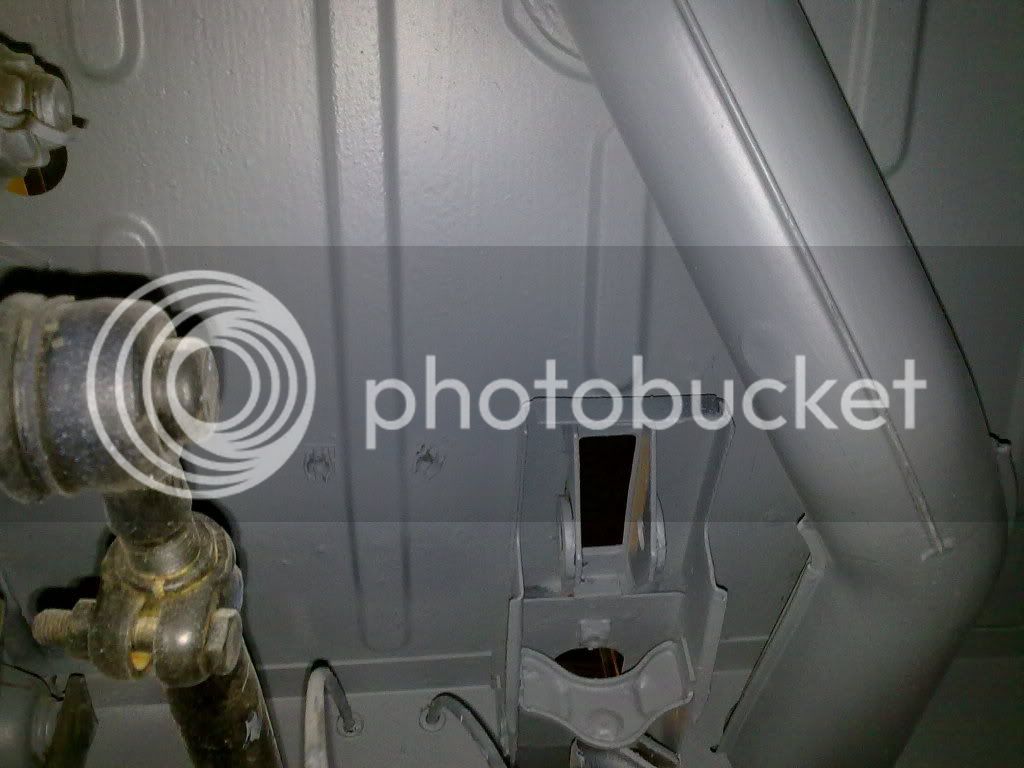
Under pedal cover..
Left
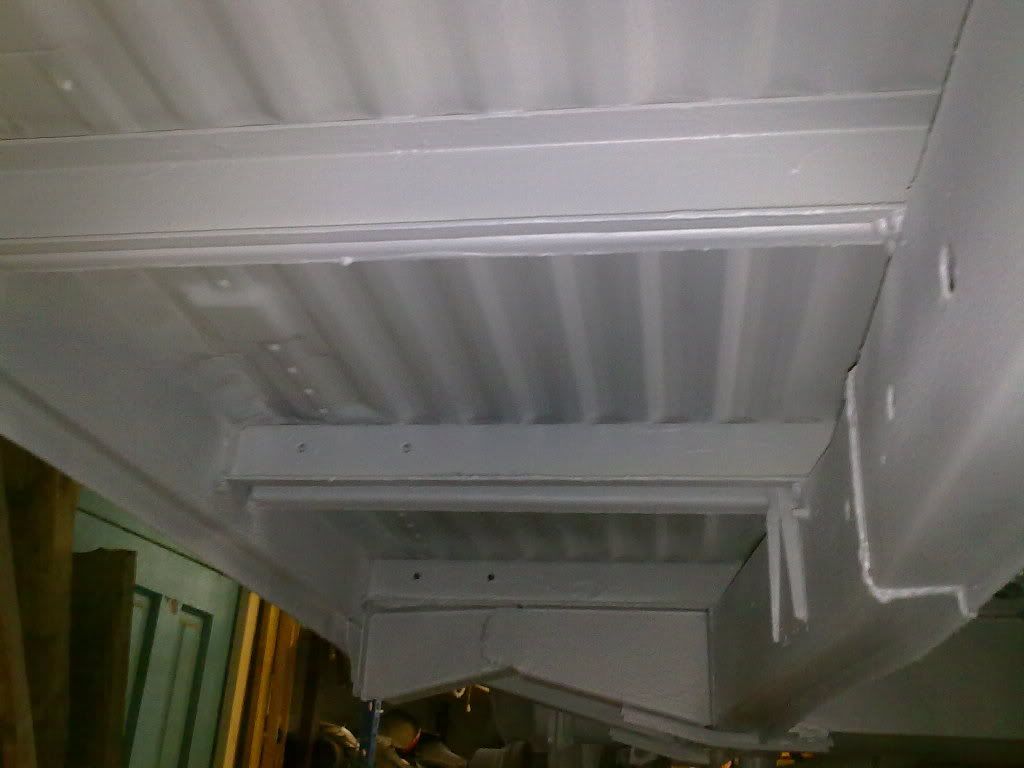
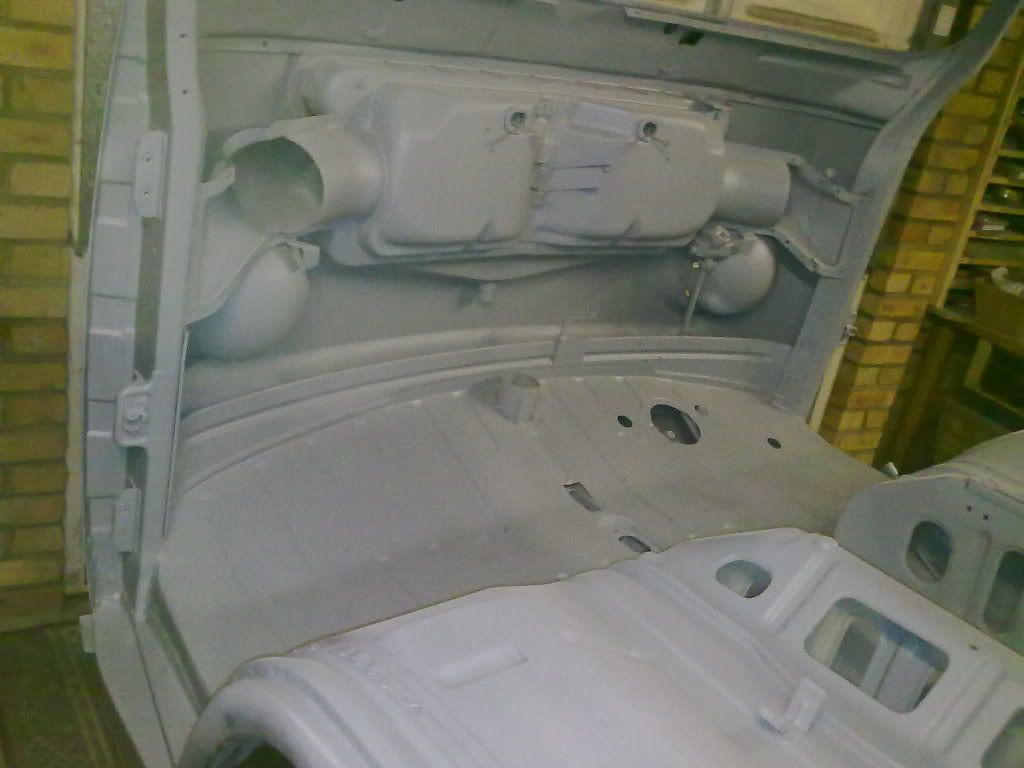
Engine bay
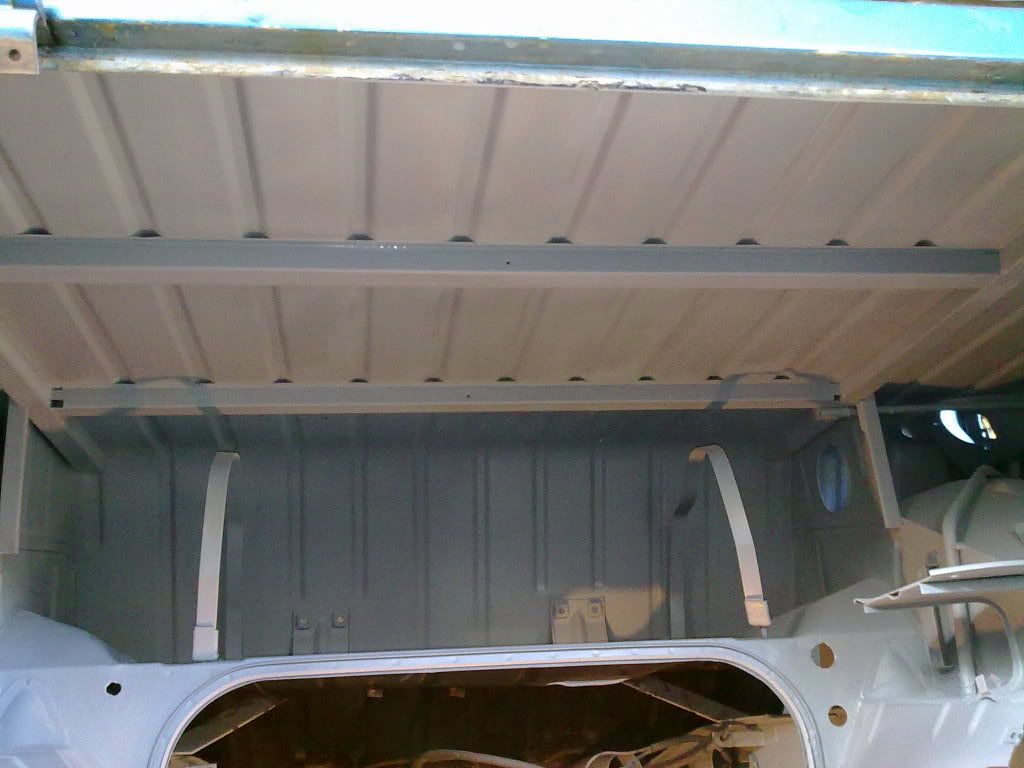
Right
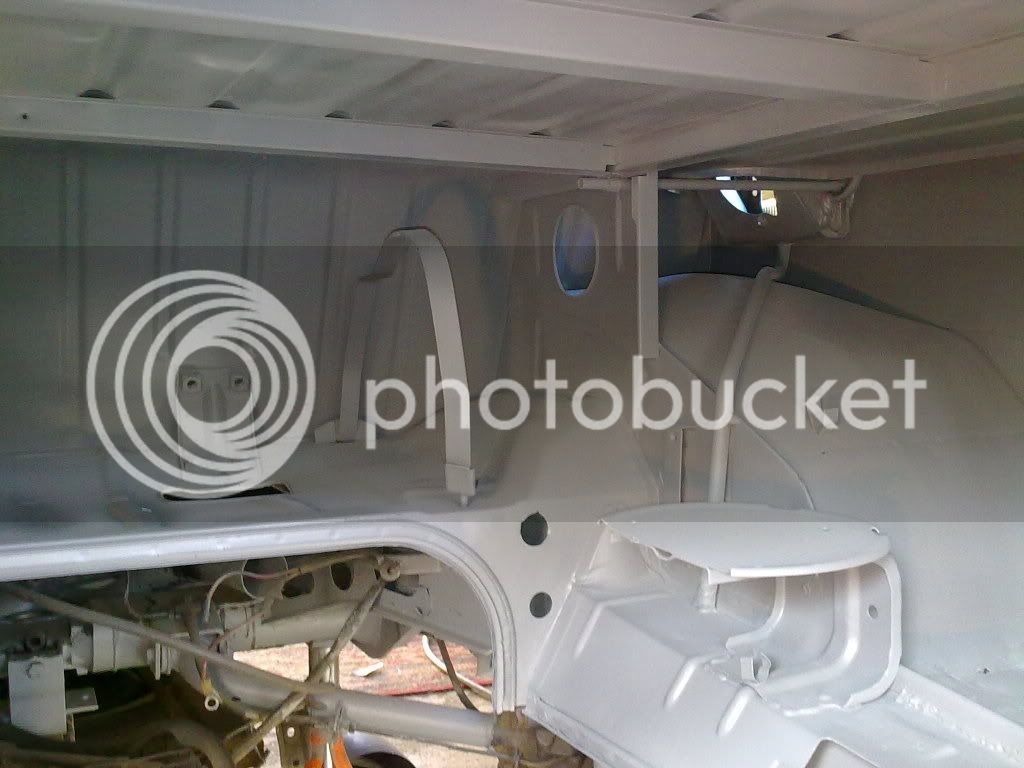
Left
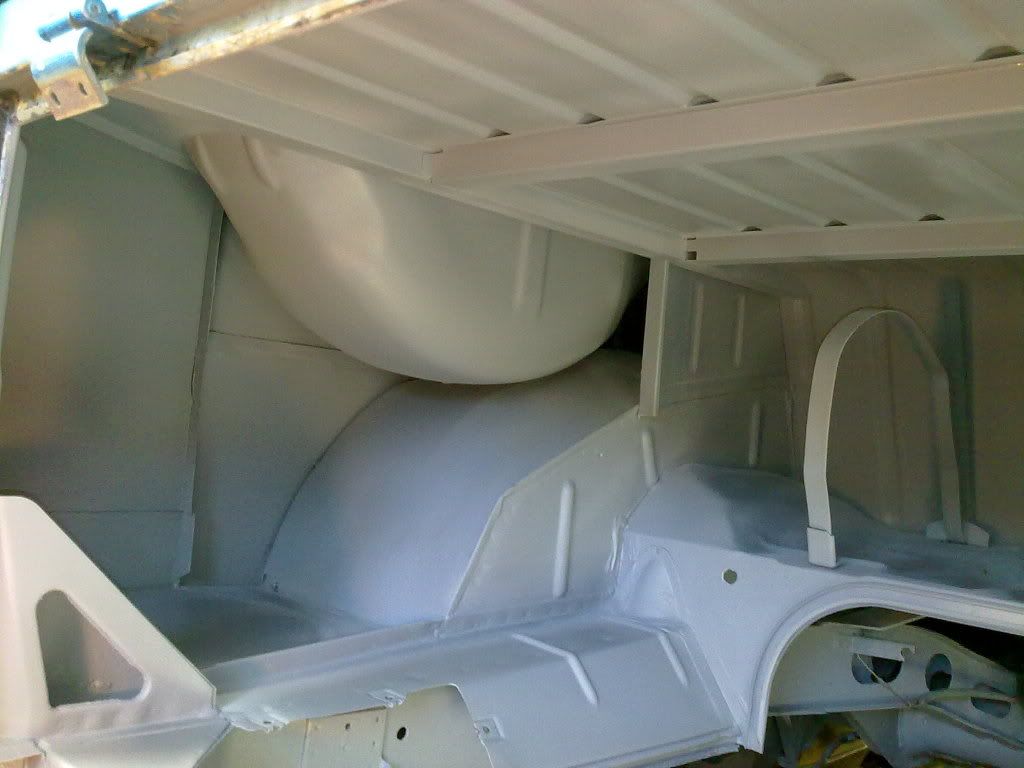
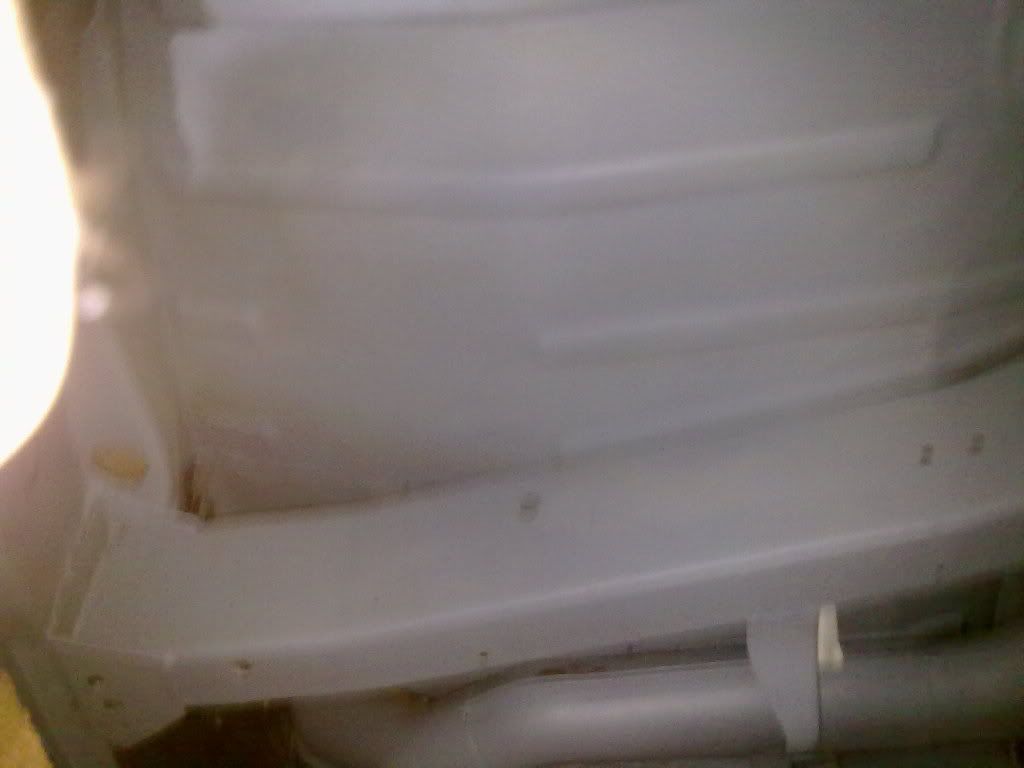
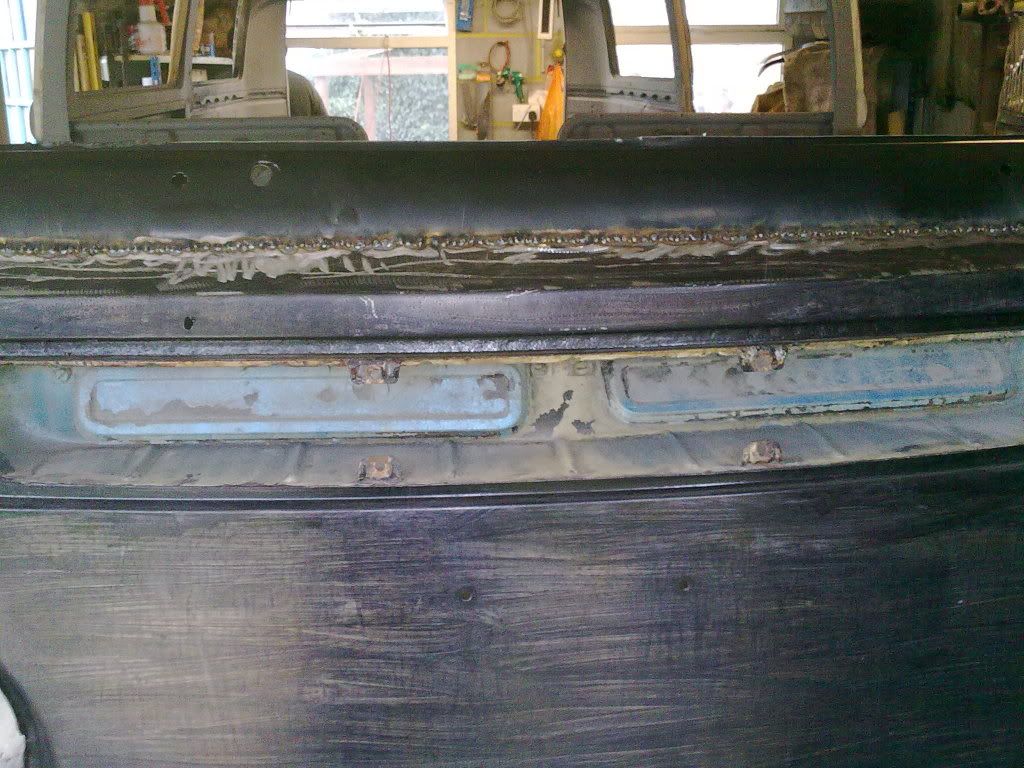
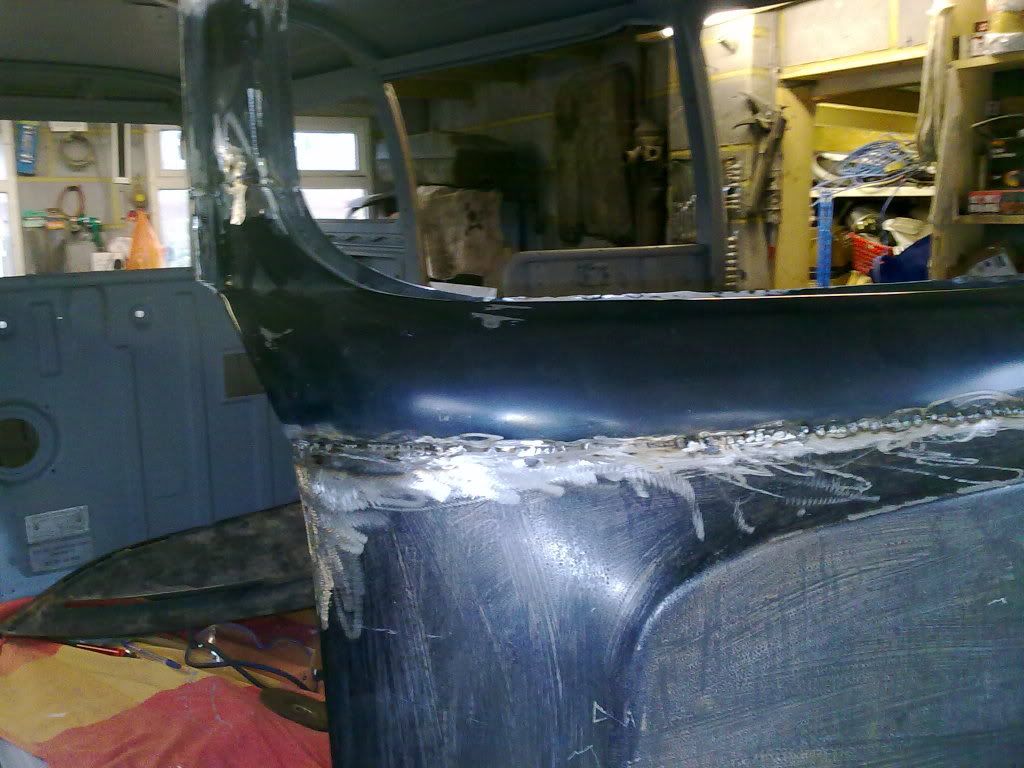
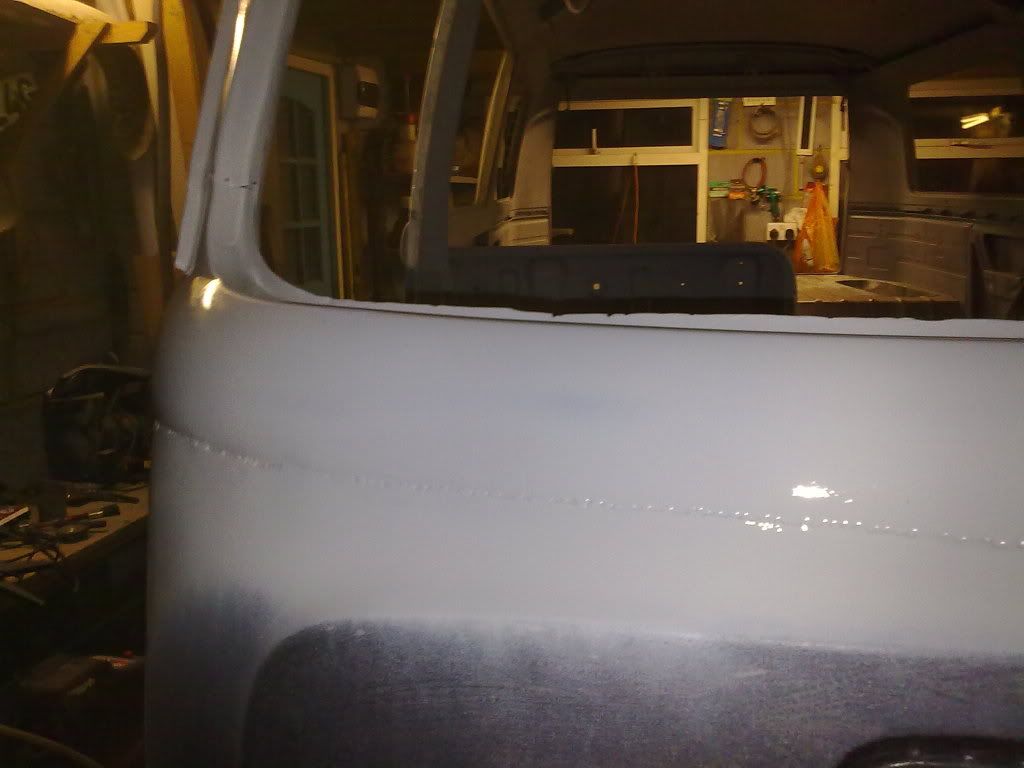
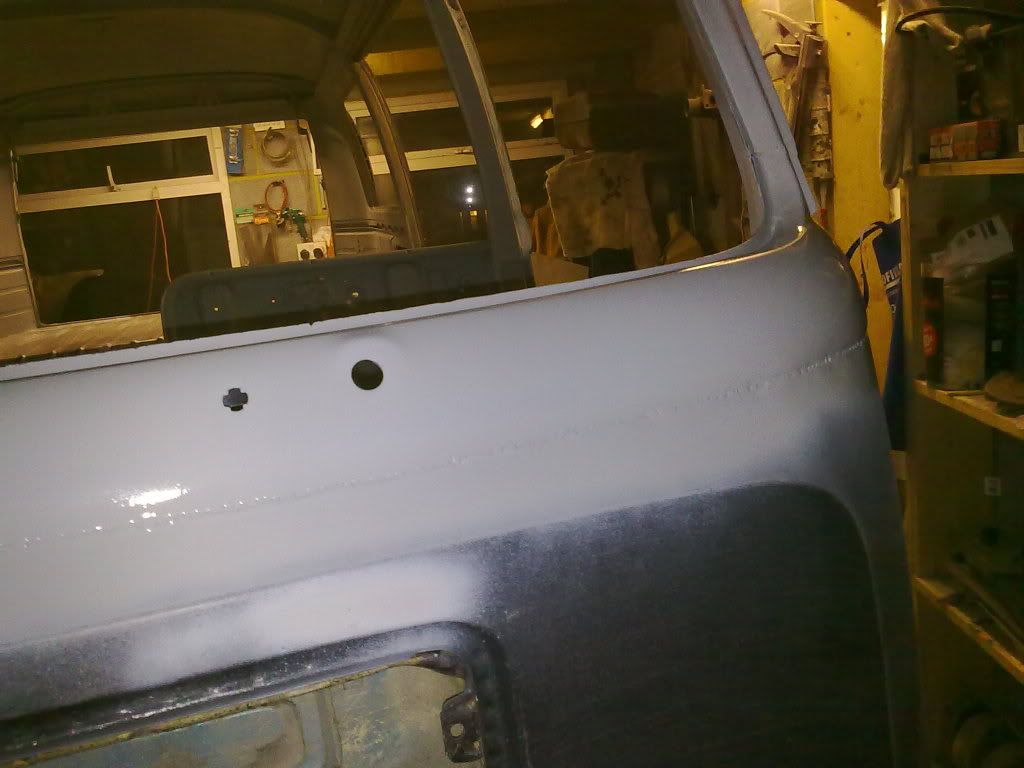
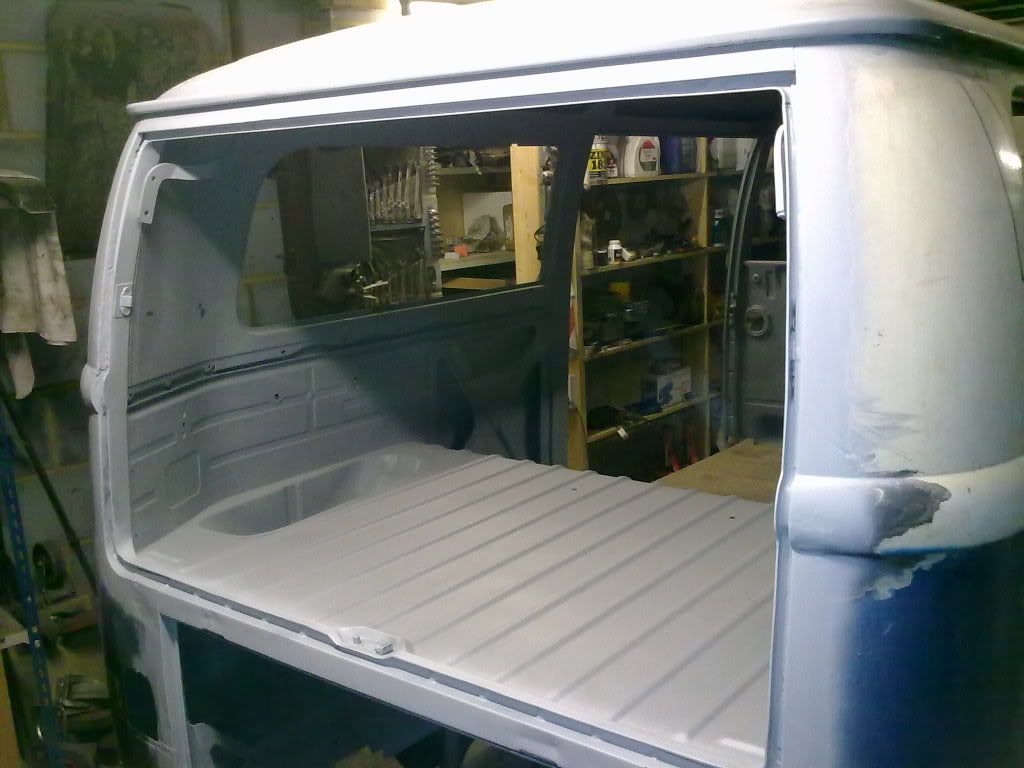
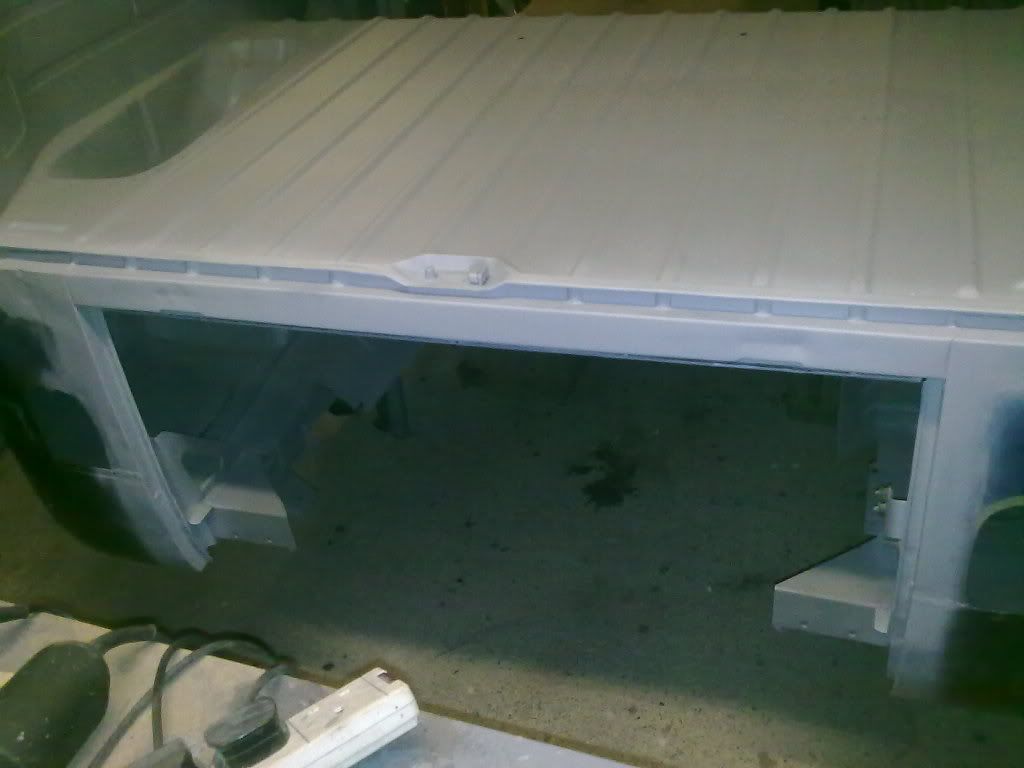
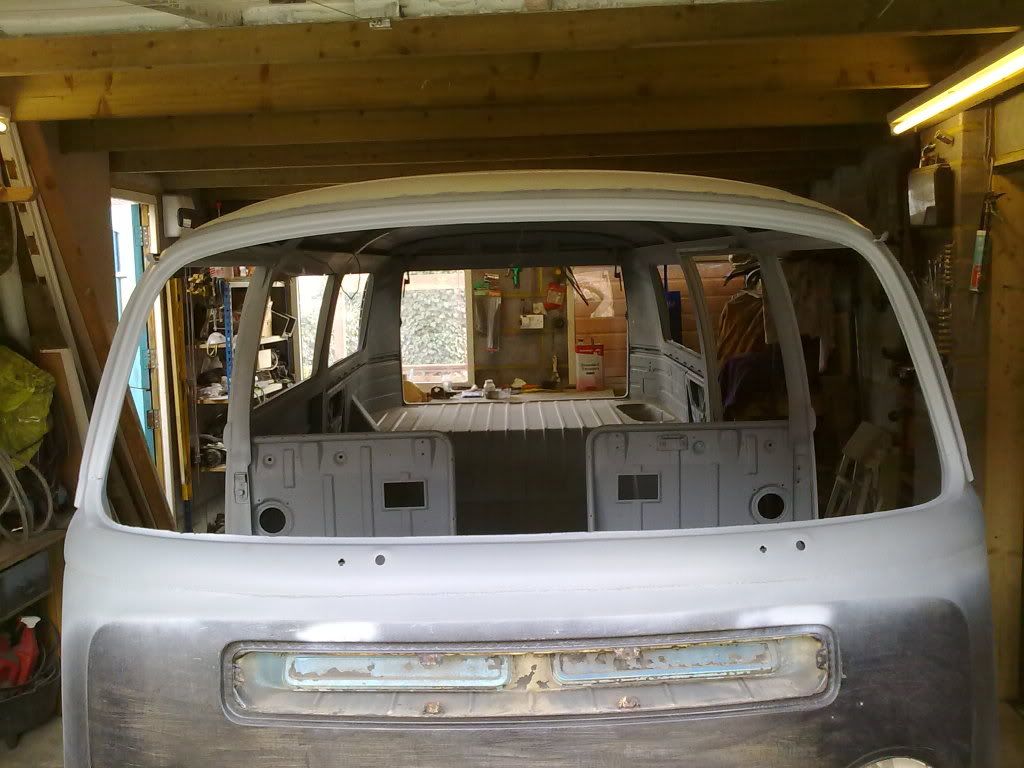
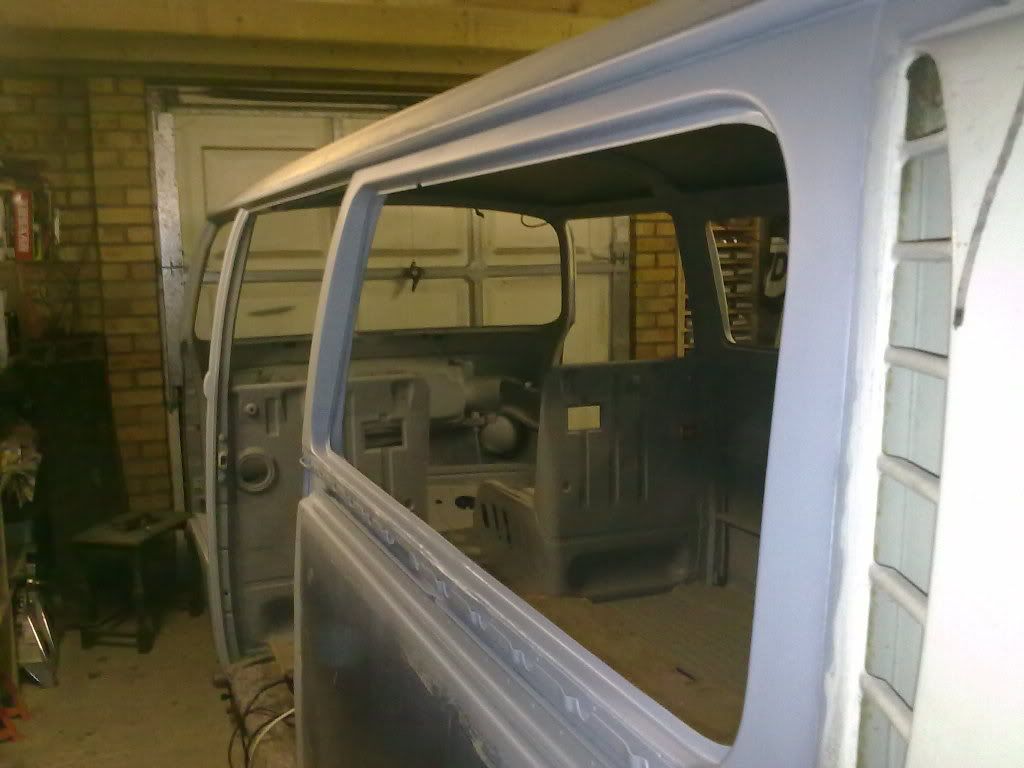
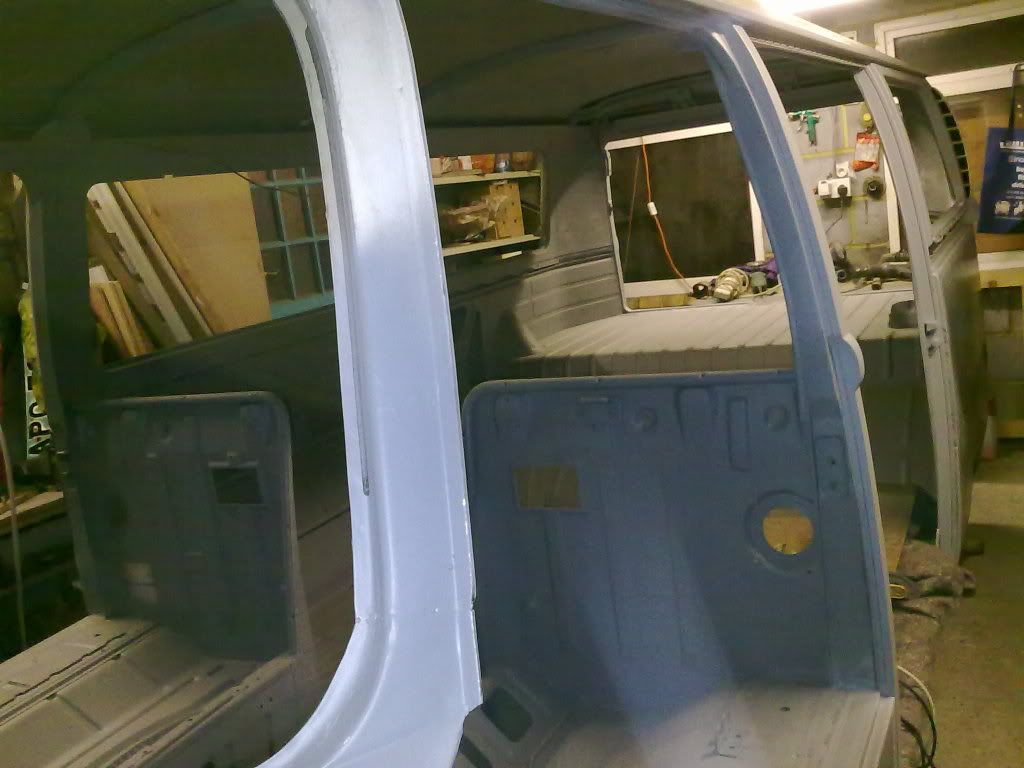
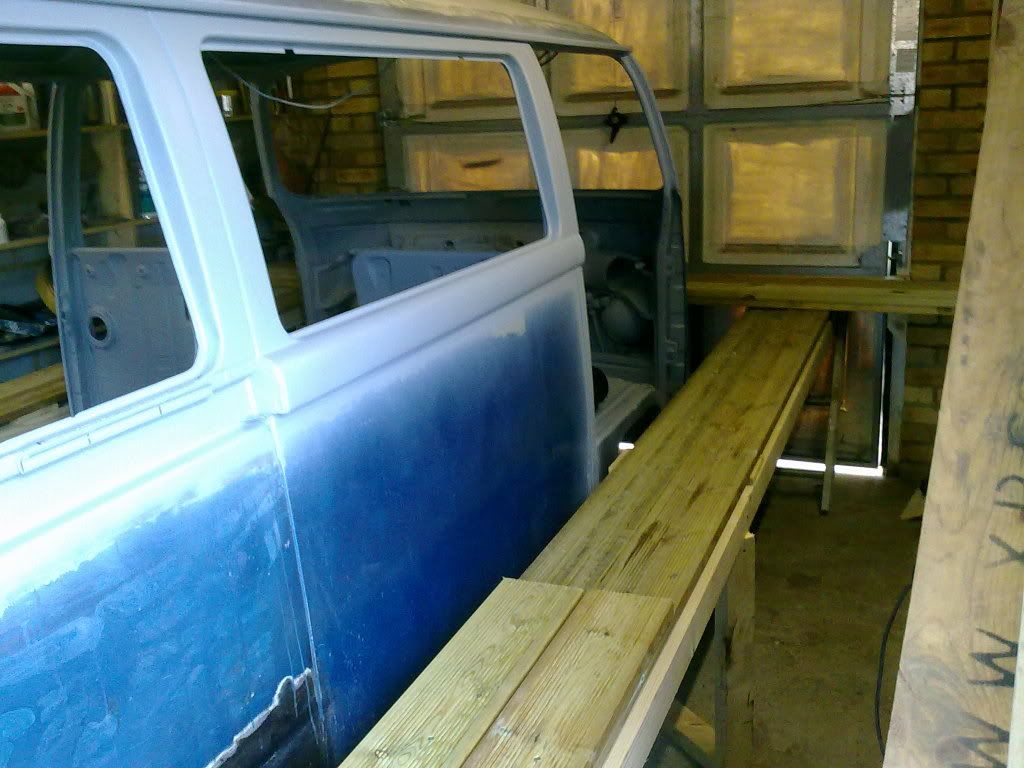
Cab ready for paint..
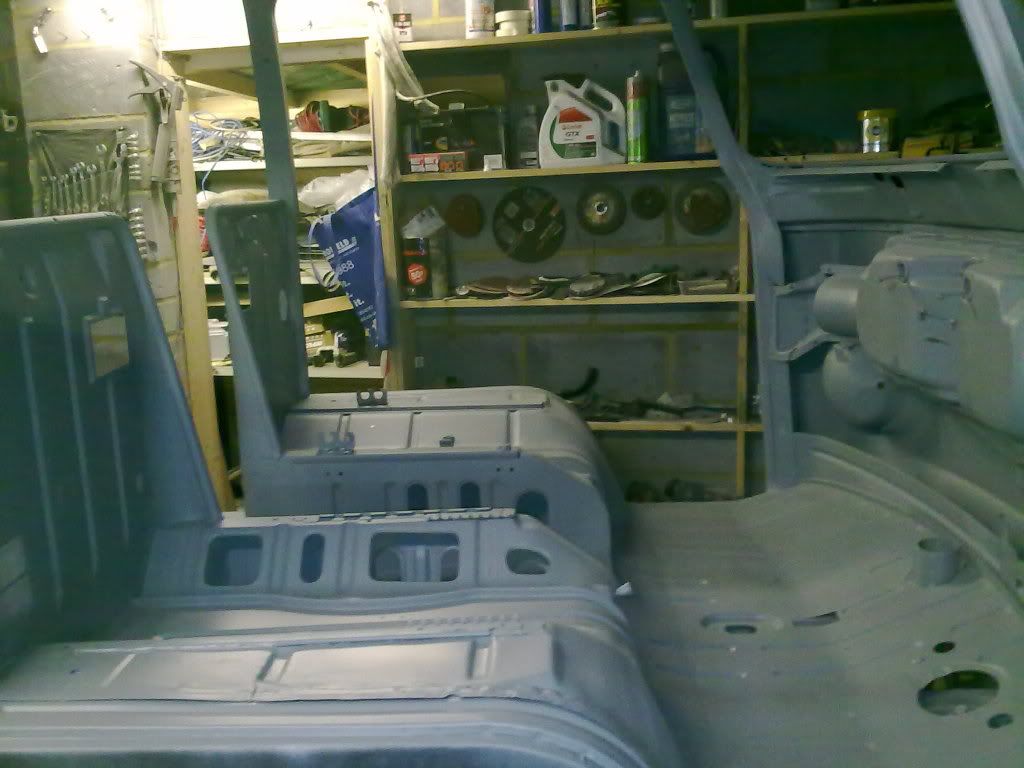
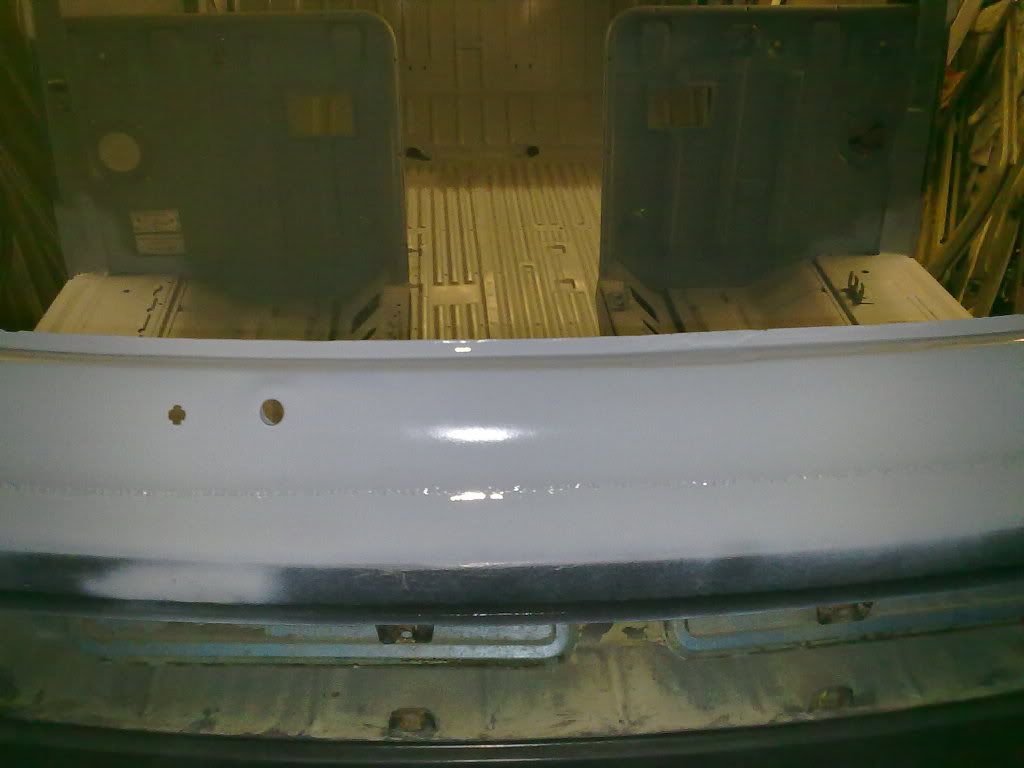
And the complete back..
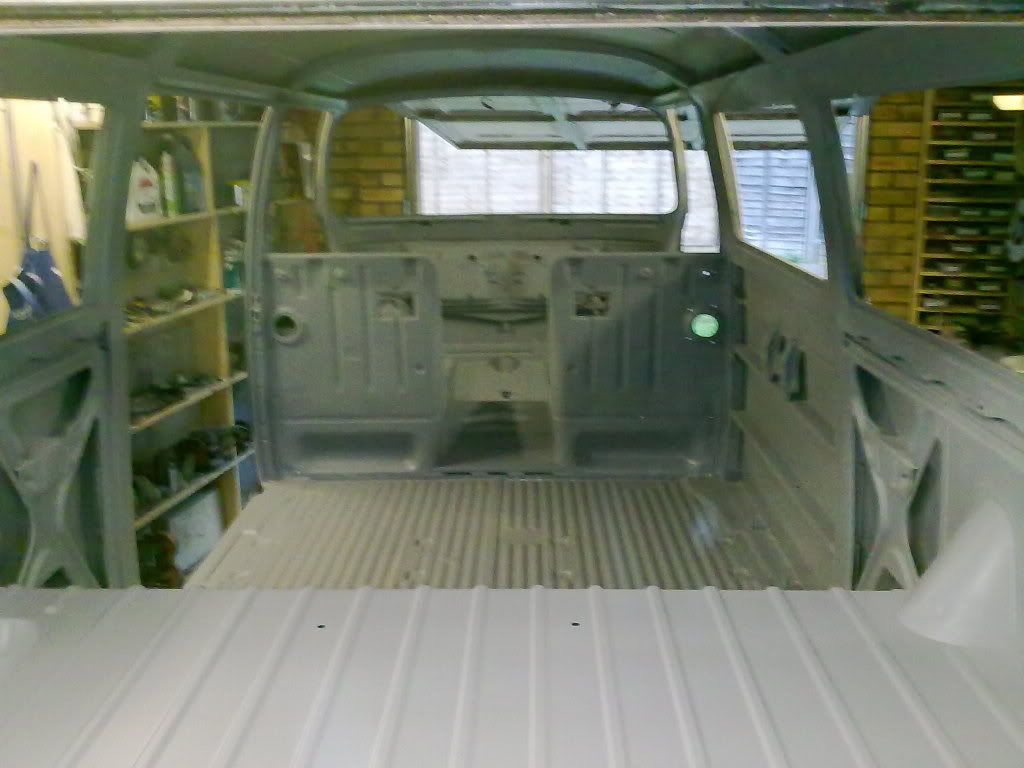
So that's the inside pretty much prepped and ready for paint.. Halle ****kinglujah !!!!!
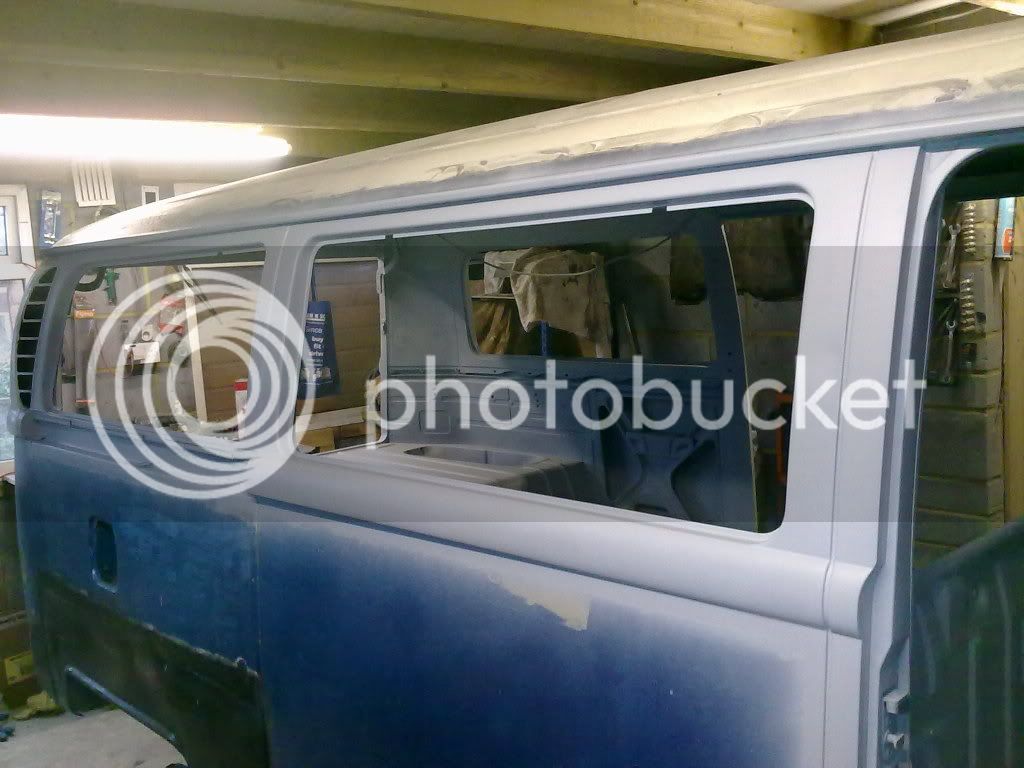
Still plenty to do on the outside...
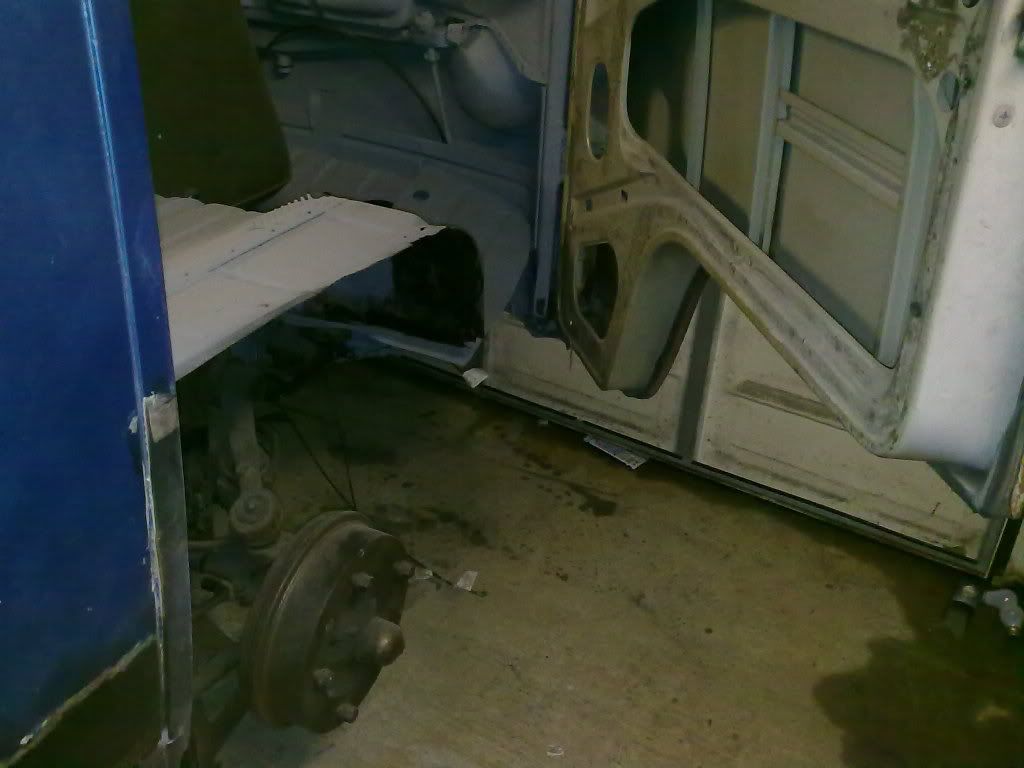
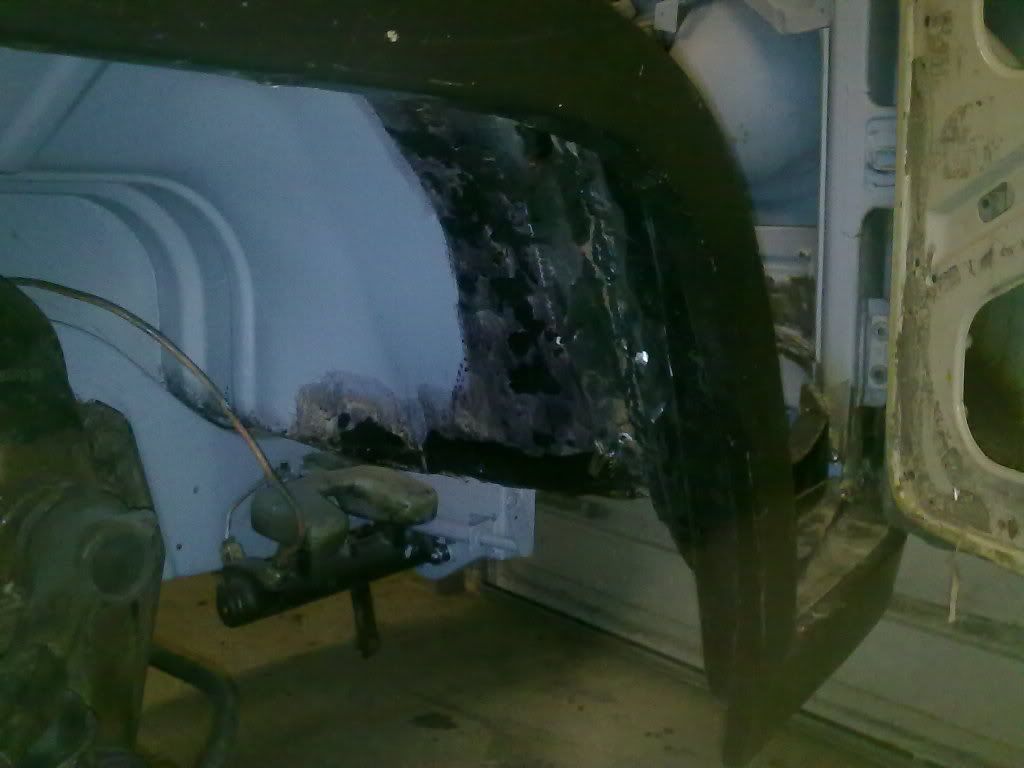
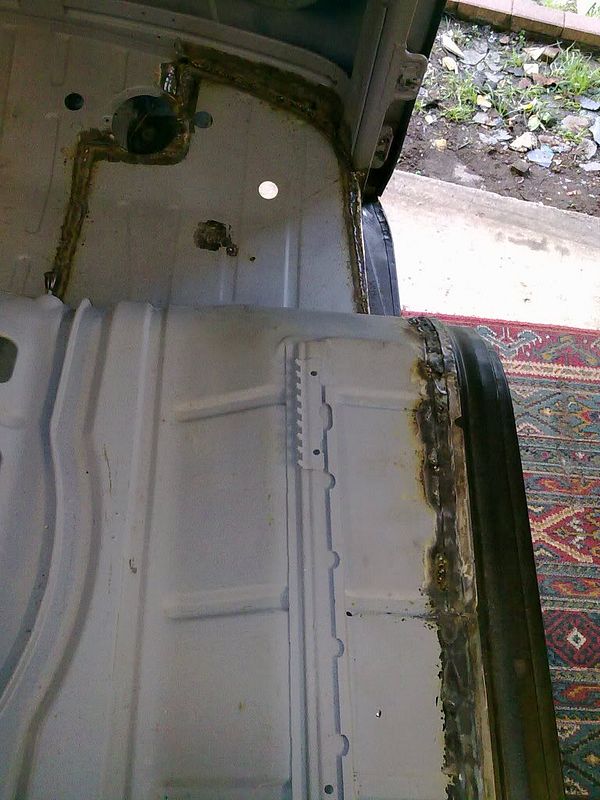
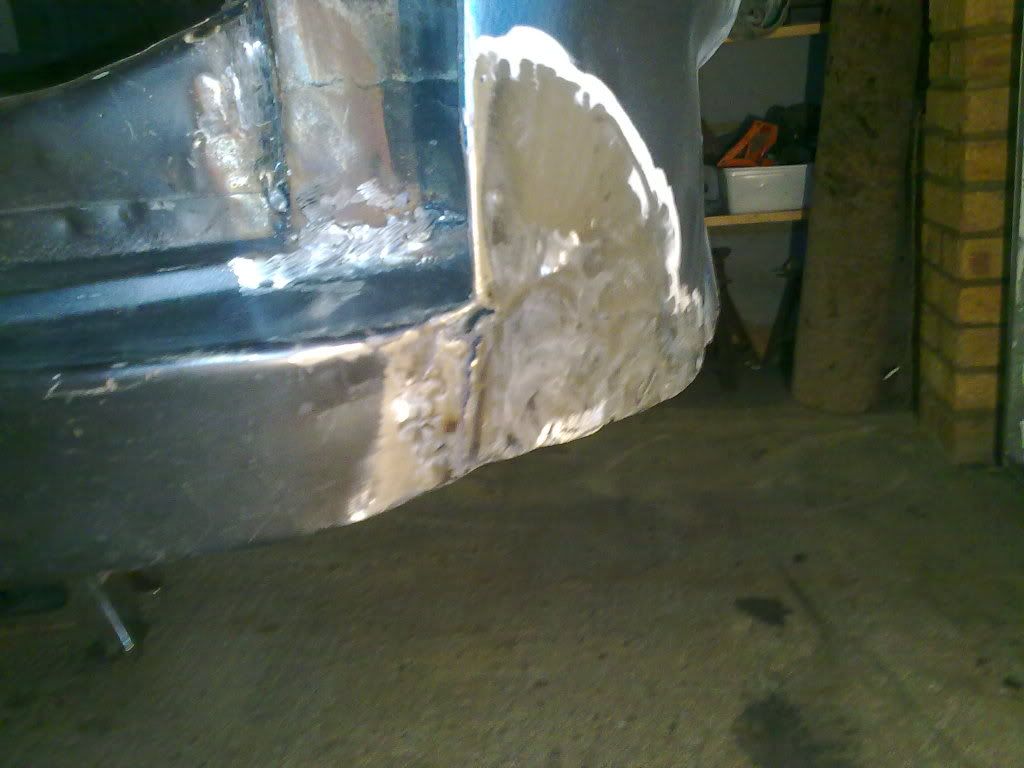
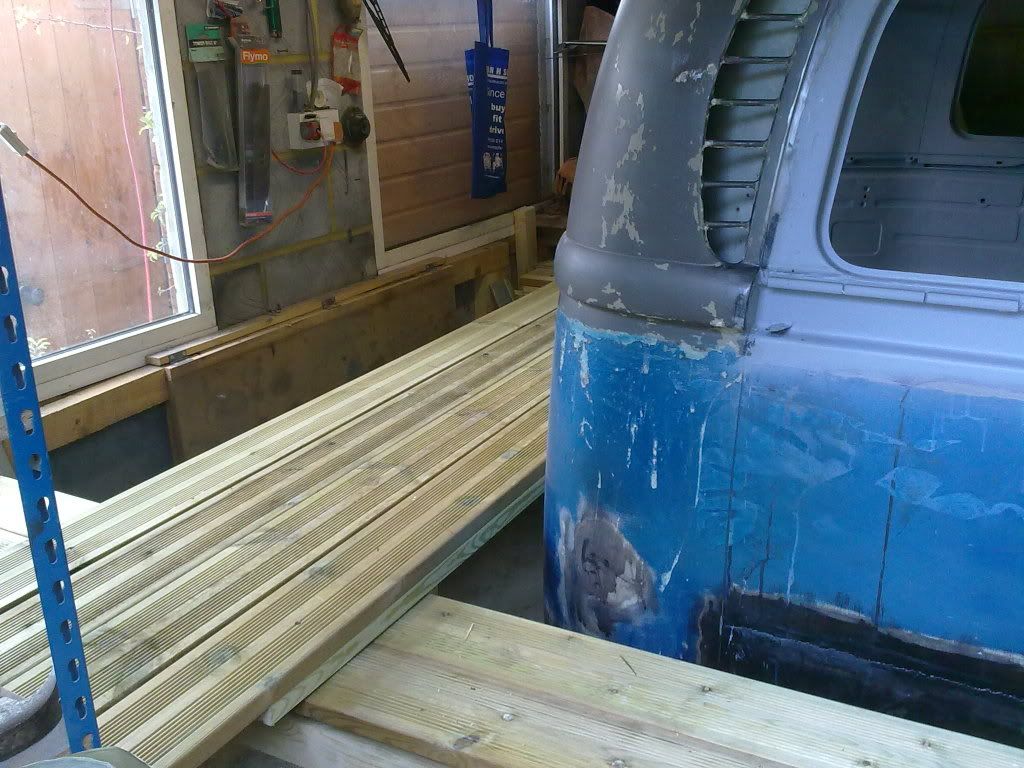
When the windscreen was in place I could see I would need to give this area some attention so no surprises here then...
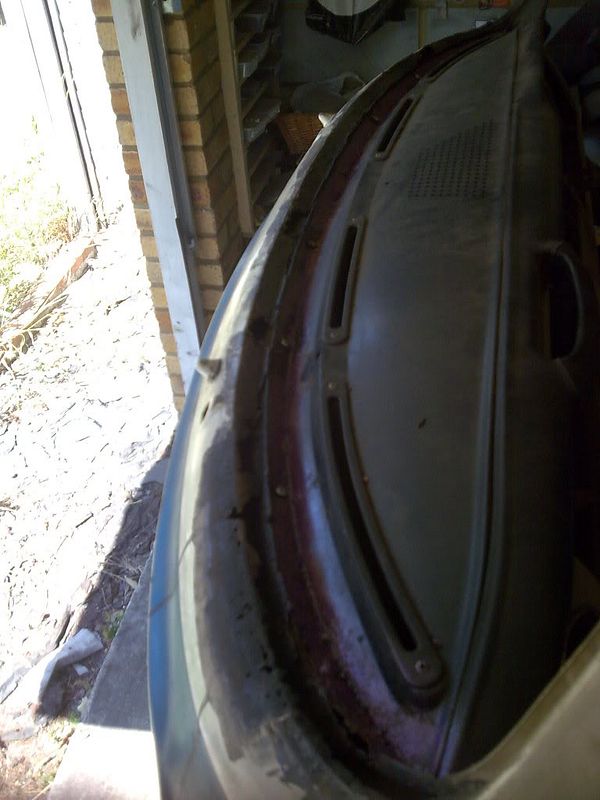
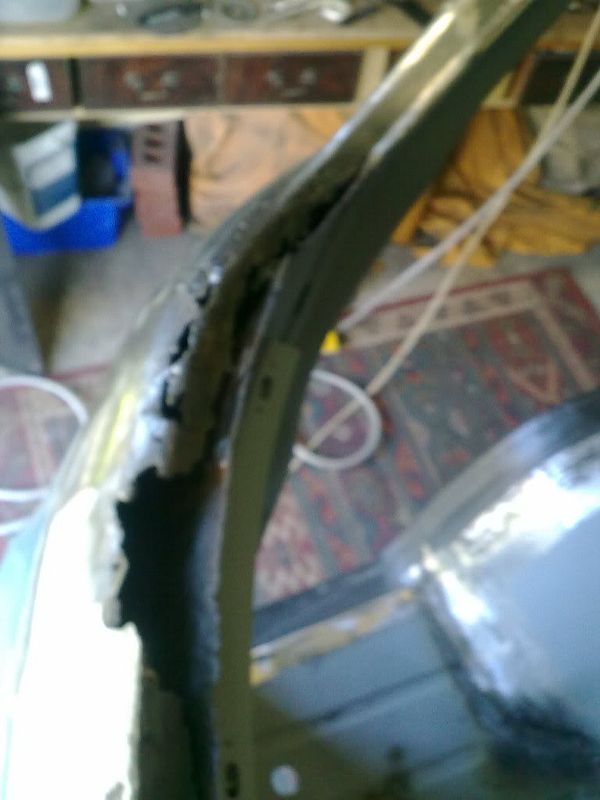
So, in order to make sure there was nothing dodgy lurking under the paint I took the whole front panel back to bare metal..
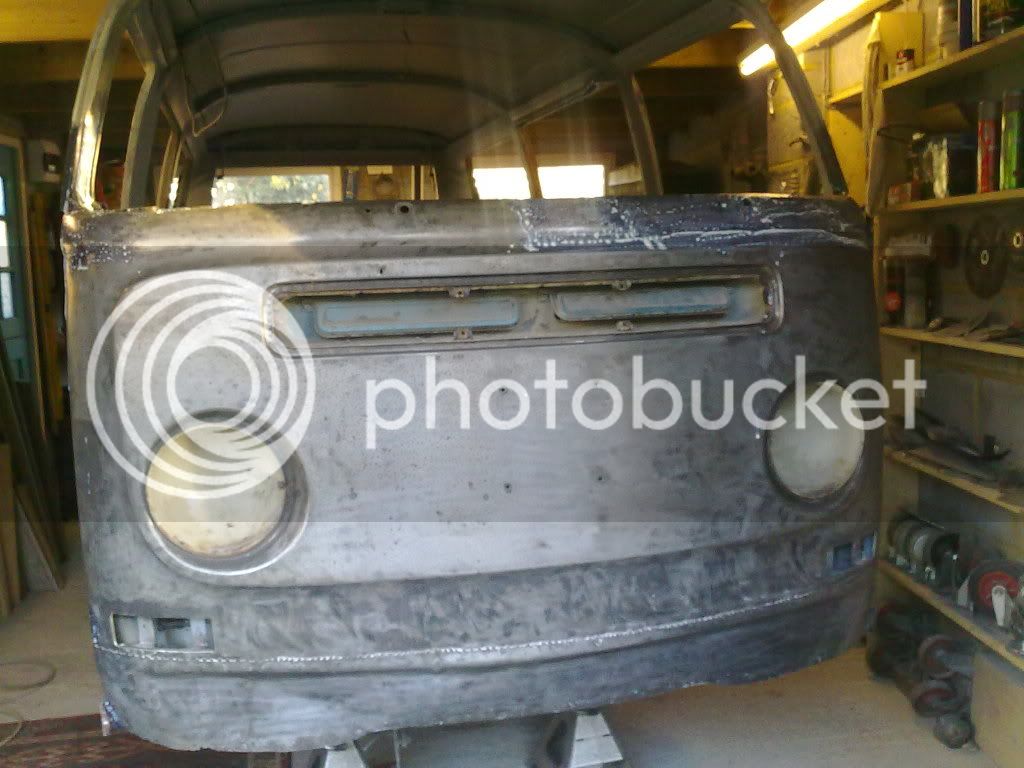
But rather than bad news I was pleased to see that the panel under the indicators had already been replaced by the PO .
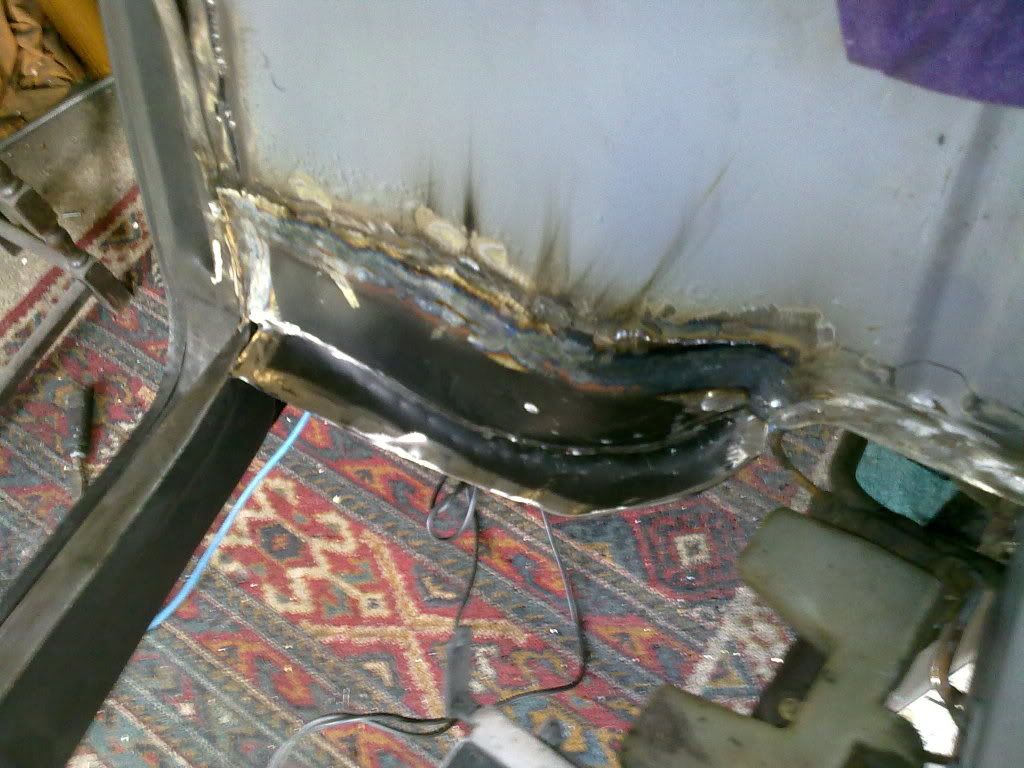
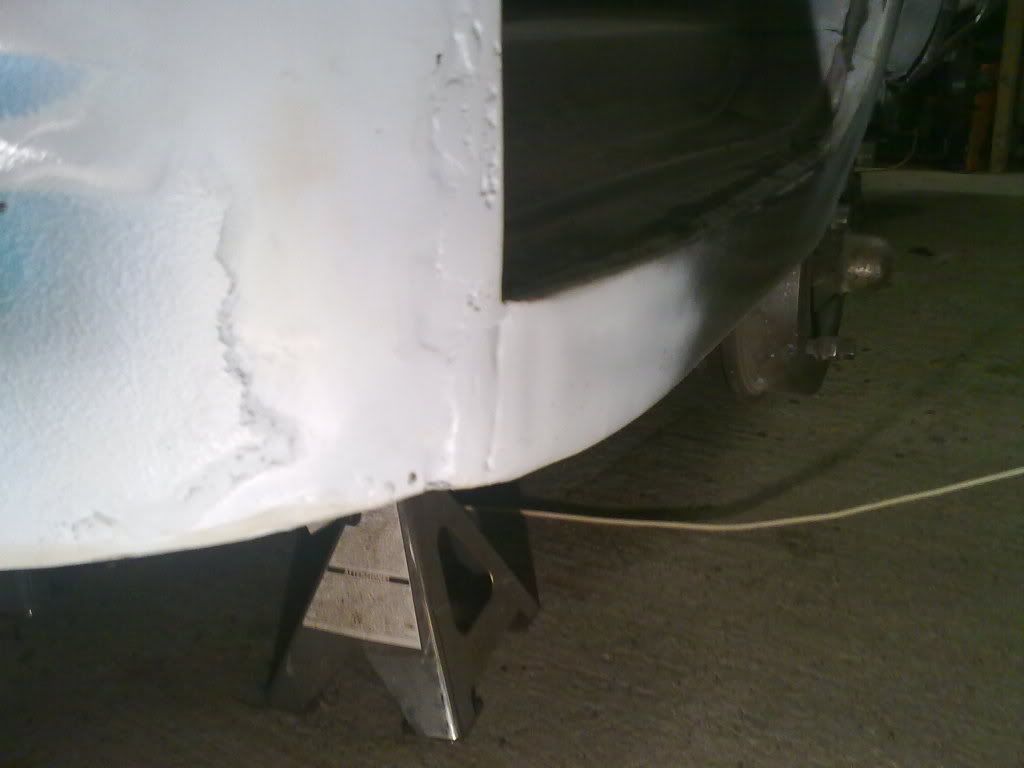
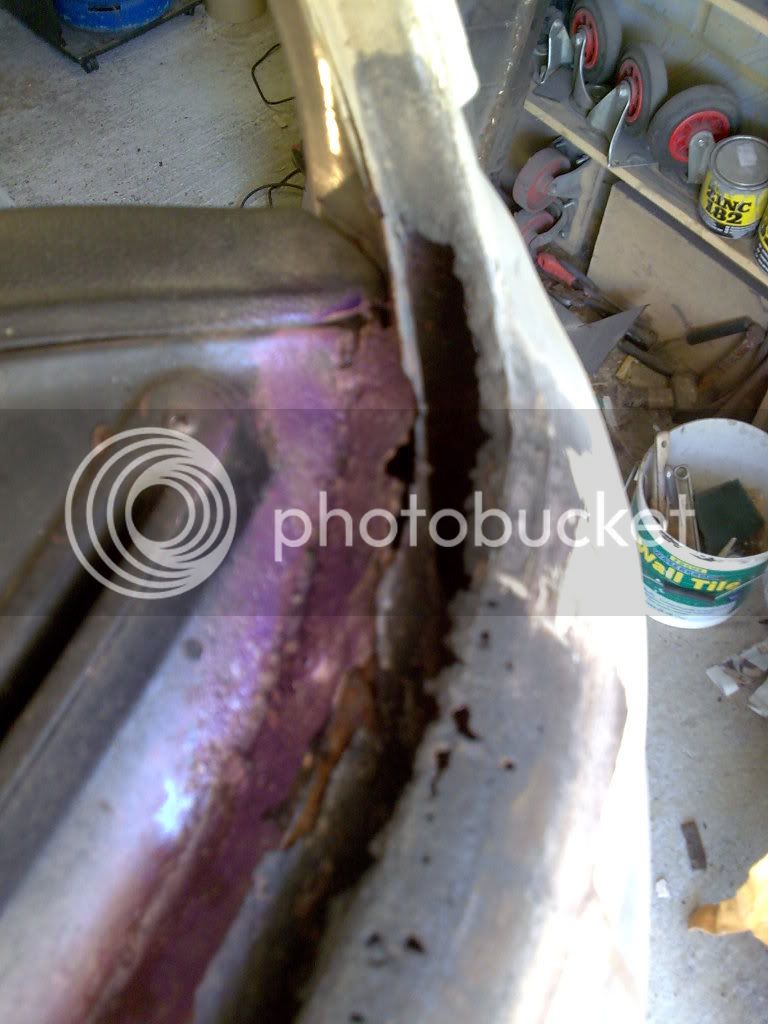
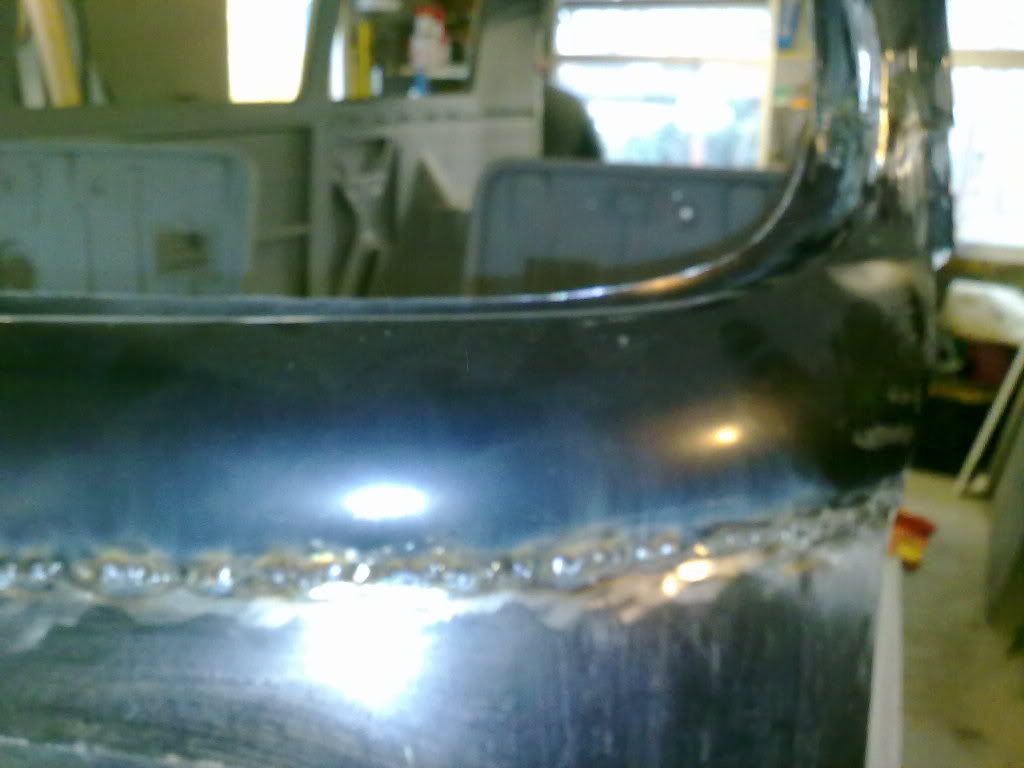
Just a big dent to pull out where the filler was about half inch thick
Quick coat of rust treatment to keep it safe for a while

Got a new under screen panel but only used the top part as the rest of it below the bulge was OK..
Still a lot more grinding to do to get it ready for a skim of filler but I'm trying to get all the welding finished by the end of
this year so a coat of etch and a coat of zinc to protect it till the spring..
Anyway, that's it , photo's up to date now !!!
It's getting a bit damp down the garage in the evenings now so progress will be dependant on the temperature for a few months now,
but still aim to have all the welding finished by the end of the year.
As soon as the weather breaks it's all systems go bare metalling the outside bodywork and getting ready to go back to
the original colour of Savannah Beige and Cloud White just the way it left Germany in 1968.
Couple of the new floor from underneath..
Before floor panels
Floor panels in..
This won't win a photo of the of the year award !
Then, after what seemed like a lifetime of rubbing down.. plenty of zinc primer !!
Left
Right
Middle , did I already mention the new heater tube ? Anyway.... new heater tube .
Rear end, can't remember if the axle stands are part of the chassis or not - it's been up on them for so long !
Under the front floor panels.
Right
Under pedal cover..
Left
Engine bay
Right
Left
Cab ready for paint..
And the complete back..
So that's the inside pretty much prepped and ready for paint.. Halle ****kinglujah !!!!!
Still plenty to do on the outside...
When the windscreen was in place I could see I would need to give this area some attention so no surprises here then...
So, in order to make sure there was nothing dodgy lurking under the paint I took the whole front panel back to bare metal..
But rather than bad news I was pleased to see that the panel under the indicators had already been replaced by the PO .
Just a big dent to pull out where the filler was about half inch thick
Quick coat of rust treatment to keep it safe for a while
Got a new under screen panel but only used the top part as the rest of it below the bulge was OK..
Still a lot more grinding to do to get it ready for a skim of filler but I'm trying to get all the welding finished by the end of
this year so a coat of etch and a coat of zinc to protect it till the spring..
Anyway, that's it , photo's up to date now !!!
It's getting a bit damp down the garage in the evenings now so progress will be dependant on the temperature for a few months now,
but still aim to have all the welding finished by the end of the year.
As soon as the weather breaks it's all systems go bare metalling the outside bodywork and getting ready to go back to
the original colour of Savannah Beige and Cloud White just the way it left Germany in 1968.
Nick-Rackham
Well-known member
Fookin Ace Fella  like the way it goes from "there's a hole, welded in, prettied up, primed" in 4 photo's when it must have taken hours if not days! Got to be proud of yourself with that.
like the way it goes from "there's a hole, welded in, prettied up, primed" in 4 photo's when it must have taken hours if not days! Got to be proud of yourself with that. Mickey Sam
Well-known member
Cheers fella's,
Andy, still waiting your re-start date mate . Ask the Mrs if you can bring your engine
onto the dining table for a winter overhaul, she won't mind !
Nick , you're right, I put in 30 hours of 'spare time' from Wednesday evening to Sunday afternoon,
knocked myself senseless, midnight shifts, pulled out all the stops.....
then summed it all up in half a dozen photo's !!
Sometimes I think I should post more step by step photo's but I'm sure everyone
has seen the other threads so I'm going to try to keep it to an 'update of results' .
Some of the stuff I do is verging on OCD and would bore you shitless !!!
Gotta be done though .


$41.88
$46.95
Billet Window Crank, for All Years VW Beetle, Pair, Compatible with Dune Buggy
✅ Dune Buggy Warehouse


$9.37
Empi 4429 Ivory Sun Visor Clips for Vw Bug 1965-1967/ Vw Bus 1968-1979, Pair
MOORE PARTS SOURCE


$9.94
$10.95
Empi 00-4428-B VW Bug, Beetle, Sun Visor Clips, Type 1, 68-79, Black, Pair
MOORE PARTS SOURCE


$7.94
$15.23
Door Panel Clips, for VW Aircooled Door Panels, 50 Pieces, Compatible with Dune Buggy
Appletree Automotive


$10.00
Volkswagen Genuine VW Driver Gear VW Logo Specifications T-Shirt Tee - X-Large - Black
wolframitersqga

$24.61
Airfix Quickbuild Volkswagen Camper Van Red Brick Building Plastic Model Kit J6017, Multicolour
Amazon Global Store UK
kevinhall said:Fingers crossed for a warm dry winter so you get it finished in comfort
Well you have just gone and jinxed it now :lol:
Mickey Sam
Well-known member
Cheers Kevin, feels like I'm on a roll at the moment. I'm knocking a few ideas about in my head for building some
kind of 'tent' or lining for inside the garage walls which I could use some form of heater so I can carry on
through the winter without worrying about the damp causing rust on the bare metal.
I'm going to try and bare metal the gutters this weekend, I've done about three feet so far over the sliding door
and it looks OK, fingers crossed the rest of it will be OK !
Mickey Sam
Well-known member
Haven't posted for while so here's a few photo's of the the bits and pieces I've been playing with while waiting for the weather to break.
Finally got the welding finished and started getting ready for bare metalling the bodywork.
Last few repairs.
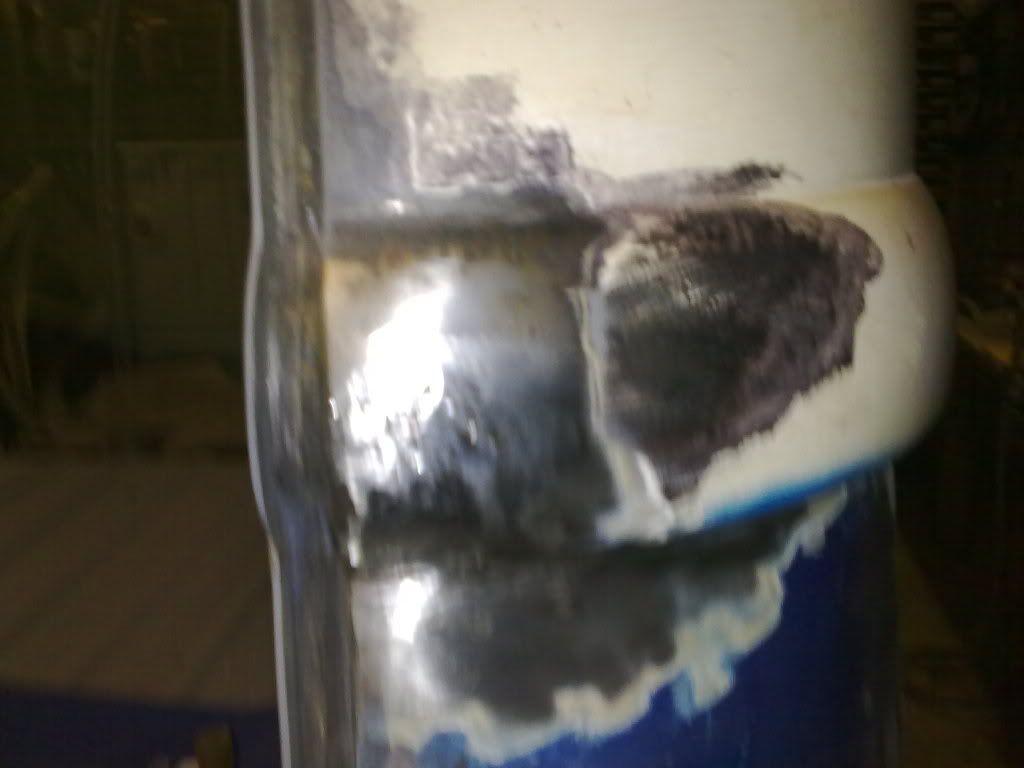
Patches to rear bulge, left....
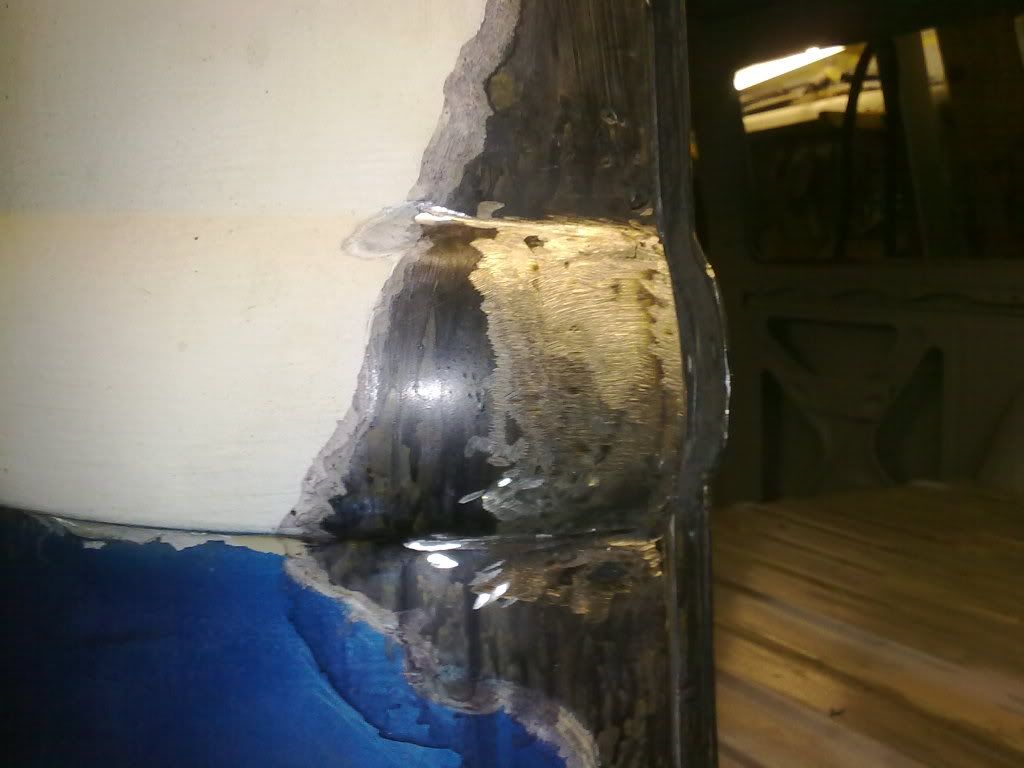
and right ....
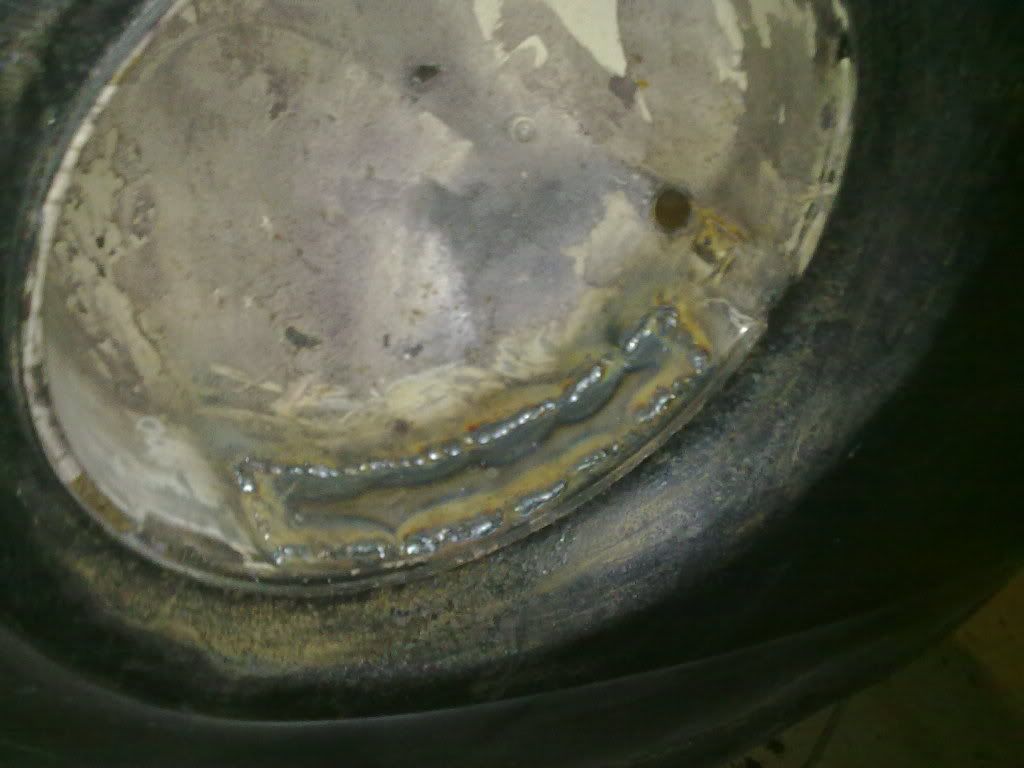
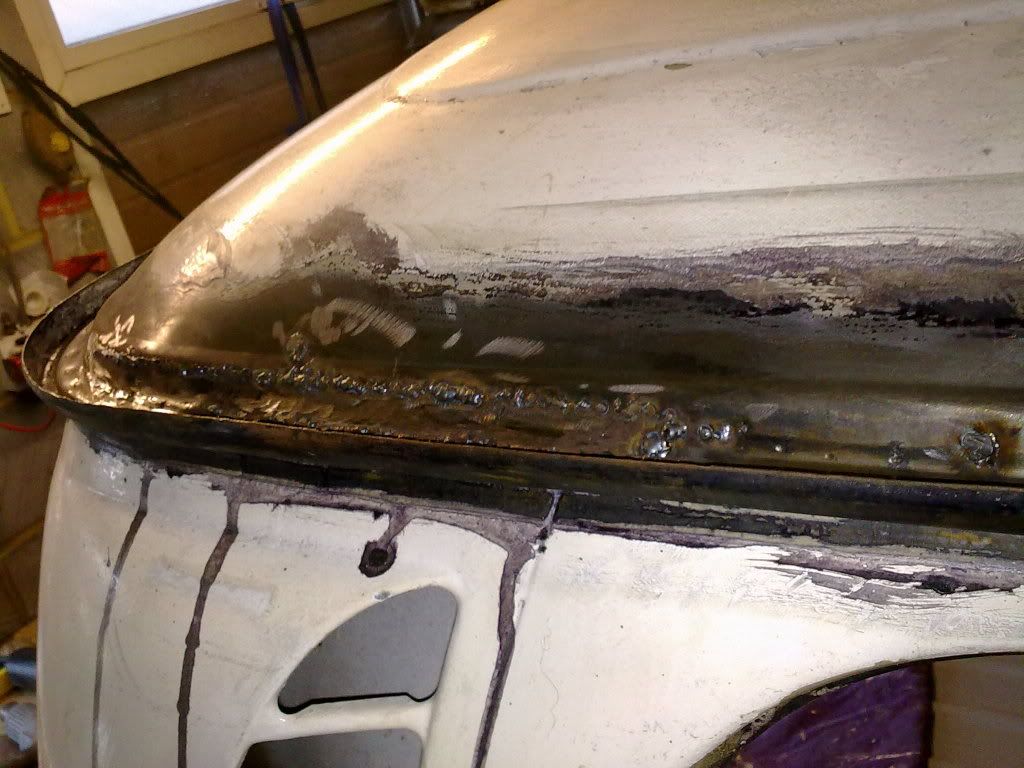
Headlight bowl repair..
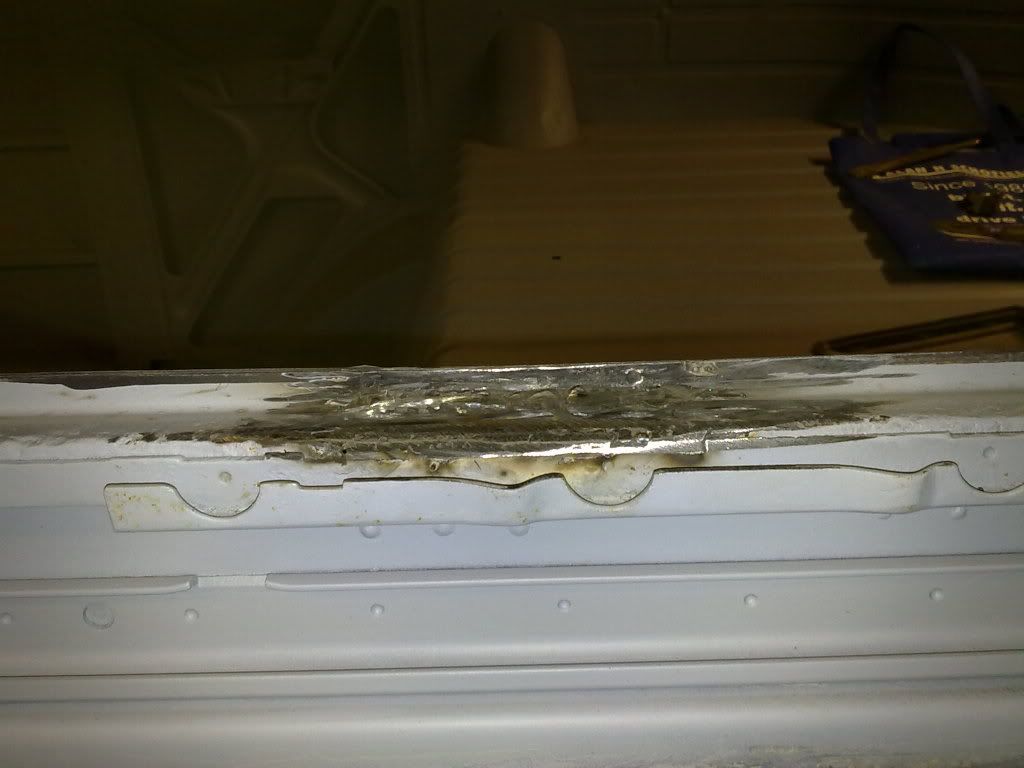
Patch under the window surround / sliding door cover track...
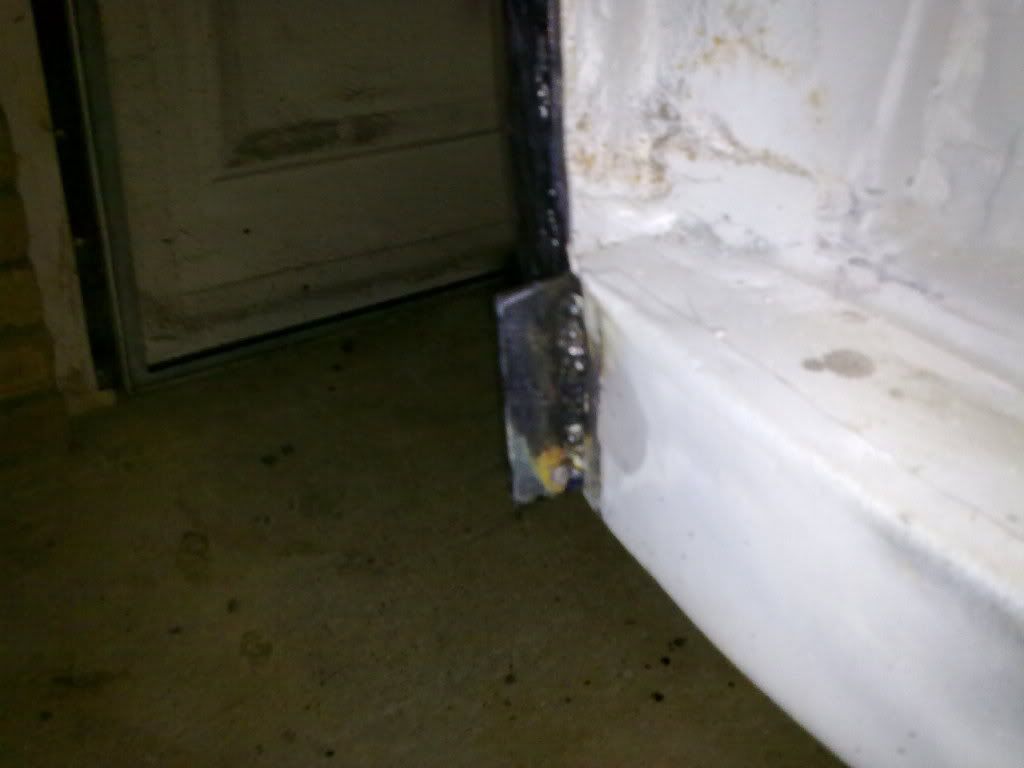
Opposite sliding door / window surround repairs , replaced brackets that hold the cover panel..
Quick check to make sure the cover fits back on !
Few repairs to the rear door shuts..
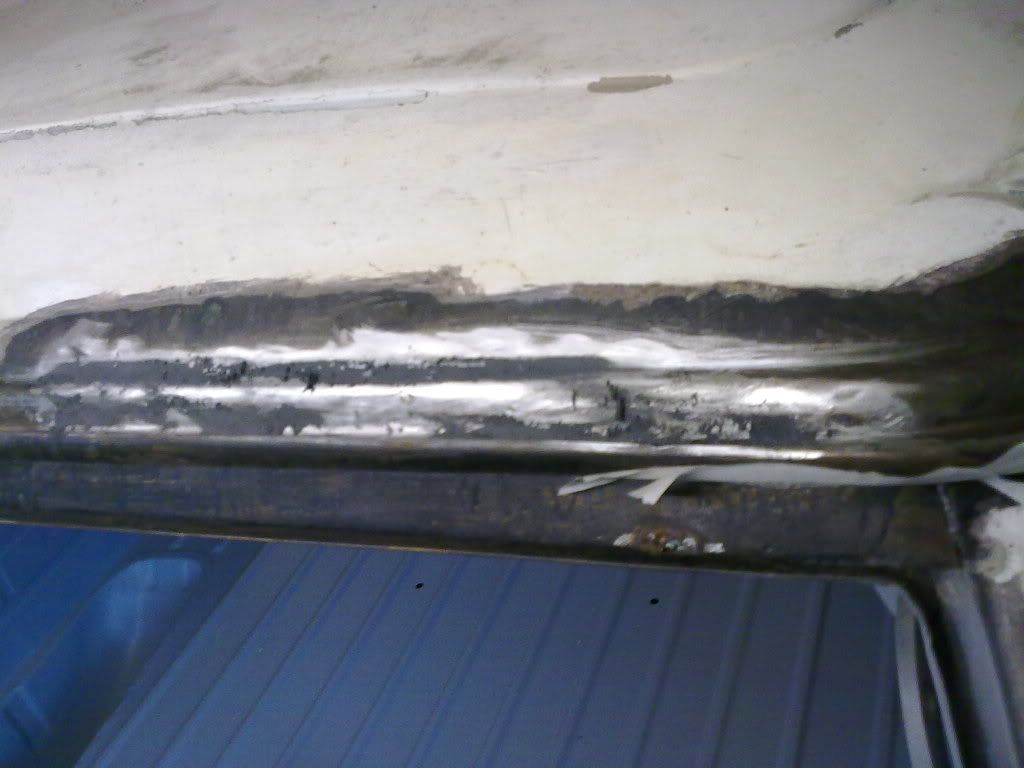
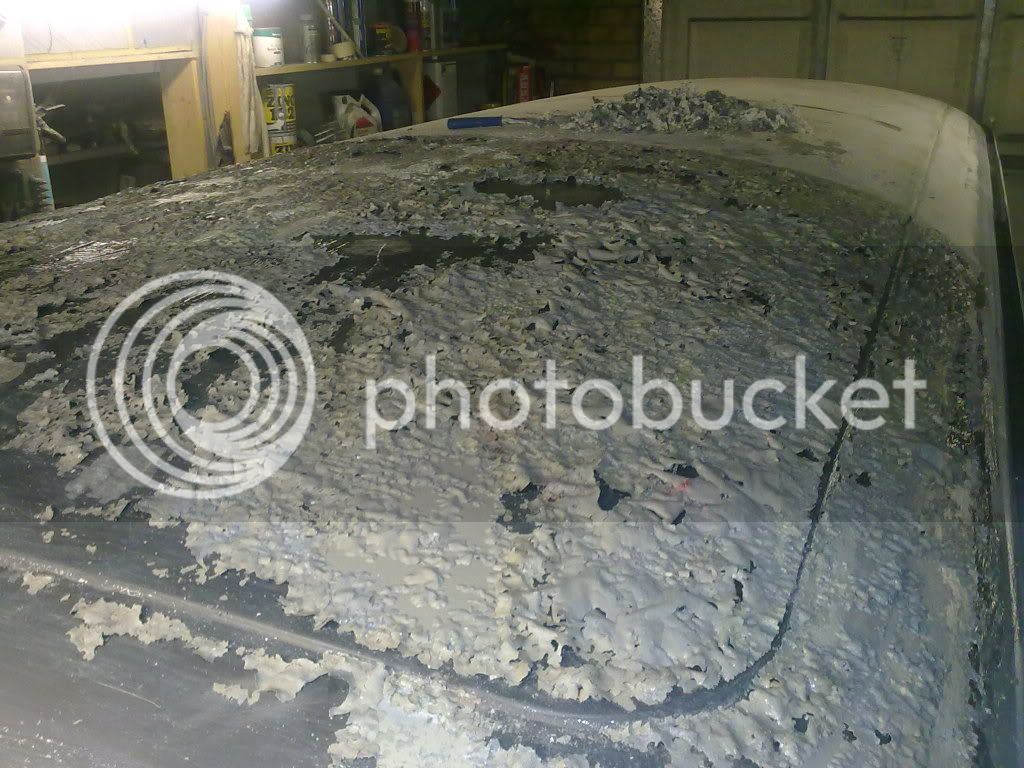
Finally got back to stripping the paint off of the gutters and first 2 inches of the roof....
Hit the panic button when I found this...
Then around the corner , this ..
But a sigh of relief when I found out that that was the only part of the roof that needed welding and all the gutters were OK .
So..
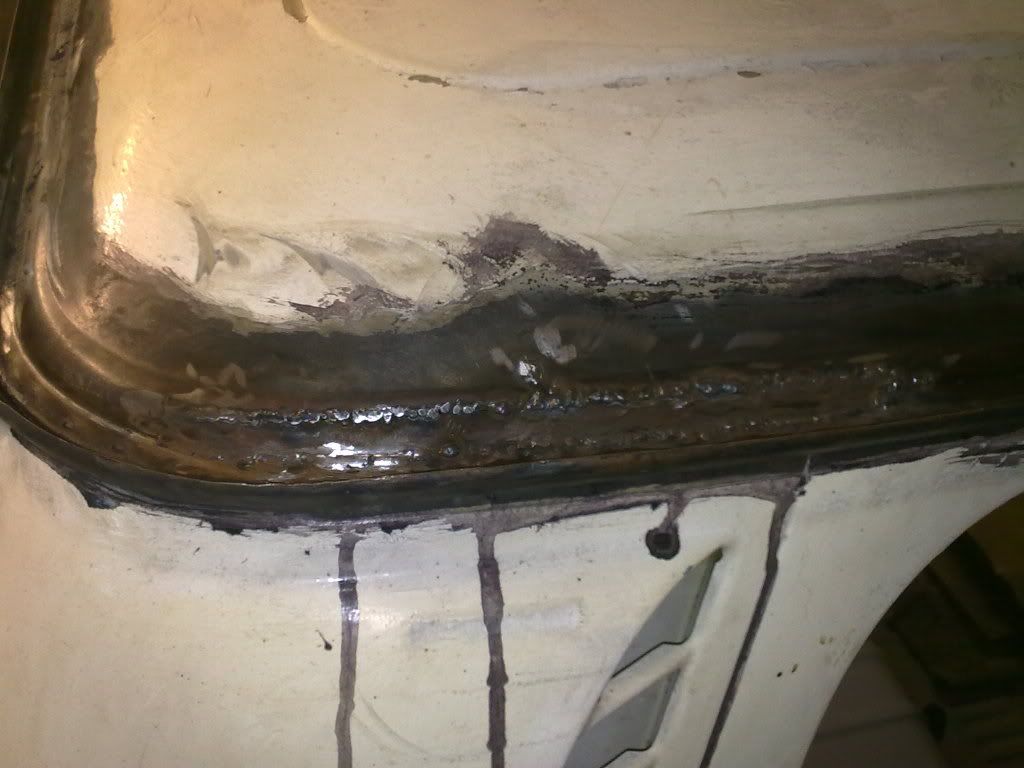
Ready for the final filler when I set about the roof...
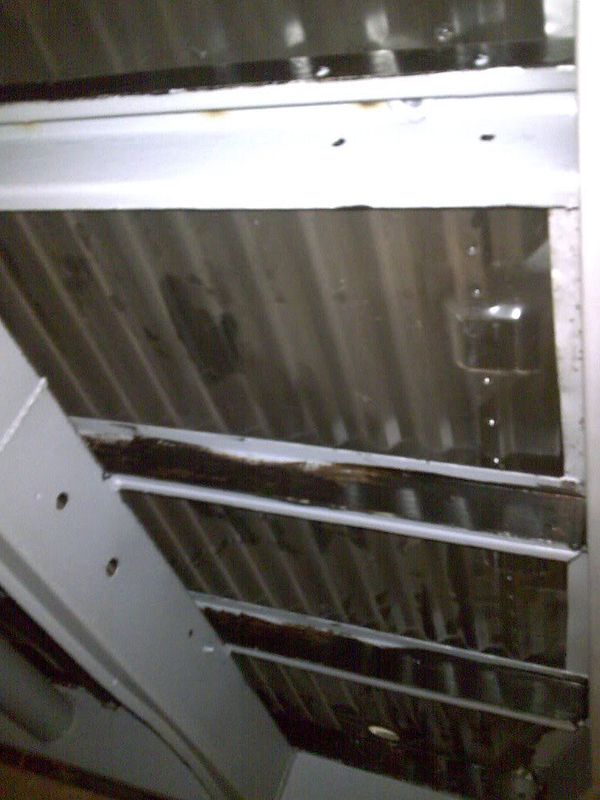
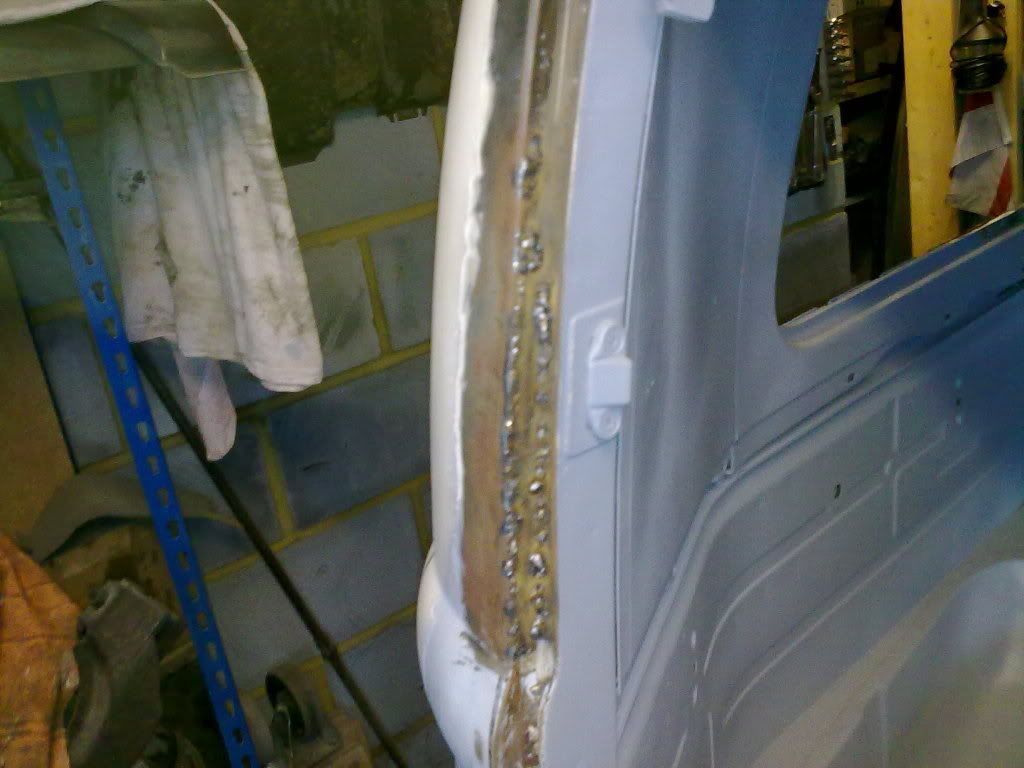
Then I started prepping the areas around were the rear door and engine hatch seals will go. Stripped back to bare metal , followed by rust treatment...

Then a touch of temporary protection for while...
Back soon !
Finally got the welding finished and started getting ready for bare metalling the bodywork.
Last few repairs.
Patches to rear bulge, left....
and right ....
Headlight bowl repair..
Patch under the window surround / sliding door cover track...
Opposite sliding door / window surround repairs , replaced brackets that hold the cover panel..
Quick check to make sure the cover fits back on !
Few repairs to the rear door shuts..
Finally got back to stripping the paint off of the gutters and first 2 inches of the roof....
Hit the panic button when I found this...
Then around the corner , this ..
But a sigh of relief
when I found out that that was the only part of the roof that needed welding and all the gutters were OK .So..
Ready for the final filler when I set about the roof...
Then I started prepping the areas around were the rear door and engine hatch seals will go. Stripped back to bare metal , followed by rust treatment...
Then a touch of temporary protection for while...
Back soon !
Mickey Sam
Well-known member
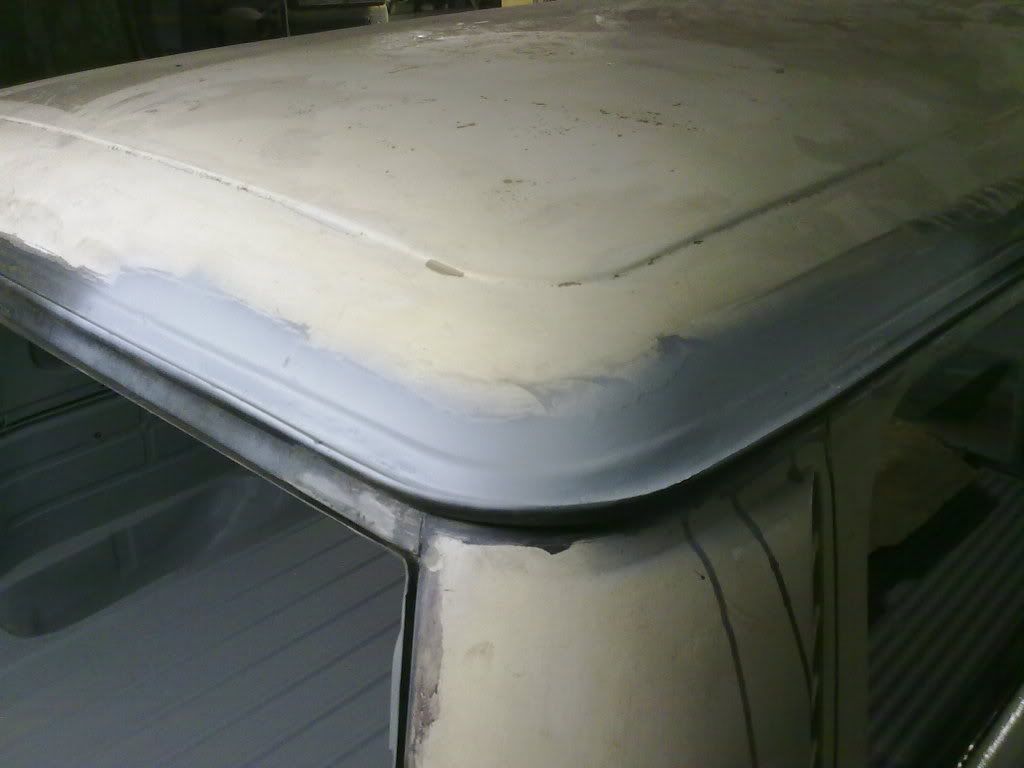
Been doing a bit more bare metalling...

Now finished bare metalling around the windscreen, windows and door shuts and all sprayed in etch primer ready for the next stage.
As the weather was still a bit on the damp side I used a hot air gun to warm up the bare metal before spraying and kept the paint
warm while it was drying. :roll: ( Don't try this at home kids ! It's not the most sensible thing to do !)
Couldn't do the larger areas like this but at least it's another bit ready for paint.
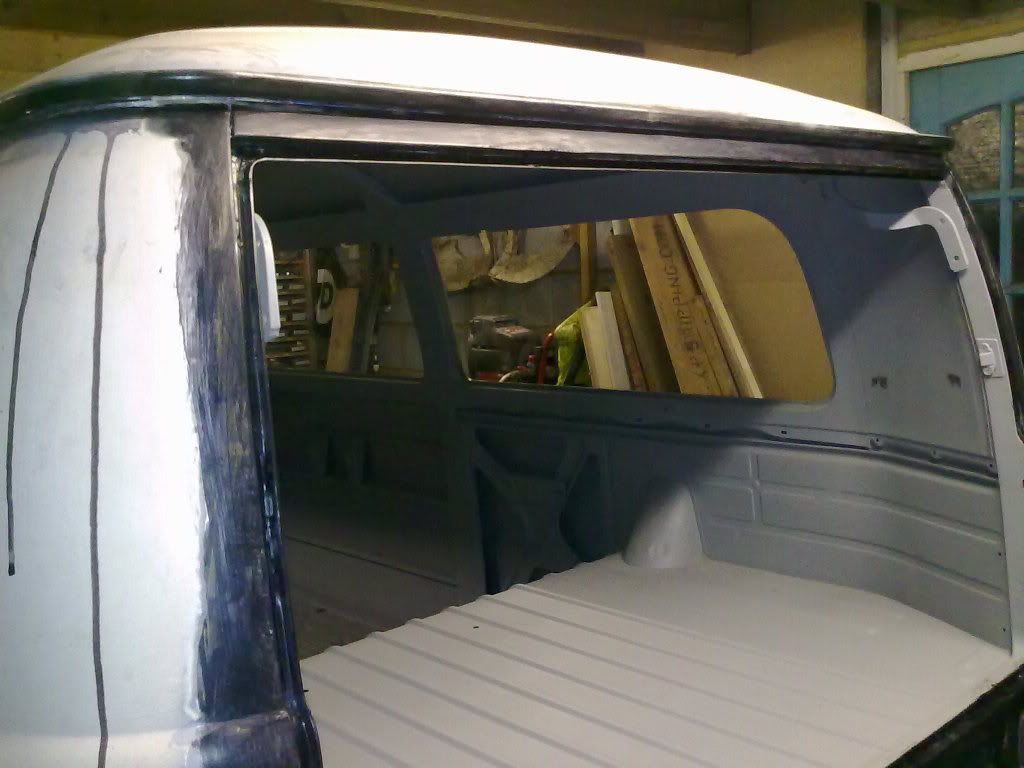
Around the sliding door...

Windscreen surround...
Right hand side....
Left hand side....
I used a grinder with a hard, twisted wire brush to bare metal around the windows and doors ( now burnt out
5 grinders so far with this project !! )
and tried Nitromors stripper around the rear vents and larger areas - nice to see the 'Dulux Gloss' dissapearing !
Not sure why but the grill was chromed so I'm gonna have to find someone local to take it back to bare metal ...
unless anyone wants to swap a painted one for a 'rat' grill ? :lol:

At 8 o' clock on Saturday morning I got my delivery of decking for the garden. I had an ulterior motive for the decking....,
being of the short arsed variety I needed some way of reaching the roof for stripping, painting etc :idea: ....
so the garden decking project is on hold for a while... :roll:
All it needs is an NOS VW window box, job's a good 'un !!!
No excuses now, gotta get stuck in to the roof.....................
Now finished bare metalling around the windscreen, windows and door shuts and all sprayed in etch primer ready for the next stage.
As the weather was still a bit on the damp side I used a hot air gun to warm up the bare metal before spraying and kept the paint
warm while it was drying. :roll: ( Don't try this at home kids ! It's not the most sensible thing to do !)
Couldn't do the larger areas like this but at least it's another bit ready for paint.
Around the sliding door...
Windscreen surround...
Right hand side....
Left hand side....
I used a grinder with a hard, twisted wire brush to bare metal around the windows and doors ( now burnt out
5 grinders so far with this project !! )
and tried Nitromors stripper around the rear vents and larger areas - nice to see the 'Dulux Gloss' dissapearing !
Not sure why but the grill was chromed so I'm gonna have to find someone local to take it back to bare metal ...
unless anyone wants to swap a painted one for a 'rat' grill ? :lol:
At 8 o' clock on Saturday morning I got my delivery of decking for the garden. I had an ulterior motive for the decking....,
being of the short arsed variety I needed some way of reaching the roof for stripping, painting etc :idea: ....
so the garden decking project is on hold for a while... :roll:
All it needs is an NOS VW window box, job's a good 'un !!!
No excuses now, gotta get stuck in to the roof.....................
Hi, nice thread, and good work.
Just a question, I noticed you are using left and right repair panels for the cab floor, how do you get to the central chassis rail sections to clean and prime them ?
I've started to cut out my cab floor, and am tempted to remove the whole lot so I can attack all the front chassis. But it appears that only late bay complete floors are available, so I guess that would entail welding on the outer parts of early bay repair panels, (if you see what I mean!).
Mickey Sam
Well-known member
Ivor, photo's below show you can just about get to the chassis rails for cleaning and painting before welding in the repair section.
On the drivers side you can get to a bit more metal through the hole for the steering column but you have to faff about a bit to get at the other side.
I think the crossover / later 'early's' may have a slightly different chassis rail set up at the front, but not sure.
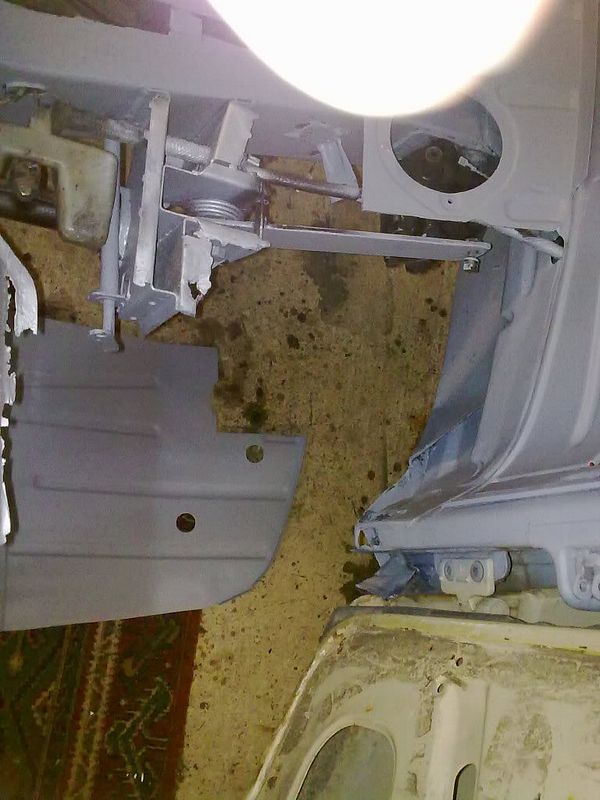
As far as the panels go, original panels are the best if you can find them. Other than that the best way to compare panel's as you live in Surrey would
be to check the different suppliers out at the Volksworld Show at Sandown on 26th / 27th March.
Even when you've compared panels be ready for a battle to get them to fit properly!! Good luck
On the drivers side you can get to a bit more metal through the hole for the steering column but you have to faff about a bit to get at the other side.
I think the crossover / later 'early's' may have a slightly different chassis rail set up at the front, but not sure.
As far as the panels go, original panels are the best if you can find them. Other than that the best way to compare panel's as you live in Surrey would
be to check the different suppliers out at the Volksworld Show at Sandown on 26th / 27th March.
Even when you've compared panels be ready for a battle to get them to fit properly!! Good luck
Mickey Sam
Well-known member
UPDATE:
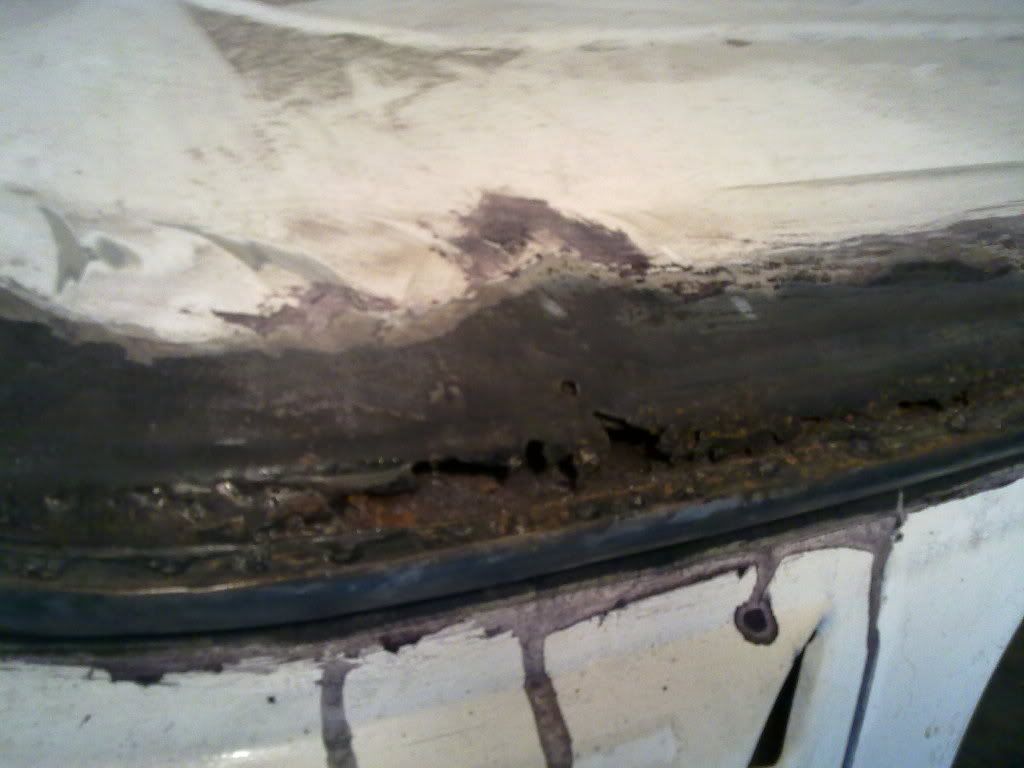
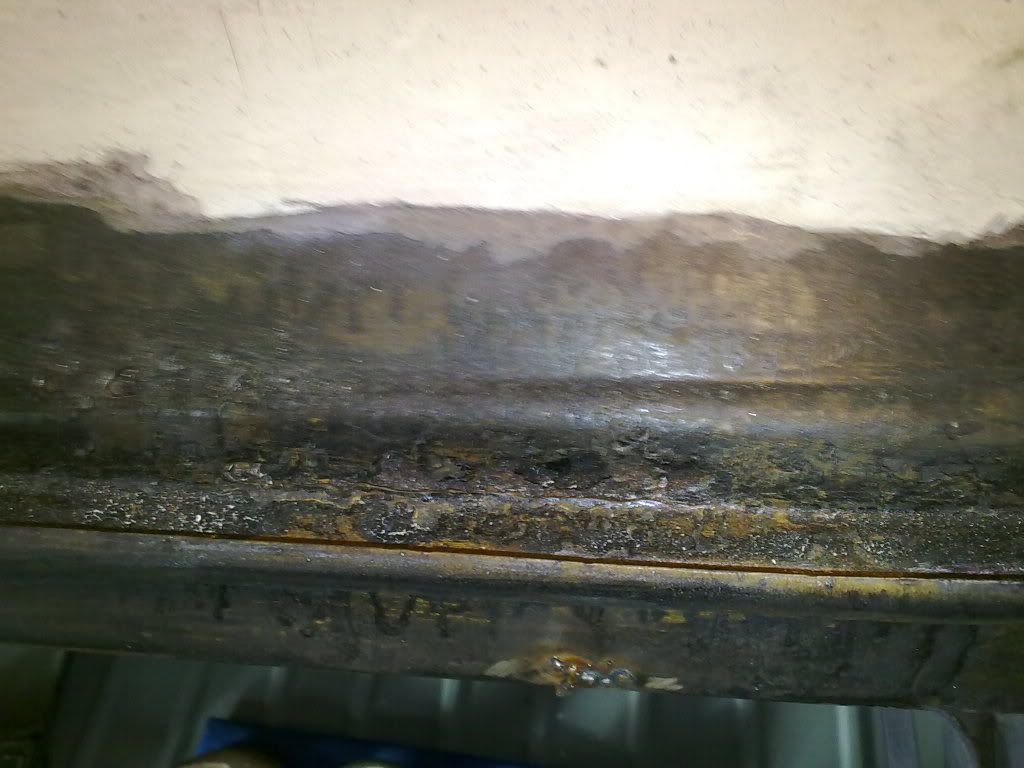
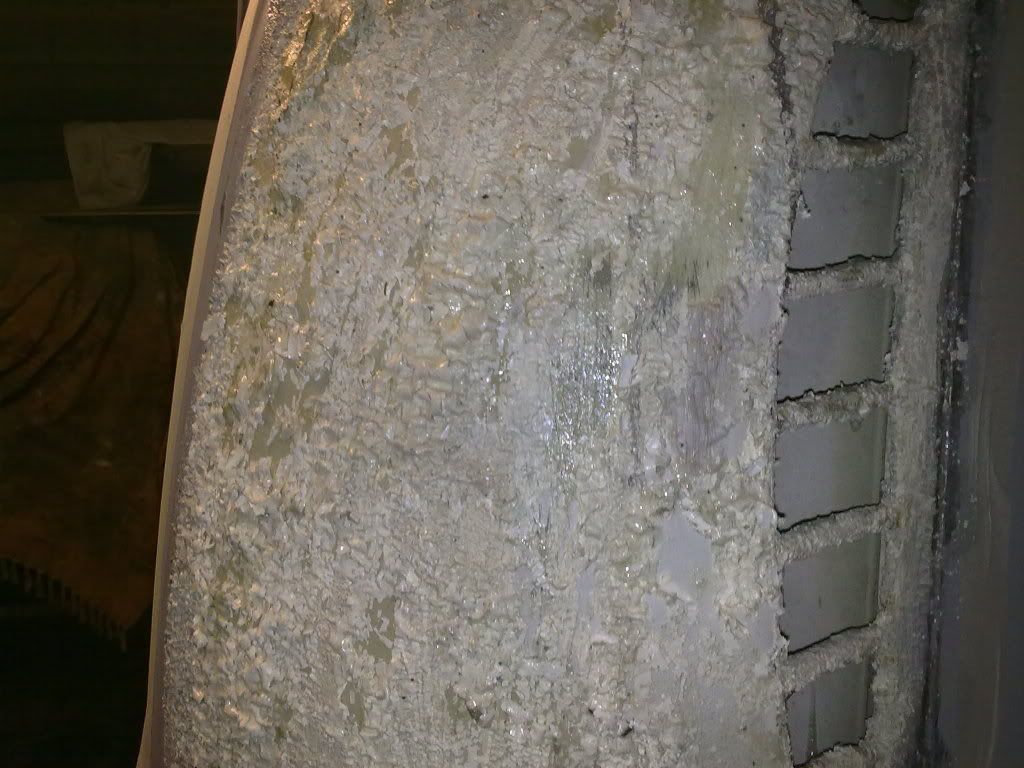
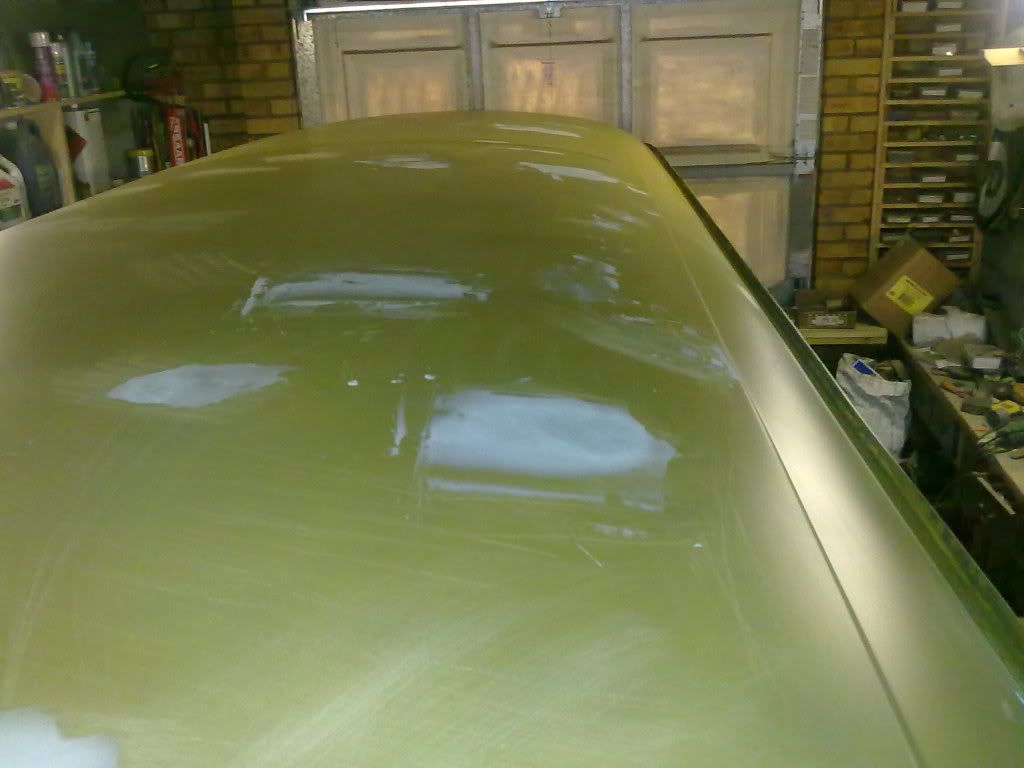
Now I have scaffolding around the bus I started stripping the roof. Took it back to bare metal and it wasn't too bad.
Apart from the corner repairs shown earlier there were just a lot of surface rust spots and dents..
Ground down all the surface rust and filled all the dents then gave it 2 coats of etch primer
and some fine filler where needed...
Then 2 good coats of high build primer..
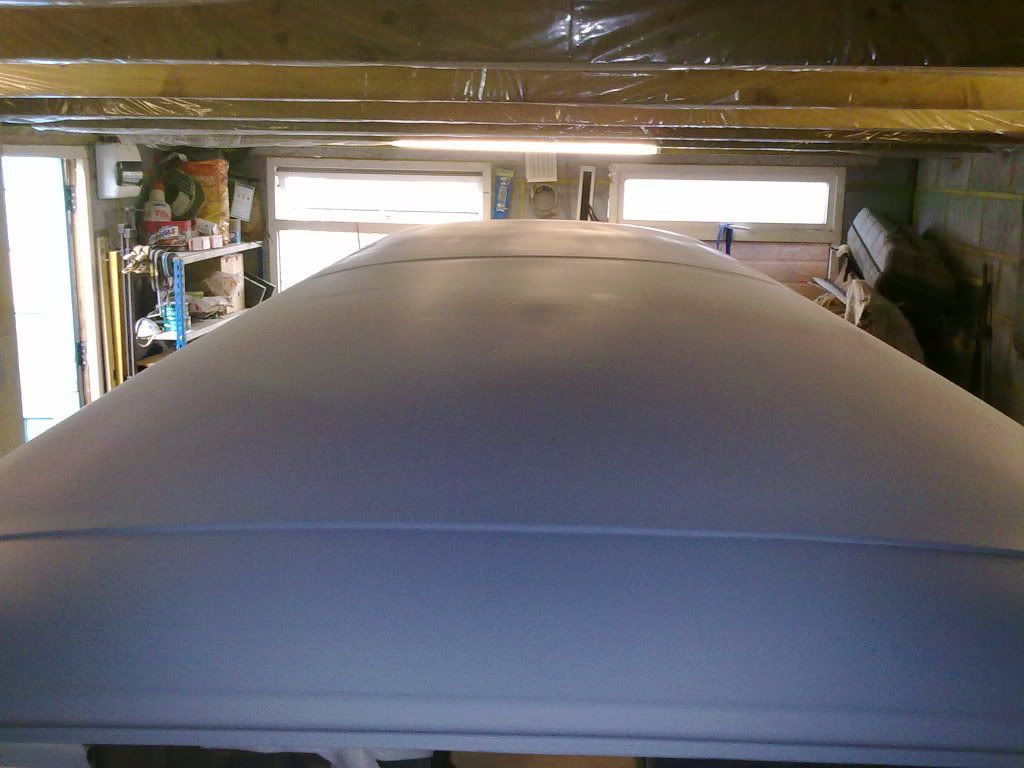
Then six coats of Cloud White for the finish ..
It still needs wet sanding and polishing but I was quite pleased with my first attempt at
spraying top coat particularly struggling around ceiling joists.
After continually cutting my head and knocking myself senseless on the joists :roll: , my neuro surgeon informs me
that the procedure he is shortly going to perform on my neck will quite probably leave me with numbness of the skull,
........could have done with a bit of numbness earlier !!.....'kin bloke really needs to work on his timing !!!! :lol:

Now I can raise it back up on it's wheels and start on the external paint prep under the bulge.
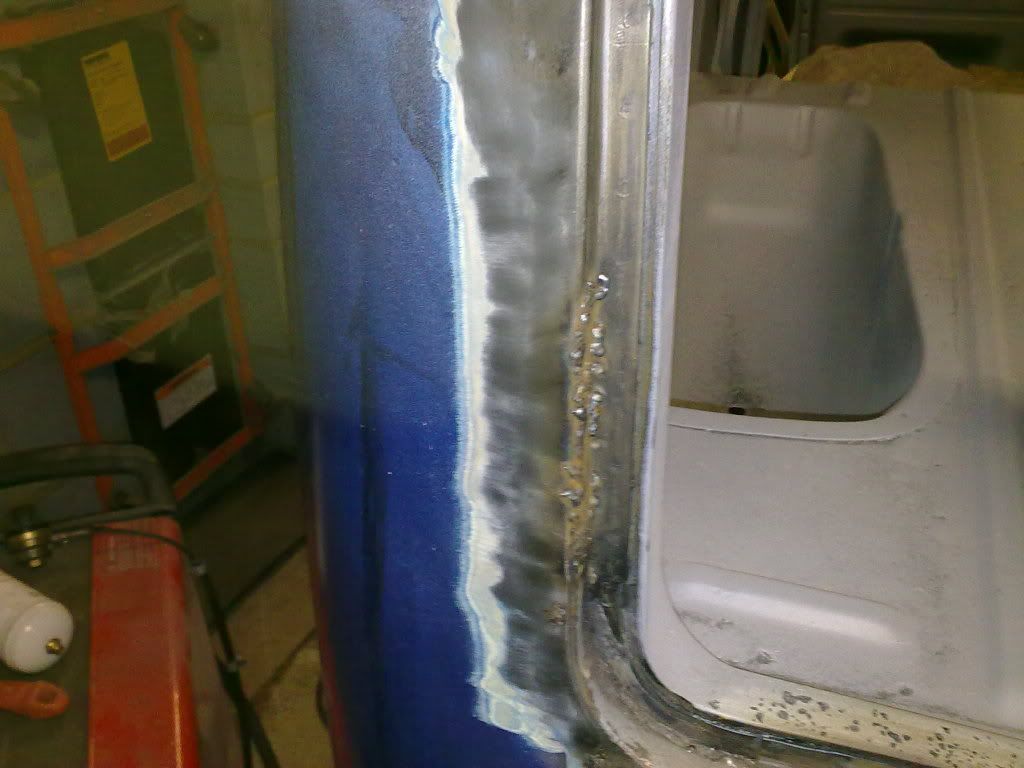
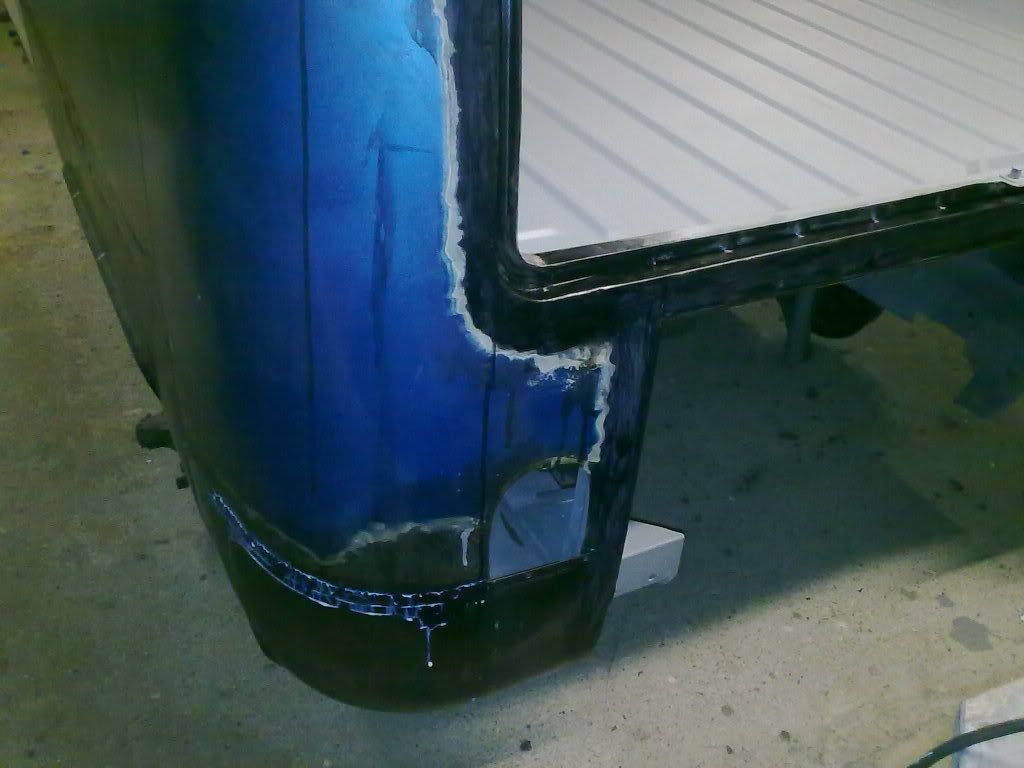
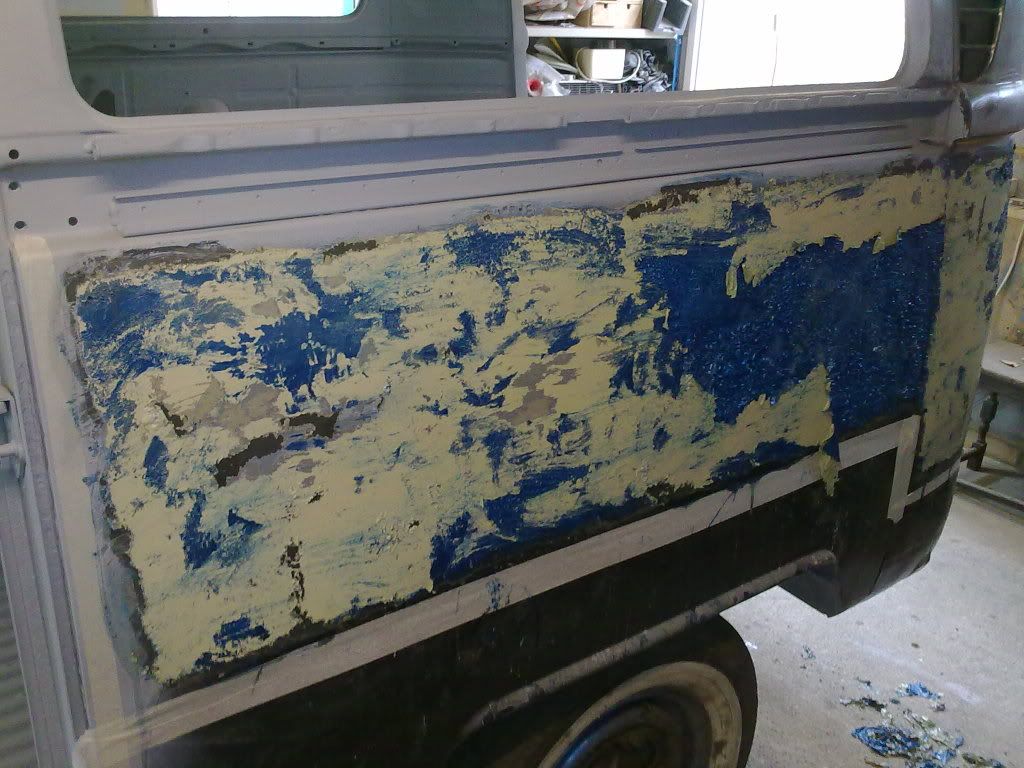
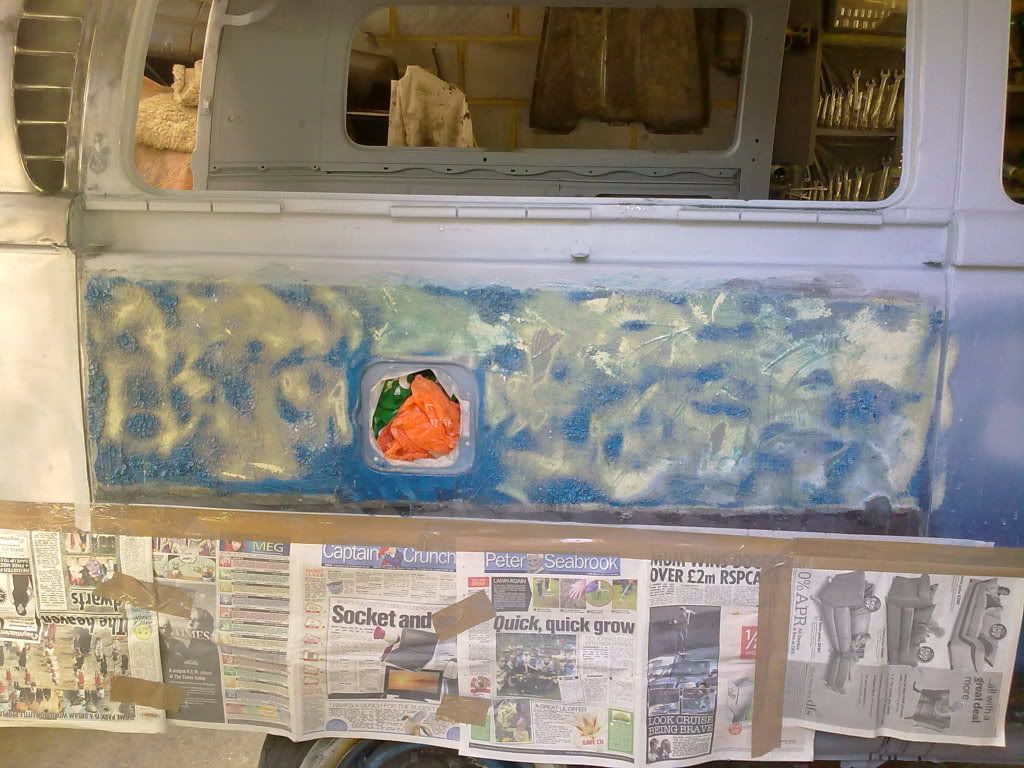
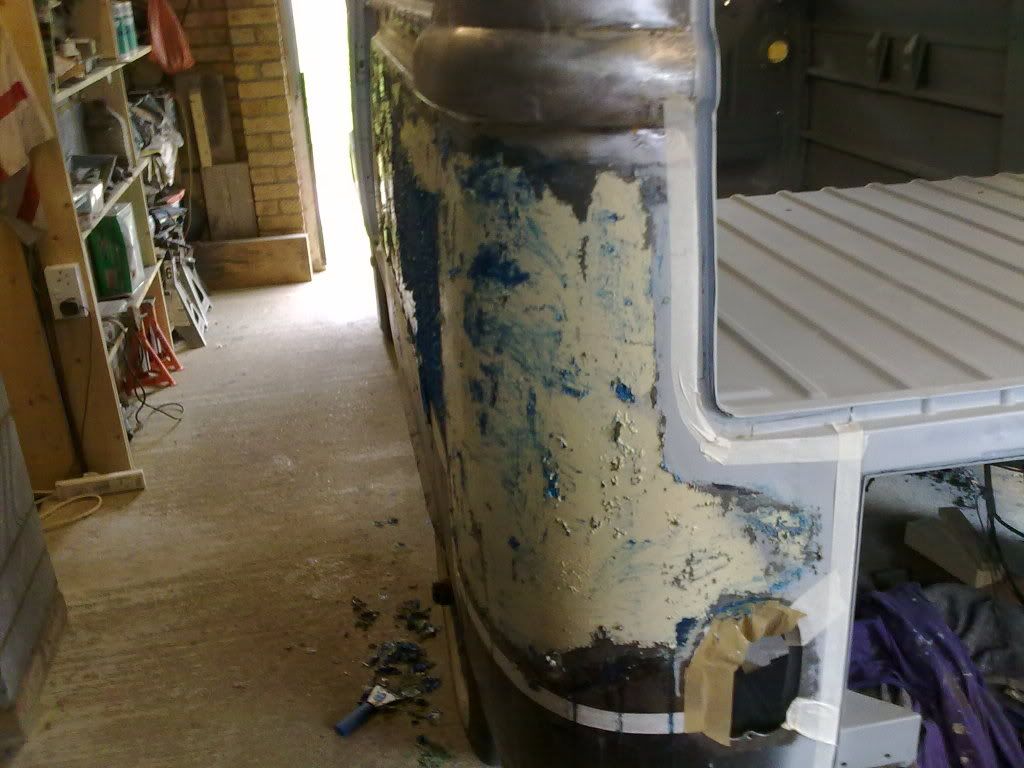
Stripping the side panels showed me that in it's lifetime the bus had been beige , cream,
green and blue...
Surely there's got to be an easier way to clean up the air vents....
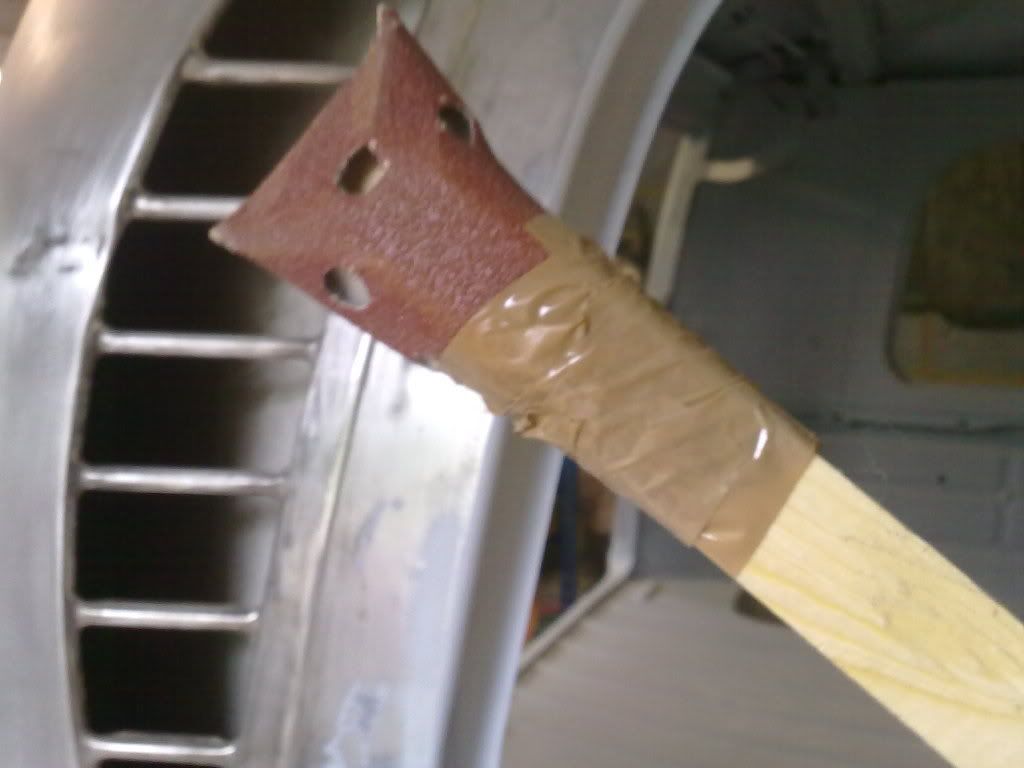
Still.... if it gets the job done....
Back soon.
Now I have scaffolding around the bus I started stripping the roof. Took it back to bare metal and it wasn't too bad.
Apart from the corner repairs shown earlier there were just a lot of surface rust spots and dents..
Ground down all the surface rust and filled all the dents then gave it 2 coats of etch primer
and some fine filler where needed...
Then 2 good coats of high build primer..
Then six coats of Cloud White for the finish ..
It still needs wet sanding and polishing but I was quite pleased with my first attempt at
spraying top coat particularly struggling around ceiling joists.
After continually cutting my head and knocking myself senseless on the joists :roll: , my neuro surgeon informs me
that the procedure he is shortly going to perform on my neck will quite probably leave me with numbness of the skull,
........could have done with a bit of numbness earlier !!.....'kin bloke really needs to work on his timing !!!! :lol:
Now I can raise it back up on it's wheels and start on the external paint prep under the bulge.
Stripping the side panels showed me that in it's lifetime the bus had been beige , cream,
green and blue...
Surely there's got to be an easier way to clean up the air vents....
Still.... if it gets the job done....
Back soon.
Similar threads
- Replies
- 1
- Views
- 482