UPDATE:
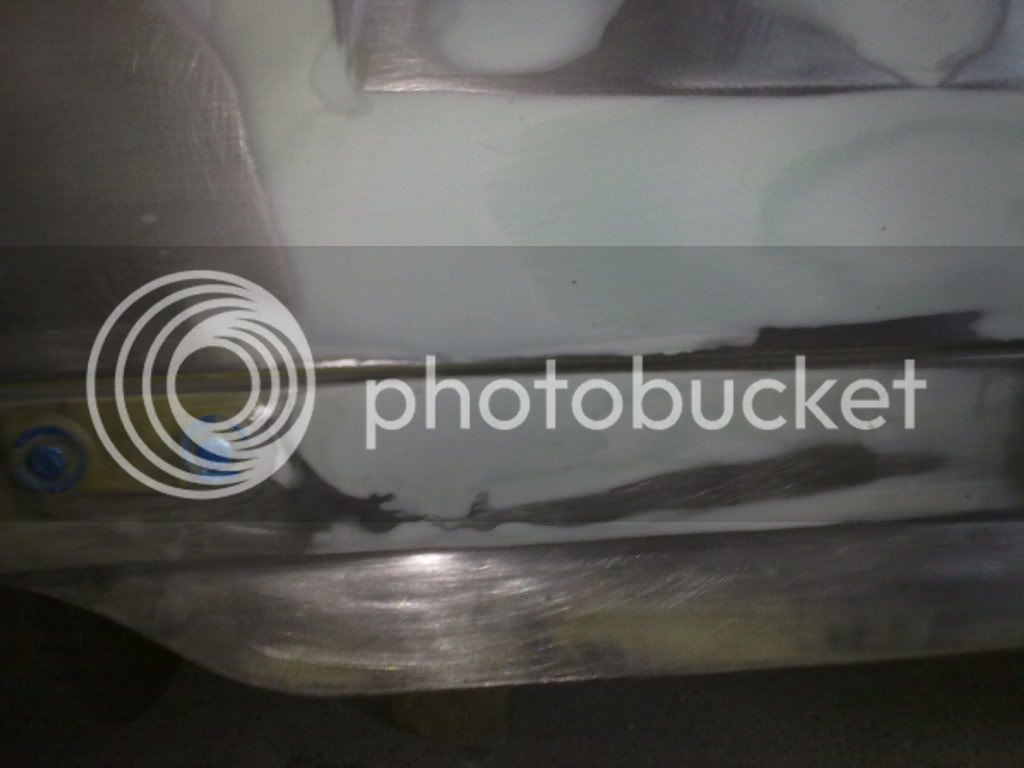
After all the welding and at the start of the prep , a mate politely described the bodywork as looking like a " bag of nut & bolts " because
there were so many dings, dents welds and heat warps in it !!

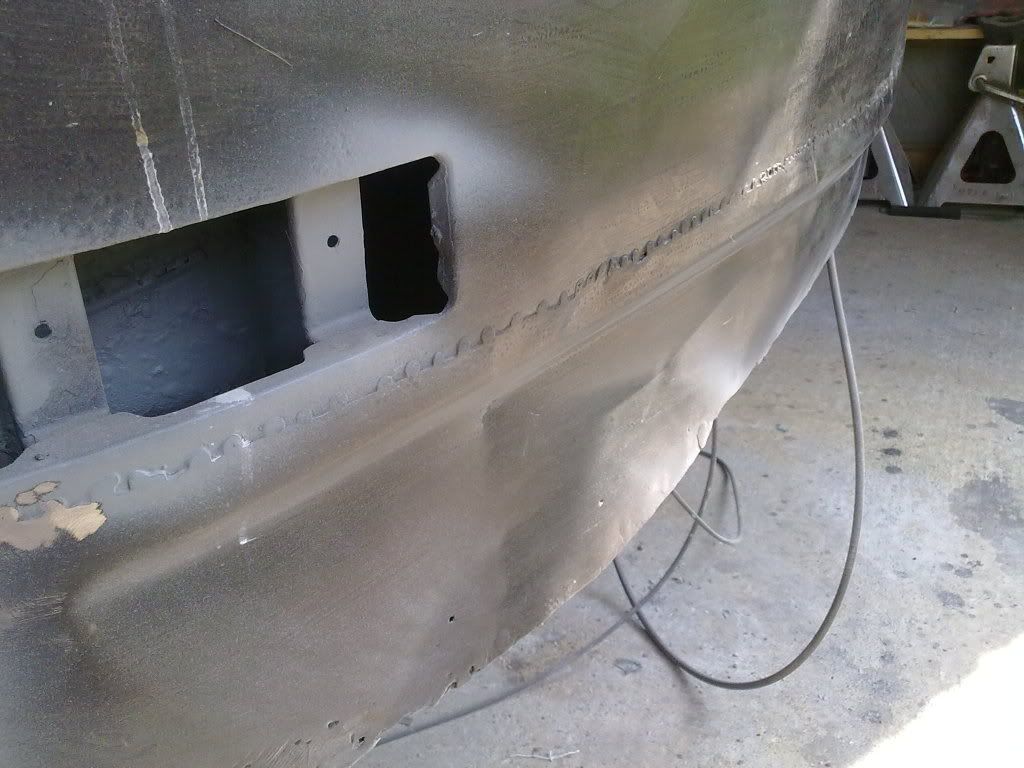
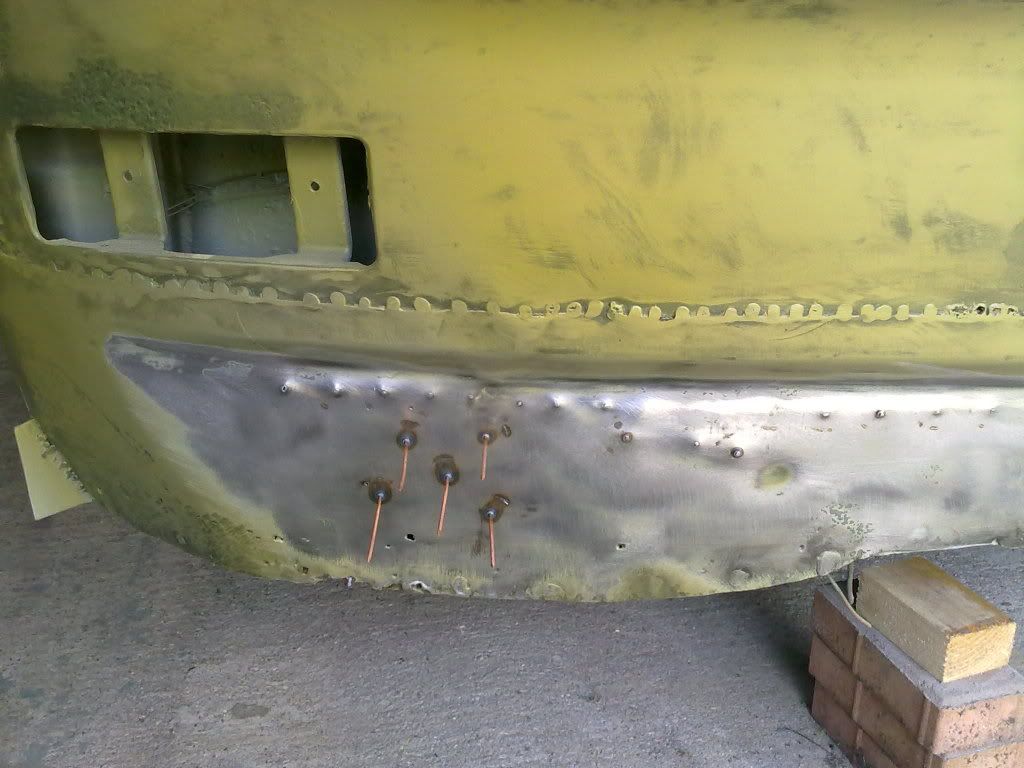
So after months of pin welding and slide hammering, panel beating, filling, blocking, dolphin glazing and more blocking through the different
grades of sandpaper I am finally ready for a fine coat of filler primer to take our any last slight imperfections and scratches.
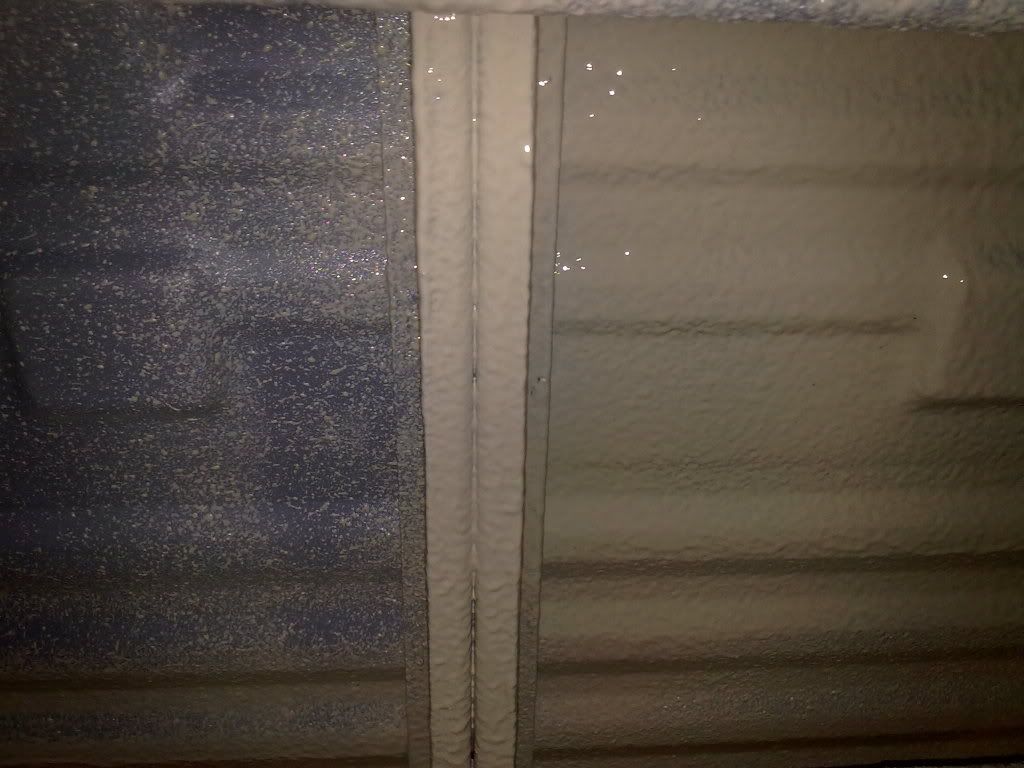
I reckon I could have painted a small car with the amount of black aerosol I 've used for guide coating :lol:
I must admit I've learnt a lot about prep work etc but have to say that the biggest thing I've learnt is that
if you want a straight bus - put it in a fu****g body shop and leave it to the pro's :lol:
It's not a DIY job and I take my hat off to the guys on here who can produce a straight bus !!
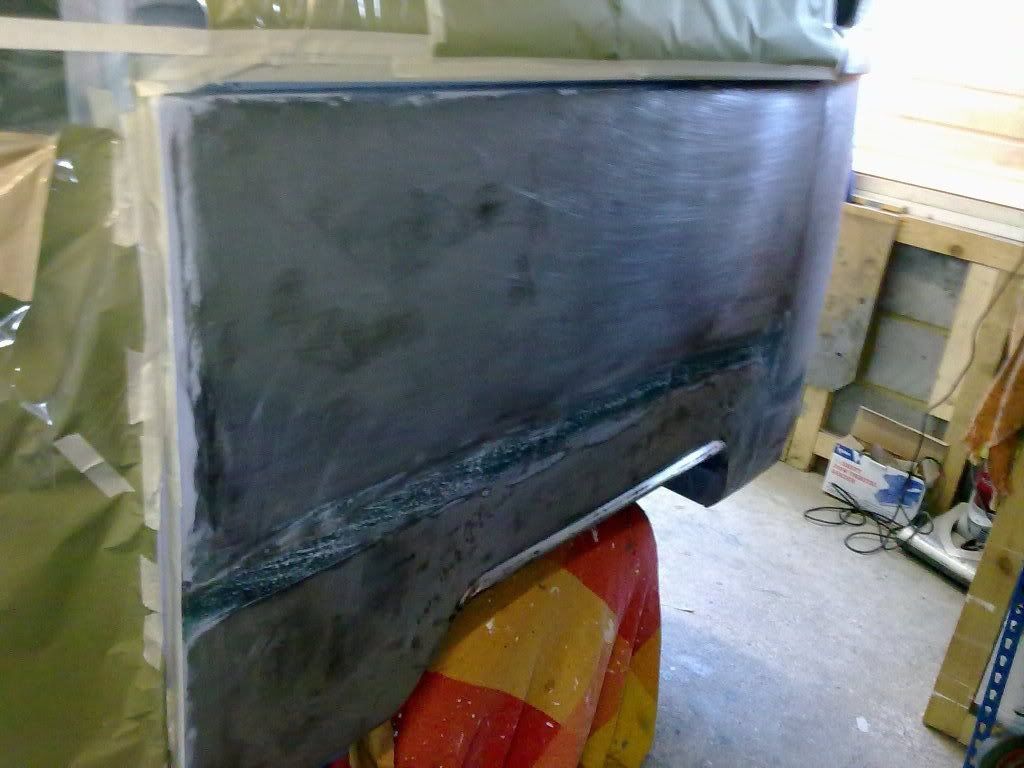
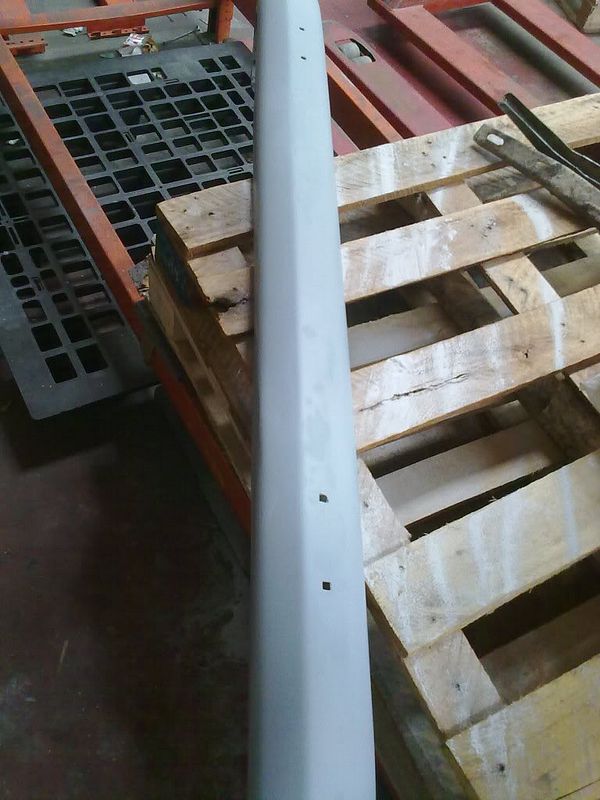
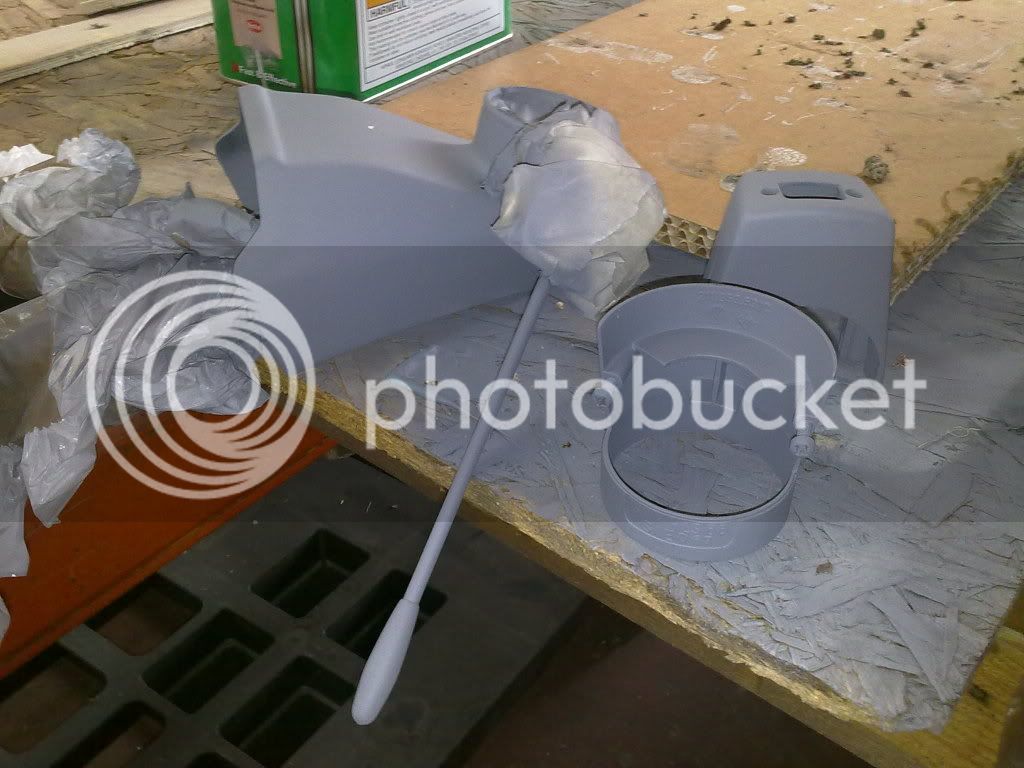
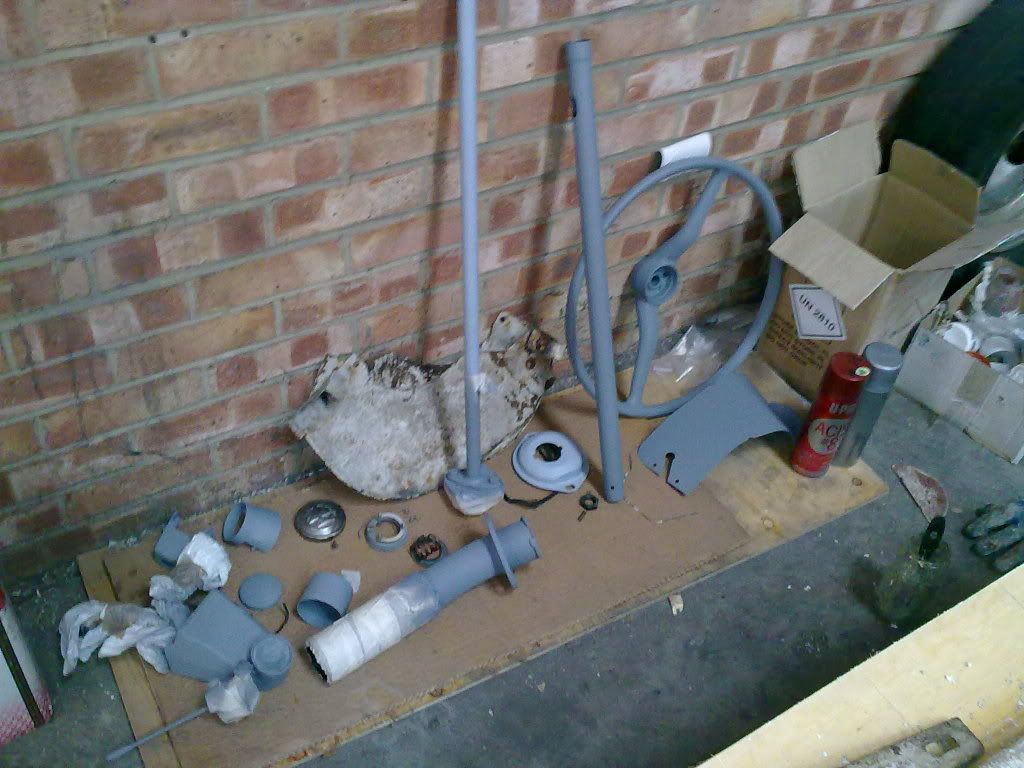
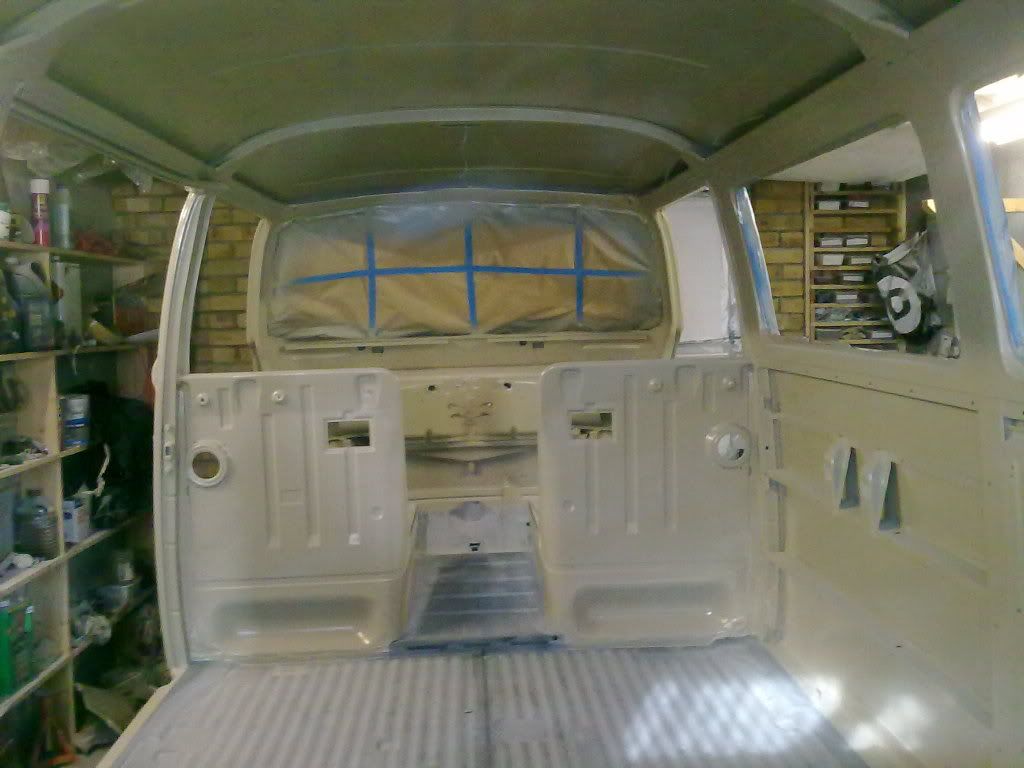
Few more photo's of the prep work 'for the record'
( Photo's may get boring but not as boring as the last few months I've spent doing it. )
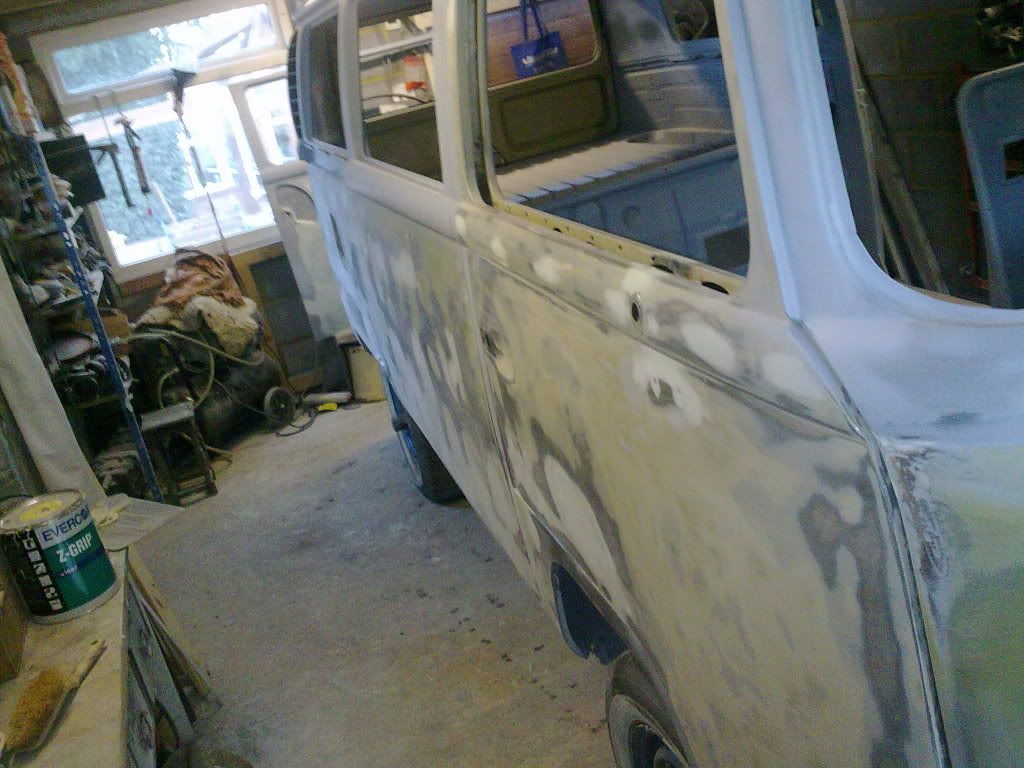
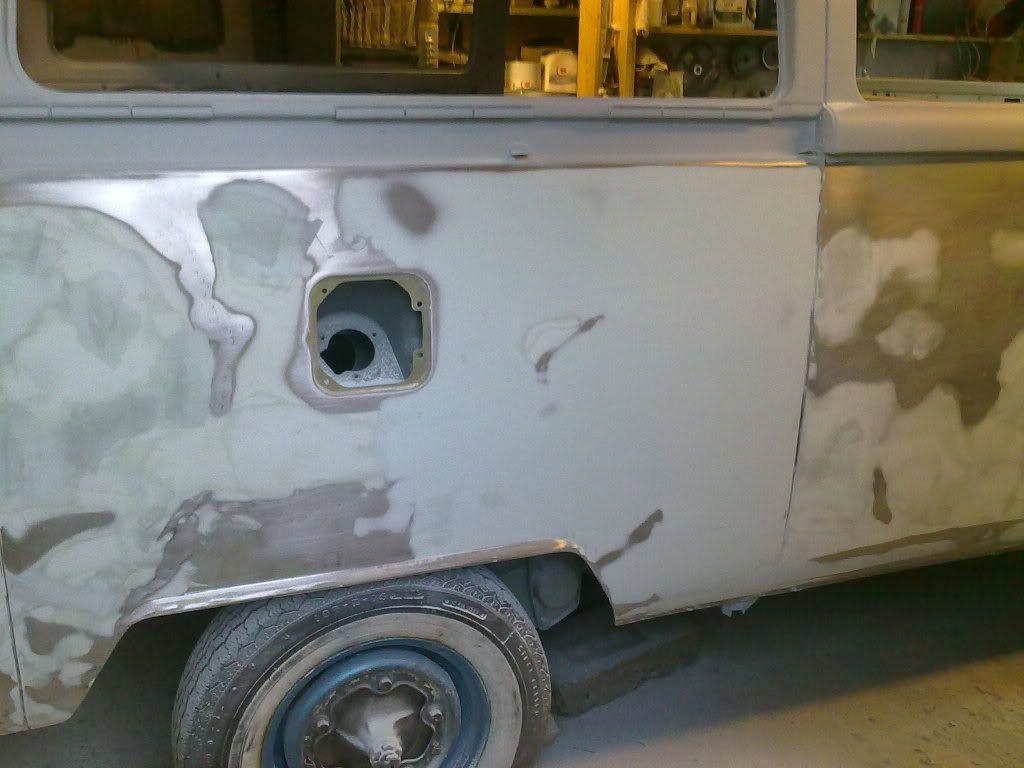
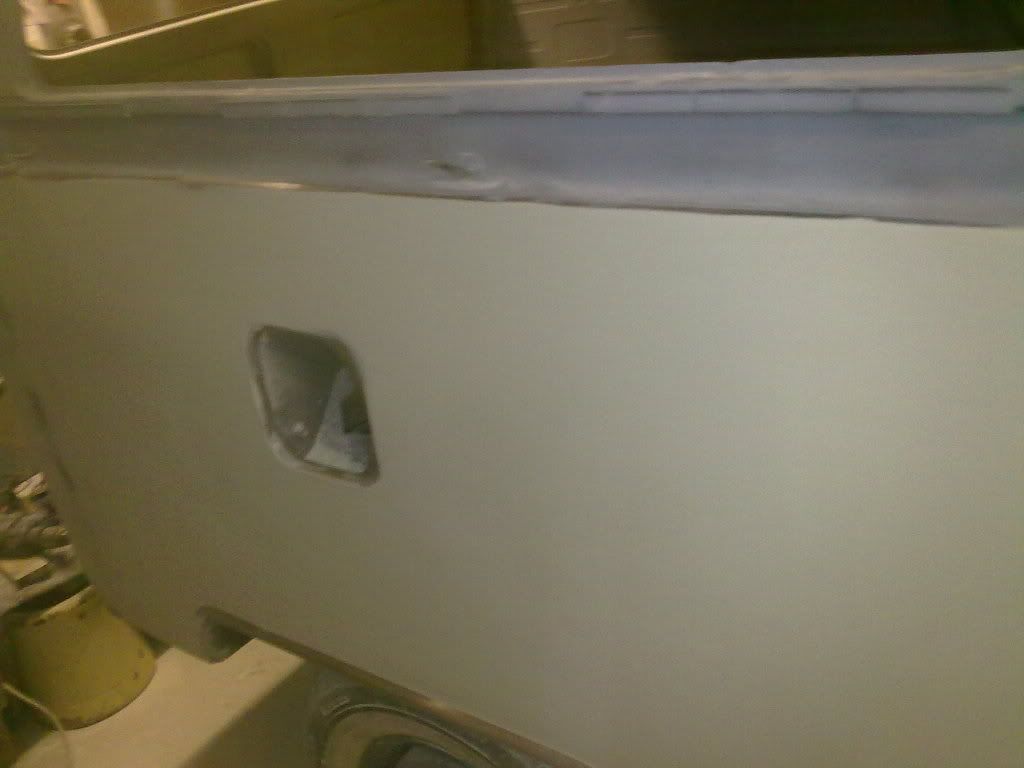
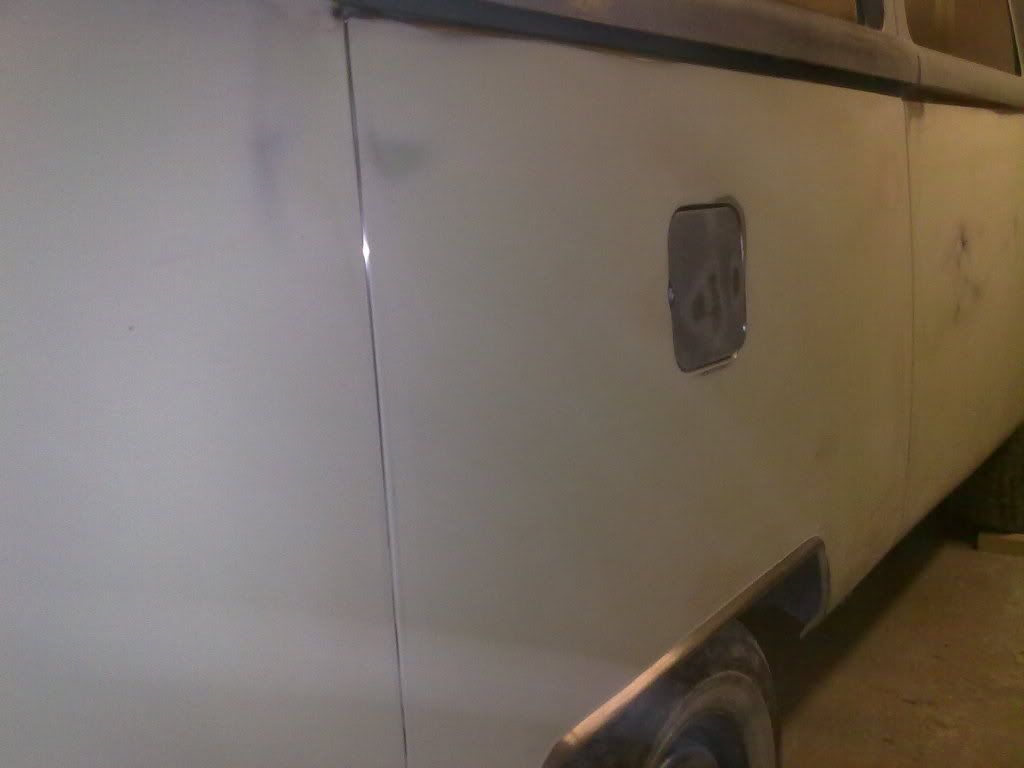
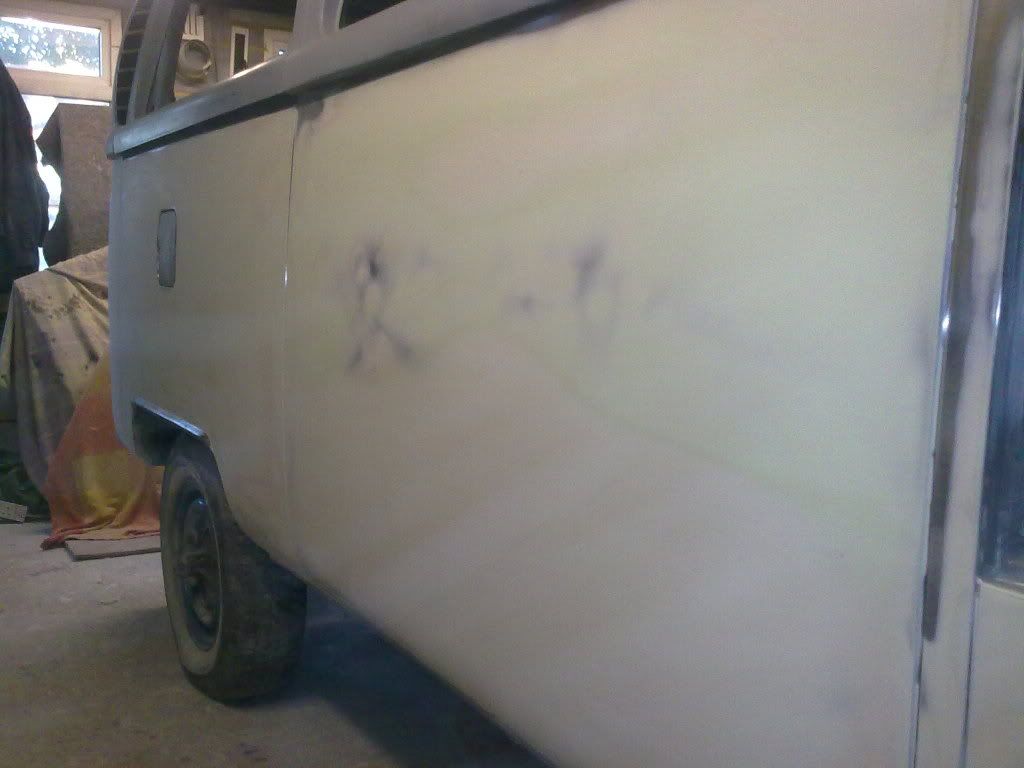
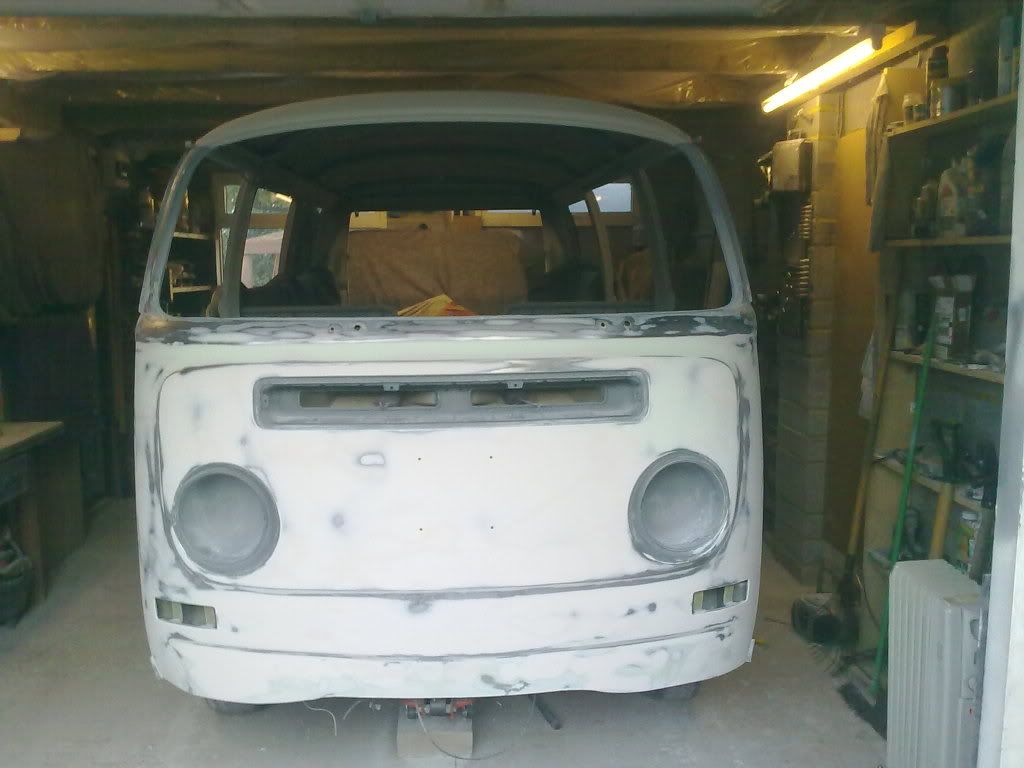
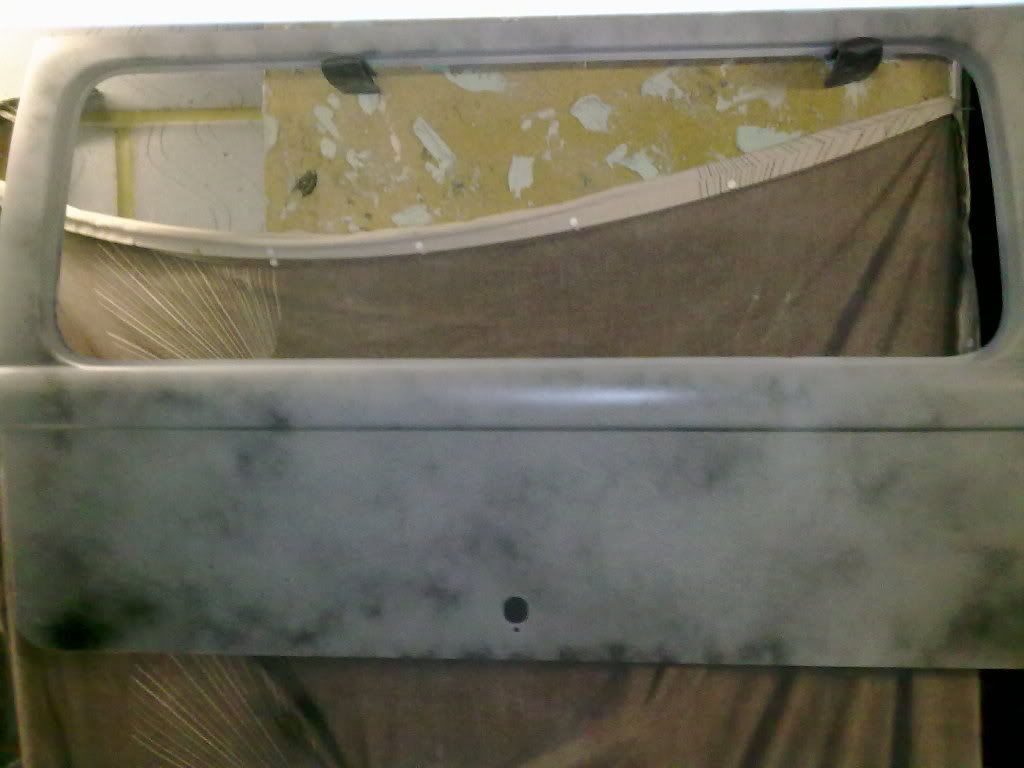
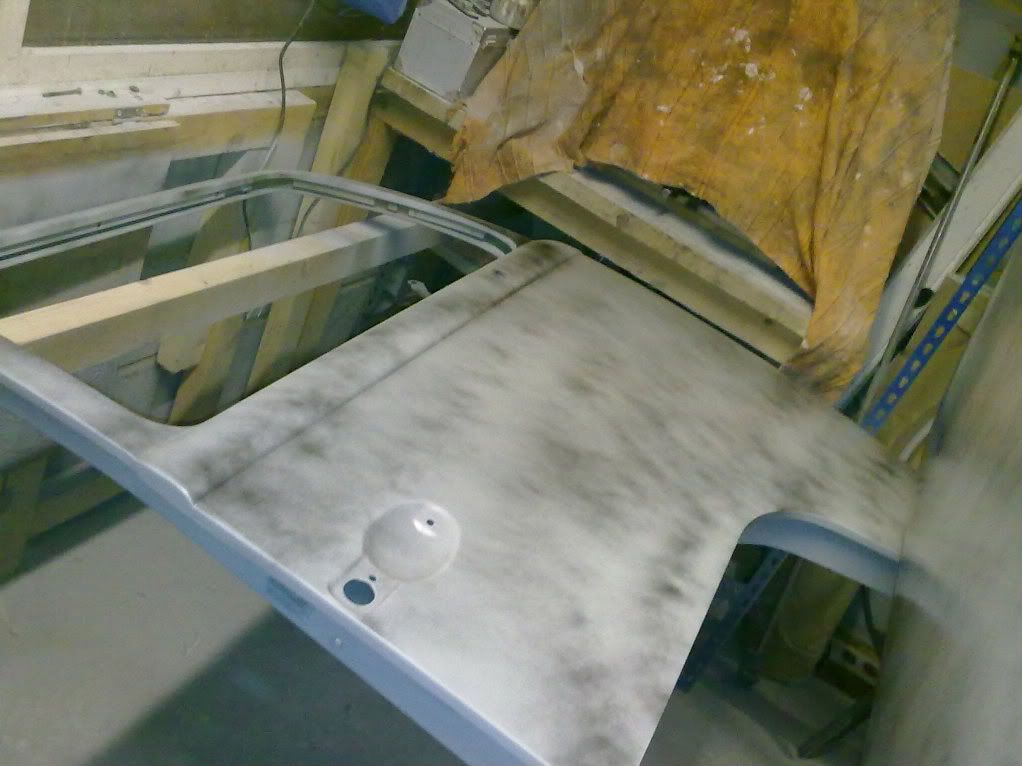
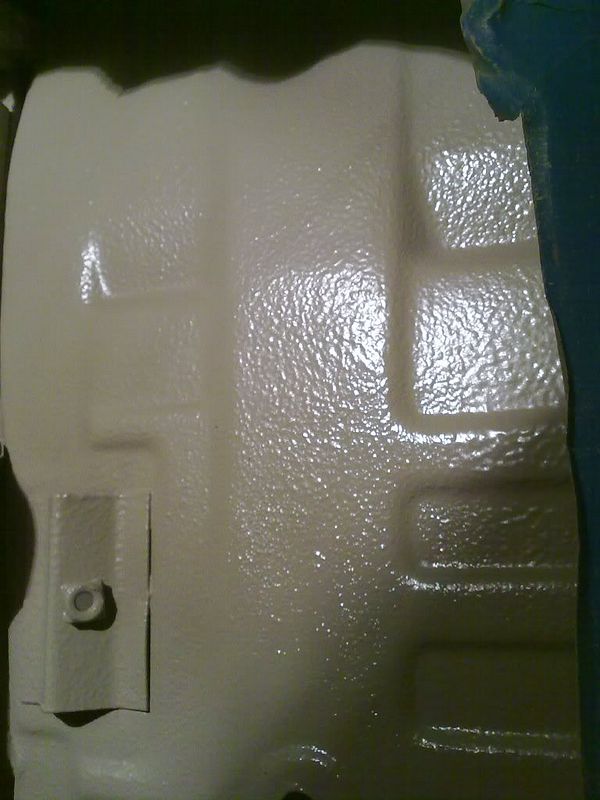
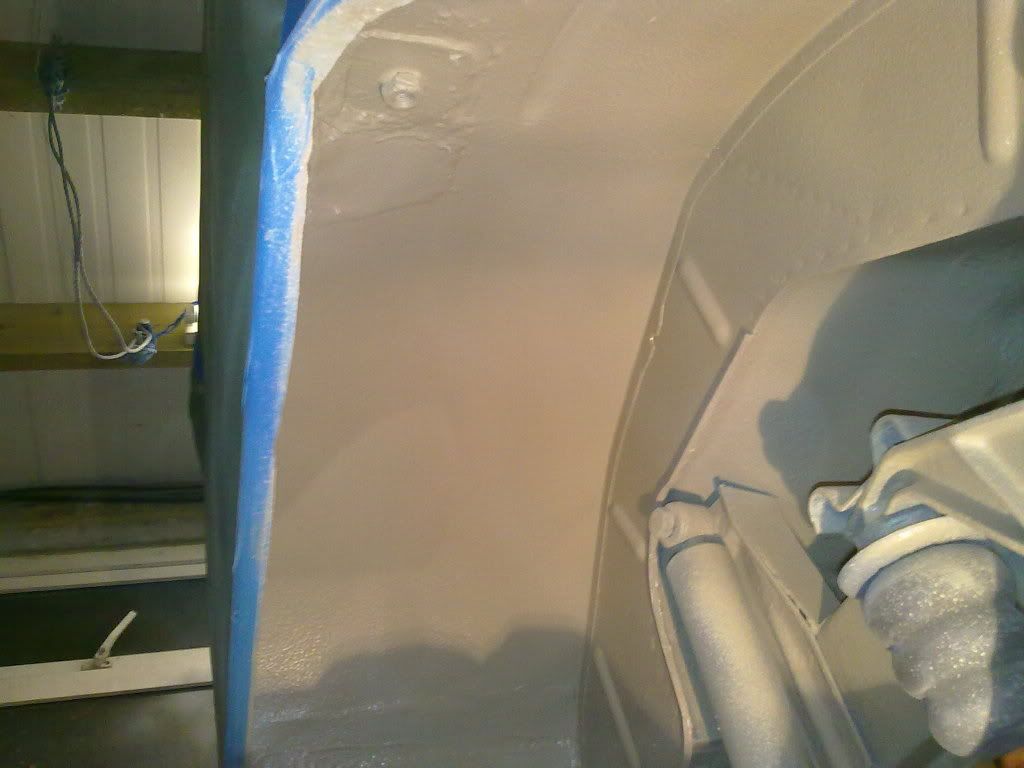
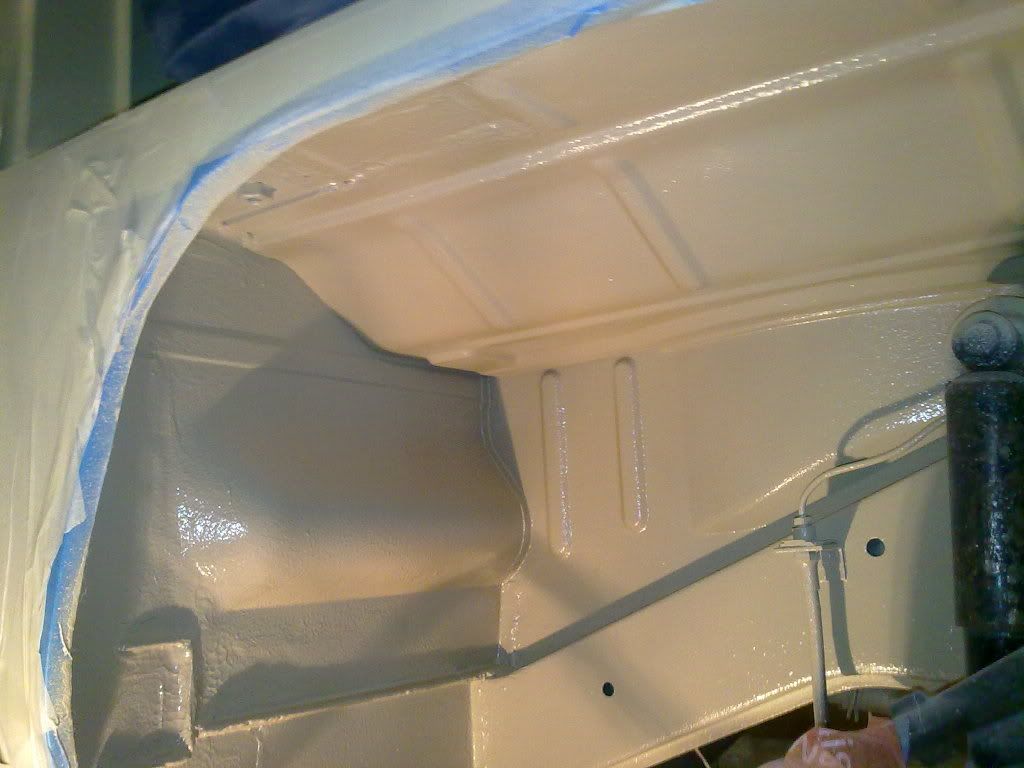
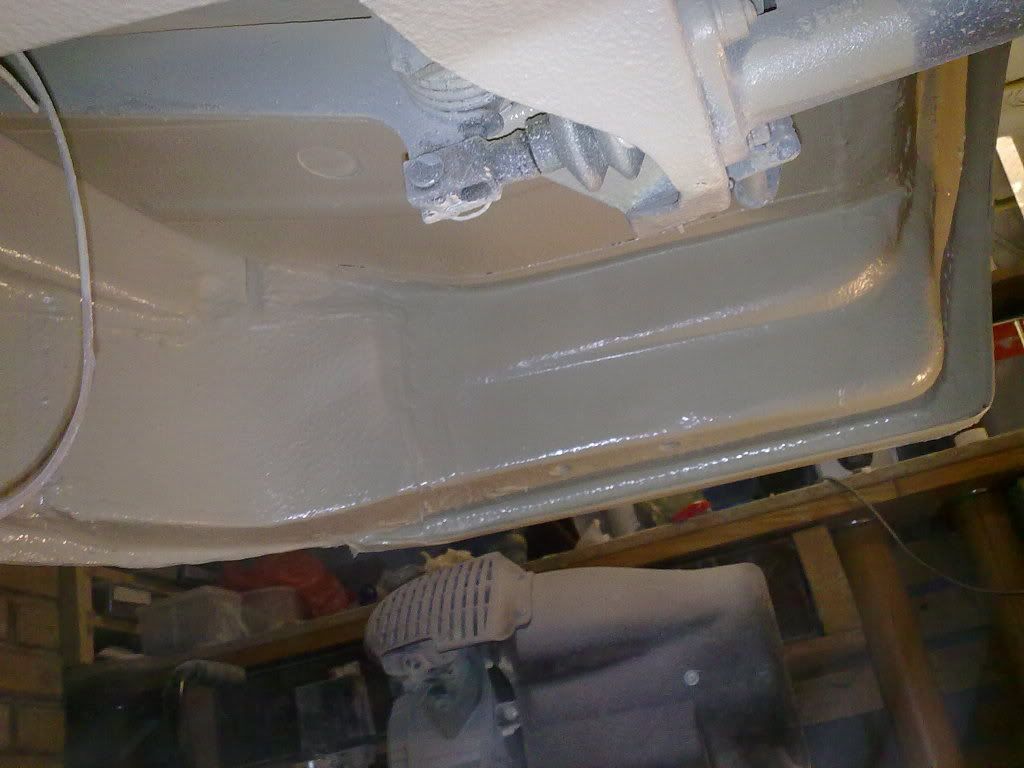
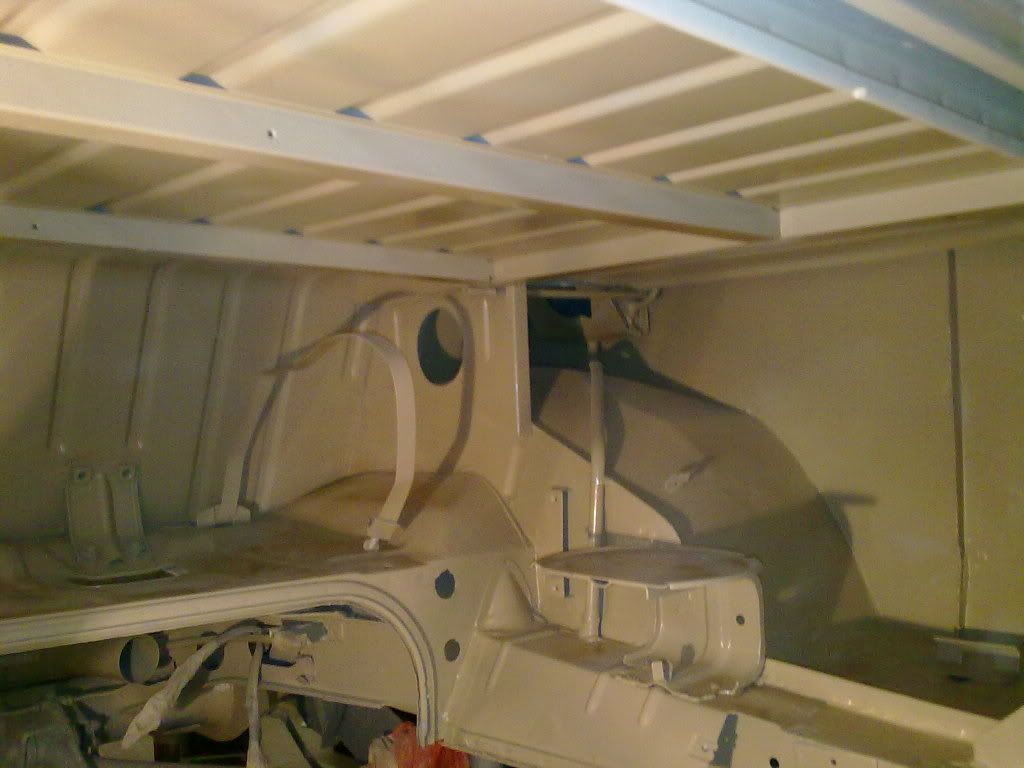
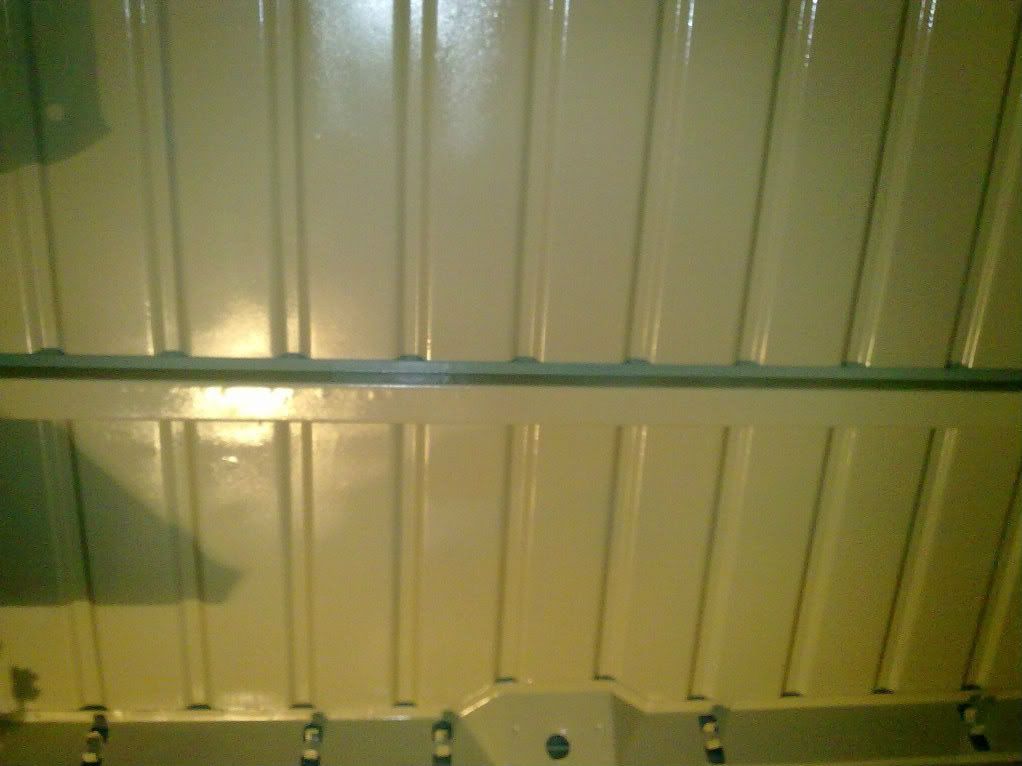
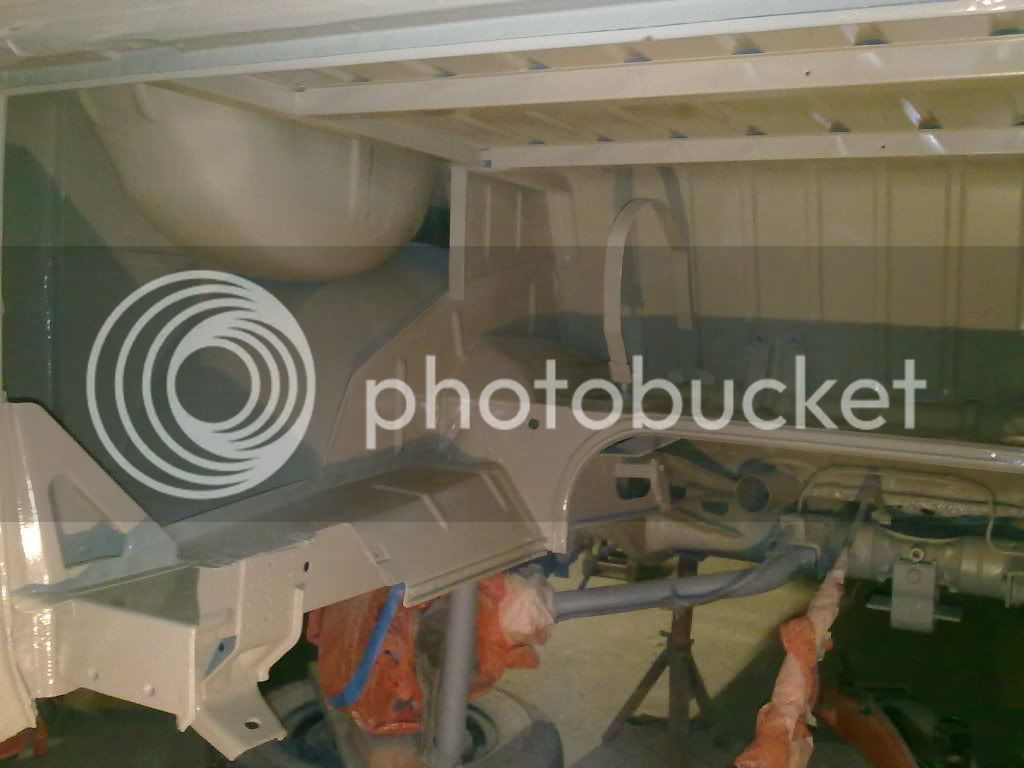
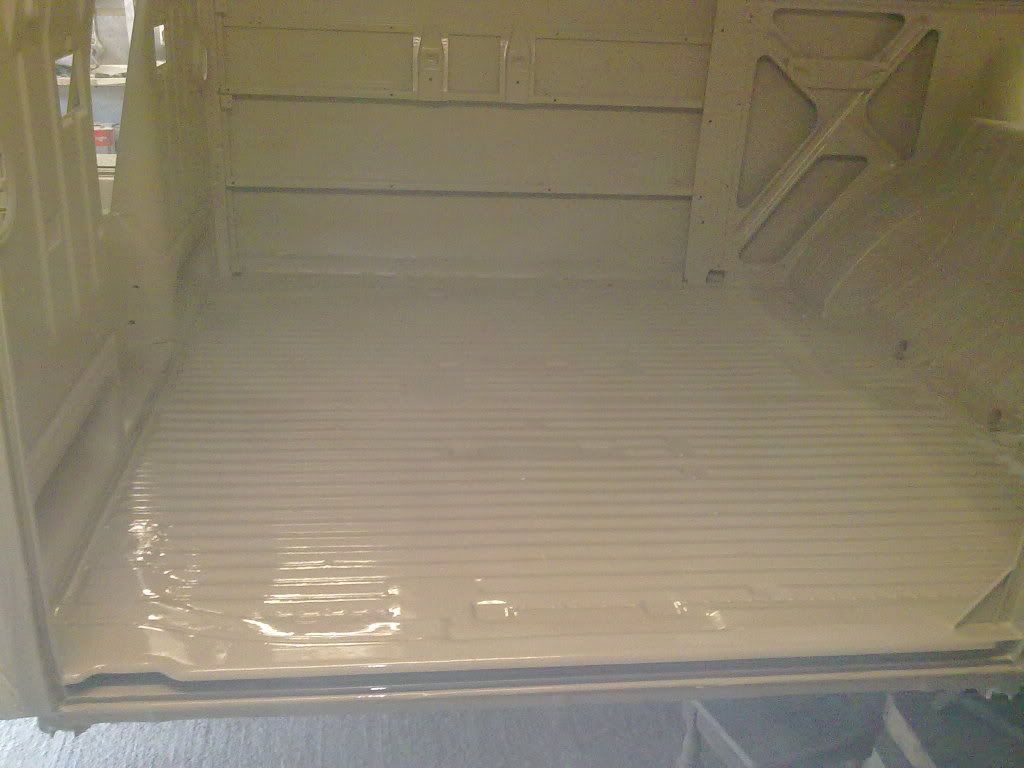
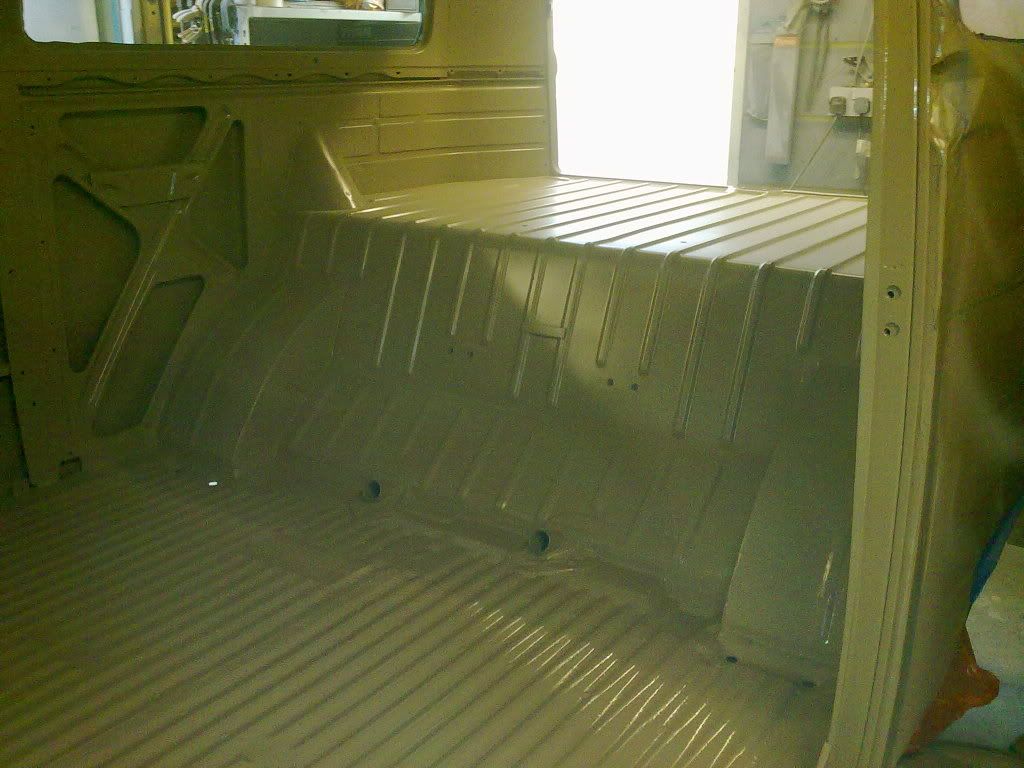
All the flattening and filling completed, Dolphin glazed and ready for polyester spray filler...
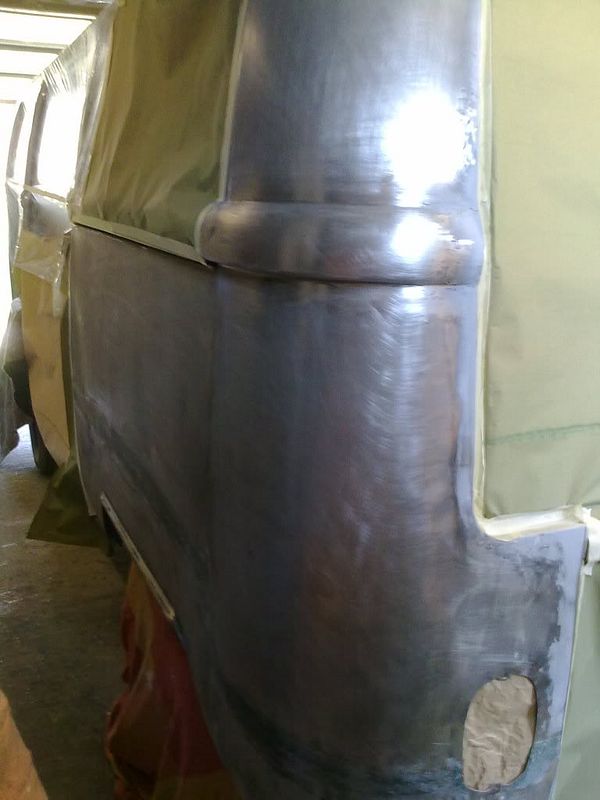
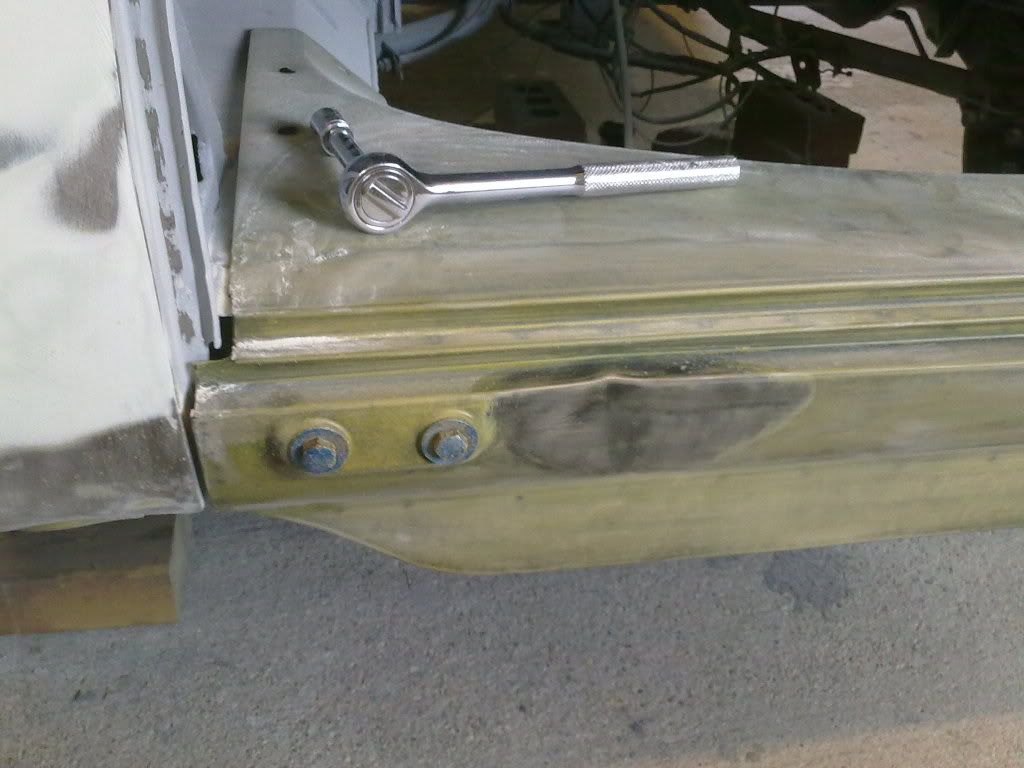
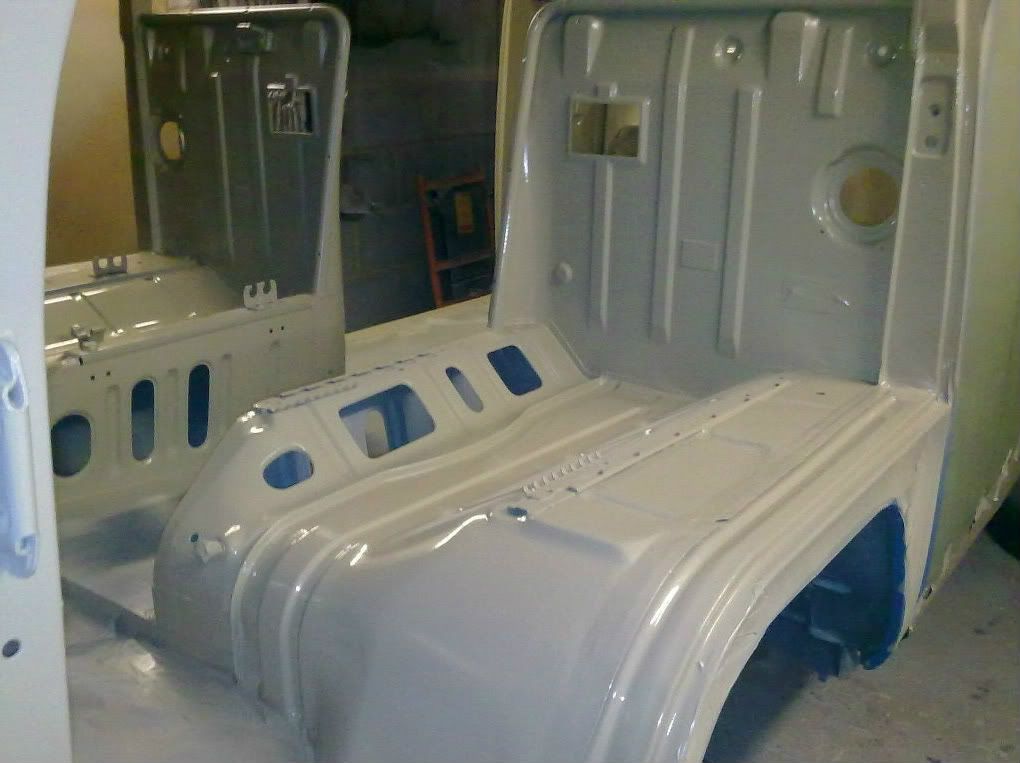
RH side..
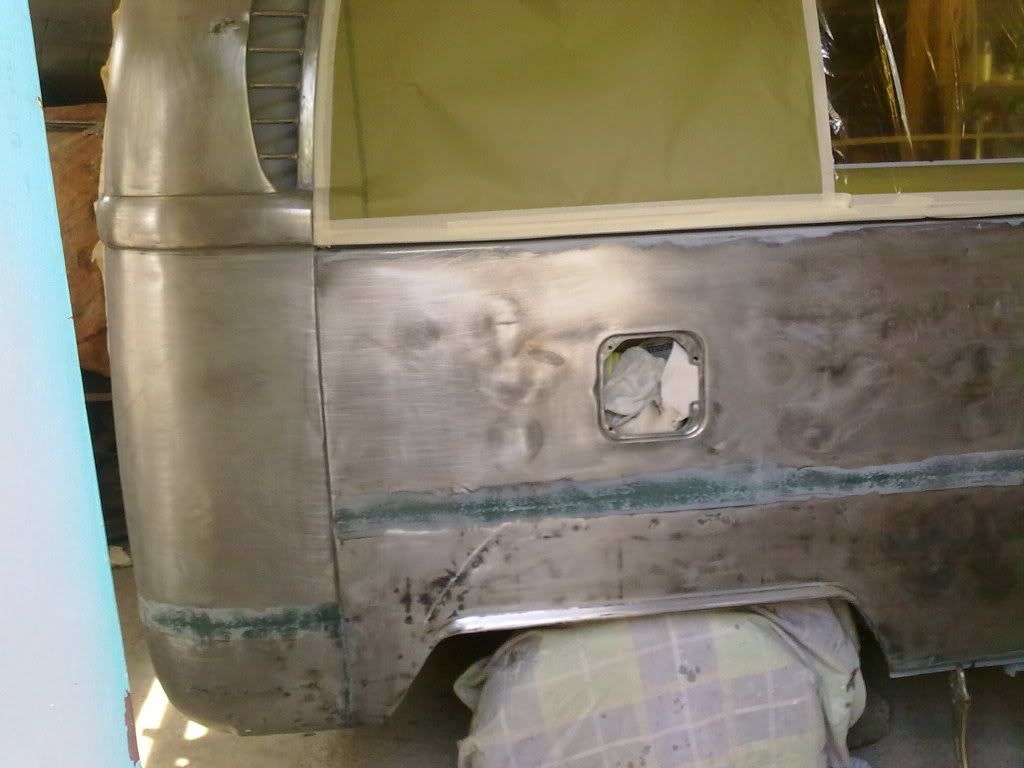
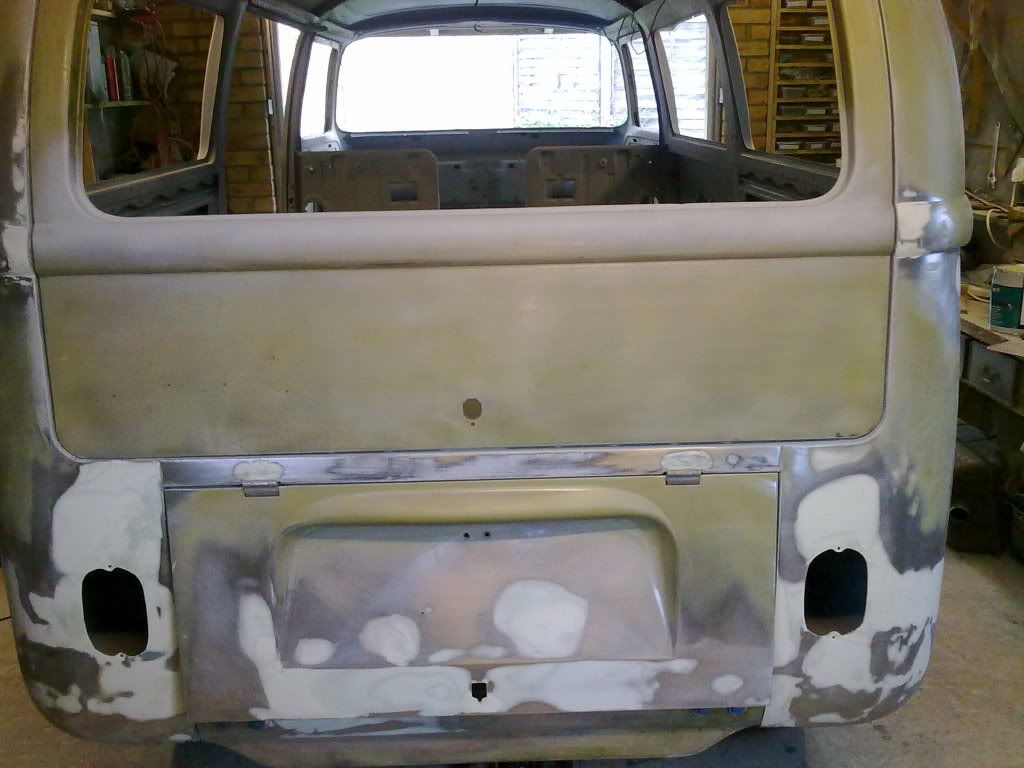
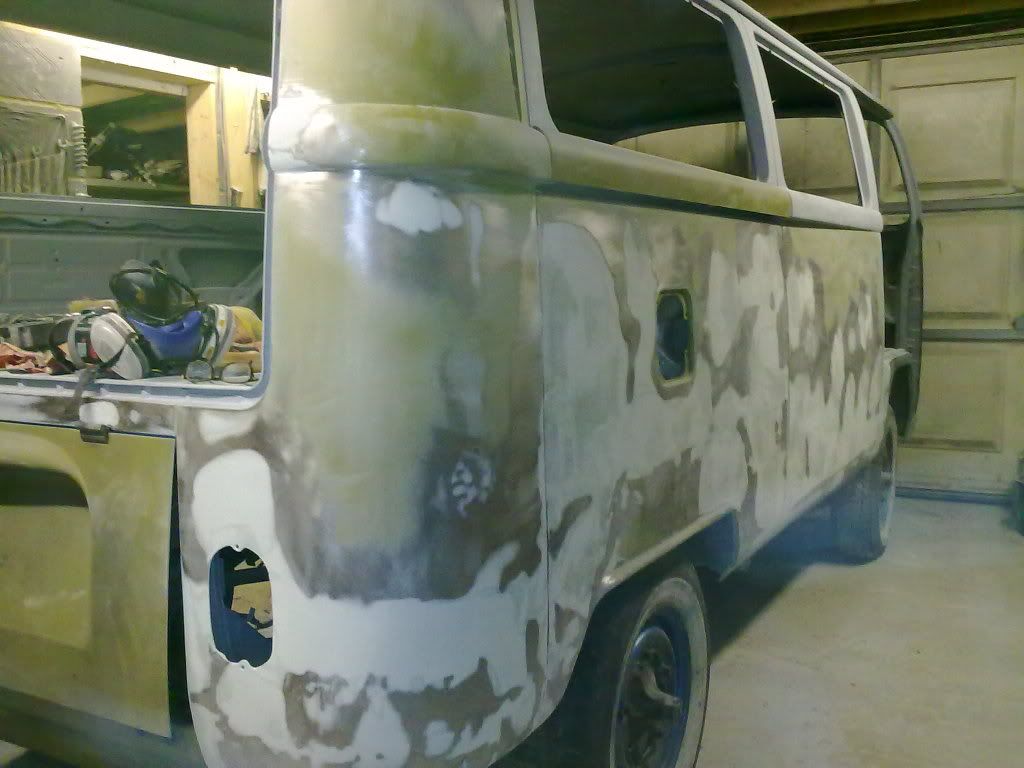
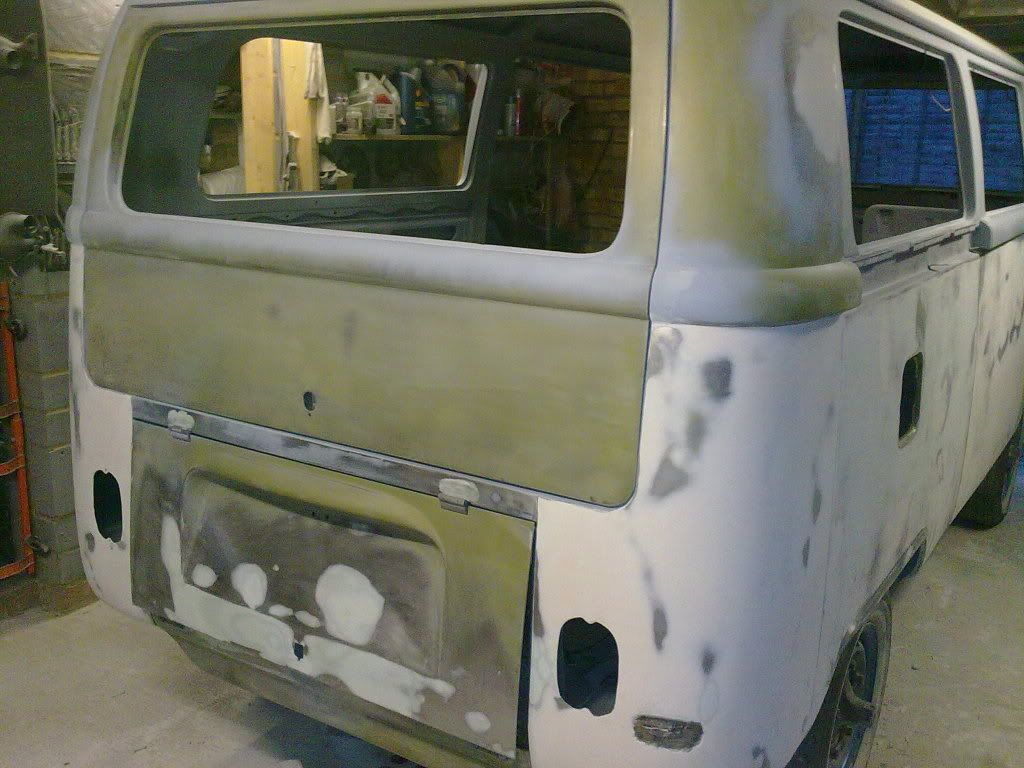
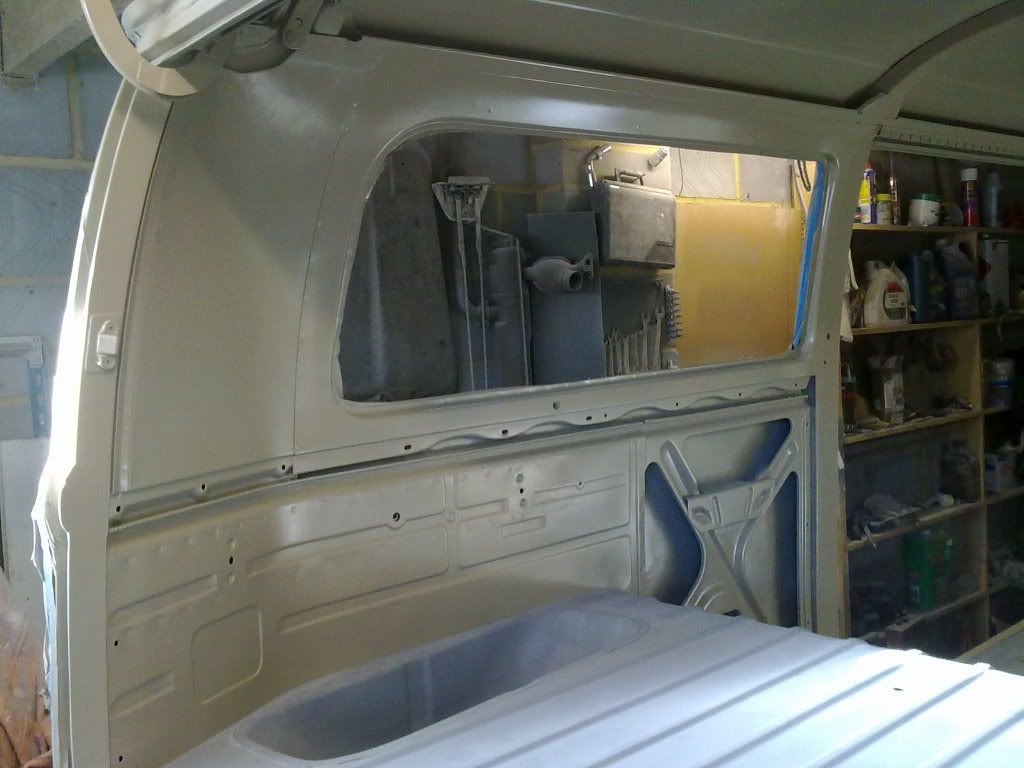
LH rear...
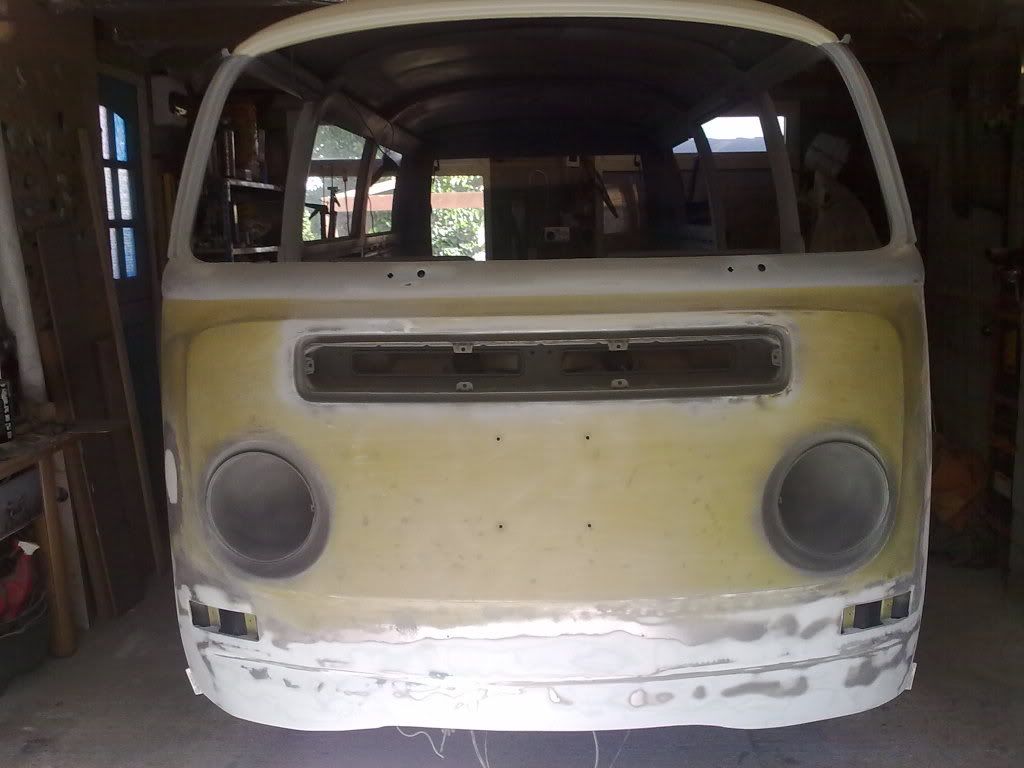
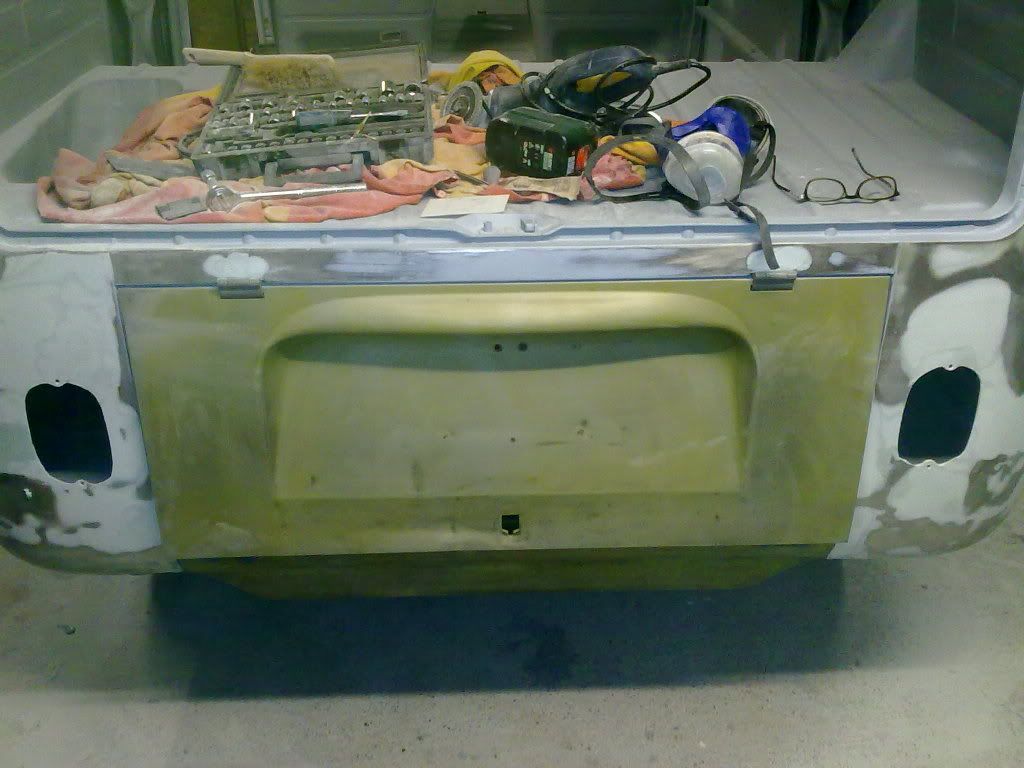
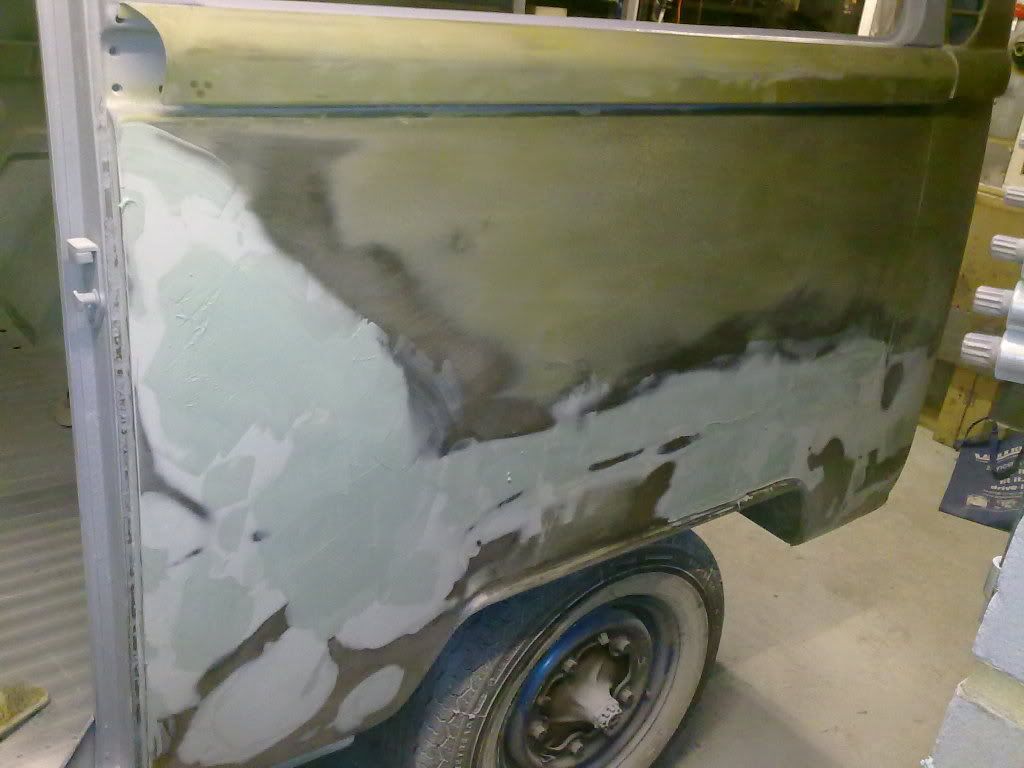
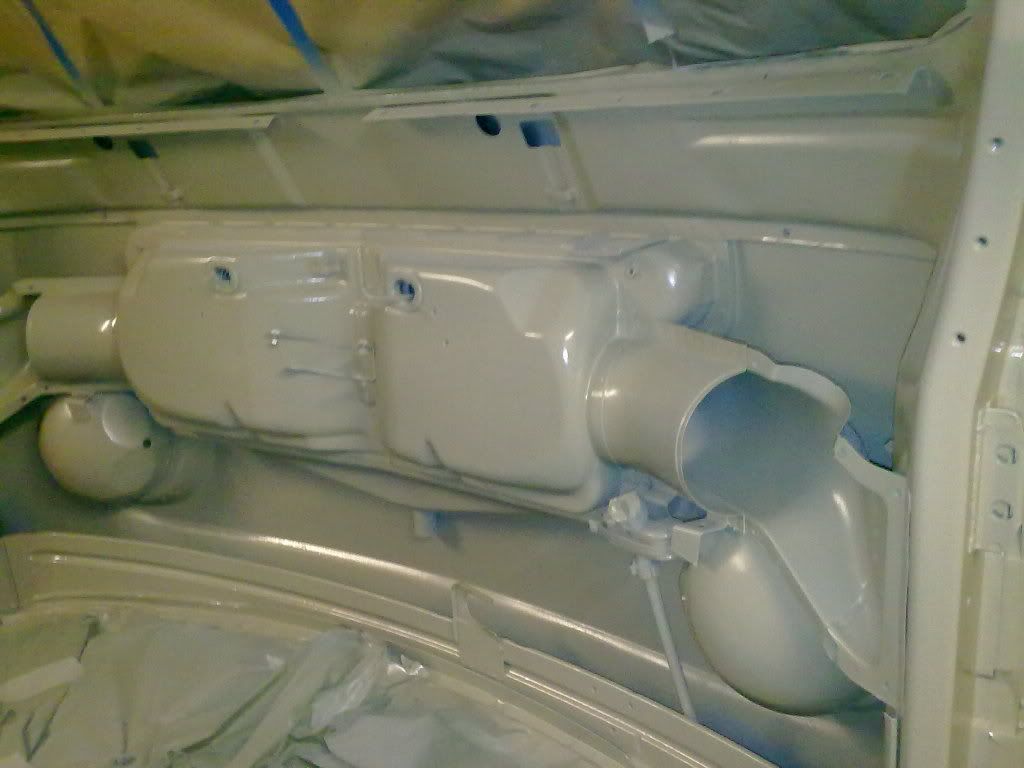
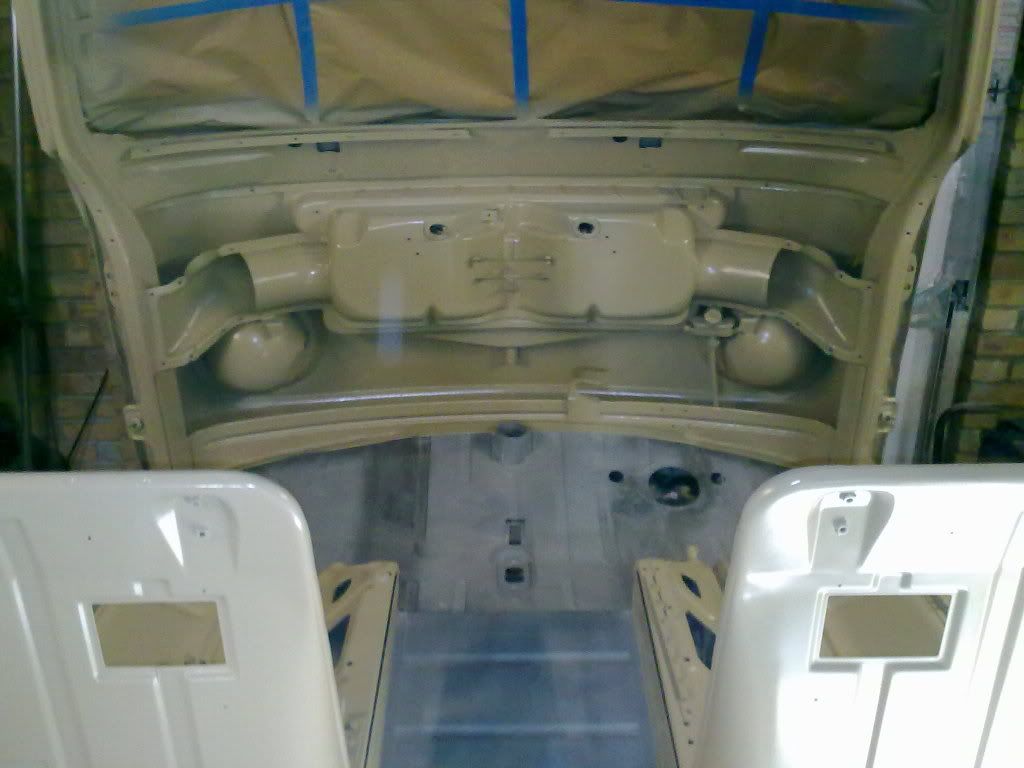
Front...
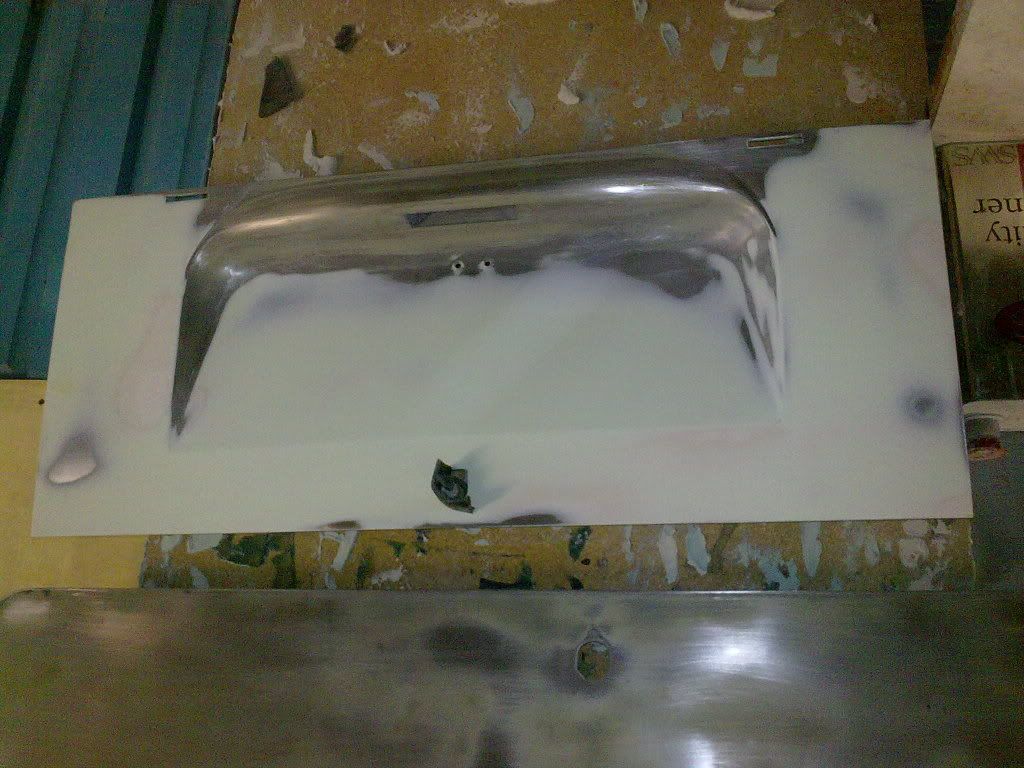
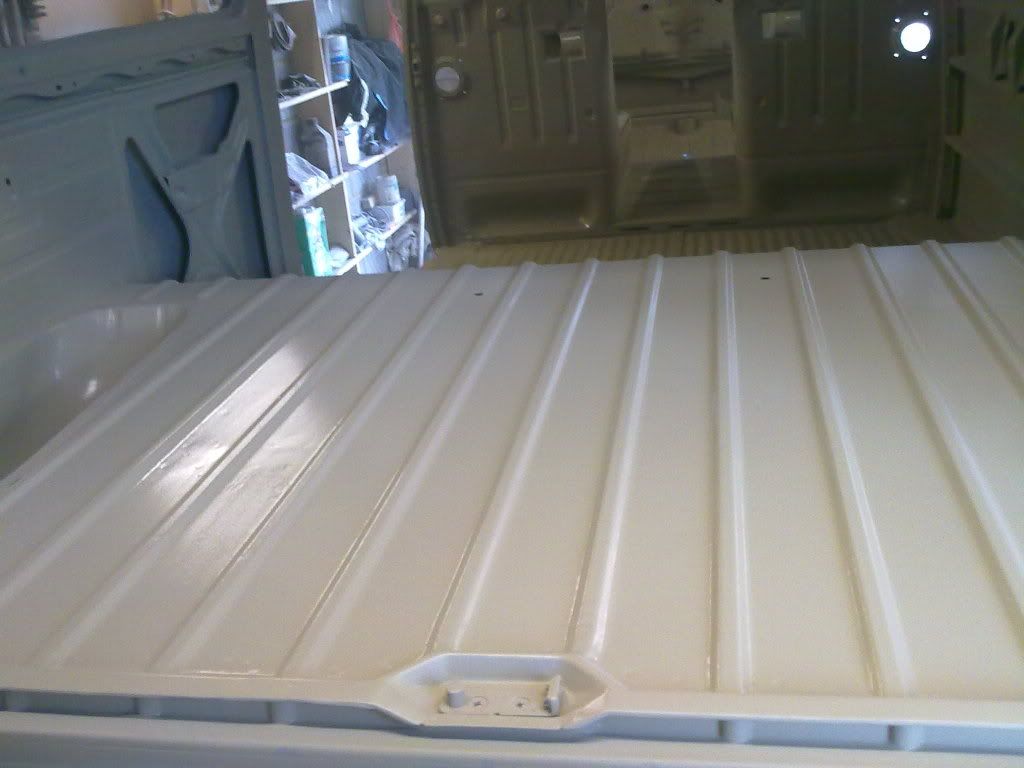
Engine Lid..
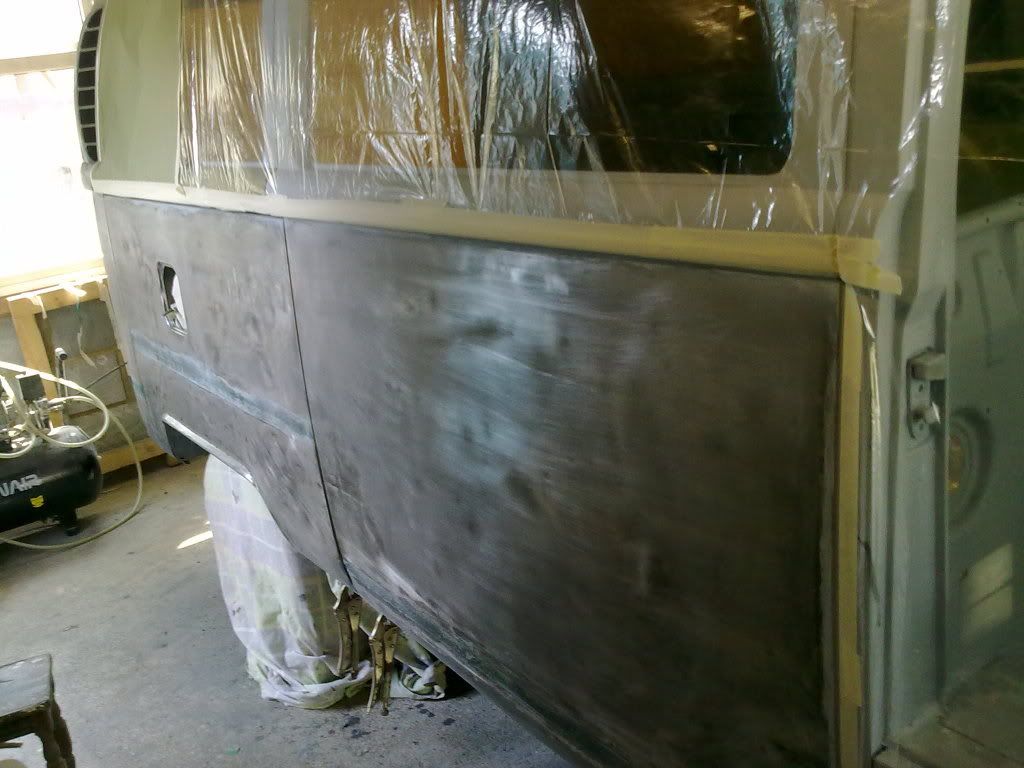
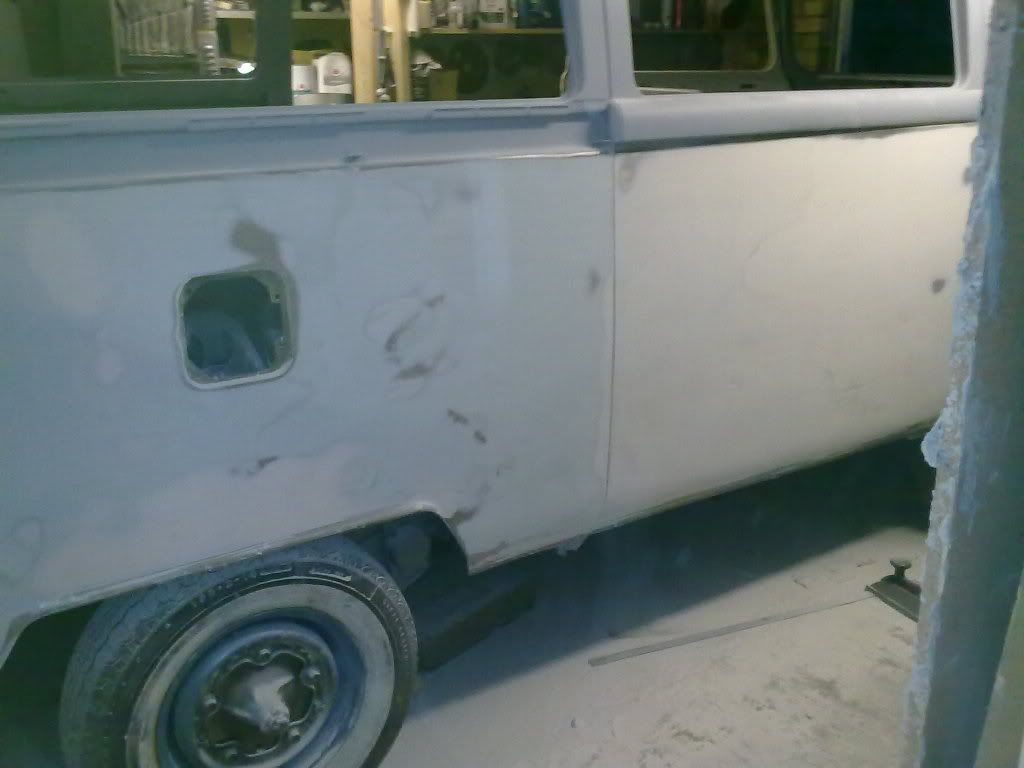
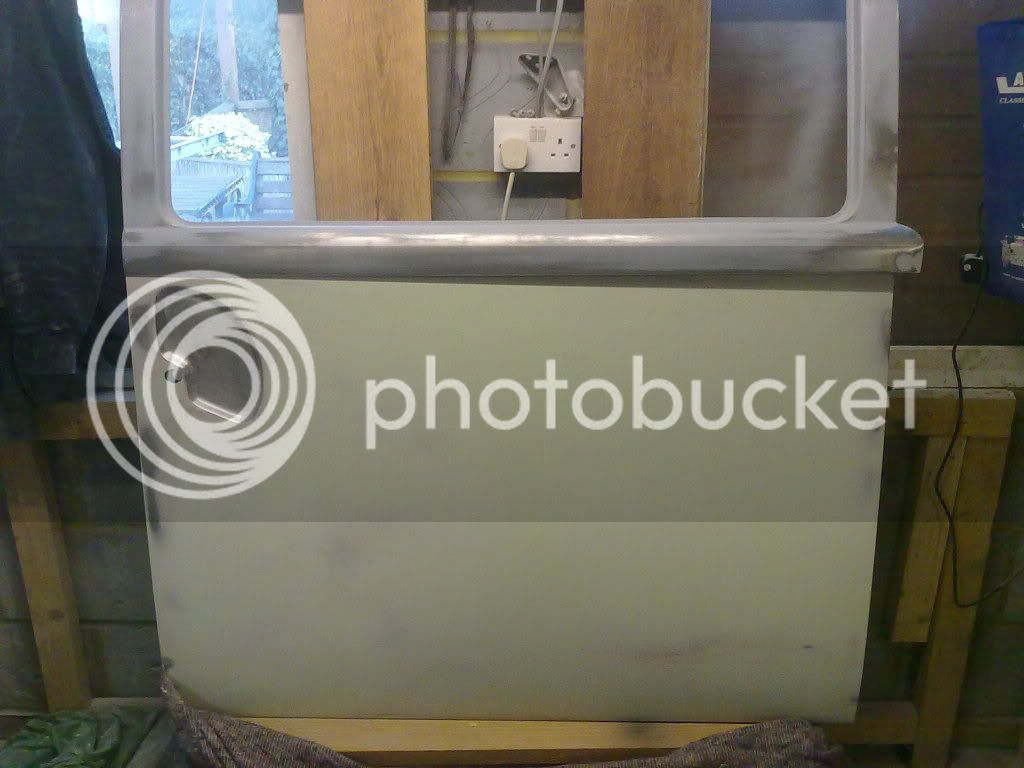
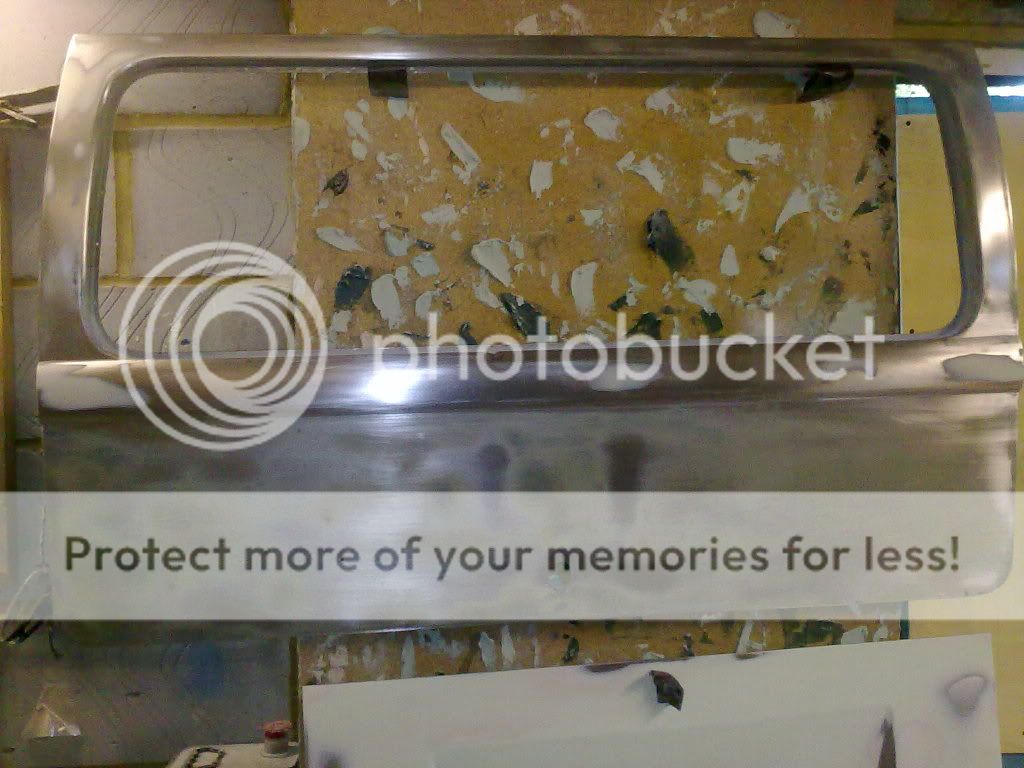
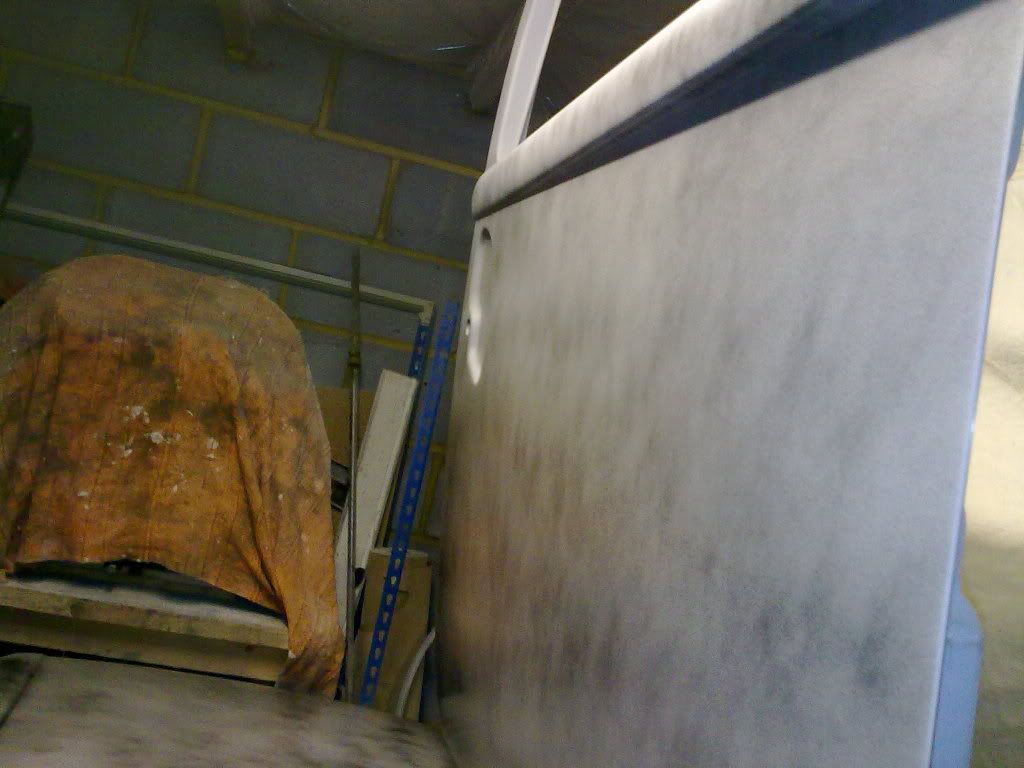
Slider..
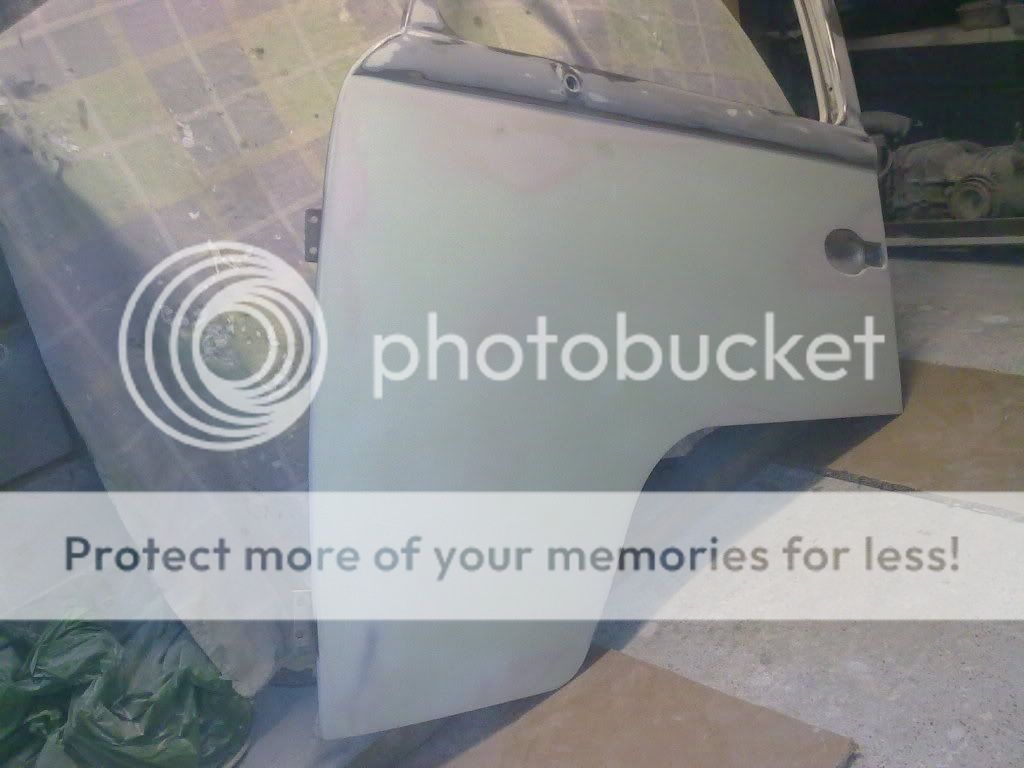
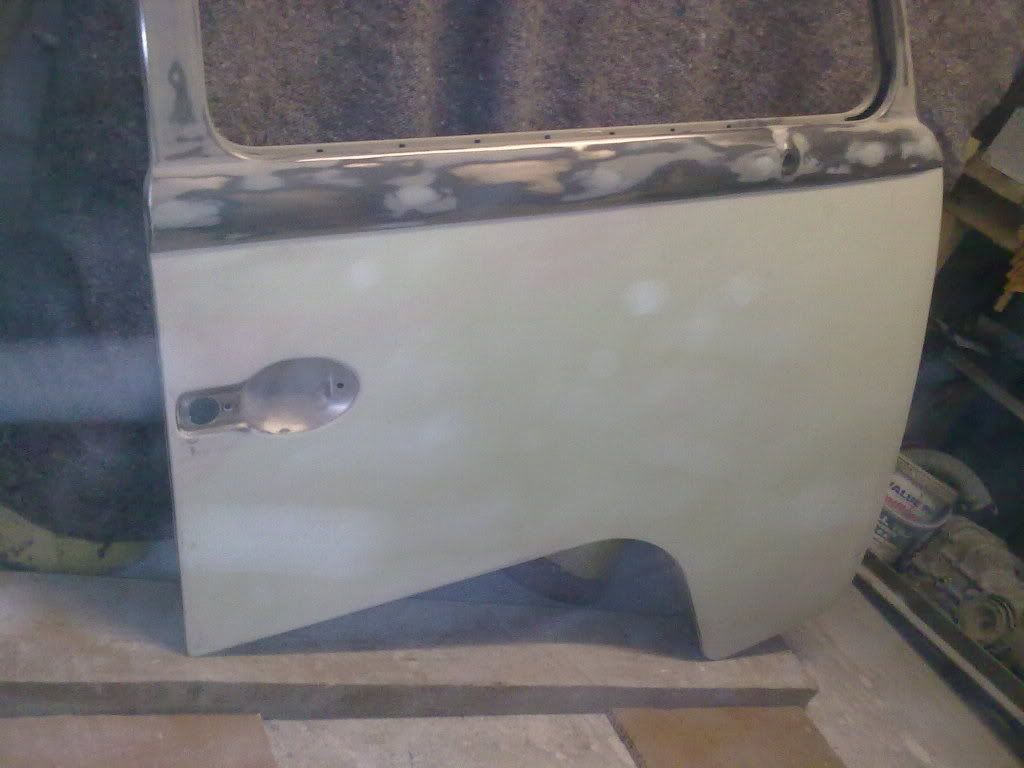
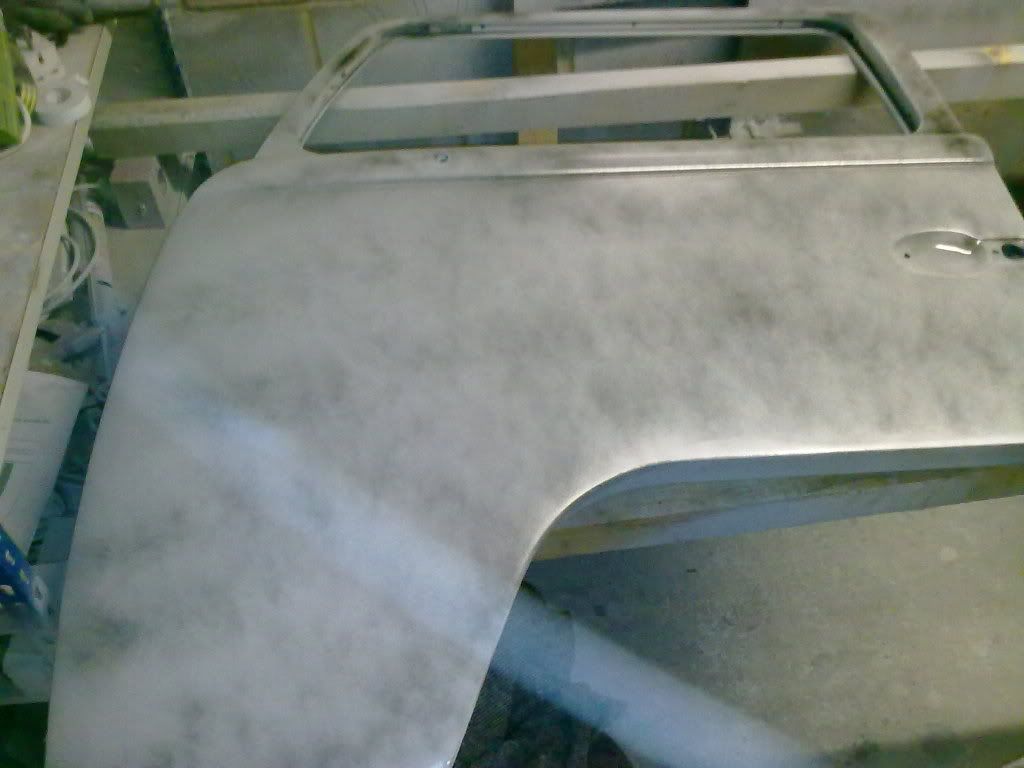
NS door....
O/S door...
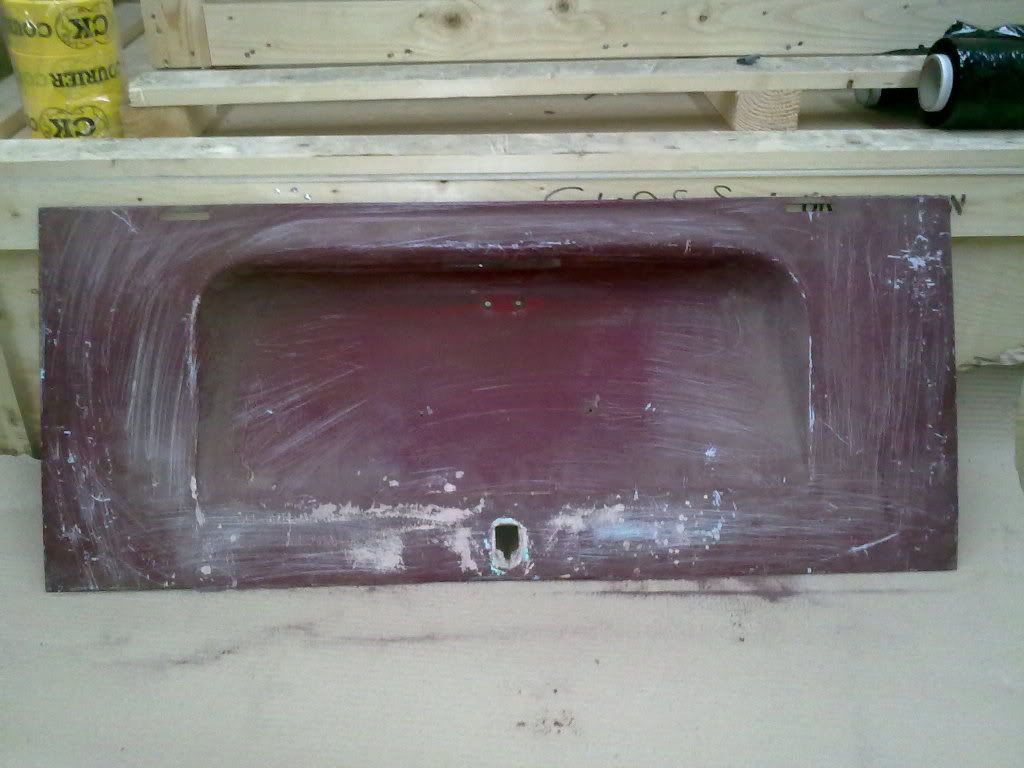
Rear hatch..
Must admit it feels good to have reached another stage closer to painting.
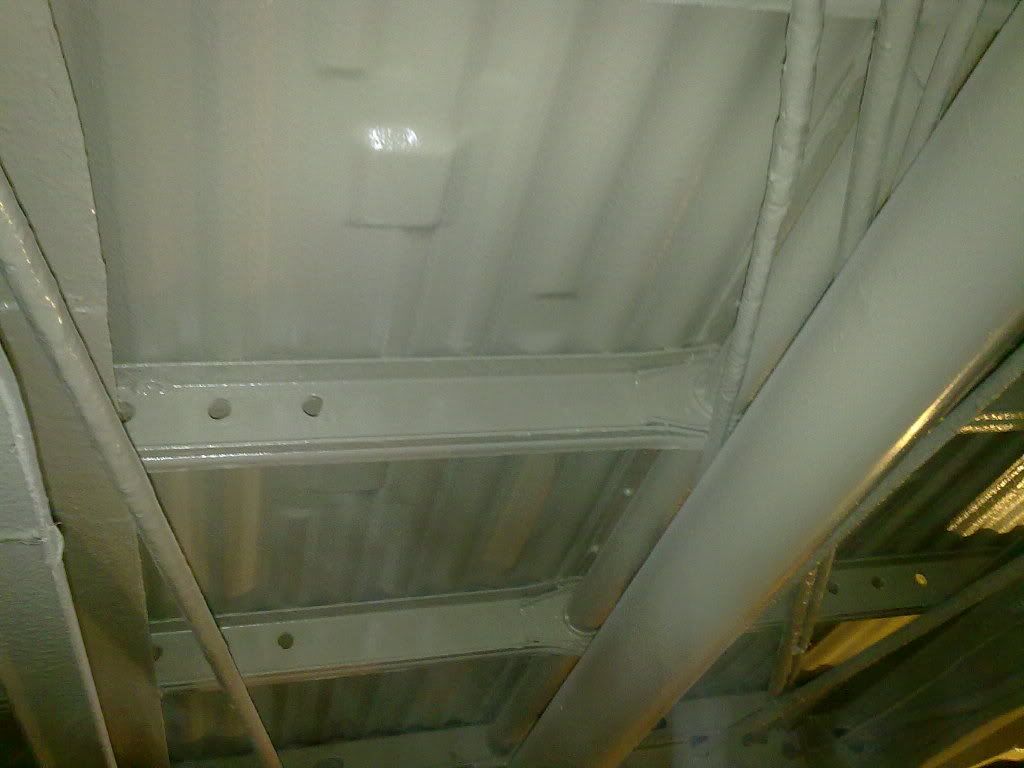
Weather's getting a bit damp in the evenings so I' ve blocked off all the gaps in the garage and insulated where I can.
Need to keep the damp out for a few more weeks !!
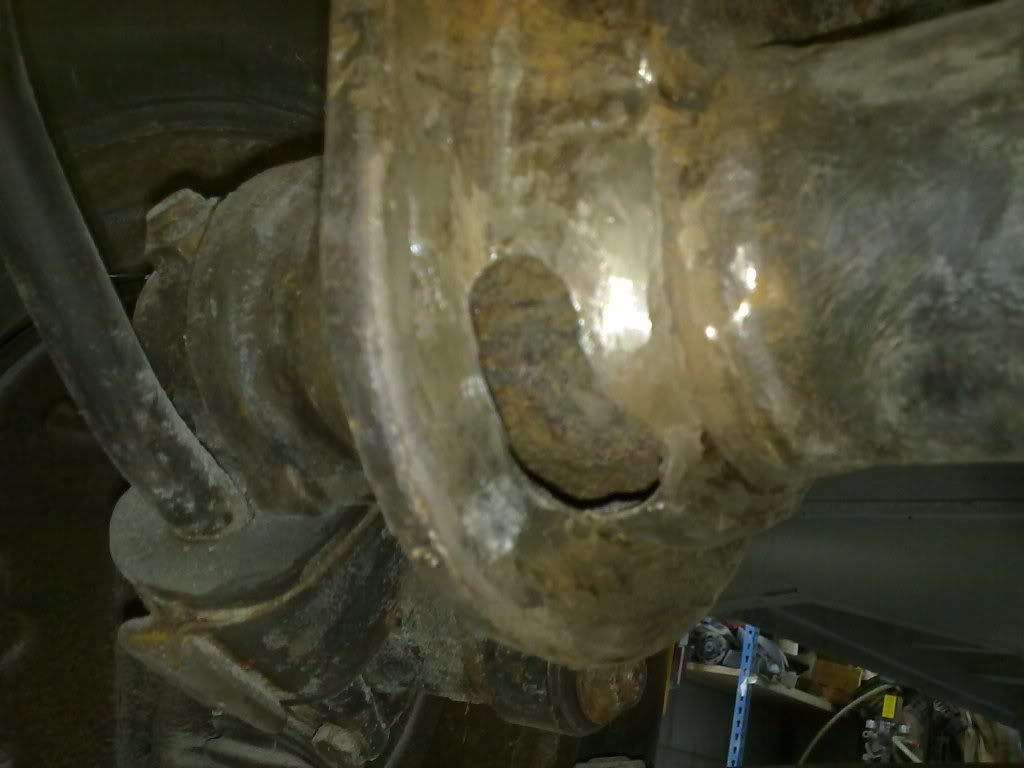
Got a small heater going in the garage and am covering the panels at night , the last thing I want now is damp setting off the rust again !!!
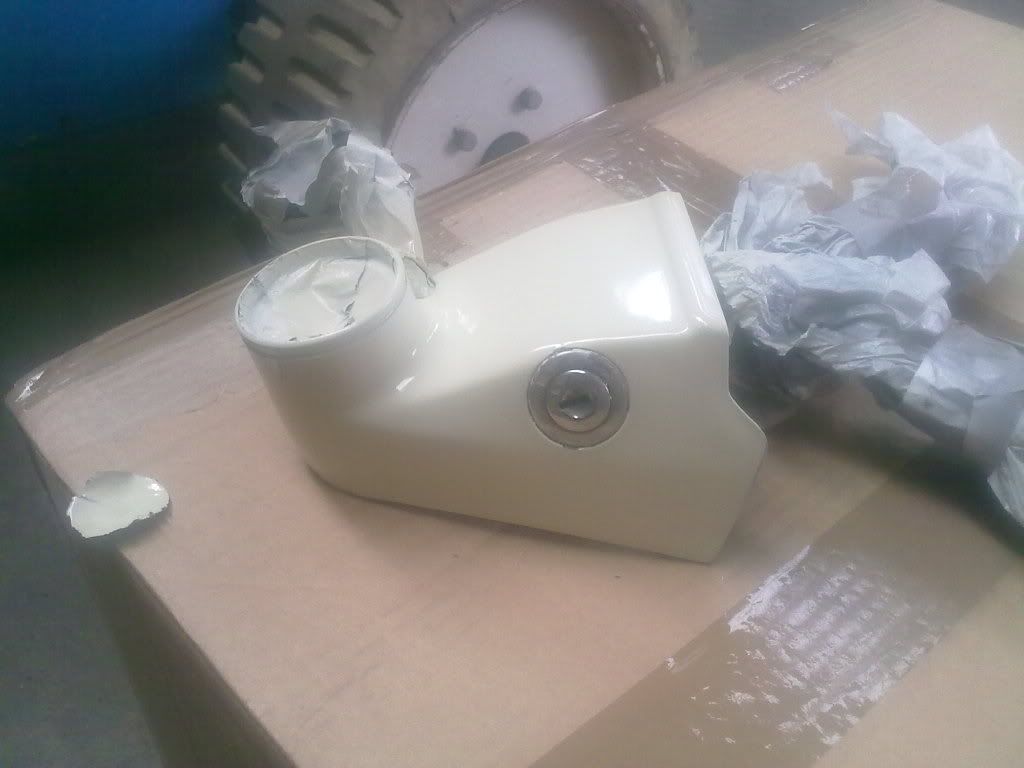
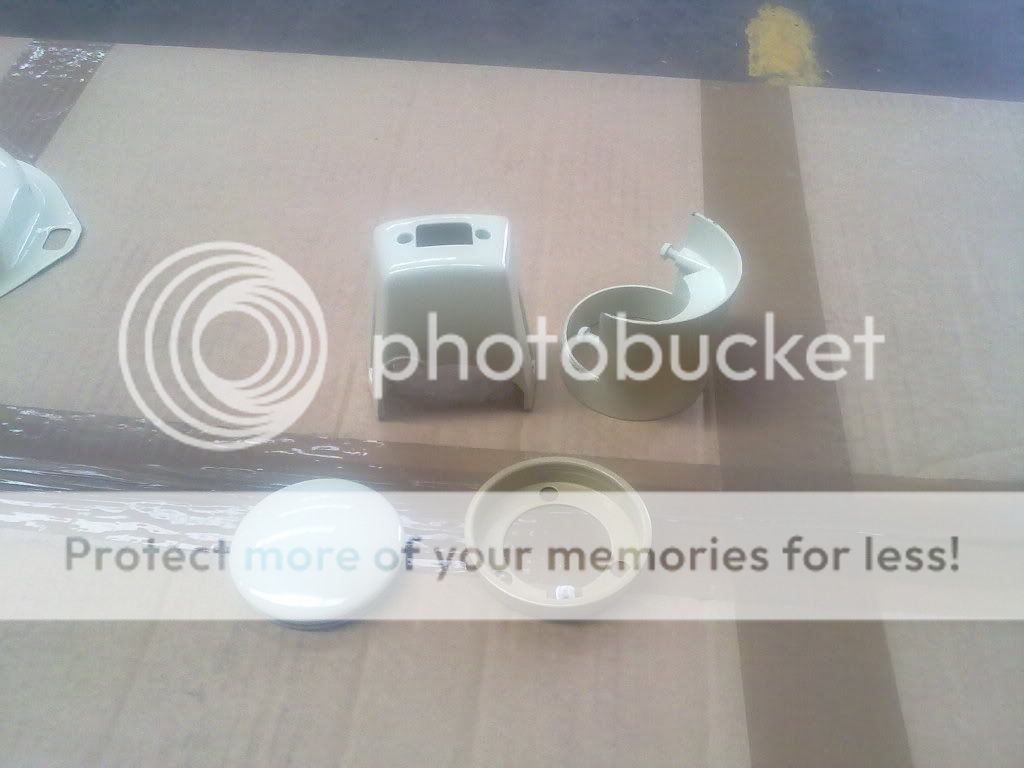
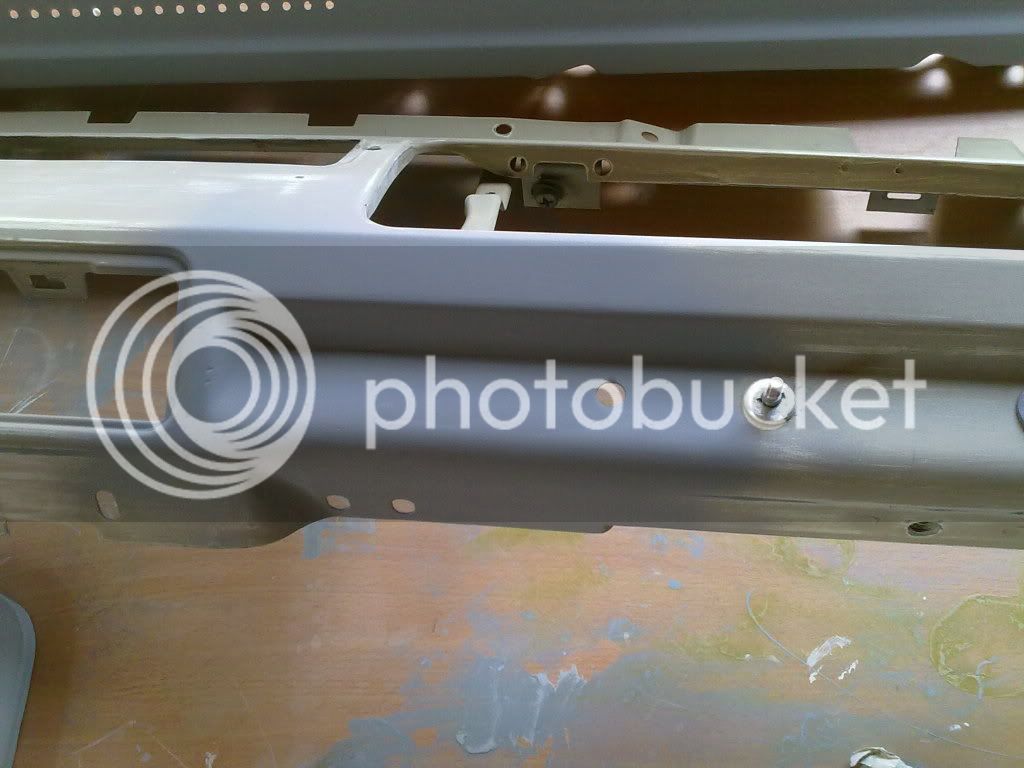
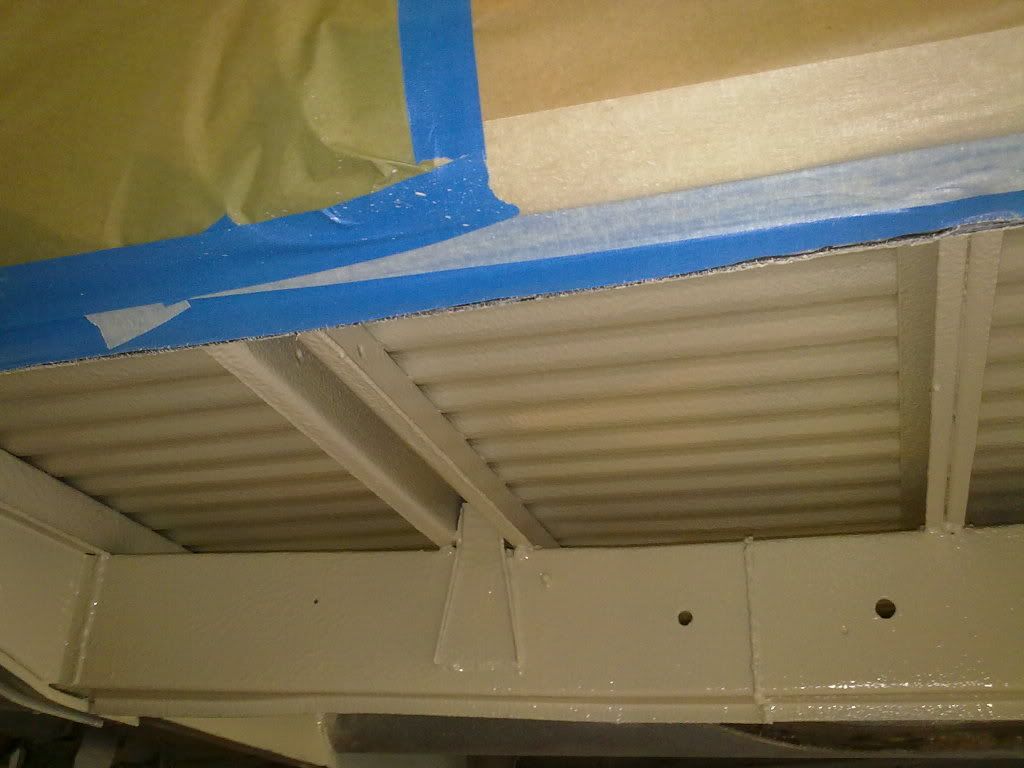
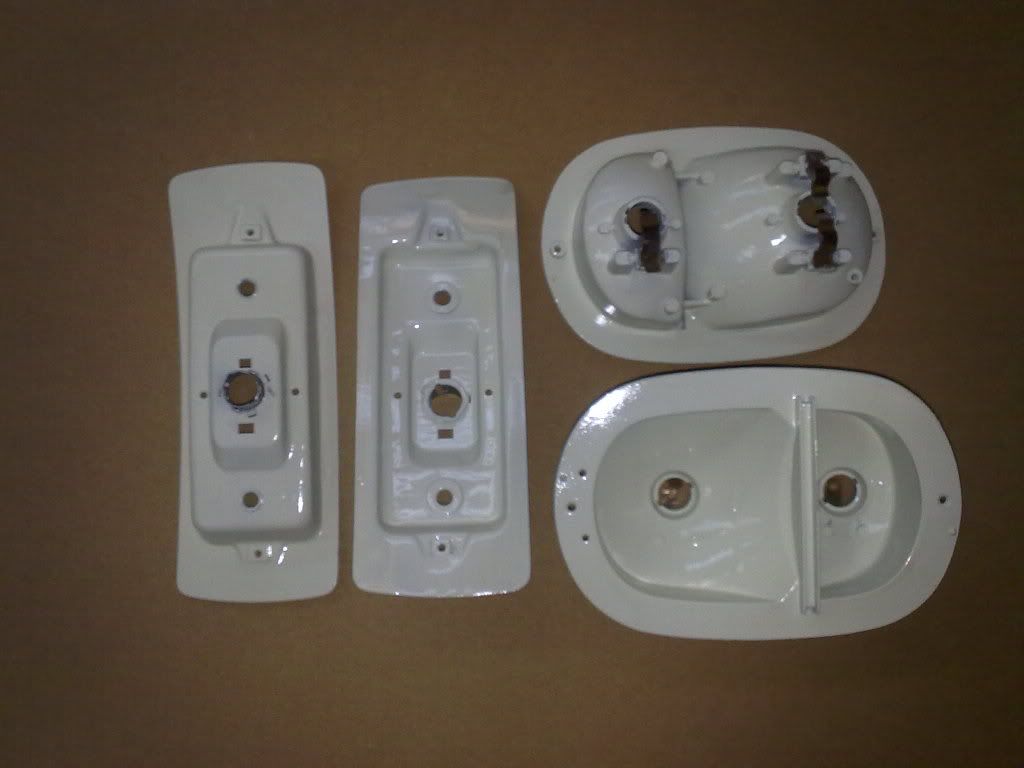
Filler/primer on the doors , guide coat applied and waiting for the panels to dry ready for more blocking...
That's the prep work up to date. I've got one more night before I go to Spain for a week so might get all the doors in
primer inside and out tonight. As soon as I get back I want to get the filler/primer on the shell ASAP and get it in primer.
Once that's done, the next stages are stone chip on the primer underneath, then paint in Savannah Beige, then Savannah Beige inside, and in the wheel arches and engine compartment.
But in the meantime, it's Gatwick airport, Sleazy Jet, and as much San Miguel and Vino as I can fit into seven days..
Hasta el semana que viene !!