Hillys 70 Devon .. the resto starts .. soon

Early Bay Forum

Help Support Early Bay Forum:

This site may earn a commission from merchant affiliate links, including eBay, Amazon, and others.

Hilly_70

Well-known member
Joined
Jul 28, 2008
Messages
798
Reaction score
0
Location
Leeds (ish)
Hi all ..

This is my bus .. had it about 3 years now and still haven't got round to doing alot .. but it can't wait much longer!

I'll be putting pics up as do the work myself ..

mmmm .. :roll:


100_5726.jpg


100_5728.jpg


100_5731.jpg


Cheers

Hilly
 
looks like you got a really good devon interior there! 8)

have you got both the high and low double bed setup?
 
Dunno!

The bed pulls out like a drawer from behind the back rest .. and the legs prop it up ..

It seems sturdy!

Ive also got an eberspacher heater ( you can see the controller above the spare wheel) that gives heating and hot water .. its plumbed through to the space under the front seats too for warm feet! ... only prob is that its diesel and needs a seperate tank .. Im considering removing it all though during resto ..

.. oh and theres a tv that clips to the bracket on the right and a ps2 in the overhead lockers ..

:D

Hilly
 
Hilly_70 said:
Dunno!

The bed pulls out like a drawer from behind the back rest .. and the legs prop it up ..

It seems sturdy!

Ive also got an eberspacher heater ( you can see the controller above the spare wheel) that gives heating and hot water .. its plumbed through to the space under the front seats too for warm feet! ... only prob is that its diesel and needs a seperate tank .. Im considering removing it all though during resto ..

.. oh and theres a tv that clips to the bracket on the right and a ps2 in the overhead lockers ..

:D

Hilly


if you do happen to be removing your heater. give me a shout as my van will be running diesel and i could make use of a heater for camping
 
Ace bus! and the best year for the earlybay :wink: 8)
 
Smart bus dude. Do you have any pictures showing how the bed arrangement works, I'm in the process of rebuilding a Devon interior and parts of the bed are missing so it's a struggle trying to imagine how it should look and work? Any help would be much appreciated.

Cheers
 
Hi sucram ..

I'll try and get you the photo's this weekend and post them on here .. if the weather stays good .. cos its currently under a tarp and the slider is in the garage having cosmetic surgery ..

I'll post those pics too cos its my first real attempt at that sort of thing ..

Cheers

Hilly
 
Hey sucram .. just noticed your location .. where abouts south of ponty are you? ... Im near nostel priory ..
 
Hilly_70 said:
Hi sucram ..

I'll try and get you the photo's this weekend and post them on here .. if the weather stays good .. cos its currently under a tarp and the slider is in the garage having cosmetic surgery ..

I'll post those pics too cos its my first real attempt at that sort of thing ..

Cheers

Hilly

Hi Hilly

I'll look forward to the pictures.

We are in South Kirkby just down the road from Nostel Priory so could bob over if it's easier?

Good luck with ya resto :)

sucram
 
Hi sucram ..

Your quite welcome to pop over any time for a beer and a bus comparison ..
But i'll post the pics for you anyway ..

This is the the bed in seat form (less cushions )


Bed3.jpg


The latch holds the bed in but it just slides out in 2 sections ..

bed4.jpg


bed5.jpg


bed6.jpg


The legs screw underneath to support the end and the seat cushions go on top ..

bed7.jpg


bed8.jpg


bed9.jpg


Hope these help mate .. if not call over .. pm me if ya need details ..

Cheers

Hilly

( you didn't have a light brown bay a couple of years ago did ya? )
 
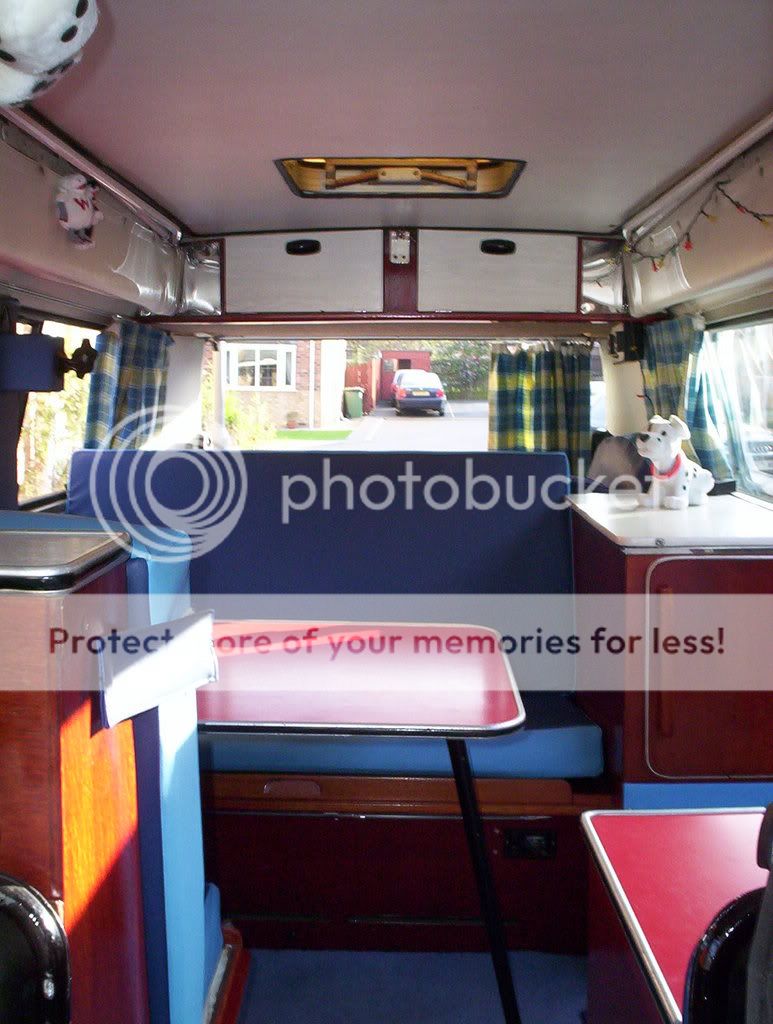
So here are a few pics of the work I have started on my bus ..

At this point I would like to point out that this is my first real attempt at this sort of thing .. so any constructive critisism will be taken well!

If im doing it wrong tell me!

My theory is not to have a show bus but one that is mine, useable and safe ..

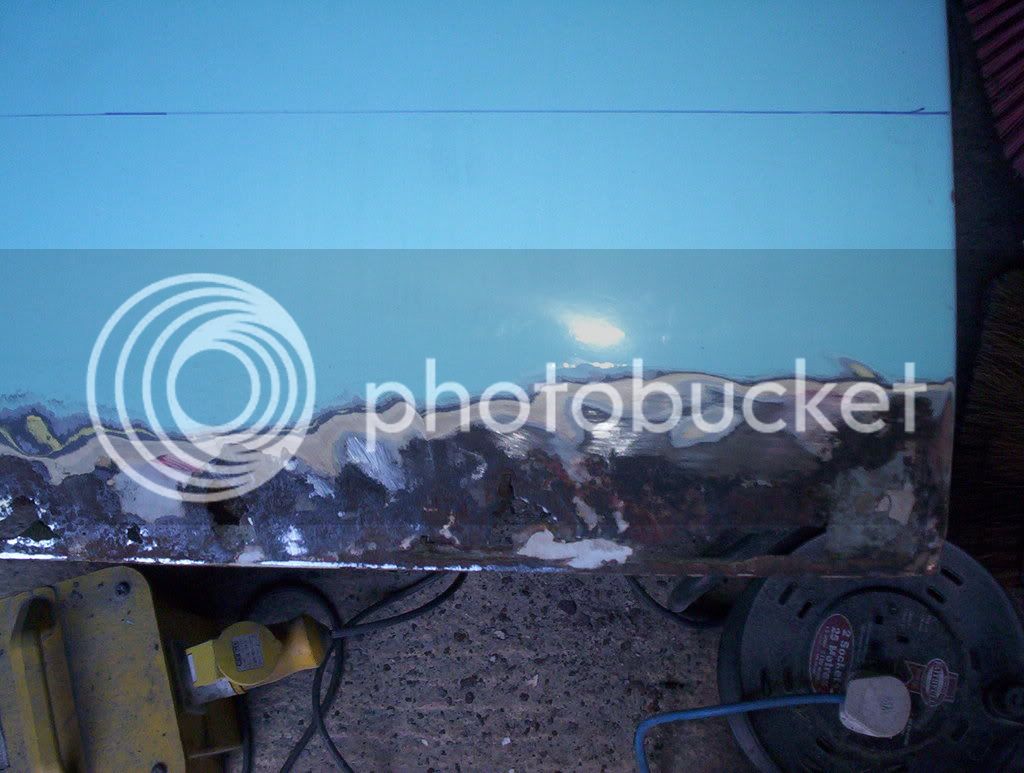
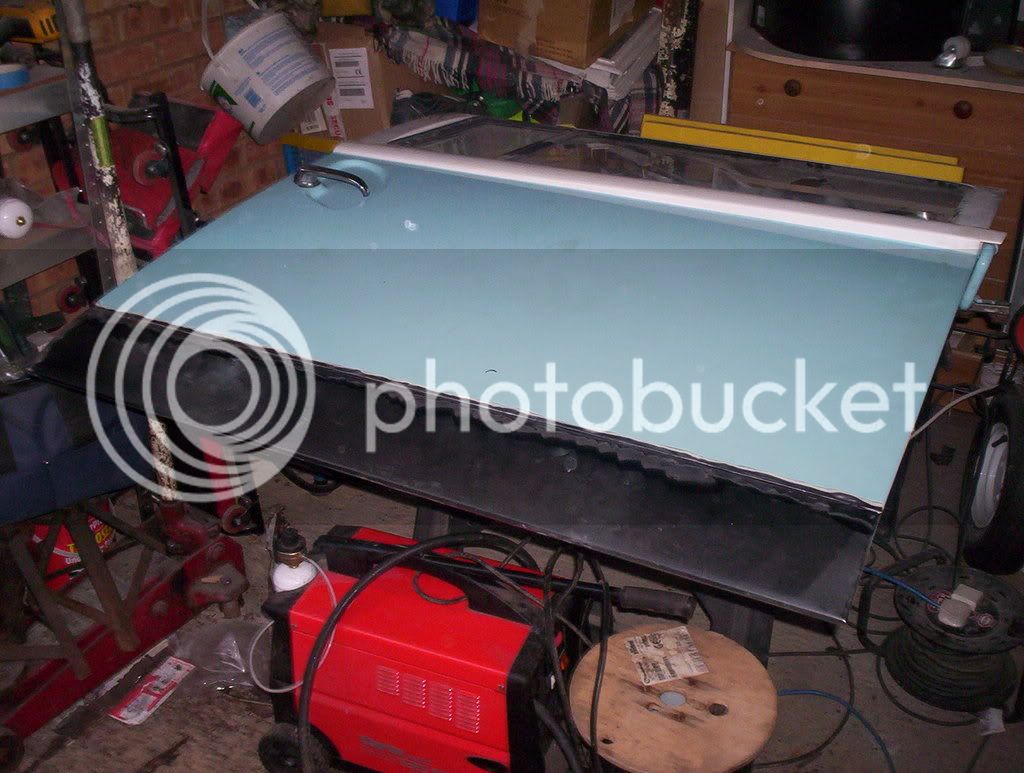
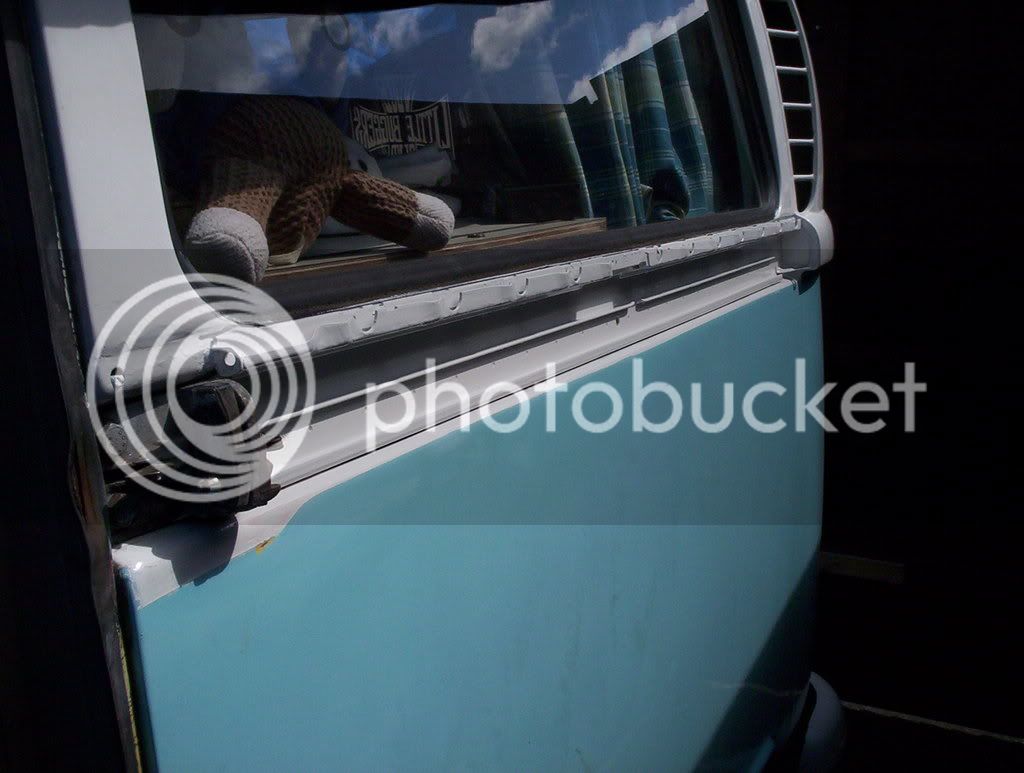
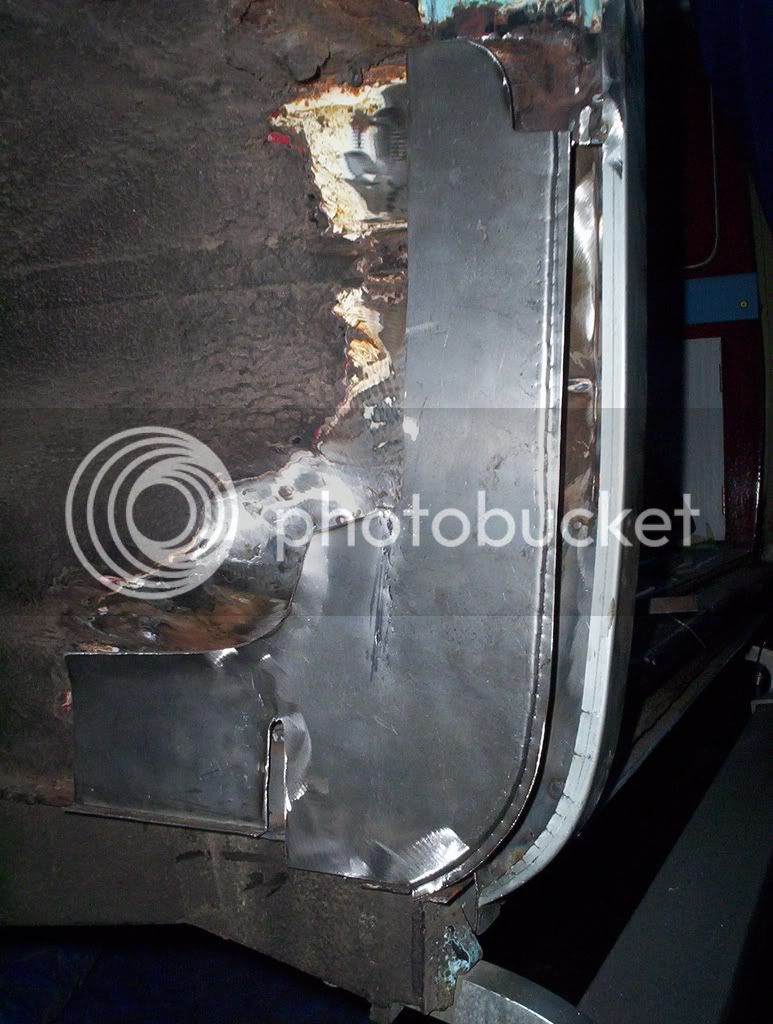
Started with the sliding door bottom .. cos it lost a handful of rust each time i slammed it ..

Sdorr2.jpg


Sdoor3.jpg


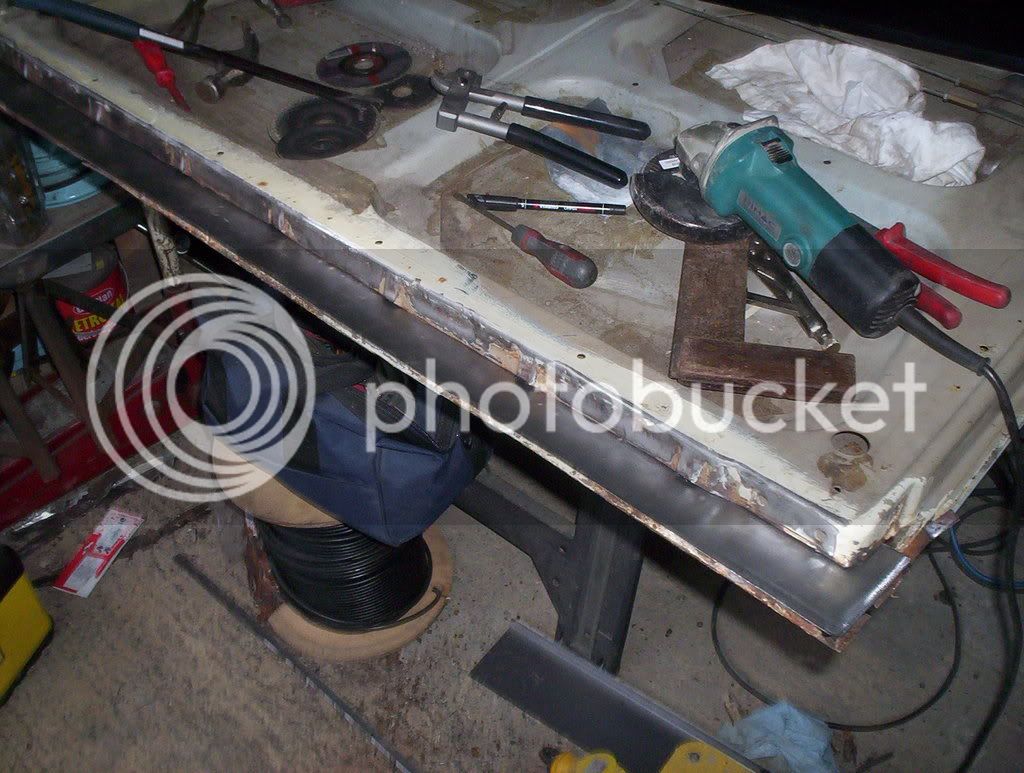
usual story .. bottom 6 inch inside and out ..

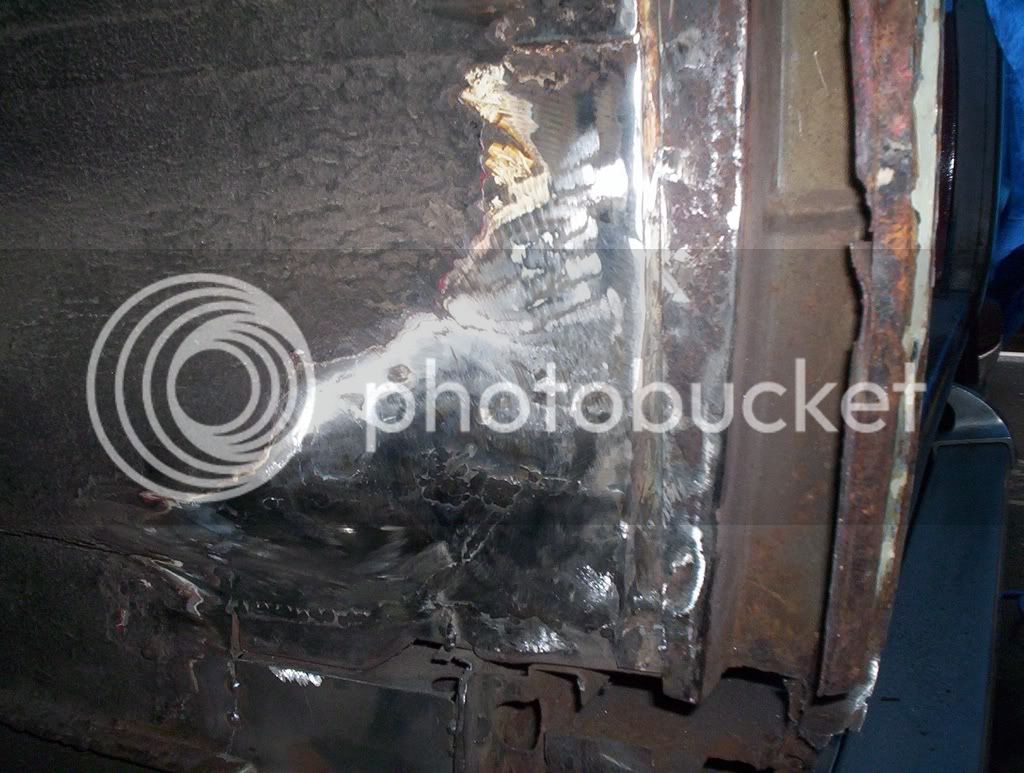
The inside damage was confined to the flat section so i made one up myself ..

Sdoor5.jpg


obviously before i removed the outer so i knew where it went ..

Sdoor7.jpg


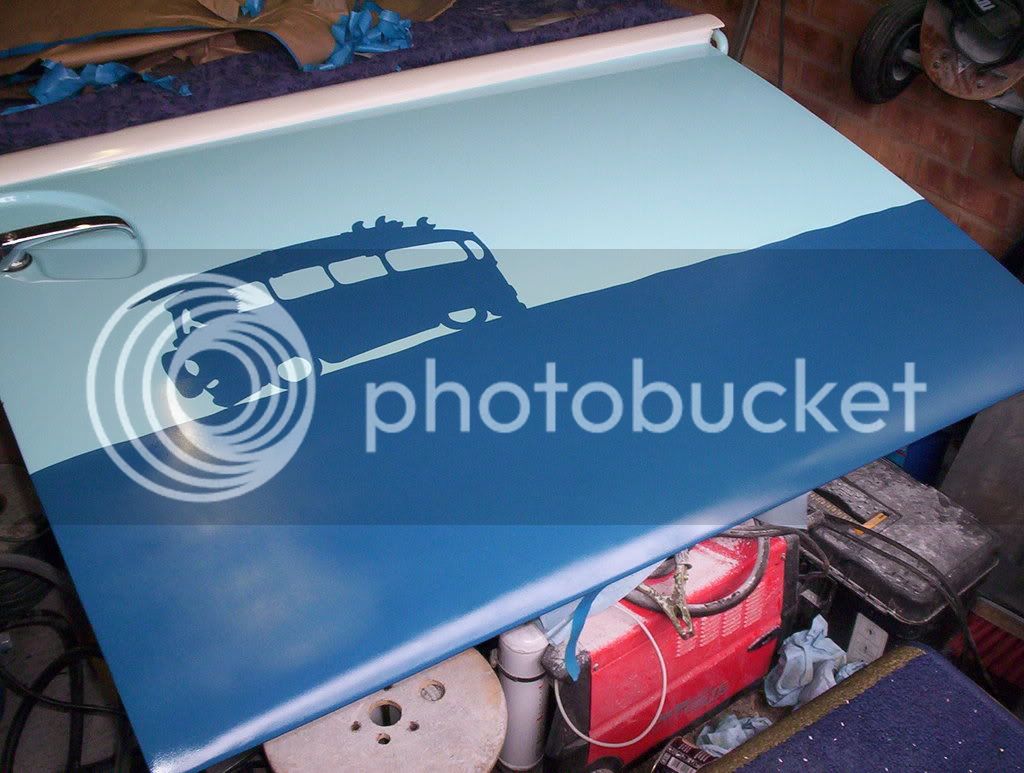
Its not exactly how it was originally but functional ..

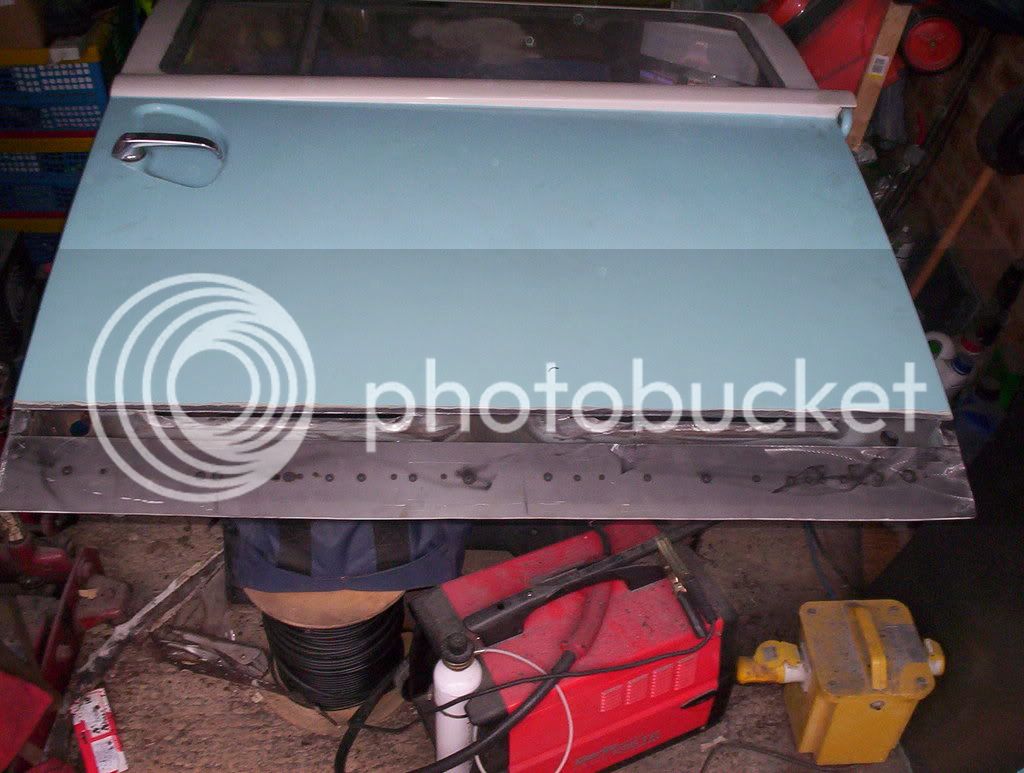
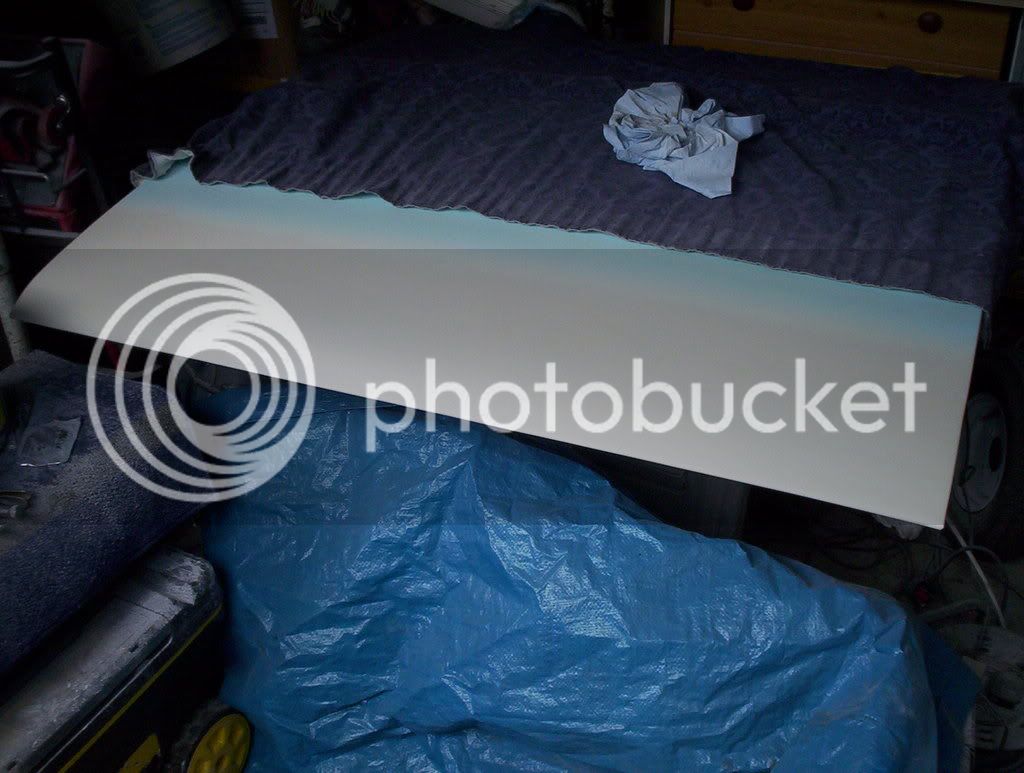
Then an outer skin and test fit and adjust ..

Sdoor9.jpg


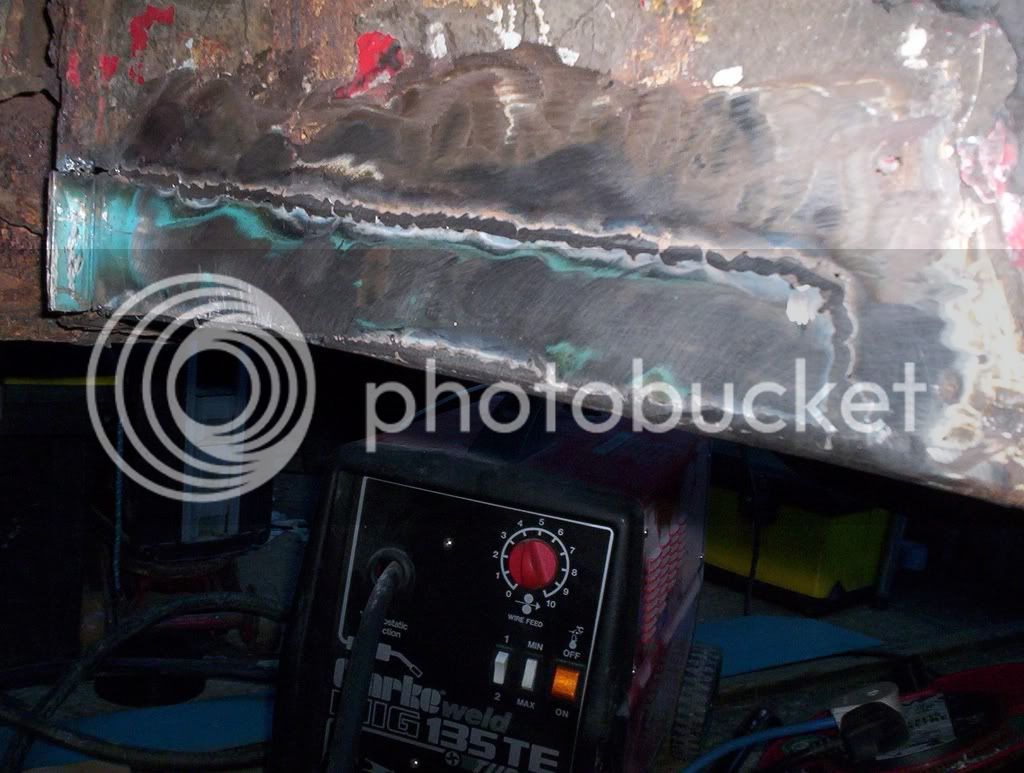
Complete welds .. seam sealer .. skim of filler and shape and prime ..

Sdoor17.jpg


... and some rattle can paint to stop the primer soaking in water till i get round to the respray!

Doorpainted.jpg


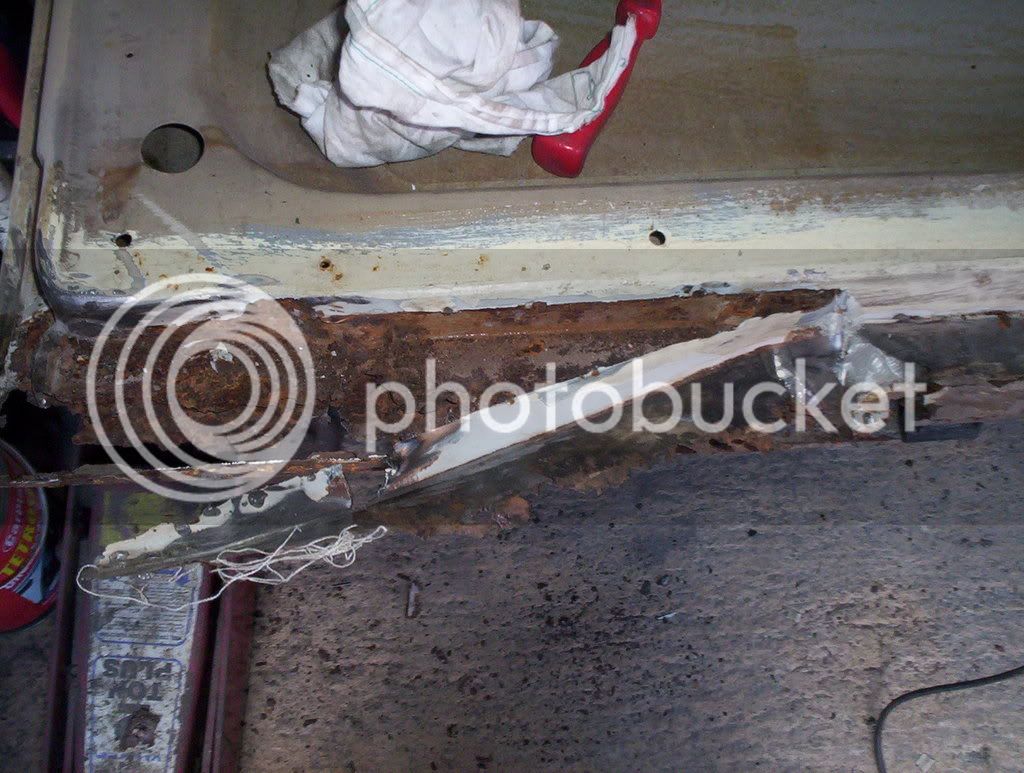
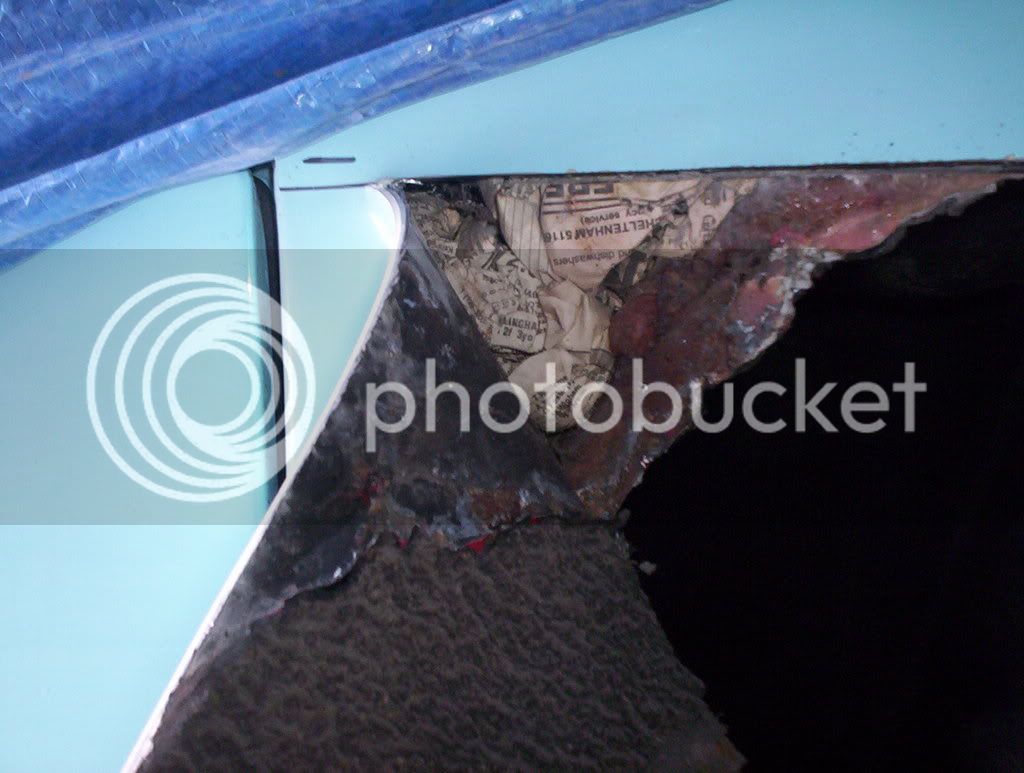
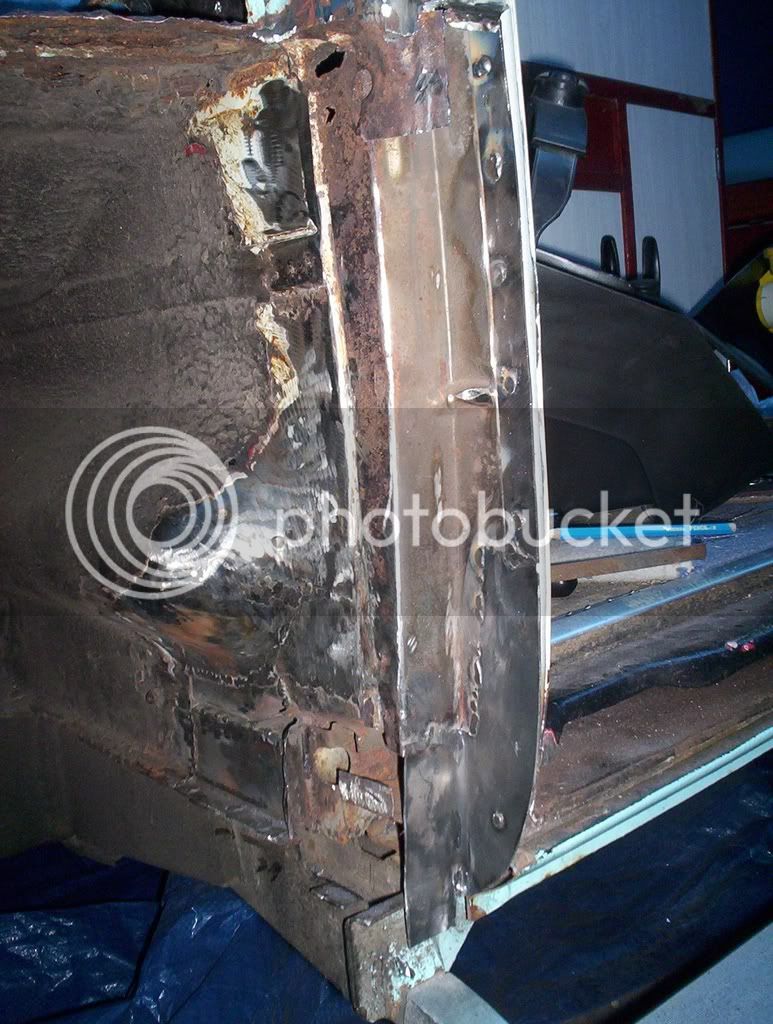
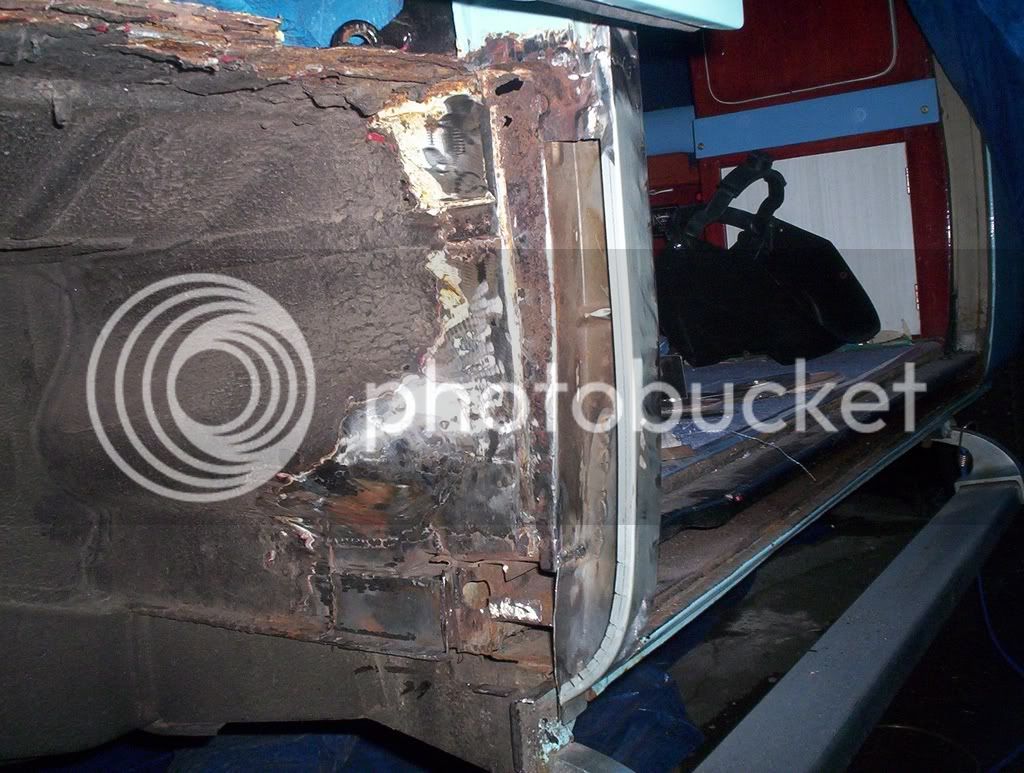
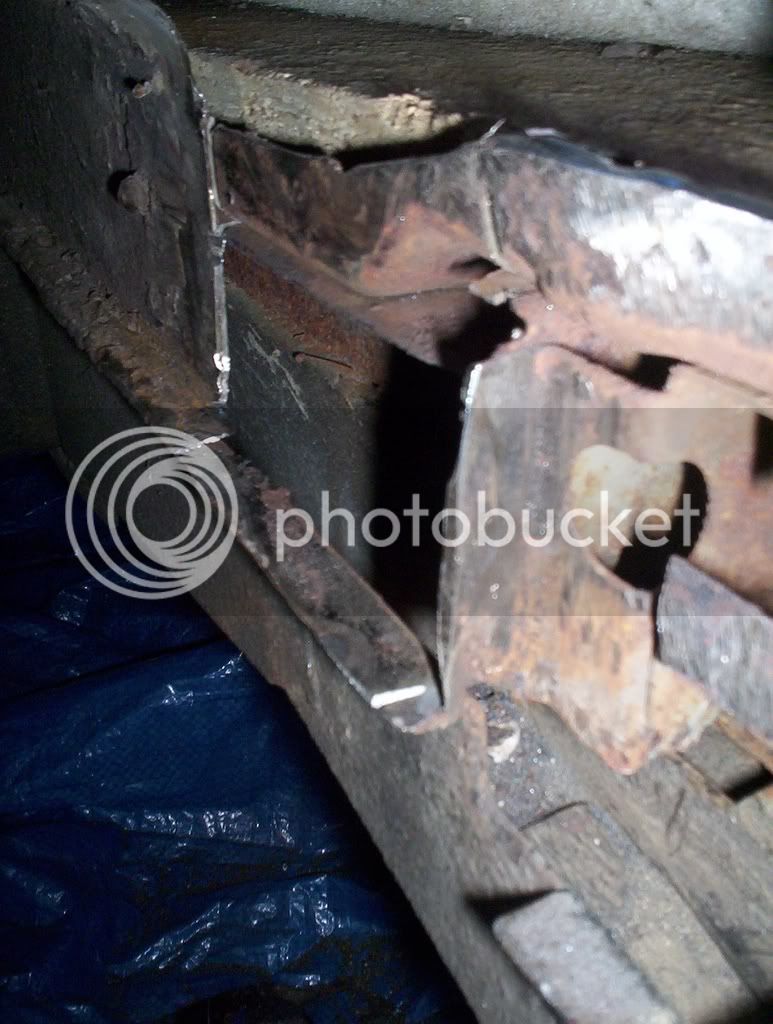
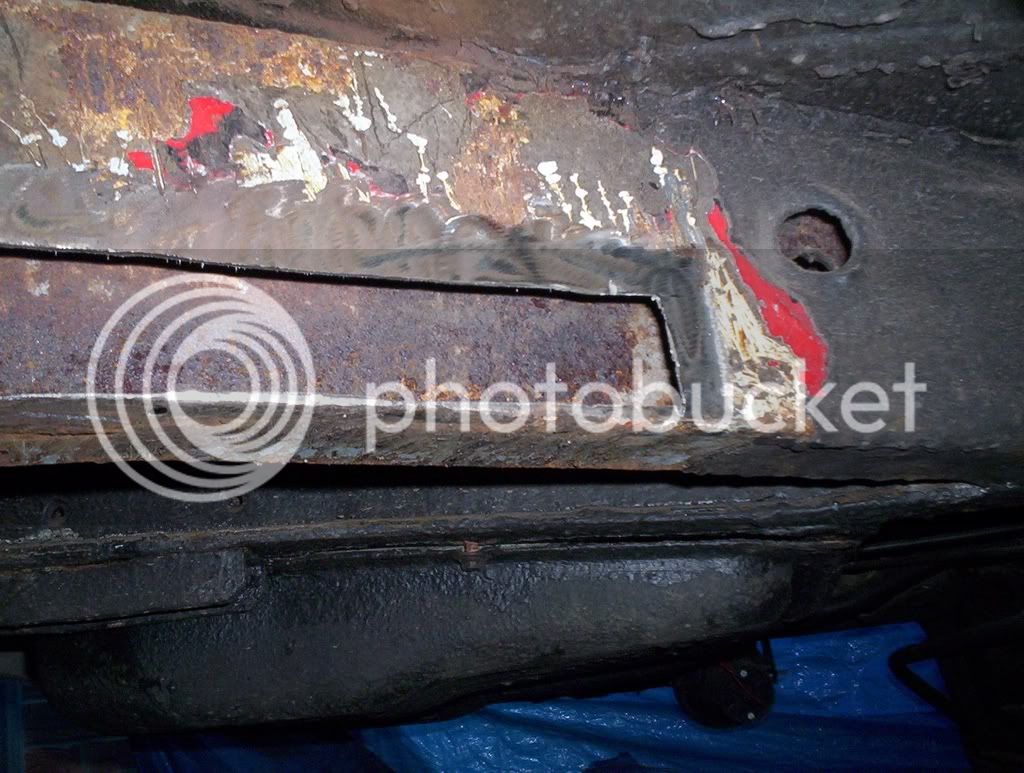
Started on the front step area next cos its shot underneath ..

DO I GET A PRIZE FOR FINDING PREVIOUS REPAIRS WITH NEWSPAPER !!

newspaper.jpg


The first bit of paper i pulled out read "Do it Yourself!" how apt! .. the paper was dated June 1991 ... anyone owning up!

Previous repairs have been done over the previous rust ... :(

100_5794.jpg


Is it just me or do you need a sit down and cry after you have poked away at your precious bus and the brown stuff gets larger and larger ..

I particularly like the way the previous ape has smacked the lower b post in with an hammer about 2 or 3 mm to allow a new one to be welded on top!

More stuff to follow ..

Hilly
 
The repairs to that slider look very good!!

Don't let it get you down - most of us have come across stuff like that, at you'll know that it's solid once you've done it properly :D

Keep the updates coming...

;)
 
Hilly

Thanks for the pictures of your Devon pull out bed. It's a bit different from how I thought it would work but at least I have something to work too . The base unit I have also has the draws in, but it looks like you have to use two tables to make the bed up. As parts are missing for that arrangement I thought it would be better to have the pull out style and try and re-build what we have into that.

Don't let the rust get you down, I went through the same with my girl friends first Bay, it was none stop welding chasing the brown stuff all over the van, at times I had her in tears with the amount of rot I kept finding, but I stuck at it and would not let it beat me and got it done. It was well worth the hard work to see the smile on her face when it was finished.

All the best

sucram
 
http://forum.earlybay.com/viewtopic.php?f=17&t=6371" onclick="window.open(this.href);return false;

theres a full devon manual there. :wink:
 
No probs sucram ... but still feel free to come around and have a look if you need to ..

The bed itself doesn't use any table parts .. its just all contained above the drawers and slides out ..

Come round .. i'll get the kettle on!

Hilly :D
 
the moonraker has an upper and lower table double bed setup, the upper bed used two tables and four long legs to fit into a aluminium strip fixed to a drawer front. you can also have the lower setting (also a double) but it used one table and two short legs plus the back of the removable chair and some small boards to fit between the cooker, table and bed.
 
I looked at the manual posted .. Its quite interesting to see the different types of bed available..

Im not sure how common the slide out type like mine is , or if sucram's is the same type ..

I sometimes wish mine used the table, cos theres no where to put the bloody thing when the beds up! ....

.. I like the westy option for the bed, but I prefer the looks of the devon from the outside!

Cheers

Hilly
 
Ok .. a bit more work on the bus ..

I thought it was gonna be a bit worse than it is actually .. its mainly the po's shite work that is costing time and effort rather than the rust .. but im sure thats not a suprise!

2 lessons learnt already in my bid to learn to do the works myself ..

1. Dont get too ambitious with the flap wheel cos your soon through a panel..
2. make sure your sleeves are in your gauntlets before welding under the bus!

cleaned and painted under the side track cover, just to keep it rot free till respray time .. amazingly very clean and requiring no work!

Strackpainted.jpg


Needed to tackle a few bits before the mot .. so continued with the inner and outer arch .. which then carried on to the partition plate and bpost inner and outer ..

Partition plate patched up .. not the prettiest repair .. but solid ..

partitionplatefilled.jpg


Inner b post repaired .. notice how i took a piece from the top hat .. it wasn't bad but it enabled me to have a good look inside ..

partitionplateandinnerbpillar.jpg


New outer b post skill fitted first so i could weld it from inside to prevent having to clean up in the tight spot of the sliding door seal cavity .. and a closing plate made to cover the inner b post and partition plate .. Maybe not the way it originally was but it satisfies my requirements..

bpillarandouterb.jpg


newclosingplate.jpg


then tacked in place .. Those jogglers are a godsend!

The outriggers , sills and top hats looked good from the inside with no rust issues just slight discolouring ..

tophatandoutrigger2.jpg


small repair to front chassis outrigger .. strip removed ..

chassisrailremoved.jpg


.. and new piece let in .. just needs finishing off ..

chassisrepaired.jpg


Im always reluctant to grind too much off the welds when its structural and out of site anyway ..

.. oh yes lesson 3 .. be prepared for the fallout of spending too much time on your bus ..

Hilly
 

Latest posts

Top