Hillys 70 Devon .. the resto starts .. soon

Early Bay Forum

Help Support Early Bay Forum:

This site may earn a commission from merchant affiliate links, including eBay, Amazon, and others.
Cheers guys ...

Your gonna have to stay away a while longer if your expecting paint on it andy!

.. Good to meet you too Ant .. and Windsurfer and the other guys ... Ace bus mate .. I like it just the way it is ..! ;)

Hilly
 
OK guys .. i know its slow but heres a bit more ..

101_6063.jpg


Front axle set up looking a bit healthier now ..

101_6069.jpg


Front air box stripped and cleaned and re painted .. ( as my mrs says .. what a waste of 'kin time yer cant even see it ..) But i know its there!

101_6067.jpg


Front looking healthier ..

101_6066.jpg


New arches and tubs .. with joint lines where they should be! .. it would be so much quicker if i wasnt so bloody picky!

101_6064.jpg


Probably the hardest panel yet to get to look right .. this one alone took some amateur hours i can tell yer!

101_6070.jpg


made a reasonably straight bumper from 2 shit ones ( man they were shit!) i had given .. took some time but saved a tight yorkshireman some money! .. hardly any filler either ..

101_6072.jpg


.. heres some of the best bits cut off .. told you they were shit !

I've done more .. but not at pics stage yet ..

As usual .. let us know what you think guys .. all feedback appreciated!

Hilly
 
Very impressive work man 8) - looks like your handy with the MIG.

Much more todo then at the front as from the pics and words sounds like the light can be seen at the end of the tunnel ;)
 
cheers mate ..

Not too much at the front now .. just finishing off all them little bits ..

bit to do on rear corners and round the side window above the track cover ..

then some paint !

Hilly
 
majorhangover said:
Thats all looking really great there mate! Any updates?
Yeah! stop pissing around in Iceland and get on with that bus, the summers coming don't you know!? ;)

I need to come and see you for 'a chat', you haven't moved yet have you?
 
Hi Andy ..

Still here mate..!

Are you still 'on tour'!

Pop up anytime dude .. drop us a text and let us know ..

... not much of an update .. just finished the side windows so ill get some pics up soon .. beer keeps getting in the way .. ;)

Hilly
 
Ok .. done a bit more .. but weather / work and trying to sell the house is slowing me down .. :cry: :x

Been working on the rear side window .. strangly the only one with any real grot ..

Looked like this :

101_6074.jpg

101_6073-1.jpg


The carrier for the track cover was non existent .. and had perforated underneath it .. the rest was just mainly surface rust ..

Cut pieces in where required and left as much original as possible ..

100_6088.jpg


About half way along here ..

100_6089.jpg


and completed with new galv steel track cover channel welded in place .. look no filler or holes!

100_6091.jpg


plenty of K rust on the surface rust after wire brushing it ..
100_6092.jpg


And some primer to tidy till paint time ..

100_6093.jpg


... i hind sight , maybe i spent too long on somewhere yo cant even see! :roll:

Hilly
 
Hilly_70 said:
... in hind sight , maybe i spent too long on somewhere yo cant even see! :roll:

Hilly


Ive been following this thread with interest Hilly , the thing is If you dont do it right first time then in a few years your '' quick fix '' you did years ago will come back to bite you . Top work so far though fella :D

Do it Right , Do it Once , Never have to do it again ;)

Gadget
 
Cheers Gadget! .. appreciate the comments

.. Well done a bit more since christmas and today .. all at the usual pace (slow!) :D

Engine lid all good on the outside ..

outerenginelid.jpg


But the usual sespect on the inner strengthener .. so a few repairs required on the inside ..

enginelidrepairs.jpg


The previous repairs on the battery tray and rear corner were solid but didnt look right .. the seam line had been welded over on the bottom section and skimmed off, as I wanted the seam back there was only one thing for it..

Make up a new rear corner panel edge ..

rearcornerrepairsectionos.jpg


Tack ..

rearcornerrepairsectiontacked.jpg


Weld up and clean ..

rearcornerrepairwelded.jpg


With that tidied up, I decided to make a repair section for the battery tray, even put the grooves in to match ..

batttrayrepairpanelos.jpg


and fitted it in place ..

batttrayrepairos.jpg


not the tidiest work ive done but its out of site in there .. and solid ..

More work planned for this week so watch this space..

Hilly
 
Nice job on the seam and I would be happy with the work on the battery tray 8)
 
just went through the thread again and some excellent work. im starting in the next few weeks as i have the bus down at home now and in the garage, as this is a devon as well its given me alot of inspiration. keep it up ;)
 
right .. a bit more!

.. :shock:

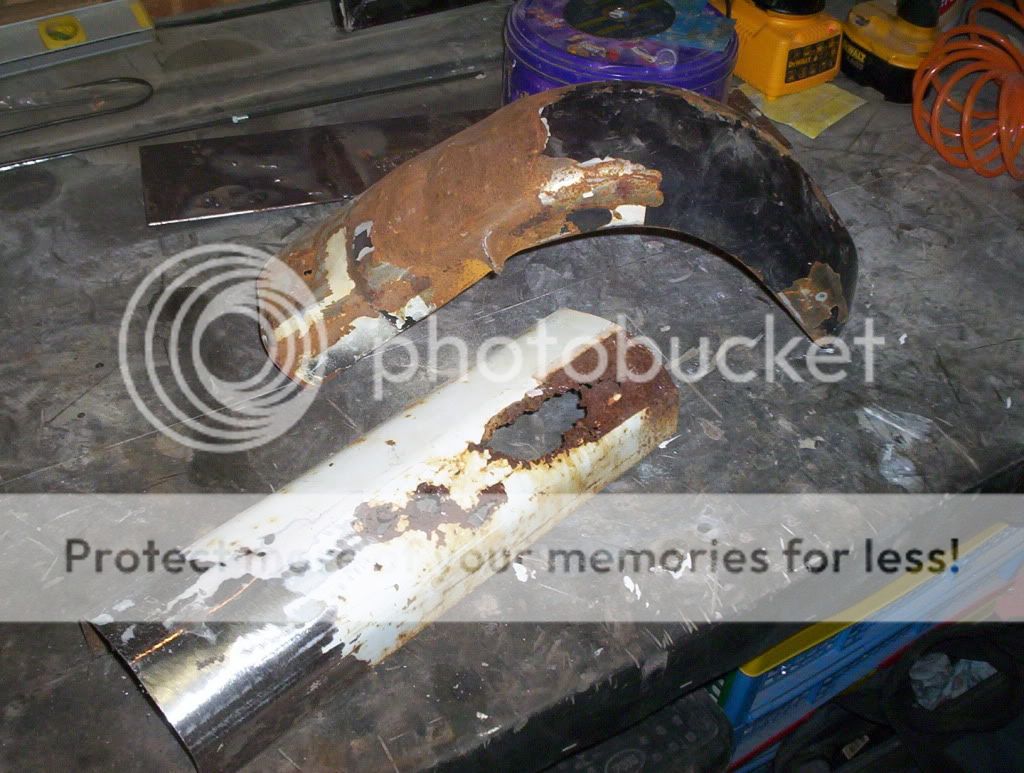
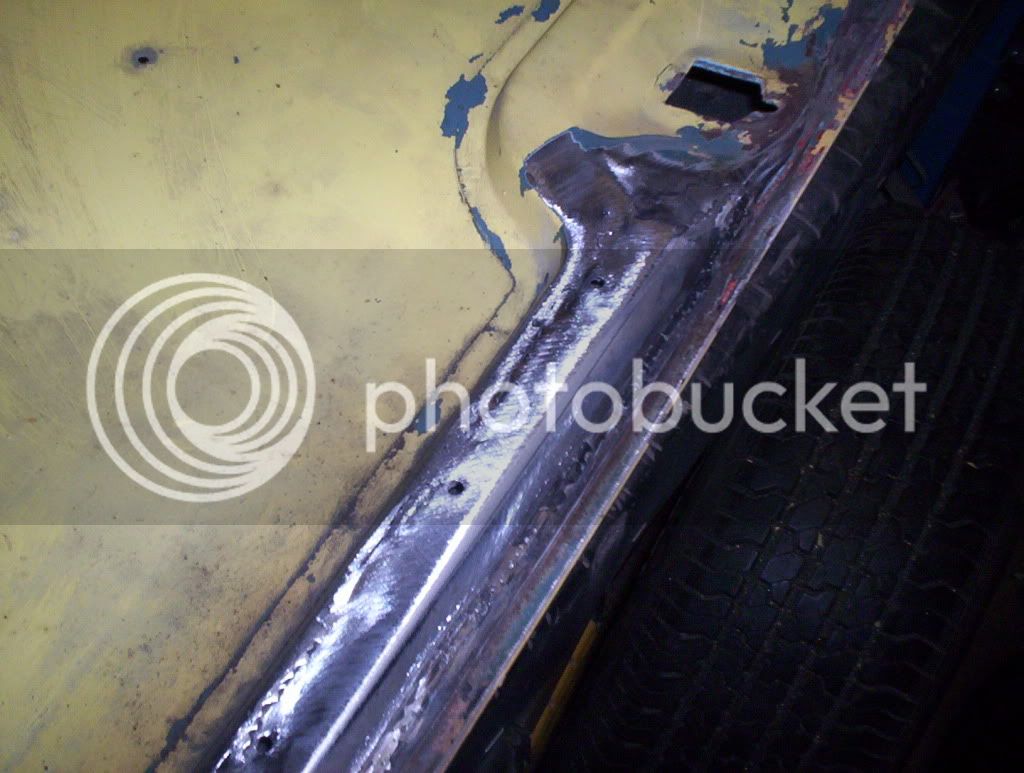
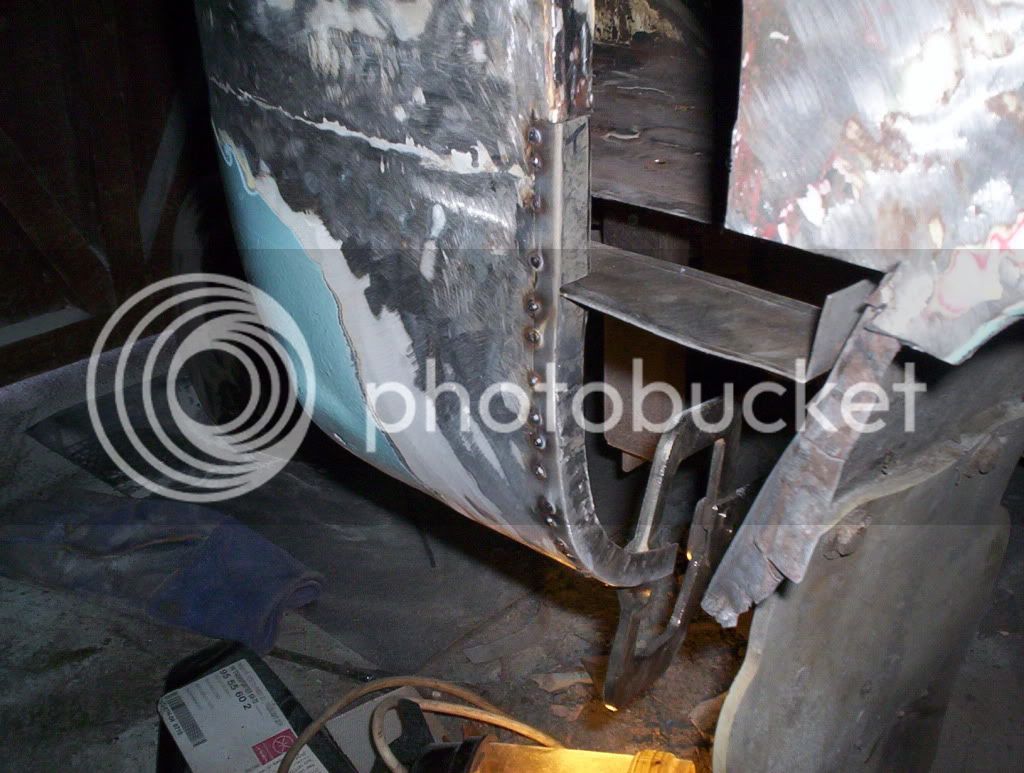
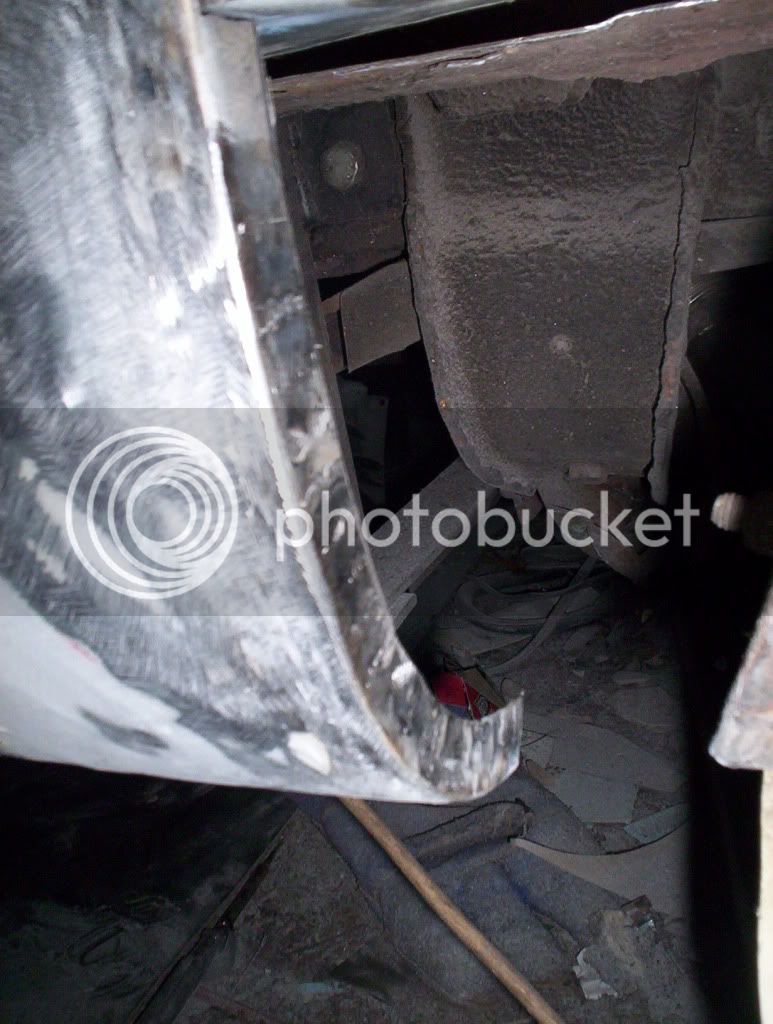
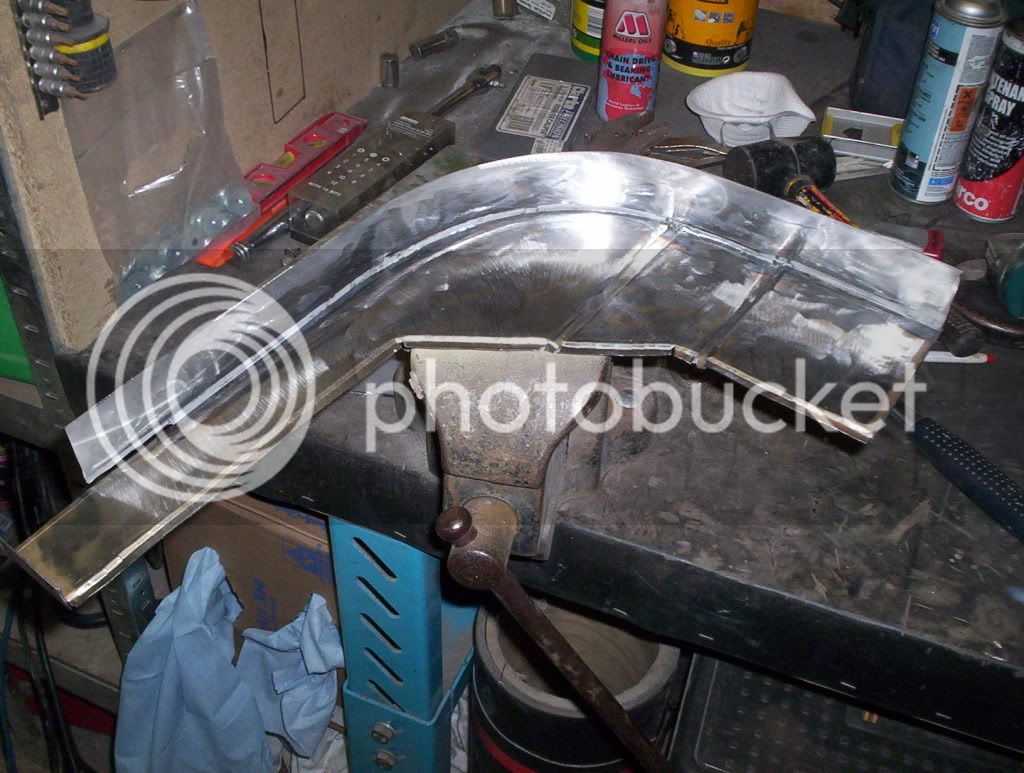
Ok .. so the rear corner is nearing completion .. battery tray done, previously fitted corner seems good with no rot, but i removed the skim of filler to inspect the work .. all looked good so cut off the lower rear of the wheel arch .. not rotten, just not to my liking!

100_6122.jpg


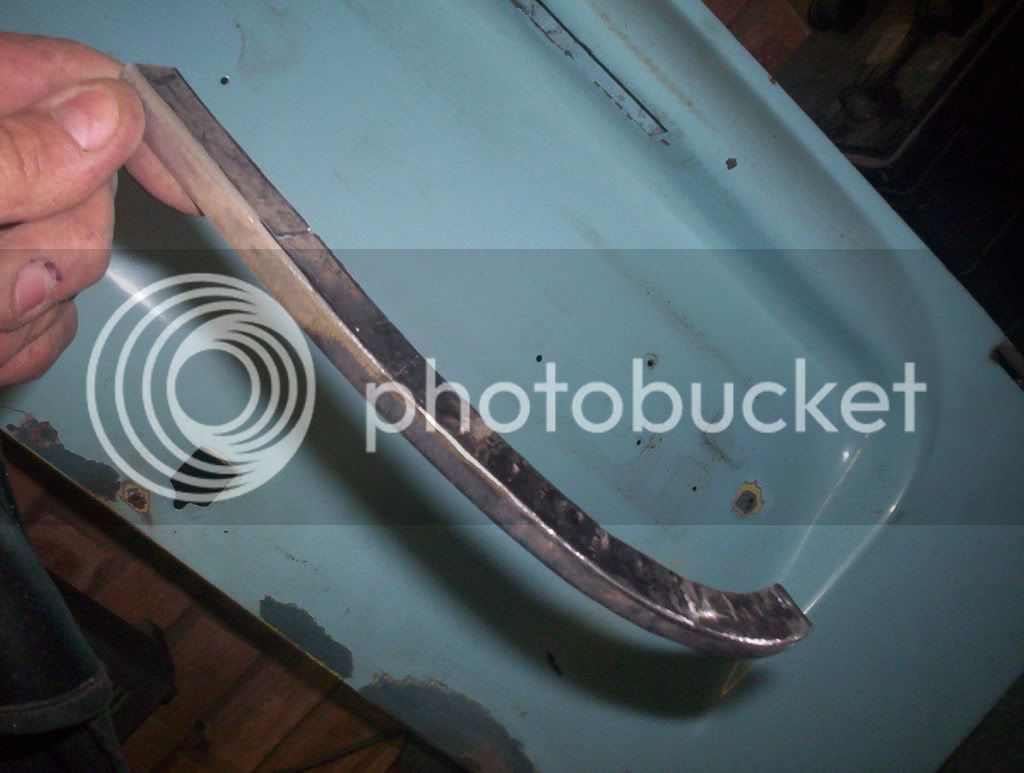
cleaned up a bit and bought a repair panel for there .. in hind sight i should have just made it as it was crap and took a lot of work to make it fit ..

100_6123.jpg


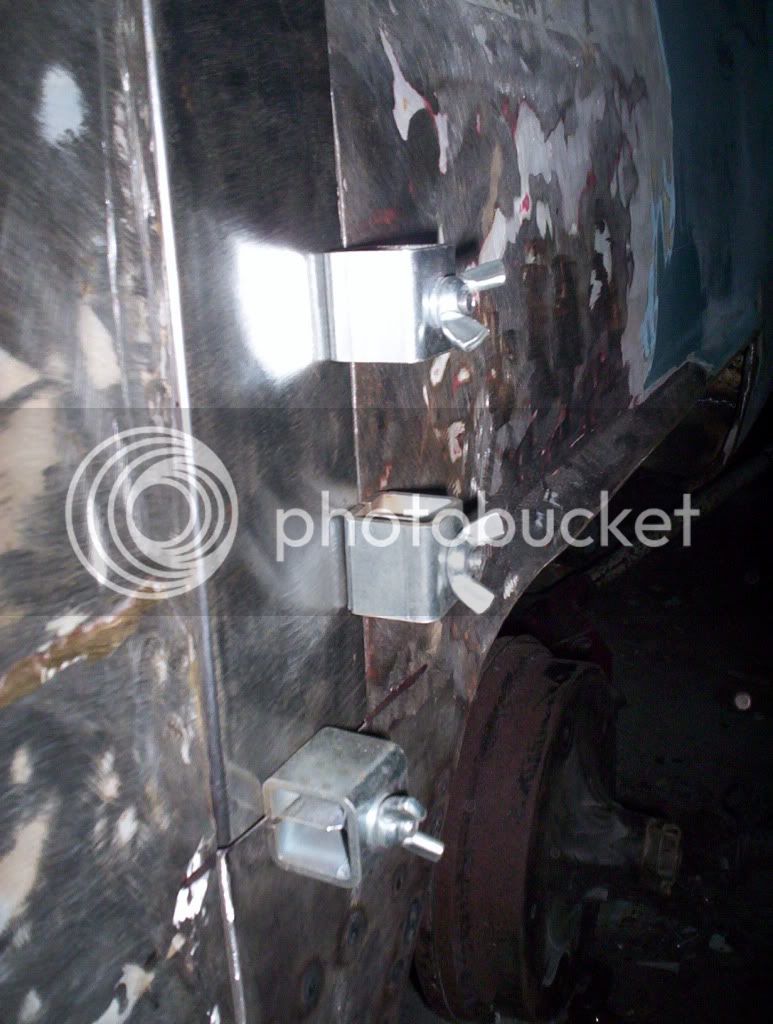
anyway .. finally fitted and made a panel for just above .. again not rotten, just welded in crap originally, losing the seam lines .. off it came!

100_6125-2.jpg


A small skim of filler and lots of rubbing down .. Looks ok .. and has a seam where it should..

100_6137.jpg


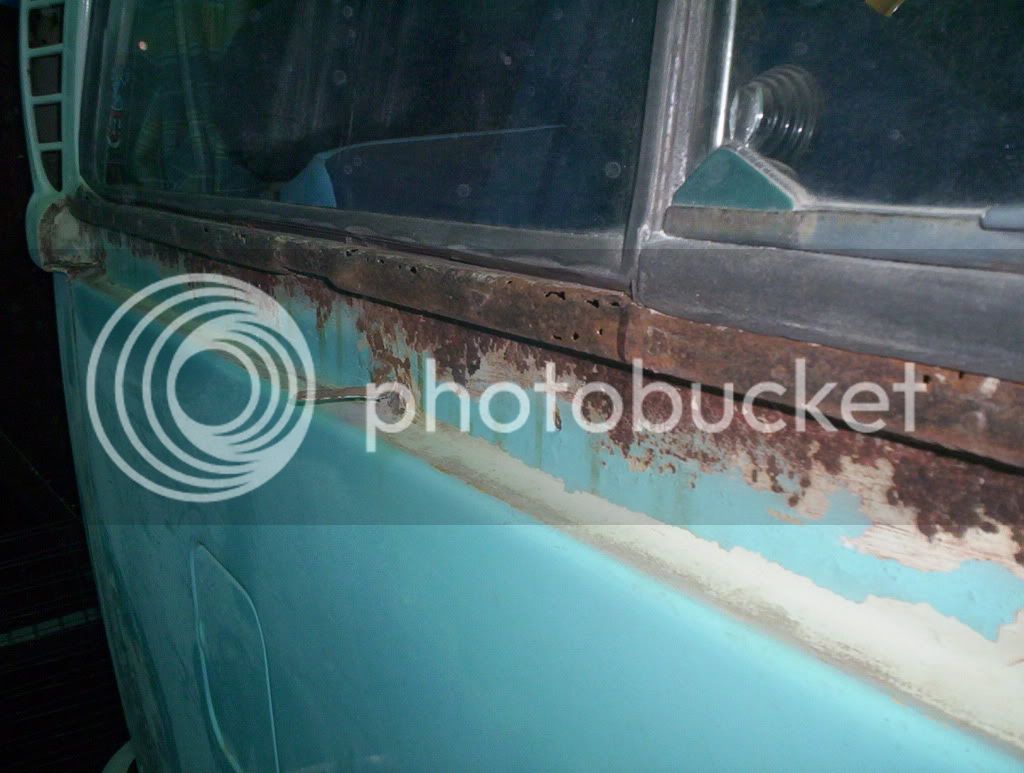
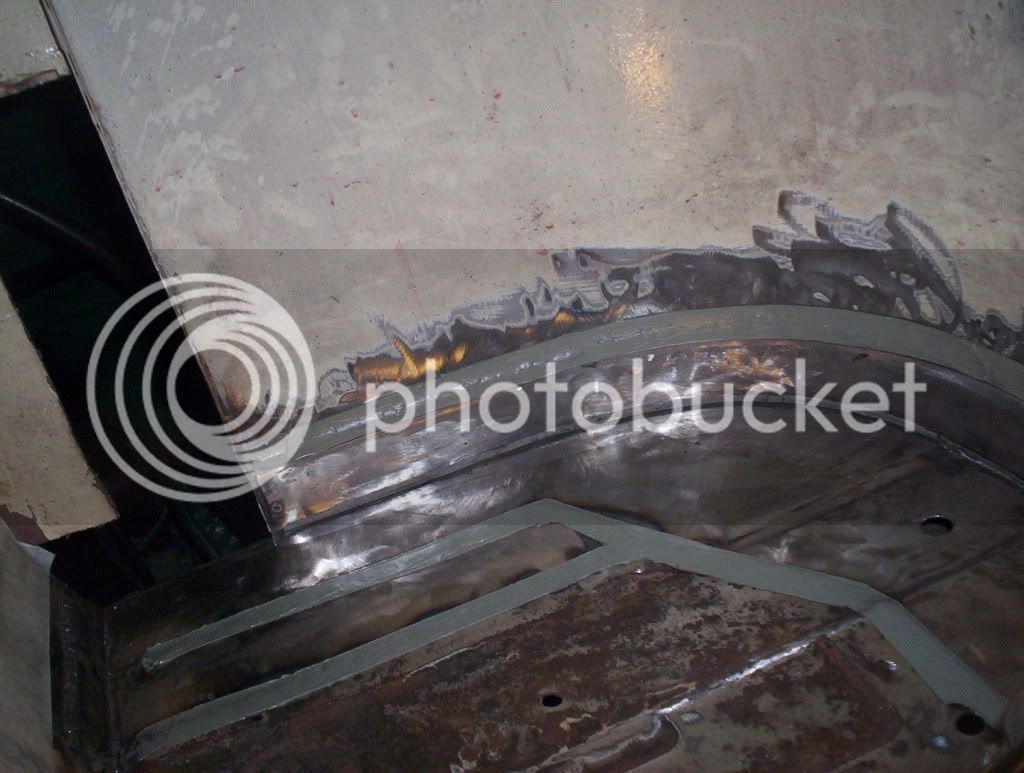
I've mentioned these holes before, above my rear lights .. no other evidence of reversing lights on the bus .. maybe it had reflectors? .. not seen these type holes before ( only ones with the cut out for the reversing lights)

100_6128.jpg


.. anyway .. Im welding them up!

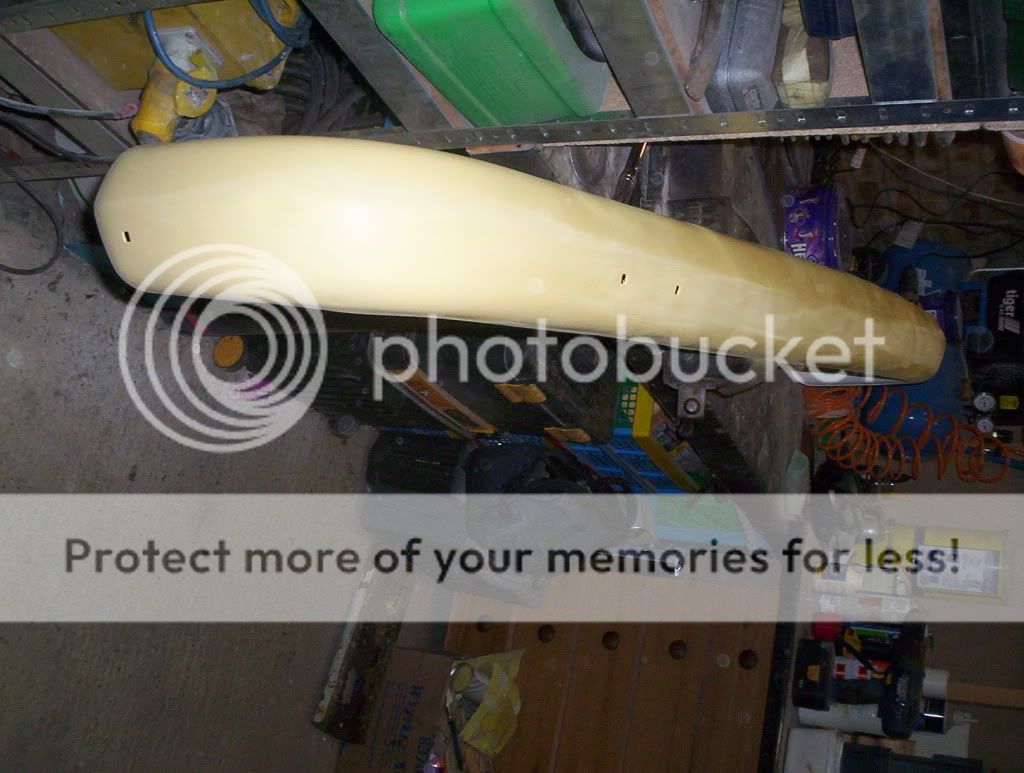
Decided to bare metal the engine lid ... Christ! that took some doing .. glad im not doing the full bus .. The light blue top coat seemed completely resistant to nitromores!

anyway its all off now..

welded up the 10! holes where an array of number plates have been fitted!

100_6140.jpg


The engine lid is not original to the bus as it is neptune blue underneath .. However, the small amount of filler you can see on the bulge and bottom corner is filling 2 small dents .. but the filler is really difficult to sand, and was UNDERNEATH the neptune blue .. so unless is was completely stripped and repainted neptune blue along time ago ..its factory filler! ;)

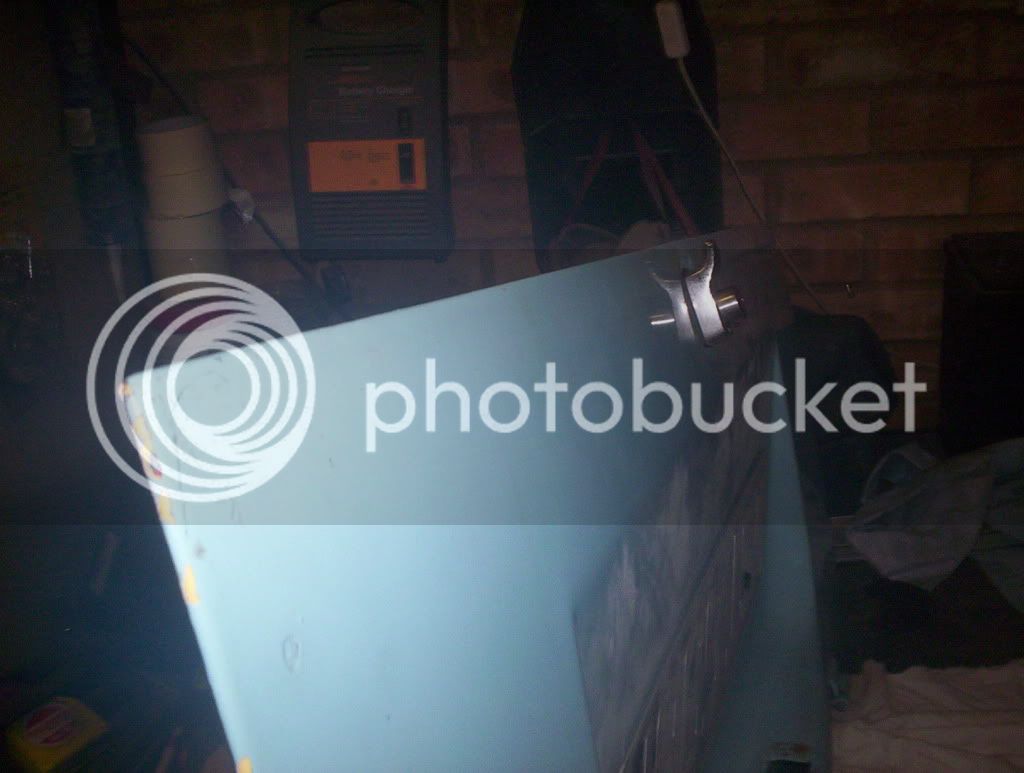
Just 2 small holes in the lower left corner but only tiny .. will weld up

... and move a bit further around the bus ..

Hilly
 
Hat off to you Sir, good work and will pay off for that ace bus :mrgreen:
 

Latest posts

Top