Hillys 70 Devon .. the resto starts .. soon

Early Bay Forum

Help Support Early Bay Forum:

This site may earn a commission from merchant affiliate links, including eBay, Amazon, and others.
Ok .. so I have missed some photo's ..

But my bus passed its mot this afternoon with no advisories! :D

I'll post the inbetween pics asap .. I have just been spending every spare minute on it to get it done for vanfest ...

Hilly
 
Hi Hilly,

Good news about the MOT and nice Bus!

Ref your quote:
At this point I would like to point out that this is my first real attempt at this sort of thing .. so any constructive critisism will be taken well!

Please don't think I am being rude as I am in the exact same boat as you and currently undertaking my first resto too and also learning as I go and taking advice and feedback from all sources.... therefore I am no expert (far from it) so do tell me to mind my own business if you please - but I was just gonna ask if you put any drain holes in the bottom of your repairs to the bottom of the sliding door, as I see that you made your own inner panel and in the pictures it looked solid all the way across?
It's just that the original or pattern repair panels of the inner door bottom have drain holes all along the lower edge and as you made such a good job of repairing it I'd hate for it to rot out again because condensation/water was trapped in there with no where to go?

.... just a thought.

Keep up the good work and keep the pictures coming!

Cheers

Dan
 
.. Its hard to keep on top of your bus and on the thread too! ..

But heres a small update ..

Didn't do much after the last work .. kinda stalled a bit, but the bus was running , i was using it and everything seemed good! .. make hay while the sun shines and all that ..

.. but now its cold .. so i built some shelter to work on my bus under ..

100_5863.jpg


100_5864.jpg


I have a small amount of chassis rust near the beam so decided the beam would come off and be cleaned and get some adjusters fitted .. the rust sorted on the chassis and it can then go back for a long while .. maybe i will do the front inner and outer too now its stripped ..

So i took my beam of with my finger crossed, wondering what i would find .. ( english bus and all that! ) .. but i was quite pleased ..

100_5869.jpg


100_5871.jpg


100_5874.jpg


.. Im no expert but it doesn't look too bad to me .. just the bit of rust i took it off for and thats it ..

Beam looks good too ... just a small amount of rust through on the top of one of the arms for the bump stop .. but i will reserve judgement till all the grease and underseal is off!

100_5868.jpg


.. so thats the first time i have removed a beam and it was quite easy ... the bolts came straight out ( must say i was expecting bigger!) and the worst bit was breaking the beam away from the underseal ... but it only took about 2hrs in total ..

I'll try and keep up with the thread !!!

Hilly

PS thanks camperdan for the tip on the door .. I hadn't done it but will resolve the issue soon!
 
.. ok .. a bit more ..

So the beam wasn't as good as i thought .. im picking one up next friday though ..

100_5881.jpg


This is the worse of the rot .. i know its kinda fixable, but with that and the tosion leaves been cracked too, i thought i would just change it ..

Cleared everything from the front of the chassis to clean and paint .. thought i'd do it all while it was up in the air ..

Brake master cylinder got some kitchen attention and some new paint .

100_5884.jpg


Decided to cut the chassis outrigger off on the drivers side .. it was repairable but required work at both ends and the middle and i had another in the garage anyway ..

heres before removal with a previous repair on top ..

100_5880.jpg


Cut away and left as much of the accelerator post in place ..

100_5891.jpg


The chassis leg was shaped and cut to fit ..

100_5890.jpg


Fit and finished off to match original shape ..

100_5899.jpg


.. er sorry .. too many pics for one job!

.. I actually bought some front chassis cuts in primer in real good nick .. but it looks like i may not need these now if anyone is interested .. i will stick them in the ads when im sure if no one asks before ..

looks like i aint done much but i have been stripping the beam and cleaning everything up for refit .. that seems to take forever ..


otherside next ..

Hilly
 
decided against using the front chassis clip i bought as the amount to replace didn't warrant it ..

tried to replicate the layers at the chassis joint as much as possible, hence taking longer ..

New pieces let in and built up to match original

101_5908.jpg


101_5909.jpg


101_5912.jpg


can't find my completed photo of this section ... but it is now done ..

Cut off the front bottom panel to replace inner front ... usual 40yo patches ..

101_5914.jpg


gonna replace the full inner while its off rather than repair ..

How much filler can you get in a panel?

101_5915.jpg


there must be a real art to reproducing a panel out of filler with no actual metal behind it!

Had to fabficate some repair sections for the bottom inner corner behind the indicators that always rots out ..

101_5918.jpg


and fitted..

101_5920.jpg


Just on with the other side now and then the front can go back on ...

.. and ordered my red9 kit too!!

.. oh and er .. built a trolley for the welder to hold the big bottle too ..

Hilly
 
Nice work, love the rat look gloves :wink: 8)
 
Doorpainted.jpg


the door looks awesome dude, i have been toying with a nice grpahic all the way round the lower part of the van, somethingy surfy hehe,

did you use vinyl or is it painted on

top job with the repairs btw :)
 
pinheaduk said:
Doorpainted.jpg


the door looks awesome dude, i have been toying with a nice grpahic all the way round the lower part of the van, somethingy surfy hehe,

did you use vinyl or is it painted on

top job with the repairs btw :)

Cheers fella ...

Just drawn free hand onto some paper and masked off and sprayed with rattle can .

Hopefully painting bus this year so it will be gone .

Although I had considered continuing itvround the bus just to be different ..

Hilly
 
Bit more done ..

A post local repairs .. chassis front looking remarkably good for uk age ..

100_5941.jpg


New inner front quite a good fit actually ..

Some creases in the rear of the panel but they fall on the chassis ends and can't be seen ..

100_5942.jpg


100_5943.jpg


100_5944.jpg


Those welding clamps from frost are ace ..

100_5948.jpg


Tacked to try and stop it warping .. and left paint close to weld area so i could see if it was getting too hot ..

100_5950.jpg


then slowly welded between them .. warped a little but only locally so a skim of filler will be needed ..

100_5951.jpg


Why does it seem like some jobs just take ages!!!

I've done a bit more than this but not taken pics yet ..

Hilly
 
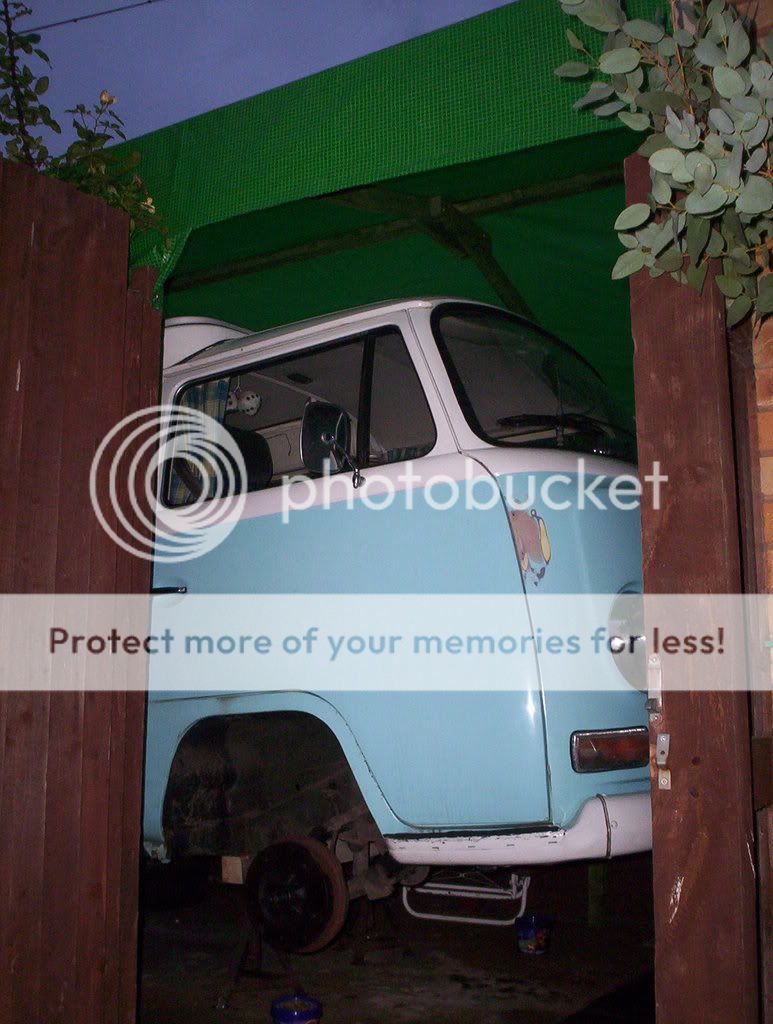
Ok .. I aint posted for a bit .. but i tried last week and was overcome by alcohol ..

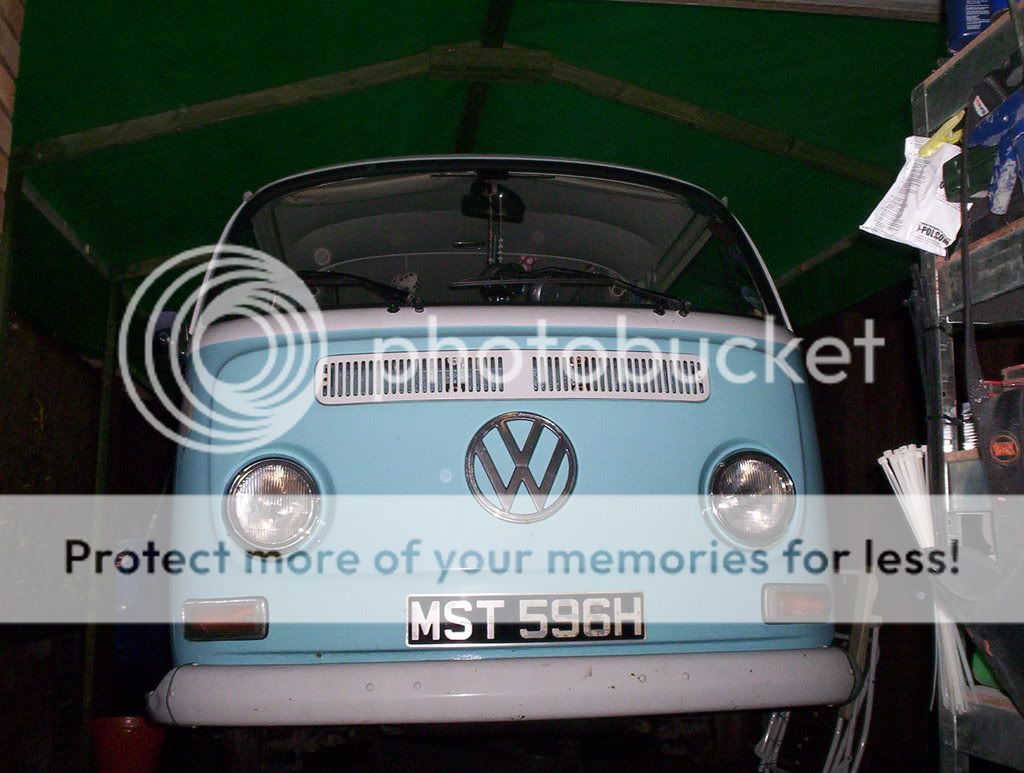
Done a bit since last posted , but not as much as I would like .. Looks like the beetle and tent for the rest of the shows this year ..

Anyway ..

Front on, skimmed and tidied .. Removed drivers side dog leg, wheel tub (or 90% of ..) and repairs made to rear closing panel ..

101_5975.jpg


frost clips doing a fine job again ..

I wanted to keep the bulge but the cut i had was also rotten there, but if you cut away under the seat area theres another just waiting to be flipped ..!

101_5986.jpg


Ok .. a little patchy but the desired effect .. Also lots of B pillar repairs and new outer .. ( I'll not bore you with those pics though ..

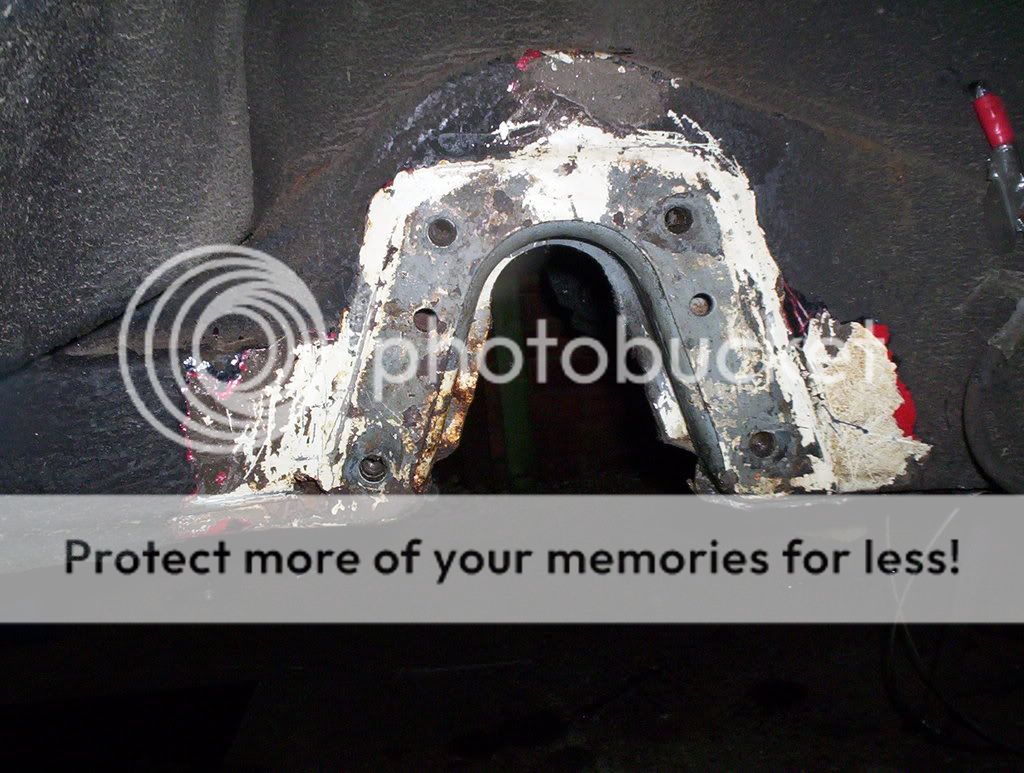
Now for the front arch ... Yippee another quality repro fit ..

101_5988.jpg


Wouldn't sit where i wanted with the old jacking technique!

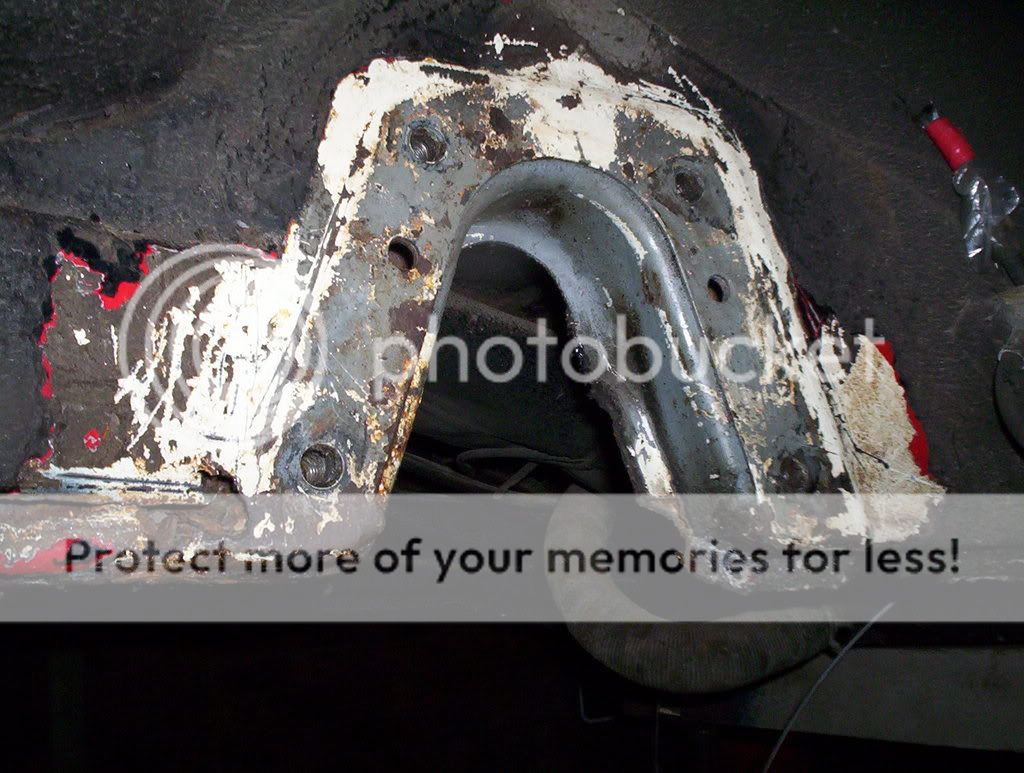
Have be a bit more persuasive and chop the bastard in half a remove some ..

101_5992.jpg


A brace bar to keep it in place too as theres no tub in ..

101_6000.jpg


thats better .. not perfect .. but better!

New tub goes in .. ( it was solid before but patched, and I wanted it in one piece..)

101_6004.jpg


Cut the new one in on the seam line and joddled it as they are slightly different from the originals ..

101_6003.jpg


New floor panel removing all patches ..

Tacked in ..

100_6009.jpg


and tidied up ..

100_6014.jpg


And a seam where there should be one is always important!

100_6017.jpg


New tub on other side ( again solid but removed patches .. )

100_6018.jpg


and floor done and so forth ..

I'll not put them pics up cos they are just the same in reverse ..

The arch was new but i just tickled a piece out near the bumper end cos it was sticking out too much before ..

100_6022.jpg


..

Thats the front end nearly done .. Beam is built up with Red9 and just itching to go back on ..

with all new ball joints/ beam/ brakepipes / flexi's etc ..

:)

Let us know what you think guys ..

Cheers

Hilly
 
Looking good dude, nice tidy work!! You've done plenty since I was round. You eventually got the plates on the Beetle then?

Did you end up repairing you accelerator bar which runs from pedal linkage through chassis rails to throttle cable? Mines severely worn and is reducing the amount my carbs open :?
 
Cheers Andy ..

I did mate .. I made a new one from scratch ..

Made one for one of the guys on here too cos you can't buy them ..

Im sure I have enough bit left to make another if you want one .. I'll dig in the garage tomorrow if you want ..
;)
Hilly
 
Cheers for that bar fella, throttle is much more responsive now. If I had a new bush to put in the bracket it would be like new but it will do a job for the time being :mrgreen:

I only had cheap drill bits to drill out that end section and ended up snapping 4, the last of which sent me to A&E after it jumped into my thumb!! :roll: I haven't got round to using your taps yet, will prob end up doing it on an unsuspecting French campsite in which case I'll send em back with a postcard!

Good luck with your van, I suspect you'll be deciding on paint colours by the time I get back ;)

Cheers again for your help mate 8)
 
Right .. found a bit of go this weekend and did some of those jobs I had been saving for a low point .. not really time to do these but they made me feel much better about the resto ...

Ok .. cut a long story short .. on my own, bust 2 ribs snowboarding last week, so not the most agile .. had to put a heavy beam half built on ..

100_6052.jpg


had some vertical jigs made up to stand the beam in whilst building up ..

2 trolley jacks and voila!

100_6053.jpg


.. went on piss easy ..

.. does anyone fit the spacer shims as shown in the haynes manual? I hadn't seen them before ..

100_6057.jpg


Started other stuff ..

recon or replaced : steering box , Master cylinder , antiroll bar , ball joints , Red9 kit , backing plates, accelerator linkage, brake pipes ..

100_6060.jpg


100_6062.jpg


.. Had a good day .. didn't wanna stop!

Hilly
 
Good job that man, I was looking forward to seeing this kit go on!! Hope you don't need an M8 tap anytime soon :oops:

Bad news about the ribs, that'll teach you for going boarding in August - wrong time of year ;) Hope they're not sore still. My sister broke hers a few years ago when I trying to teach her the pleasures of off-piste boarding!!
 

Latest posts

Top