Huey - RHD Single Cab

Early Bay Forum

Help Support Early Bay Forum:

This site may earn a commission from merchant affiliate links, including eBay, Amazon, and others.
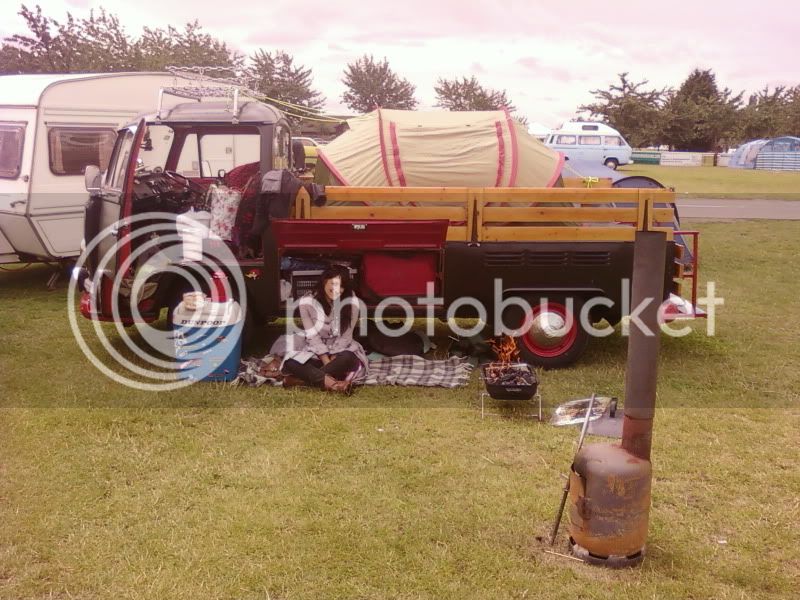
Had a great time at vee4all
Photo0873.jpg

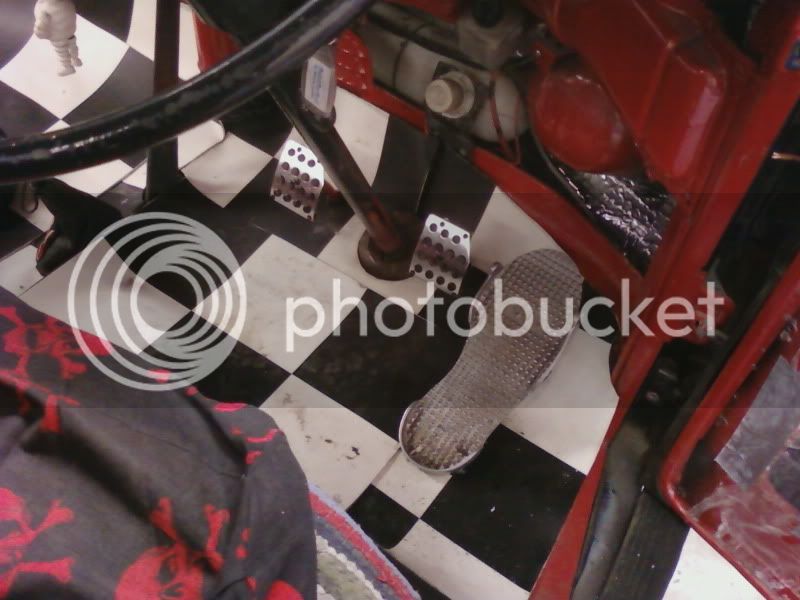
Got some chav bling pedals
Photo0884.jpg

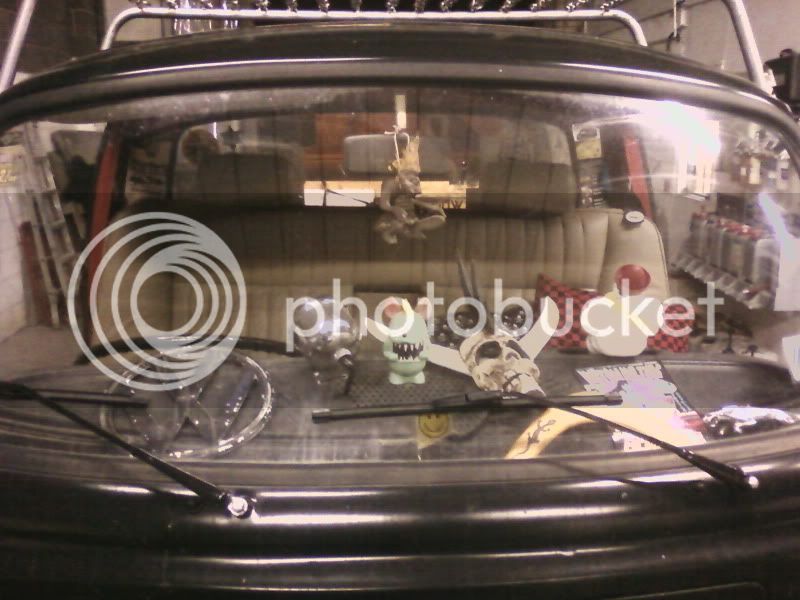
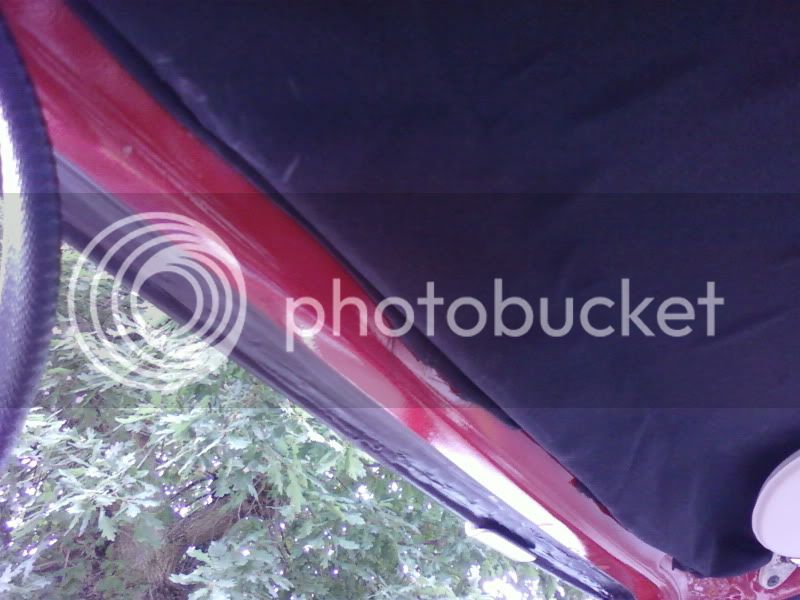
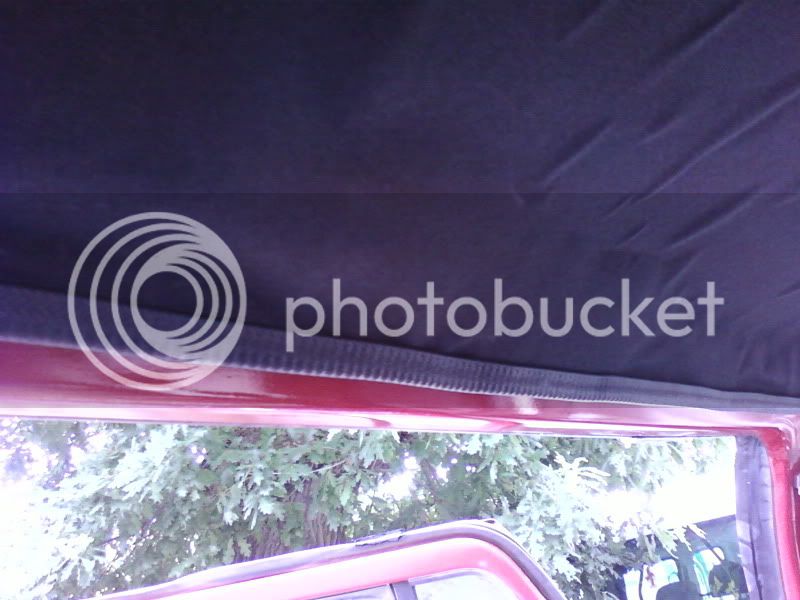
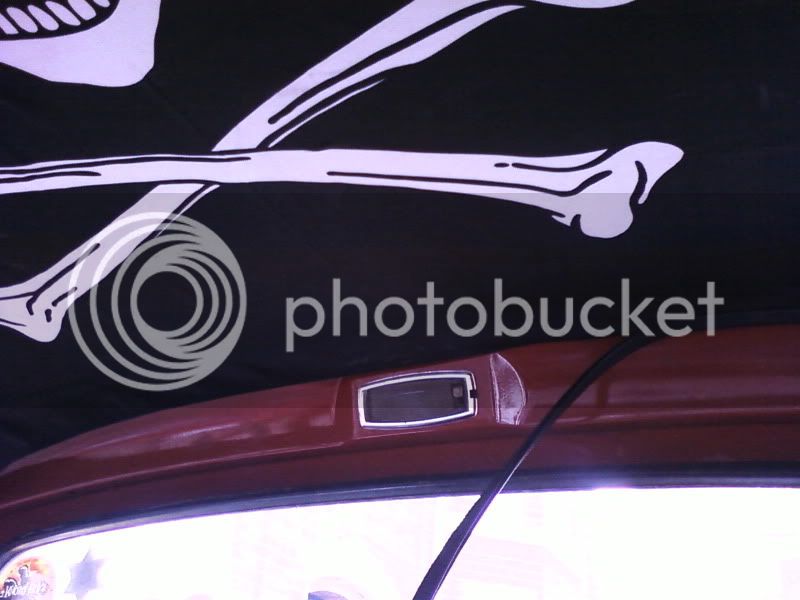
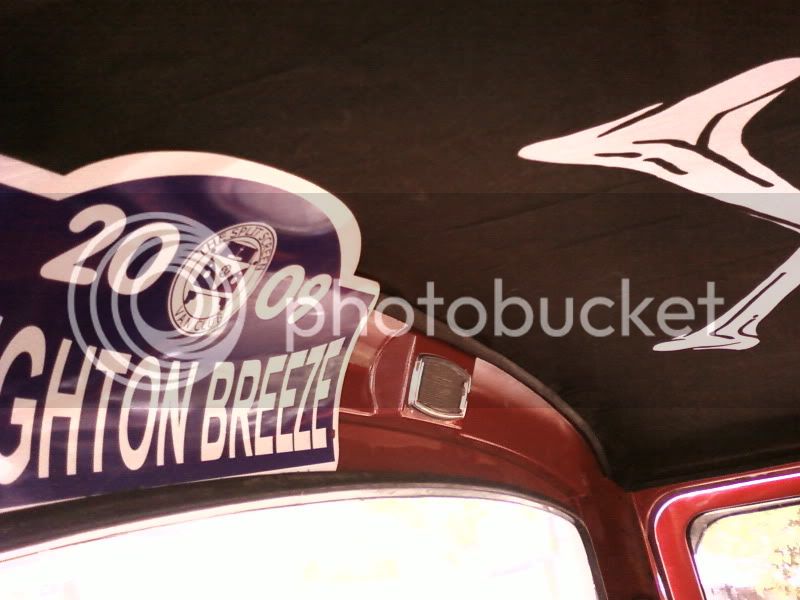
Finally finished my headliner edges
Photo0886.jpg

Photo0887.jpg

Photo0888.jpg

Photo0890.jpg


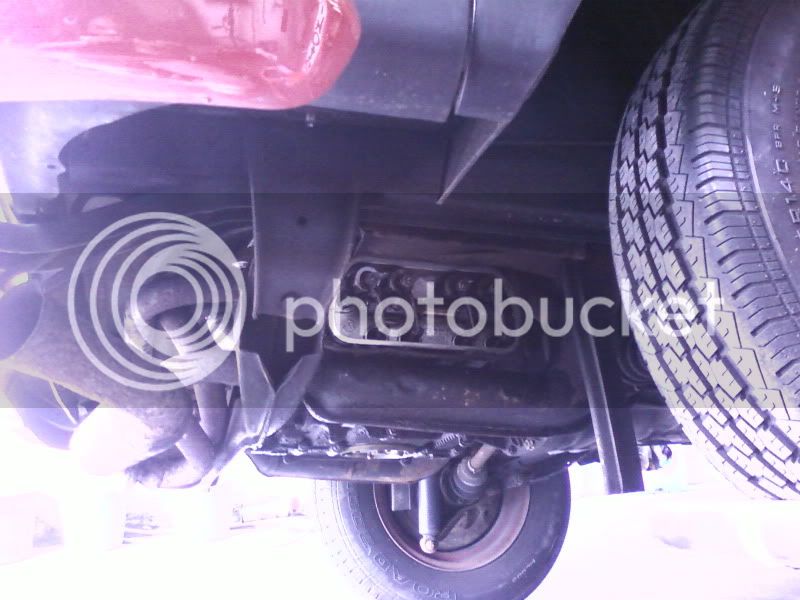
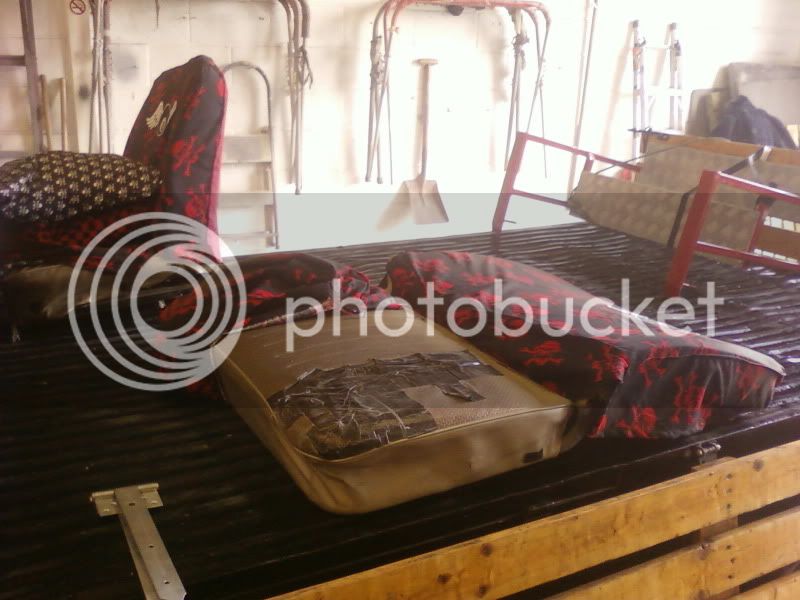
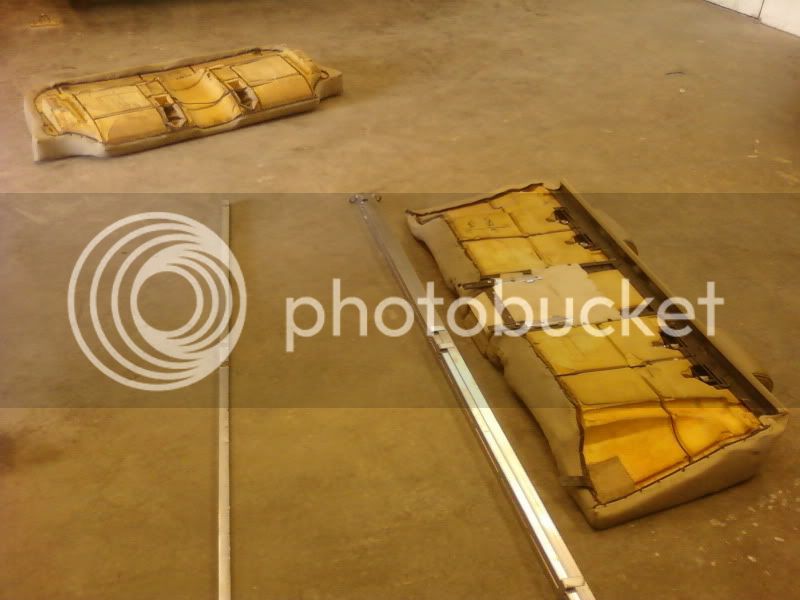
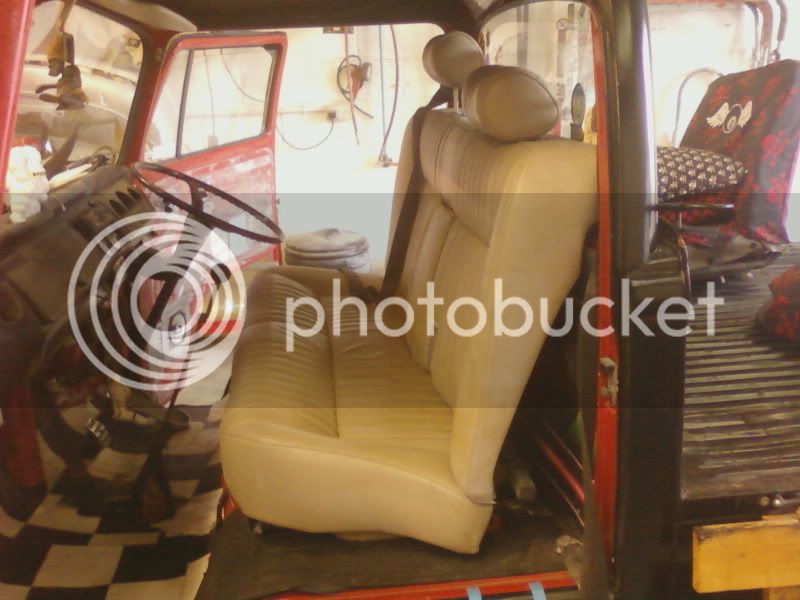
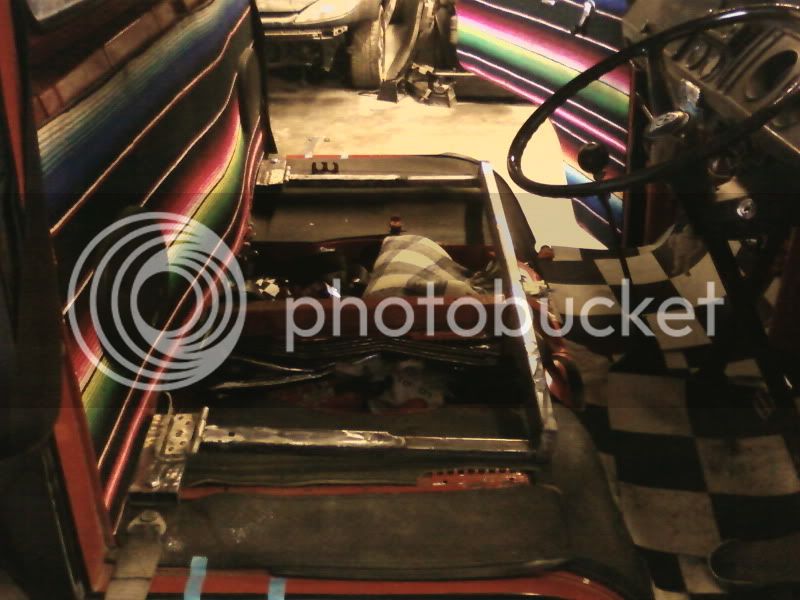
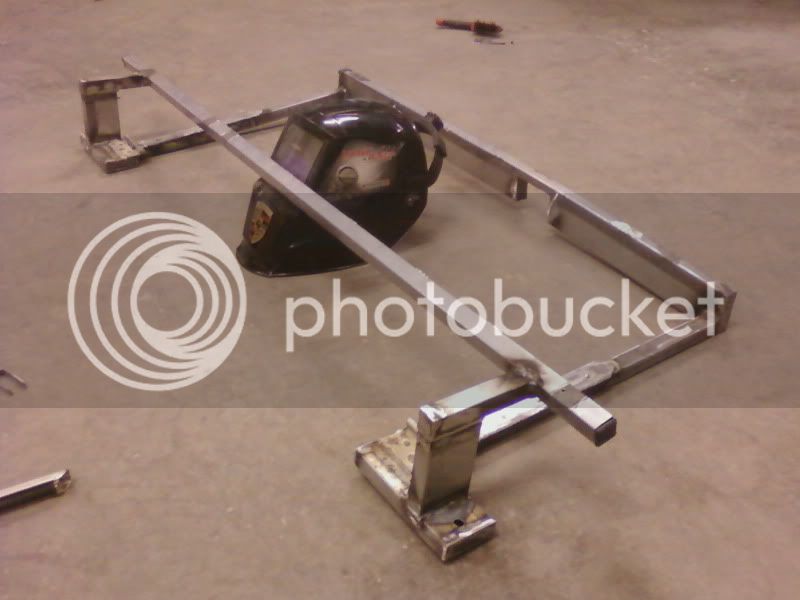
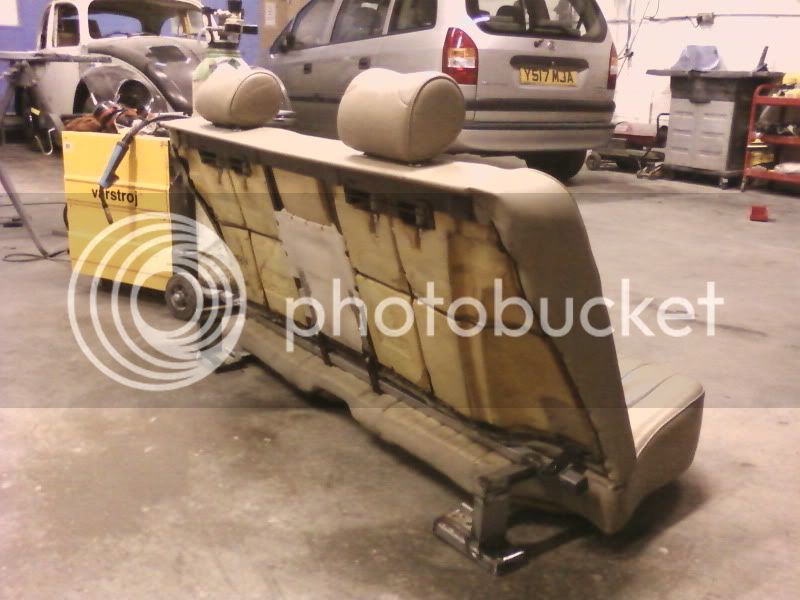
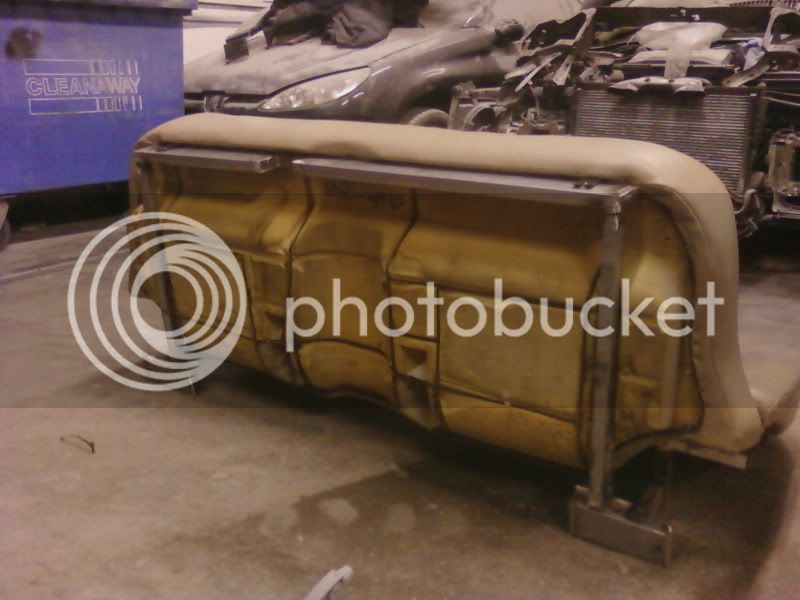
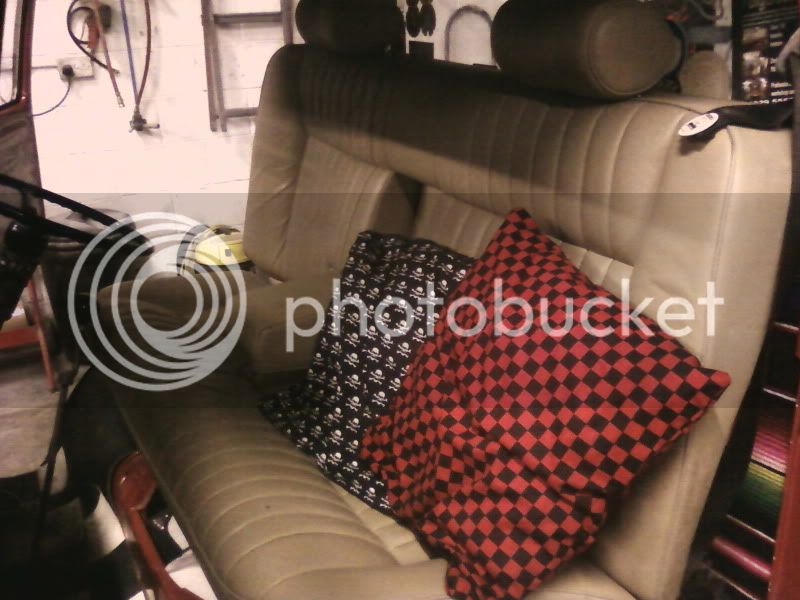
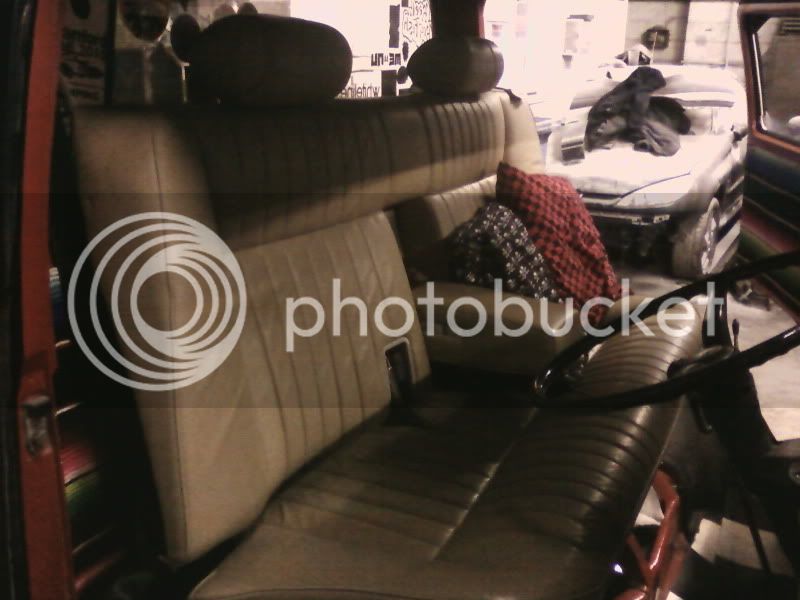
Did my pre mot service and went to the autojumble, hopefully sourced a new front seat a bit like this one...
Photo0892.jpg

Should be a lot more comfortable than my knackered drivers seat!
 
Nice pic 8)

Like what you have done to the headliner ;)

What's the seat from??
 
A jag apparently, the one I should be getting has the gaps for the seat belts to go through so its a bit better suited for my van.
:D
 
Failed the MOT today :(

Only on the handbrake not working, think the cables are seized because I never use it, always leave it in gear! :lol:
 
andewilson said:
your van is evolving well mate. that what its all about. wanted to go to vee4all. was it any good?

Yeah it was good, just a shame the changeable weather put people off a bit. Also I think they struggle to get the hot rodders in as its the weekend straight after the americana show.

outoftheblueintothe said:
how does that bench seat fasten in? (Sorry off topic slightly)

I think its sitting on some box section, so I'll have to fab something up to get it to bolt in. Shouldn't be too hard though. Looking forward to getting it in and having some comfort!
 
ProfessorWheeto said:
Well the cables were seized solid, luckily not in the metal tube on the chassis just the rear section.

Good result dude 8)
 
Indeed! I was rather lucky!

Had the day to myself and an empty (ish!) workshop so had a day playing with the van!
Photo0990.jpg


Prepped and primed my wheels and bows
Photo0987.jpg

Photo0988.jpg


Once they flashed off I painted them in direct black which I had left over from painting the body.
Photo0991.jpg


Had some spare so mixed it 4:1 and used it as extra build on the wheels
Photo0992.jpg


It's at this point I noticed although the same size and width one is solid, and one its a crowsfoot type, and they have different offsets, so either I've got some cutting the welding to do or I'm looking for a matching wheel and will have a spare!

I then set about doing mechanical stuff, most of which is long overdue.
Reset the brakes now they have bedded back in after changing the handbrake cables. Replaced all my fuel line and filter, changed the plugs, reset the points and timing, gave it an oil change and cleaned the air filter, tweeked the throttle cable and reset the valve gaps (which I have done since fitting the engine :oops: )
Photo0993.jpg


And it seems to have cured the problem of the van idling its nuts off at 1700rpm when hot
Photo0997.jpg
 
Well got my new seat, just need to make a framework and bang it in.
Also noticed my backbox was looking a bit worse for wear...
Photo1056.jpg


So bought some bits to make my next one..
Photo1053-1.jpg

Photo1054.jpg
 
Done the exhaust today, we haven't got a tig so had to run it round to lincs rads first to get the tail pipe tigged on..
Photo1057.jpg


Had to cut the bolts off the old exhaust...
Photo1058.jpg


Turns out my old exhaust had no sound deadning left inside and the baffle had come loose...
Photo1059.jpg


New one looks a lot better!
Photo1060.jpg


Cut the flange off my old exhaust, cut and tacked on the mild steel 90 degree bend, had a couple of trial fits to get everything in place
Photo1061.jpg

Photo1063.jpg


All done, ready for masking off and some high temp paint on the bend.
Photo1064.jpg


And fitted, managed to get it just about straight with the bumper too
Photo1065.jpg


Painted, fitted and some nice new bolts
Photo1067.jpg


The glasspack had a raspy, raw note whereas this one has a mellower, bassier note but a nice scooby style growl when I give it the beans.

The lambo that turned up at the mechanics next door today still won the prize for nicest exhaust note though!
 
Brilliant job done brilliantly 8)

I know where I am going for my next exhaust ;)
 
:lol: And it was cheap too! Think it came to £64 for the backbox, tailpipe and bend and the bunged the TIG man a tenner for welding the tip on. The rest was just my time.

Annoyingly though, enrolled on my C&G level 2 tig course today after recieving a letter on monday, could have saved myself a tenner as I'll have access to the gear again!
 
Well not done much to the van recently as me and mrs have just moved into our first house :)

Managed to get some workshop time today though...

Its goodbye to the knackered old seats...
Photo1137.jpg


Here is the jag seat and what used to be a double bed
Photo1139.jpg


Trial fitted, the seat was fouling the middle bar that reenforces the spare wheel well
Photo1141.jpg


Made the framework and notched it to clear the reenforcer bar
Photo1143.jpg


Fitted hinges to allow the seat base to lift up to keep access to the spare wheel well, capped off all open ends
Photo1142.jpg


Drilled through the wheel tubs and bolted it up, the seat was then trial fitted again to make the section to support the seat back
Photo1144.jpg


And we ended up with this..
Photo1145.jpg

Photo1146.jpg


Fitted the seat to the bracket
Photo1147.jpg

Photo1148.jpg


And lifted it all in
Photo1149.jpg

Photo1150.jpg

Photo1151.jpg
 
That looks well thought out and also well conceived :D

Is it a bit high at the front or is it spot on??
 
Top