Introducing Doddy - My 71 Deluxe

Early Bay Forum

Help Support Early Bay Forum:

This site may earn a commission from merchant affiliate links, including eBay, Amazon, and others.
Well done fellow OCD buddy :lol: , You just cant leave it alone can you, bad as me :oops:

Looking good though, who pressed your ball joints in ? , will need mine doing ;)
 
rallye dale said:
Well done fellow OCD buddy :lol: , You just cant leave it alone can you, bad as me :oops:

Looking good though, who pressed your ball joints in ? , will need mine doing ;)

Yeah, I have a huge fear of putting it into a body shop and them just throwing buckets of filler at it. So plan now is to attempt to straighten it all as good as I can get it before giving to to someone. If nothing else it should keep the costs down... hopefully :p

Balljoints were done at a place in Manchester called Harvey Engineering (http://www.harveyengineering.co.uk/index.html), its a machine shop that we use in work. Just call in there and ask for Barry, they will probably do them while you wait if your paying cash 8) , They all know me as the VW geek but remember to tell them Mark from Coopers sent you. Or if you can get the trailing arms and balljoints to me I can probably get them done for nothing but not sure how quickly I can get there and problem is I've just quit my job and finish in two weeks :shock:
 
rallye dale said:
:shock: , take it youve got something already sorted

Will take them down when im ready, will be a few weeks yet, ta ;)

lol, yeah its all been thought out and wasnt just a spare of the moment decision.. More money for bits, more time off to fit them 8)
 
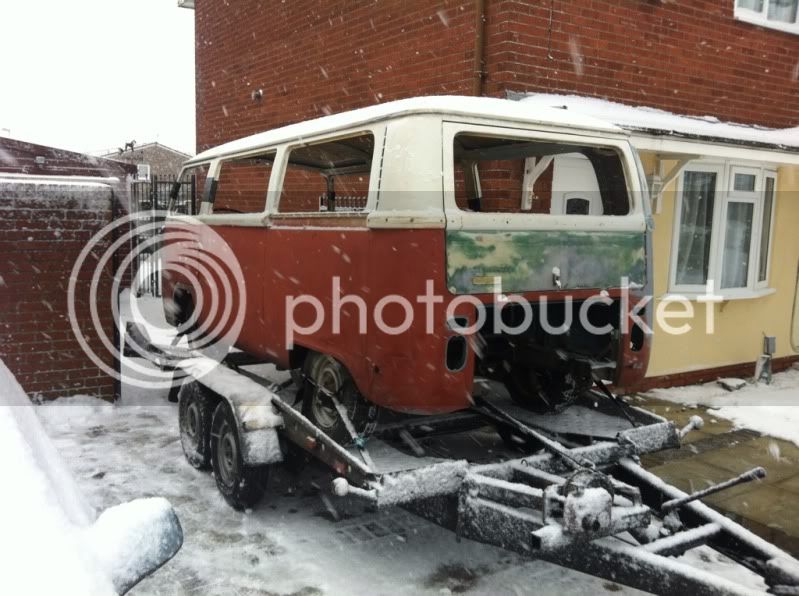
Its been a while since I updated on here, I recently changed jobs which has meant me working longer days so getting time for the van (and internet) has been a little hard but thankfully i've now started my four on four off shift pattern so hopefully things will move on a little quicker now.

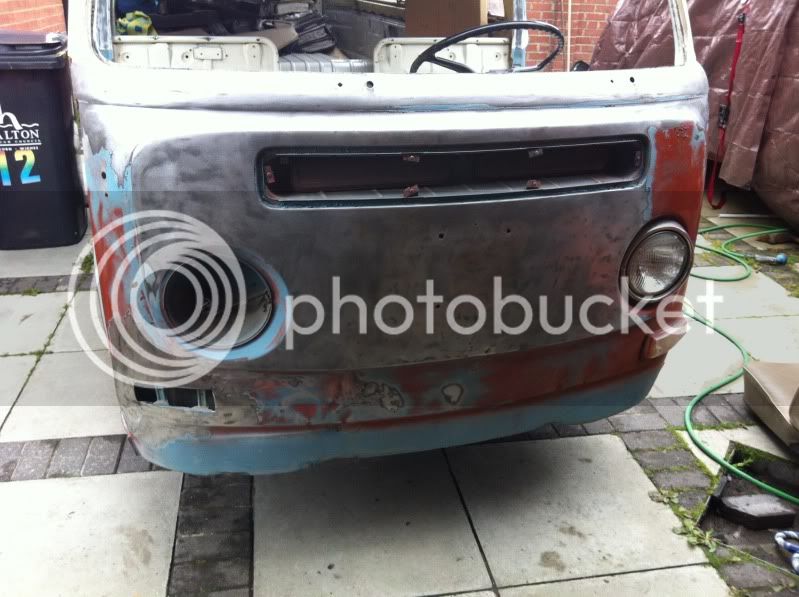
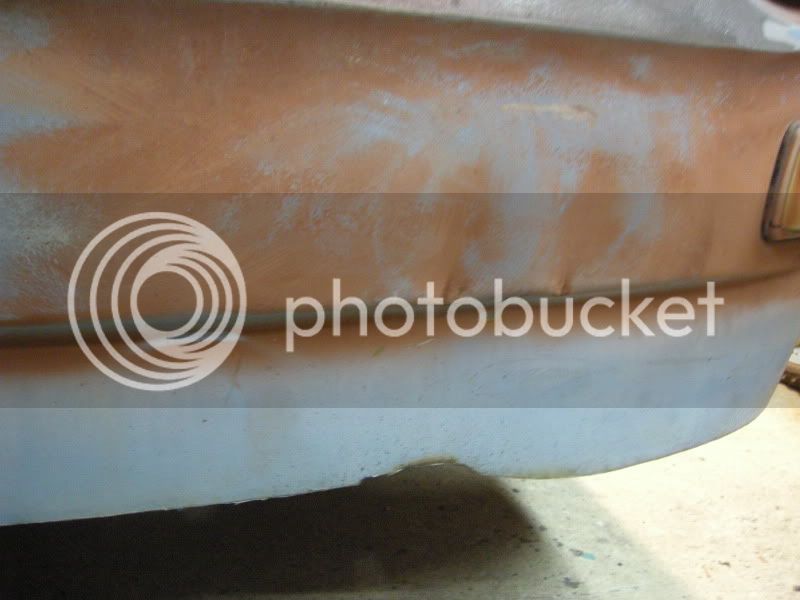
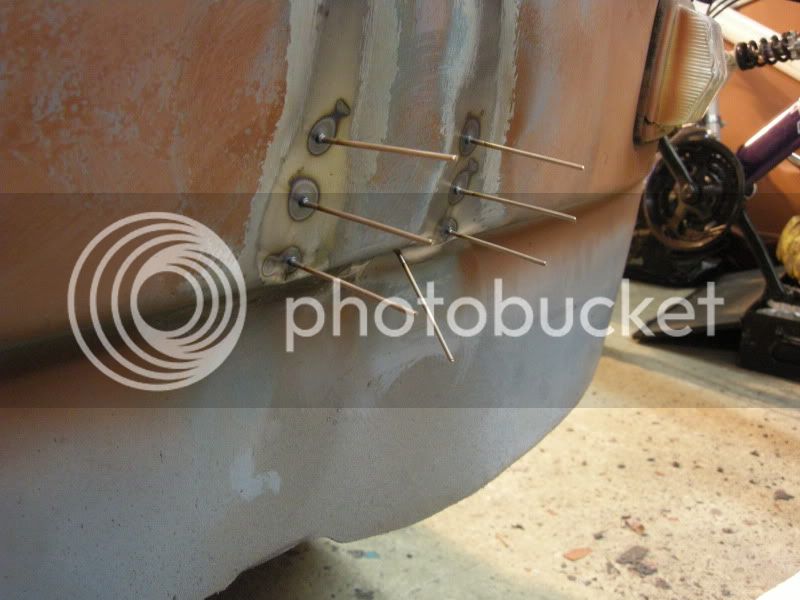
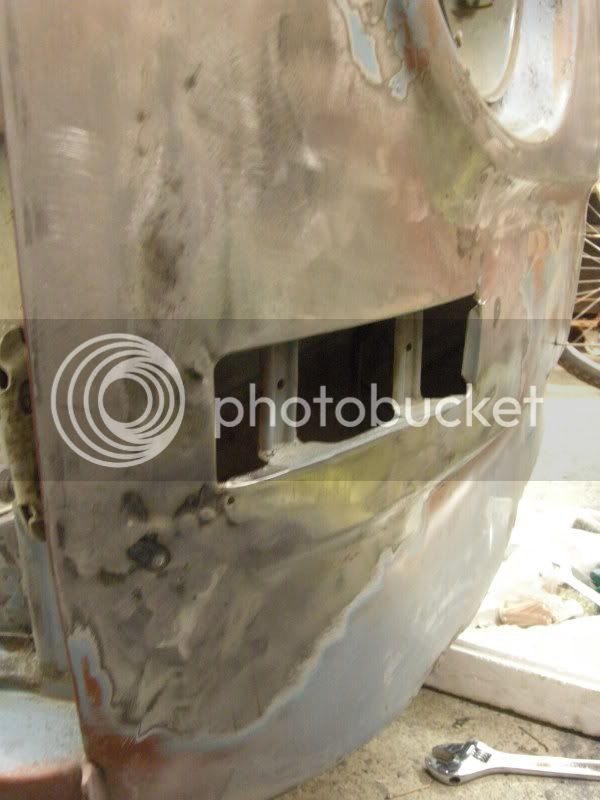
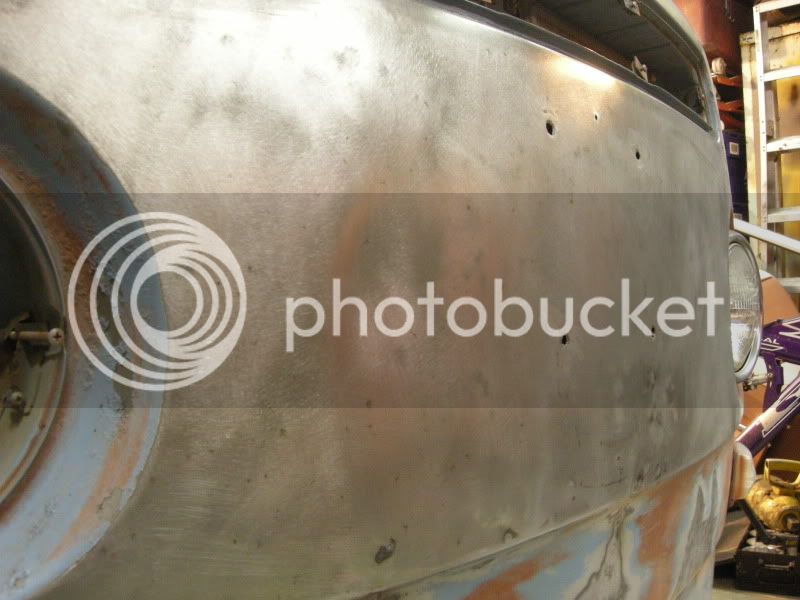
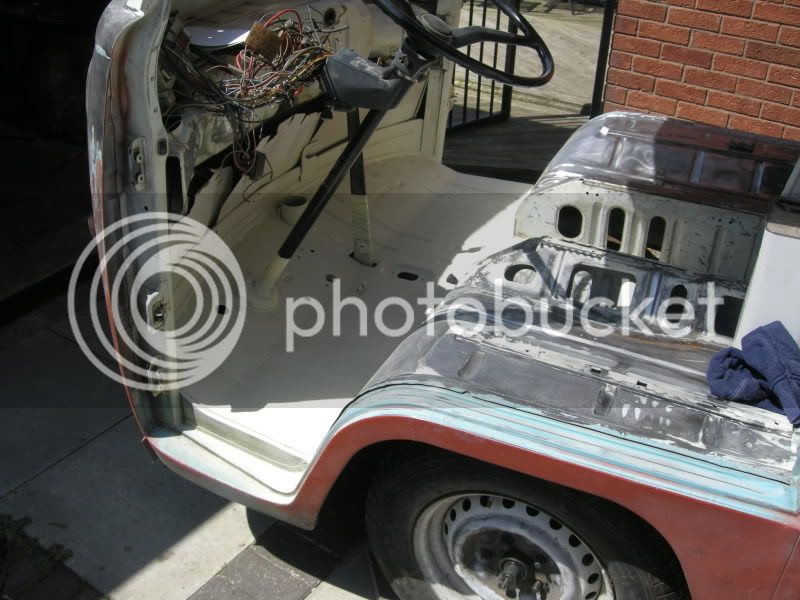
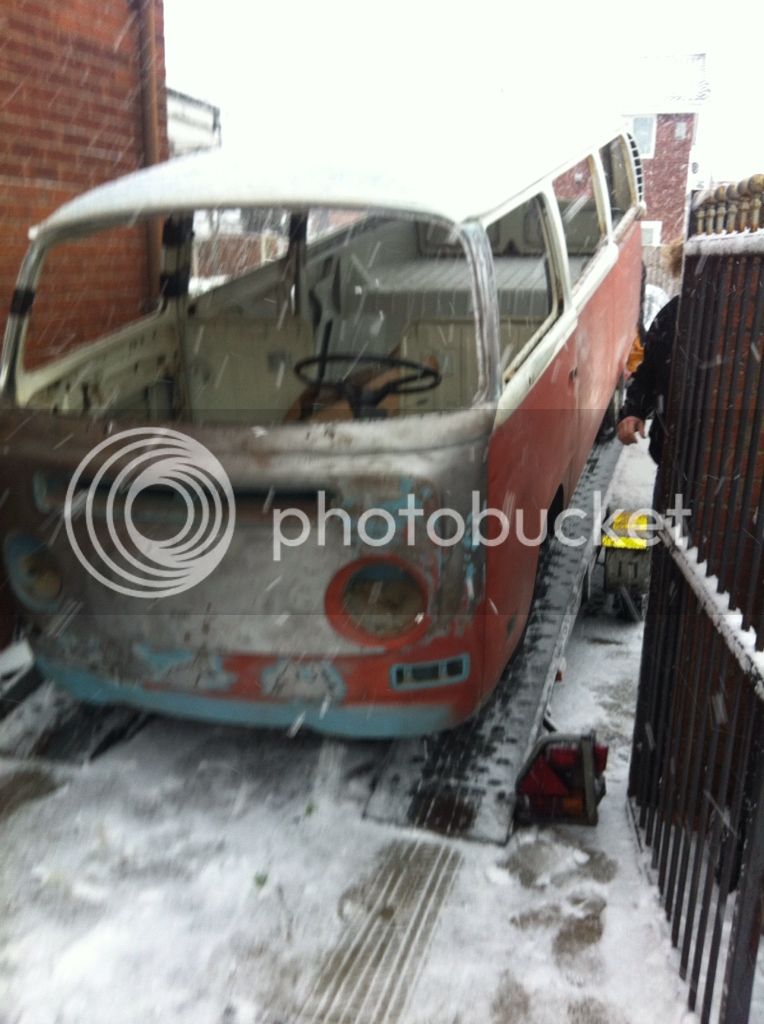
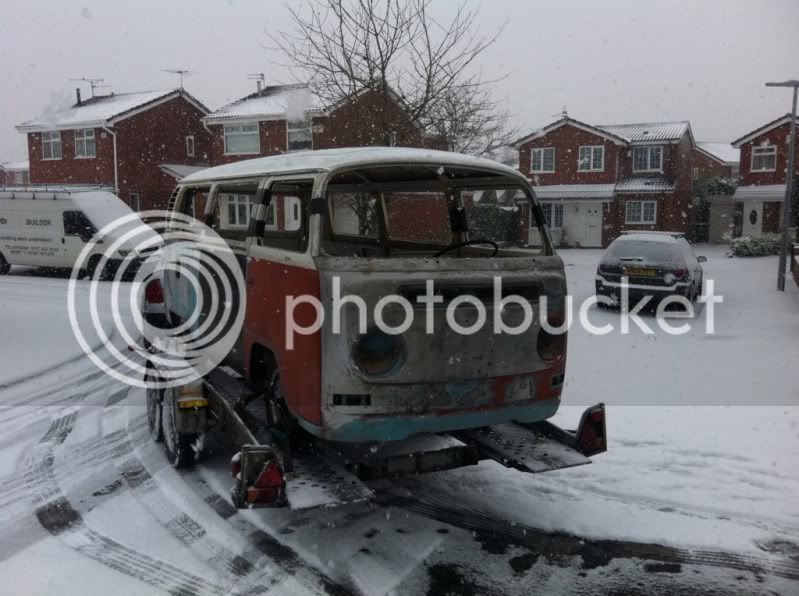
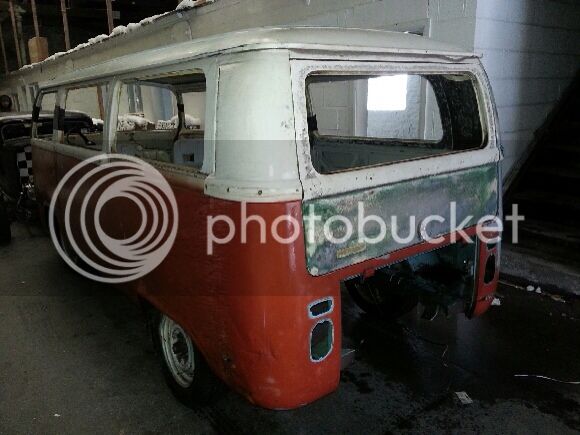
Anyway i'll let the photos do the talking, spent the last couple of days slowly pulling dents (and most of my hair!) from the front panel. Started with bare metalling most of the panel,

IMG_1091.jpg


IMG_1090.jpg


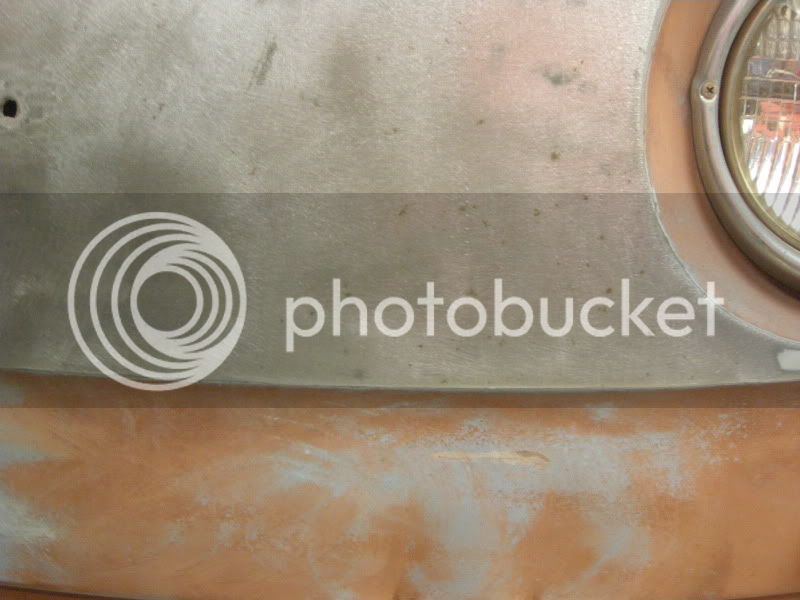
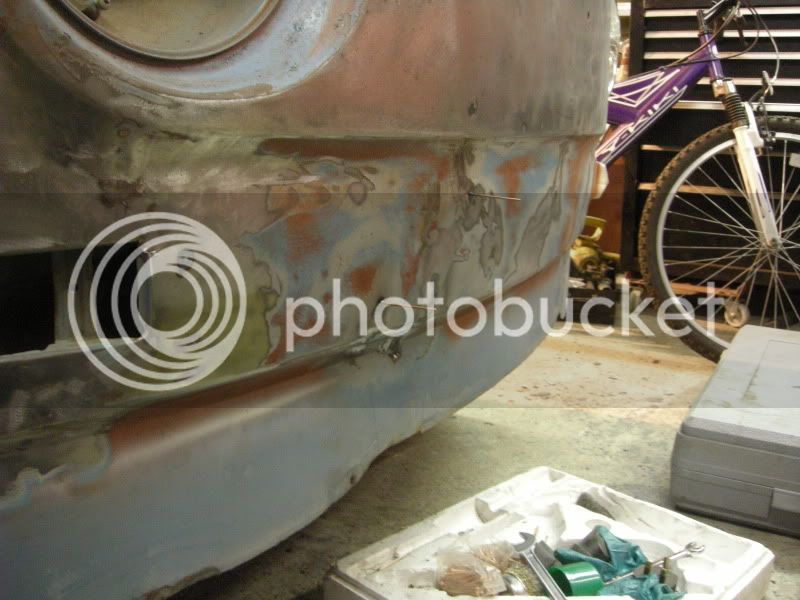
I'm glad I did strip the paint on the front as there was plenty of stone chip rust hiding away.

hard to see but its there..

DSCN4126.jpg


DSCN4125.jpg


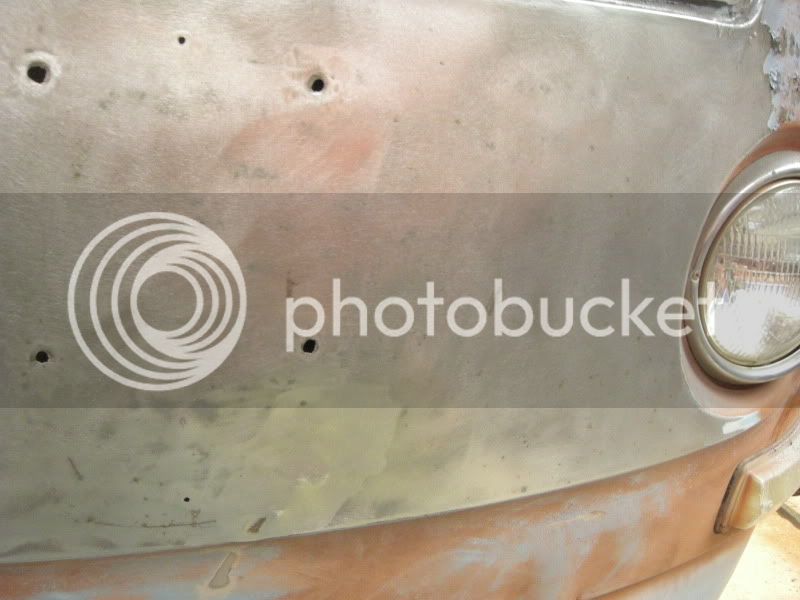
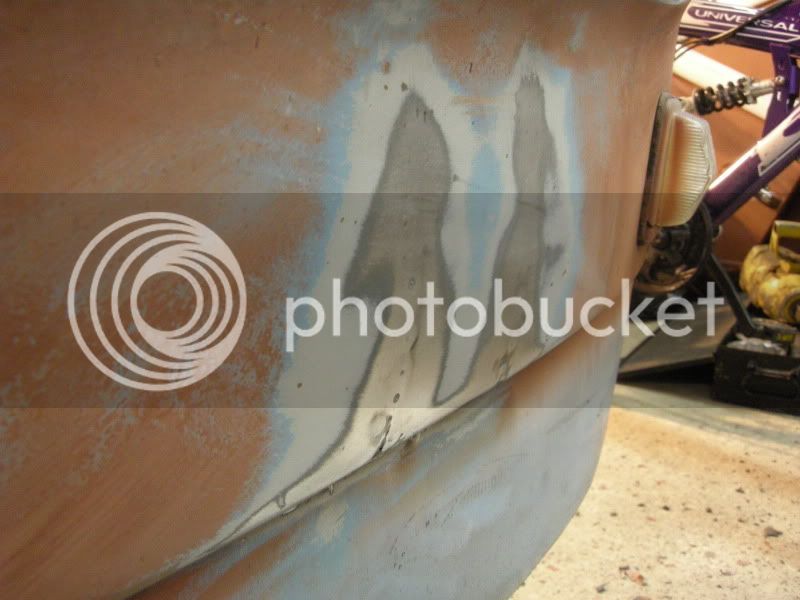
Lots of boring photos which dont really show whats going on.

DSCN4127.jpg


DSCN4134.jpg


DSCN4135.jpg


DSCN4143.jpg


Still plenty left to do but it gets depressing very quickly working on it.

DSCN4146.jpg


DSCN4147.jpg


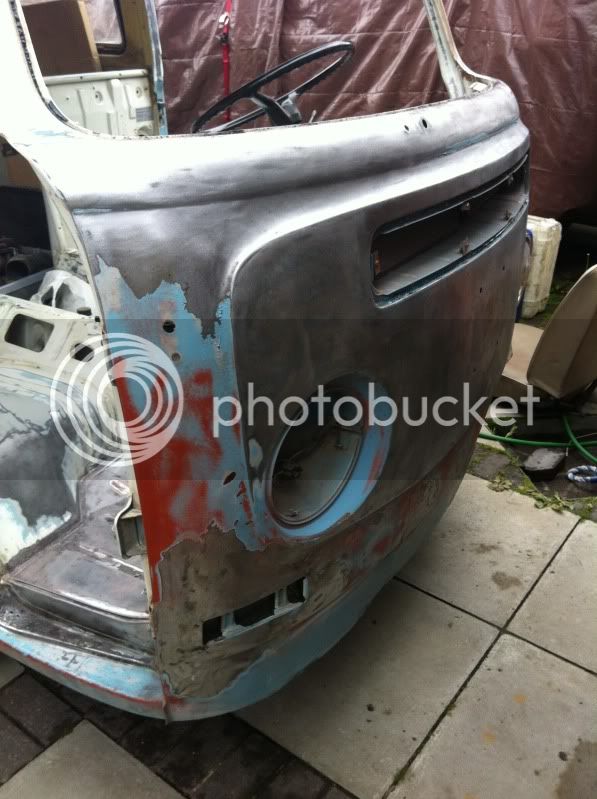
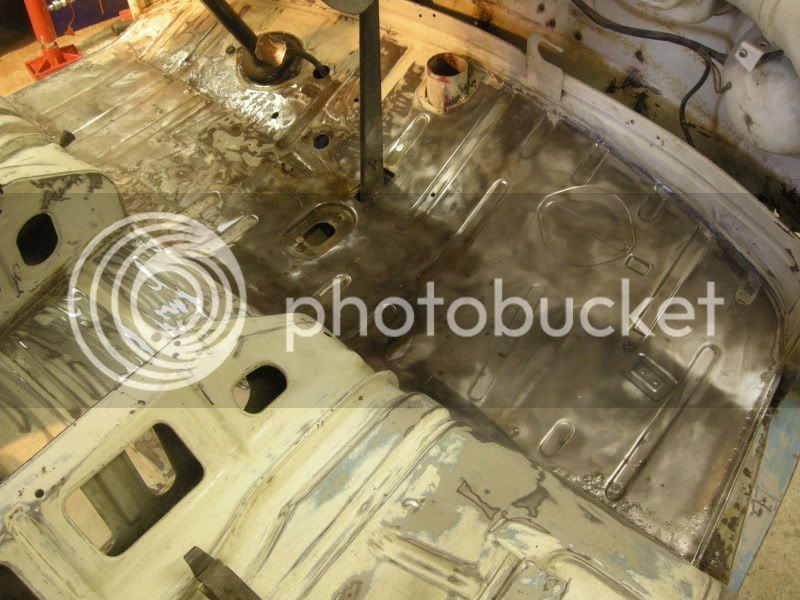
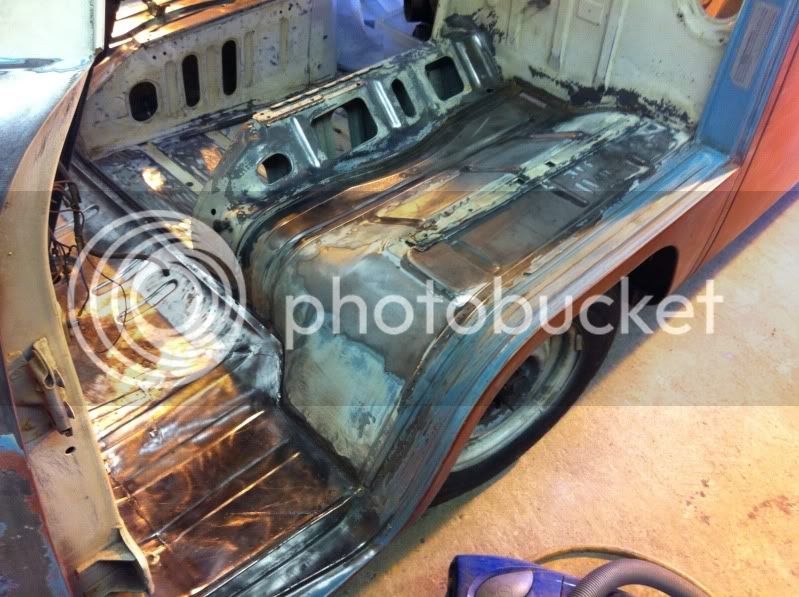
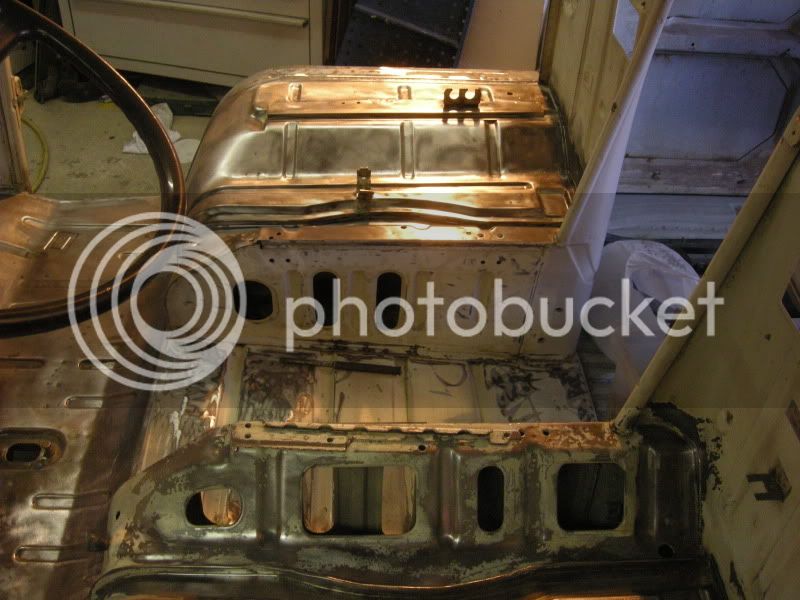
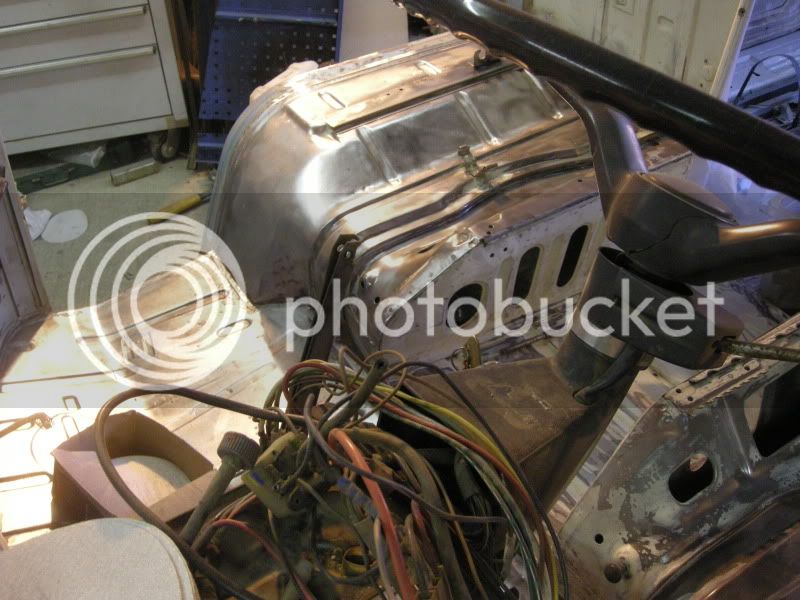
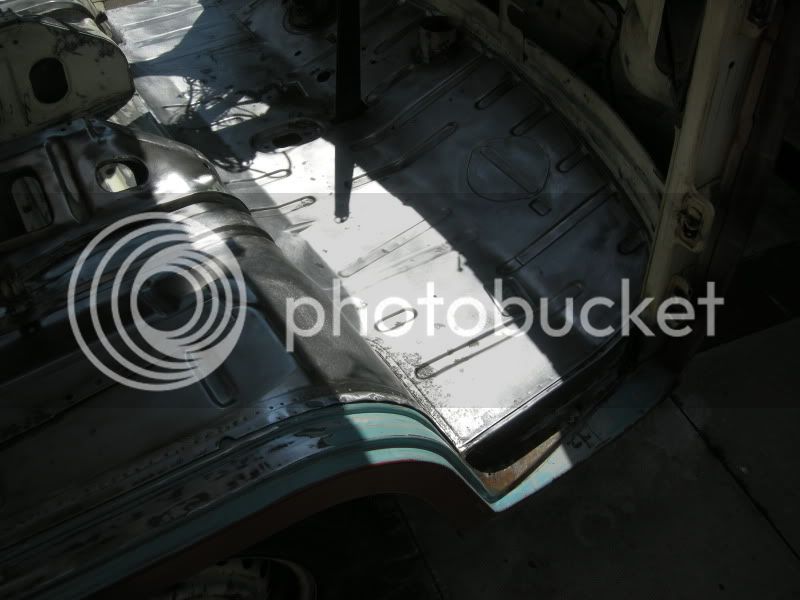
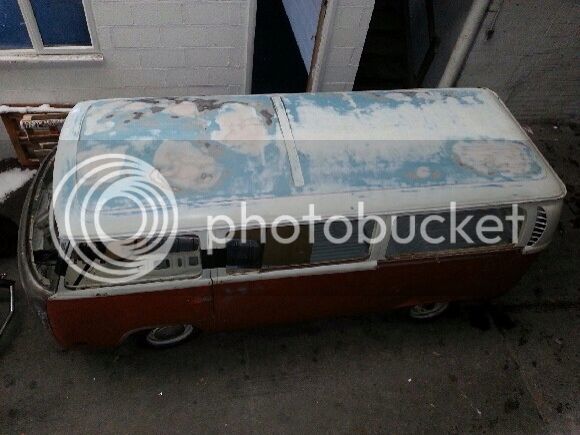
Also started on the cab, trying to get it all prepped and painted so I can get the dash back in and move on with something.

Probably a bit OTT bare metalling it all but someone had attacked it with a grinder when I had my back turned and taken bits down to bare metal so the only real answer was to carry on.
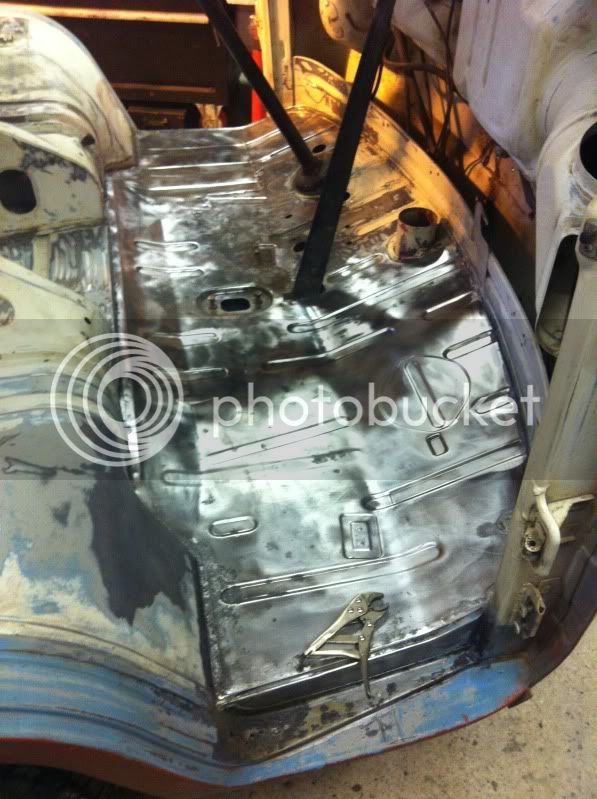
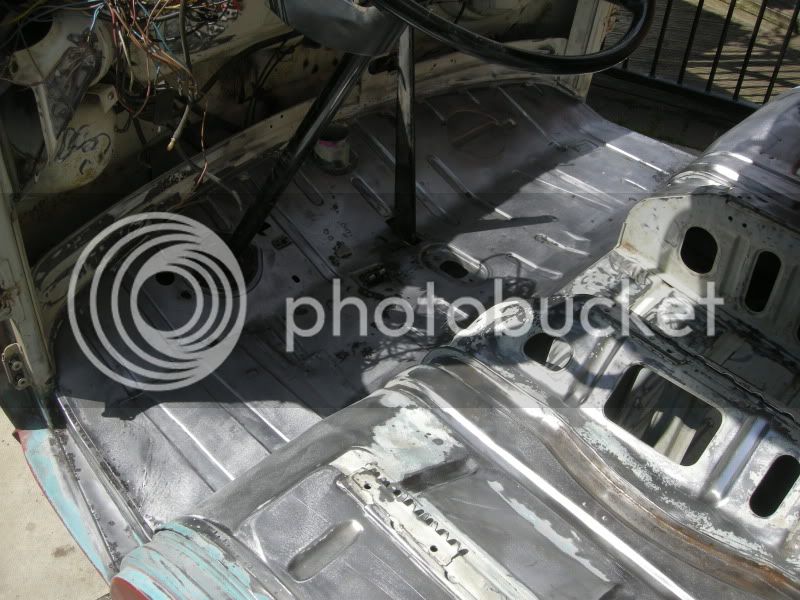
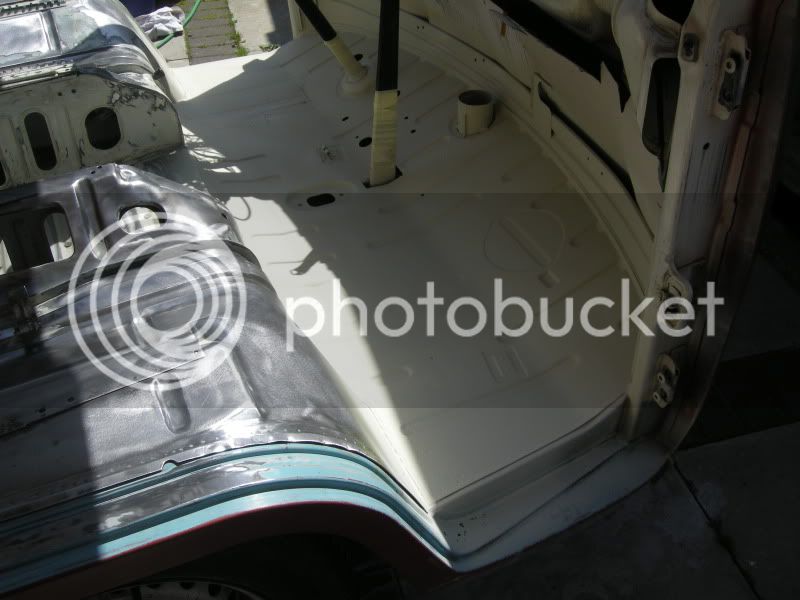
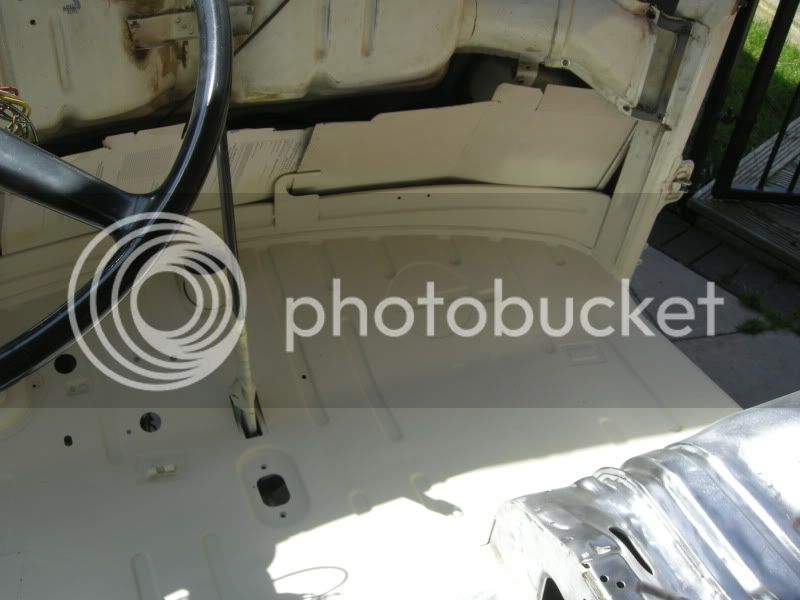
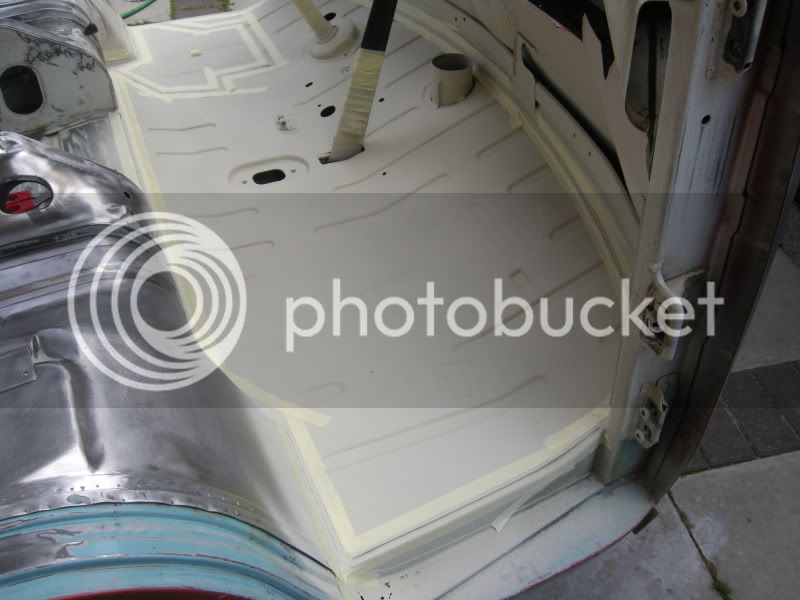
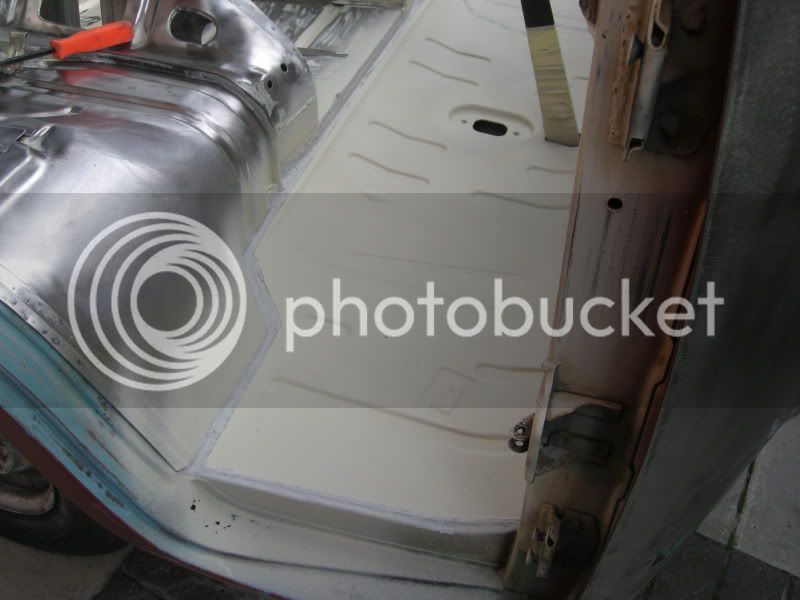
DSCN4150.jpg


IMG_1094.jpg


IMG_1100.jpg


IMG_1098.jpg


DSCN4153.jpg


DSCN4154.jpg


DSCN4156.jpg


DSCN4157.jpg


After 3 days of sh1t I got bored so decided to get some primer on the floor, starting with an etch primer then a high build primer..

DSCN4159.jpg


DSCN4160.jpg


DSCN4162.jpg


DSCN4163.jpg


And got some seam sealer into the joints

DSCN4166.jpg


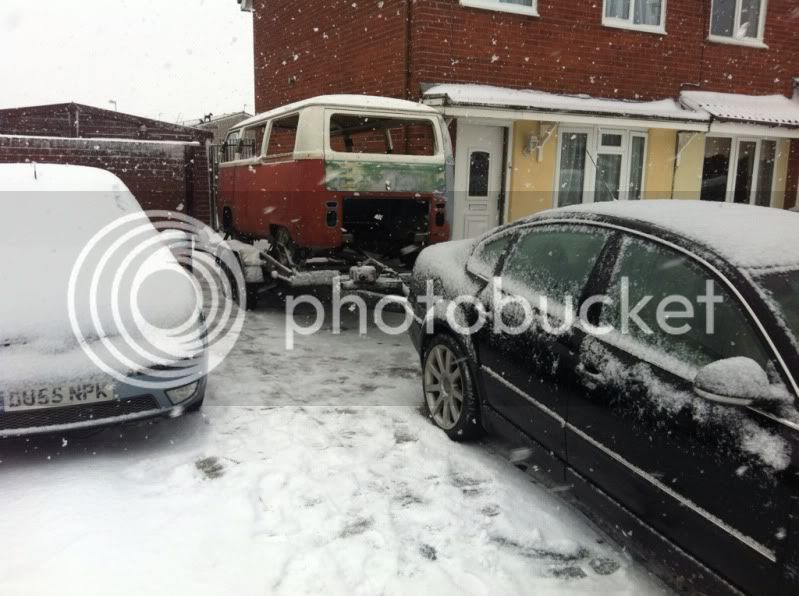
Back at work now so work will have to wait till my shifts rotate again.

Sorry too many photos as usual :oops:
 
Thank you guys as usual,

Im struggling a little because I cant actually see myself ever owning a finished bus but i'm trying to just knock one job off at a time, still not helping though :|
 
89Rallye said:
Thank you guys as usual,

Im struggling a little because I cant actually see myself ever owning a finished bus but i'm trying to just knock one job off at a time, still not helping though :|


I know that feeling Mark, you think it's going to go on forever !

I thought I'd never get to the end of my resto but I'm putting mine back together now and it feels great !

Hang in there there mate , one day at a time , you'll soon be trundling down the road with a big smile on yer chops ;)

Some great work going on there, keep it up , it's all worth it in the end, good luck mate.
 
Been a while because as usual I've been mad busy with work..

Went up today to see Steve at street style bodyshop and she's booked in for paint Jan 20th'ish, it's been a hard job trusting someone to do what I want but ste is a gent and a proper enthusiast who takes pride in his work. I just hope he delivers what's promised :)

Can't wait now, it feels like a massive weight off and a major hurdle overcome.

Watch this space 8)
 
Well it certainly wasnt the weather for it today, esp with the front in bare metal :shock: but thats the painters problem now :lol:

But shes on her way, cant believe the next time shes back on my drive she'll be painted.

0E062074-B97B-4D9E-A4A1-DFF670C05047-7753-00000F27DF2AD6F0.jpg


919AAA09-D902-4648-A91B-EFAF14EB5DC6-7753-00000F27F1F81845.jpg


D78D8561-397B-4103-ADF4-43B0DEA4A0B0-7753-00000F27F7F75C21.jpg


0F084DD1-4A4C-4138-A407-47EB1FF1CAB1-7753-00000F27FD7A9747.jpg


B27A4E66-D65F-4CC8-8265-72D865677662-7753-00000F2802B1172D.jpg
 
Good news mark I look forward to seeing her painted 8)


Ps are you gonna reveal the colour?

Mark
 
Bigbear said:
Brave taking it to the painters today, hope its not to far?
Looking forward to seeing the colour.

Not kidding, I tried to move it wednesday but couldnt get a trailer and sods law it was sunny all day.

Only went 35miles and mostly motorway, got there safe and sound anyway. Now in storage for a while and it will hopefully dry out, were looking April for completion and its going to be the longest 8 weeks of my life!

7F0E36E8-240C-409B-9094-CB39DA5EA795-7753-00000F3B9AAF6DB3.jpg


C7FCA2D3-1E1D-4AD7-8486-4703B587DA8A-7753-00000F3B99D073F1.jpg
 
Well, while the shell is away I have lots of to play... with :lol:

Managed to get the engine stripped down today, what I thought was going to be a quick strip and clean.

First up though, got to try some bling on 8)

64DEB55C-875E-48C9-B21E-5253E9EEA9D2-11274-000016EA68A44211.jpg


812D9DD7-1CCC-408E-BF01-9C6E42948FE8-11274-000016EA5C054194.jpg


After a steam clean everything was looking A-OK,

691D802C-E464-4871-AE09-6359BE0509A0-11274-000016EA7418FD58.jpg


25DCBE60-F0B0-4929-A314-72CCC1E038B7-11274-000016EA6EA8A023.jpg


There were signs that the engine was a recent recon/build,

A2EF10AC-56B2-4186-B2CA-0D5EA244A7F4-11274-000016EA7A0A72CF.jpg


Not googled RIMCO yet but im guessing its a recon,

408E7B8F-2E8F-4070-AAFB-856ACD284829-11274-000016EAB62F0C89.jpg


Anyway, not good news I was hoping for inside.

F8DE21D0-F06A-4620-8FD6-97B8A1A2E113-11274-000016EA802A873F.jpg


Im hoping this will hone out but there are some deep looking scratches in the bores.

5FF003FB-6BB2-4777-AE2B-909823B15F5A-11274-000016EA92F71182.jpg


B461F41C-8623-4B21-80C7-DF3159D6A37A-11274-000016EA8E856CC8.jpg


Even the lobes on the camshaft look worn,

C10757B8-5691-4B72-9834-1795E0ECDB58-11274-000016EA9E2F316D.jpg


And im a bit bemused how this has happened?

46552EDC-4B64-4002-89AB-56E5CD1076F9-11274-000016EAAB645068.jpg


So not sure now what to do, just plum for a new set of pistons etc 1641 or just bite the bullet and go 1776 1914 etc as I can get everything machined cheap through work.
 

Latest posts

Top