Introducing Doddy - My 71 Deluxe

Early Bay Forum

Help Support Early Bay Forum:

This site may earn a commission from merchant affiliate links, including eBay, Amazon, and others.
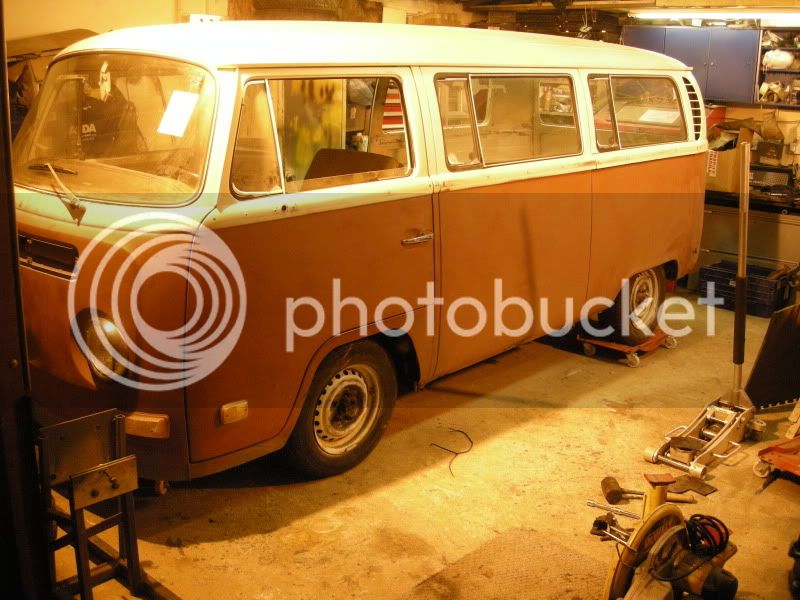
Been a slow two weeks, with my better half having an operation she cant be near and dust, fumes or people in general really.. so it sort of put a stop on the van and working in the garage as a whole.

Anyway, seeing that I couldnt do any spraying etc it was mechanical stuff only really.

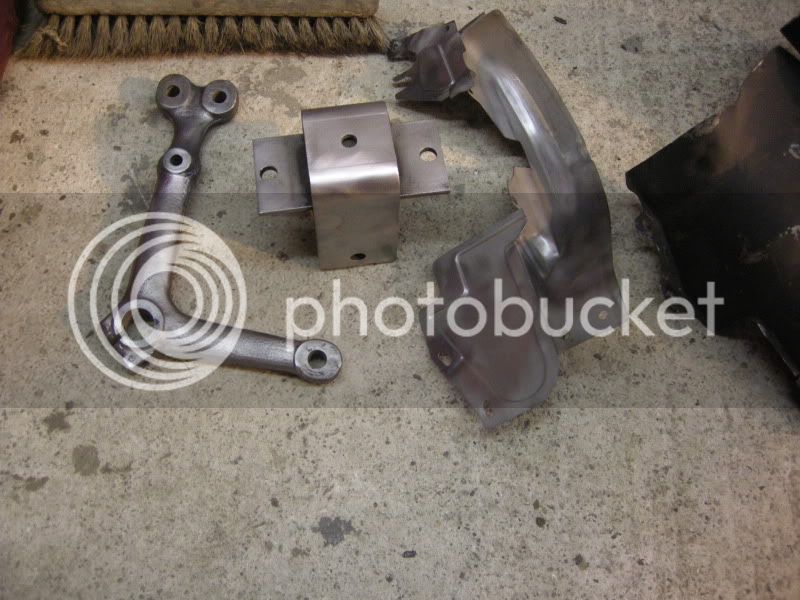
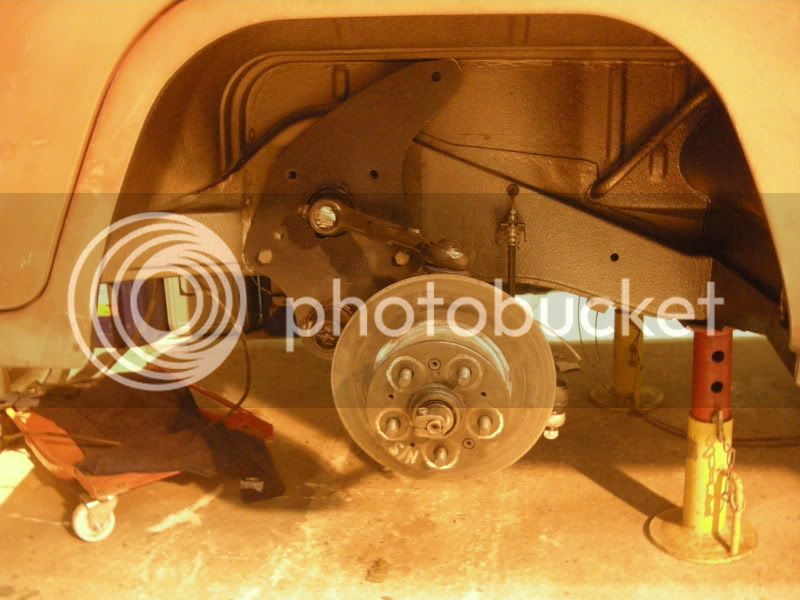
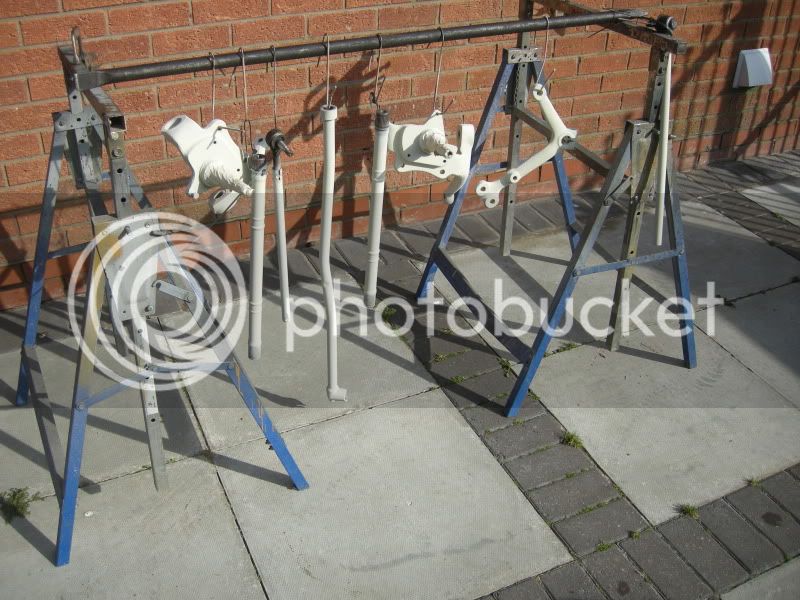
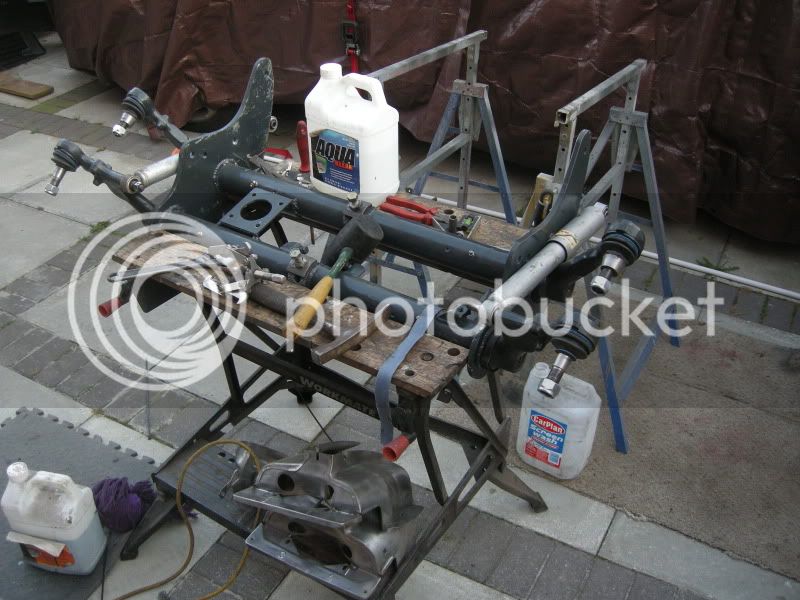
Managed to get my axle built up after some issues with the bearings, sadly for some reason all the photos came out black on my camera.

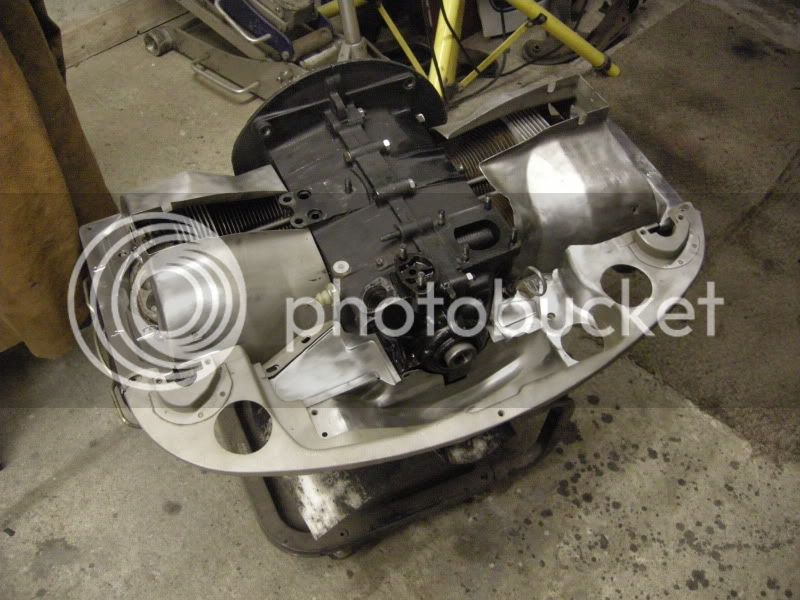
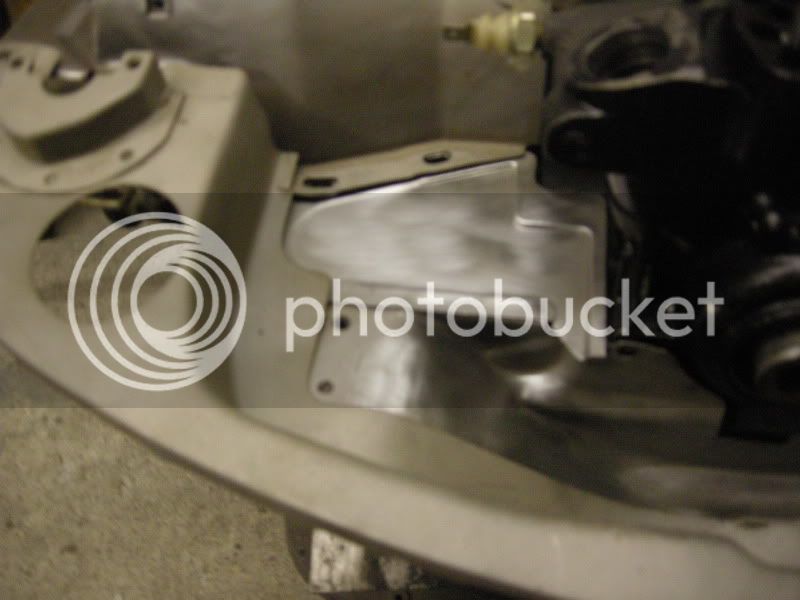
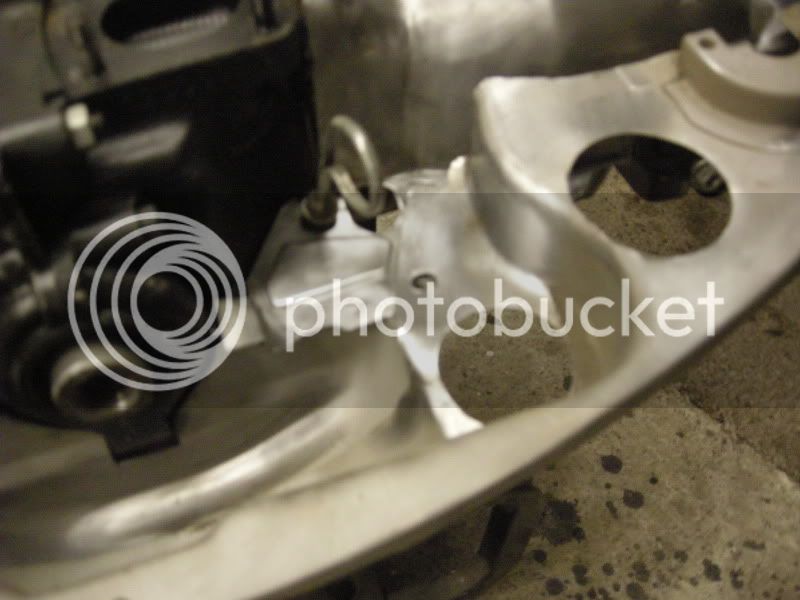
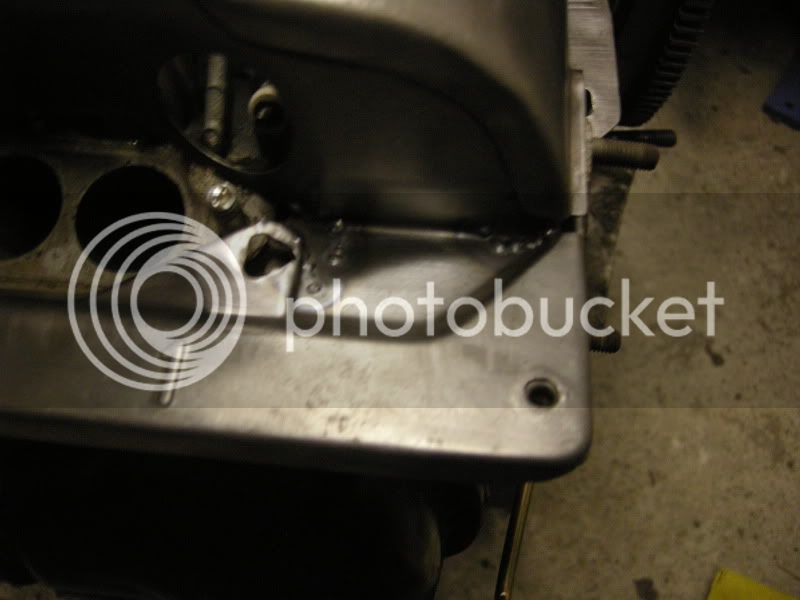
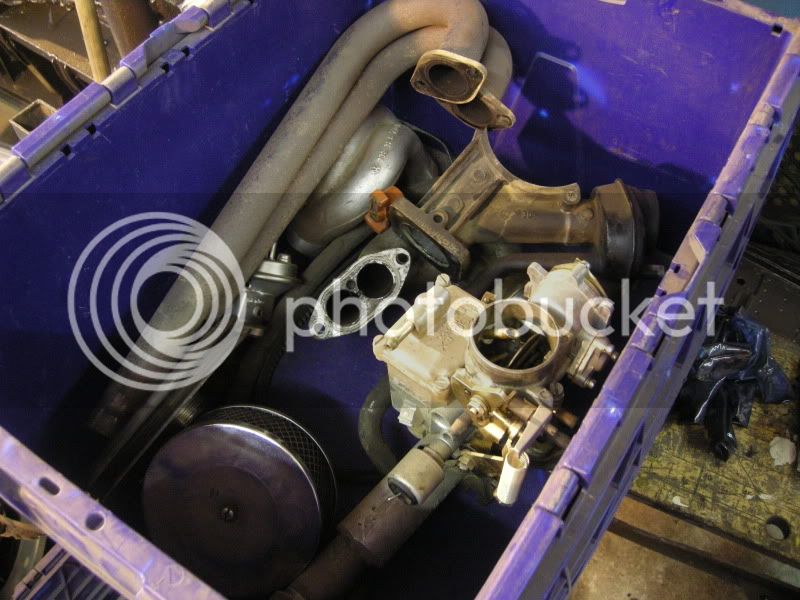
So pulled the engine to bits,

DSCN3917.jpg


DSCN3923.jpg


DSCN3919.jpg


DSCN3918.jpg


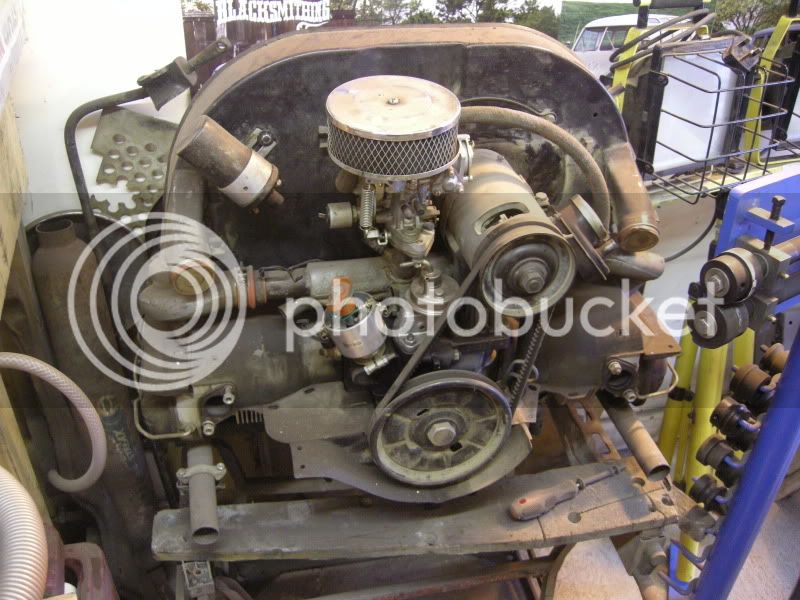
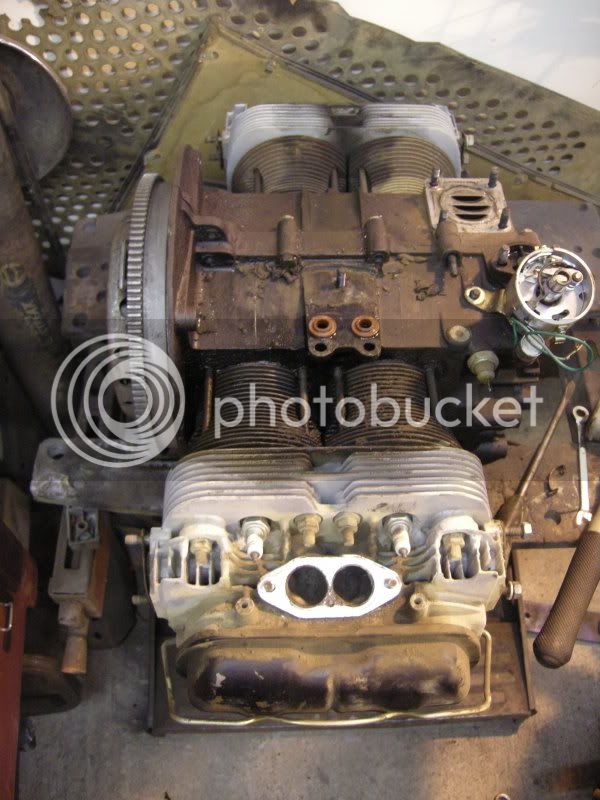
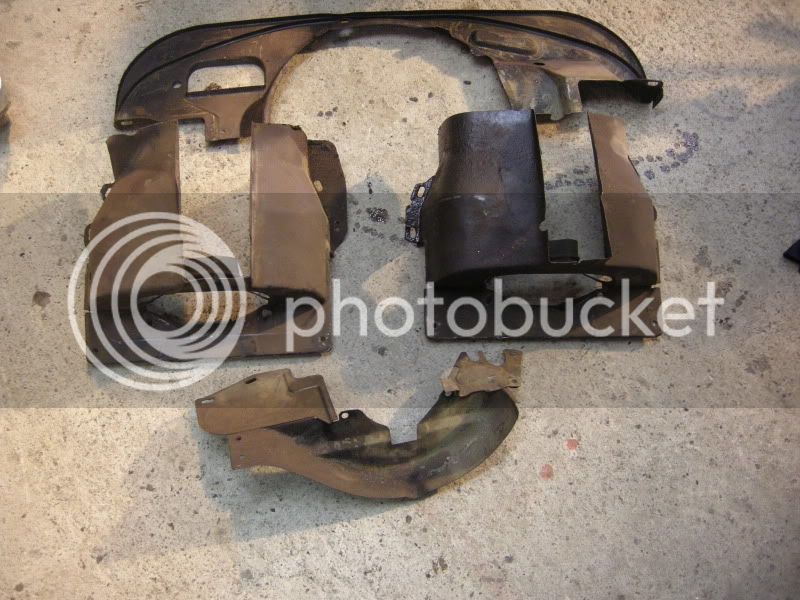
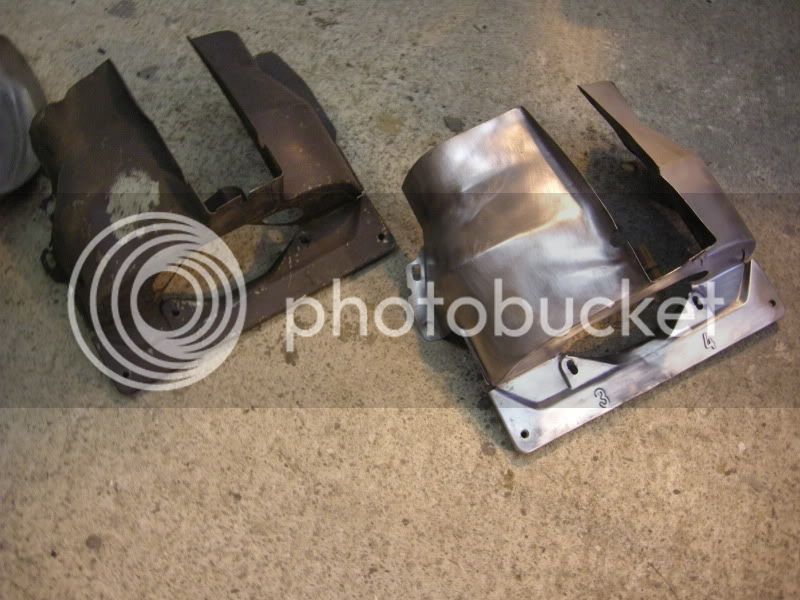
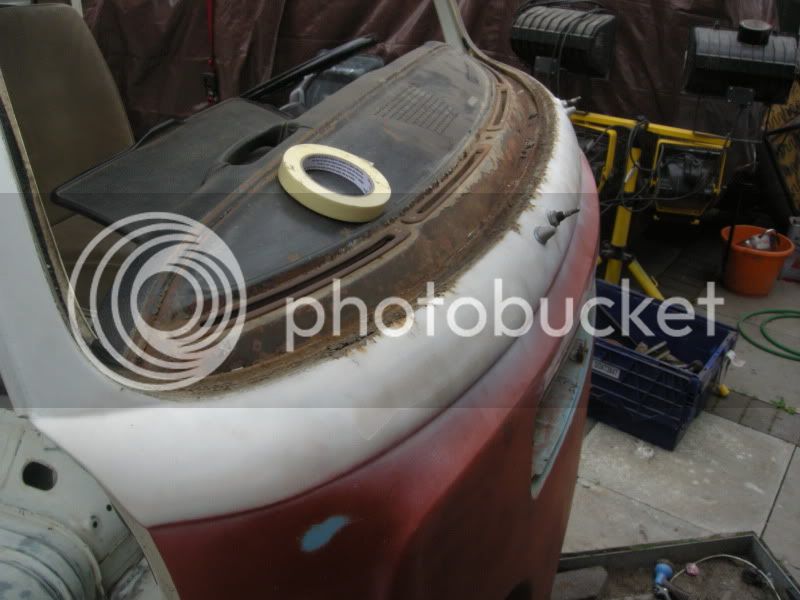
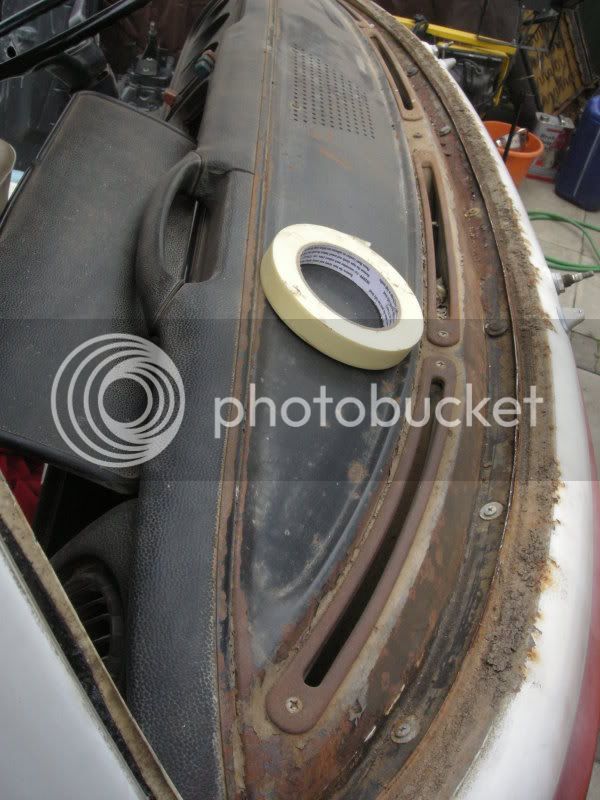
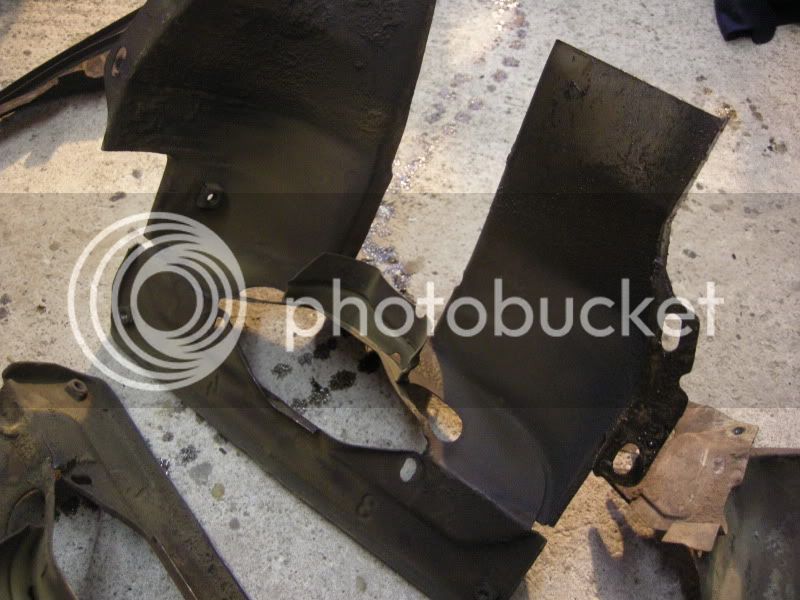
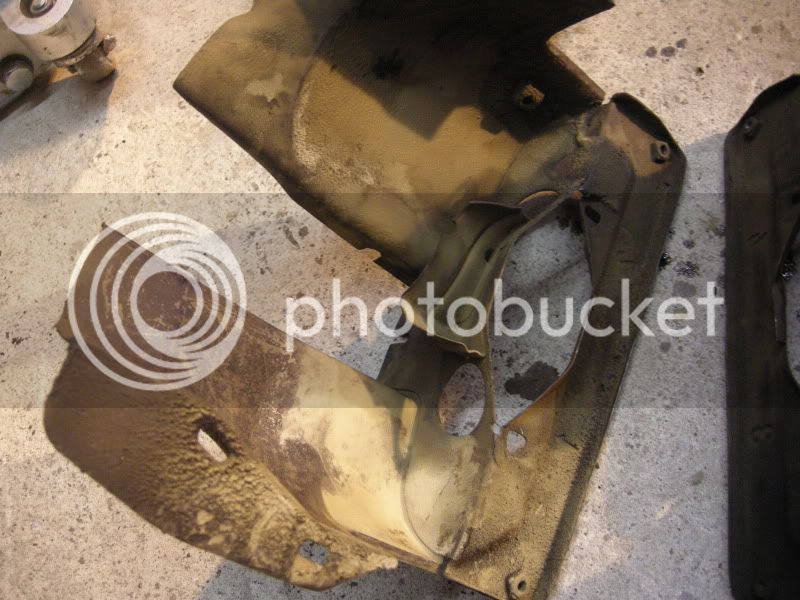
Few repairs to do on the tinware once its shotblasted, the sand/mud/shite cant of been helping with cooling :shock:

DSCN3921.jpg


DSCN3920.jpg


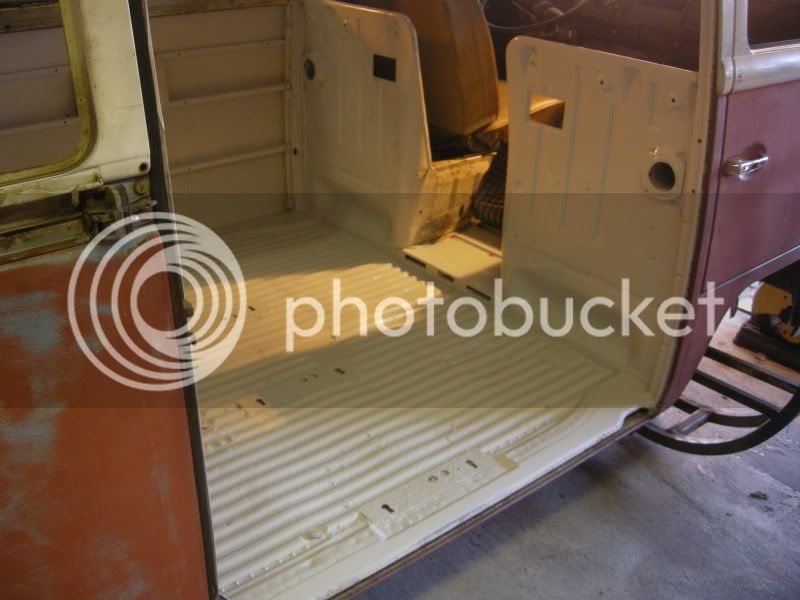
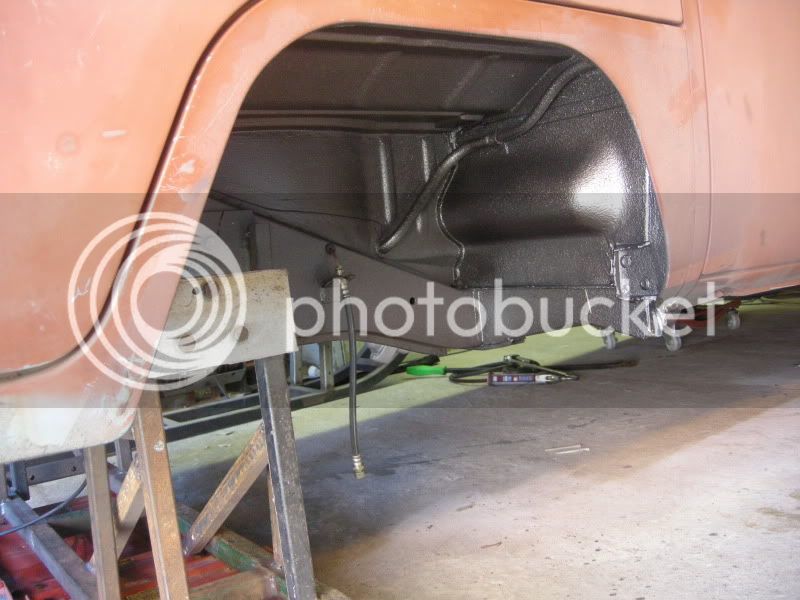
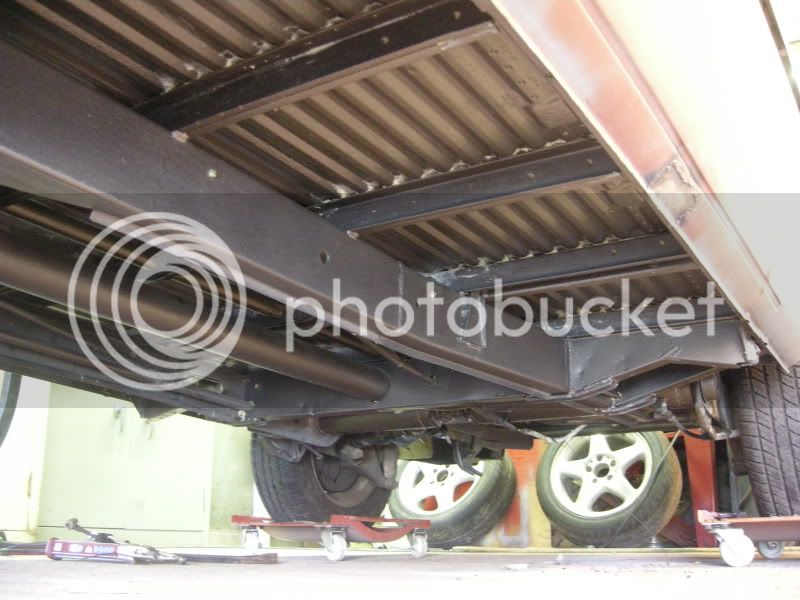
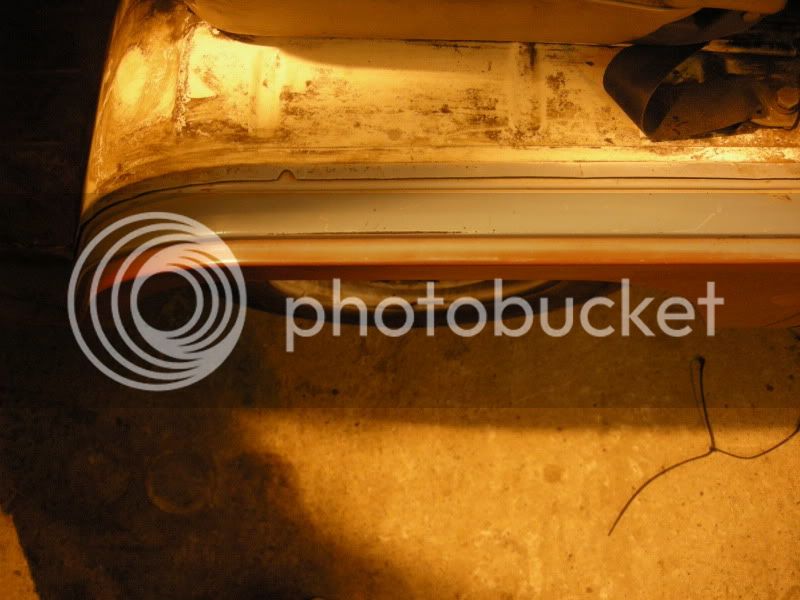
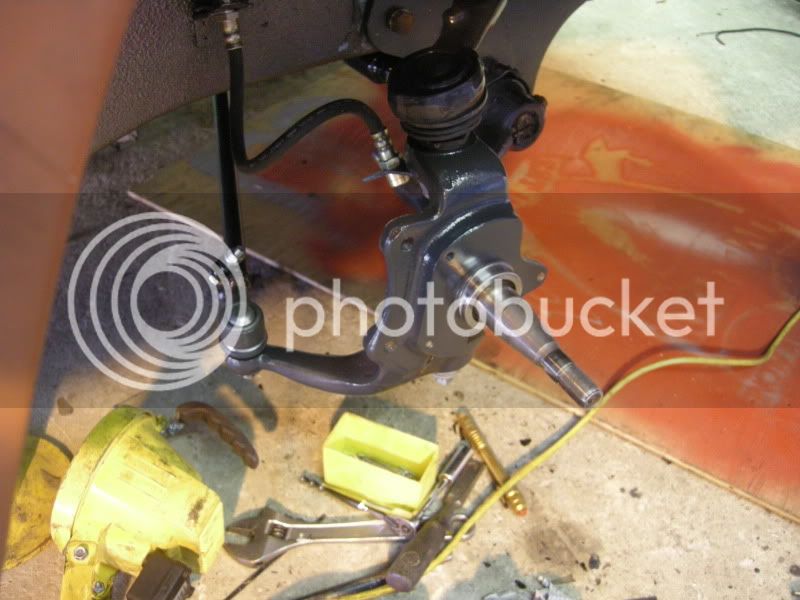
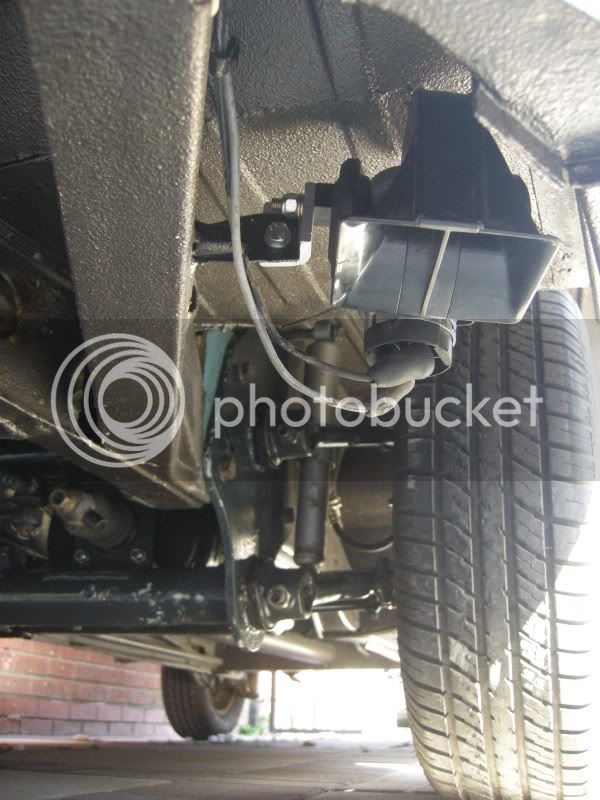
Today I got the waxoyl out, made a complete mess of myself, floor so gave up. Going to have to buy a decent waxoyl gun and there standard one is pants. so if anyone can recommend a good one?

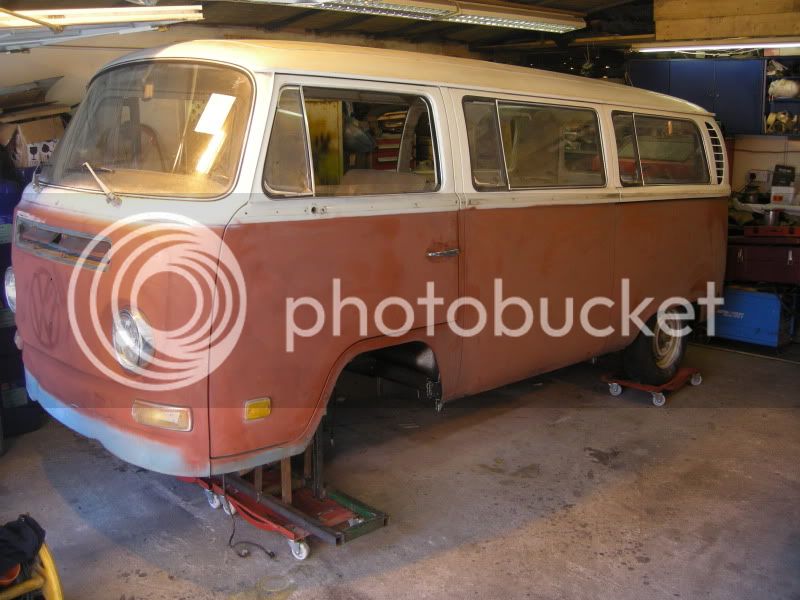
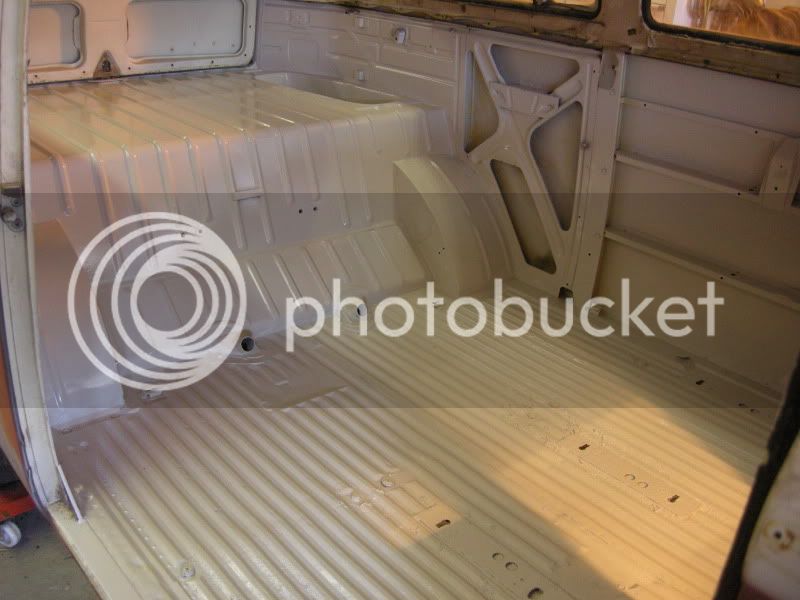
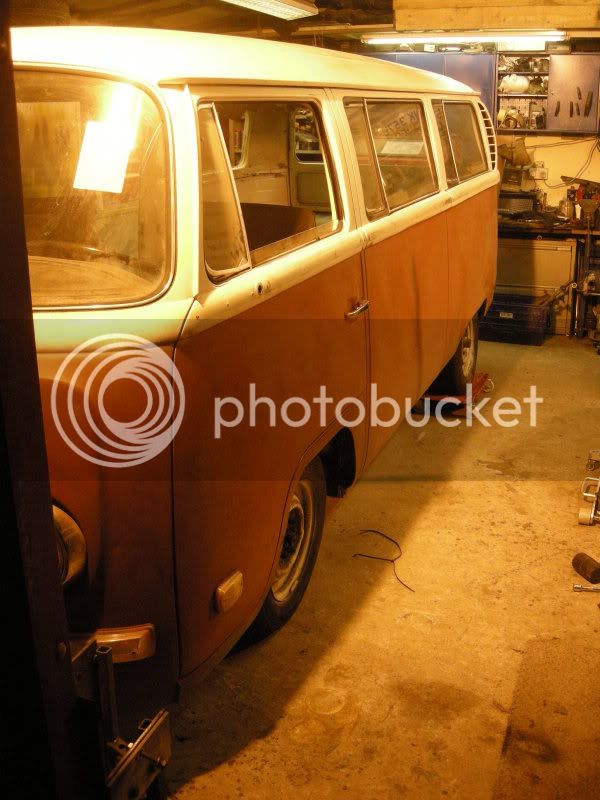
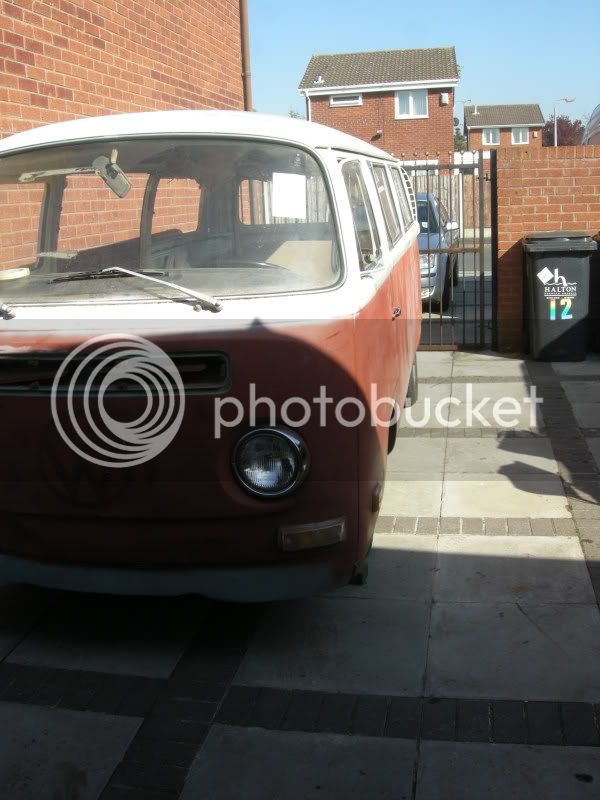
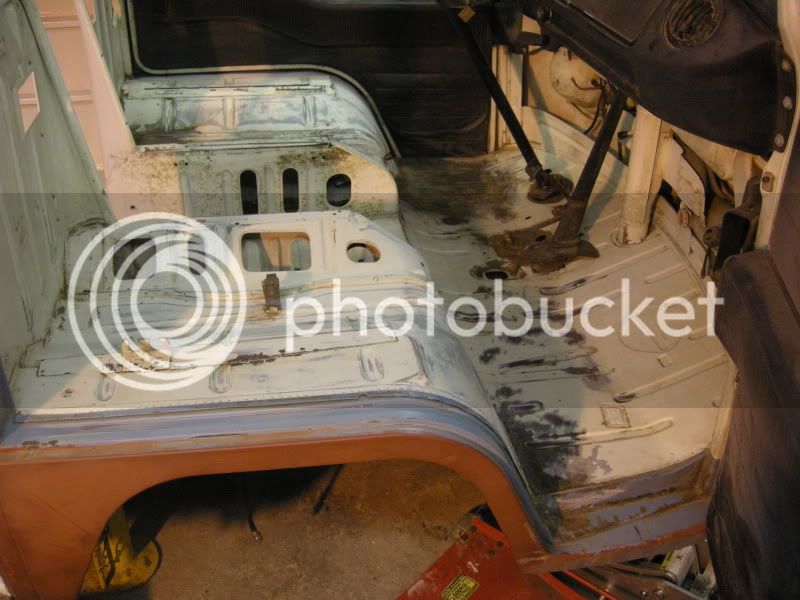
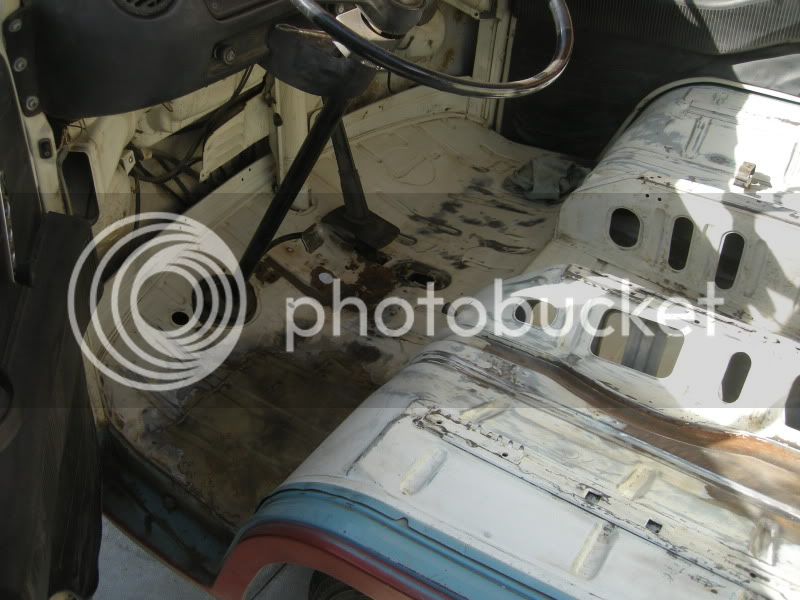
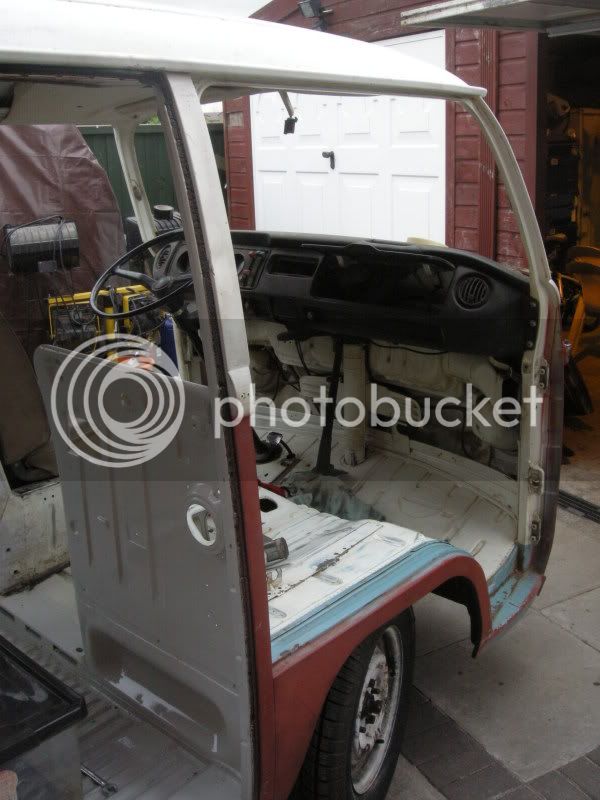
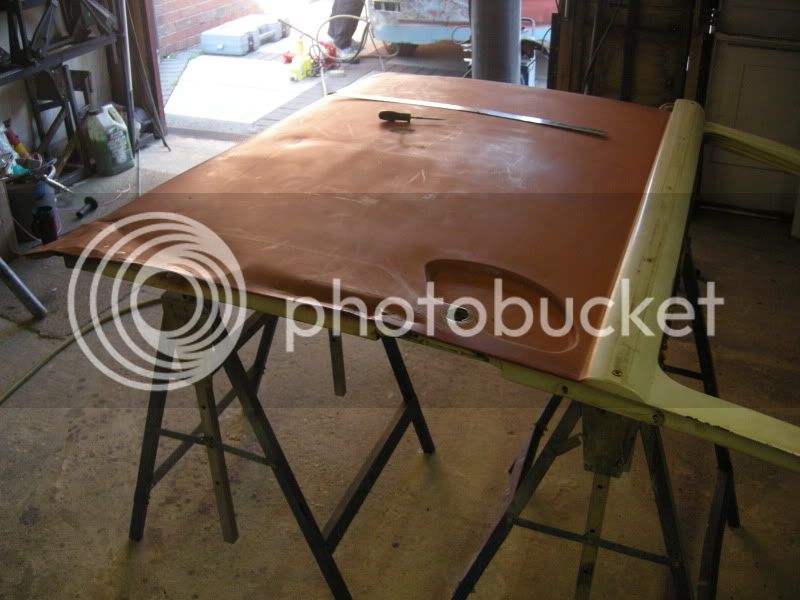
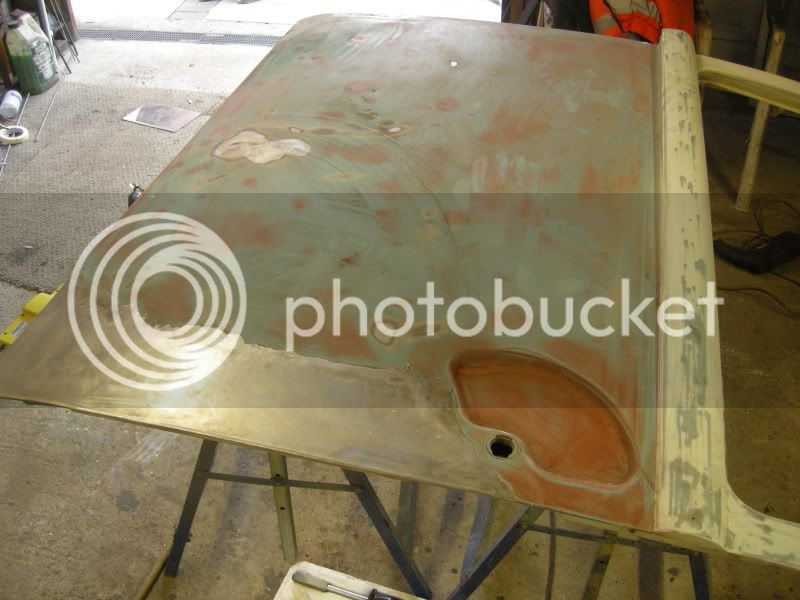
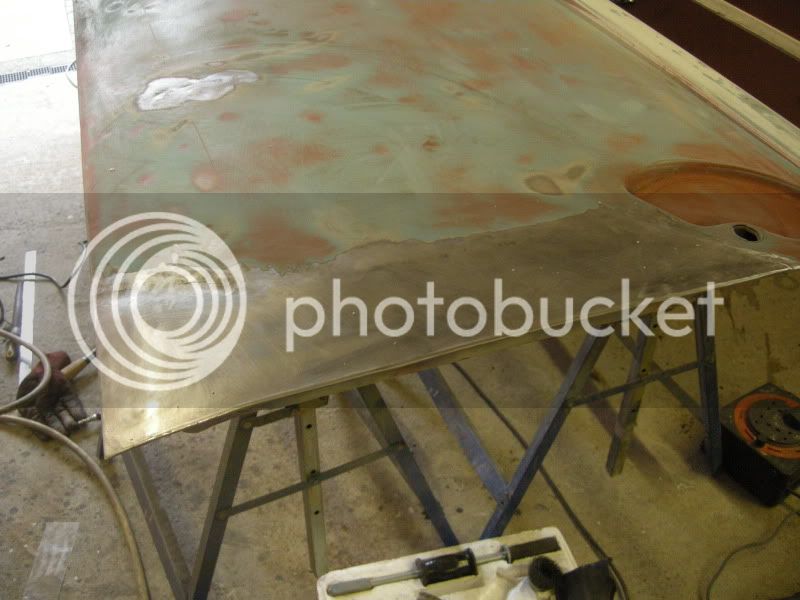
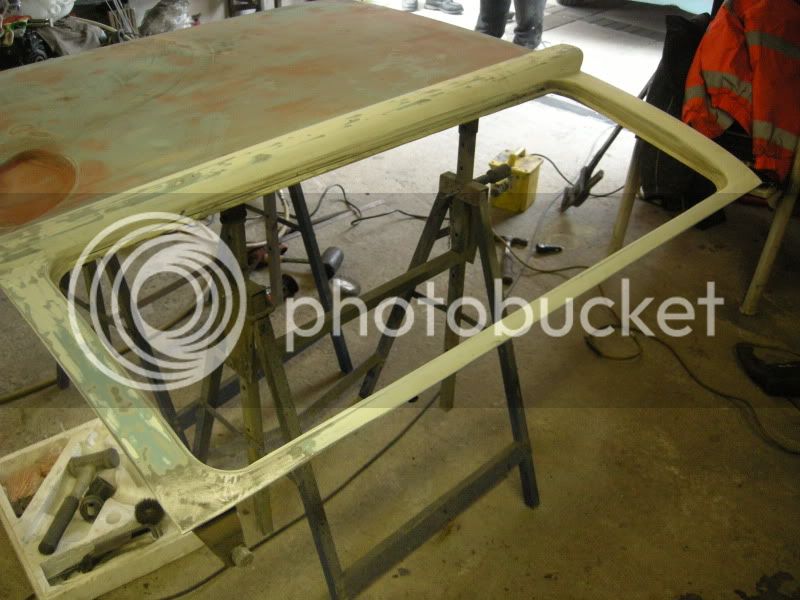
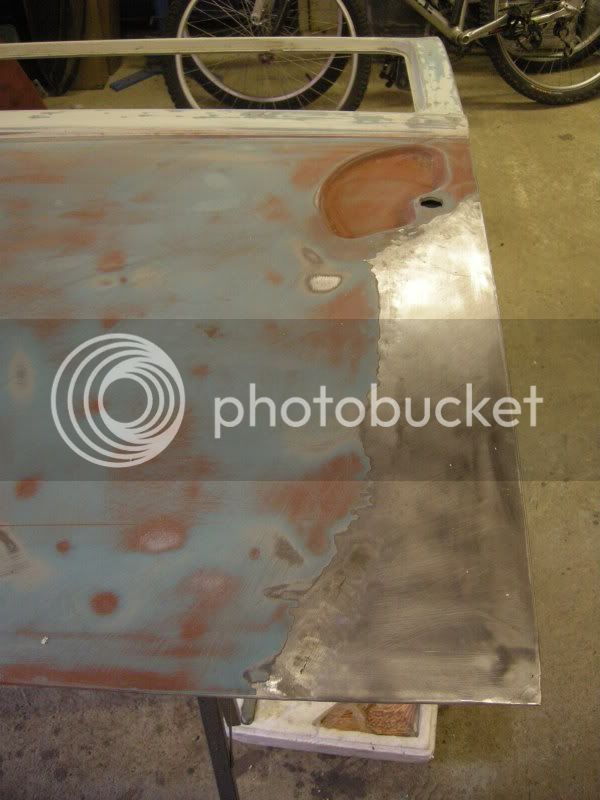
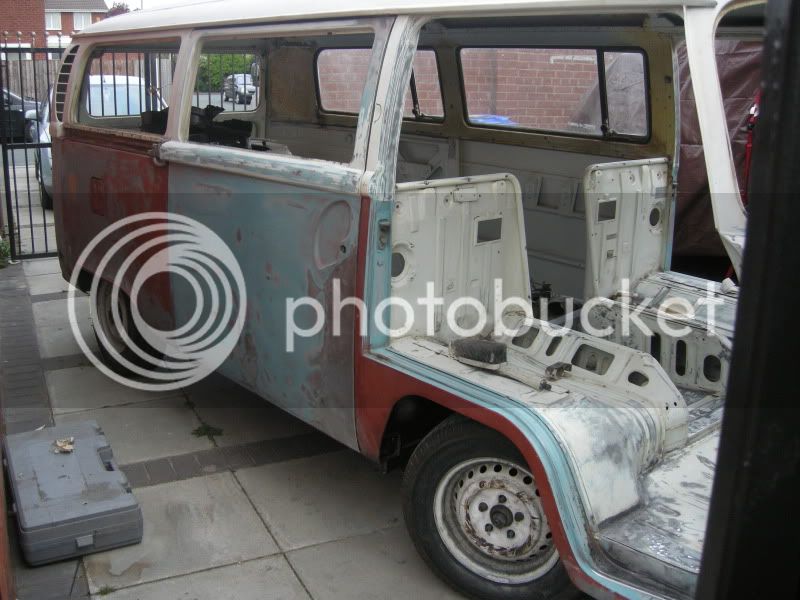
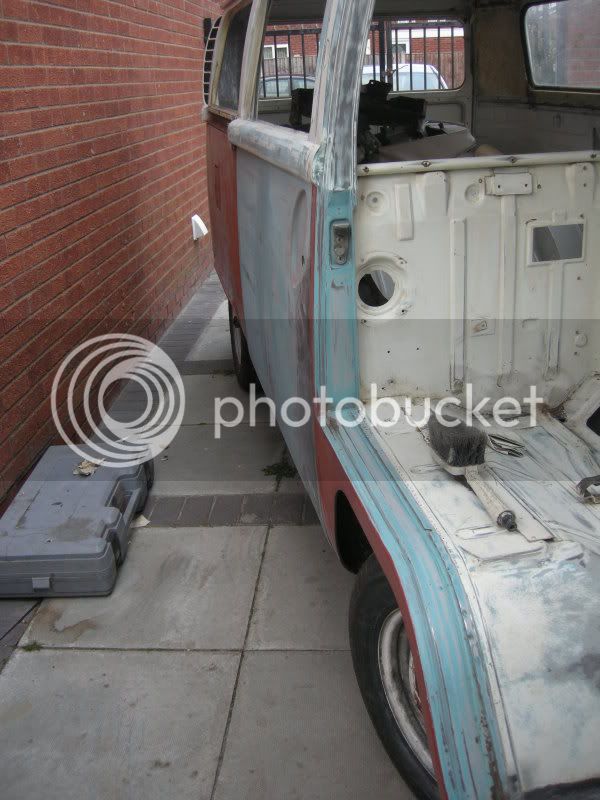
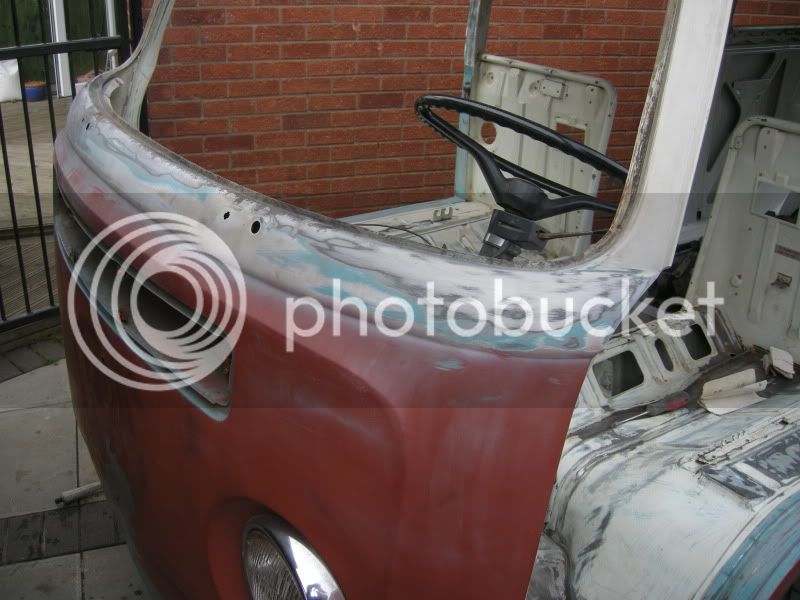
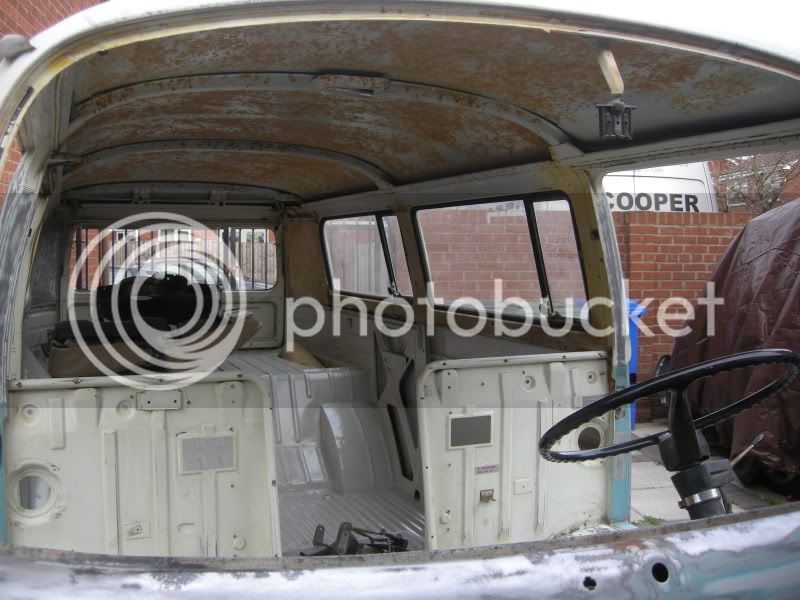
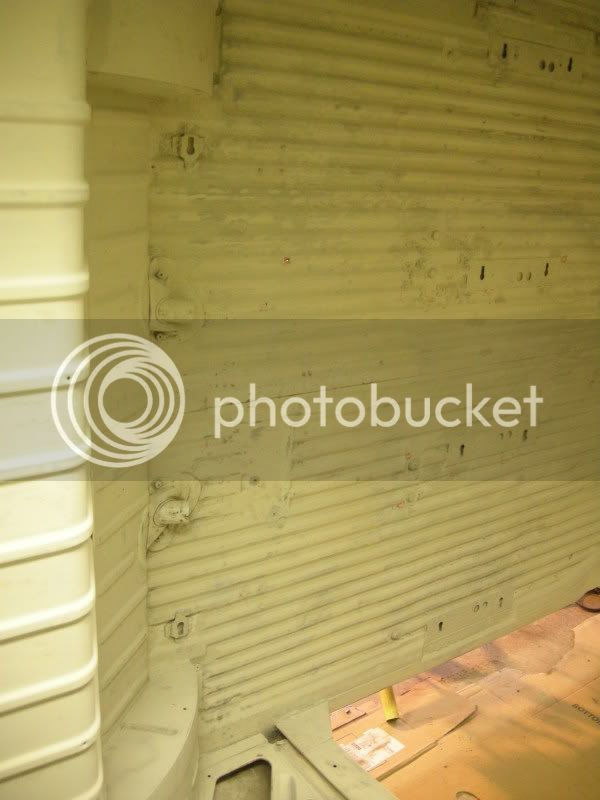
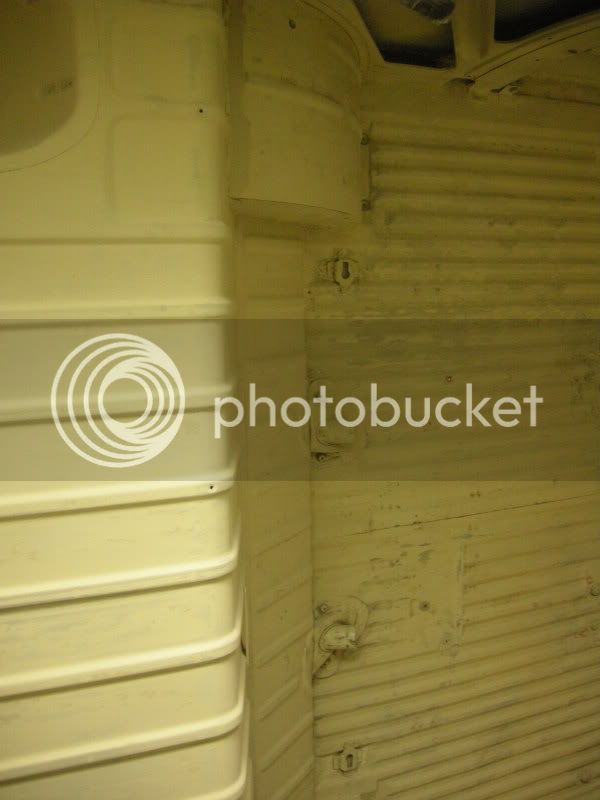
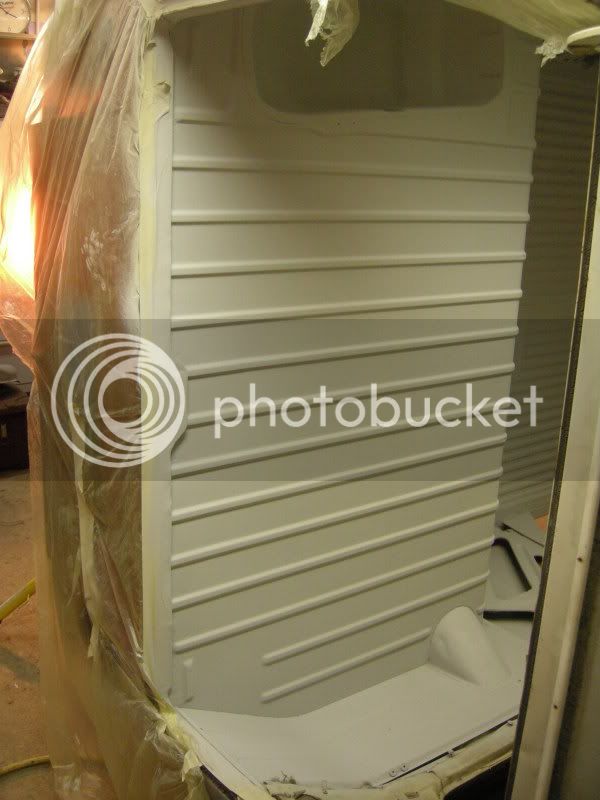
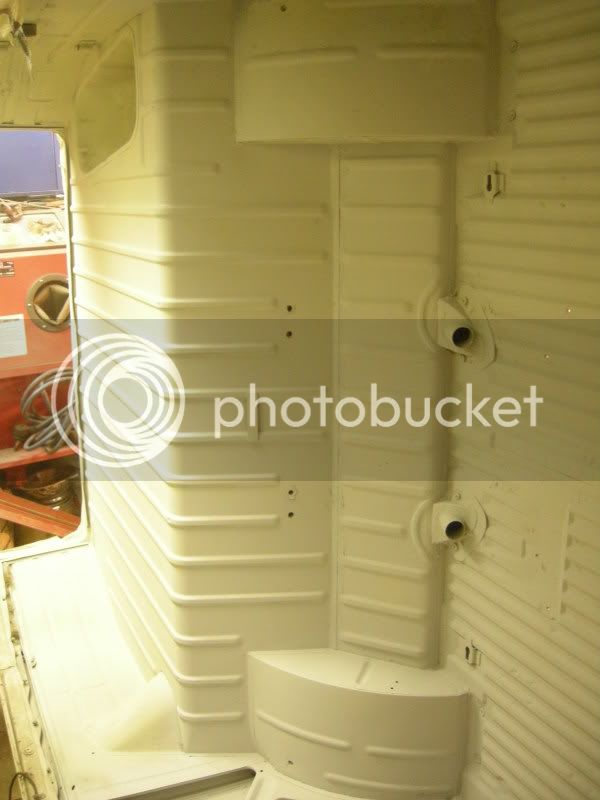
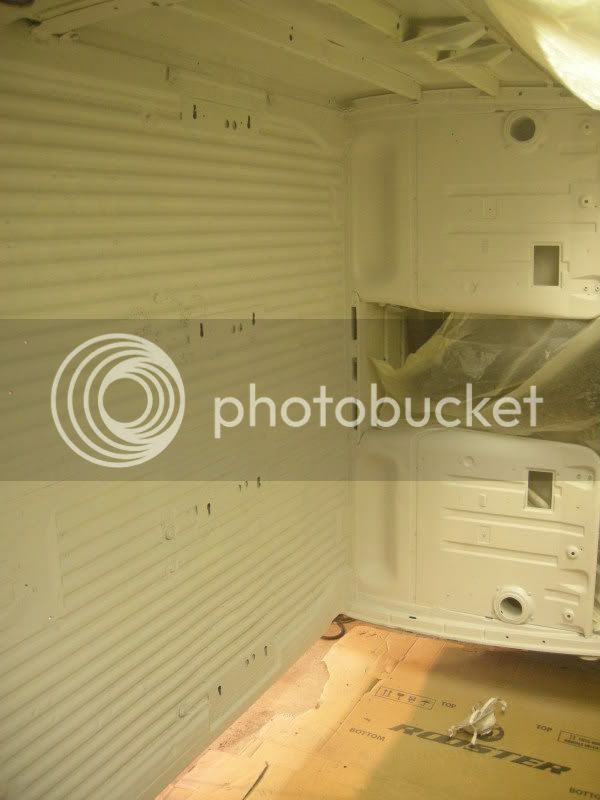
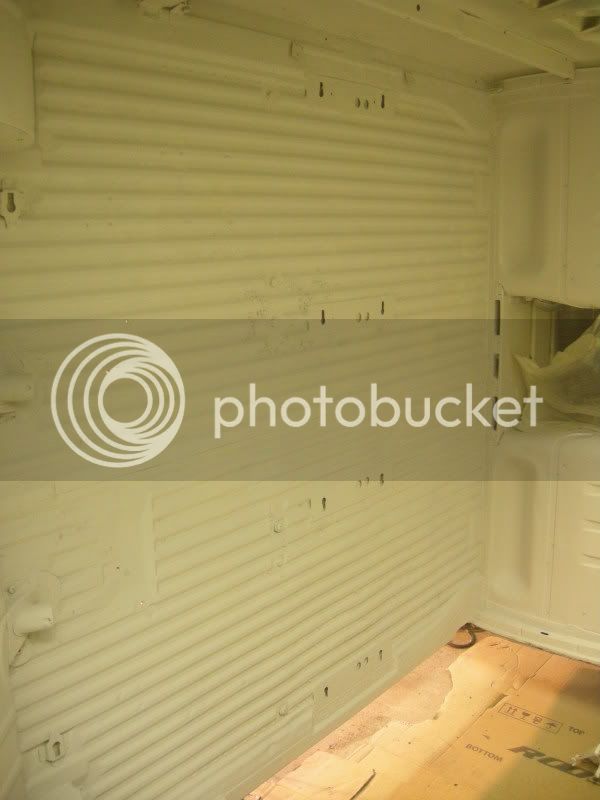
So with that disaster we moved onto painting, somehow managed to remove the rear 1/4 window and sliding door with the van n its side. Giving us access to inside again.

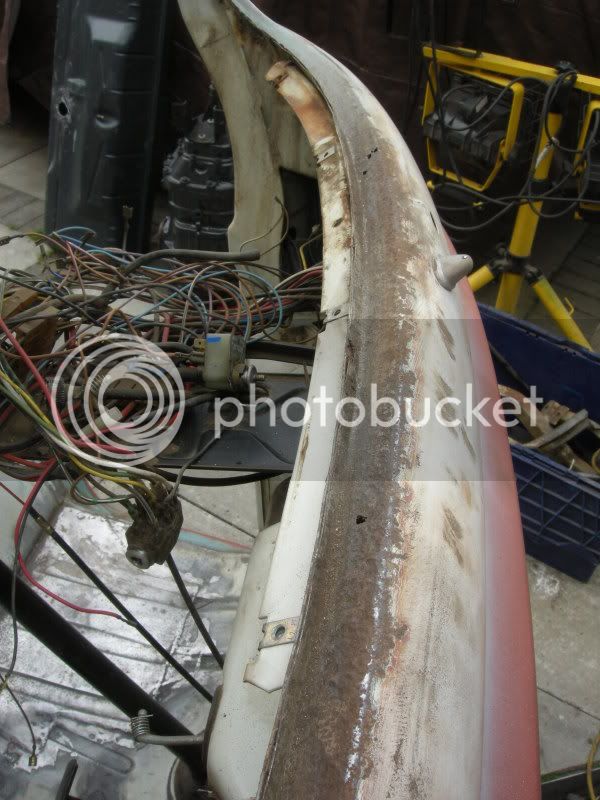
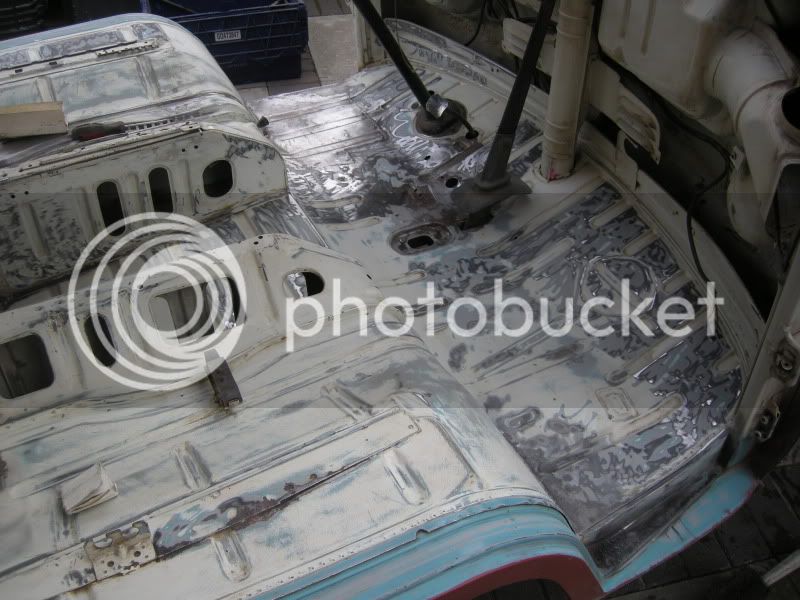
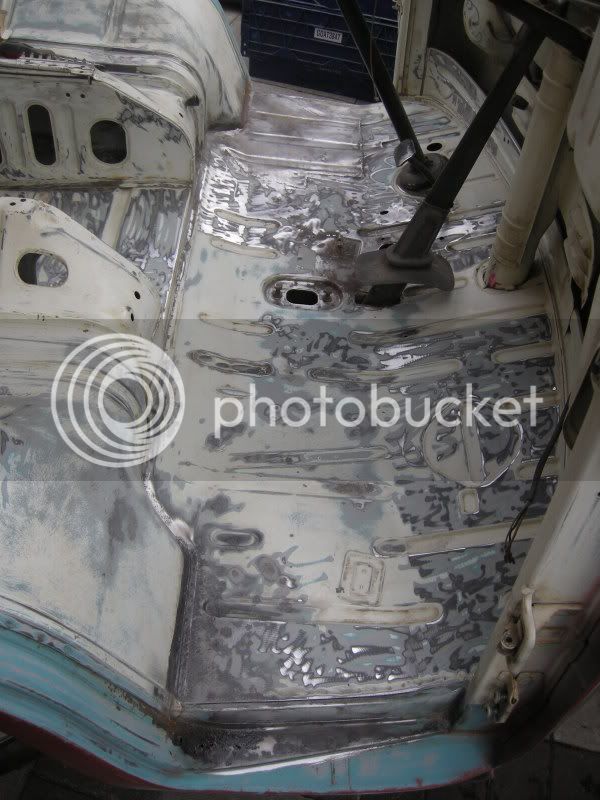
Etch primed and primer then probably next week paint.


DSCN3941.jpg


DSCN3940.jpg


DSCN3946.jpg


DSCN3945.jpg


DSCN3944.jpg


DSCN3943.jpg
 
68_early_bay said:
crikey! youre not hanging about :lol: its looking good :D

Cheers dude,

With the unexpected delays I'm actually about a week behind where I would like to be, but like i've told everybody that kept saying "it'll be done for Dubfreeze" things will start to slow down. Especially now that i've starting encounting problems with things, not to mention trying to find parts from people who are suppose to be selling them :shock:

Still looking for parts if anyone can help,

At the minute i'm esp after any performance engine bits, Deep sump, twin carbs, exhaust, full flow oil pump, electric fuel pump, adjustable push rod tubes, alternator kit (pref 75 amp), crankshaft pulley, breather box..... etc etc consider anything really 8)

I dont really need to pull this engine apart but I will consider a stroker crank, performance heads etc as I have a spare case I can use ;)

Good pair of heat exchangers.
Good lhd sliding door.

Theres more, I just cant think this early on a Sunday morning :lol:
 
An afternoon of dirty sh*tty shotblasting and cleaning

DSCN3952.jpg


DSCN3953.jpg


Worth it though 8)

DSCN3954.jpg


Can anyone tell me which way round this tinware goes? i've forgotten :oops:

DSCN3956.jpg


DSCN3955.jpg


Had to do a few tiny repairs, where they usually crack

DSCN3957.jpg


And got my steering arms all finished off

DSCN3958.jpg
 
Cheers dude, as always 8)

Cant wait to get some paint on the tinware, not to mention getting it back on its wheels.
 
Due to unforseen problems im a little behind my own schedule but at least she's finaly back on her wheel 8)

DSCN3965.jpg


Before rolling it back down my dad managed yo get all the cargo floors painted yesterday, while I had to change a wheel bearing on the daily hack (Yes for those that know me, I've FINALY done it after about 6 months of her moaning about it :lol: ).

DSCN3963.jpg


DSCN3962.jpg


DSCN3961.jpg


Once again it was all worth the effort I think,

DSCN3966.jpg


DSCN3967.jpg


Hopefully a rolling shell by the end of the week 8)
 
I was left on my own tonight and me being as impatient as I am I decided to trial fit the front beam. It has to come out again for a little tweaking and to finish the paint missed behind the roller.

The reason for the trial fit? I had our fabricator in work draw me up the plans and when the profiler made them he said that they had added material around the shock mounts by mistake.... the worst place possible :x hence why I had the cut a chunk out the axle (still have to level and shape this). Brake discs need work too but I have plans for them :D

DSCN3969.jpg


And it would be rude not to try the wheels on after going to the trouble of fitting the axle 8)

DSCN3971.jpg


DSCN3970.jpg


DSCN3972.jpg


DSCN3973.jpg


Not a bad guess with the height, its low but not so low it'll scrape along the floor. Just need to sort my tyres out now.
 
Mark that's looking good did you shorten it by 4"?
So it's a how low can you go challenge is it :lol:

Great job mate
 
Wowsers, just read this from start to finish. a hell of a lot of good honest hard work going on there. Must be handy having access to all that stuff. Used my mates 4 poster on my old bus but no spray stuff, shot blasters etc. Will the outside not just polish up at best and leave it as is or you going for a full respray.

Keep the pics coming - inspiring stuff
 
Mark6455 said:
Mark that's looking good did you shorten it by 4"?
So it's a how low can you go challenge is it :lol:

Great job mate

Its had four inches removed from the middle but its not as narrow as yours as i've retained the needle bearings and dust seals etc which gives you about half an inch.. so its technically a three inch norrowed beam.

No lowering challenge for me :lol: , its as low as I want it (might even raise the rear up one) its too late for tubs and notches now and i'll probably cry in I get any scrubbage.

But who knows with the next one....... ;)

Nugsy said:
Wowsers, just read this from start to finish. a hell of a lot of good honest hard work going on there. Must be handy having access to all that stuff. Used my mates 4 poster on my old bus but no spray stuff, shot blasters etc. Will the outside not just polish up at best and leave it as is or you going for a full respray.

Keep the pics coming - inspiring stuff

Cheers, people always say i'm lucky etc but its taken years to build up what we have tool wise (mainly thanks to my dad). He always taught me to buy the tools for the job, even if you only use it once it will always be there ;) . That and always buy the best that you can afford, I dont care what people say there is a difference.

My plan all along was to do the underside, then get it all up and running/MOT'ed/registered fit some sort of interior and take it to Bus Types 8) . I will probably just clean the body up for the time being but it will be getting painted sooner rather than later, it would actually polish back to OG but sadly there is previous damage in the rear corner which is full of filler/primer so it sort of spoils it.

Next up now is finish and re install everything up front (axle, brakes etc) then prep and paint the engine bay and engine tinware, re-assemble the engine etc then prep it for an MOT (still needs bits like a windscreen etc)

Thanks for the comments though and glad you all like.
 
Been a while since my last little update, things have slowed but thankfully not stopped.

Managed to get all the axle bits painted and finished off and the axles now all assembled and fitted for the last time.

DSCN3983.jpg


DSCN3979.jpg


DSCN3987.jpg


Which meant I could get her outside properly for the first time in weeks, meaning I could turn her around.. with a few strange looks from the neighbours :lol:

DSCN3998.jpg


DSCN3988.jpg


DSCN3990.jpg


Got my air horn fitted, I used to get these out of work (sounds strange saying that now :lol: )

DSCN3993.jpg


Things have now moved on from this being a light resto, we started prepping the cab floor for paint but I decided it would look odd if the inner door frames werent in fresh paint so this meant removing the dash, this then led onto the windscreen being removed, which led to more holes :cry:

So todays fun and games,

DSCN3981.jpg


DSCN3992.jpg


DSCN4004.jpg


DSCN4005.jpg


DSCN4015.jpg


DSCN4019.jpg


Doors off, dash out.

DSCN4006.jpg


DSCN4012.jpg


DSCN4014.jpg


I cleaned off and shot blasted the crusty step... which led to a few more holes :cry:

DSCN4010.jpg


DSCN4018.jpg


Started on the mangled front end,

DSCN3570.jpg


DSCN4020.jpg


DSCN4021.jpg


DSCN4022.jpg


DSCN4023.jpg


DSCN4024.jpg


A lot of pushing and pulling, its not great but its a start.

Looking for a good paint shop now in the North West if anyone can help??
 
Hows your front grille ?, i got a nos one coming from the states if you need it, i only bought it cos it came with the fly screen
 
rallye dale said:
Hows your front grille ?, i got a nos one coming from the states if you need it, i only bought it cos it came with the fly screen

Grilles pretty good iirc but thanks for the offer 8)

I'm not sure yet if I'm going to attempt to straighten the body as much as I can ready for paint (and hopefully cutting some labour costs) or strip eveything down to a bare rolling shell and drag it somewhere and let them have the pleasure.

Really not looking forward to that off side rear corner/arch and I really dont want it cutting with is what I think a bodyshop would do for speed. Saying that though the front panel 'popped' alot easier than I thought it would so you never know, access is alot better at the rear too...
 
Taking a break from it all this weekend, although we did put a few hours into yesterday.

STarted on the damaged sliding door, like everything else its going to take more work than I first thought.

DSCN4029.jpg


DSCN4030.jpg


DSCN4031.jpg


DSCN4032.jpg


DSCN4033.jpg


Its skipped a few photos here as my camera battery was dead, apart from a few holes found and a couple of ripples that need addressing the sliding door its pretty much ready for a skim of filler.

Got the repair panel, shaped (using an argon gas bottle :lol: ) welded and ground down. still a few issues but pretty happy with how it turned out.

DSCN4038.jpg


DSCN4037.jpg


DSCN4039.jpg


DSCN4036.jpg


Found a few more holes I wasnt happy about

DSCN4040.jpg


And really wasnt happy when I dropped the door and bent the corner again trial fitting it, happy with the overall shape and fit though. I've seen alot worse thats for sure.

DSCN4046.jpg


DSCN4047.jpg


Other than that, just slowly getting things ready for a coat of primer.

DSCN4041.jpg


DSCN4042.jpg


DSCN4044.jpg


Finally got the headlining out, I have to decide where I want lights/tv etc now and start running cables.

DSCN4043.jpg
 

Latest posts

Top