You are using an out of date browser. It may not display this or other websites correctly.
You should upgrade or use an alternative browser.
You should upgrade or use an alternative browser.
Introducing Mr Brightside's Midlands Makeover............
- Thread starter Mr Brightside
- Start date

Help Support Early Bay Forum:
This site may earn a commission from merchant affiliate
links, including eBay, Amazon, and others.
Mr Brightside
Well-known member
- Joined
- Aug 4, 2010
- Messages
- 717
- Reaction score
- 0
Well I guess its way overdue that I posted an update as we are almost complete 
Its seems such along time ago when we planned the interior colour scheme to reflect the exterior, we chose the materials, wood, flooring etc before the exterior was painted, luckily, I think we got it about right
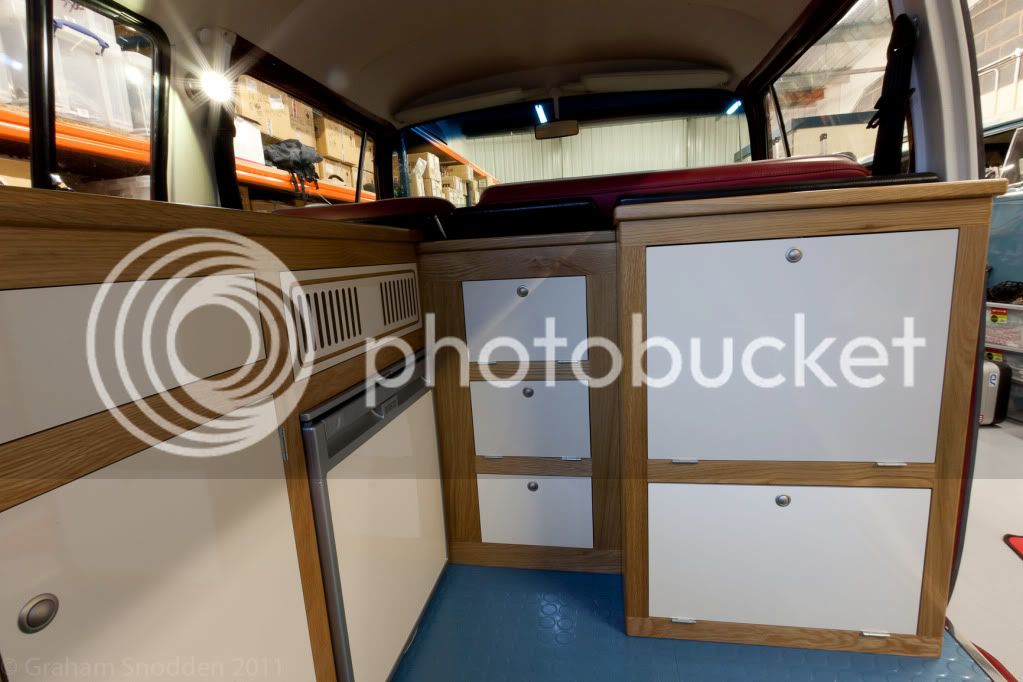
The biggest gamble was the formica doors, Scott at SJH Joinery looked at me as if I had 2 heads when we said, no to solid oak doors, I think he has changed his mind now ...
The interior is looking like this currently, the sunken LED lights are far more subtle when you see the bus in the flesh, but to get the detail in the image, I had to over expose the image slightly making them look much brighter than they really are. The bonus with them is that I have lots & lots of light for a total of 3.2 watts, which should be really gentle on the leisure battery
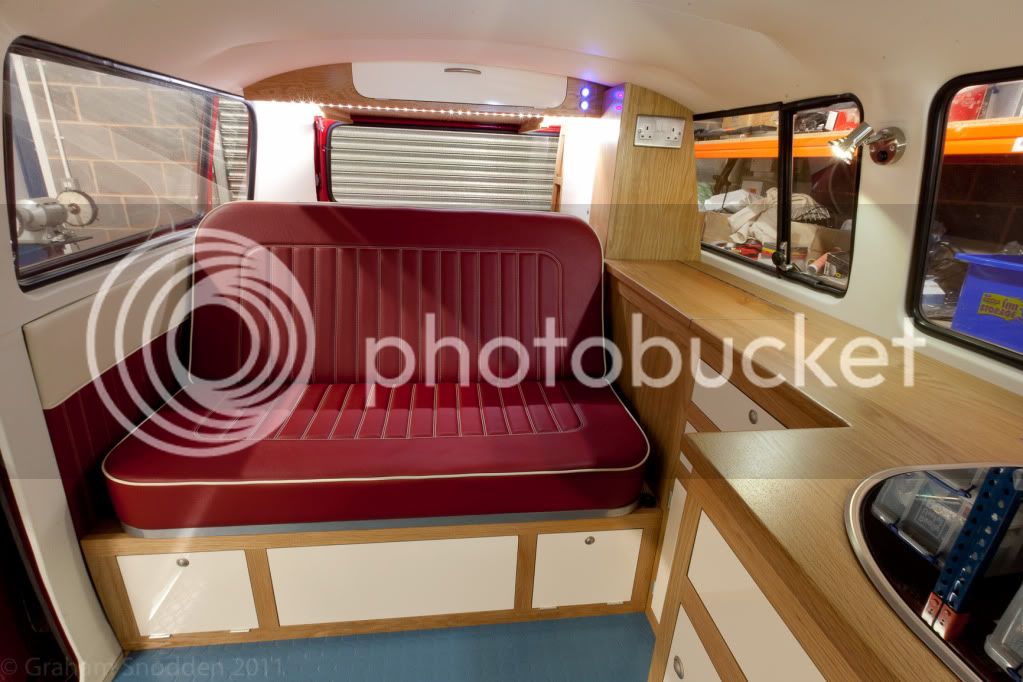
Its all coming together really well
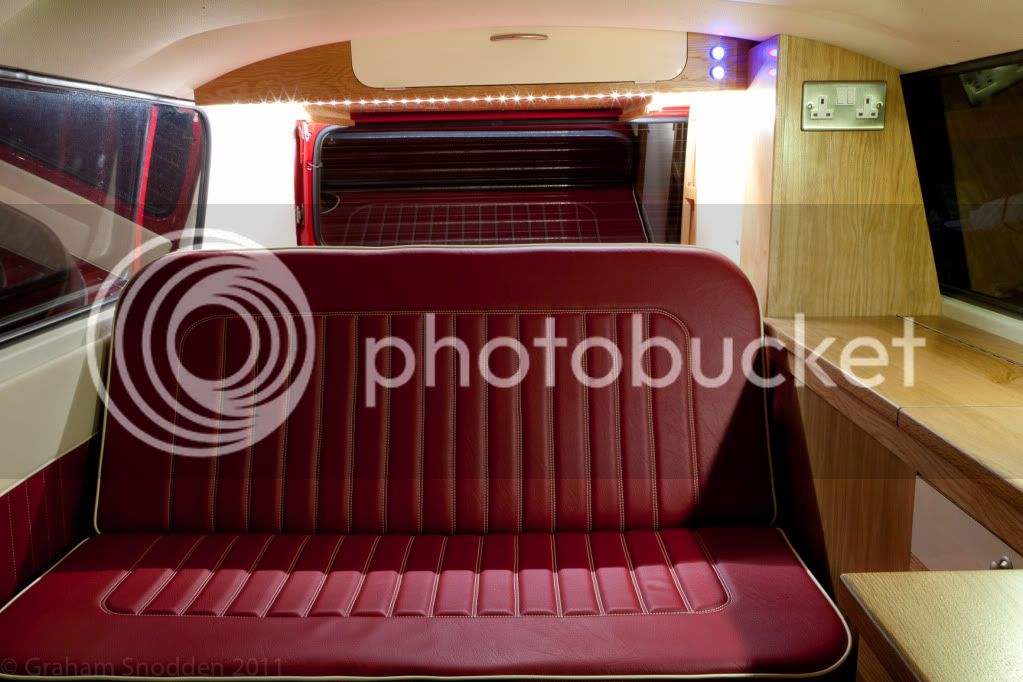
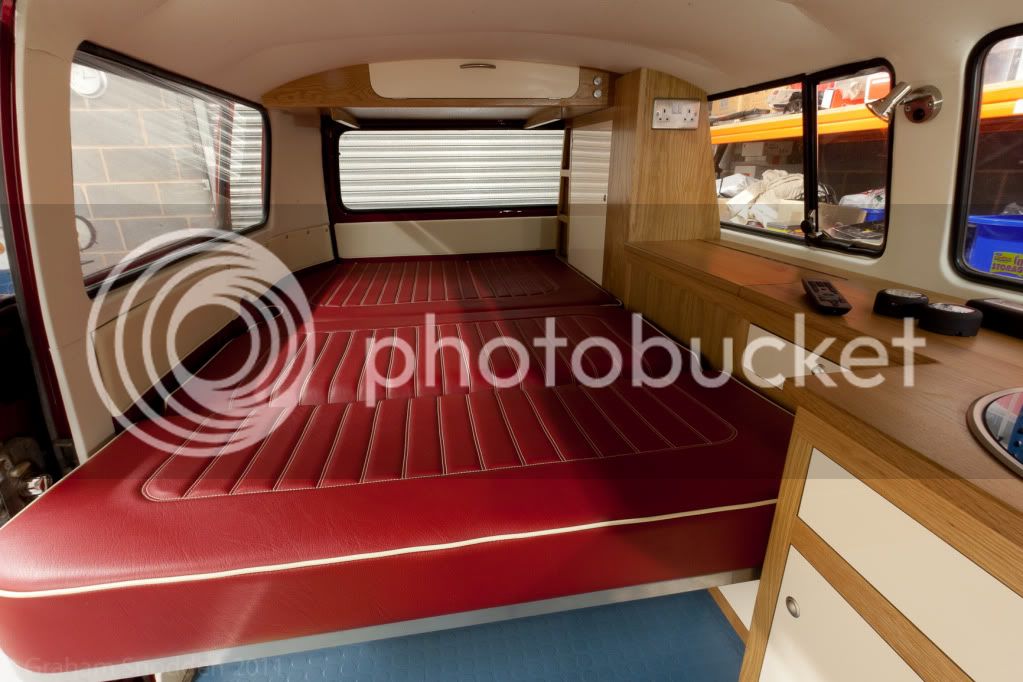
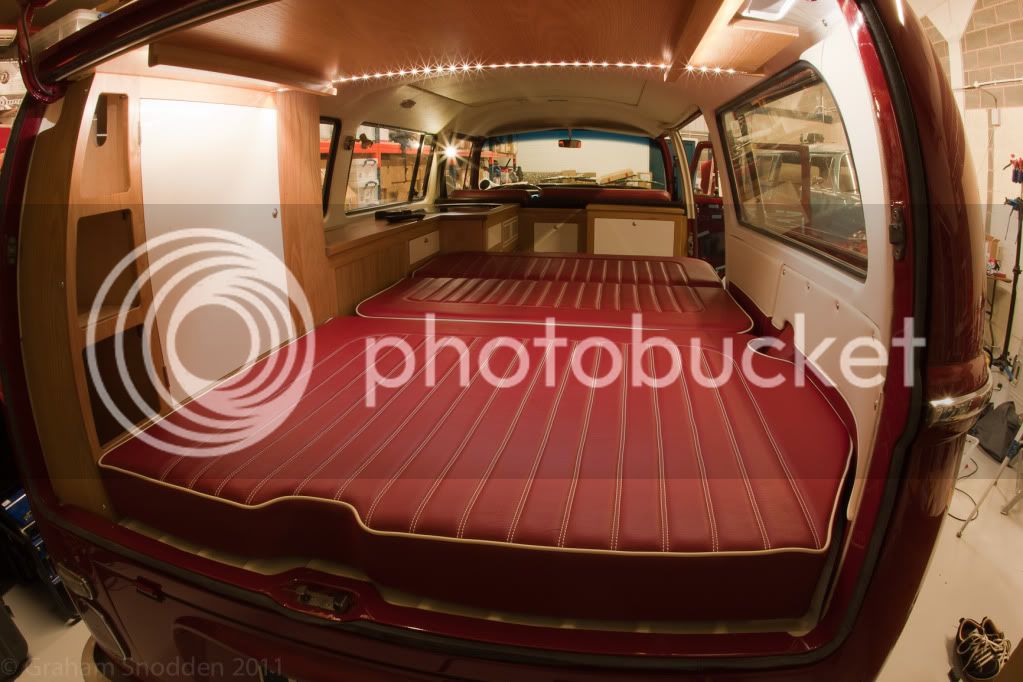
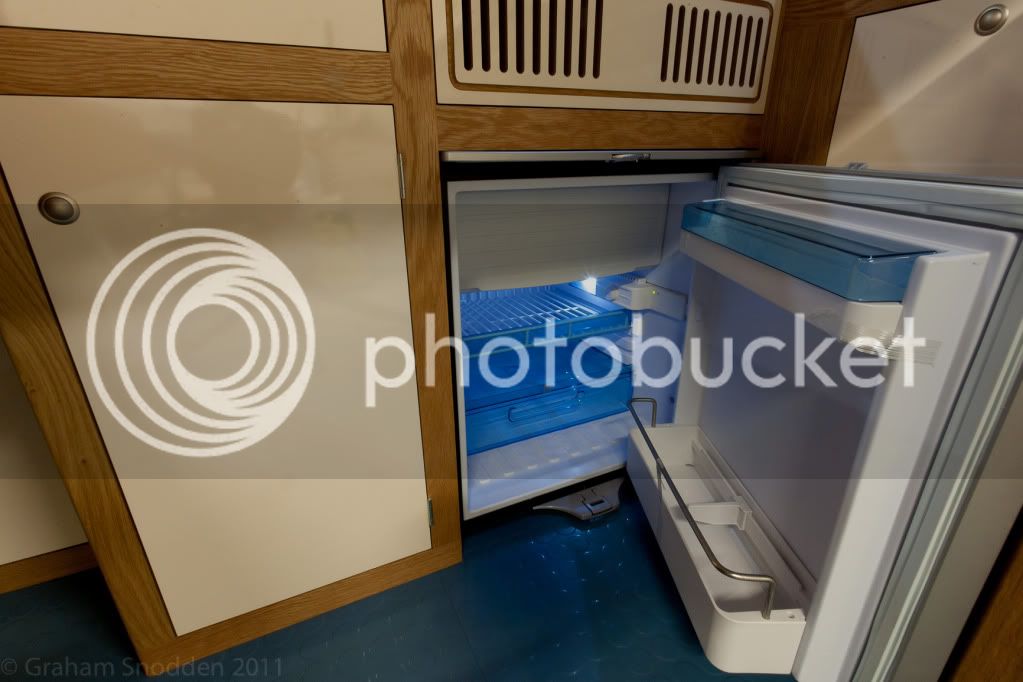
We wanted to have a bit of a twist on the panel above the fridge which is usually mesh or similar to act as a vent for the fridge, we thought about what was iconic for an Early Bay exterior that we could bring inside & thought that the grille was one of the most recognisable features, so we (well Scott) spent hours freehand with a Router making the vent above the fridge look as it does.
The Waeco compressor fridge is ridiculously efficient
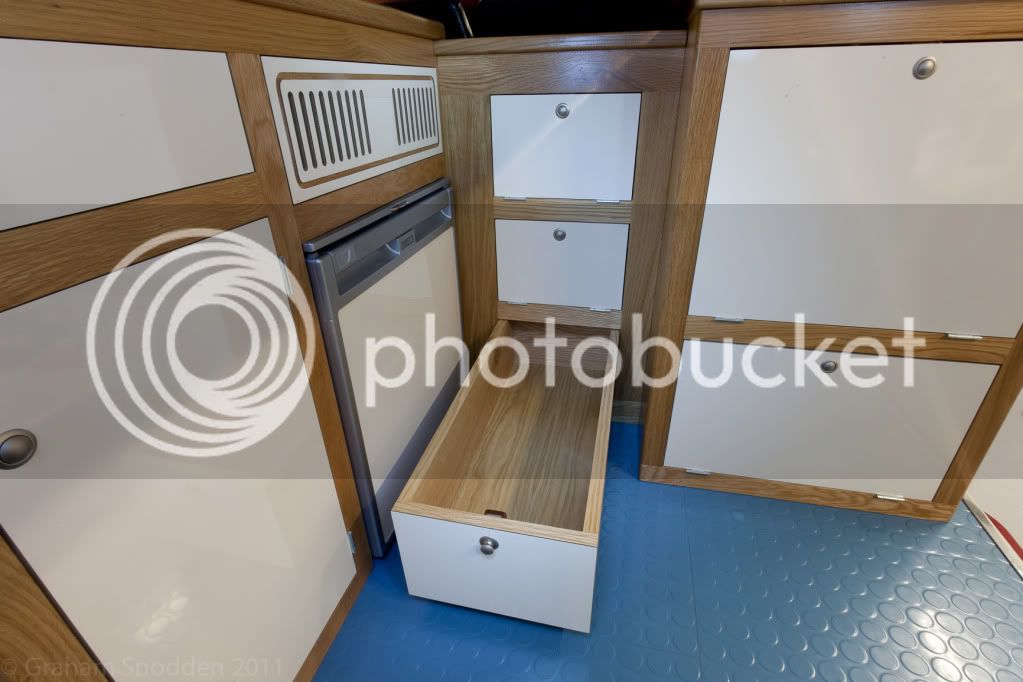
As we had utilised an M501 walk thru conversion, we had an opportunity to use the space to the best possible effect & so we have a cavernous drawer which goes all the way to the front & 2 smaller cupboards above
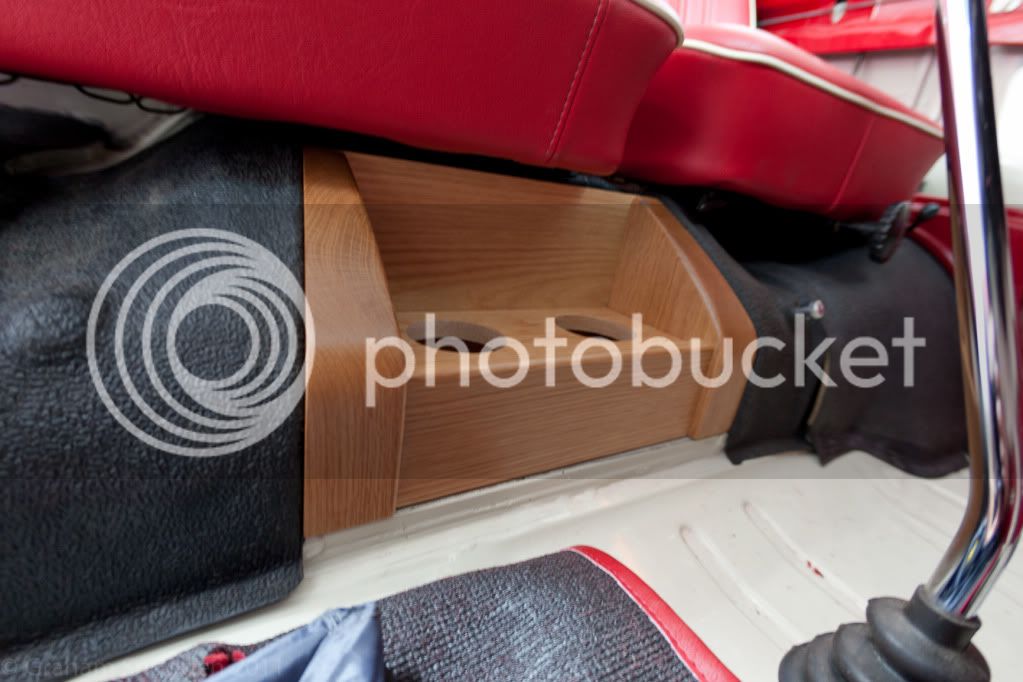
At the front sits a very neat cup holder
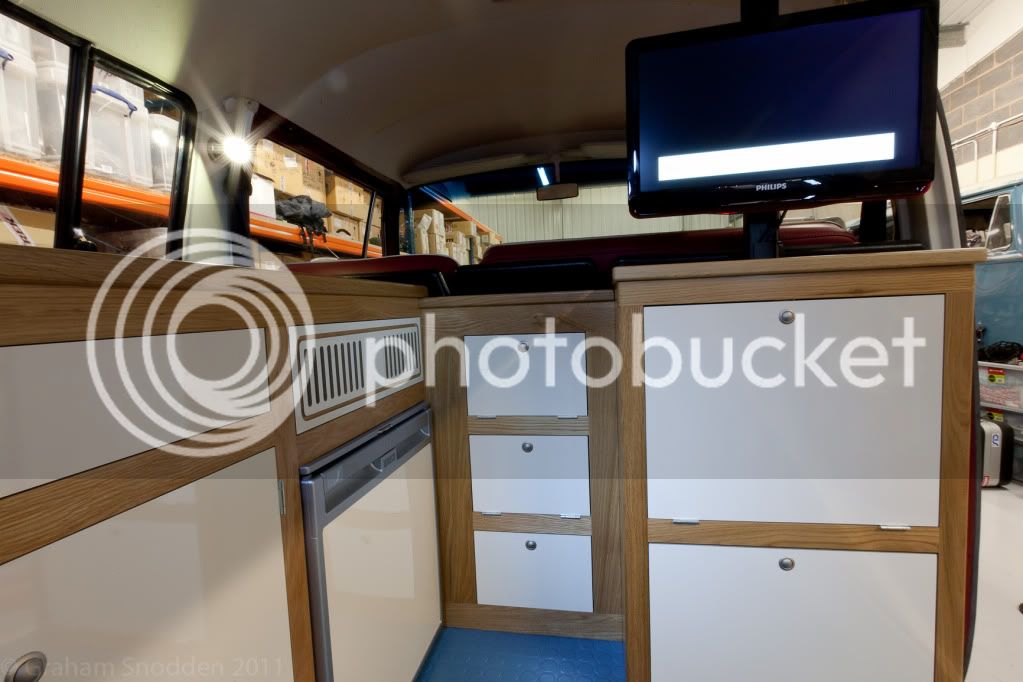
TV sits on a mechanical lifter so, now you see it
Now you dont !
There will be a buddy seat here attached to the TV panel, we are working on a quick release mechanism to give us the option of using it or not, but the interior will look just as good when its in or out.
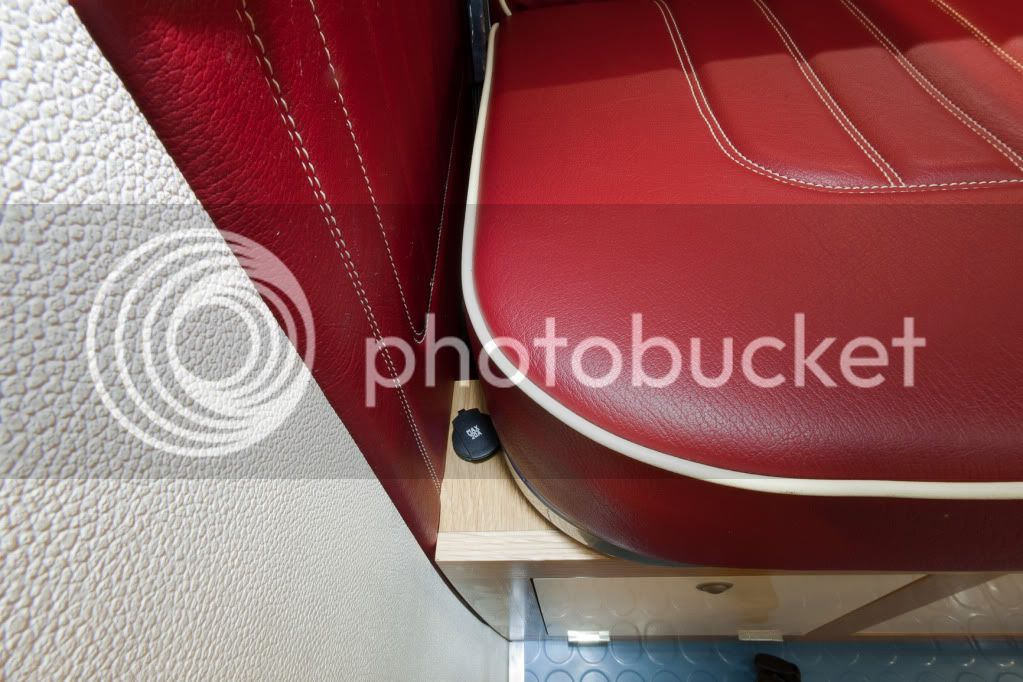
As we have 2 young children who seem to need a 12V plug for everything they own, we have fiitted them their own 12V sockets on either side of the rear seat.
Loving the detail of the Bromsgrove trimming, absolutely stunning !
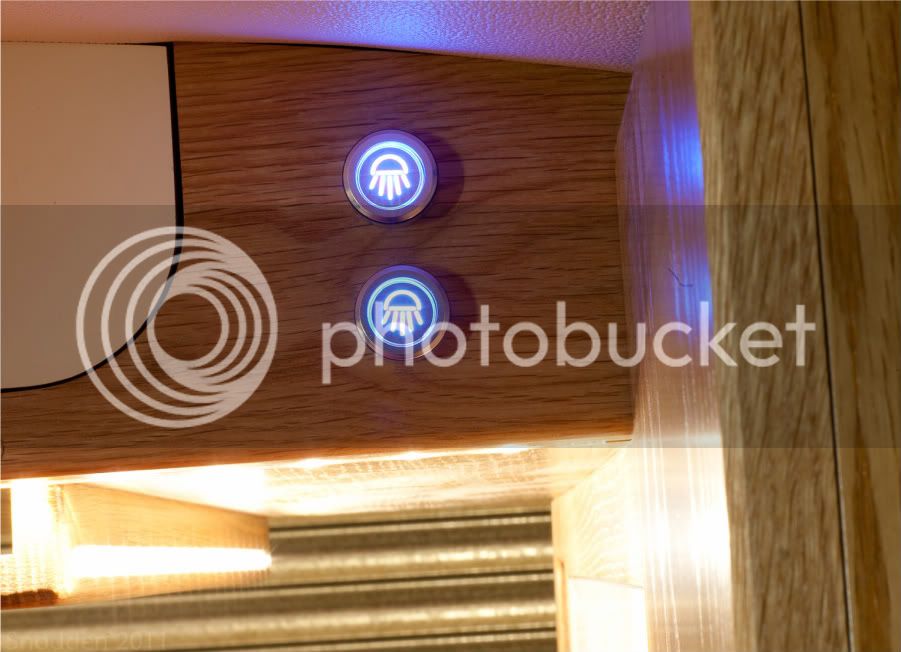
I love the lightswitches, kind of Electric Jellyfish Space invaders :roll: :roll:
Thats all for now, I have a full weekend of working on it, lots of jobs still to do, curtains & carpet in the front, door cards & wiring for the auxillary gauges.
Will post more images as I go.
Hope you like it, Cornwall in 2 weeks here we come................
Its seems such along time ago when we planned the interior colour scheme to reflect the exterior, we chose the materials, wood, flooring etc before the exterior was painted, luckily, I think we got it about right
The biggest gamble was the formica doors, Scott at SJH Joinery looked at me as if I had 2 heads when we said, no to solid oak doors, I think he has changed his mind now ...
The interior is looking like this currently, the sunken LED lights are far more subtle when you see the bus in the flesh, but to get the detail in the image, I had to over expose the image slightly making them look much brighter than they really are. The bonus with them is that I have lots & lots of light for a total of 3.2 watts, which should be really gentle on the leisure battery

Its all coming together really well


We wanted to have a bit of a twist on the panel above the fridge which is usually mesh or similar to act as a vent for the fridge, we thought about what was iconic for an Early Bay exterior that we could bring inside & thought that the grille was one of the most recognisable features, so we (well Scott) spent hours freehand with a Router making the vent above the fridge look as it does.
The Waeco compressor fridge is ridiculously efficient

As we had utilised an M501 walk thru conversion, we had an opportunity to use the space to the best possible effect & so we have a cavernous drawer which goes all the way to the front & 2 smaller cupboards above

At the front sits a very neat cup holder

TV sits on a mechanical lifter so, now you see it

Now you dont !

There will be a buddy seat here attached to the TV panel, we are working on a quick release mechanism to give us the option of using it or not, but the interior will look just as good when its in or out.
As we have 2 young children who seem to need a 12V plug for everything they own, we have fiitted them their own 12V sockets on either side of the rear seat.
Loving the detail of the Bromsgrove trimming, absolutely stunning !

I love the lightswitches, kind of Electric Jellyfish Space invaders :roll: :roll:

Thats all for now, I have a full weekend of working on it, lots of jobs still to do, curtains & carpet in the front, door cards & wiring for the auxillary gauges.
Will post more images as I go.
Hope you like it, Cornwall in 2 weeks here we come................
5erge
Well-known member
They've made a complete mess of that, get them to rip it all out and start again. They should be very ashamed of themselves :mrgreen:
Des
Des
ground hugger
Well-known member
Very nice loving the oak and formica 8) and the double stitching realy shows the quality of them seat/bed covers 8)

$25.18
Airfix Quickbuild Volkswagen Camper Van Red Brick Building Plastic Model Kit J6017, Multicolour
Amazon Global Store UK

$9.94
$10.95
Empi 00-4428-B VW Bug, Beetle, Sun Visor Clips, Type 1, 68-79, Black, Pair
MOORE PARTS SOURCE

$18.83
$20.20
Empi 11-4521-B VW Bug, Beetle, Window Cranks, 68 & Later, Pair
✅ Dune Buggy Warehouse

$34.44
Window Sash, 1 Piece Windows,for Beetle 58-64 & 68-77, Pair, Compatible with Dune Buggy
Appletree Automotive

$7.75
Window Crank Cover, for Beetle, Bus & Ghia 68-79, Black, Ea, Compatible with Dune Buggy
Appletree Automotive

$47.90
maXpeedingrods Front Driver Side Window Regulator For VW Volkswagen Eos 2008 2009-2016 1Q0837461G
maXpeedingrods-us
Mr Brightside
Well-known member
- Joined
- Aug 4, 2010
- Messages
- 717
- Reaction score
- 0
:beerchug:leon said:Nice use of space graham. Love the little holder under the front seats. :mrgreen:
Cheers Leon
Not long now
sjhjoinery
Well-known member
I don't remember fitting those LED's into the worktop!! :lol: :lol:
Liking your photo's way better than the ones I took looks like I'm gonna have to :msn4: them!! :lol:
I thought there might have been champer's in the fridge cooling or you saving that for me?
cheers! just practising :lol:
Liking your photo's way better than the ones I took looks like I'm gonna have to :msn4: them!! :lol:
I thought there might have been champer's in the fridge cooling or you saving that for me?
cheers! just practising :lol:
lard
Well-known member
Hi
Loving the lights - have been looking for some decent latch on metal led switches - just a case of finding a range with enough different variations !
Sent from my LT15i using Tapatalk
Loving the lights - have been looking for some decent latch on metal led switches - just a case of finding a range with enough different variations !
Sent from my LT15i using Tapatalk
Mr Brightside
Well-known member
- Joined
- Aug 4, 2010
- Messages
- 717
- Reaction score
- 0
lard said:Hi
Loving the lights - have been looking for some decent latch on metal led switches - just a case of finding a range with enough different variations !
Sent from my LT15i using Tapatalk
Thanks Lard, Have a look Here, there are lots of variations, available through a few places but easiest (although not the cheapest) is Demon Tweeks, they list 21 different switches in that style
G
Mr Brightside
Well-known member
- Joined
- Aug 4, 2010
- Messages
- 717
- Reaction score
- 0
:lol: :lol: :lol:5erge said:They've made a complete mess of that, get them to rip it all out and start again. They should be very ashamed of themselves :mrgreen:
Des
Thanks Andy, so you are not sure if you like it or not then :?: :?:gninnam said:Nothing to say really apart from :shock: 8) :mrgreen:
:msn4:
arty0053:
arty0049:
arty0041: :bliss:
arty0046: :fyou: :rocknroll:
arty0002: :beerchug:
arty0003: :anim_19: :alc:
arty0023:
ground hugger said:Very nice loving the oak and formica 8) and the double stitching realy shows the quality of them seat/bed covers 8)
Thanks, really pleased how it turned out
G
slammedresto
Well-known member
in all the time ive spent here, that the most spectacularly well thought out and acheived interior ive every seen, and thats not even mentioning the outside of the bus, bloody fantastic work
8) 8) 8) 8) 8) 8) 8) 8) 8) 8)
8) 8) 8) 8) 8) 8) 8) 8) 8) 8)
Mr Brightside
Well-known member
- Joined
- Aug 4, 2010
- Messages
- 717
- Reaction score
- 0
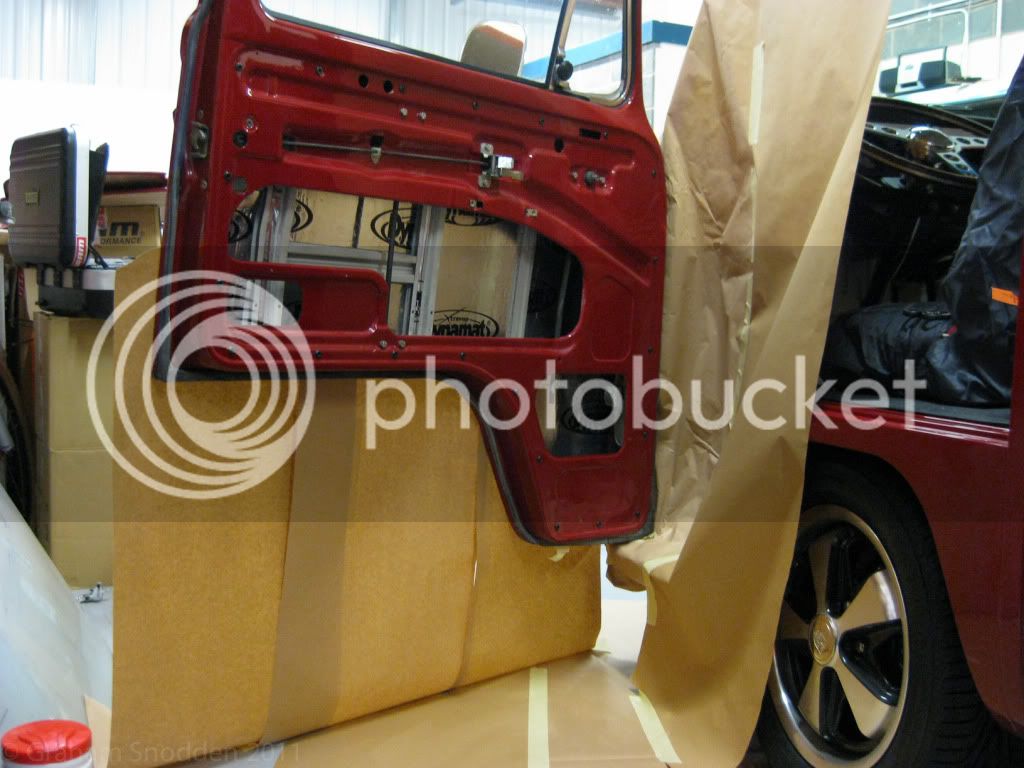
Spent a few hours yesterday finishing a few things in the cab area, carpet & door cards, wired in an original FM radio I picked on here using a single 6x9 which mounts quite easily into the original speaker hole.
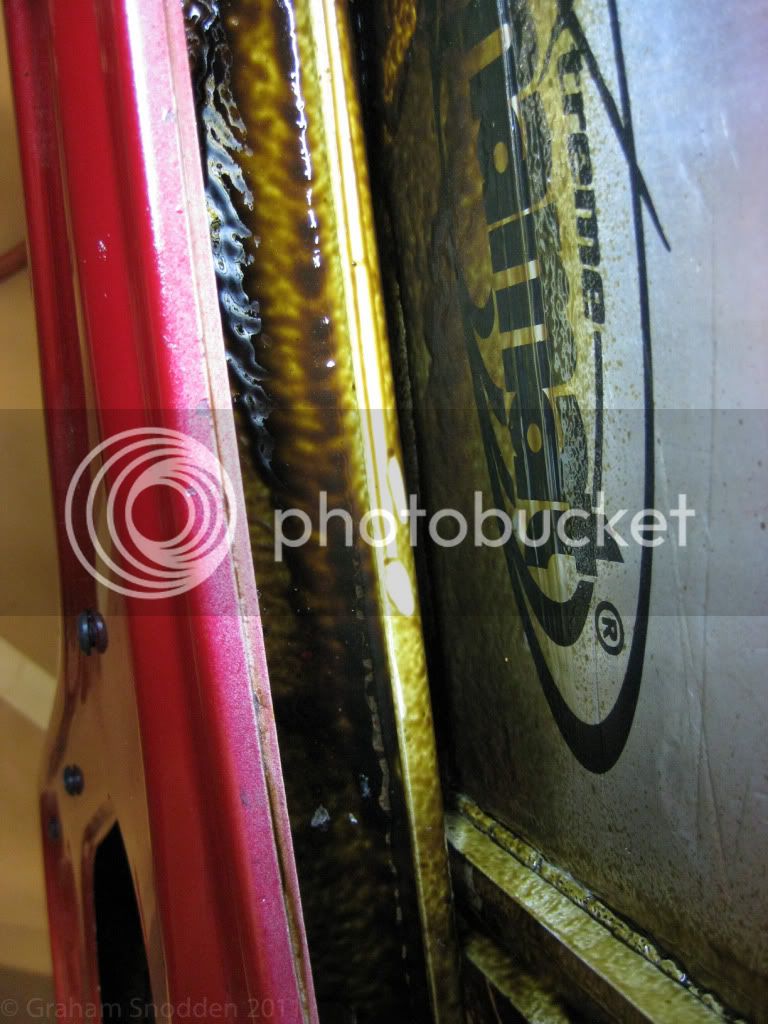
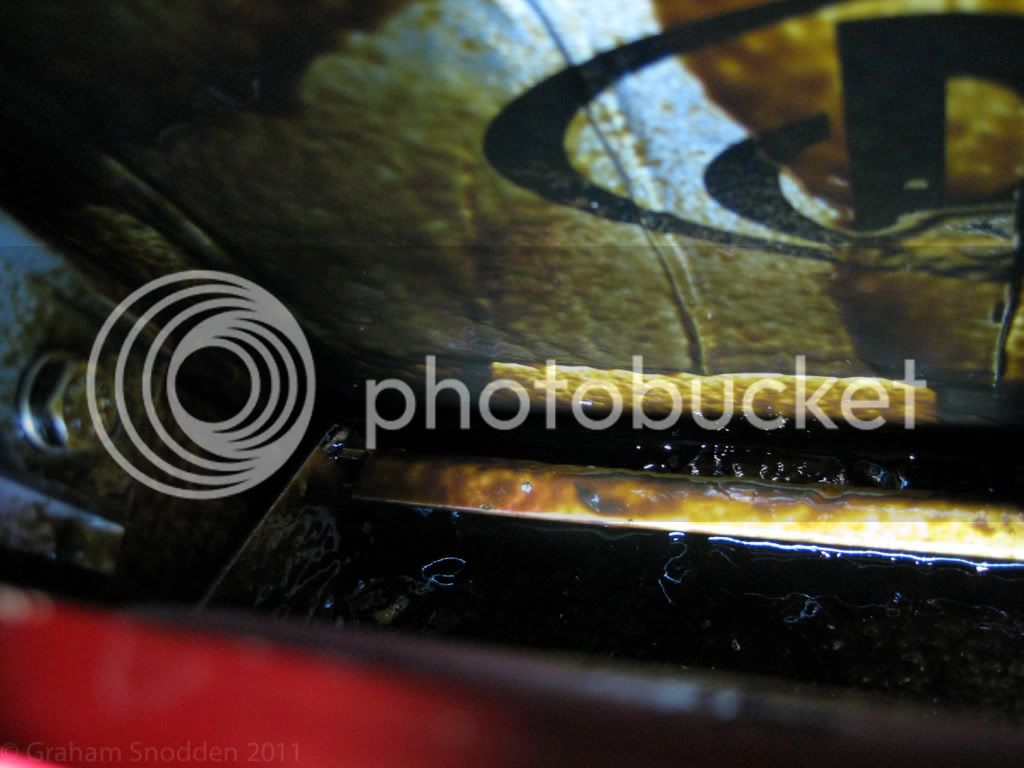
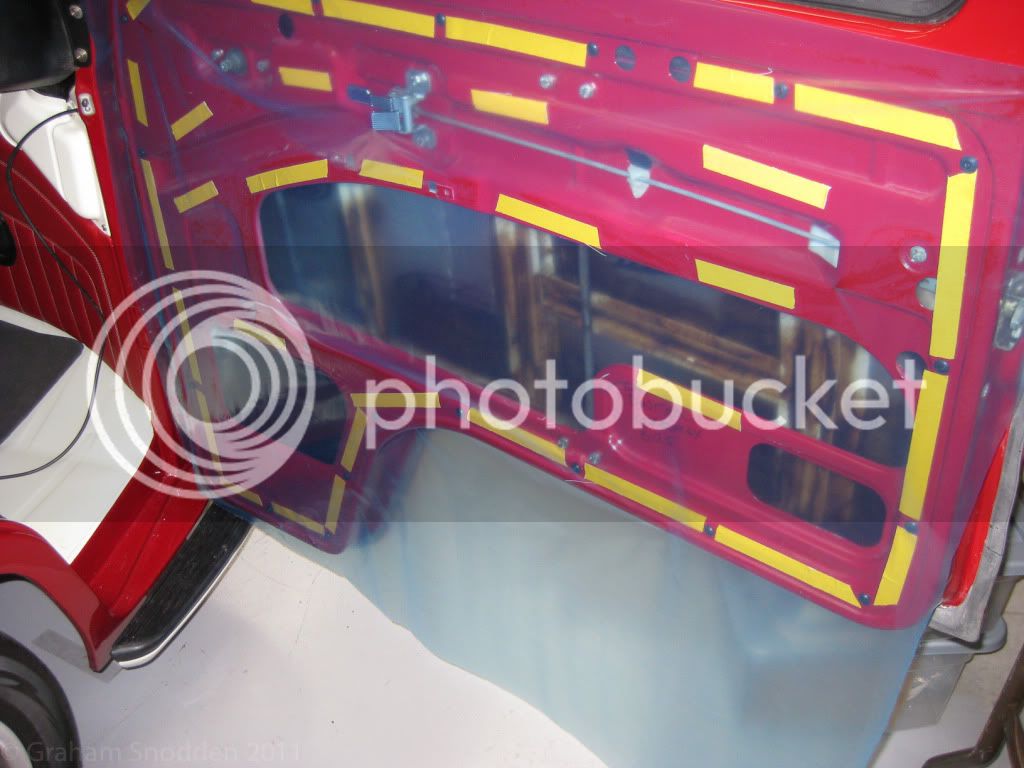
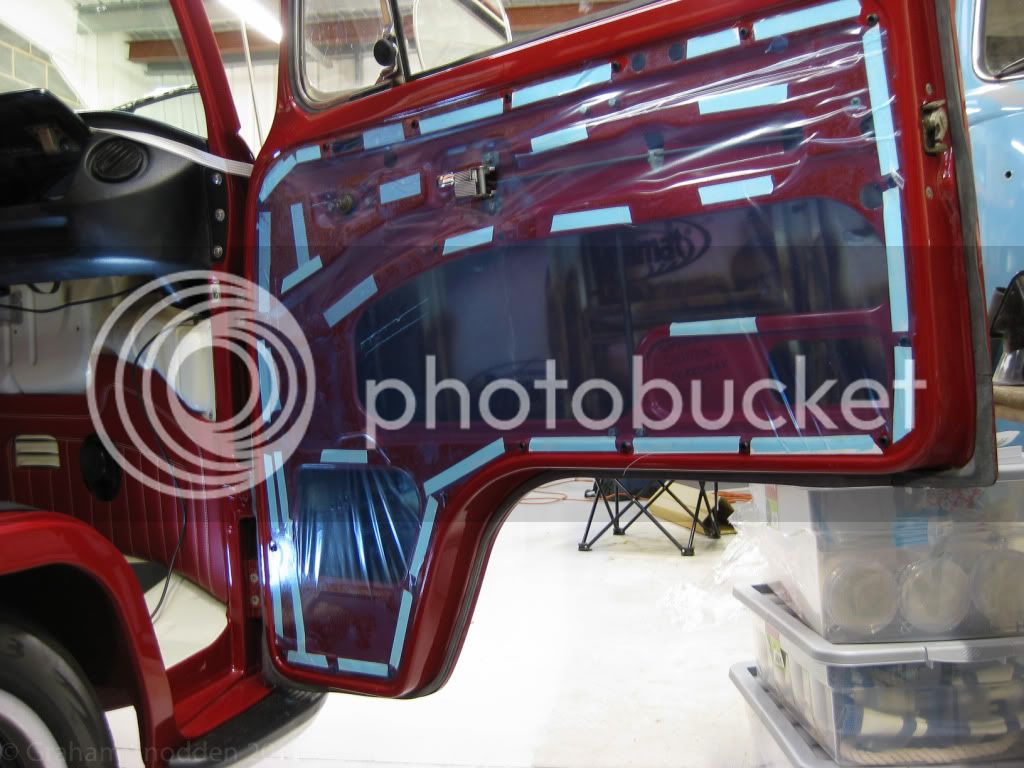
The doors were given a layer of Dynamat & then a generous coating of Dinitrol corrosion inhibiting wax & then a sheet of the self adhesive door card polythene (thanks Mick :beerchug & then the door cards & door furniture
Finished !
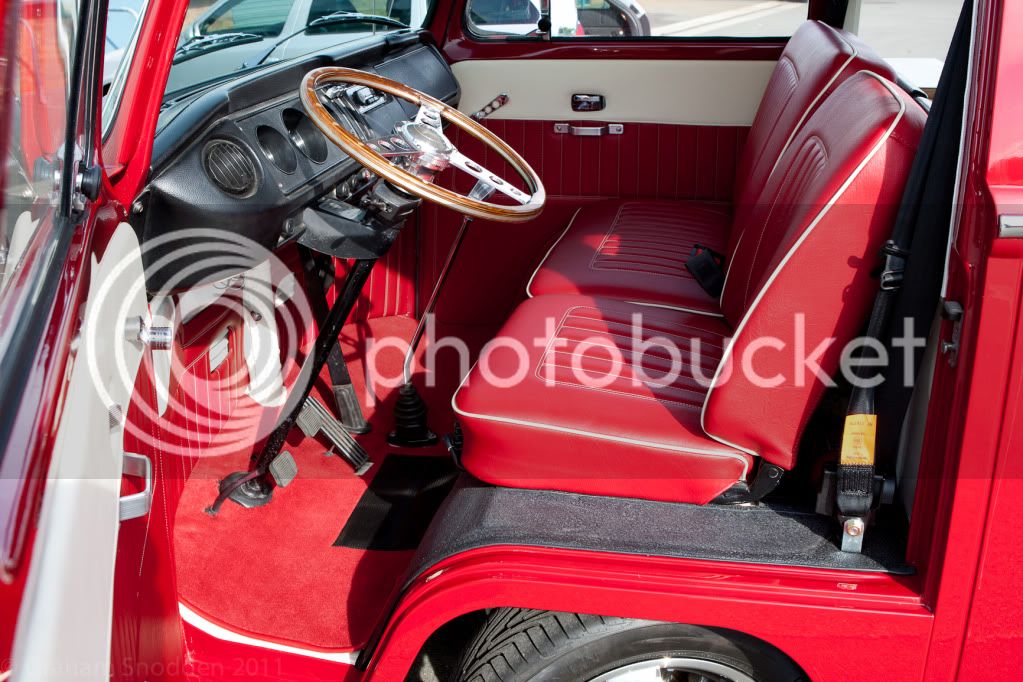
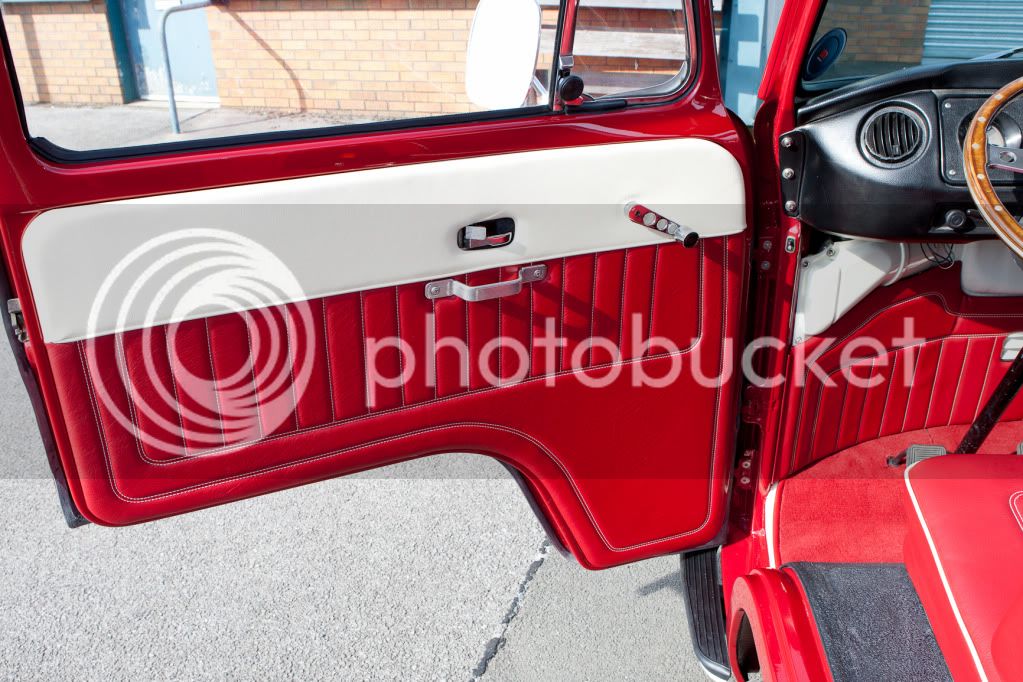
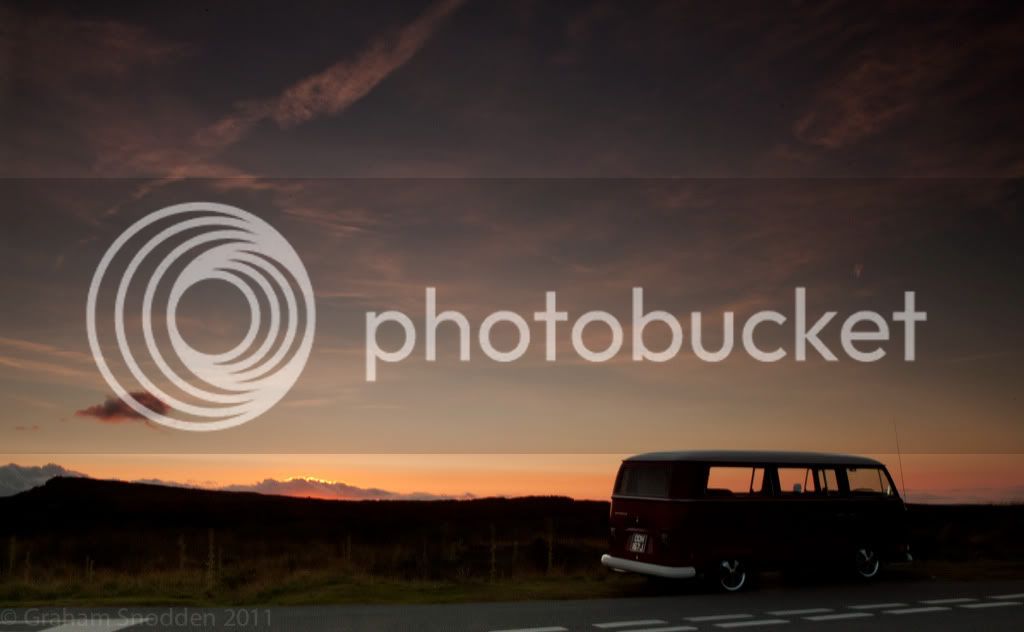
Took it out for an evening spin in the Peak District
The doors were given a layer of Dynamat & then a generous coating of Dinitrol corrosion inhibiting wax & then a sheet of the self adhesive door card polythene (thanks Mick :beerchug


Finished !


Took it out for an evening spin in the Peak District

Remon T2a
Well-known member
Stunning... :shock:
Hi,
I don't post on the forum that much, eventhough I use it religiously for a resource, but I just had to comment on this. I remember seeing your bus in Graham's place last year, (mine was te SA Westy in there at the time). Back then it was in it's Sierra Yellow which I liked and when I discovered you was going for a completely different colour to be completely honest I thought (in my opinion) it was a bad decision...
But looking through this thread today I can honestky eat my humble pie - wht you've done to this bus is absolutely stunning.. the detail is impeccable and the colours all work so well together, so really well done, congratulations on a truly gorgeous VW!
P.S I'm sure you will but use it and make sure you enter plenty of show & shines, must be nice to know you'll win each one hands down!!
Congrats again... you in the near future >>> :anim_19:
Matt
cotswoldiver
Well-known member
Stunning is the right word Graham ... looks terrific and very usable. Our TV/DVD is on a slider as well and I love the way you don't even know its there. Great for the kids when there is a run of rainy days.
Compared with our oak finish yours looks every bit as good an effect, and probably much more practical than ours .. like the led
Look forward to seeing this in the flesh, just hope that bike rack doesn't spoil the look :lol:
Compared with our oak finish yours looks every bit as good an effect, and probably much more practical than ours .. like the led
Look forward to seeing this in the flesh, just hope that bike rack doesn't spoil the look :lol:
Resto-raider
Well-known member
That is simply awesome and jawdropping. The attention to detail is great and I must say that this is one of the nicest campers I have seen for a while. Most of us can only dream of such a stunning bus.
G
Guest
Guest
just incredible! i dont think ive seen another interior as well thought out! 8)
you made the right decision about the unit doors as well. hints toward the way devon used to do it. Just stunning!
you made the right decision about the unit doors as well. hints toward the way devon used to do it. Just stunning!


