Introducing Mr Brightside's Midlands Makeover............

Early Bay Forum

Help Support Early Bay Forum:

This site may earn a commission from merchant affiliate links, including eBay, Amazon, and others.
Remon T2a said:
Mr Brightside said:
Remon T2a said:
One question : didn't you had to remove the bracket for the brakeline?

Oh, hang on, are you referring to the brake bracket on the inner arch?

I think they had to remove it in the magazine article as the plates fouled it. Mine did not so no need to remove.

I guess every bus is slightly different

Hope this helps

Ok thanks, when I am this far, first check out where the wishbone comes before just cutting the bracket away.

Keep on posting pic's.

I had cut and reposition my brake line bracket, which fouled the sideplates by 1cm :evil:

Also those bolts need painting, they go all rusty after a while.

Des
 
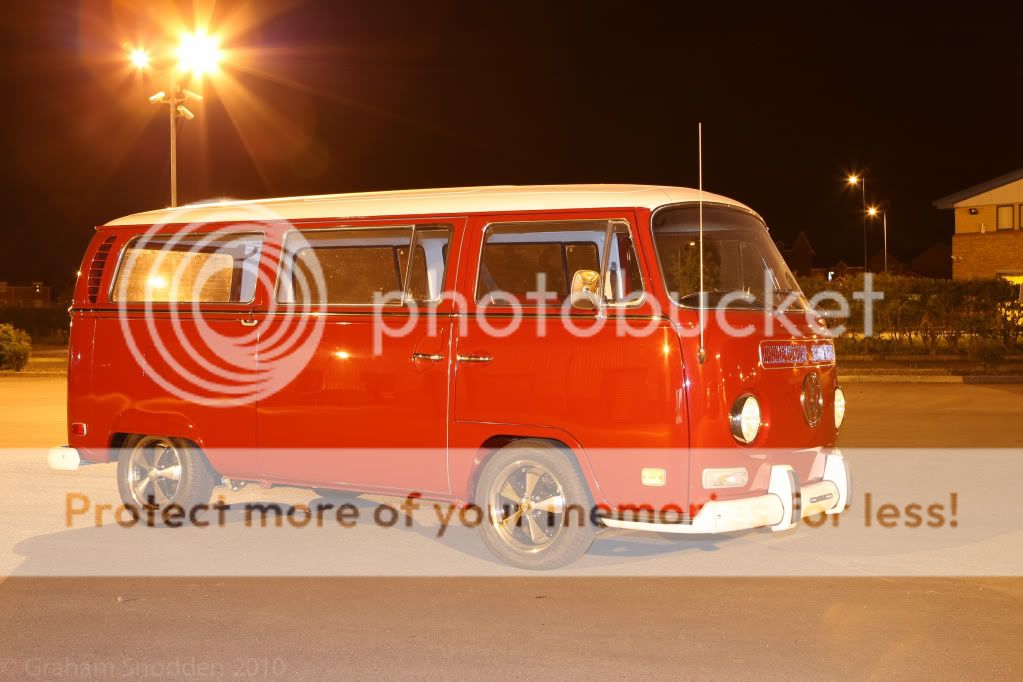
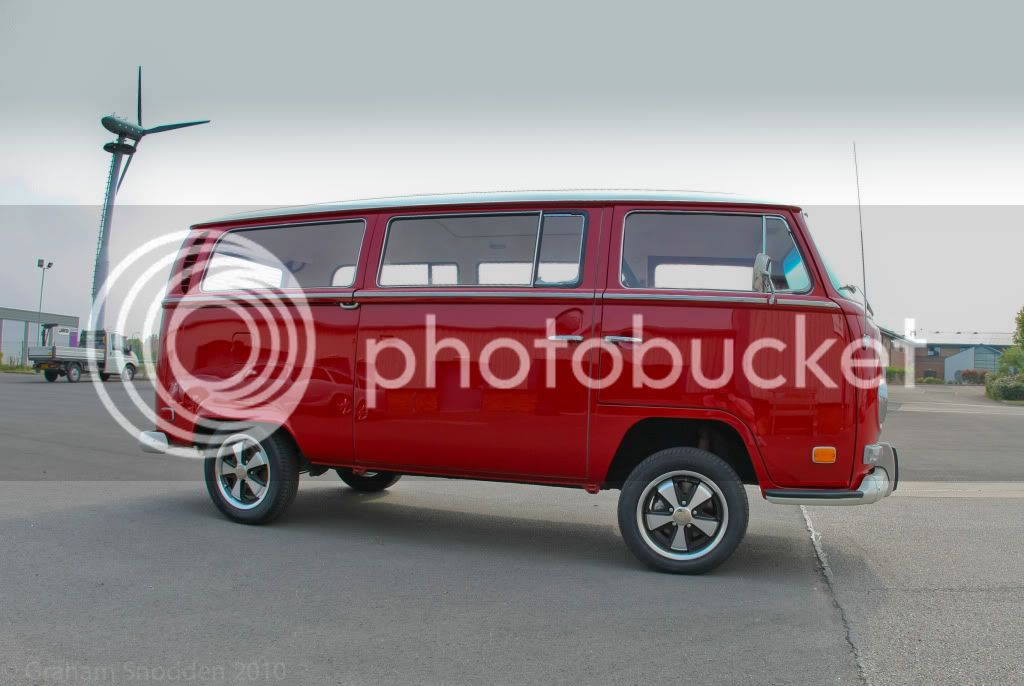
So finally, Mr Brightside has his head out of the clouds & is sitting at a sensible height, the ride height is not finalised yet, going to drive it around a little to let it settle first, looks much, much better :D

What do you think ?

loweredBrightside-1.jpg


As it was...............

arch-1.jpg


PS, excuse the dirty state, its not been washed since having under the arches sprayed :(
 
Thats one top looking bus you have their.
I'd say the ride height is about spot on to start with, before you get the lowering bug and it keeps getting nearer the ground.

At least you wont be ducking when you go under bridges anymore :D
 
Hi Graham

Looks about spot on to me as well, as its a family bus I think you've got it set about right for comfort. I'll be interested to know how the bus rides as well, have you gone slamwerks spring plates at the rear?
 
Graham L said:
Hi Graham

Looks about spot on to me as well, as its a family bus I think you've got it set about right for comfort. I'll be interested to know how the bus rides as well, have you gone slamwerks spring plates at the rear?

Didn't finish until 11:00 last night & so really didnt get much time to drive it.

First impressions are the steering feels very direct & quite light, the ride is quite a bit firmer than stock, but not overly harsh.

Its set on the second to highest hole (of 4) on the Red9 chassis holes & midway on the coilover adjustment, so I have plenty of room to move either quickly via the coil adjust or if I want to dramatically lower it, its not a massive job to move the side plates on the chassis holes.

Rears are Slamwerks adjustable plates :)


Overall, I am quite happy with the stance, final adjustments will be made when the interior goes & in & the general stuff we will need is loaded up.

I was a little unsure if I had missed something when it came to fit the Red9 kit, as I was expecting more pain & heartache than I actually got fitting it. The only real pain was removing the arm from the steering box, I was lucky to have a well lit, warm & dry garage with a decent height jack & axle stand & the knowledge that I can run to the forum to seek out help :)

That made a big difference
 
Spent some time on the interior this weekend, getting it ready to go for the Camping interior.

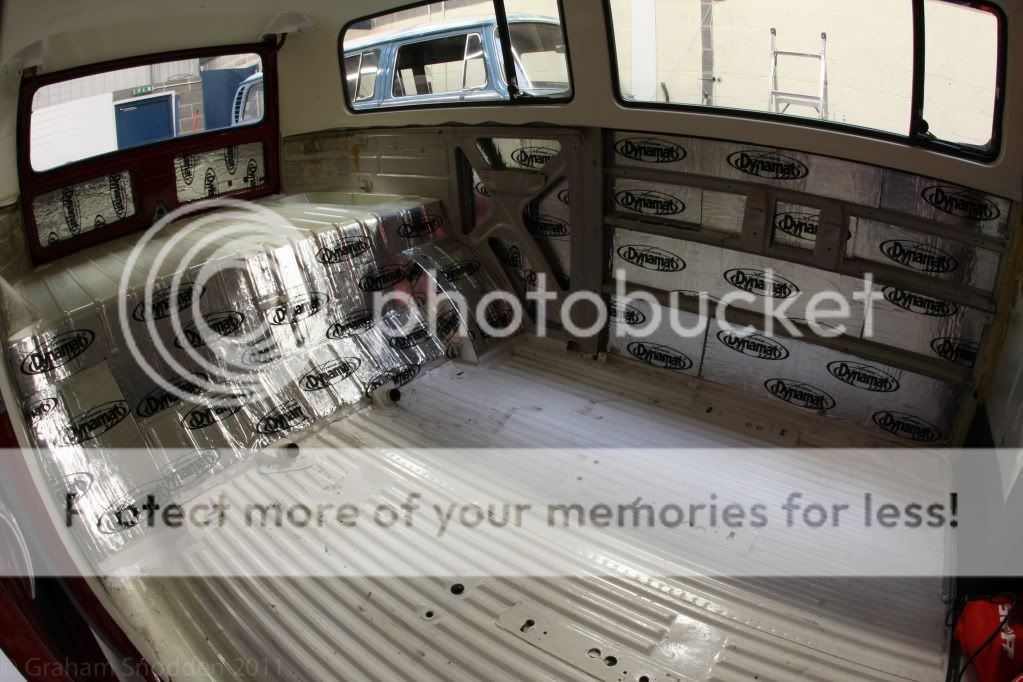
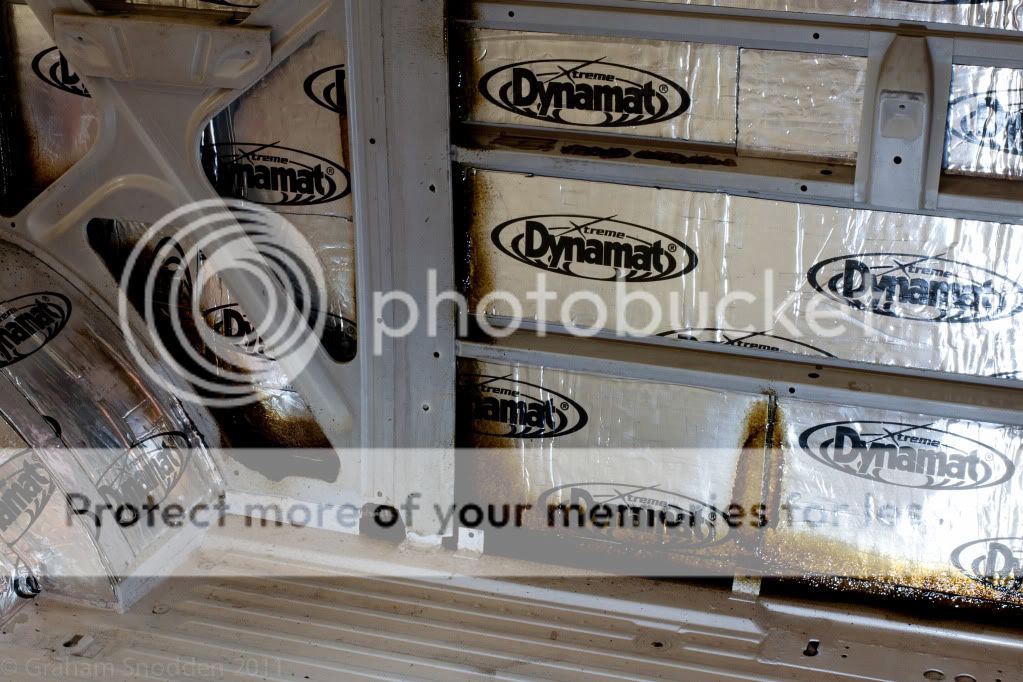
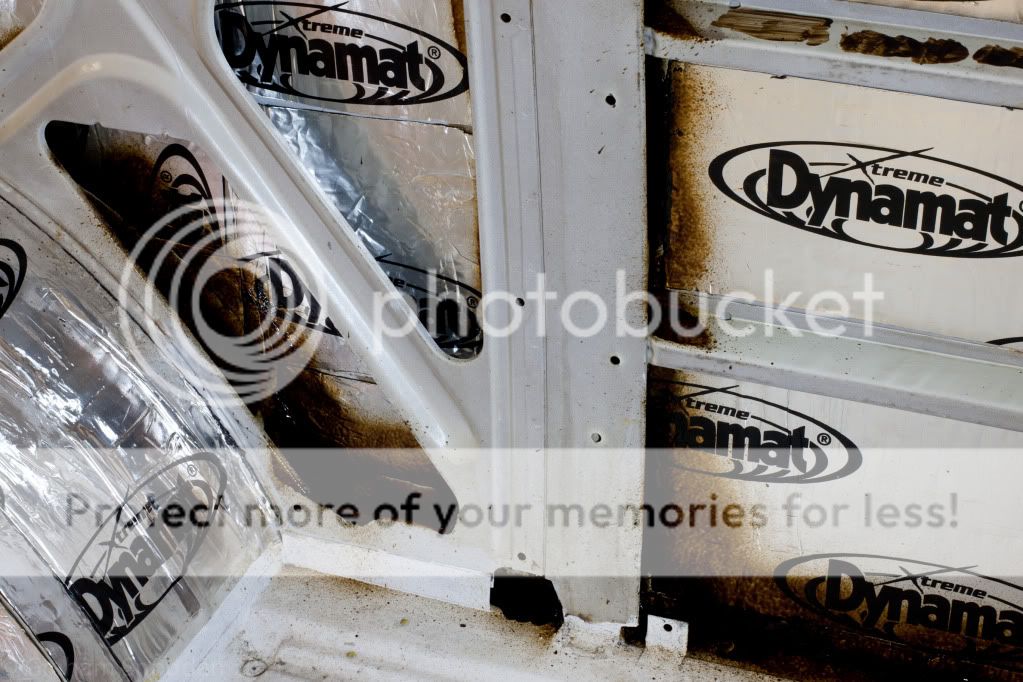
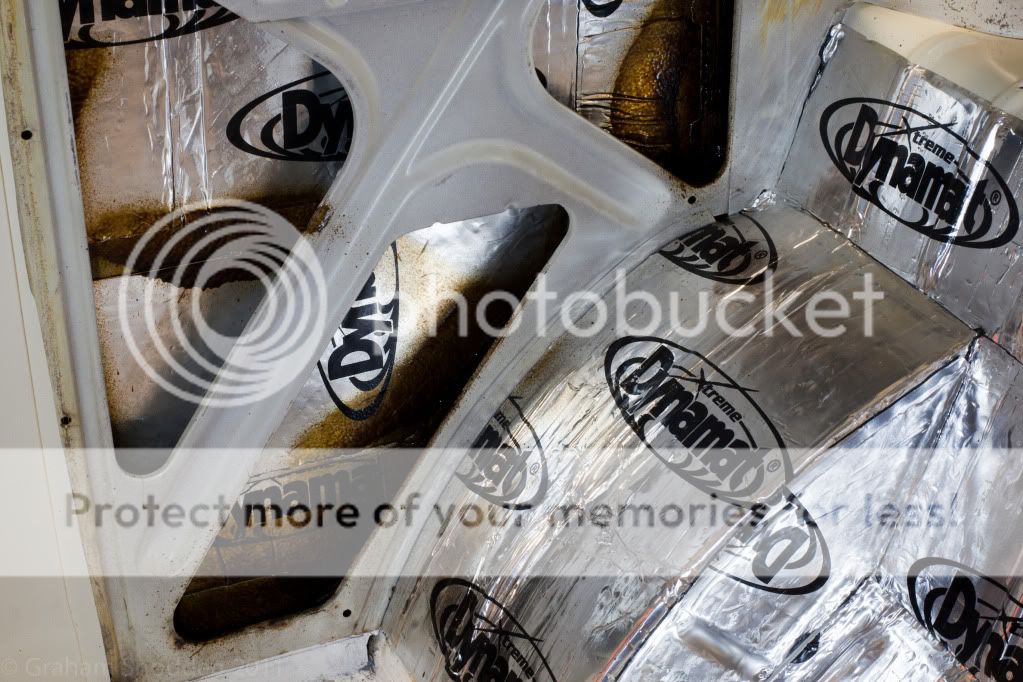
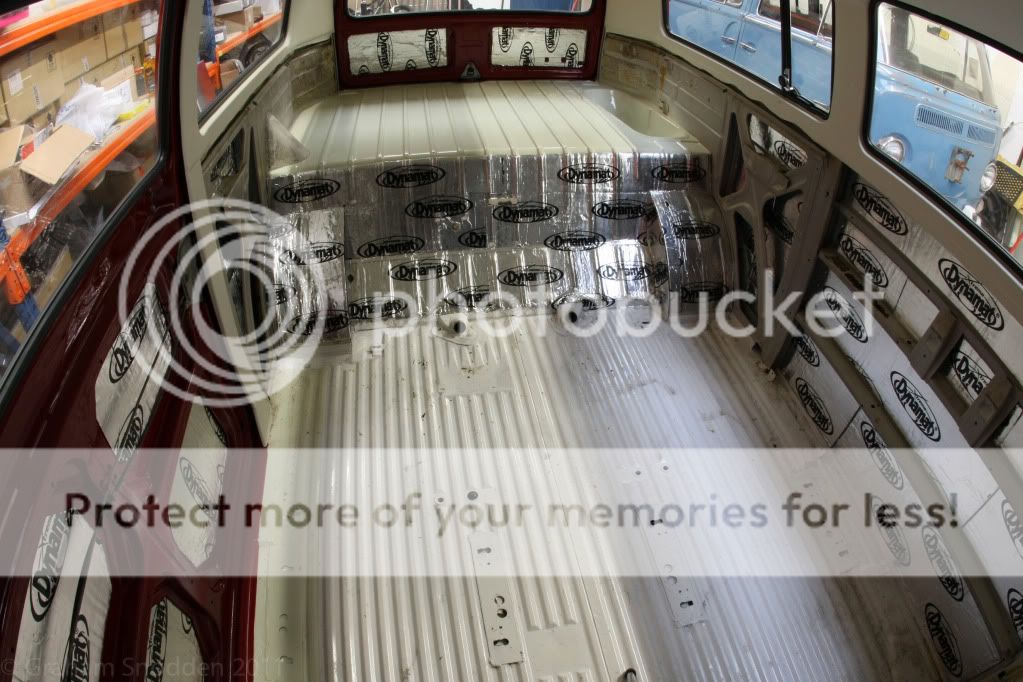
Gave the interior at the rear a covering with Dynamat Extreme, it has made a huge difference to how the panels sound, the tailgate & sling door close with a much more solid sound.

Wasn't too bad to do, just needed a little planning, patience & warming with a hot air gun.

dynamat-1.jpg


dynamat-2.jpg


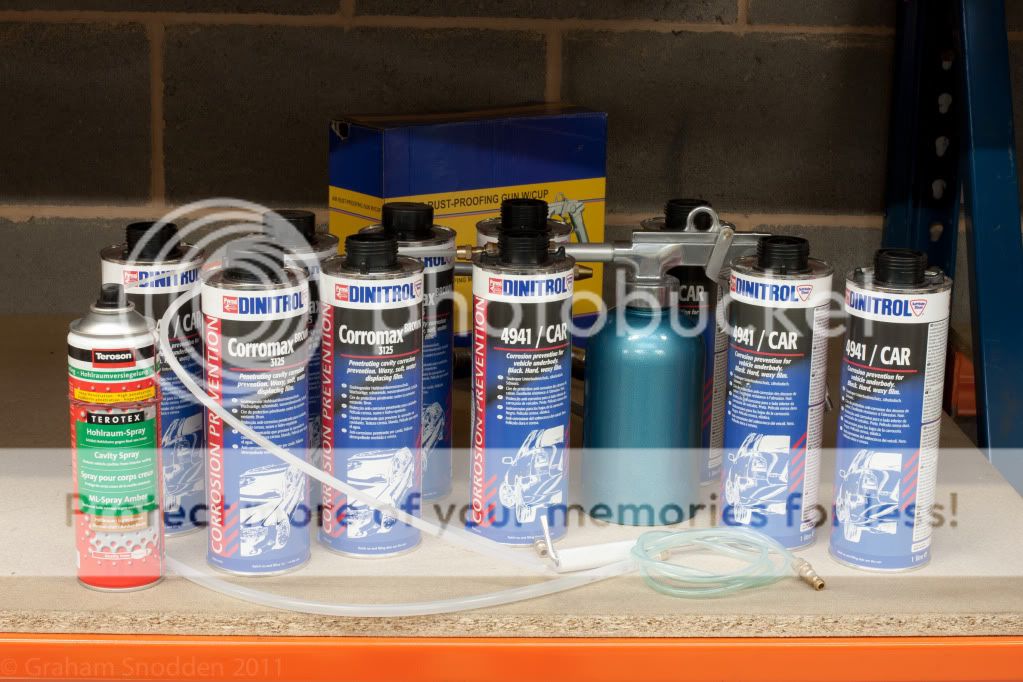
Got the Dintrol kit ready, the 3125 is a cavity wax with rust inhibitor, as I can get to all of the parts I was doing today, I can just screw the Shutz gun straight on, I will need to use the blue gun with the lance extentions when I do the box sections & more difficult areas. The 4941 is a much thicker stuff for the underside.

dynamat-3.jpg


Gave all of the nooks & cranny's a blast & a good coating, thought it would smell really horribly, but it is almost odourless.

dynamat-4.jpg


dynamat-5.jpg


dynamat-6.jpg


Thats it, all ready to go tomorrow to Scott at SJH Joinery

Nearly all done, Looking forward to getting out in it
 
Hi All,

I have been quiet for a while whilst I have been sourcing the final parts for the bus.

It is currently in the very capable hands of Scott & Dave at SJH Joinery in Derbyshire, they have a brief to make us a useable interior that is not over fussy but has a few hidden toys.

Their work is very impressive & almost complete, so until I can post fully, here are a few taster images of the progress

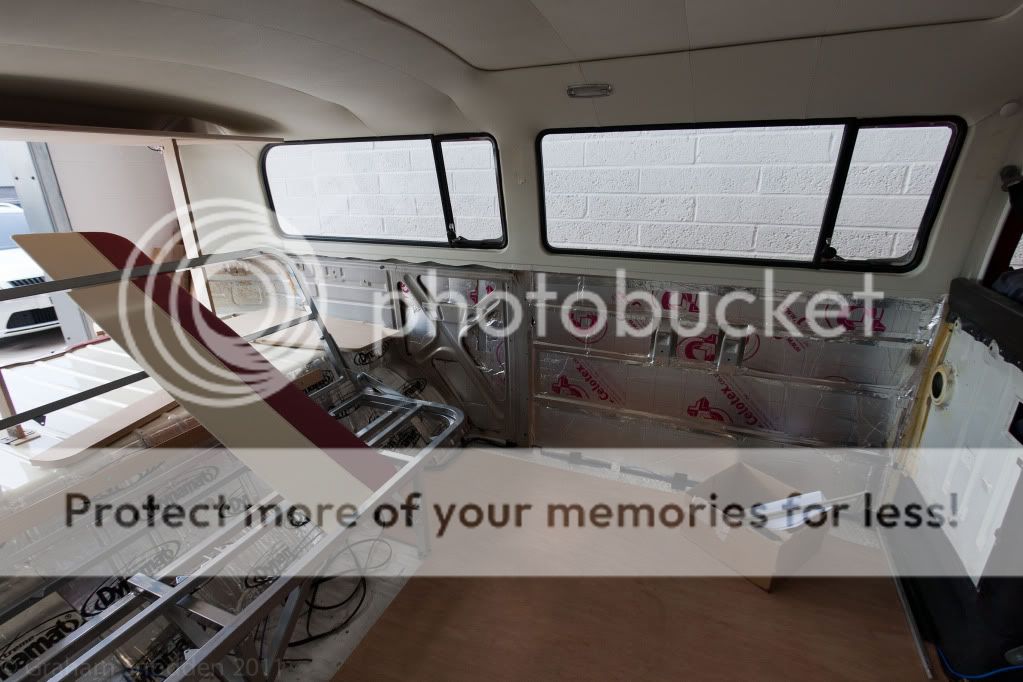
SJH-1.jpg

Rock n Roll bed in, Celotex insulation covering the Dynamat to keep us toasty warm, 2 layers of Ply flooring.


SJH-2.jpg

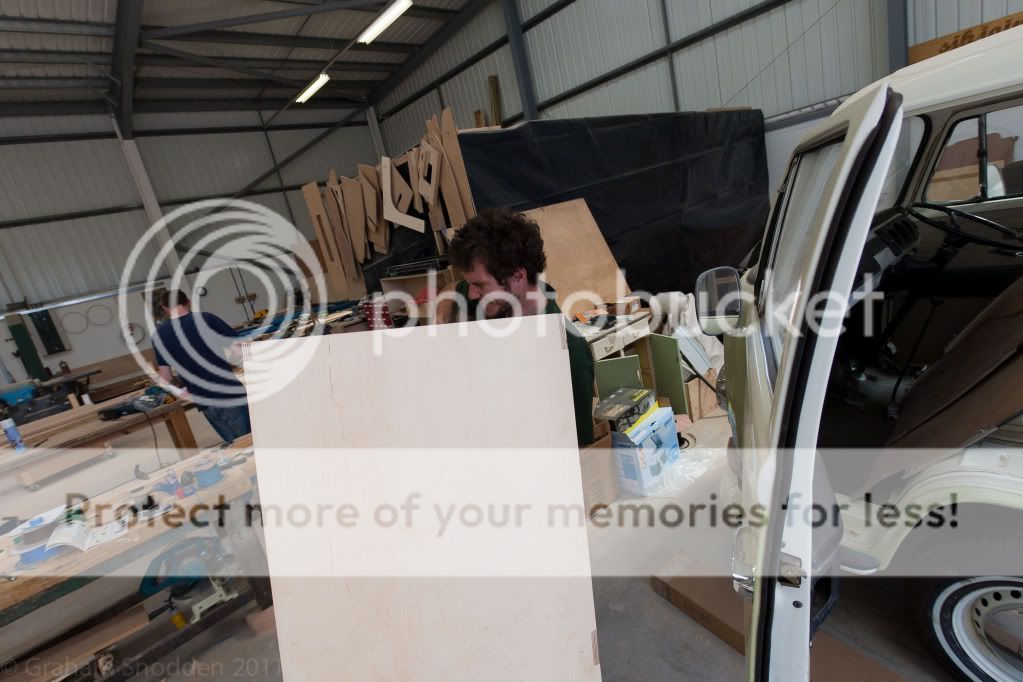
SJH's new premises, all brand new & sparkling, some serious big boys toys (the woodworking kind) that will have your arm off in a jiffy :shock:


SJH-20.jpg

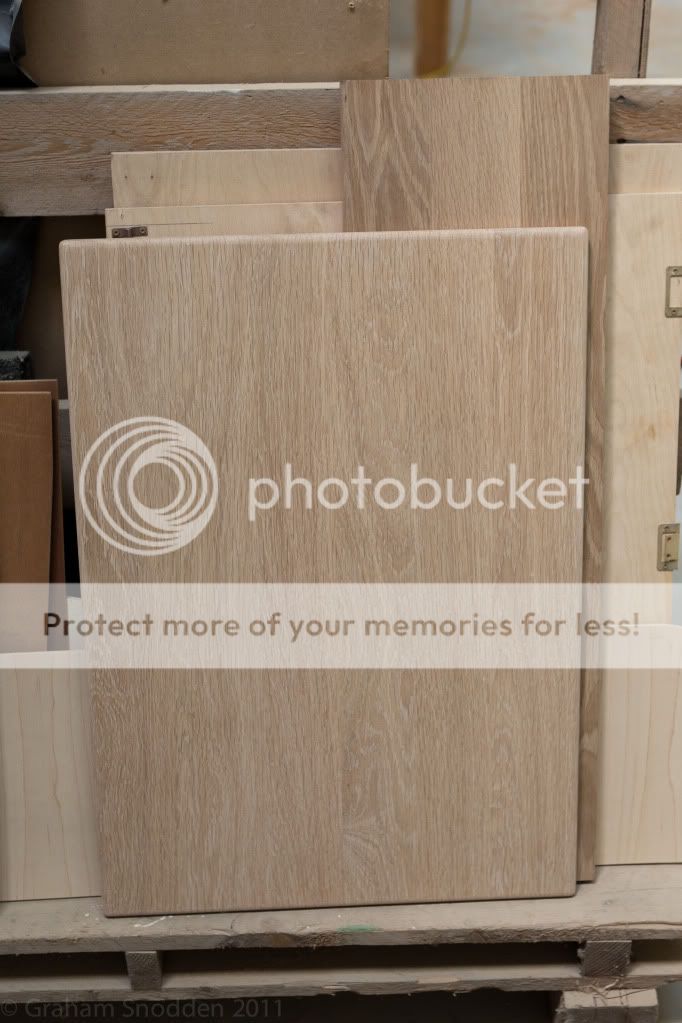
A few pieces of the Oak that will become part of the interior, amazing to watch the boys start with "rough" timber & cut saw, plane, shape, glue & form it into a finished product.


SJH-21.jpg

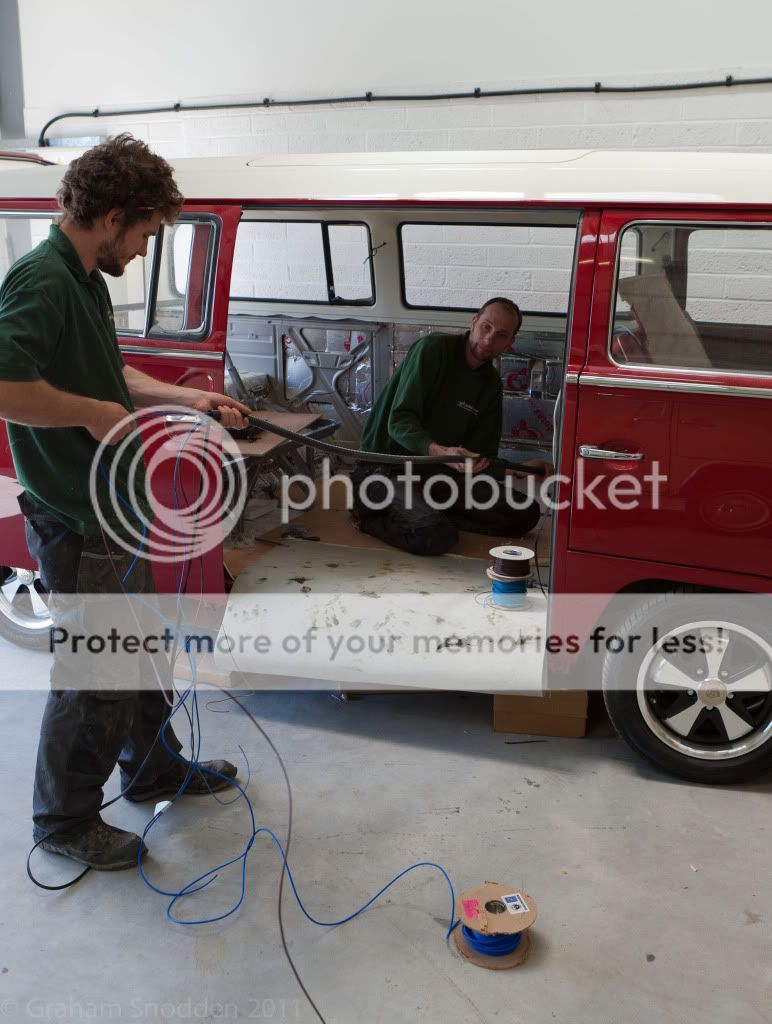
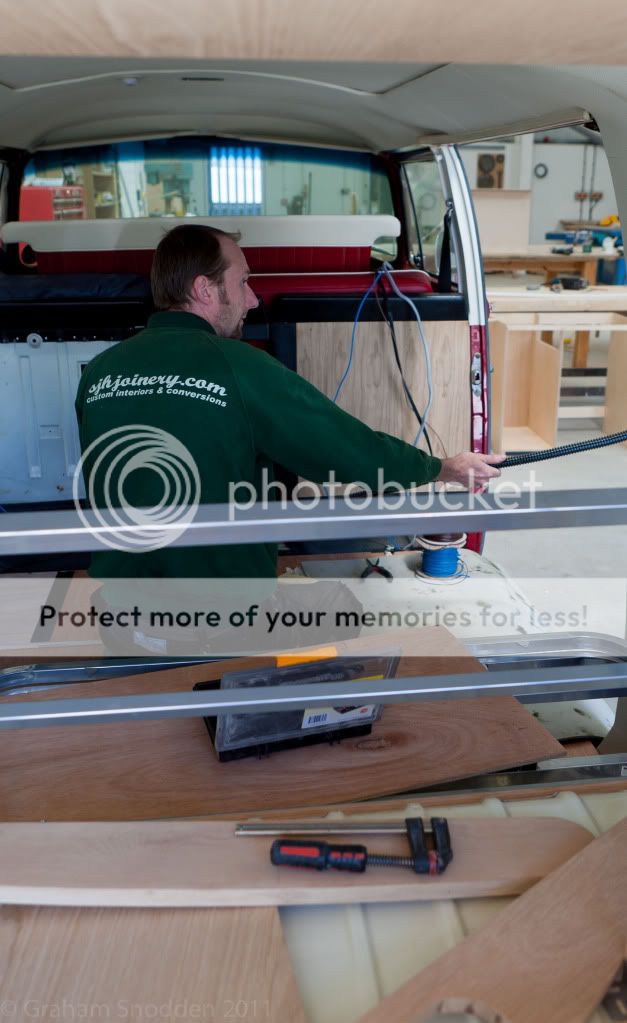
Ensuring all of the cables are neatly kept together & routed correctly


SJH-3.jpg


SJH-4.jpg

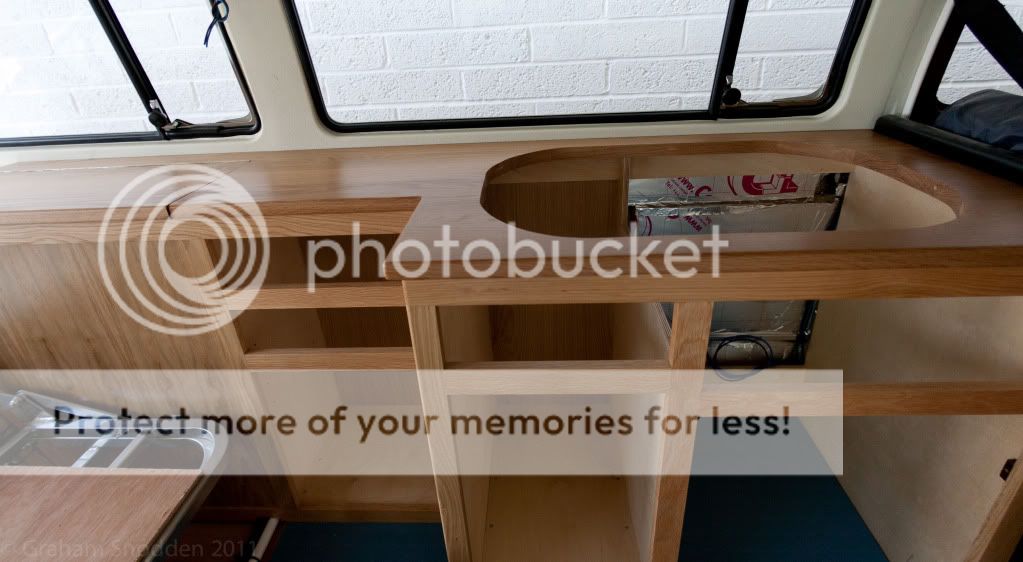
A quick test fit of some of the units


SJH-5.jpg

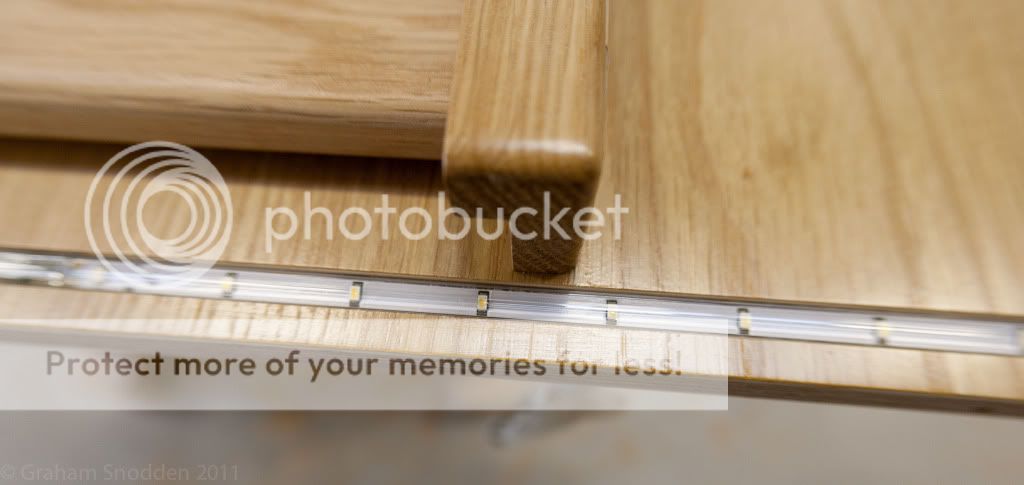
Showing some of the detail, this is a hidden lighting strip that sits underneath the overhead locker


SJH-7.jpg

Front of the overhead locker


SJH-8.jpg

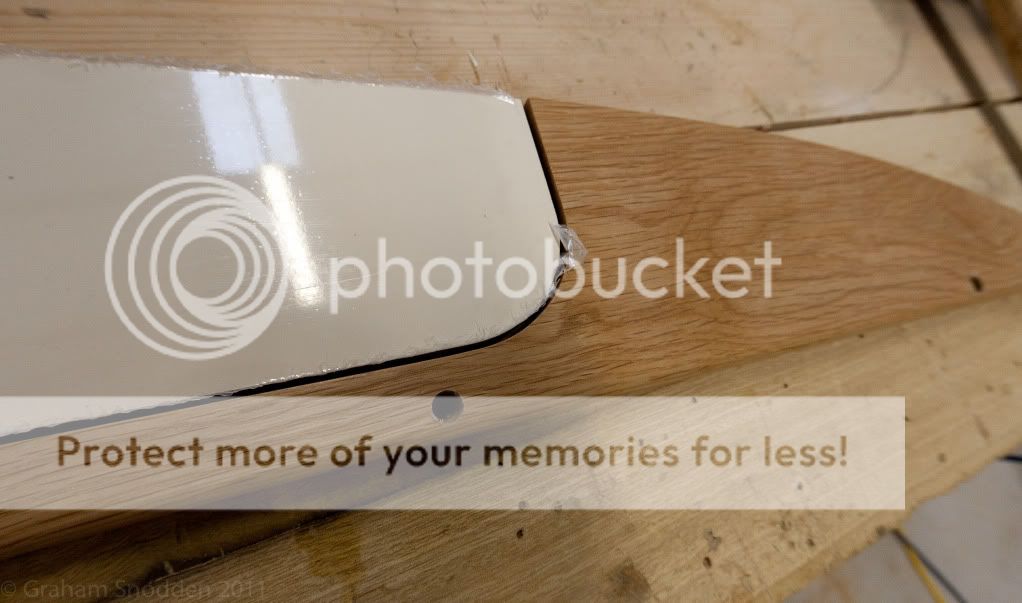
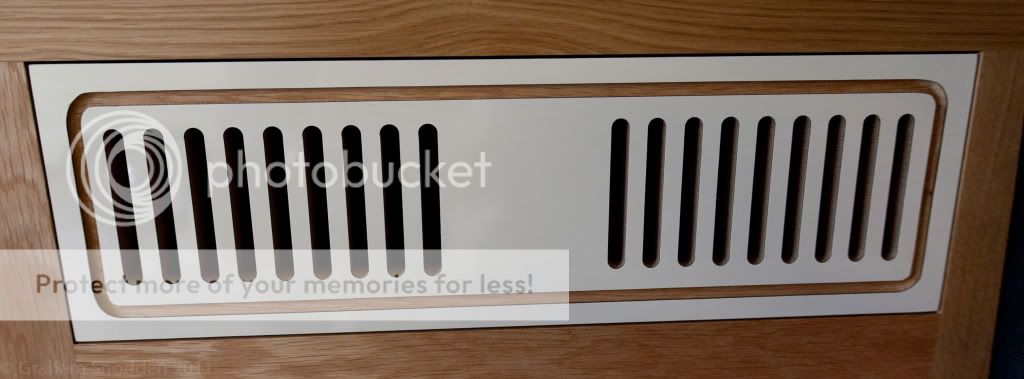
Finally, we wanted to tie in some of the exterior character & theme it as part of the interior, its a little bit of fun & but I think it works :D :D

Thats all for now, more when I get the bus back on Wednesday ;)
 
I love this bus , hopefully mine will look this good one day :D

Your going to get some more questions off me soon as to where you sourced certain bits from ;)
 
That is one nice bus, the exterior is awesome, midland paintworks did an awesome job, looks like the interior will be just as awesome.
 
I dropped my bus off at SJH Joinery last weekend and saw your bus in the flesh. Wish mine was 1/10th of the fit and finish yours. The pictures really don't do it justice. It really is beautiful. A credit to all those that have weaved their magic. Can't wait to see all the final pictures.

Richard
 
Looks like the interior will be a bit special also 8)

Give us a clue to some of the trick bits you will have for the interior then ;)
 
Well Wednesday came & the bus is not quite finished :( :(

There are just a couple of electrical items on the Leisure wiring that needed finishing that just did not get done & a couple of small parts we are waiting for.

It would have been really special if we had got him back home today as 22nd June is his 40th Birthday, would have been great to drive out with the family into the Peak District & have a quick picnic, but alas that was not to be, we will have a belated celebration soon :( :(
:party0047: :beerchug:

G
 
shame you didn't get it back mate, but hats off to you that bus is already awesome, when its finished it'll be truly spectacular!
 
Andy1564 said:
shame you didn't get it back mate, but hats off to you that bus is already awesome, when its finished it'll be truly spectacular!

Thanks Andy, got it back tonight, looks awesome, but its going on temporary hold as I have to work abroad for a few weeks :(

Work getting in the way of getting things finished, not even had time to take pictures :cry:
 
Back at home for a few days before heading off again to work.

Got the bus back from SJH for a week to do a few bits & bobs of engine work & took it to have the Carbs setup & tuned.

Nervous moment as I really don't like the noise that anything makes on the rollers, but all good now, it runs surprisingly smooth & quiet.

Just got to back to SJH Joinery for the last few bits of interior work & leisure wiring, then finally complete..

Cannot wait

[youtube]yIx2Aj2s_Ac[/youtube]
 

Latest posts

Top