Lard's 1971 US Import Westy

Early Bay Forum

Help Support Early Bay Forum:

This site may earn a commission from merchant affiliate links, including eBay, Amazon, and others.
gninnam said:
Nice result resolving the issue 8)

Like the colour coding of the dog to the interior too ;)

Any news on the Carputer?

Hi mate,

nothing since the latest build thread update - sorted out wifi and a boot up issue, all working so nice having tunes, just need to start sorting out the fun stuff like reverse cams and temperature sensors!
 
lard said:
nothing since the latest build thread update - sorted out wifi and a boot up issue, all working so nice having tunes, just need to start sorting out the fun stuff like reverse cams and temperature sensors!

Keep us posted then when you do the work ;) (interested in the van too.... :mrgreen: )
 
Just an update after coming back from my hols (went to north devon, stayed just outside Braunton for the week - went to saunton sands, woolacombe e.t.c. - lovely part of the country)

Before going away managed to solve my long term die on idle issues!

Turned out to be the vacuum hose on the back of the servo had split (which caused slight idle issues) and also was worn on the connection to the servo, which made it come away when braking, so it idled fine when adjusting for the leak from the hose on my driveway, but take it on the road and brake for the junction on my estate and it would die :oops: - really annoying but chuffed that I managed to find it after replacing/checking pretty much everything in the engine bay :roll:

So I duct taped/cable tied the hose as a temp fix - fired up the van and it backfired, splitting one of the intake manifold boots :evil: - had it booked into T2D so a nice bloke with a T4 and a trailer came out and picked it up for me,

T2D did the following:

Replaced the rear brake vacuum hose
Replaced 4 x ball joints
Replaced 1 x wheel bearing
Welded in the correct size fitment for the vacuum hose into the left side manifold (have the wrong inlet manifold on the engine) - excellent brakes now 8)
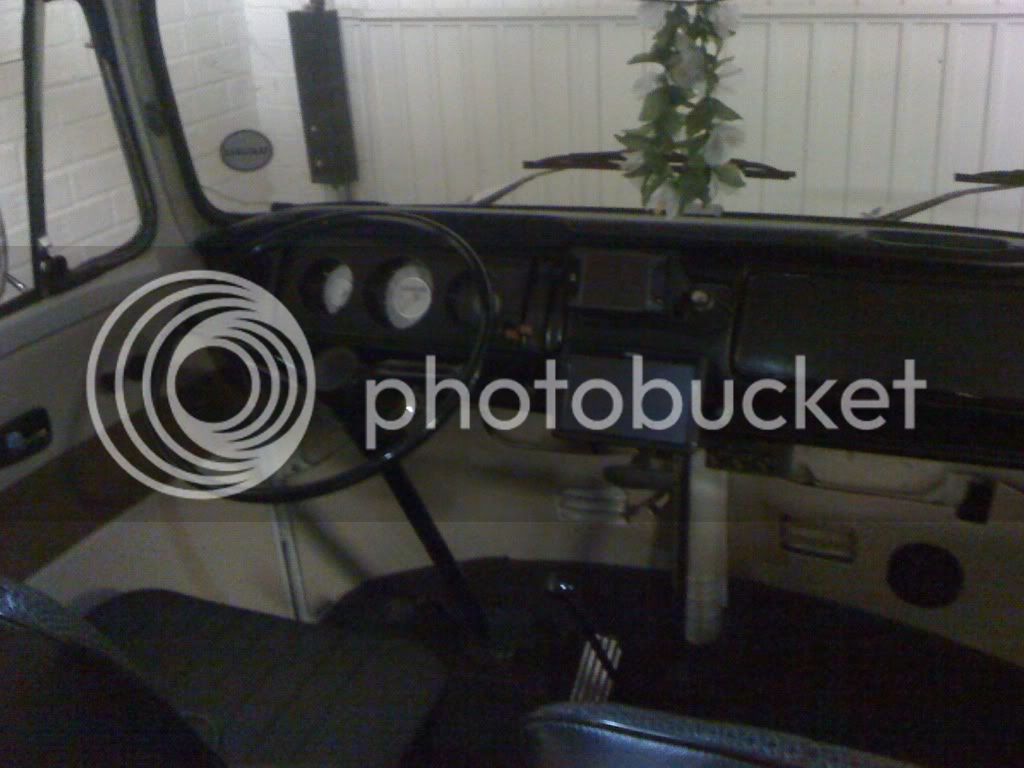
replaced the windscreen seal - no more water filled fuse box
sorted out the earth on the windscreen wipers so no longer scared of the rain
Serviced the front end and gave the bus it's MOT

Managed to do a 3 hour run down to Surrey to meet up with my brothers 68 bay, followed by a 5 hour convoy down to Devon - pootling around the hills for the week, then a non-stop 7.5 hour drive back from devon to Cambridge without a hitch :D

Well chuffed having it finally sorted - did notice that north devon seems to be full of mainly late bays though? Saw and followed for a while on the M5 about 6 late bays, only saw one crossover and an early during the week - followed what I thought was an early into Saunton but turned out to only be a splity ;)

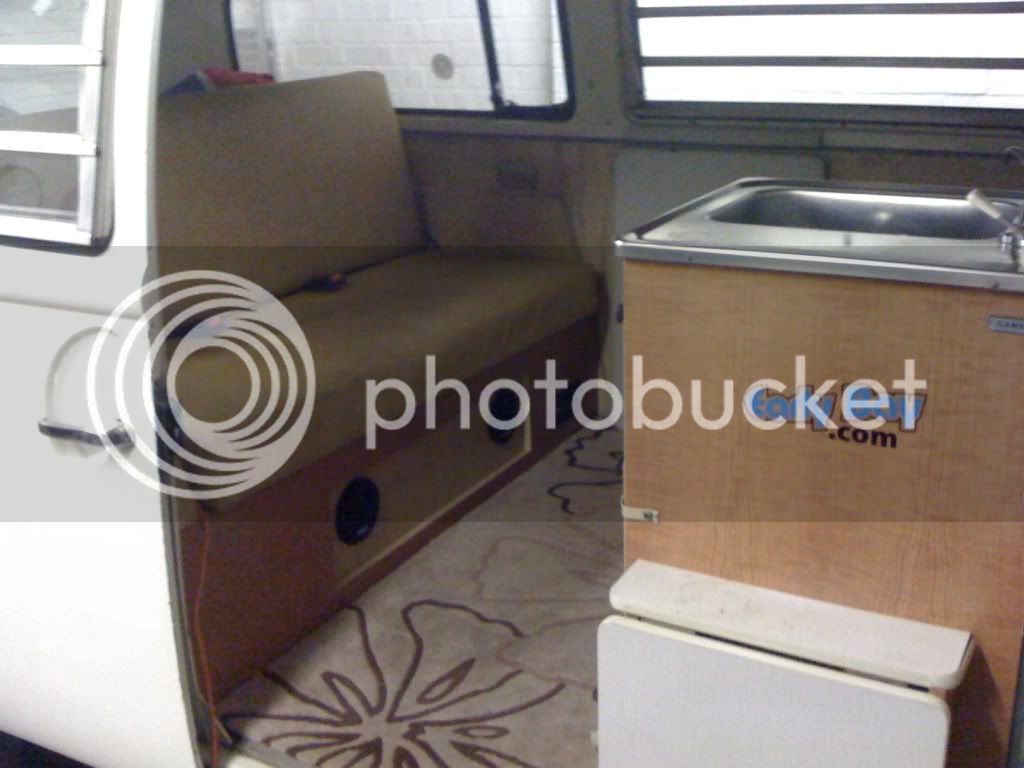
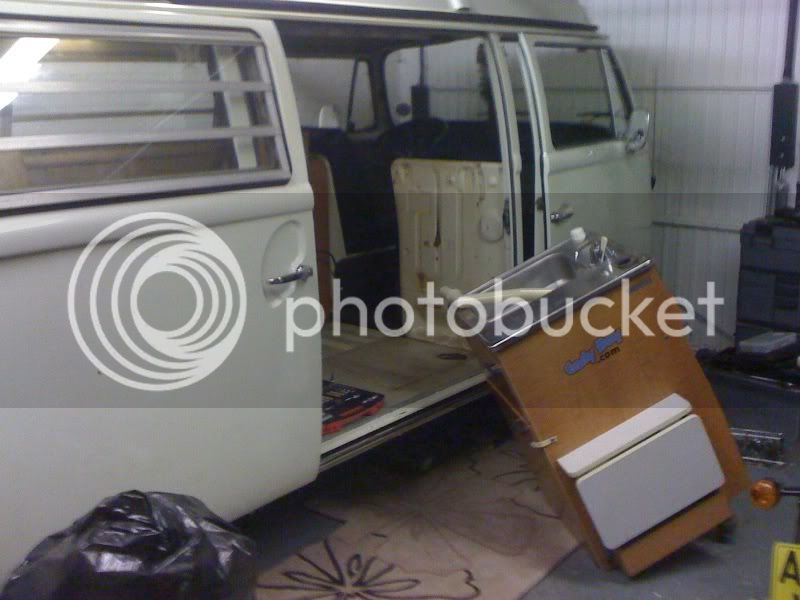
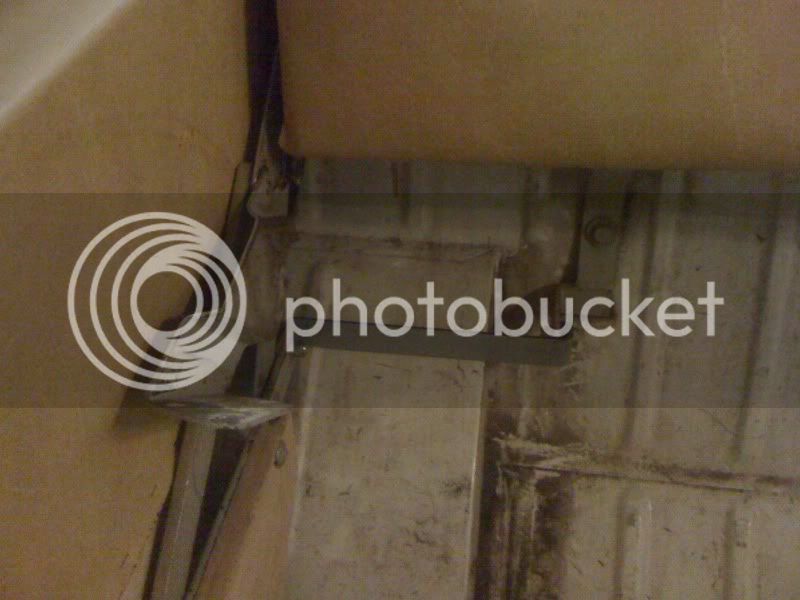
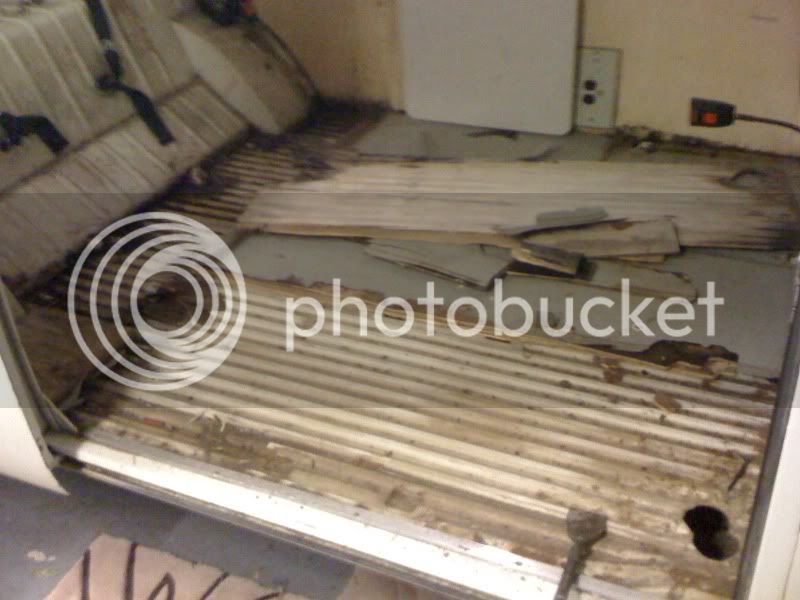
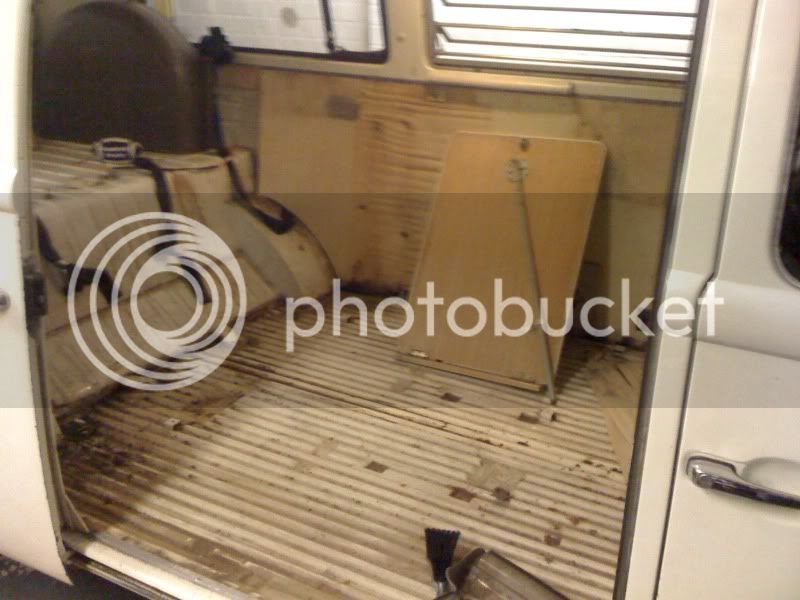
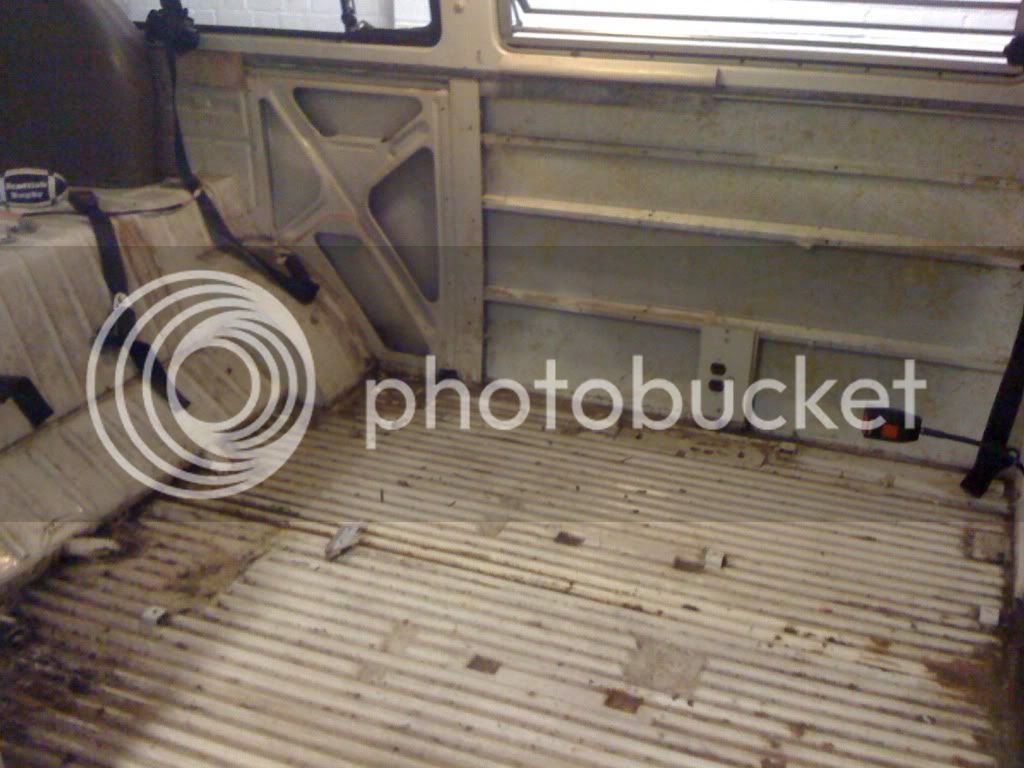
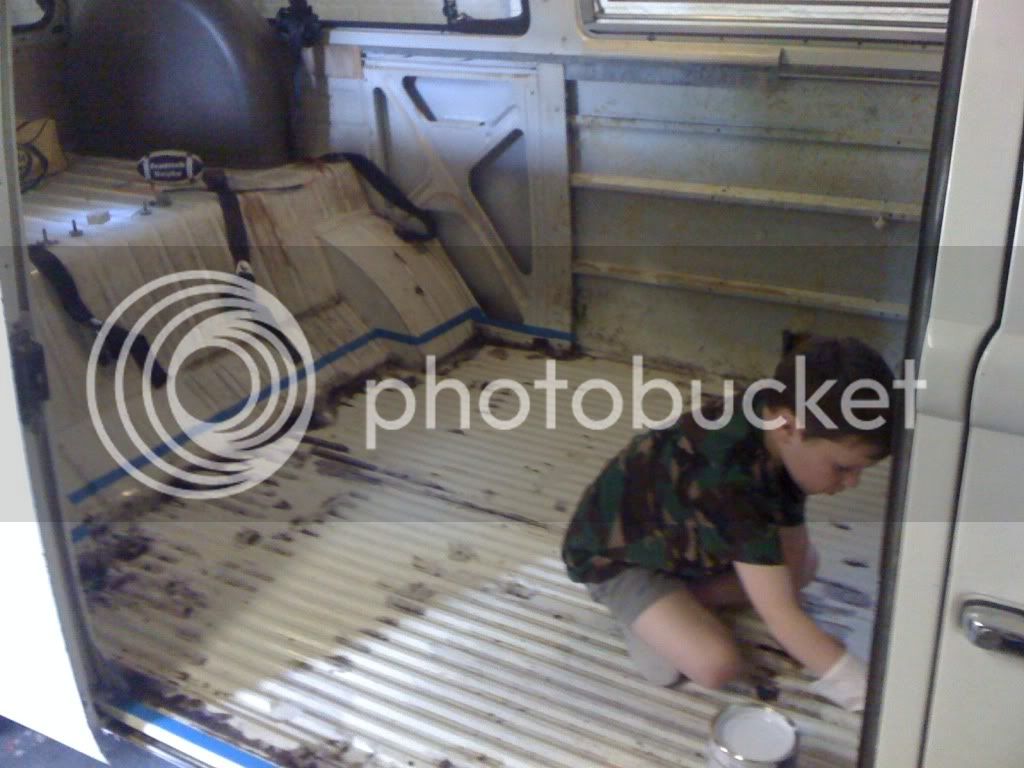
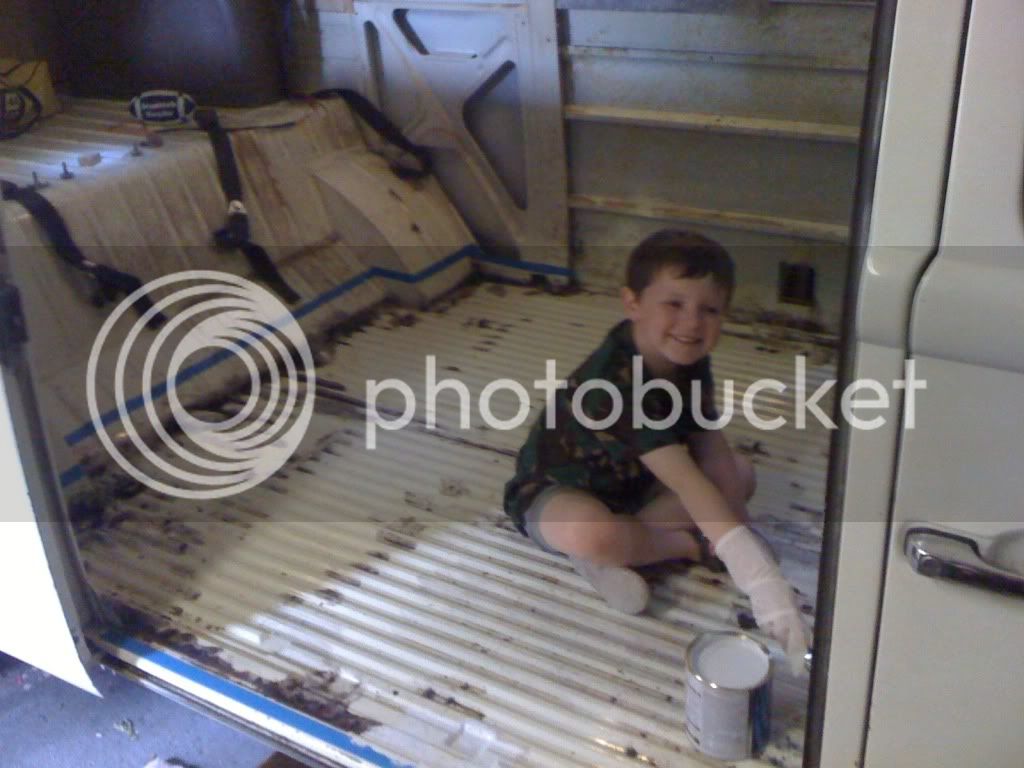
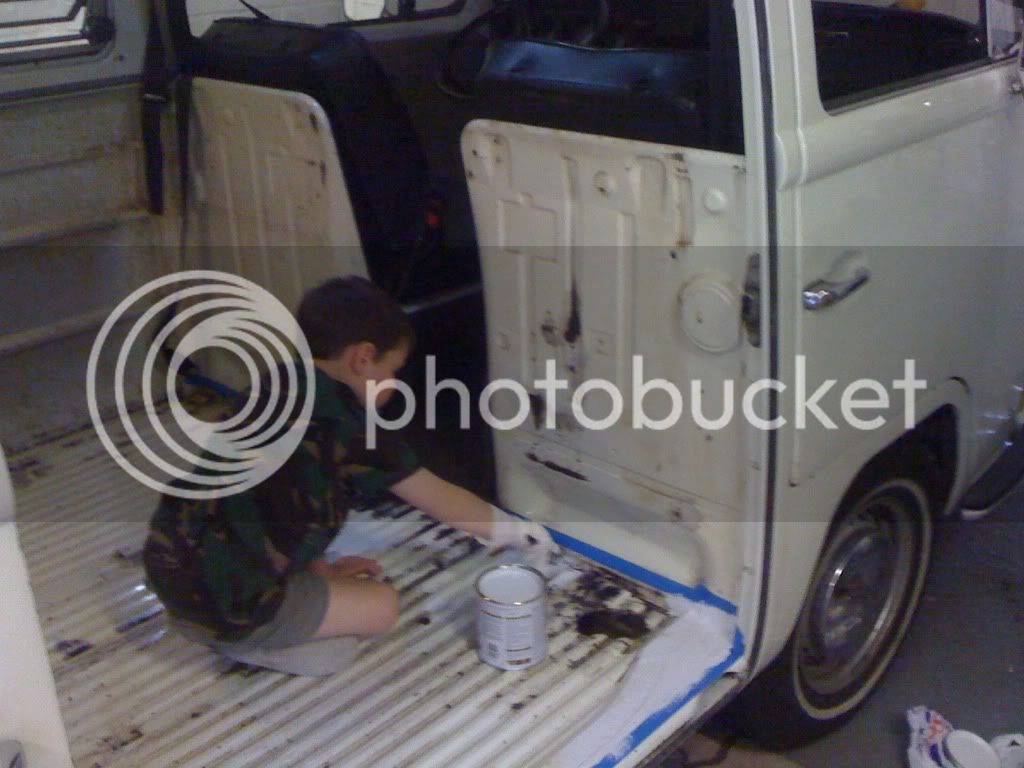
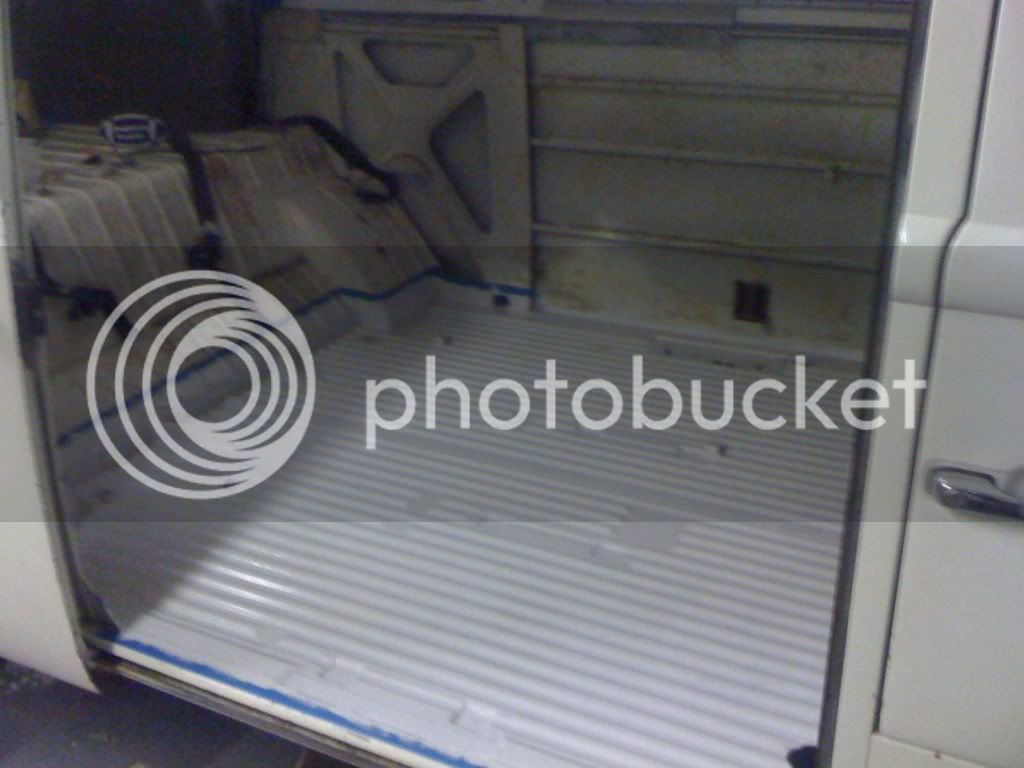
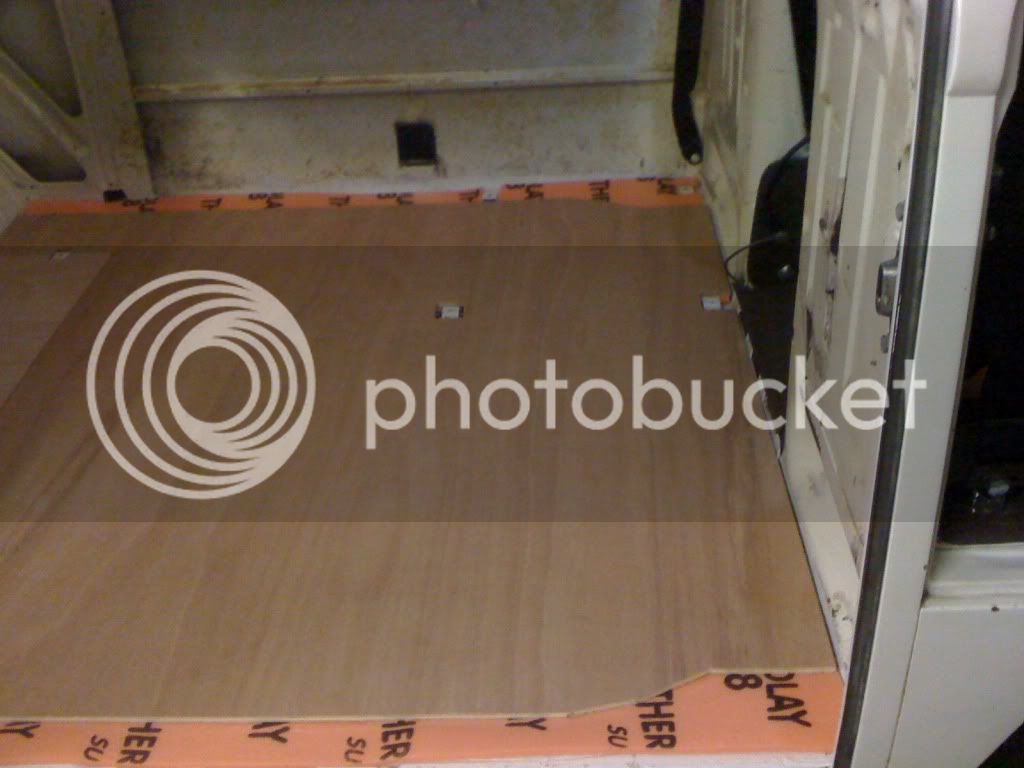
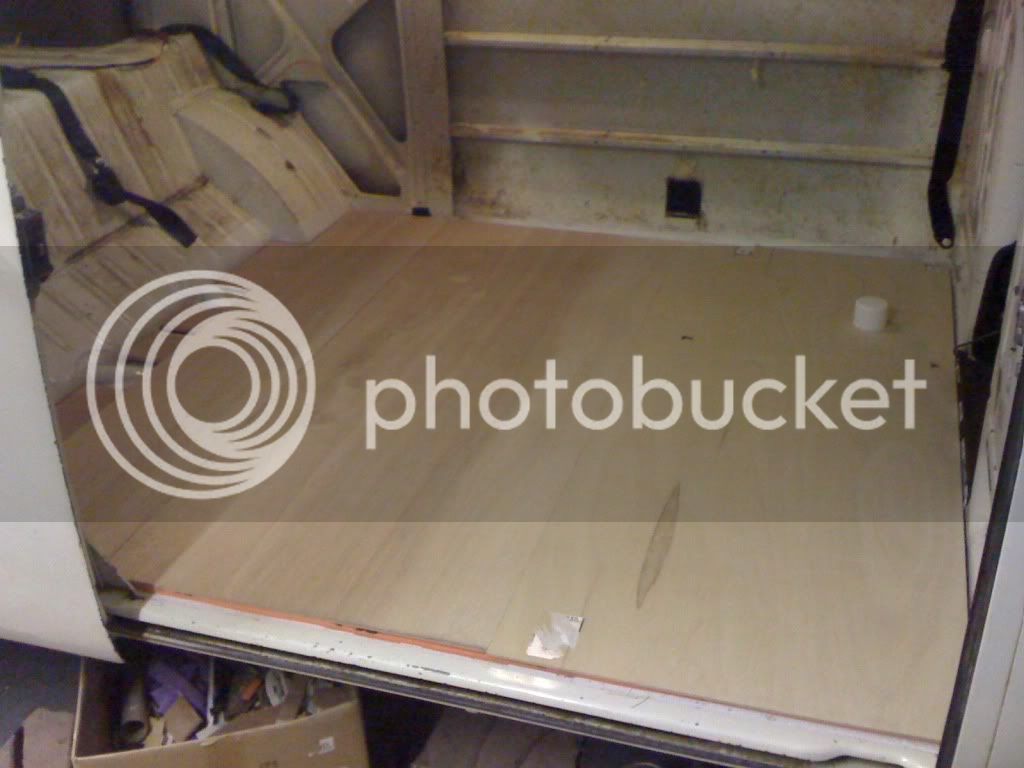
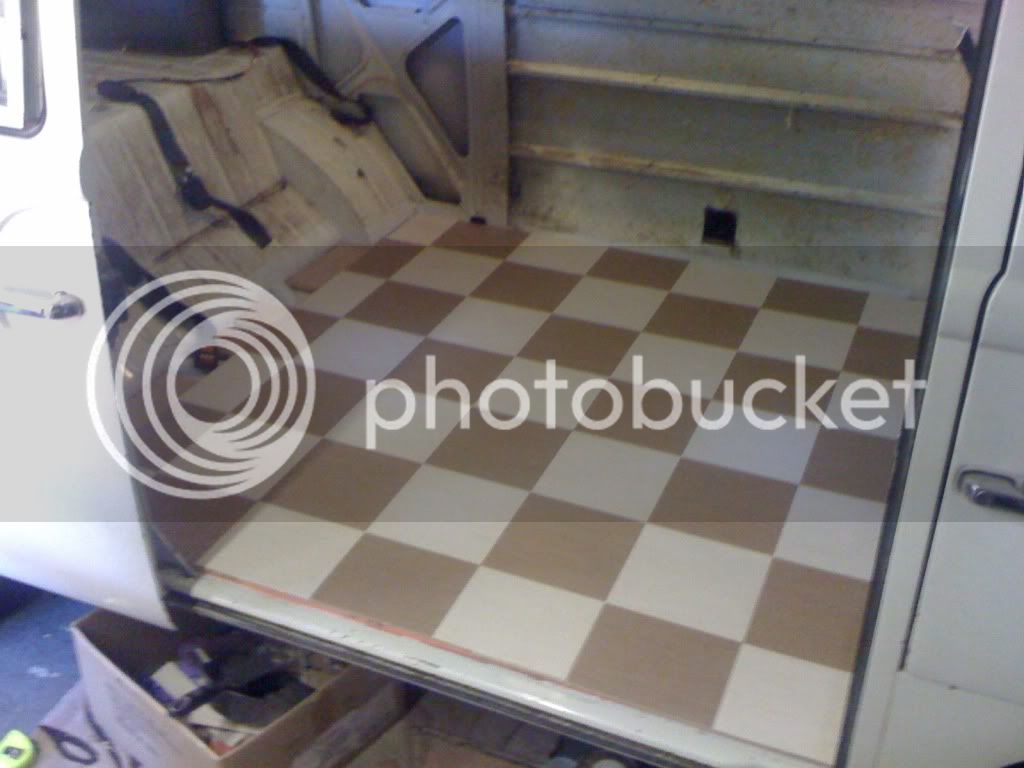
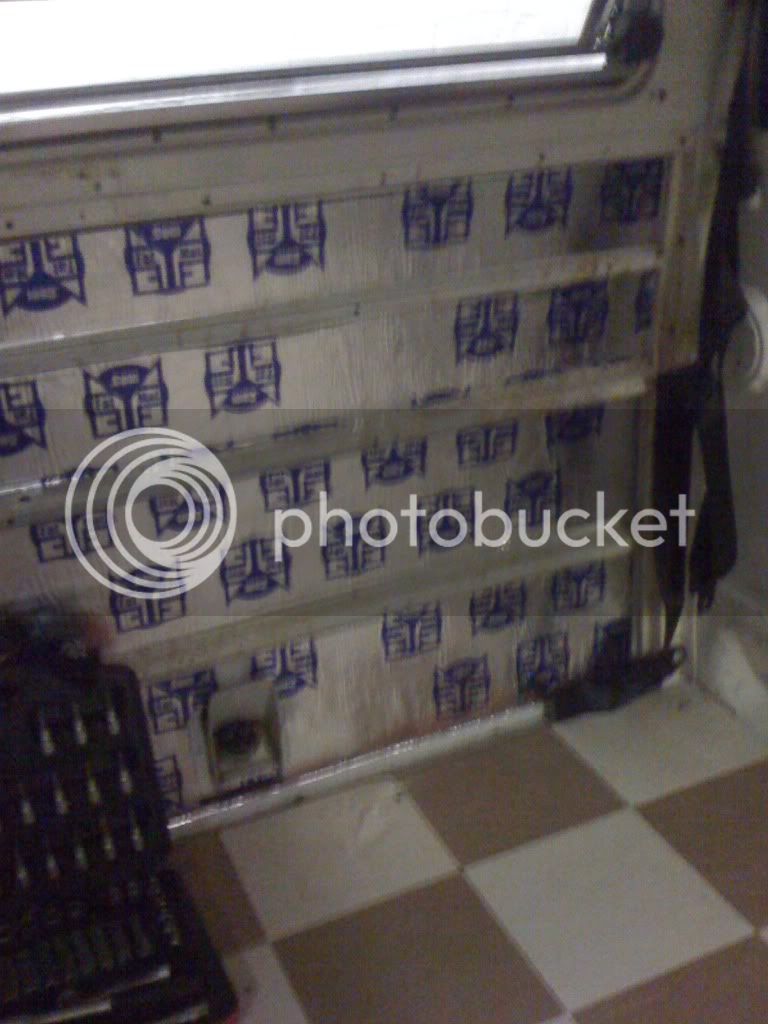
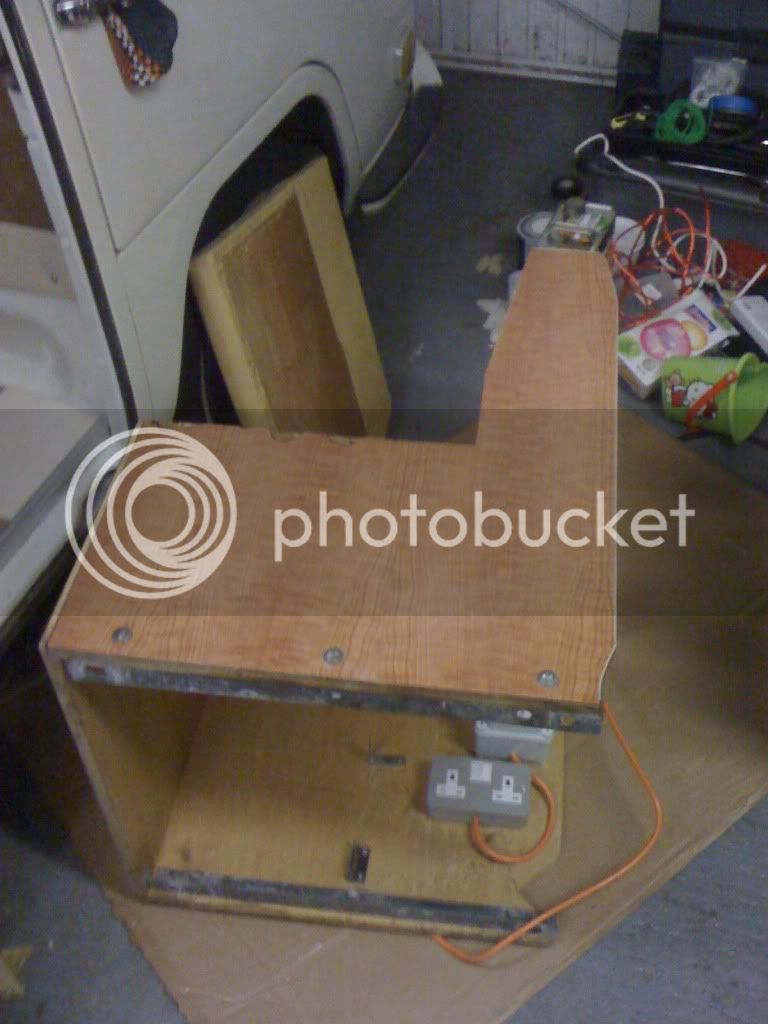
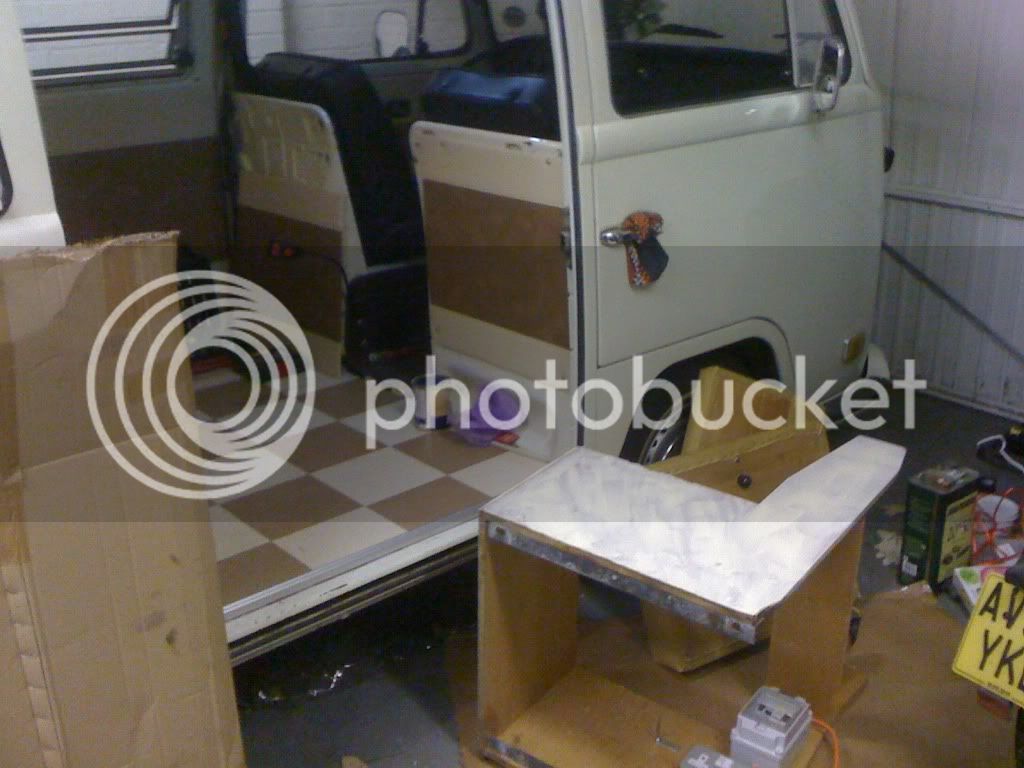
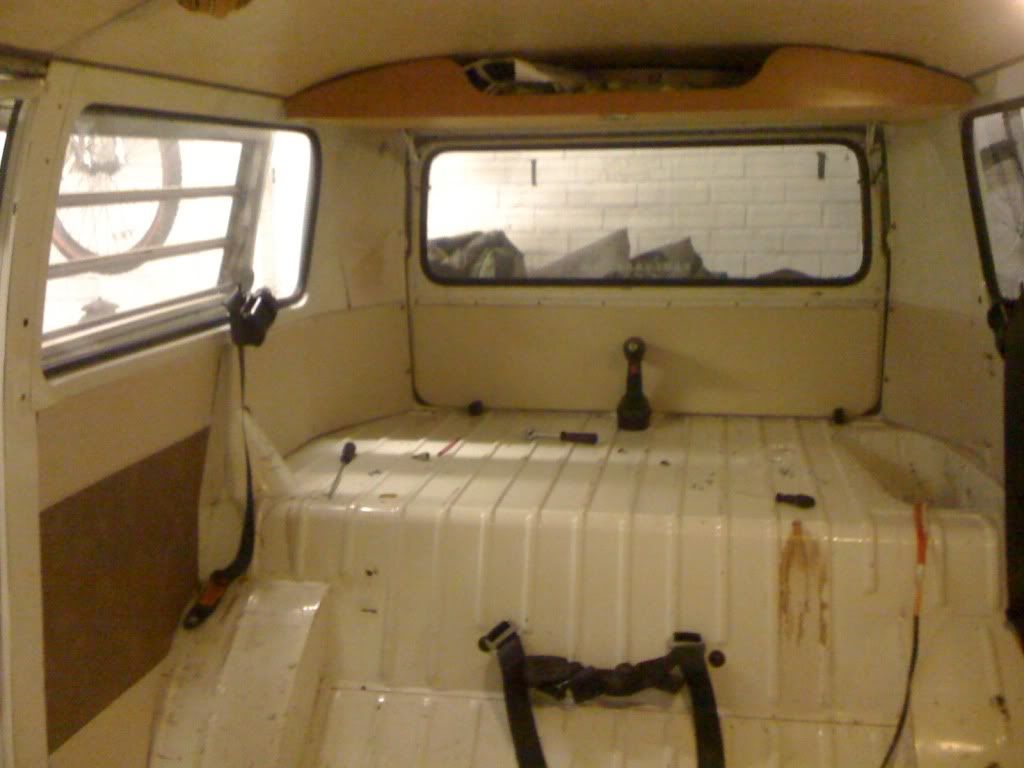
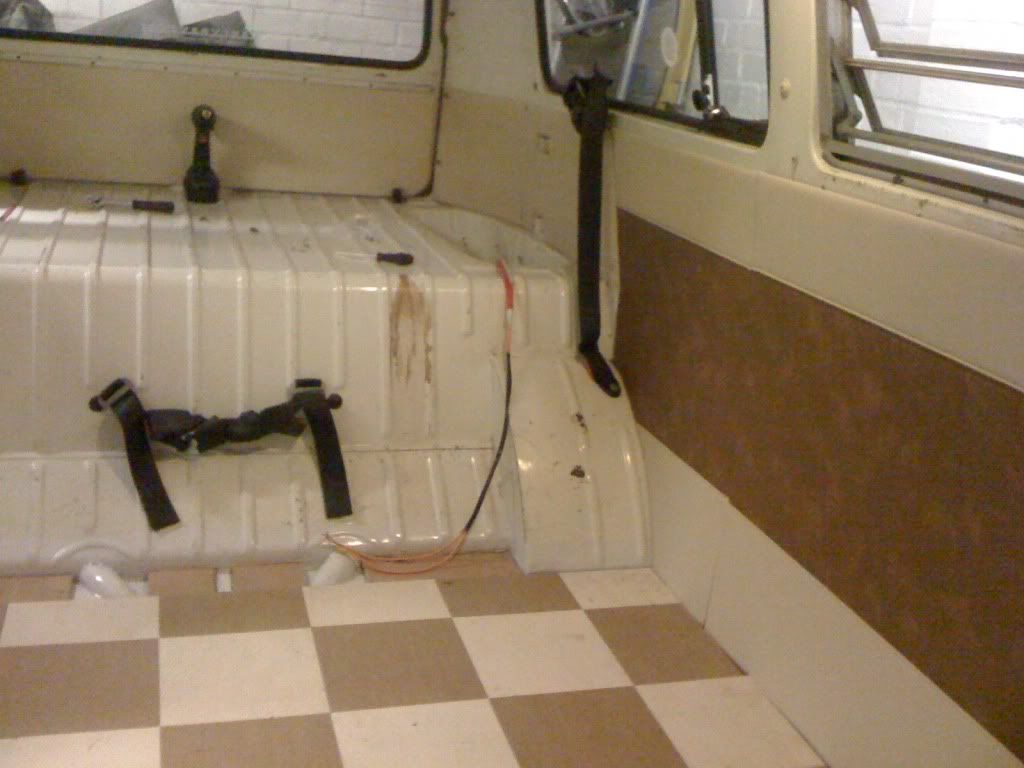
Now that my big trip is over it's time to pull out the interior and take up the floor to see what the state of it is - can then put in some nice new ply, and start thinking about interior options - I'm going to get rid of my standard westie sink unit as I've never used the sink and have a 12v coolbox so can't see the point of keeping it!
 
Great result with T2D and the long trip you and the van undertook 8)
 
Right - now that the family trip is complete I've been itching to start work on the interior!

So started with this:

261f71b3.jpg


First thing was the sink unit out (with my earlybay.com sticker :cry: )

0ccc070b.jpg


Then a case of working out if it is worth keeping the full width bed - as it is I'm getting some nice shiny panels from newton commercial and going to treat the bus to a new bluebird full width bed,

Always wondered what make the bed was - turns out it's a converted 3/4 westy bed! Makes sense as mine definitely used to have a 3/4 bed and cupboard in, fire damage indicates the cupboard was toasted so the bed was adapted to full width - clever mod I thought,

Someone has cut the mounting bracket and put a right angled extender in:

5fa02147.jpg


Taken the bed out, bit of a shame as all my carputer and leisure charging/hookup system has come out along with the speaker board I made for the bed, if anyone is interested in any part of the bed/brackets then I've posted it in the FS section and you can come and take it off my hands ;)

Next up was ripping out the floor - what a mound of crap I've had to sweep up! - and if I could find a shop that takes dimes I'd be minted :)

7a3f7337.jpg


3d70ed51.jpg


Also taken out the panels and removed the insulation - as it is there is some surface rust that I'm going to treat and then it's a layer of hammorite metal paint and then look into new boards and some tiles:

1dbc4ff3.jpg
 
Child labour :D - my eldest loves helping out with the van so thought I'd make good use of all that enthusiasm!

Thankfully the floor is sound, with a few surface patches where moisture has got in over the years - but could have been a lot worse! removed loose bits, treat the rust and then hammorite'd

4ce7eac9.jpg

d1eaf300.jpg

d41b650e.jpg

b2e175cc.jpg


So what's the best combination for tiling with madmatz? Underlay first, then ply (thinkness? 9mm?) then laminate?
 
o.k. - after a couple of nights work (that seriously testing my carpentry skills :D ) made the following progress,

Took slammed's advice and used madmatz underlay & 9mm marine ply to make up the base:

c3dbae32.jpg

3867f703.jpg


Then used sheets of 5.5mm ply to go on top of the 9mm and underlay up to the level of the floor edge:

7640ae9e.jpg


Originally I got ivory & clementine tiles but when they arrived they looked far too orange, nice people at madmatz let me stop by at short notice and swapped them for some cocoa ones - great service

3ad51681.jpg

255026aa.jpg


I've managed to source some sound deadening/insulation - they claim to be better and cheaper than damplifier...... http://www.fatmat.com ... bought of a guy on ebay who imports it so will post back once that's in place behind all the panels
 
very nice Lard, same tiles as ive got for route 66 deluxe, glad the advice helped

i will be doing mine in a week or 2 i hope. What size sheets of ply did you use, can you use a whole sheet or does it need to be in 2 bits

any tips b4 i do mine???
 
slammedresto said:
very nice Lard, same tiles as ive got for route 66 deluxe, glad the advice helped

i will be doing mine in a week or 2 i hope. What size sheets of ply did you use, can you use a whole sheet or does it need to be in 2 bits

any tips b4 i do mine???

I used 1 large sheet of 9mm marine ply (1240x2440 iirc) but had to cut into one large piece that covered most of the floor and then two separate small pieces that went at the back, I'm not sure how far forwards the bluebird bed comes so thought best to go all the way back to the wheel arches

I used spray adhesive to stick the 5.5mm ply on top of the 9mm which seemed to work well and used 3 sheets of this in the end

As for tips.....I may have screwed up the width! - as I don't have side panels I'm not sure how far down they will come and if the floor is too high now or if they sit behind it it but thought that as I'd rather get cracking I can review once they are here - I left a few mm on the ply but went up to the edges with the mats as they are easy to trim if the floor is now a tad higher than the panels are designed for
 
Well - not much of an update in last 4 months!

I've now had the van back into Type 2 Detectives to sort out the rust around the window surround....we were all expecting a little bit of welding required but it turned out that I had a significant amount of filler in the front of the van :shock: - Paul @T2D left me a piece as a keep sake that was inches thick :evil:

But thankfully they did a top job, cut out and welded in a new panel, painted it (twice as they weren't pleased with the first finish) and then set about stripping layers of old paint from my cab floors, grinding back and then hand painting 2 pack paint back on.......fantastic job and excellent finish - and also very generous on the unexpected cost as it turned out to be an entire weeks work complete :|

I must say it is nice to find a garage that you can trust - I was taken for a ride in my younger years with a "classic specialist" garage - not a VW place I should add ;) - but my car was in for over a year....knowing what I do now I'd have never bought it in the first place and spent my cash on a better example for a 1/4 of the price!

Anyway - I'd recommend T2D :)

I also ordered a new set of interior panels from Newton Commercial........that was back in August (hence the lack of photo's!) and I'm still waiting......but in the meantime I've been consoling myself with the final install of the carputer and lighting setup

I'm putting the PC into the buddy seat along with the hookup - I've got to run all sorts of cables permanently now that the floors in and I've also been looking into LED strip lights for the floor edges along with remote dimming controllers 8)

Going to start getting some bits together and will post some piccies once I've wired in the electrics!

Hoping Santa is going to get me a new full width Bluebird bed.....that's the plan anyway :mrgreen:
 
Its amazing what some PO's do to the vans. :evil:
Glad T2D managed to sort yours out to a level that you are now happy with 8)

Looking forward to the carputer thingy as it will be on my list of things to do (not the SWMBO knows yet!!!) ;)
 
There was me wondering when my interior would turn up and hey presto! Came yesterday 8)

Have put the easy ones in - doors, kick panels and rear quarters

Some piccies of the "fat mat" sound deadening - pleased with it so far, tap the panels and they now make a "thunk" sound rather than echo:

bfae560d.jpg


59849217.jpg


And the first panel to go in on the door:

e6a014a8.jpg


Will get some piccies up later of progress! very pleased with them :mrgreen:
 
Been a busy beaver tonight

Finished off the cab area - just need to get a new door pull and it's done (everywhere seems out of stock?)

c799a57b.jpg


037c1d53.jpg


Next had to cut the power outlet back as it would impede the panel but still need it for the hookup so got the hacksaw out

ad814a83.jpg


Buddy seat out and back cushion off ready to fit the monitor and catches

6433141d.jpg


Then first coat of cream on the buddy seat - needs some more coats but will hopefully match the rest of the van more, can't believe how many "cream" colours in homebase, had a choice of a dozen :roll:

8849f883.jpg


Then screwed through and fixed the rear panels and just need to wait for clips to arrive and can finish the two main panels and the lid one :mrgreen:

9f15ffde.jpg


6200232b.jpg


Pleased so far! 8)
 

Latest posts

Top