My 1971 bay project...

Early Bay Forum

Help Support Early Bay Forum:

This site may earn a commission from merchant affiliate links, including eBay, Amazon, and others.
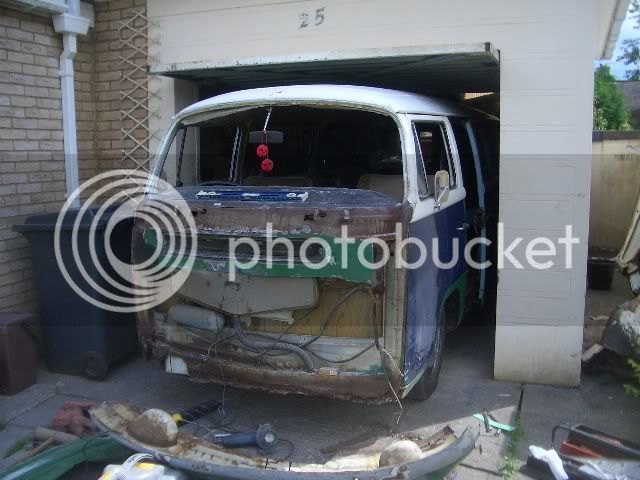
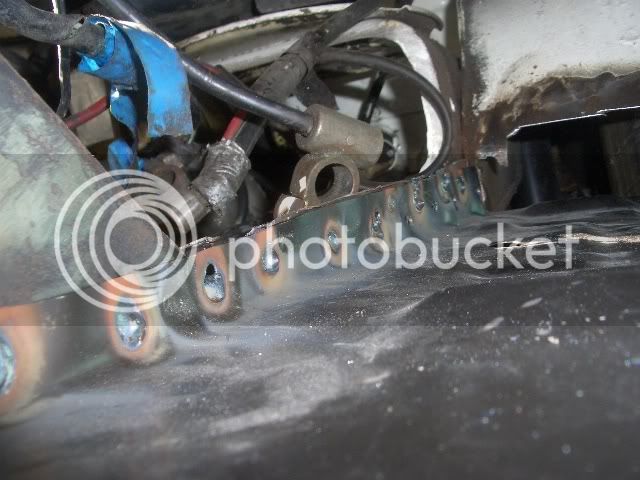
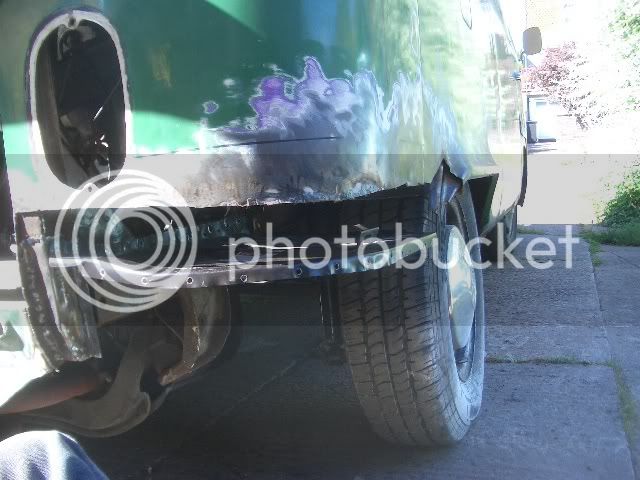
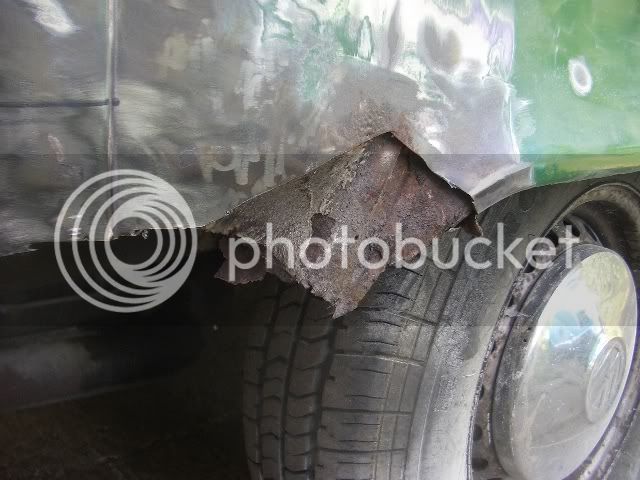
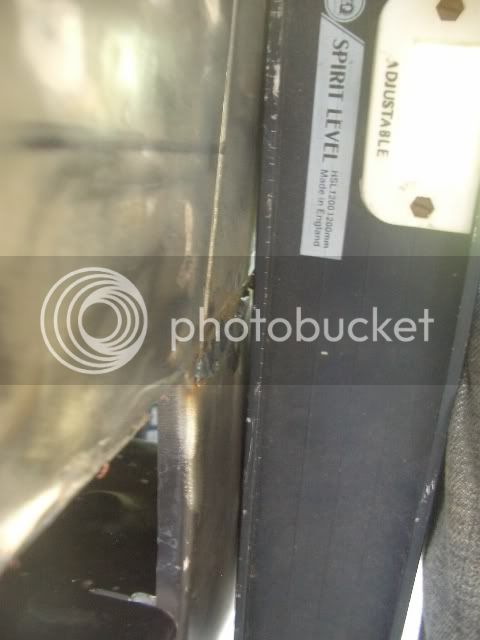
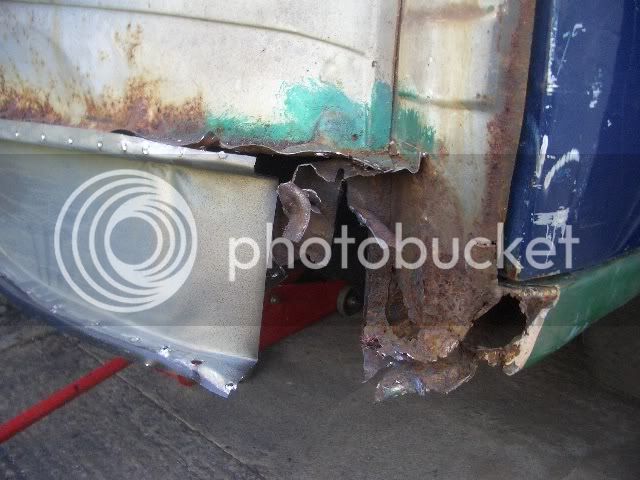
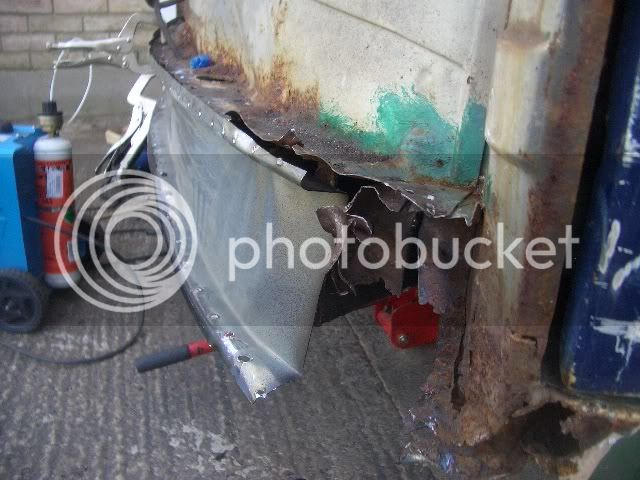
looks like your van was done by the same guy who renovated mine.
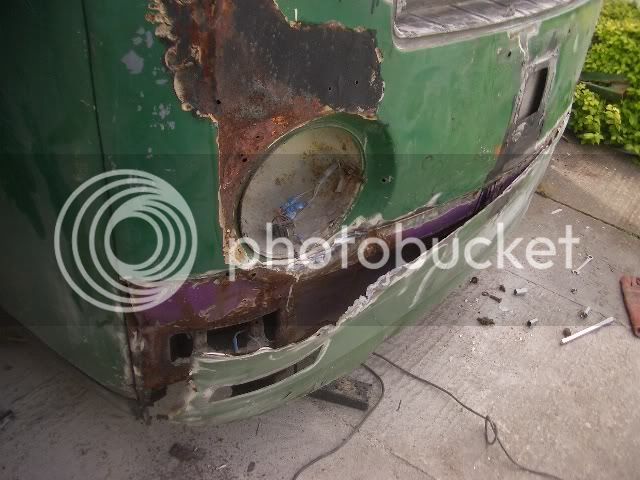
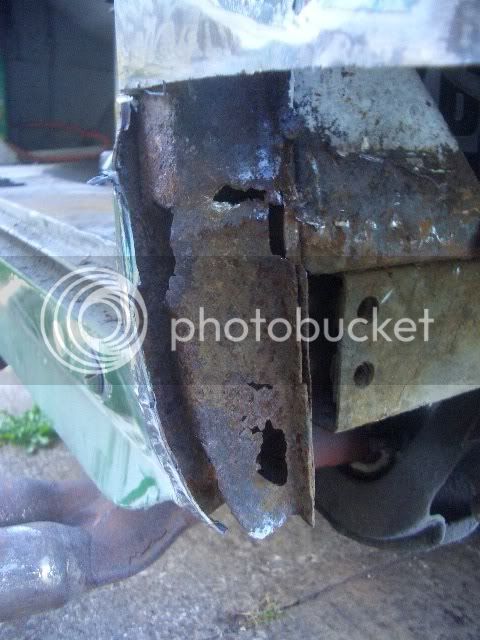
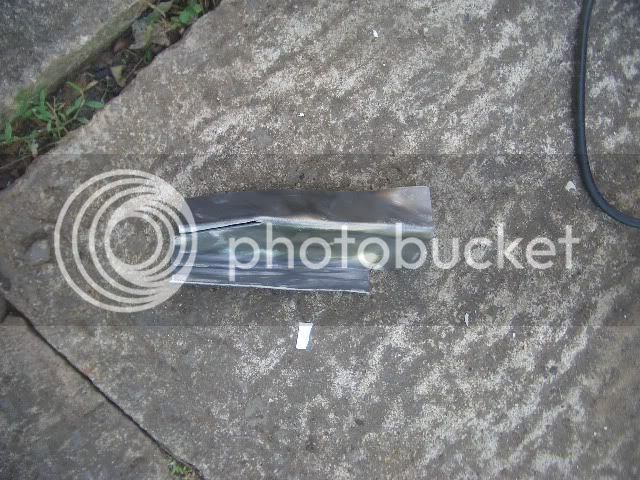
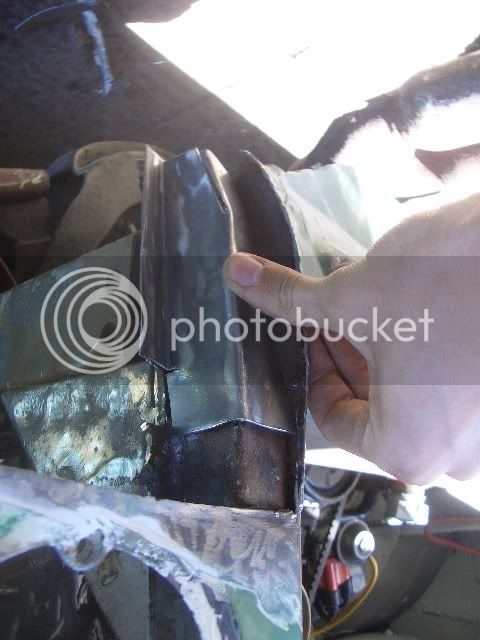
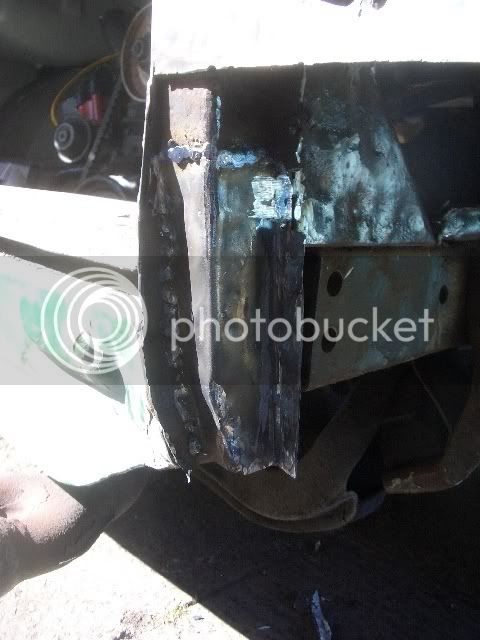
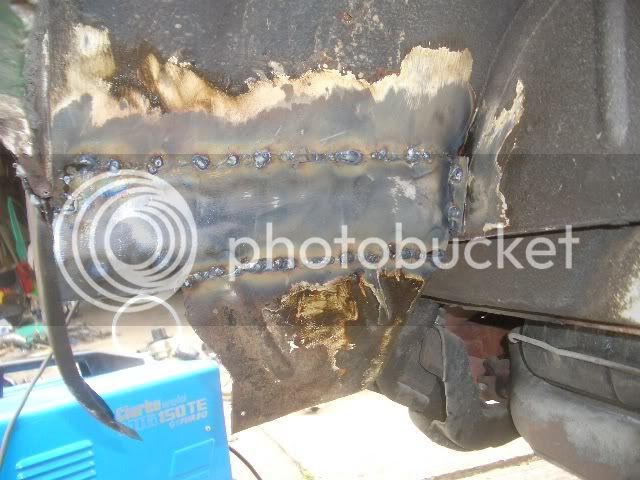
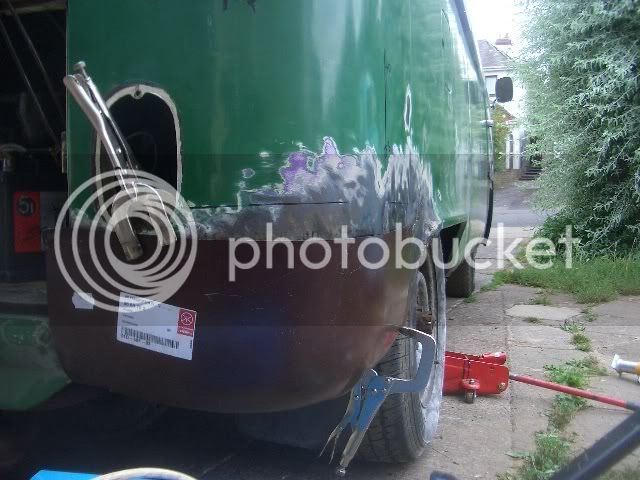
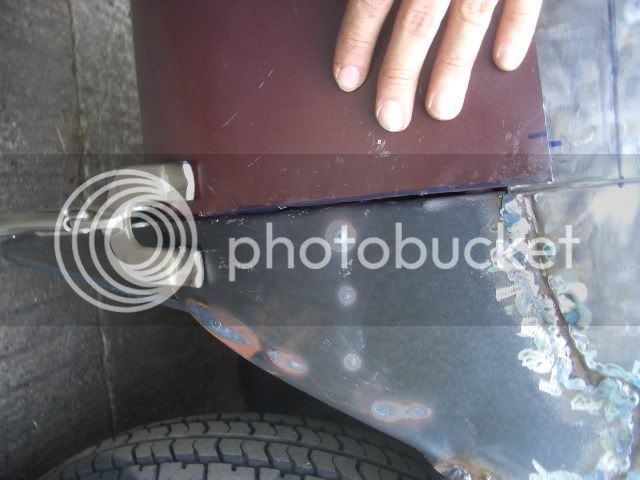
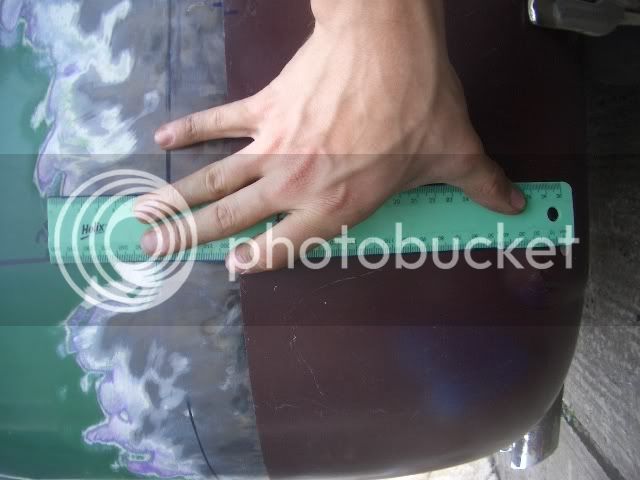
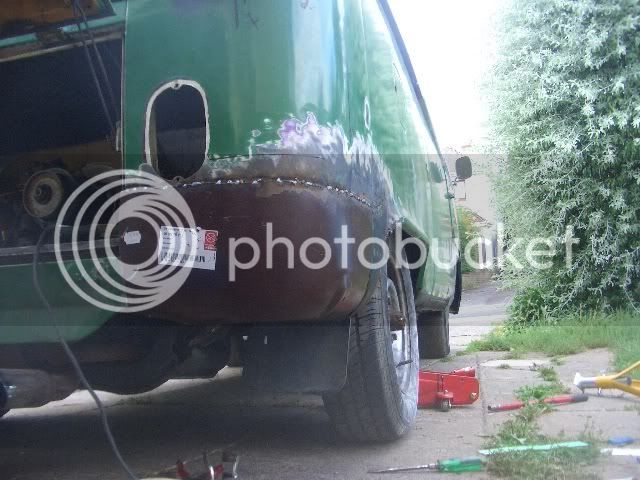
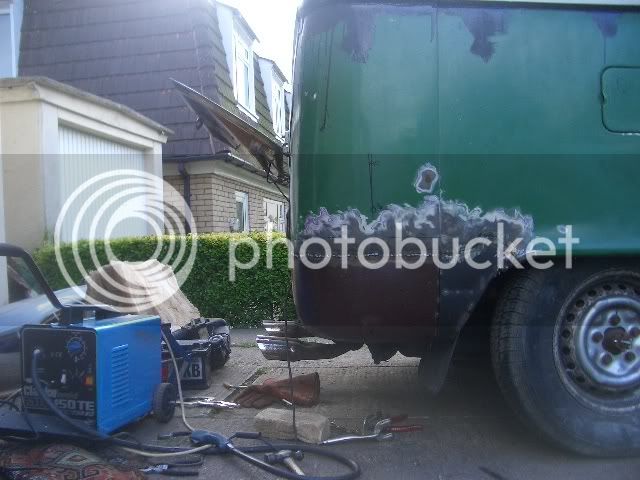
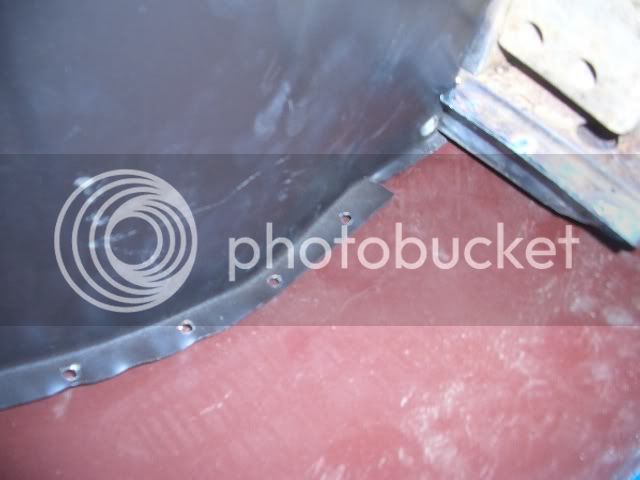
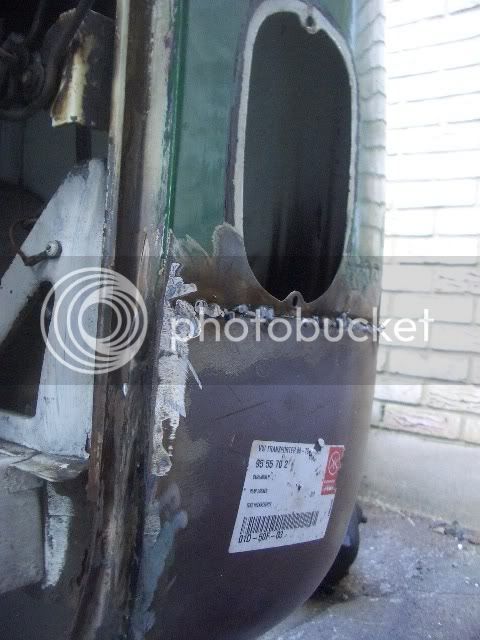
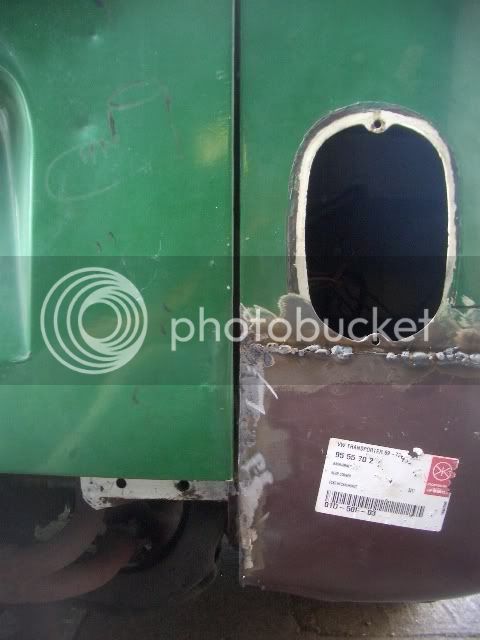
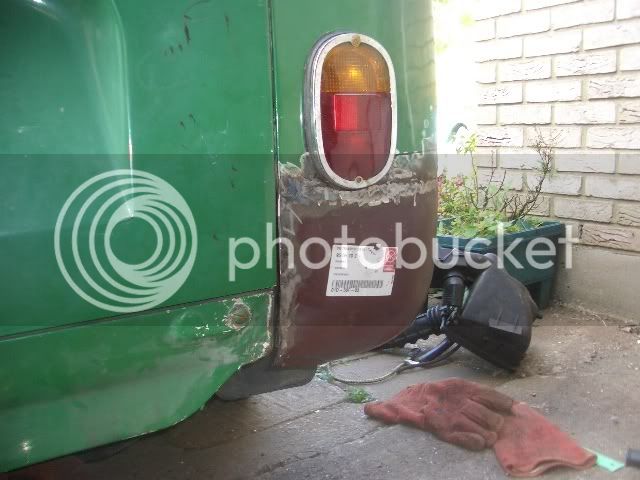
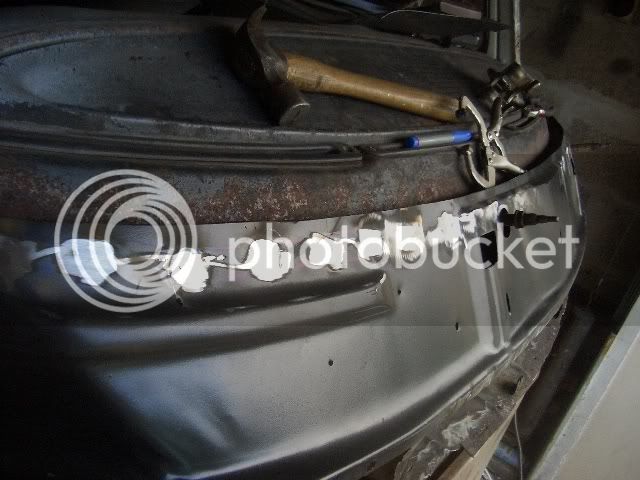
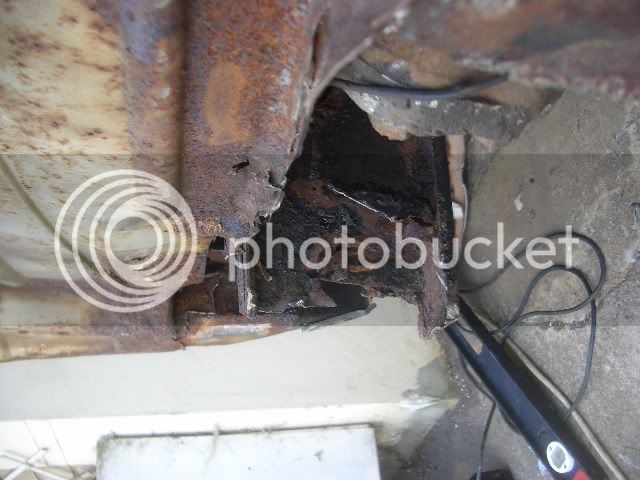
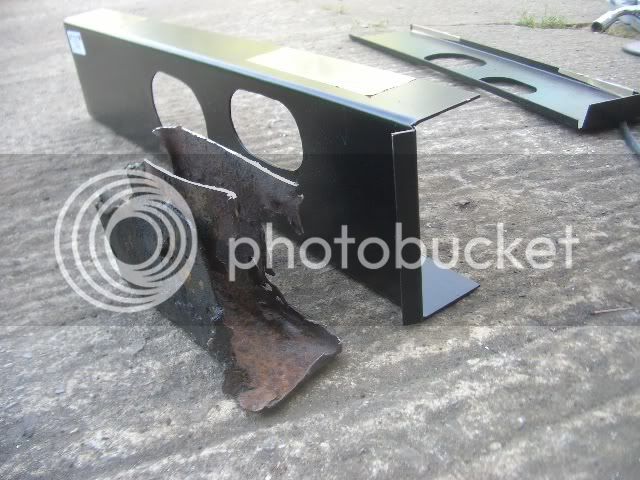
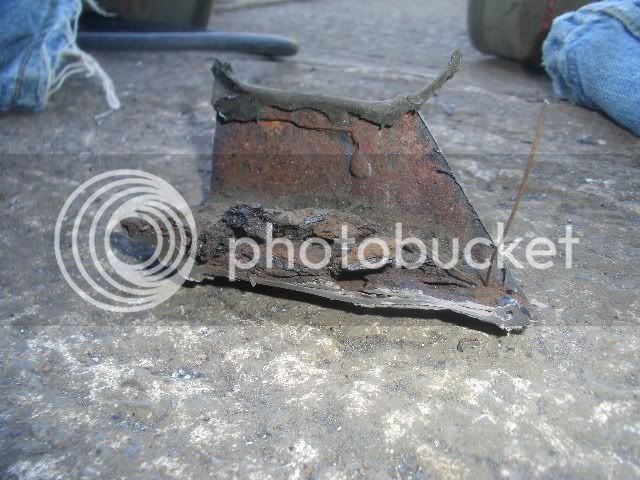
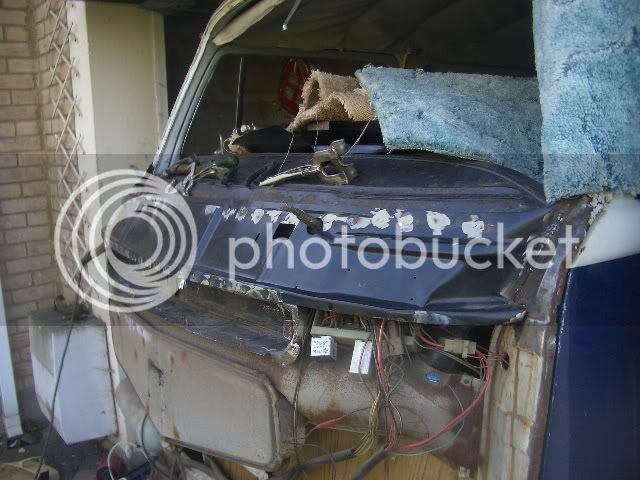
from a distance it looked dead straight but it turned out that tha filler was 1cm deep all down the side of the van. with seams having been created by grinding a line into the filler. i bare metaled my complete van and it looked like frankinsteins monster with rough welded repair panels covering it (all lap jointed). i can only assume that some garages a few years back were turning a trade by knocking out bodged vans. as i dont know anyone who would bodge their own van to that extent. as the rust will just come back. on the good side though. 1kg in weight removed is equal to 2bhp gain. you will be flying when you remove its second skin and all that filler.
 
Damn, I wouldn't even gain 120hp if I threw myself out leaving a brick on the accelerator :lol:

Andewilson, I know what ya mean about the bodging garages. It's disgusting to think that someone even could have paid to have this work done.
:evil:

It gets worse too, but at least it will all be done properly by the time I'm done with it.

my afternoon update:

At some point, it has had the lower front panel replaced. Right over the top of the original metal.

CIMG6821.jpg


This continued to fall off as it had only been spotwelded every 3 inches or so along the top edge. In fact, the firmest welds attached to it were where I had welded the cab step to it for the MOT. :lol:

it changes colour to purple. If only all the van had trick colour changing like that it would be awesome :roll:

CIMG6822.jpg


Measurements for reference - this will be grafted into the new panel.

CIMG6823.jpg


Almost off...

CIMG6824.jpg


Whoops... what have I done?

CIMG6825.jpg


This is just to see how it looks.

CIMG6826.jpg


Give me a few days It'll be fitted :)
 
Hopefully - a friend of mine has a compressor and 3 car garage so I will be asking for her help with painting. When I get there.

Seems a long way off now.

Here is this morning's progress. I spent the whole morning drilling out spotwelds, a time consuming process. I'm removing the front chassis rail that curves round the front behind the valence.

The RH side is a lot rustier (driver side) as it has been in a bump at some point in the past, which has been badly repaired.

I feel I could be removing it all afternoon to be honest.

CIMG6827.jpg


CIMG6828.jpg


CIMG6829.jpg


I am pleased to see the actual chassis rails are solid enough though, although the outermost one on the driver side has had a metal over metal repair which I'm not too happy with. I may just fill it with waxoil as it is very solid.

Also, having all the front end off means I can get at the front chassis a bit easier to cover it in POR15 :)
 
Not a lot to report I'm afraid.

Spent yesterday afternoon and this morning removing little bits of metal from around the windscreen surround, fresh air vent and the lower chassis section.

CIMG6830.jpg


CIMG6831.jpg


Bit flakey in the chassis rails, but it seems solid enough.

CIMG6832.jpg


Home made vacuum cleaner attachment to suck the rust out of the chassis rails.

CIMG6833.jpg


More to come, but I actually have to go to work now :lol:
 
mine failed on one hole in the belly pan. then when i got tucked in my van was as bad as this. im clinging on to the hope that im not going to change the complete front since i have already welded in a new windscreen bubble. but i know it will end up getting cut off just the same as this.
its looking good mate. you can get replacement outer chassis bits from shofield for 23 notes as side. mine had been coating in new steel like yours. if you think about it, it is these very sections that support the front of your bus in a front end smash. wip em off when you can. keep it up
 
Cheers guys. Andewilson, I've taken your advice and bought an outer chassis rail thing. Just waiting for it to arrive from heritage.

Today's work:

Lower water drain channel thing by rear valence

CIMG6882.jpg


Handy custom made panel: (made from old van roof)

CIMG6884.jpg


perfect fit! (well, almost. It's roughly the right shape anyway.

CIMG6885.jpg


Welded:

CIMG6886.jpg


Then spot welded the battery tray in.

CIMG6887.jpg


CIMG6888.jpg


From:

CIMG6883.jpg


I had to cut a whole wheelarch panel to make a repair section as I wanted to keep the (mostly) good original metal for most of the arch. The panel I got was the wrong shape as it turned out, meaning it will need a bit of work on the arch shape.

Shouldn't need much filler though :)

CIMG6890.jpg


More to come...
 
Thanks 8)

Been doing a bit more work today...

First job was to sort out this little hole:

CIMG6894.jpg


Hand made repair panel (it makes it sound better than saying "old bit of van roof I hacked into shape"!)

Welded in:

CIMG6897.jpg


Another repair panel marked out to cut:

CIMG6898.jpg


All welded together.

CIMG6899.jpg


You can see in the above photo I used the original section which had the pressed ridges in. I wasn't exactly sure how this area should look, but i thought it would be stronger if it were welded to the outer bodywork and inner area.

And with the mudflap in place:

CIMG6900.jpg


lowered another spline it would almost be scraping the floor :twisted:

Then I moved on to the rear corner bodywork.

first clamped to the body:

CIMG6901.jpg


As they come, the panel is terrible. They don't come with the edges to spotweld together.

CIMG6902.jpg


So I carefully made a lip to spotweld inside the engine bay.

CIMG6903.jpg


It fits (sorta!)

CIMG6905.jpg


Fits perfectly from previous measurements of the bumper support hole.

CIMG6906.jpg


Tacked into place:

CIMG6907.jpg


CIMG6909.jpg


CIMG6910.jpg


And even the battery tray fits to it fairly close.

CIMG6911.jpg


Right. That's enough from me, I'm off to enjoy what remains of my 19th birthday.
 
Thanks :D

I did a bit more work today, but got fed up of burning myself from lying upside down under where I was welding. Red hot metal going in ears = painful :(

I welded up the decklid end of the rear corner:

CIMG6916.jpg


Check the decklid shut line is OK:

CIMG6915.jpg


(still not quite perfect at the bottom but it isn't noticeable in the metal)

With valence and rear light:

CIMG6917.jpg


I'm not happy with the line between the rear corner and valence, so that will have to be adjusted somehow.
:)
 
Cheers :D

Just a little update for today:

beautiful new panel from JK - ordered it mid day friday on vanfest weekend and it arrived mid day Monday - great service :D

The quality was still a bit crap though, despite being a VW panel it still had a few wrinkles.

CIMG6978.jpg


This is how I left the front end of the van:

CIMG6979.jpg


Cut all the old panel off:

CIMG6981.jpg


This little brackety thing:

CIMG6983.jpg


Wasn't on the new panel, so I had to drill out the spotwelds and re-weld it to the new panel

CIMG6985.jpg


Shiny metal to weld the new panel to:

CIMG6984.jpg


Some of the airbox is a bit rotten.

CIMG6986.jpg


Repair panel made from scrap metal:

CIMG6987.jpg


I half welded it in, but I got interrupted by a neighbour and spent half an hour chatting cars to him. Thus, no more work from today.

More to come ;) - It's gotta take me to uni in 11 days time.
 
Thanks J&M

Getting there slowly :D

Had a few toys come today:

CIMG6988.jpg


(yup that's 100 cutting discs (1.2mm thick = nice to cut with ;) ) )

And later on, the front chassis rail section.

CIMG6989.jpg


I spent all morning playing with my new laptop for university.

This afternoon, I found the joys of the flap sanding wheels on an angle grinder :D

Finished welding up the upper section of the airbox

CIMG6990.jpg


Spot the join!

CIMG6991.jpg


Outer panel clamped in place.

CIMG6992.jpg


WElded in place.

CIMG6993.jpg


See how the flap wheel hides the welds :D

CIMG6994.jpg
 
Tofufi said:
...This afternoon, I found the joys of the flap sanding wheels on an angle grinder :D...

Flap wheels are great - I love the fact that you can get a nice flat finish! Still need to go easy though to avoid heat distortion!

Looking good - want to do mine after??

;)
 
Don't tempt me with offers of more vehicles to weld. :lol:

I'm already tempting myself on eBay with rover P6 saloons. 3.5 V8 = mmmm ;)

Anyway, back to the early bay....

Been working hard this morning.

Chassis rail:

CIMG6999.jpg


All the rot cut out.

CIMG7001.jpg


Now feeling rather pleased with the decision to replace it (part of it)

CIMG7002.jpg


CIMG7000.jpg


I plan to leave the top half of the rail in place as it is VERY solid!

And a pain in the ass to cut out too :lol:

After all that cutting. I didn't feel like rolling around on the floor cleaning it all back to bare metal. So I finished the spotwelds on yesterdays work.

CIMG7003.jpg


After that, I moved on to the front chassis section behind the bumper. It comes as a double skinned panel which looks a bit confusing.

CIMG7004.jpg


I thought it would be easier to weld if I split it into 2 parts and welded each half on seperately. A hell of a lot of spotwelds later:

CIMG7005.jpg


Good job I opened it up, that bare metal wouldn't last 5 minutes in this climate.

Can't quite work out how it is meant to fit - any suggestions?

CIMG7006.jpg


CIMG7007.jpg


CIMG7008.jpg


Surely that gap shouldn't just be left therE? Presumably I need to fill it in.
 

Latest posts

Top