my 1971 danburyfalia pop top project

Early Bay Forum

Help Support Early Bay Forum:

This site may earn a commission from merchant affiliate links, including eBay, Amazon, and others.
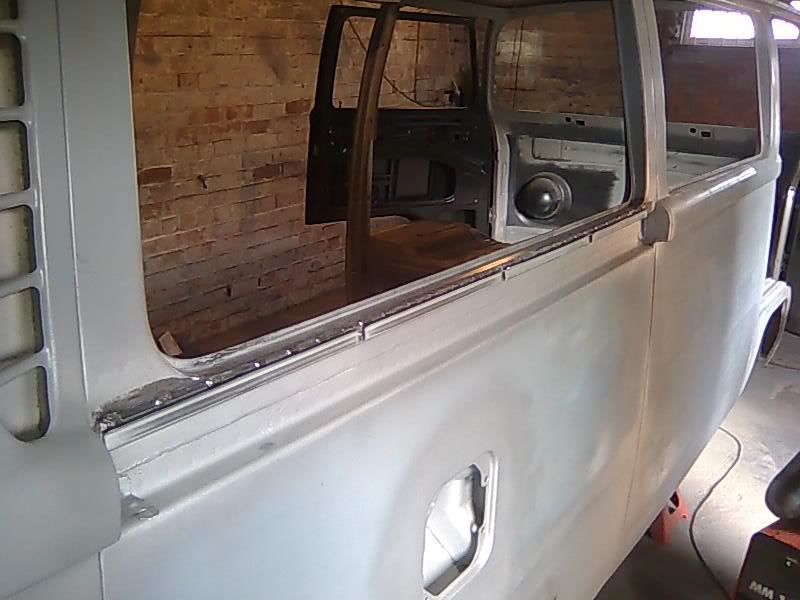
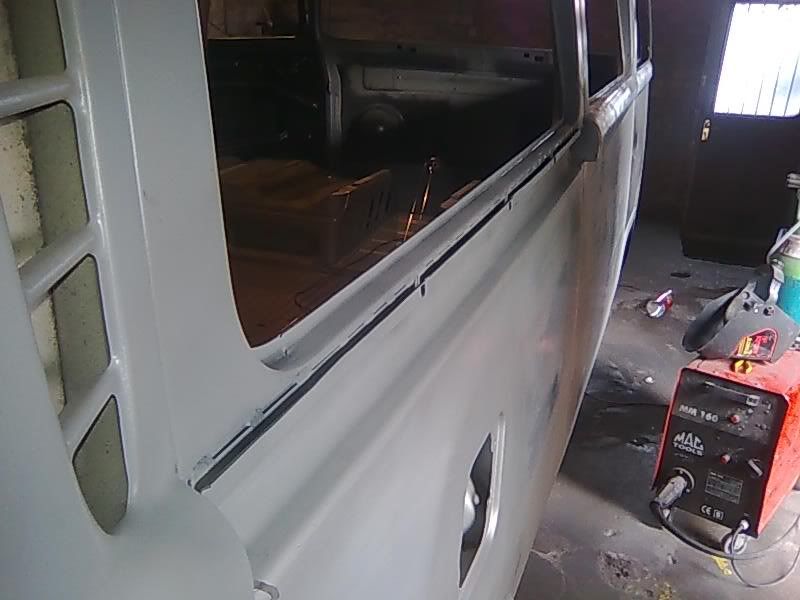
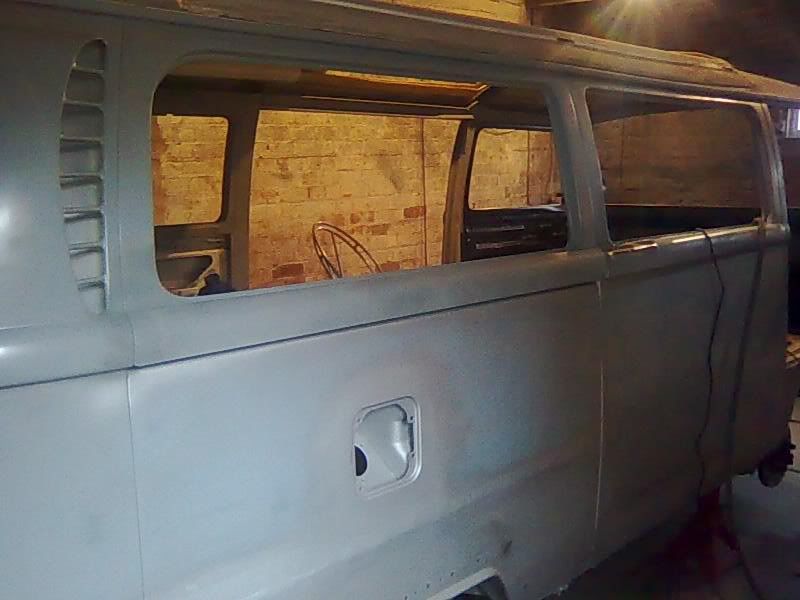
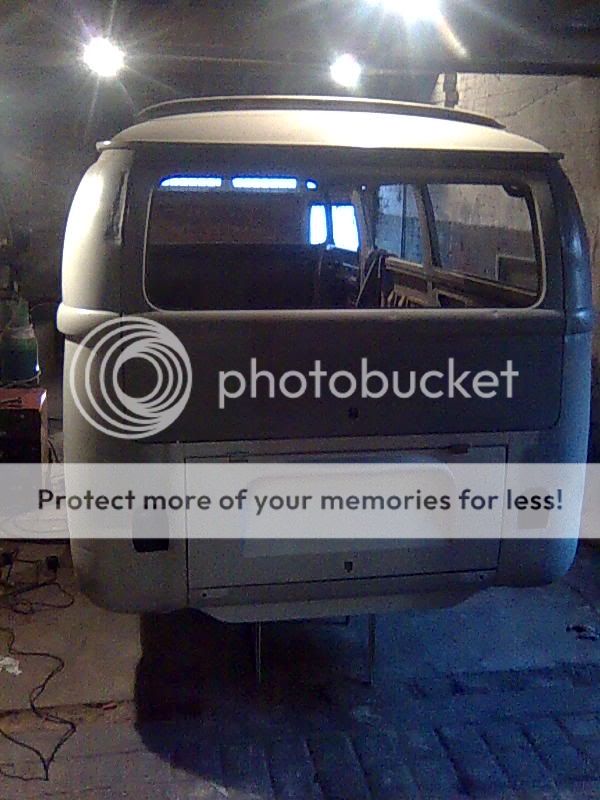
ive been getting about four hours a day on the van so the past two days ive made a bit of progress on the window appertures.

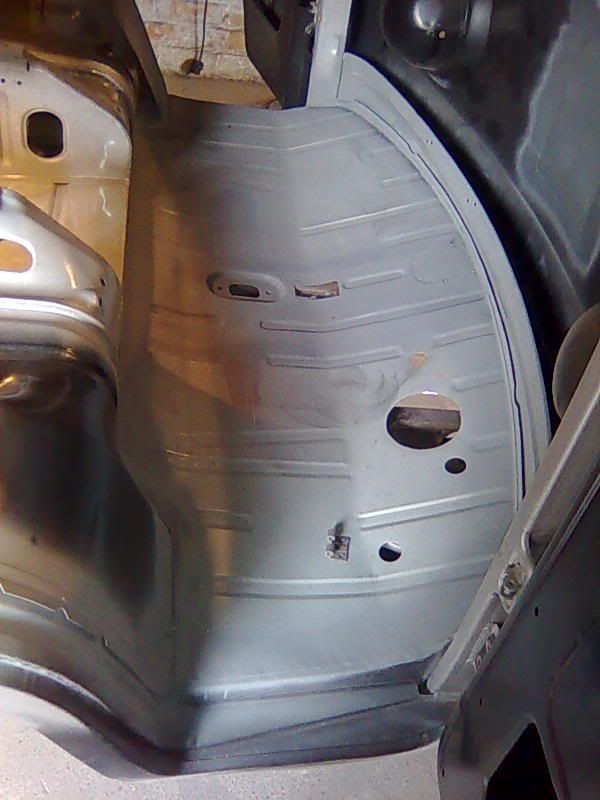
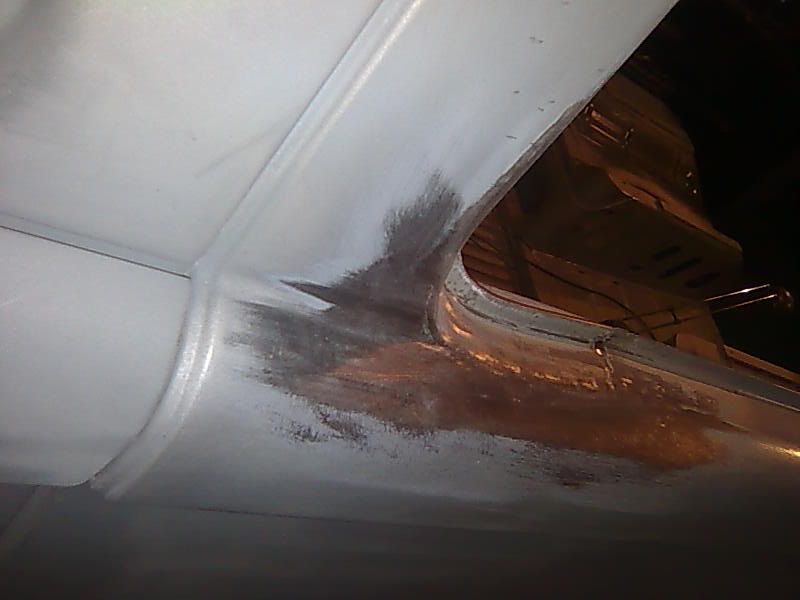
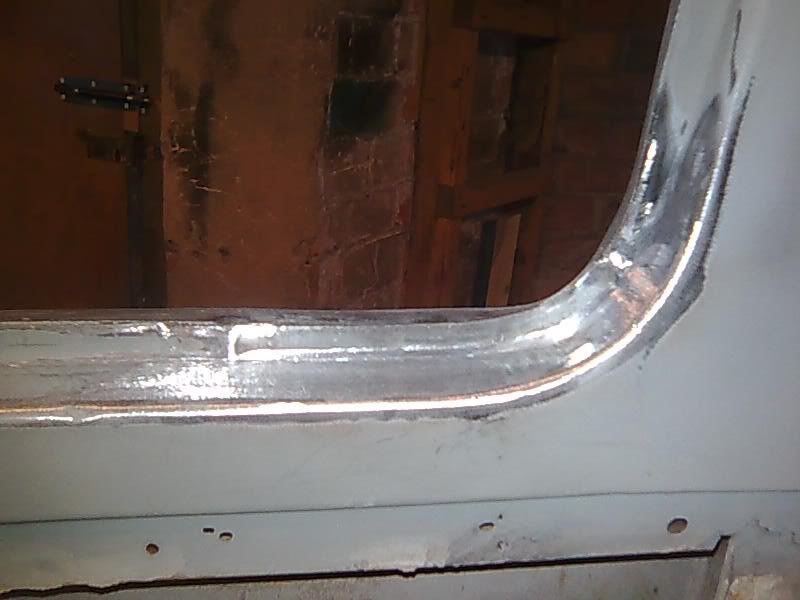
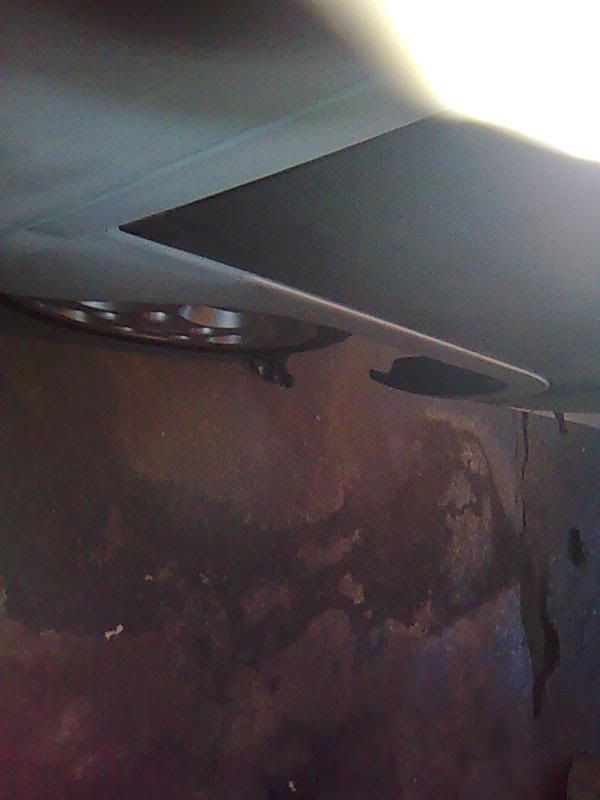
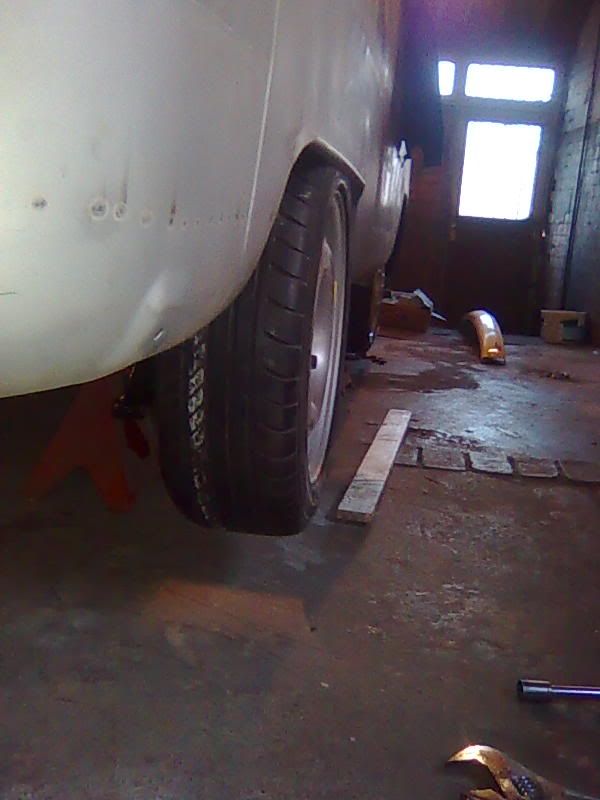
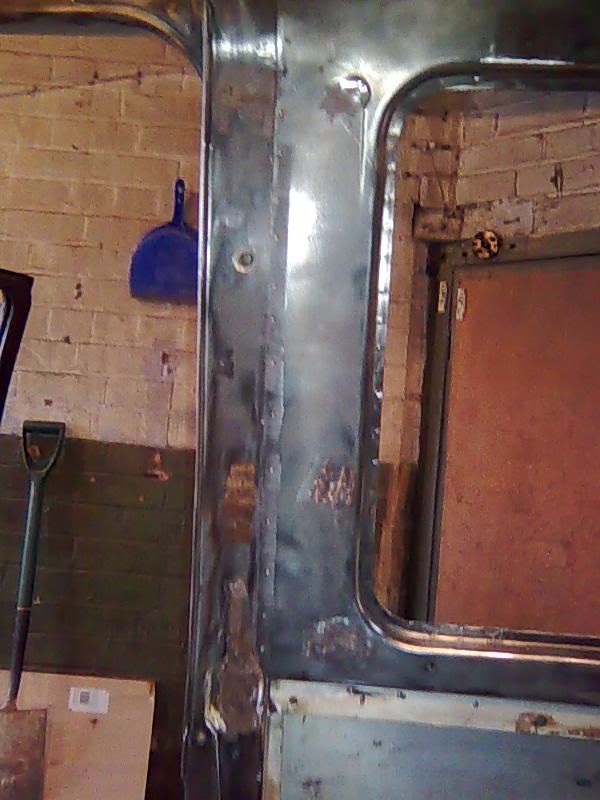
over the years the van must have had a few different interior combinations as it is peppered with holes. ive spant the last two days bare metalling the bits that will be seen when its done then welding and grinding them away


int1.jpg


int3.jpg


int4.jpg


int5.jpg


int2.jpg


int6.jpg


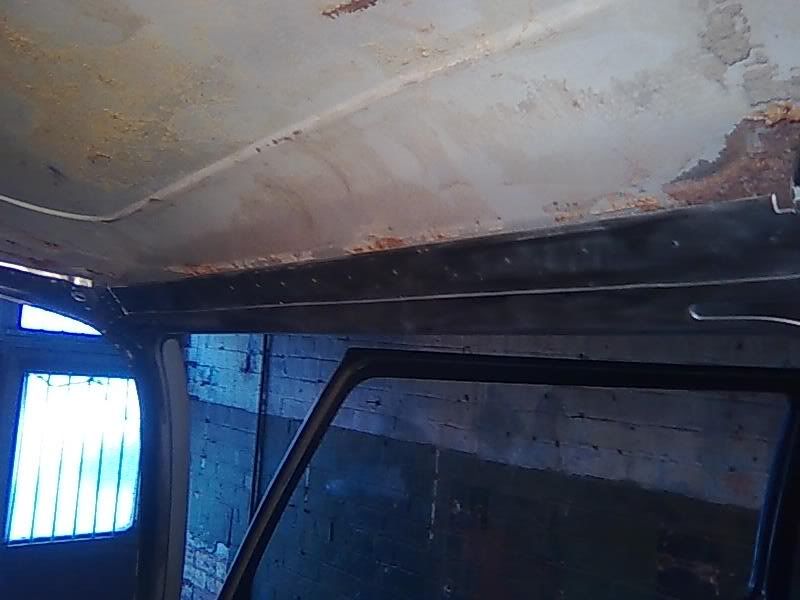
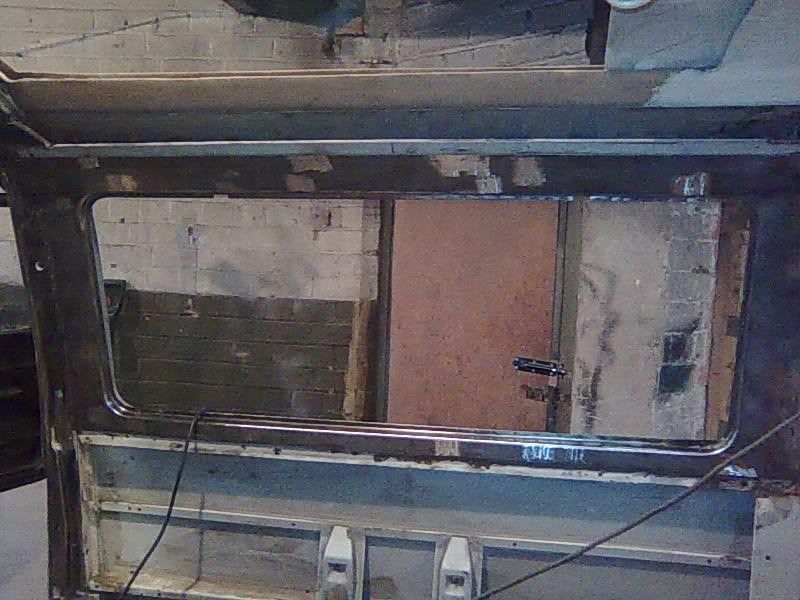
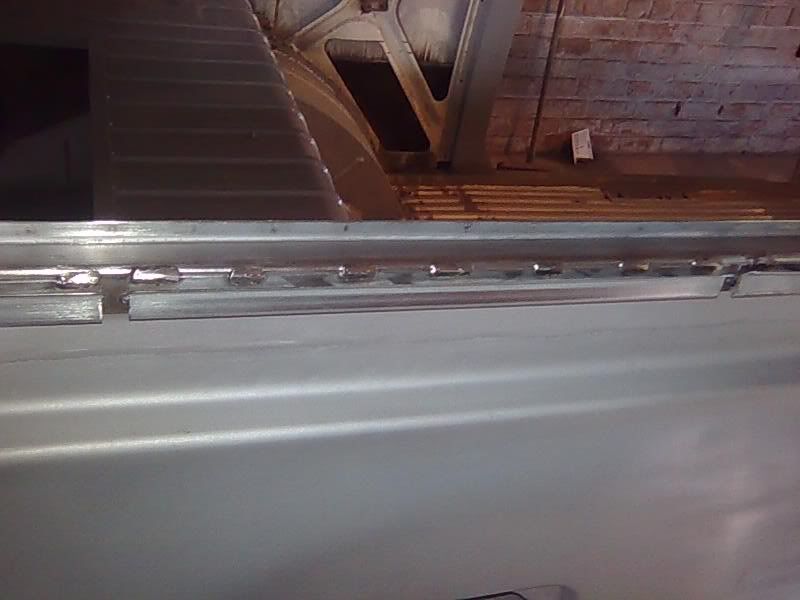
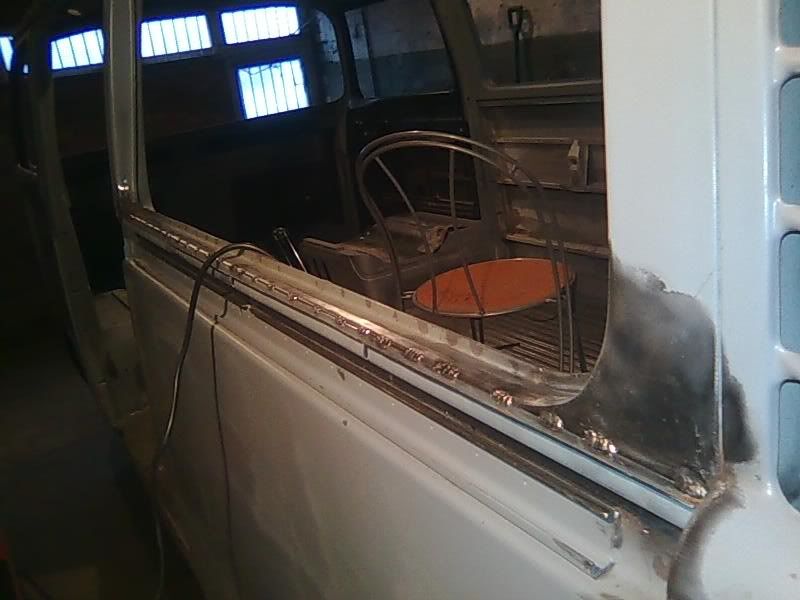
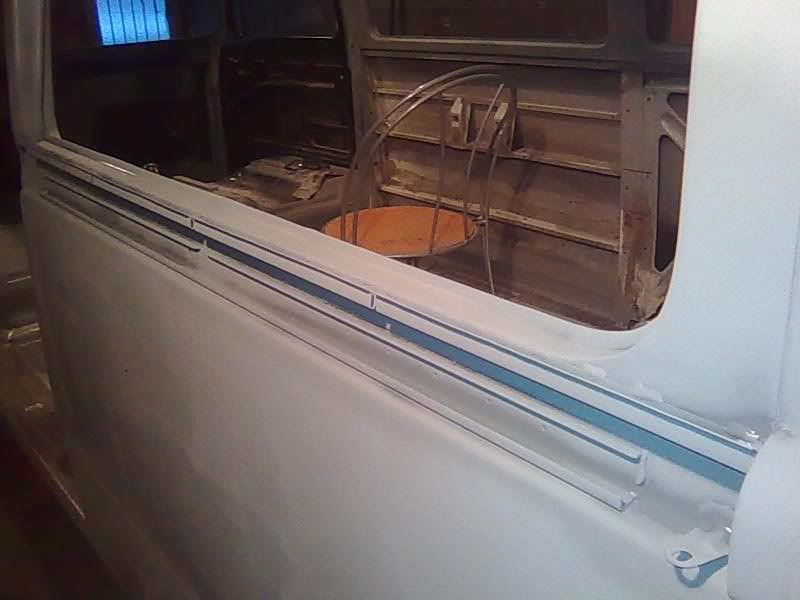
ive also removed all trace of the og headliner clips as i aim to make a westy style birch headliner filled with ice
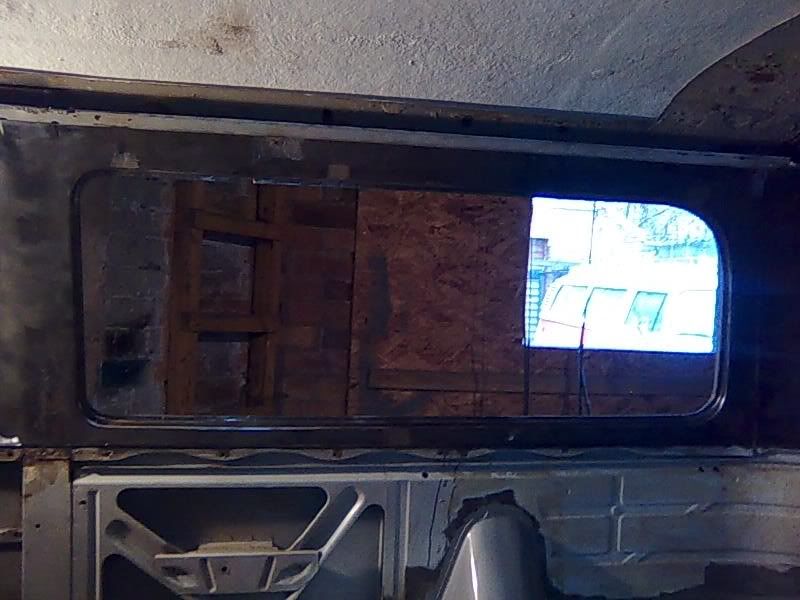
 
Looking good mate,
but with all the ice your planing on fitting your gonna have to fit a big touran 5lt diesel motor to pull it around ;)
 
andewilson said:
i have some 10mm x 25mm steel strip cut and threaded that bolt to the bottem on the seat runners. these will be welded to the arch tub as opposed to drilling through. as i aim to go loooooooooooooow at would hate to snag a tyre with an encroaching seat bolt :?


Are you not going to make the seats rotate then? seems like a missed opportunity given the missing bulkheads?
or is the interior going to get in the way?
 
due to the size of my family (four kids) my van needs to have 7 seats. so i will be have a pair of rear facing danbury style seats so i went for fixed front seats.
 
it was the last day of my perternaty leave today so popped around to my workshop to finish off a few bits i have been working onthis week


cab floor now cleaned up and a coat of zinc


finishedcabfloor.jpg


did a bit more on the second o/s window, after repairing the front corner earlier on in the week i decided to tackle tha back corner


os2ndwindow1.jpg


os2ndwindow2.jpg


os2ndwindow3.jpg


os2ndwindow4.jpg


os2ndwindow5.jpg


os2ndwindow7.jpg
 
did a bit more work on the rear o/s window bottem too. i replaced the complete bottem out over a year ago but didnt really ever finish it off.

spent a while tickling it up the welded on the track cover clips


ostrack4.jpg


ostrack3.jpg


ostrack5.jpg


then decided to keep my existing o/s track cover (n/s side is a bit too rusty though both have been swapped in the past on a previous resto)


ostrack1.jpg


ostrack2.jpg


ostrack6.jpg


then a little more tickling and priming on the n/s rear. now just waiting to pick up the n/s sliding door track cover


nstrack1.jpg


nstrack2.jpg


after i got a classic car restorer round last night to give me a quote, i had a very sleepless night last night about what to do with the roof.

i dont know what peoples views are on the fibre glass sliding sunroof that i will be running but i think i am going to take up the challenge of trying to make it work and look right. i just think that i might be a bit claustrophobic in a tintop and cant be arsed after all this to then take on a pop top roof swap.
 
got a bit more work done on the van this arvo. i am trial fitting a few bits to run through all the bits i removed off the van that i am keeping. the loft around my workshop has piles of bits that i now need to sort through an polish up etc. heres a few pics


rearsus1.jpg


rearsus2.jpg


rearsus3.jpg


rearsus4.jpg


banged a couple of rims on i had around there. one 6j tele with a 165 50 15 bridgestone, one 6j cookie with 165 50 15 nankang ditch finder. these are my spares which will reside on the roof racks when the van is done


rearsus5.jpg


tuckage


rearsus6.jpg


rearsus7.jpg


rearsus8.jpg


rearsus9.jpg


i would have loved to get all four rims on the van today but ran out of time :(
 
fitted new bearings and seals in the rears but i thinks i have the wrong outer bearings as they dont look much like the ones i removed. the inners ar rollers and there fit nice with the circlip.
the outers are large needle bearing that the center can be pushed out of. i seem to remember a needle taper being removed but its been a while since i took them out.
 
the best way to a good weld is a good welder. i started using a cheap £100 one but it was very hit and miss. the one i use now is sometimes a bit too powerfull but its good to know that when you need to you can wack it up and weld some thick metal. :D
 
not been getting much done on the van this week due to work :evil:

tried a few bit on the van though to get it looking a bit more van like

tried the porker spares on but the seems a bit tight. against the arches, may need to shave the adapters down a bit to steel a mil or two


porkspare1.jpg


porkspare2.jpg


then fitted the collection of panels from around the globe. us, aus, and africa.


rearonmock.jpg
 
i have now removed all the hubs etc to send to futbus for machining. it will be great to have the brakes bolted up to the bus so i can flip it again and spray the underneath of the van
 
mcvw said:
This thread is awesome... Looks like you could end up with a "nellibus" part 2 :)

make that a nellybus part 2.1 :)

looks like its getting there. that spare is real tight. what setup are you going on rear. 112pcd with adaptor plate to 130? what thickness adaptor plate you running at the moment.

i'm going to have to see how my 5.5J spare fits my 7J front and 8.5J rears. fingers crossed.
 
im runnig 25mm adaptors and the spares are an et 23 so it give an et of -2 so they are probably too tight to run (i'll save them for the mk1 golf project ive always promised myself) all my other porsche rims are et 50 or 55 so would give 25mm more clearence then these
 
Great work!

Ref the wheels... I'd have to say that although I'd never have thought it..... I just love the look of those porker spares..... they look kind of stock but with a high performance mean air about them :evil:
.... are you sure you can't get them to fit?
 

Latest posts

Top