my 1971 danburyfalia pop top project

Early Bay Forum

Help Support Early Bay Forum:

This site may earn a commission from merchant affiliate links, including eBay, Amazon, and others.
This bus should have an 09 or 59 plate on it when its finished - its a new bus!! :shock: keep going dude, you inspired me to work even harder on mine http://forum.earlybay.com/viewtopic.php?f=2&t=8798&st=0&sk=t&sd=a&start=15" onclick="window.open(this.href);return false; :)
 
cheers mate. my bus has the same issues as yours around the tailgate. i am dreading tucking into that bit. i think at least 90% of uk buses have this kind off rot in the post :( . its hard not to have a green eye for the guys with the imports. if i had the spare time im sure the bus could be prepped in a week but im sure it will take another 3 months. i've had all the suspension hanging in the boiler house at work for the last 6 months since i por'd them all. i did promise myself not to go to any shows this year but spent 3 hours today trying to stretch some 195/40/17 tyres onto some 9x17" porsche cup 3's for my golf. it is hard to remain focused
 
Yer but somebody with your tallent can make a proper job of it which will result in an awesome bus which should be a keeper! I can prep and repair to a certain extent but no where near to your standard, all of the hardcore welding I am going to have to get someone else to do, which will cost lots.......... :cry:

I am back at my house now so cant do anymore to my bus, but I bought the dash and quarter lights etc back with me to make a start reconditioning / customising - its all small progress.. Keep it going bud. :)
 
at last ive had chance to get into my workshop. it was f##king freezing down there! i por'd the a pillars on friday so started preping the front panel ready for fitting.


Image060.jpg


Image061.jpg


Image062.jpg


Image063.jpg


Image064.jpg


then stiched one end on. i need my mate to come over to help stretch the front on which hopefully should be tommorrrow.


Image065.jpg


also did a it of prep of te new cab floor panels. schofield only do the outer repair panels but they made mr a complete floor for nearly £150. (i wish i'd not cut my whole floor out at the time)


Image059.jpg


Image057-1.jpg


Image058.jpg
 
managed to get two hours on the van today so tried to get the front skin stitche don or good.


Image086.jpg


Image087.jpg


Image084.jpg


ive been hoarding bit for the bus for a while so i stole a little time from work the other day to strip my new bumper


Image069.jpg


Image070.jpg


Image073.jpg


Image074.jpg


Image075.jpg


bit gutted about the fact that the bumper i bought has a huge dent in it and some very under skilled south african has made an attempt at straightening the deluxe trim on it


got some new rims for the bus this week too as i coulldnt spend any time fixing it


Image067.jpg


Image068.jpg


they're not the best quality polishing but i had an offer i couldnt refuse
 
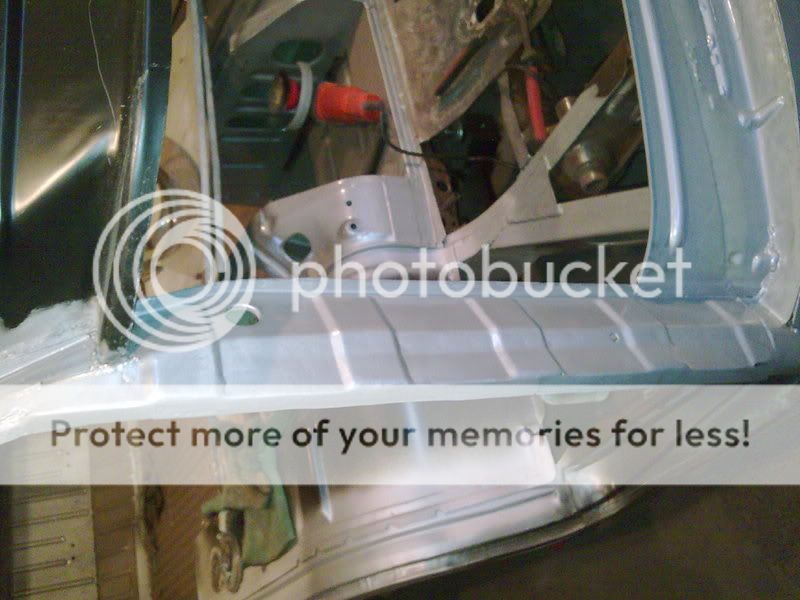
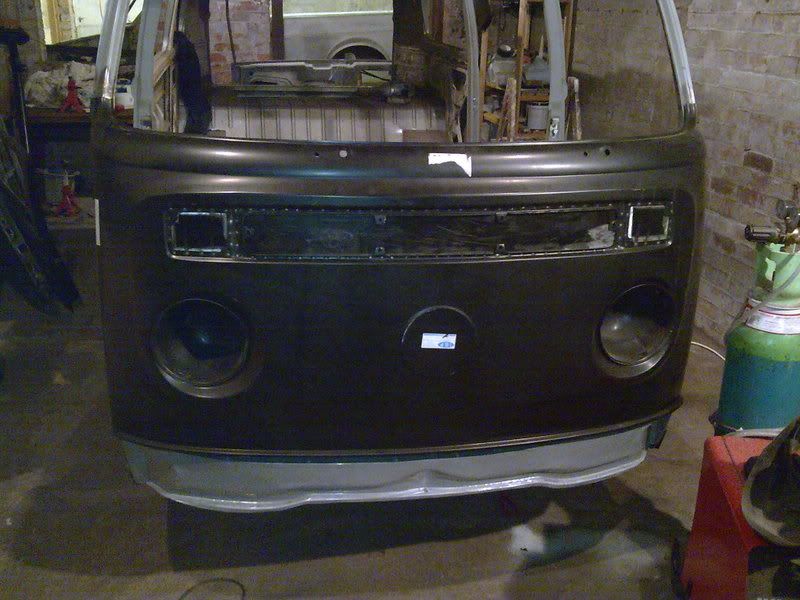
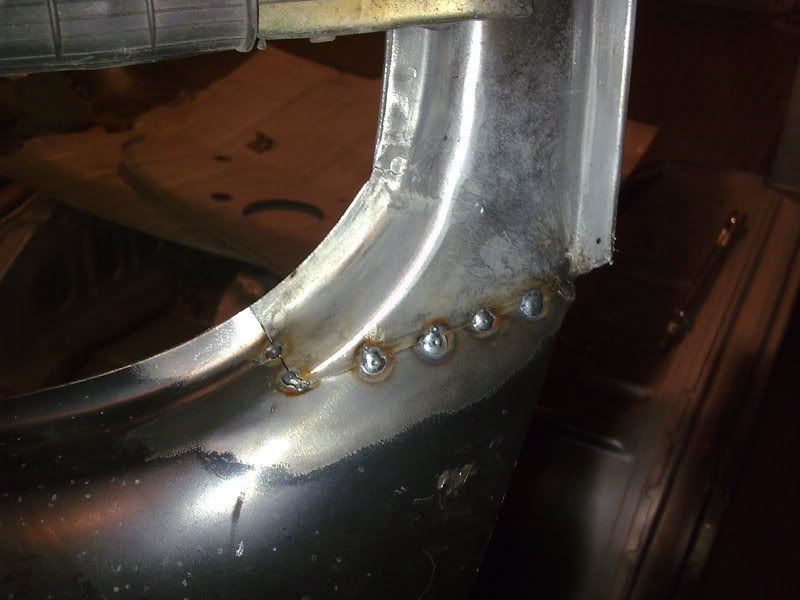
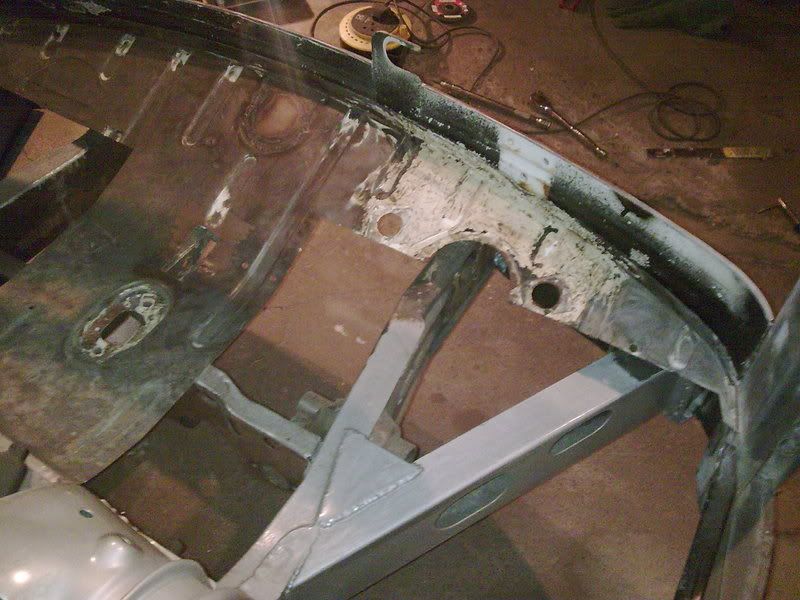
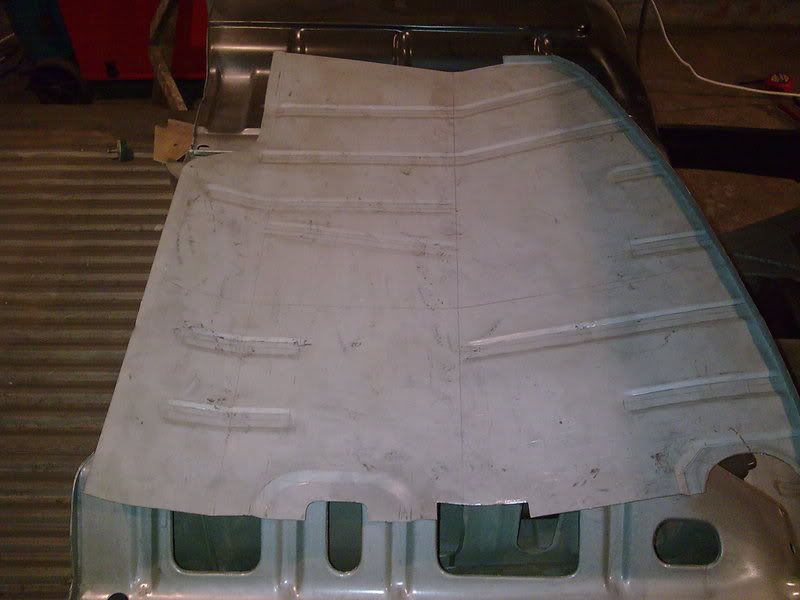
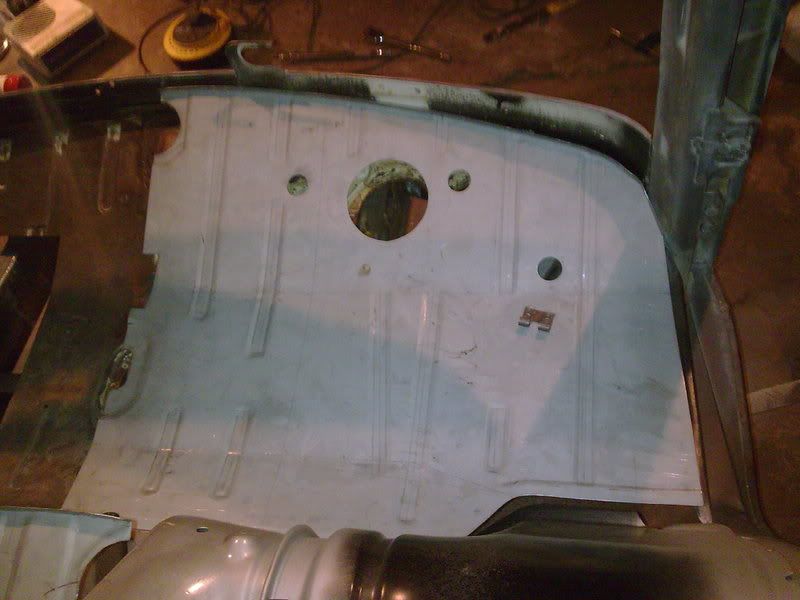
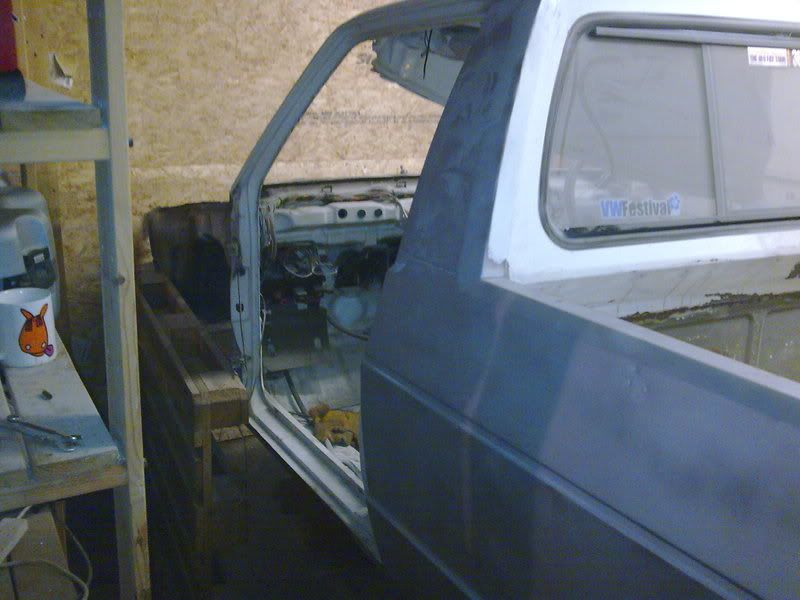
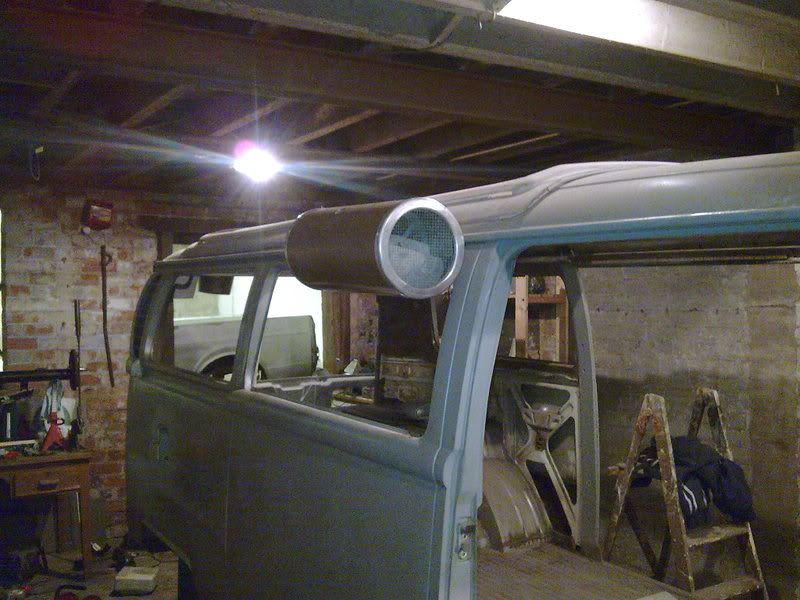
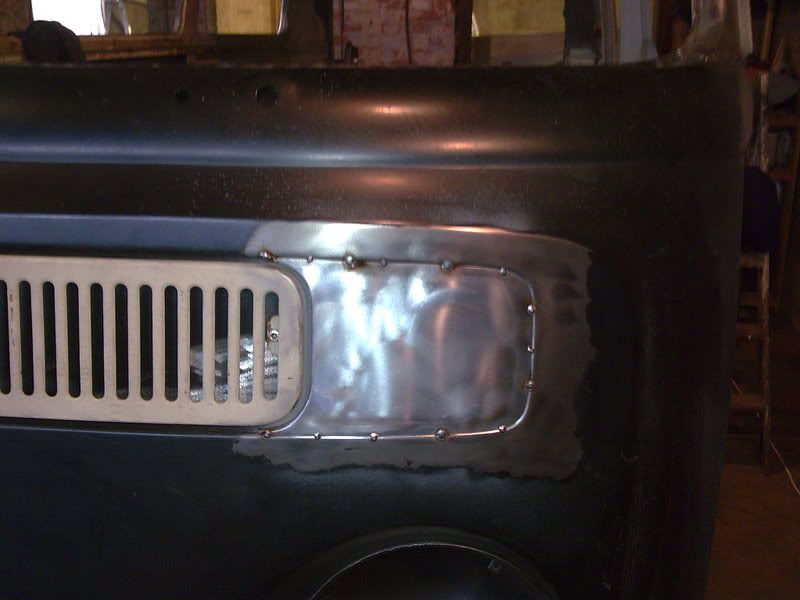
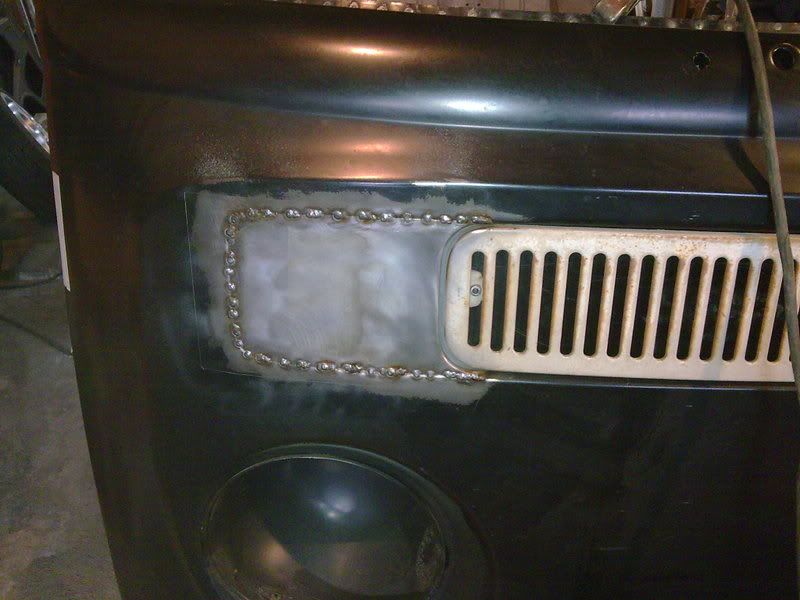
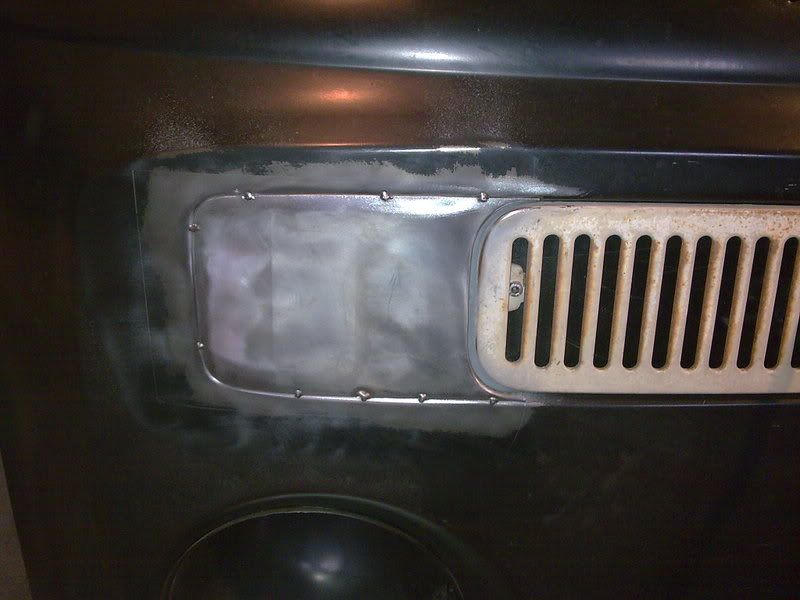
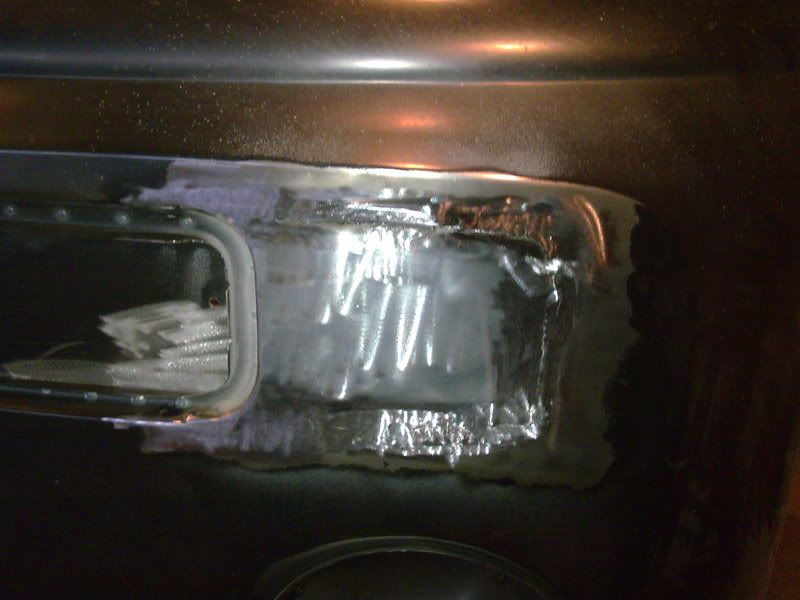
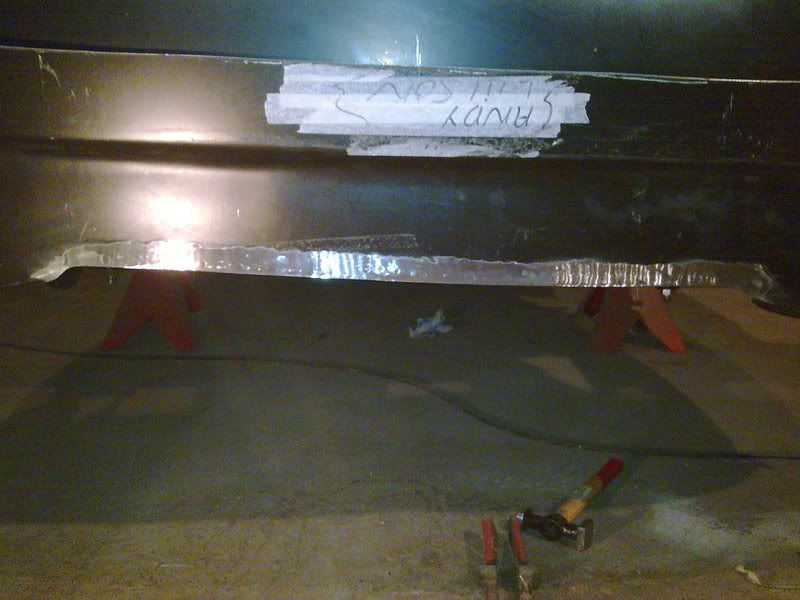
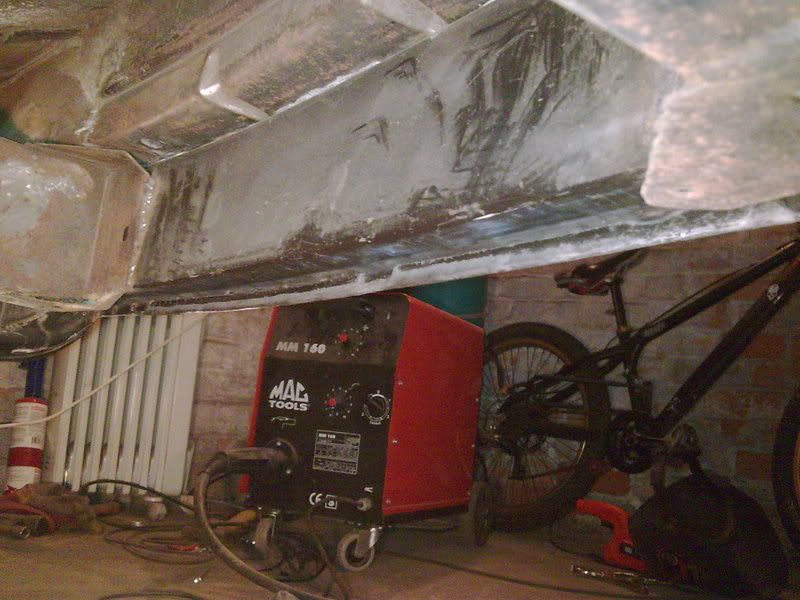
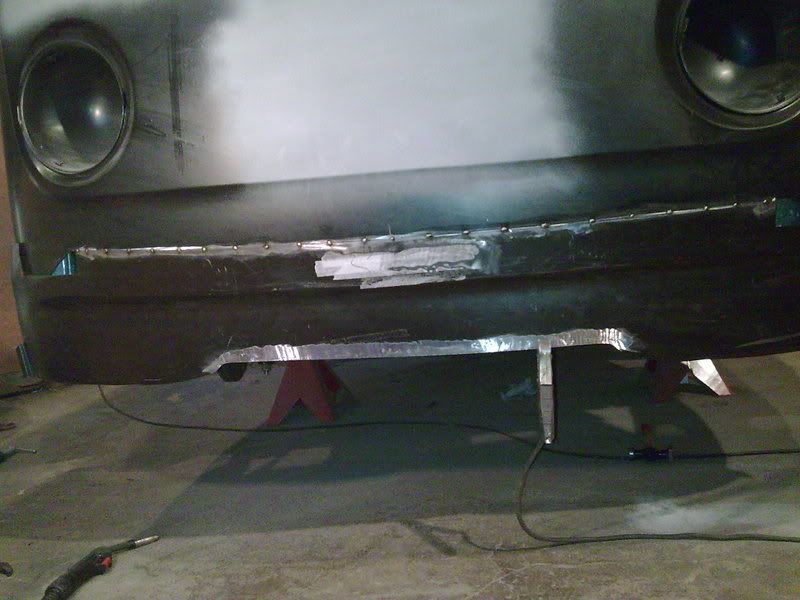
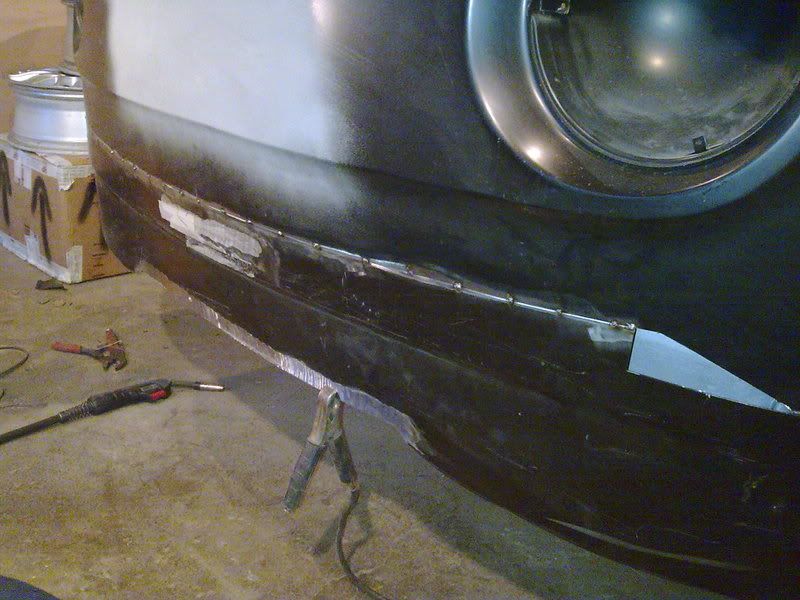
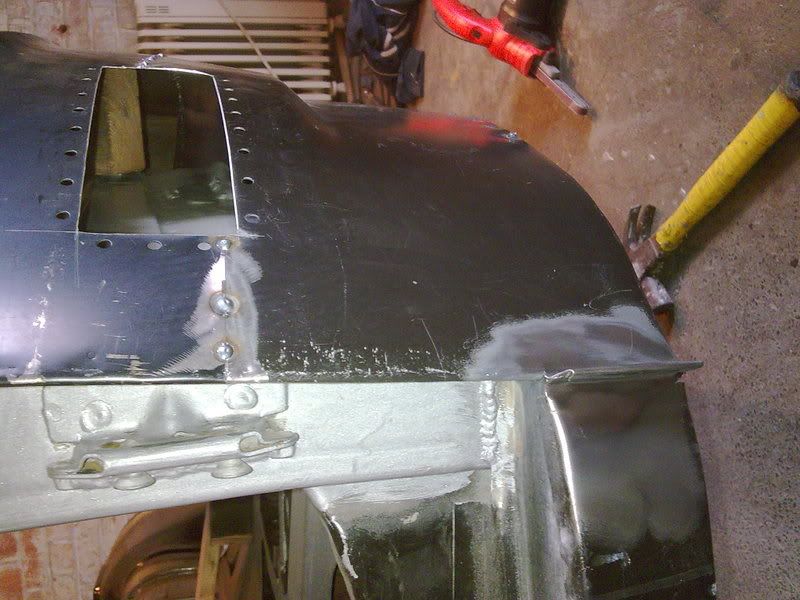
been round my workshop today to try and get some bits done on the van

its been getting a bit full around there of late. after sending my mates spitfire to the scrappers the space didnt last long before my mate alex offered to store his caddy there. at least its a dub.


Image088.jpg


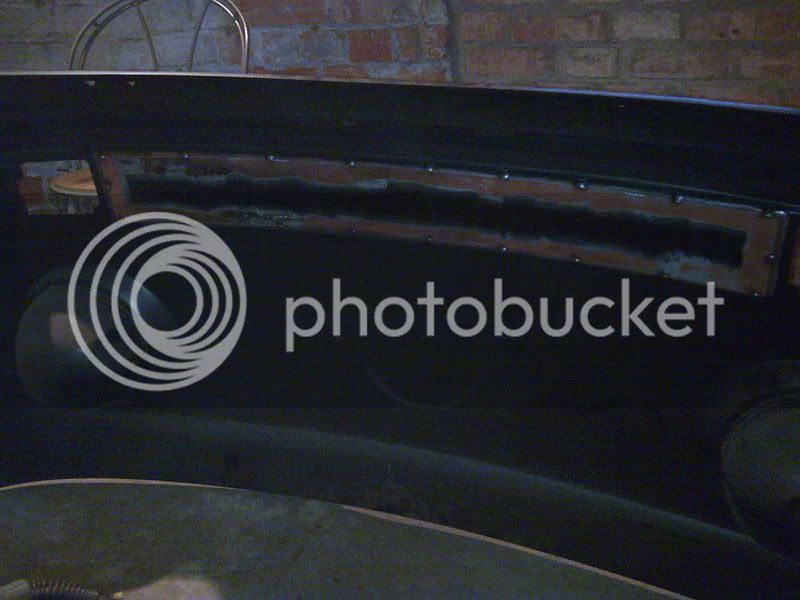
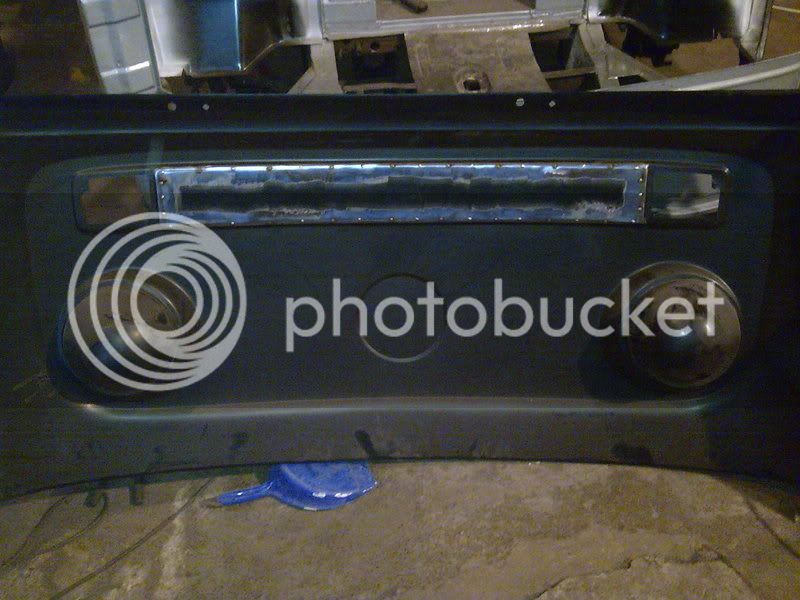
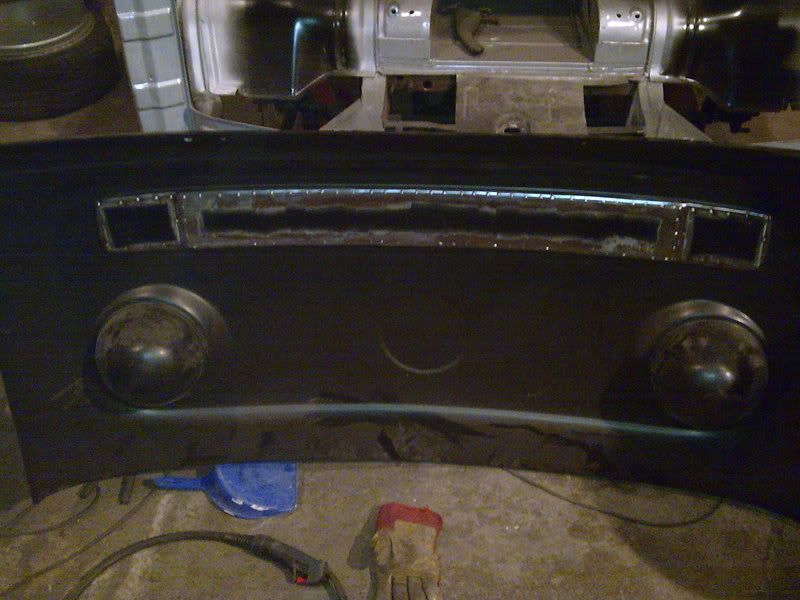
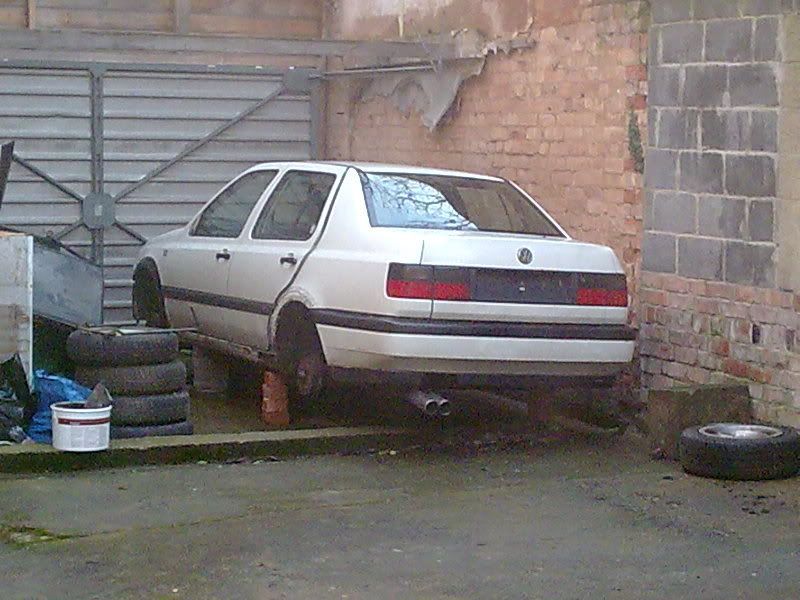
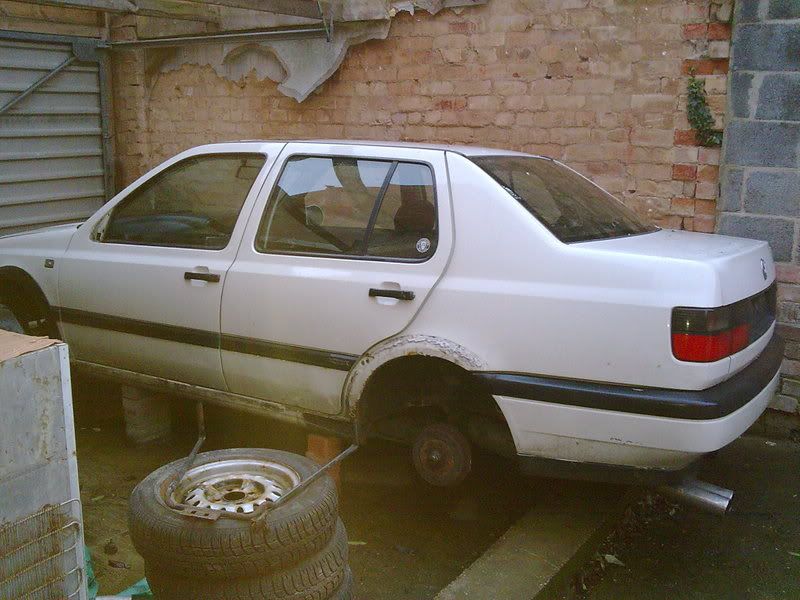
and in the last week another mate has had this around to strip it ready to scrap it, it looked ok till he took the kit off it then it started looking about as good as my bus did.


Image090.jpg


Image099.jpg


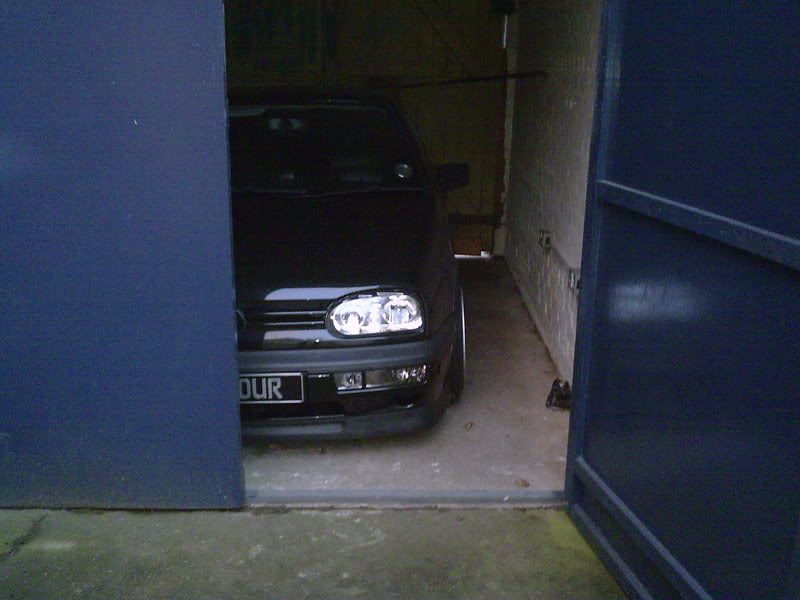
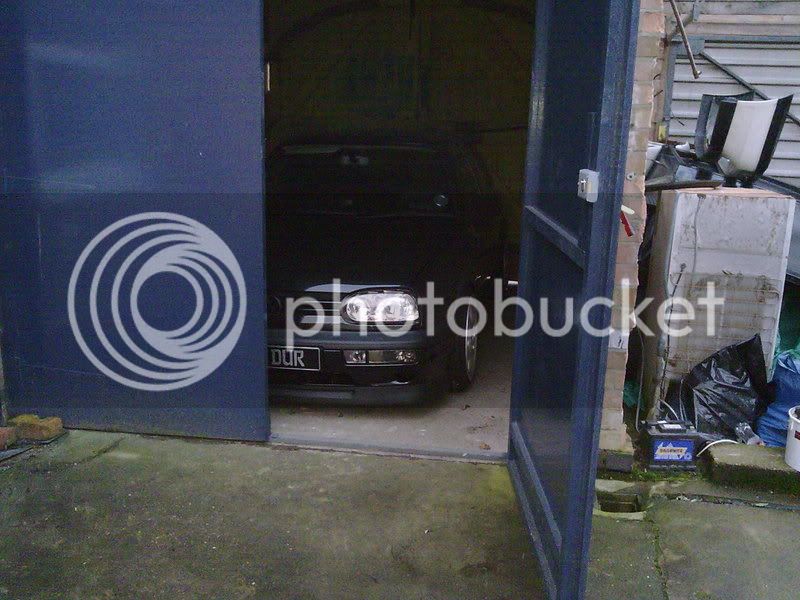
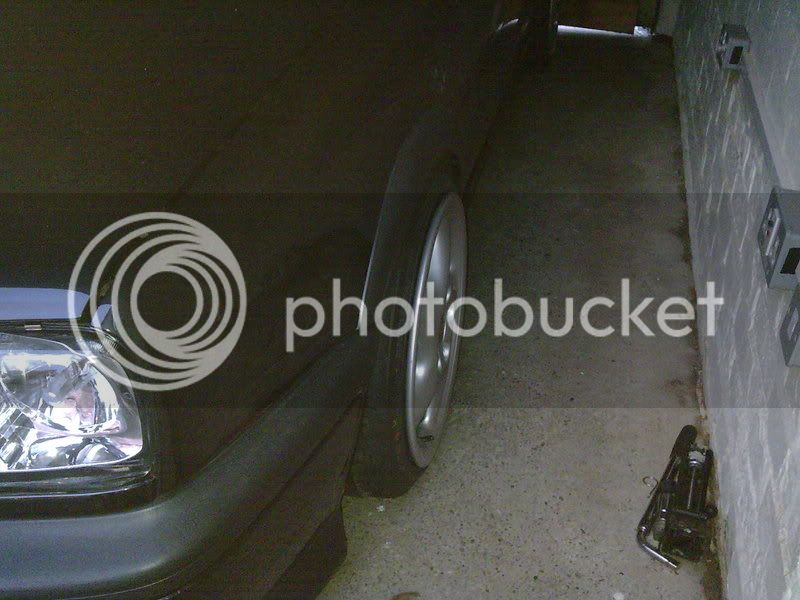
and then theres my golf. its been sat in its lock up since october waiting for me to get enough spare time to roll the front arch lips so my rims dont rub too much


Image091.jpg


Image098.jpg


Image092.jpg


Image093.jpg


Image094.jpg


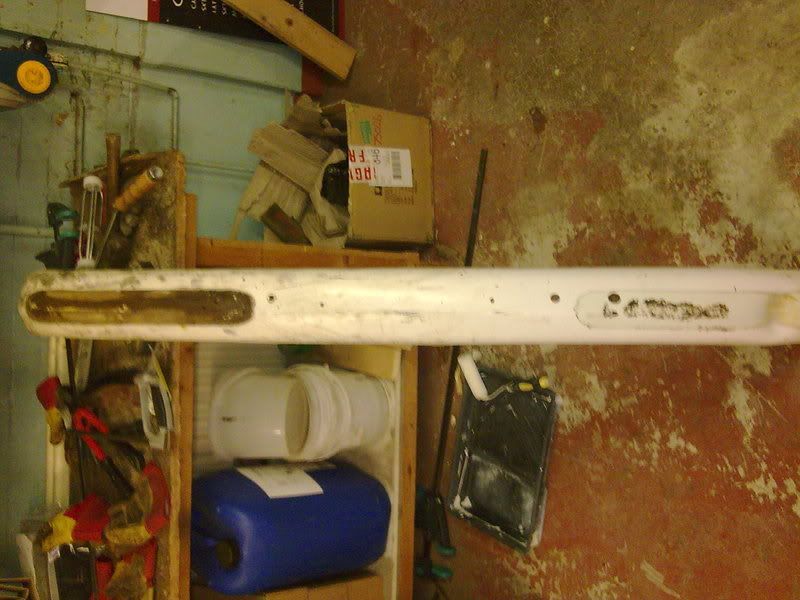
also been buying a few trinkets for the van to make up for the lack of progress


Image049.jpg


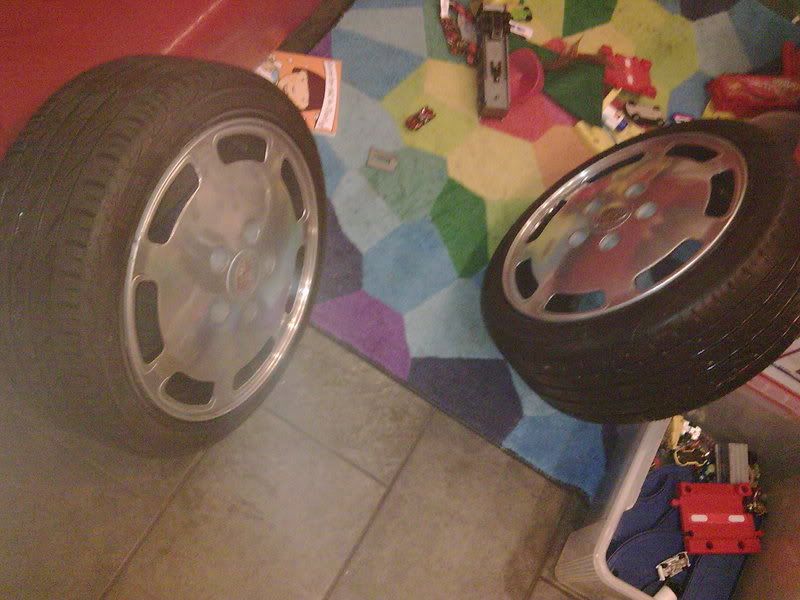
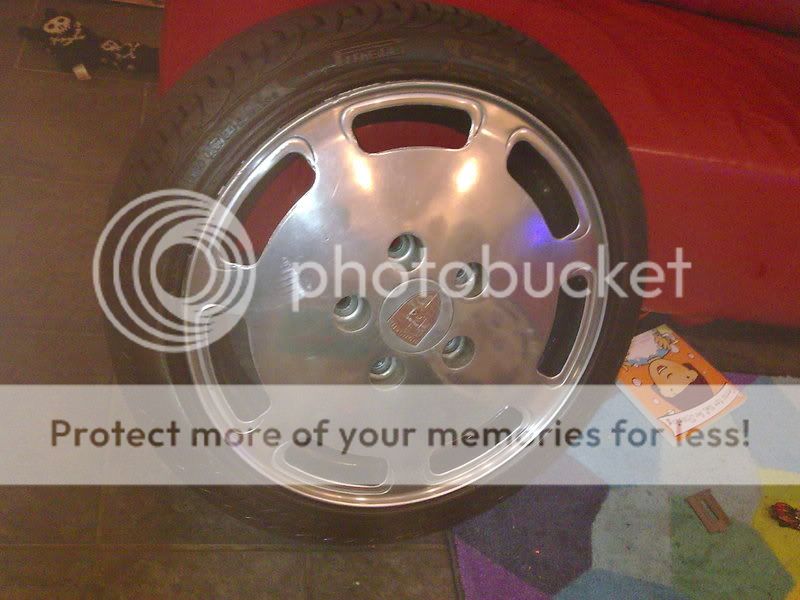
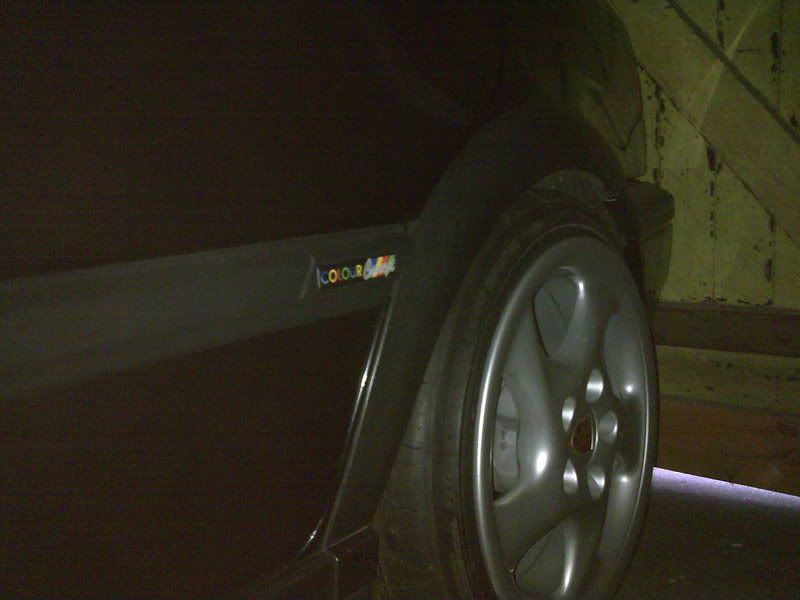
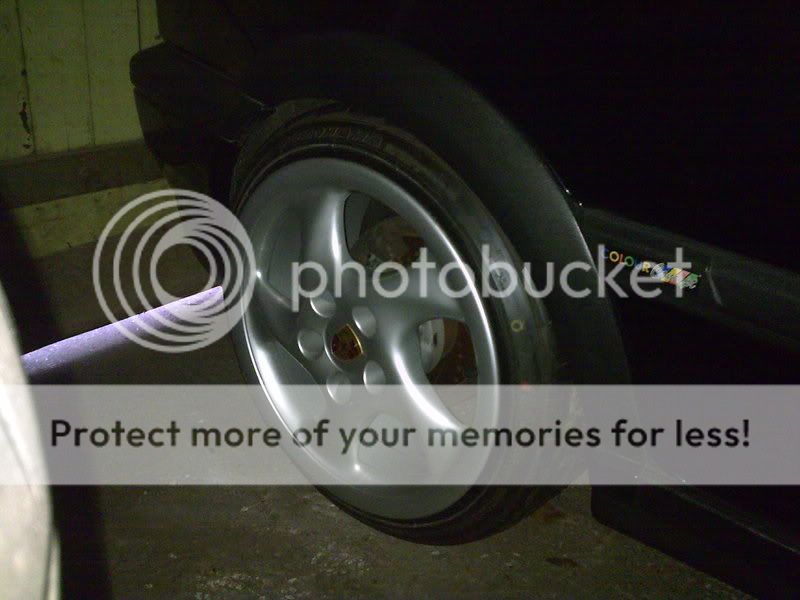
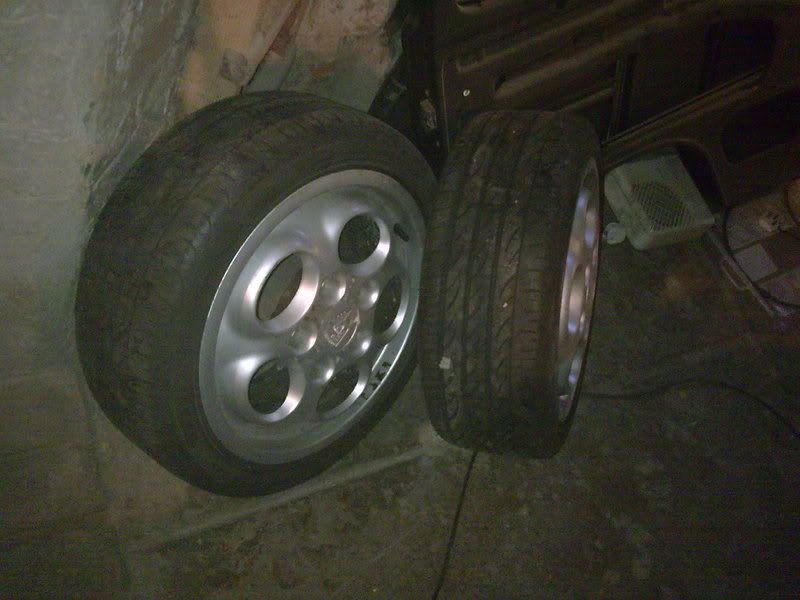
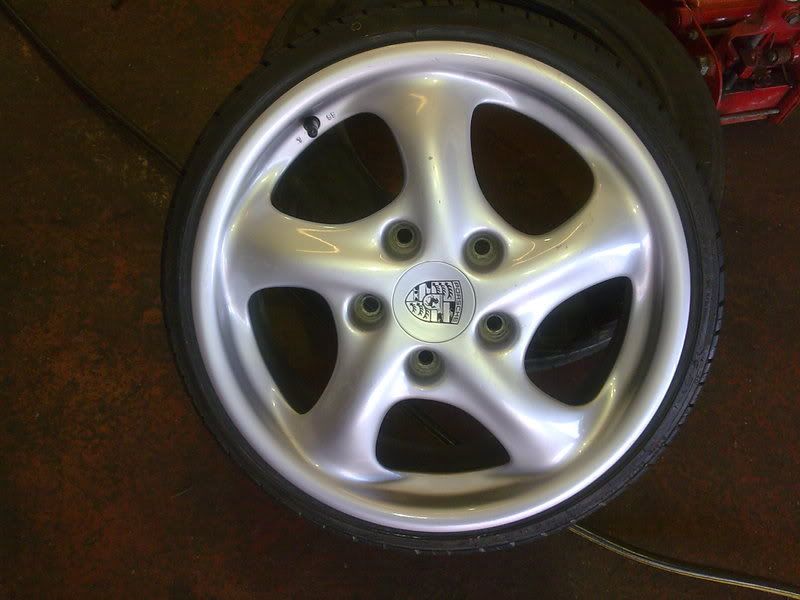
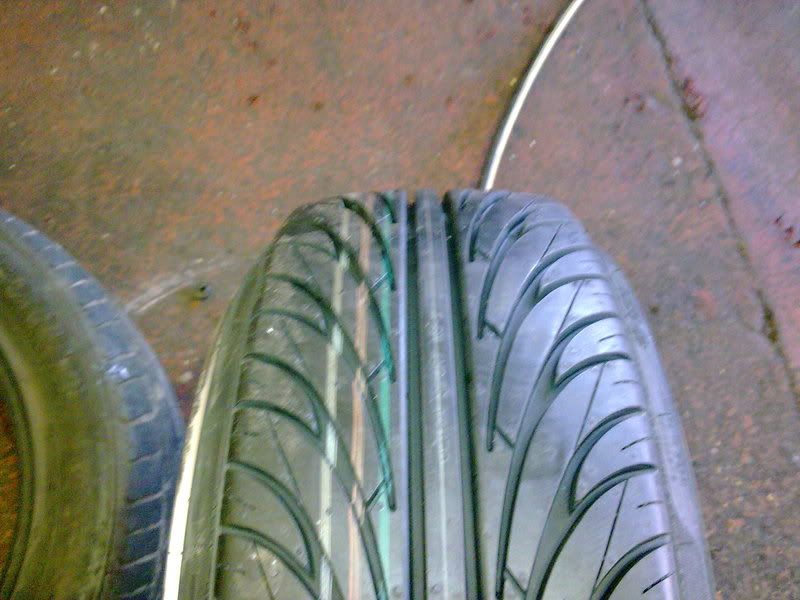
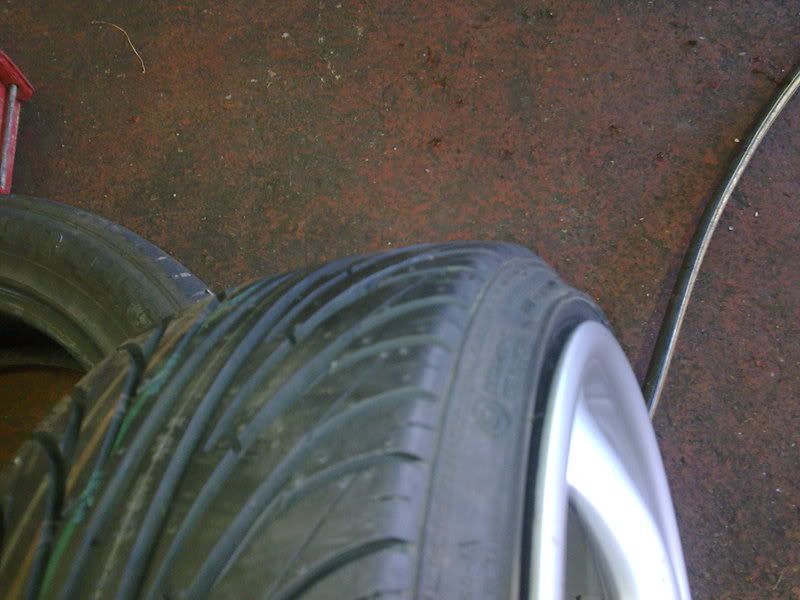
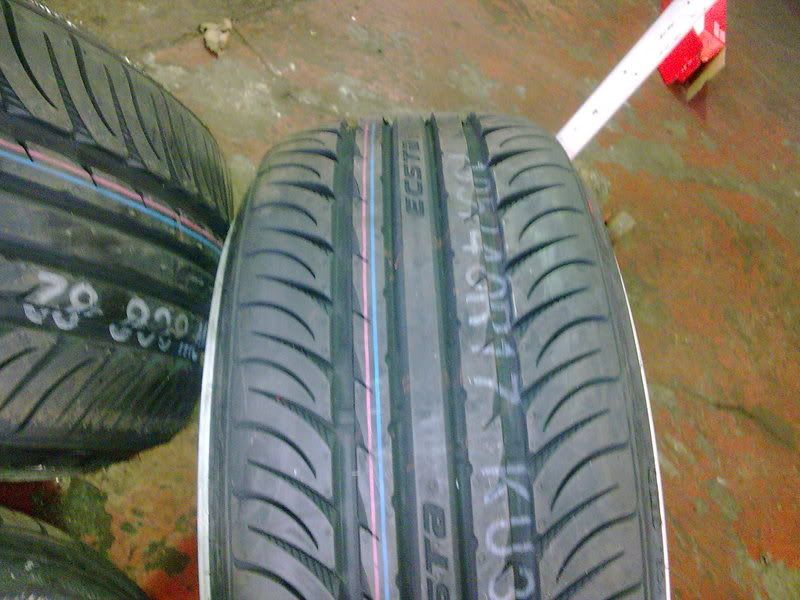
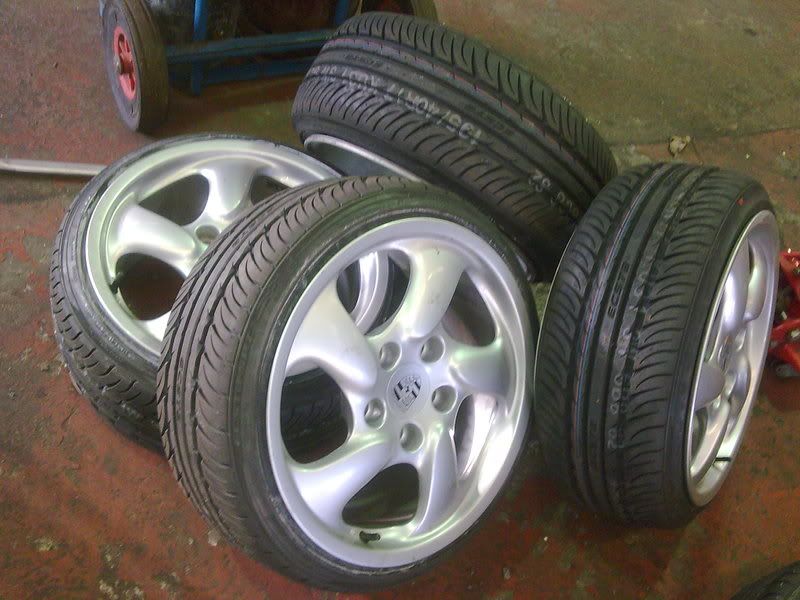
and put some boots on the 16" tele's


Image101.jpg


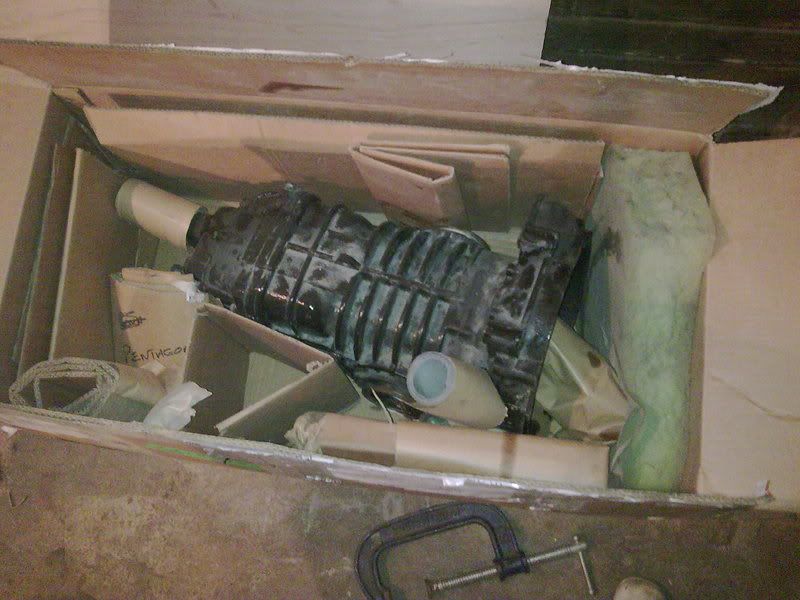
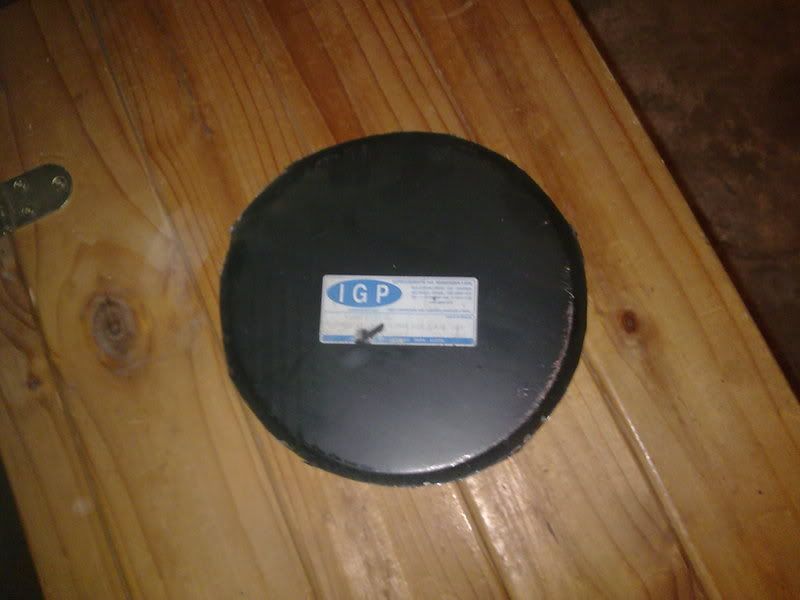
and got a new gearbox for it from nelly on here, cheers mate


Image100.jpg


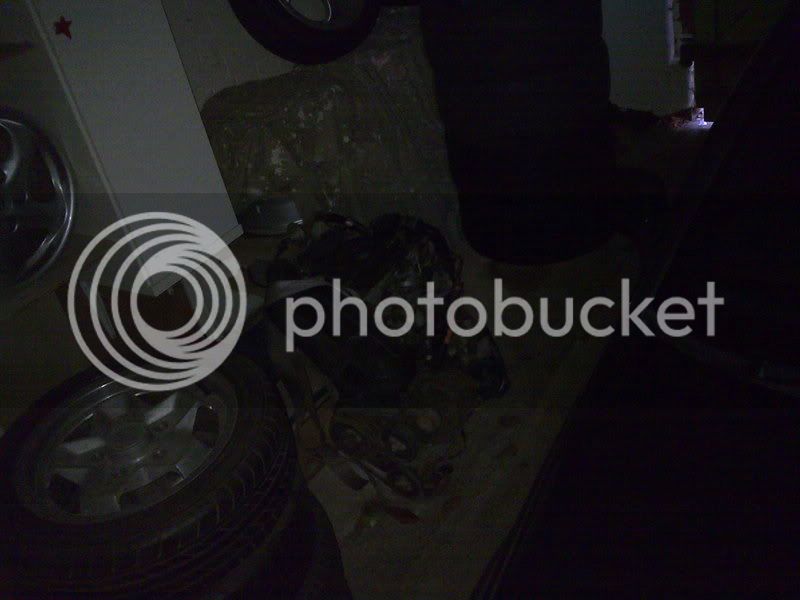
hopefully i will be strapping this to it in the near future


Image097.jpg


vw aaz tdi lump with 90k on it
 
and finally got some work done on the van


Image015.jpg


Image014.jpg


Image013.jpg


Image052.jpg


spent about an hour with the wire brushes cleaning the grill


Image056.jpg


then gave it all a decent coat of the zinc primer to hold the nasty stuff at bay till spray time


Image102.jpg


Image103.jpg


Image104.jpg


Image105.jpg


next on the agender is getting rid of the huge late by bump in the centre.
 
done a little bit more on the van this week. removed the late bay bump from the front panel.


Image000.jpg


Image005.jpg


Image002.jpg


Image003.jpg


Image004.jpg


put a thin of zinc primer on it to protect it. will require a bit of filler as the plate i fitted was flat rather than and didnt follow the curve of the front but im hoping the body shop can panel beat it into shape a little better than me

ive got the guy comin round to give me a quote for prep and spray this week some time as id like to be sending it in late may early june
 
Still doing a cracking job there mate 8)

Respray in May/June, then something to motivate you with a firm(ish) date in mind :wink:
 
i'd really like to do the filling myself but no spray shop in their right mind would be able to gaurentee my work. so i decided that payin them to do the filling and spraying then i will have some comeback should things crack or sag.

i cant wait for the day when i can start laying on the dynamat then fittin out the ice. i managed to snipe myself a third 10.2 inch alpine screen on flebay today at work for £122. so the ice plans are evolving as always :D
 
cheers mate. i have been inspired by mr 68whitewesty on here. i plan to get my og engine lid matched up at a body shop as the inside paint is og. i really hope that my og colour is the same pearl white as his. i want to spray my van that colour but i really want to take it back to og so the two being the same would be great.
 
my wife was on a course today so unfortunately my children had to enjure a couple of hours of sitting in the sharon with a dvd on (im painting myself as a realy bad dad here :oops: but i did buy them loads of sweets to keep the entertained, only joking :D ). i dropped a pile of rims off at charlie browns round the corner from me to swap a few tyres around. i managed to source some hard to find tyres for the front of the bus


rim3.jpg


rim4.jpg


rim5.jpg


these are 165 40 17 nankangs on a 7j boxster front. and on the rears ive go some 205 40 17 yokos on a 7j boxster front too.


these are my other rims that i had the 205's removed from. the golf kept rubbing on the front so i got hold of some 195 40 17's to try and sort it


rim2.jpg


rim1.jpg
 
been trying to get a bit more time on the bus resto of late in between taking my kids to loads of prties etc on the weekend.

heres a few pics of the bits i have done of late


Image010.jpg


Image011.jpg


Image017.jpg


Image016.jpg


Image021.jpg


Image018.jpg


then i cut the old indicator holes out of the og panel to weld into the new. patern parts req soooo much work to fit and really are rough around the edges


indicatorframe.jpg


indicatortwo.jpg


indicator.jpg


indicatorin.jpg


nearly finished the front, im off to centre parcs tomorrow morning for the week so wont get on the van for the week. though i am really pleased with how it is progressing


frontdone.jpg
 
i was chatting to a guy today from vwkd.com. he is from chesterfield and knows his sh#t. he came over to my workshop to buy the 091 that i now have spare after getting nelly's old one. he has been fitting pas to his split and claims it is an easy upgrade so i am going to give it a go. it uses all sorts of og bits (not all vw). i was going to try the ce rack and pinion upgrade buy at nearly 600 notes that is a lot of cash to spunk on something that stops you lowering your bus. vauxhall, vw, upgrade here we go :D
 
Some more amazing work mate its looking real good. its always an awesome feeling being able to sit back after a good session on the van and think "that looks good!!"

as for the PAS i presume, with you being a member on vwkd you've seen the PAS how to thread. i did like the thought of it, but not too sure how you would make the box-section frame discrete or if you cound hide it away behind a steering column cover???

NaFe
 
ive not read the thread on vwkd just yet but when the time comes i will read up as much as possible on it all. i didnt get a chance to look at his split as he came to see me in his late bay, 1.9tdi 1z engine which is a great conversion with pumped hot air to the screen, and the passenger area in the back. i know that the engine fitting time will probably be a right head ache but it would be nice to get something back in it after such a long time :D
 
managed to get a bit of time on the van today (not very romantic i know but ive just spent the week at centre parcs with my wife and kids so i think theyve probably had enough of me by now :D )

finished the front panel which took ages to weld and even longer to clean up.


completefront.jpg


then refitted the drivers door to see if the panel gaps have improved with the new front on


osdoorshut.jpg


then got stuck into the drivers side cab floor


driverssidefloorcutout.jpg


floorplatemock.jpg


floorplatestep.jpg


floorplatetackedin.jpg
 
Top work Andy - this is gonna be a very sorted bus!

Out of interest - where are you getting your panels from (front wheel tubs, cab floor etc)? Any "issues" with panels etc?
 

Latest posts

Top