G
Guest
Guest
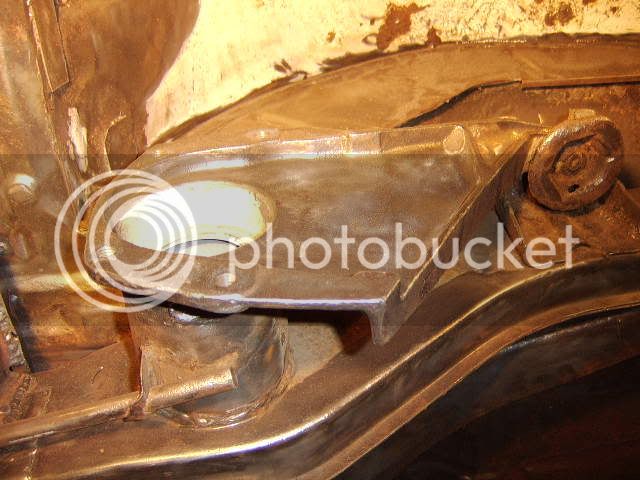
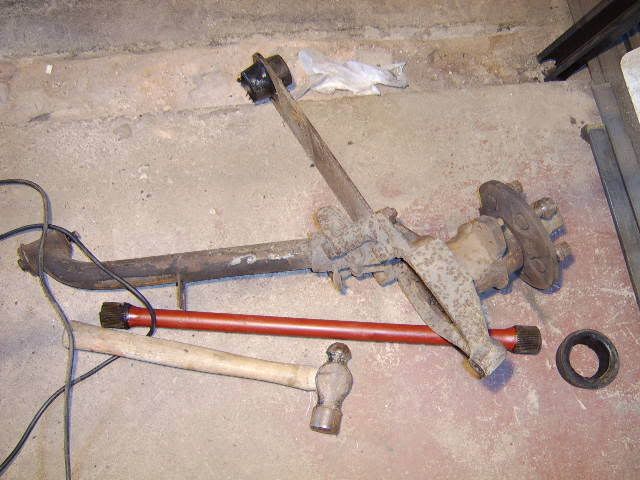
the CE beam looks excellent. what PCD are the audi calipers? did they fit straight on the spindle? nice work btw 8)
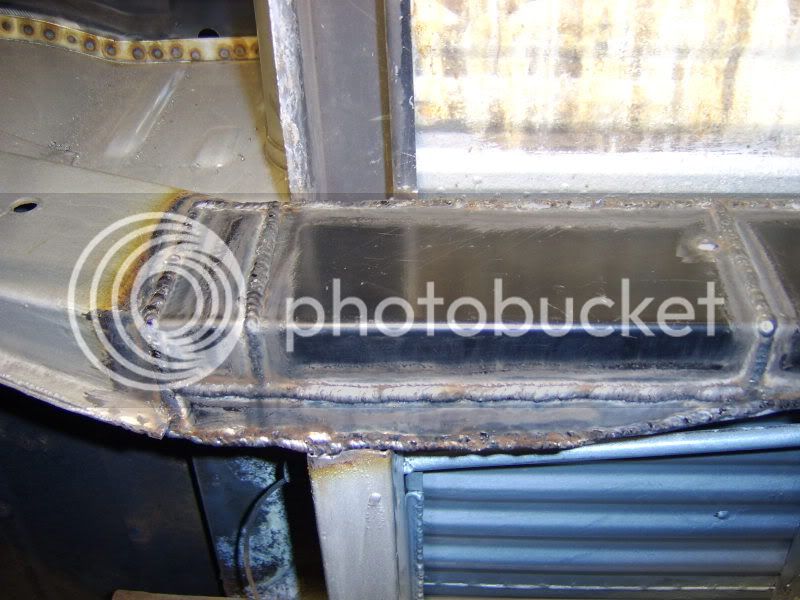
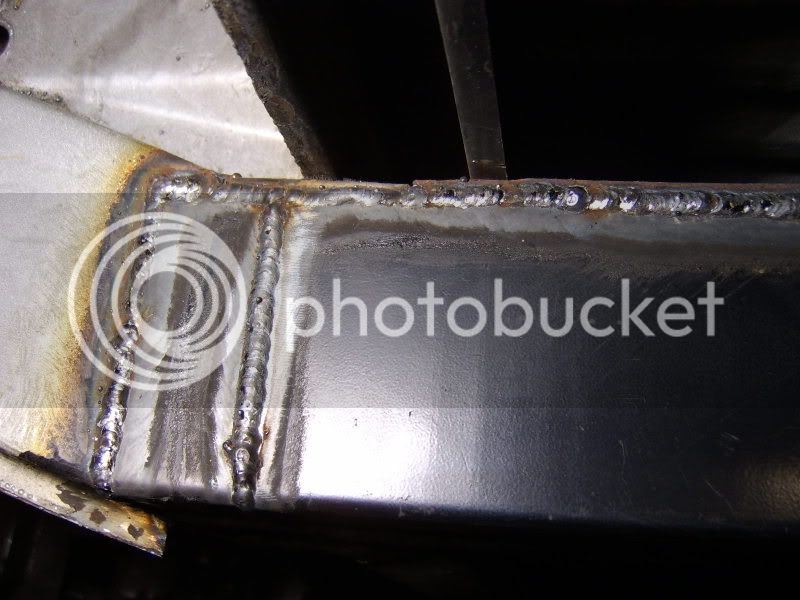
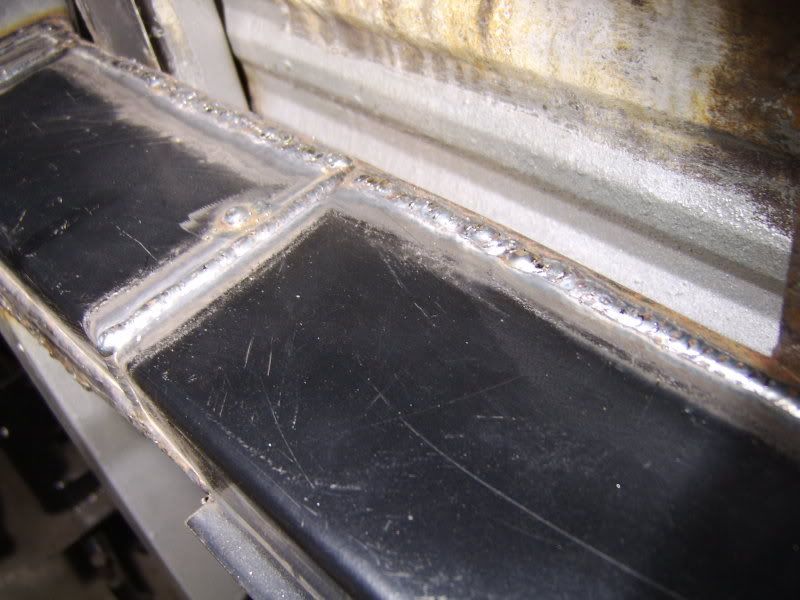


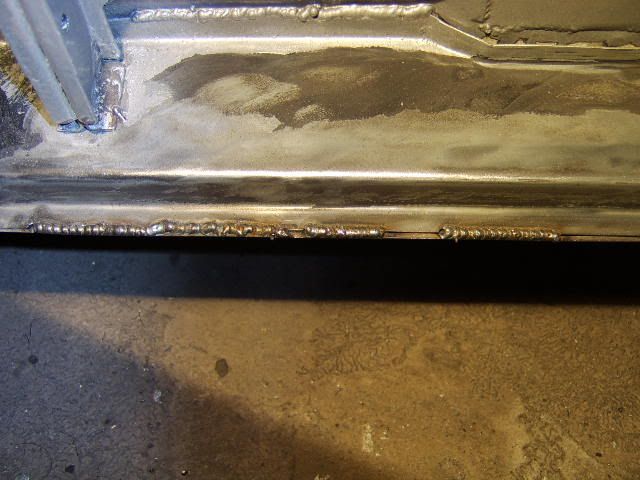
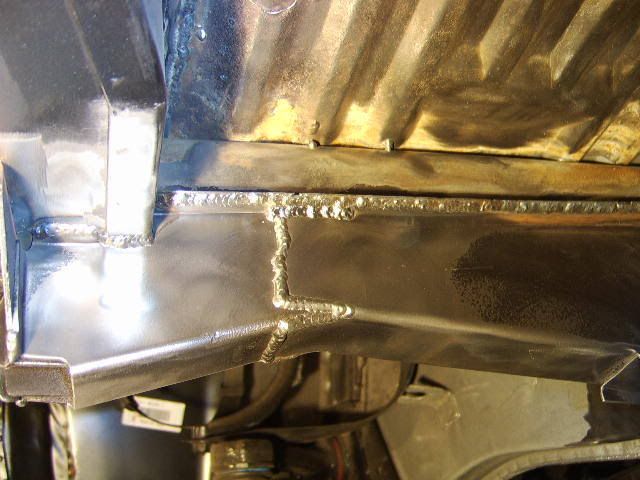
Johnny said:A good welder makes all the difference


Haveacamper said:hey mate, just wondered where you got your middle sill replacement from.
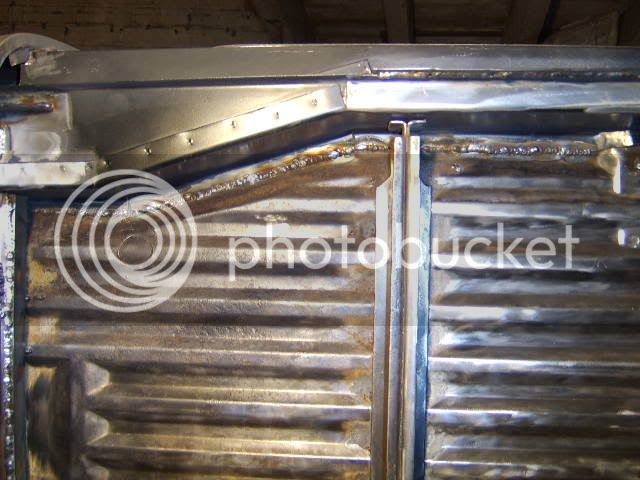
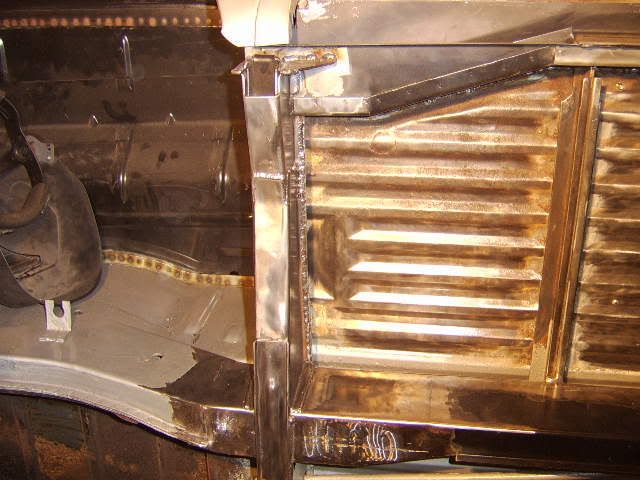
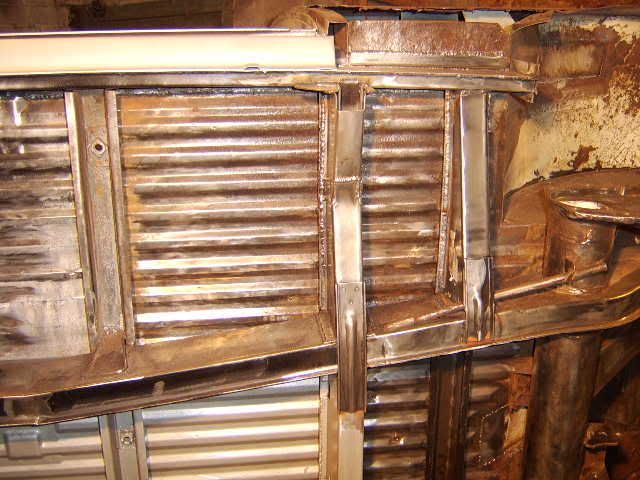
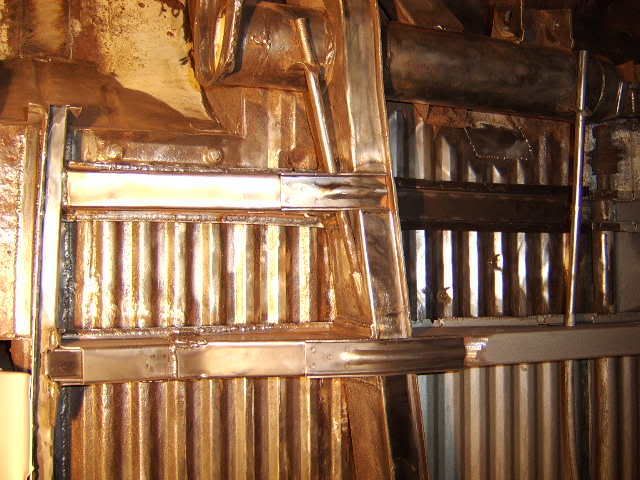
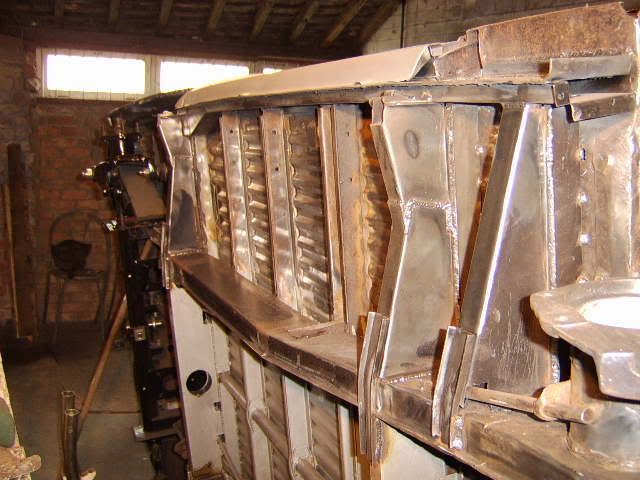
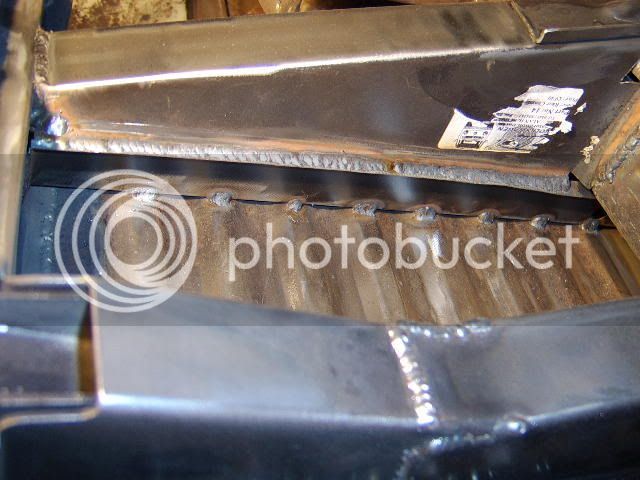
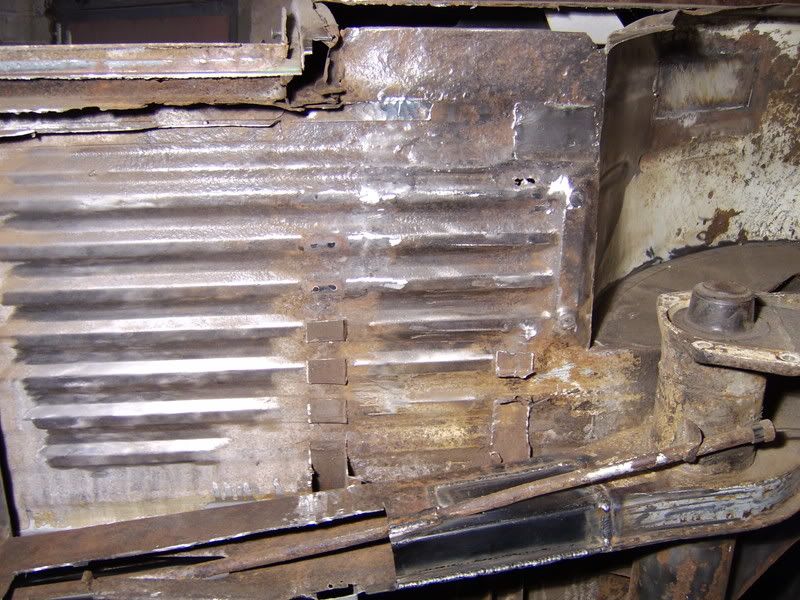
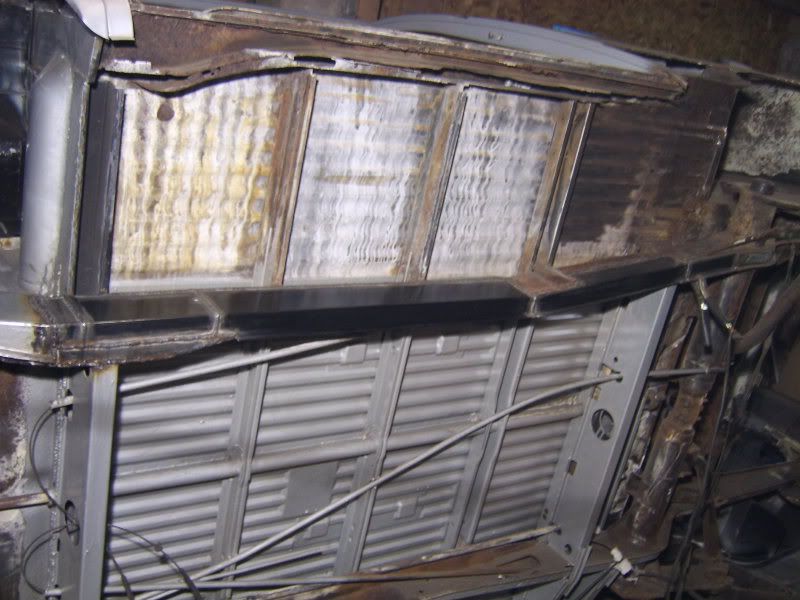
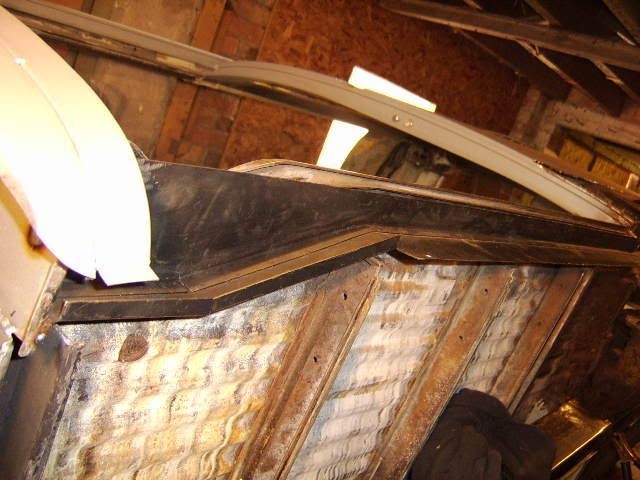
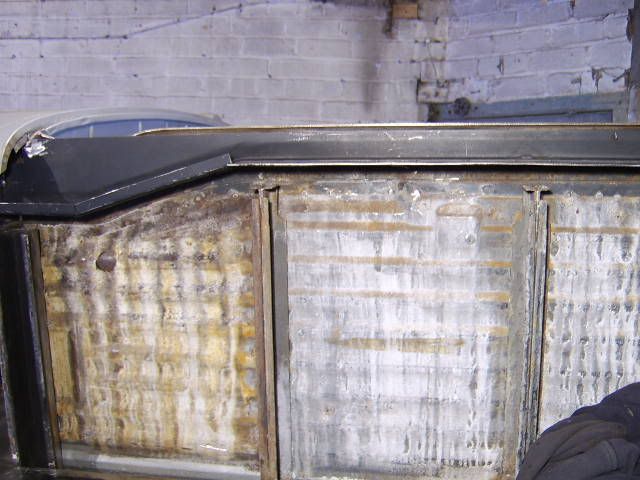
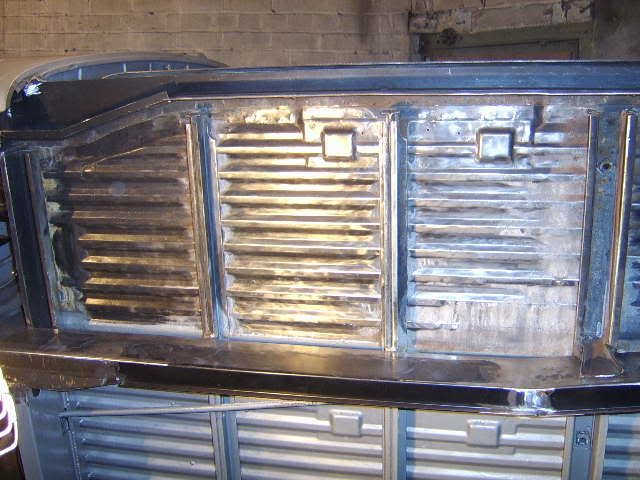
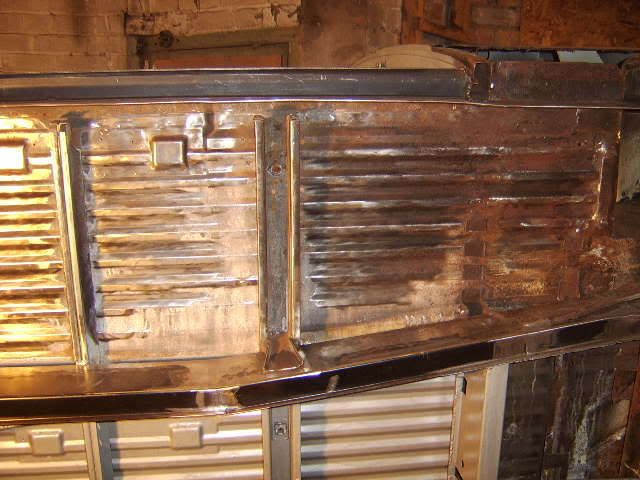
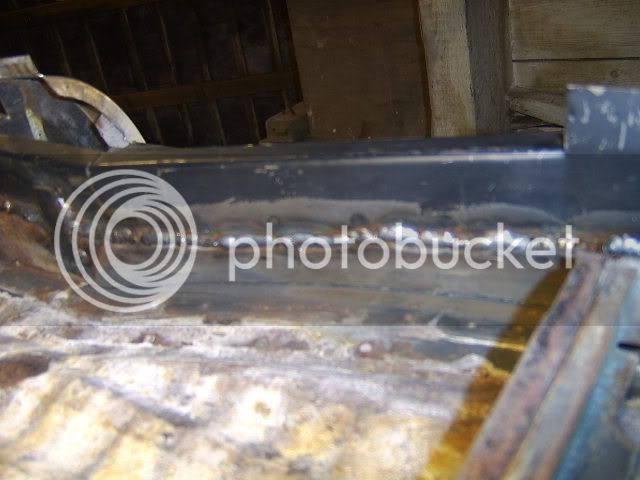
i popped down the van last night and started to attack the sliding door sills. after cutting out the outer and inner sill i have found that my middle sill is also looking a shadow of its former self. i've got a website the i posted in someones thread in the tech forum about fitting new sills, and the chap mentioned about not all of the middle sill being present on the middle sill replacement. he talks about the top lip of the guide runner not being there. it does look like quite an old site so not sure if schofields or someone would make a complete one.
Nafe
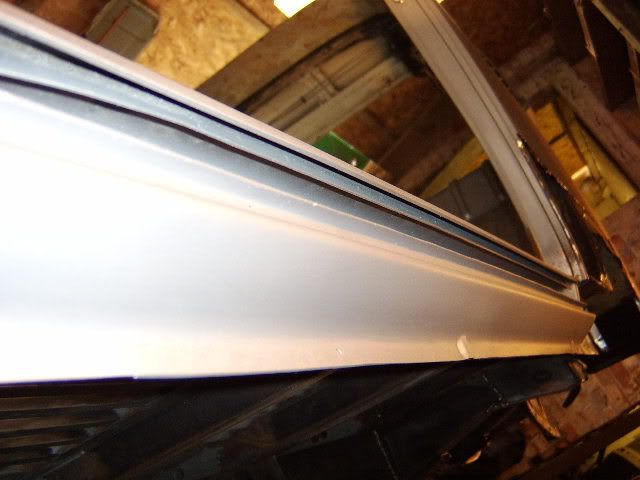
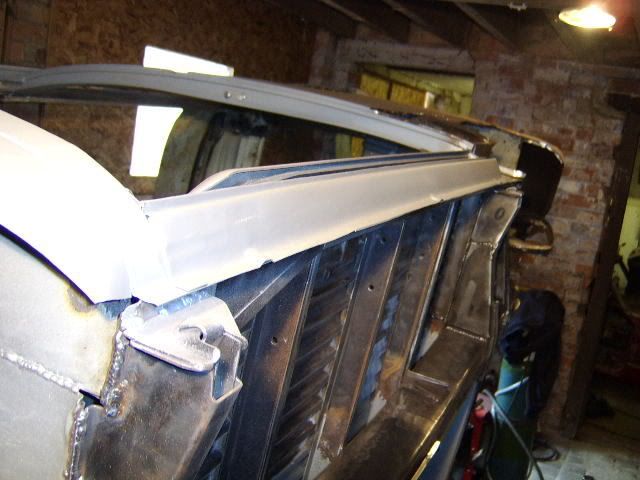
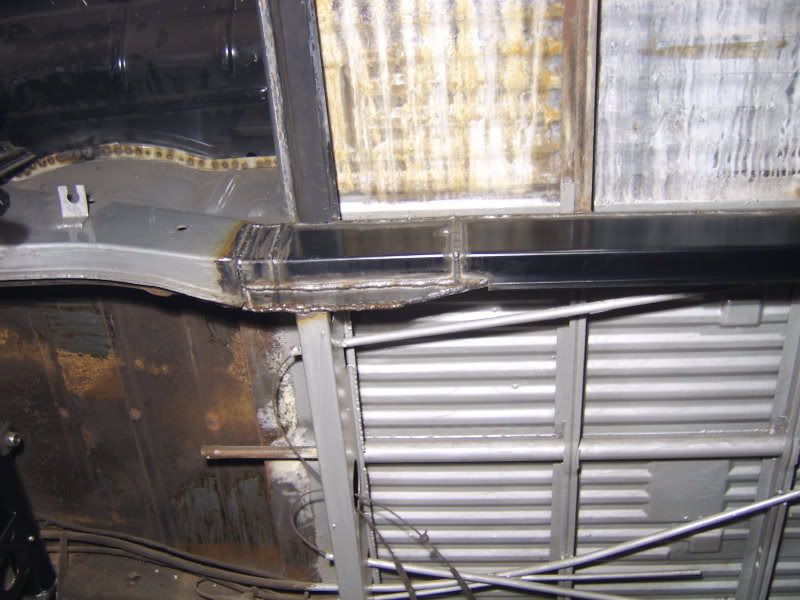
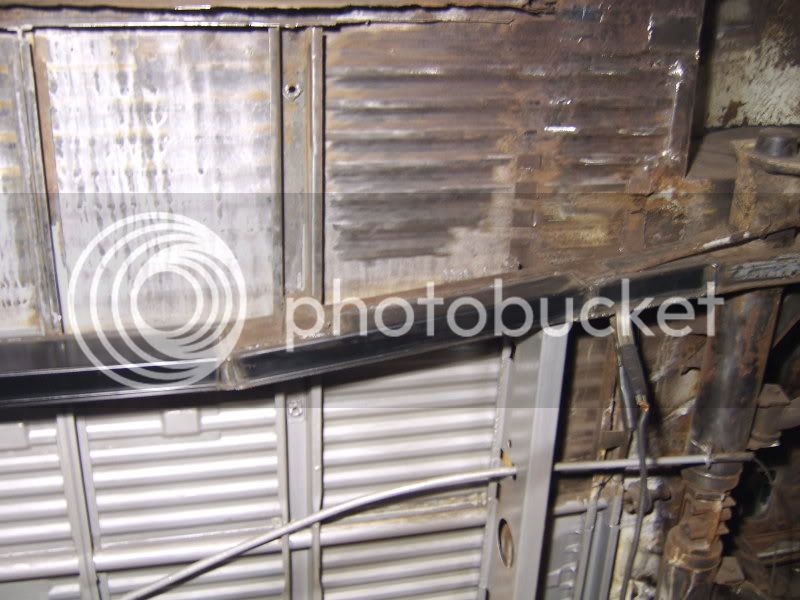
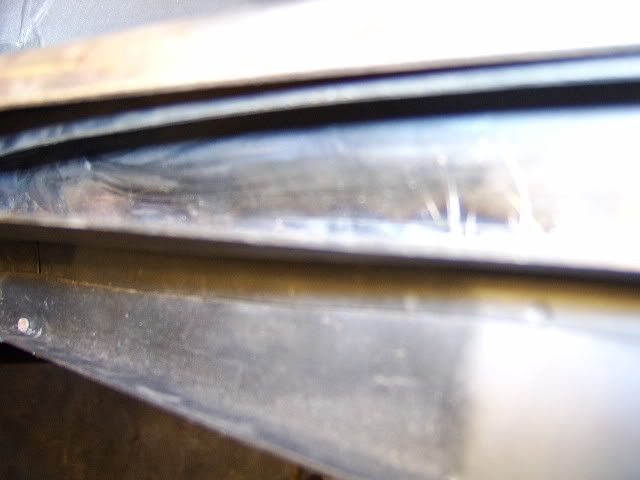
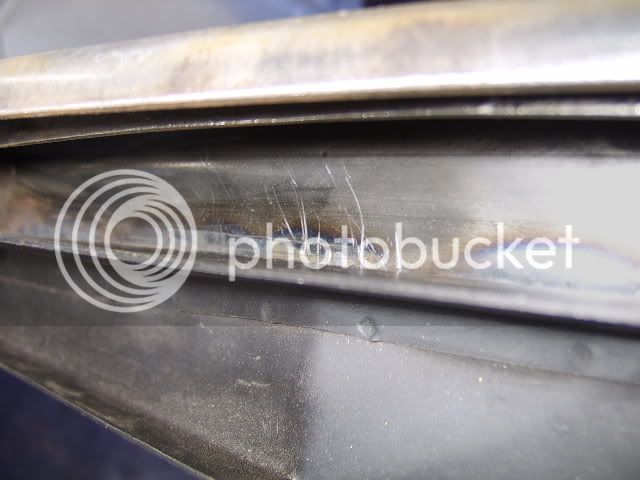
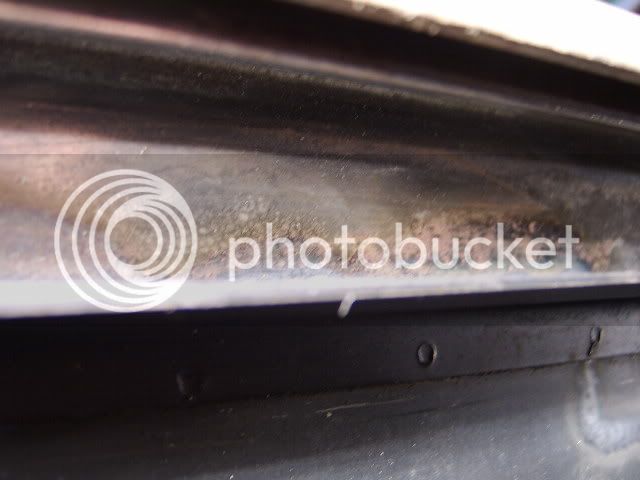
Edit: it does look by some of your pics that you have both the bottom and top track lips